English
Login

EXTRUDER ERROR

#17536 (XL)

Relevant for

XL
112 comments
Article is also available in following languages
English
Čeština
Polski
Deutsch
Français
Español
Italiano
日本語

What happened?

The printer shows the message "Extruder motor is not spinning on tool #". In place of #, the number of the Dwarf board is shown. 

This problem occurs due to increased resistance between the Dwarf and the cable connector, caused by the cable and connector being held too firmly in position. 

Error name: Extruder error

Error code: #17536

How to fix it? 

Update firmware

Make sure that you have firmware 6.2.0 or newer.

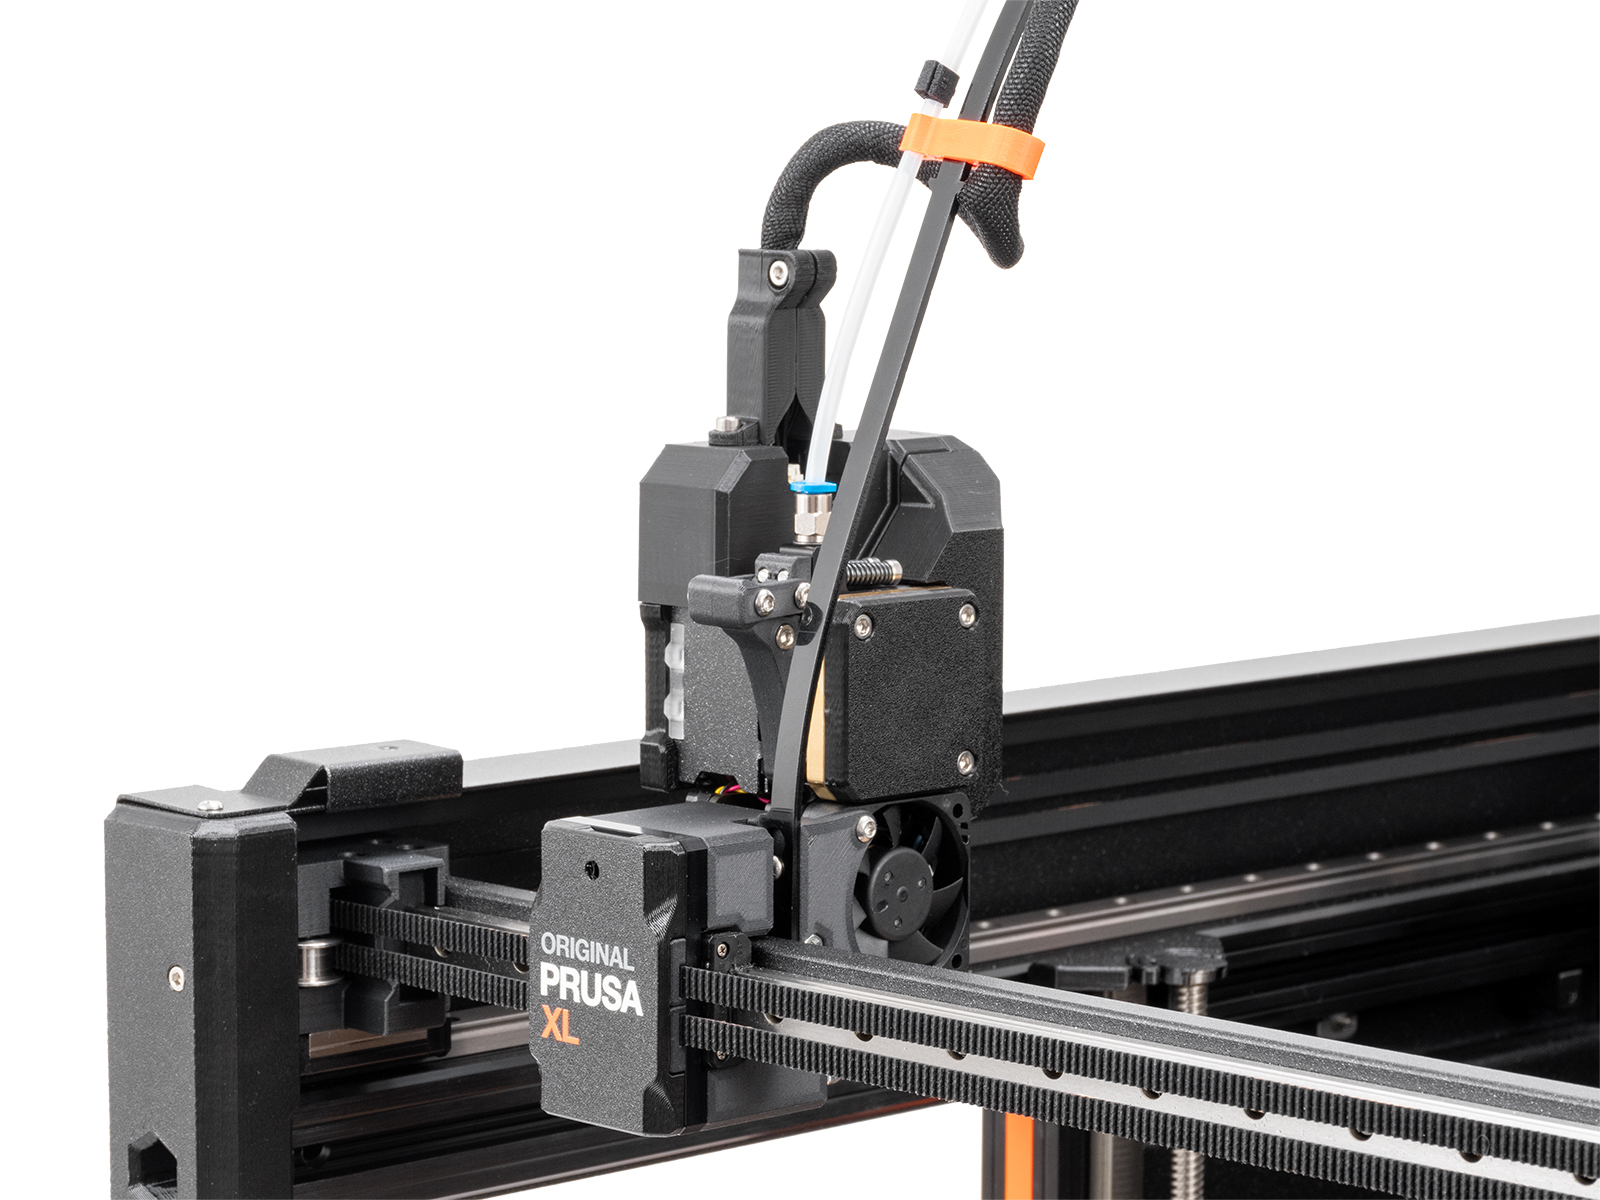
Remove the 'dwarf-cover-connector'

Remove the dwarf-cover connector, as it might hold the cable and connector too firmly. Fully loosen the bolt holding the part and remove the bolt. Repeat the print without the cover. If the issue is solved, replace the cover: How to replace the main cable connector cover (XL)

Old main cable coverNew main cable cover

If the issue is not solved, contact our customer support

Was this article helpful?
This action is available only to registered users. Please log-in.
 

66 comments

Log in  to post a comment
Eliwaz Moonsfire
Does the same moter not spinning during a aliment set up an test for head one now! Must do a moter of extruder check during a aliment of pins an head then or something maybe? Thinking maybe its in the docking station portions of the printer then if it trips the error during a nonprint move as its not even nor should be a in print mode only an aliment of the pins ect for said dock you are calibrateing!
Eliwaz Moonsfire
How do we hard reset this thing too roll it all back?
Eliwaz Moonsfire
How about some kind of flexible connection or hey how about some kind of fiber optic set up with only two points of power instead of all the wires! Do the other machines out there that have this system have the same issues or did they plan ahead for this an use the proper way it should be done? I keep having a nag part of my mind saying its all in the tension screws really for that filament door if its too tight will it not get jammed an say its not turning as well? Too loose maybe a bit? same idea if the main sensors that read movent in the filament not the moter itself see it not moving even though it really is an not the filament would it not throw out this error?
Be Me
Changed all the connector fittings according to this "solution", error randomly pops in and ruins a completely fine print.

By now, I really hate this printer and I hate that I, as an early adopter, am still a guinea pig for testing, and receiving fixes and "better" parts only after hours of bugfixing and then comlaining at support.
Eliwaz Moonsfire
Indeed I had to wait far longer since after got mine my power supply was faulty had to replace it an all the time too it was saying hey its the panic wire and it was not. I even bought the new power supply box from the place they get there's sourced from I wanted it from the main supplier an it worked right out of the box no panic cable error. I bet its the tension screws really at least maybe for me since extruder 2 is the main one doing this an I had messed with the tension screws on it at one point as recall. Dont let the anger get the best of you keep at it an you will win the day! Same thing with my first ever prusa real prusa printer not knock off copy I get one thinking it was one an same as an old copy and called to find out that hey that is not us lol. I looked deeper intoo what was going on an it was just my belt tension an so my first ever prusa mk3 adventure was born!
Jelbert
This connector is not good for industrial applications where mechanical force and or vibrations are present (look at the data sheet). The low cost (but still expensive to the solution right now) connector for that is the sub-d you know from the old school rs232 and VGA. It has a good long contact and there are good cable caps for those.
I guess they still had a bunch of these connectors and so it is the cheap solution.
I do not get why they did not put the screws at the same distance as the sub-d 9 ones because the the industry caps would have fitted.
What happens now is you fix the cable in the clamp an the wires have some flex between the connector and the backside of the connector. Over time this flex gets tension on it and the connector starts to strain and you get movement noise on the cable. The light starts to flicker. If the noise gets too big you get the motor error and the print fails.
The best solution would be a different connector, but that is a lot of work. Then a sub-d connector at the end of the cable and a sub-d with a short flexible cable to the print connector with a very stiff mechanical connection between sub-d and print head. The force and movement now all ends up at the sub-d connector. But this is a lot of work too.
The cheap solution may be to put a ferrite core around the cable and to remove the tension on the connector every month.
I ordered 5 snap-on ferrite cores. And if I really get angry I will make the sub-d solution.
Eurohell Design
Hi Jelbert,
have you tried attaching ferrite cores and print with it? Can you tell us something about your ferrite core-solution for now? Does it change things?

Thanks!