Prusa
  • SHOP
    • Latest products
    BY CATEGORY
    • 3D printersnew
    • 3D printer upgradesnew
    • Materials
    • Accessories
    • Spare parts
    • Courses
    • Merch
    • Get a price quote
    QUICK LINKS
    • Shipping & delivery
    • Returns & refunds
    • Payment & financing
    • Warranty
    • VAT & Customs fees
    • FAQ

    0 item in your cartitems in your cart

    Your cart is empty

    Go to cartShop 3D printers

    My profile

    Log in to see orders, saved items

    My profile

    Signed in as

    • Orders
    • Logout
  • 3D PRINTING
    • Explore 3D printing
    FOR BEGINNERS
    • 3D printing 101
    • How FDM printing works
    • Buying your first printer
    • 3D model catalog
    BY APPLICATION
    • Rapid prototyping
    • Manufacturing
    • Engineering
    • Research
    • Arts & design
    GO DEEPER
    • Materials guide
    • Courses
    • Webinars
    • Case studies
    • Custom 3D printing
  • 3D PRINTERS
    • All 3D printers
    FOR
    • Home or garageHobbyists, tinkerers and home printing
    • BusinessIn-house production for small teams
    • EnterpriseFleets, security and scale
    • Which Prusa is right for me
    SHOP & BROWSE
    • CORE One+new
    • CORE One+ INDXnew
    • CORE One L+new
    • CORE One L+ INDXnew
    • XL+new
    • MK4S
    • Prusa Pro HT90
    • Prusa Pro AFS
    • Prusa Pro SLX
    MORE FROM PRINTERS
    • Parts & upgradesnew
    • Spare parts
    • Critical infrastructure
    • Case studies
    • Signature Oak
    • Kits
  • MATERIALS
    • All materials
    BY USE
    • Every-day & design
    • Functional engineering
    • Composites
    • Pro speciality
    • SLA resins
    PRUSAMENT
    • PLA
    • PETG
    • ASA
    • PC
    • PA11
    • Flex
    • TPU
    MORE FROM MATERIALS
    • Materials guide
    • We make material in house
    • Sustainability
    • Order on the store
  • SOFTWARE
    • All software
    PREPARE THE PRINT
    • PrusaSlicer 3.0New
    PRINT & MONITOR
    • Prusa Connect
    • EasyPrint
    • iOS & Android app
    • Prusa Farm
    GET STARTED
    • Download & install
    • Knowledge base
    MORE FROM SOFTWARE
    • 3D model catalog
  • SUPPORT
    • Explore support
    FIND ANSWERS
    • Knowledge base
    • Troubleshooting
    • Courses
    • Webinars
    GET HELP
    • Contact us
    • Livechat
    • Shipping & delivery
    • Warranty
    • Returns & refunds
    • Service & spare parts
    • Service & Repair
    COMMUNITY
    • Forum
    • Reddit
    • Printables
  • TRUST CENTER
    • Trust Center overview
    BY TOPIC
    • GDPR
    • Certificates
    • Security
    • Compliance
    COMMITMENTS
    • Sustainability report
    TALK TO US
    • Contact the security team
  • COMPANY
    • About Prusa
    GET TO KNOW US
    • Our story
    • How we make printers
    • Open source
    • Brand & media kit
    NEWS
    • Blog
    • Newsroom
    • Events
    TRUST & PARTNERS
    • Sustainability
    • Resellers & distributors
    • Affiliate program
    • Contact
    • English
    • Čeština
    • Deutsch
    • Español
    • Français
    • Italiano
    • Polski
    • 日本語
  • Signed in as

    • Orders
    • Address
    • In-stock Alerts
    • My Courses
    • Subscription
    • Edit Account
    • Logout

Log in to see orders, saved items

Signed in as
  • Orders
  • Address
  • In-stock Alerts
  • My Courses
  • Subscription
  • Edit Account
  • English
  • Čeština
  • Deutsch
  • Español
  • Français
  • Italiano
  • Polski
  • 日本語
Shop

0 item in your cartitems in your cart

Your cart is empty

Go to cartShop 3D printers

My profile

Log in to see orders, saved items

My profile

Signed in as

  • Orders
  • Logout
SHOP
  • Latest products
BY CATEGORY
  • 3D printersnew
  • 3D printer upgradesnew
  • Materials
  • Accessories
  • Spare parts
  • Courses
  • Merch
  • Get a price quote
QUICK LINKS
  • Shipping & delivery
  • Returns & refunds
  • Payment & financing
  • Warranty
  • VAT & Customs fees
  • FAQ

Featured products

    Popular categories

      Trending searches

        Articles

          Blog

            Products

              Categories

                Suggested searches

                  Searching…
                  No results
                  Something went wrong.
                  ↑↓ Select↵ OpenEsc Close search
                  1. Support
                  2. Original Prusa i3 MK3S+
                  3. Printer maintenance
                  4. Print surface preparation
                   

                  Contents

                  • Choosing the right print sheet
                  • Cleaning the print surface
                  • Using the most common separation layers
                  • Removing the print

                  Blog

                  • Prusament Pellets: Raw material batches for large-format 3D printing or small-scale polymer research & development
                  • Print colorful and glowing Halloween decorations with our spooky offer
                  • Factorio Has Arrived on Printables

                  Newsletter

                  Signup and get our monthly squeeze on updates, blog, printables and much more.

                  By clicking, you agree to receive our newsletter.

                  This site is protected by reCAPTCHA Enterprise and the Google Privacy Policy and Terms of Service apply.

                  Heavy Duty Keyboard Holder (No Supports)
                  E-shop
                  • 3D Printers
                  • Printer Upgrades
                  • Filaments
                  • Accessories
                  • Prusa Merchandise
                  Prusa

                  © Prusa Research a.s.

                  Printables
                  • 3D Models
                  • Store
                  • Clubs
                  • 3D Design Contests
                  • Brands
                  Community
                  • World Map
                  • Forum
                  • User Groups
                  • Events
                  Help
                  • Prusa Help
                  • Prusa Academy
                  • 3D Printing Calculators
                  Software
                  • PrusaSlicer
                  • Prusa.app
                  • Prusa Connect
                  • Drivers and Software
                  Company
                  • About Us
                  • Blog
                  • Official Prusa Resellers
                  • Contact Us
                  • Certified for ISO 9001, ISO 14001, ISO 45001
                  • General Terms and Conditions
                  • General Terms and Conditions of Use of the PRUSA Websites
                  • Privacy Policy
                  • Information about cookies
                  • Customer Complaints Policy
                  • Status Page
                  • Do Not Sell or Share My Personal Information
                  • Supplemental Statements
                  Prusa
                  • General Terms and Conditions
                  • General Terms and Conditions of Use of the PRUSA Websites
                  • Privacy Policy
                  • Information about cookies
                  • Customer Complaints Policy
                  • Status Page
                  • Do Not Sell or Share My Personal Information
                  • Supplemental Statements

                  © Prusa Research a.s.

                  JOSEF PRUSA®, PRUSA RESEARCH®, PRUSA POLYMERS®, PRUSA ORANGE®, PRUSA 3D ® AND PRUSAMENT® are registered trademarks of Prusa Development a.s. used by Prusa Research a.s. under licence from Prusa Development a.s.

                  Print surface preparation

                  Relevant for

                  MK4 family
                  MK3 family
                  MK3.5 family
                  MK3.9 family
                  OLD PRODUCTS
                  6 comments
                  Article is also available in following languages
                  English
                  Čeština
                  Polski
                  Deutsch
                  Français
                  Español
                  Italiano
                  日本語

                  Before you start printing, you should know that various materials have different adhesions on various surfaces. It is crucial to pick the right steel sheet for your printer and prepare its surface properly. This article is about the most common types of print surfaces and how to prepare them for printing.
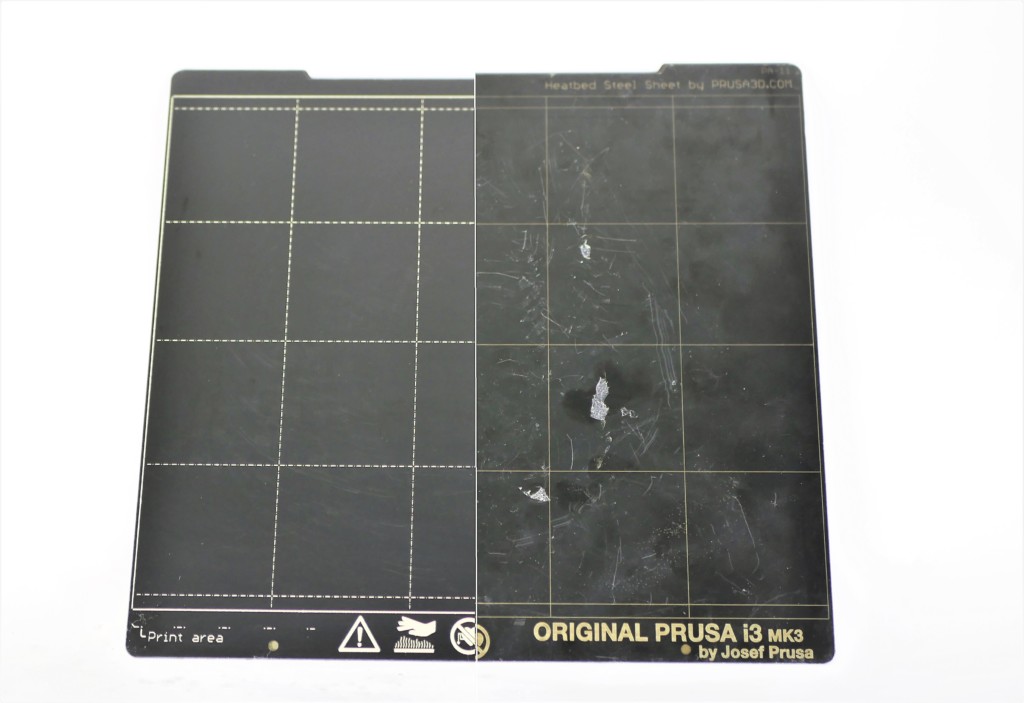
                  To kick it off with a quick (and most common) example: PETG filament has great adhesion to a clean, degreased, smooth PEI sheet, making it extremely hard to remove. Removing the print often leads to peeling off the PEI surface and irreversible damage to the sheet. This is why we recommend using another type of steel sheet or adding PVA glue as a separation layer on the print surface.

                  Steel sheet damaged by a PETG print

                  Choosing the right print sheet

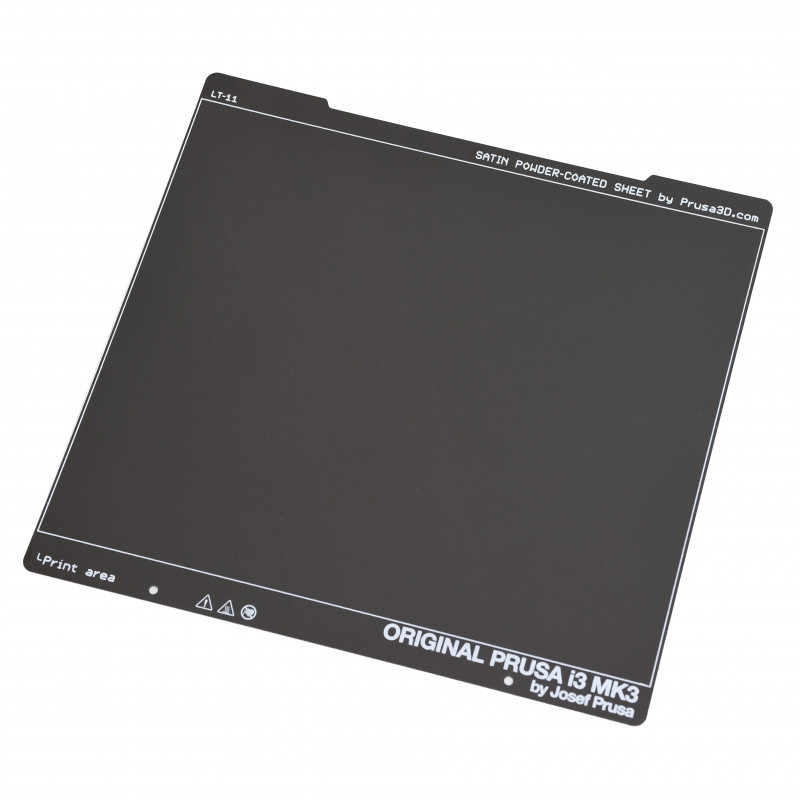
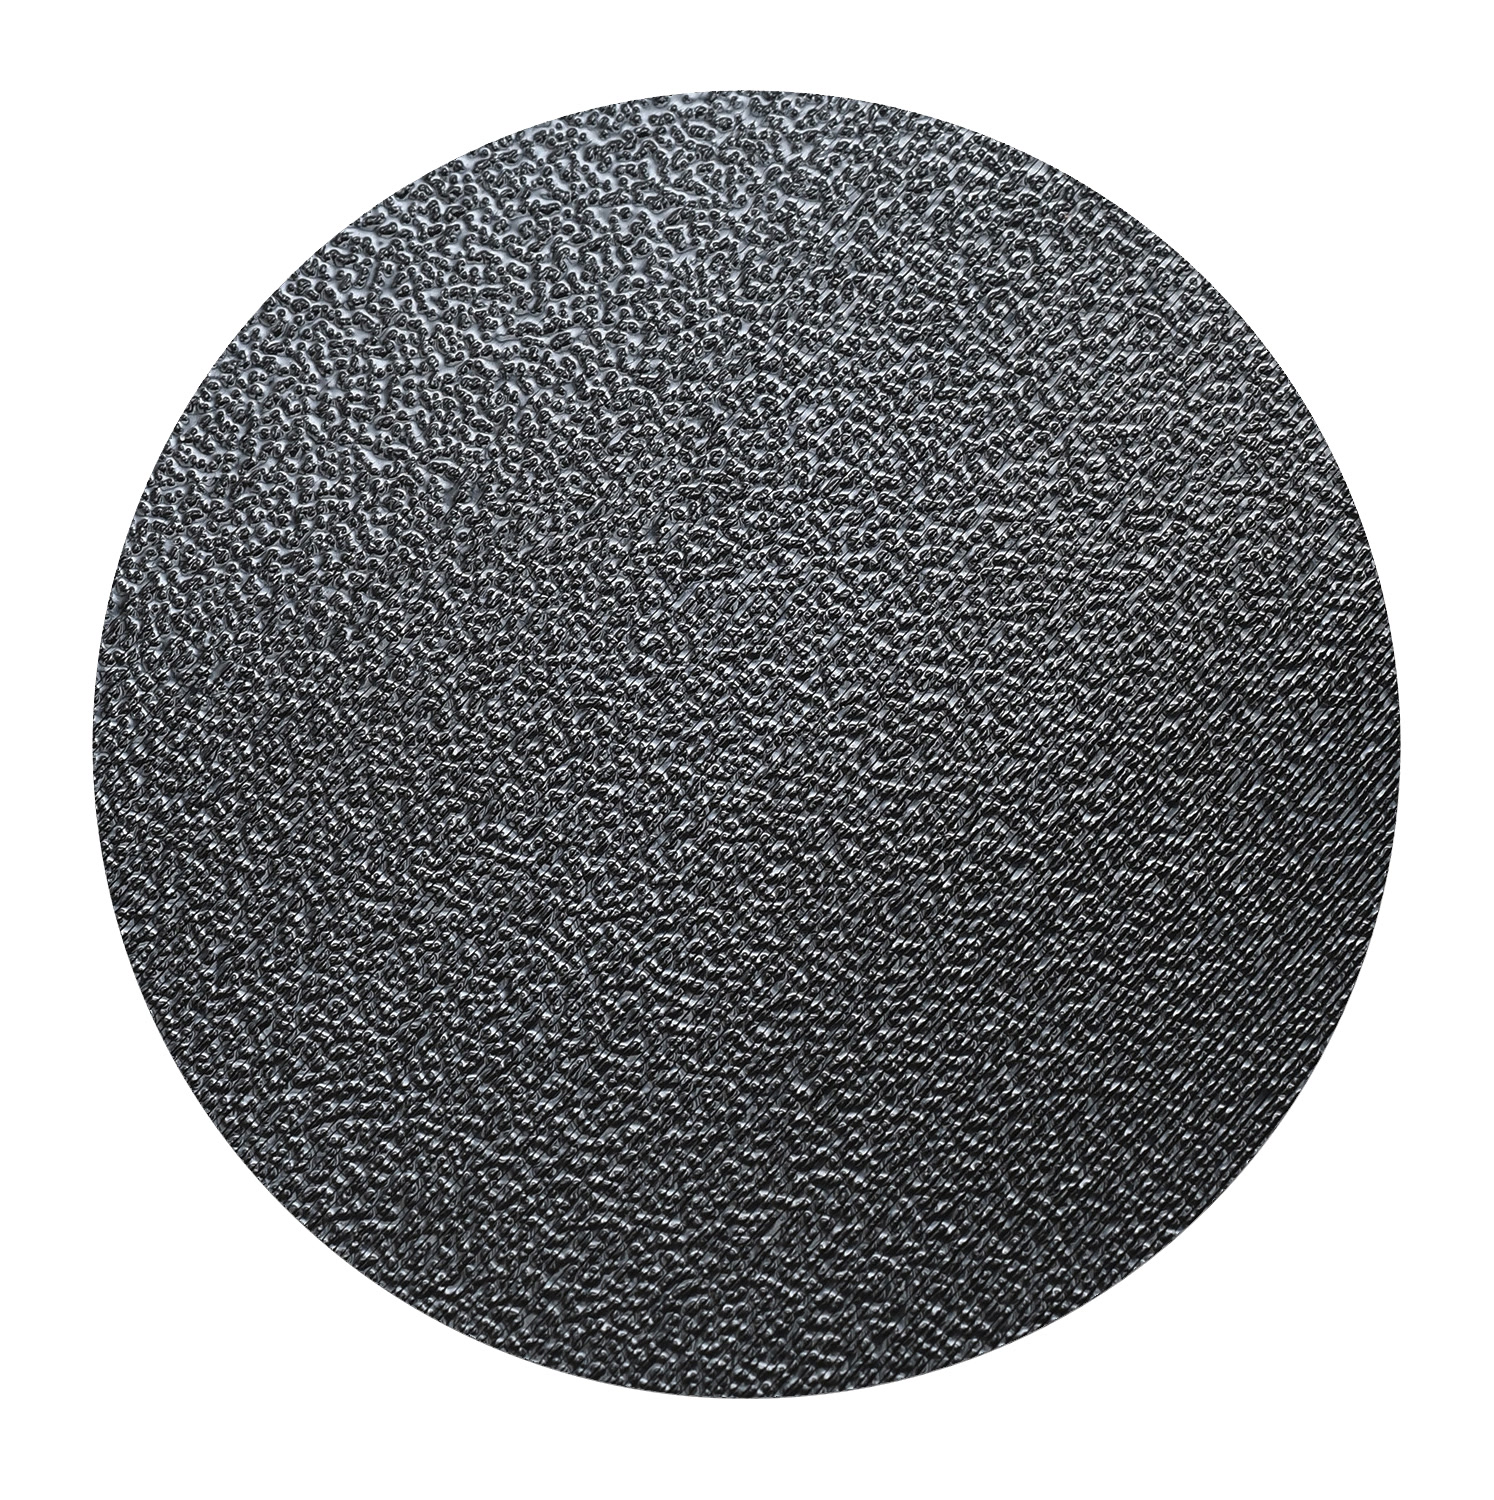
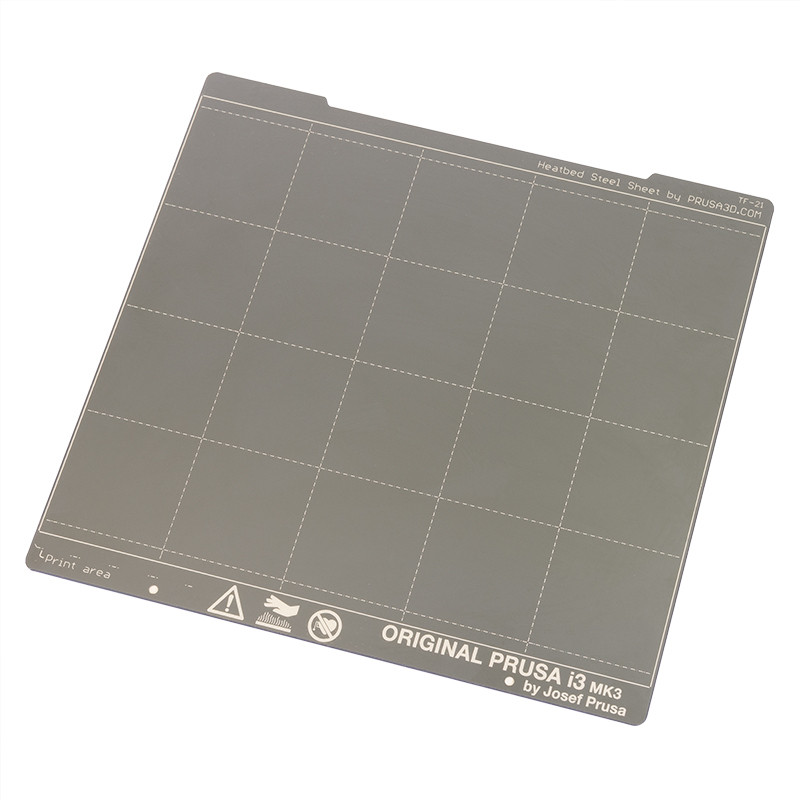
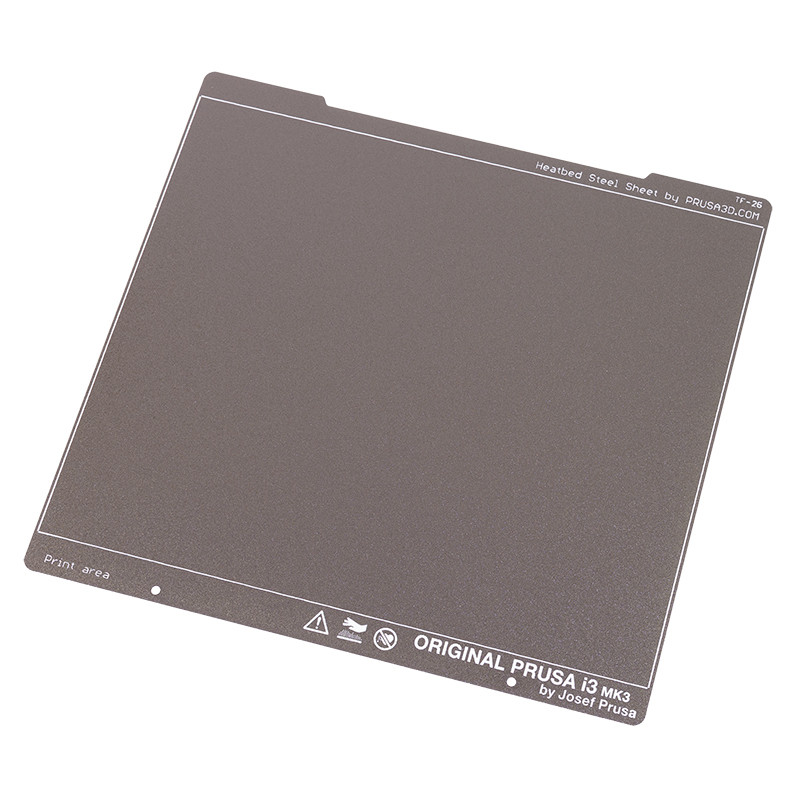
                  We offer 4 types of spring steel sheets, each has a different surface finish that leaves not only a specific texture on your print but also supports a variety of materials that can be printed on it.

                  Here’s a guidepost that provides the most information about the maintenance and properties of our three most common print sheets. Plus, here’s an article about our special PA Nylon steel sheet.
                  Smooth sheetTextured sheetSatin sheet

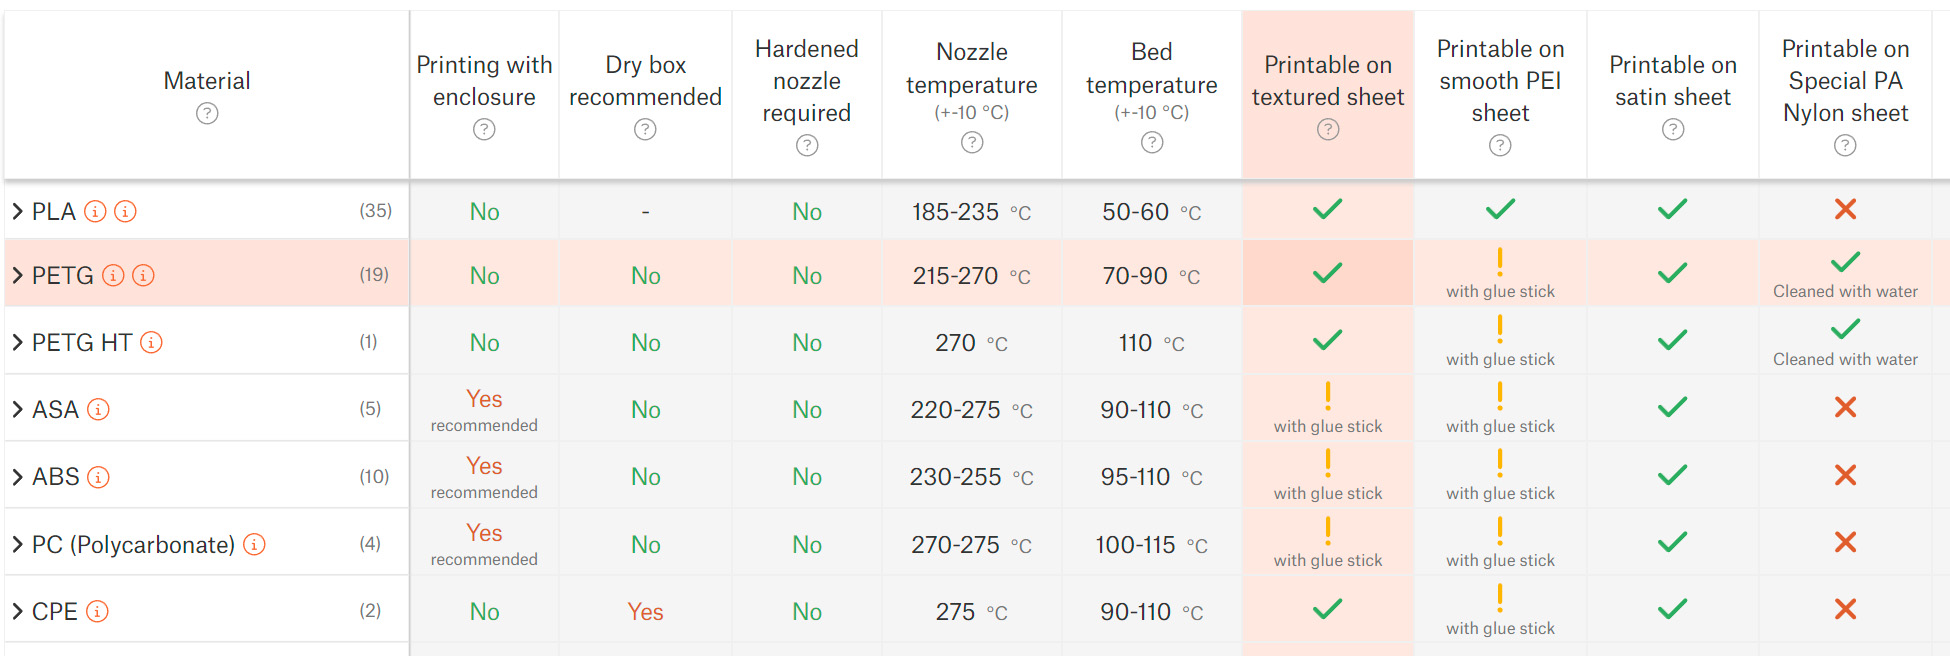
                  The best way to identify whether your sheet is suitable for the chosen material is by checking our Material table. If there’s a green check mark matching the selected sheet and material, you can simply degrease the print surface and you’re good to go. If there’s an exclamation mark, a separation layer of some sort is needed (see below). Failing to use the separation layer may lead to damaging your sheet!
                  Cleaning the print surface

                  This is an easy, yet crucial step you should perform before (almost) every print. We already described this in the 3D printing handbook and several other places but here’s a quick reminder:

                  Grease stains (fingerprints, etc.) often cause poor surface adhesion and, eventually, a print failure. To degrease the print sheet, spray some isopropyl alcohol (90% or stronger) or denatured ethyl alcohol on the cold print surface and wipe it with an unscented paper towel. Do not use any products for skin care: they usually contain oils that ruin adhesion!

                  There are some more specific rules for long-term sheet maintenance and you should definitely learn these but it reaches beyond this article’s purpose. Don’t forget to go through the steel sheet guidepost. Keep in mind that the special PA Nylon sheet has very different and highly specific rules for maintenance.

                  Alright, the print surface is clean, now the final checklist (see the material table):

                  1. Green check mark: Good to go!
                  2. Yellow exclamation mark: Use a separation layer (see below).
                  3. Red X: Do not print! The chosen material may damage your print sheet!

                  Using the most common separation layers

                  You may find various separation (or adhesive) layer materials on the market, some of those even in our e-shop. Every material has its benefits, but describing every single one of them is beyond the scope of this article. If you check our material table, you’ll find out that it all comes down to two most common separation layers: PVA glue stick and PP tape.

                  PVA (paper) glue is usually sold in the form of sticks that make the application easier. Usually, only a thin layer of glue is enough. Spreading a thick layer may leave various unsightly traces, bumps, and artifacts that will be imprinted onto your 3D print’s surface. However, if you want to print a mechanical part, where good looks are not as important as functionality and reliability, making the layer slightly thicker won’t hurt. Also, the PVA glue melts at relatively low temperatures, so we suggest applying it on a cold surface to avoid making an extra thick layer.
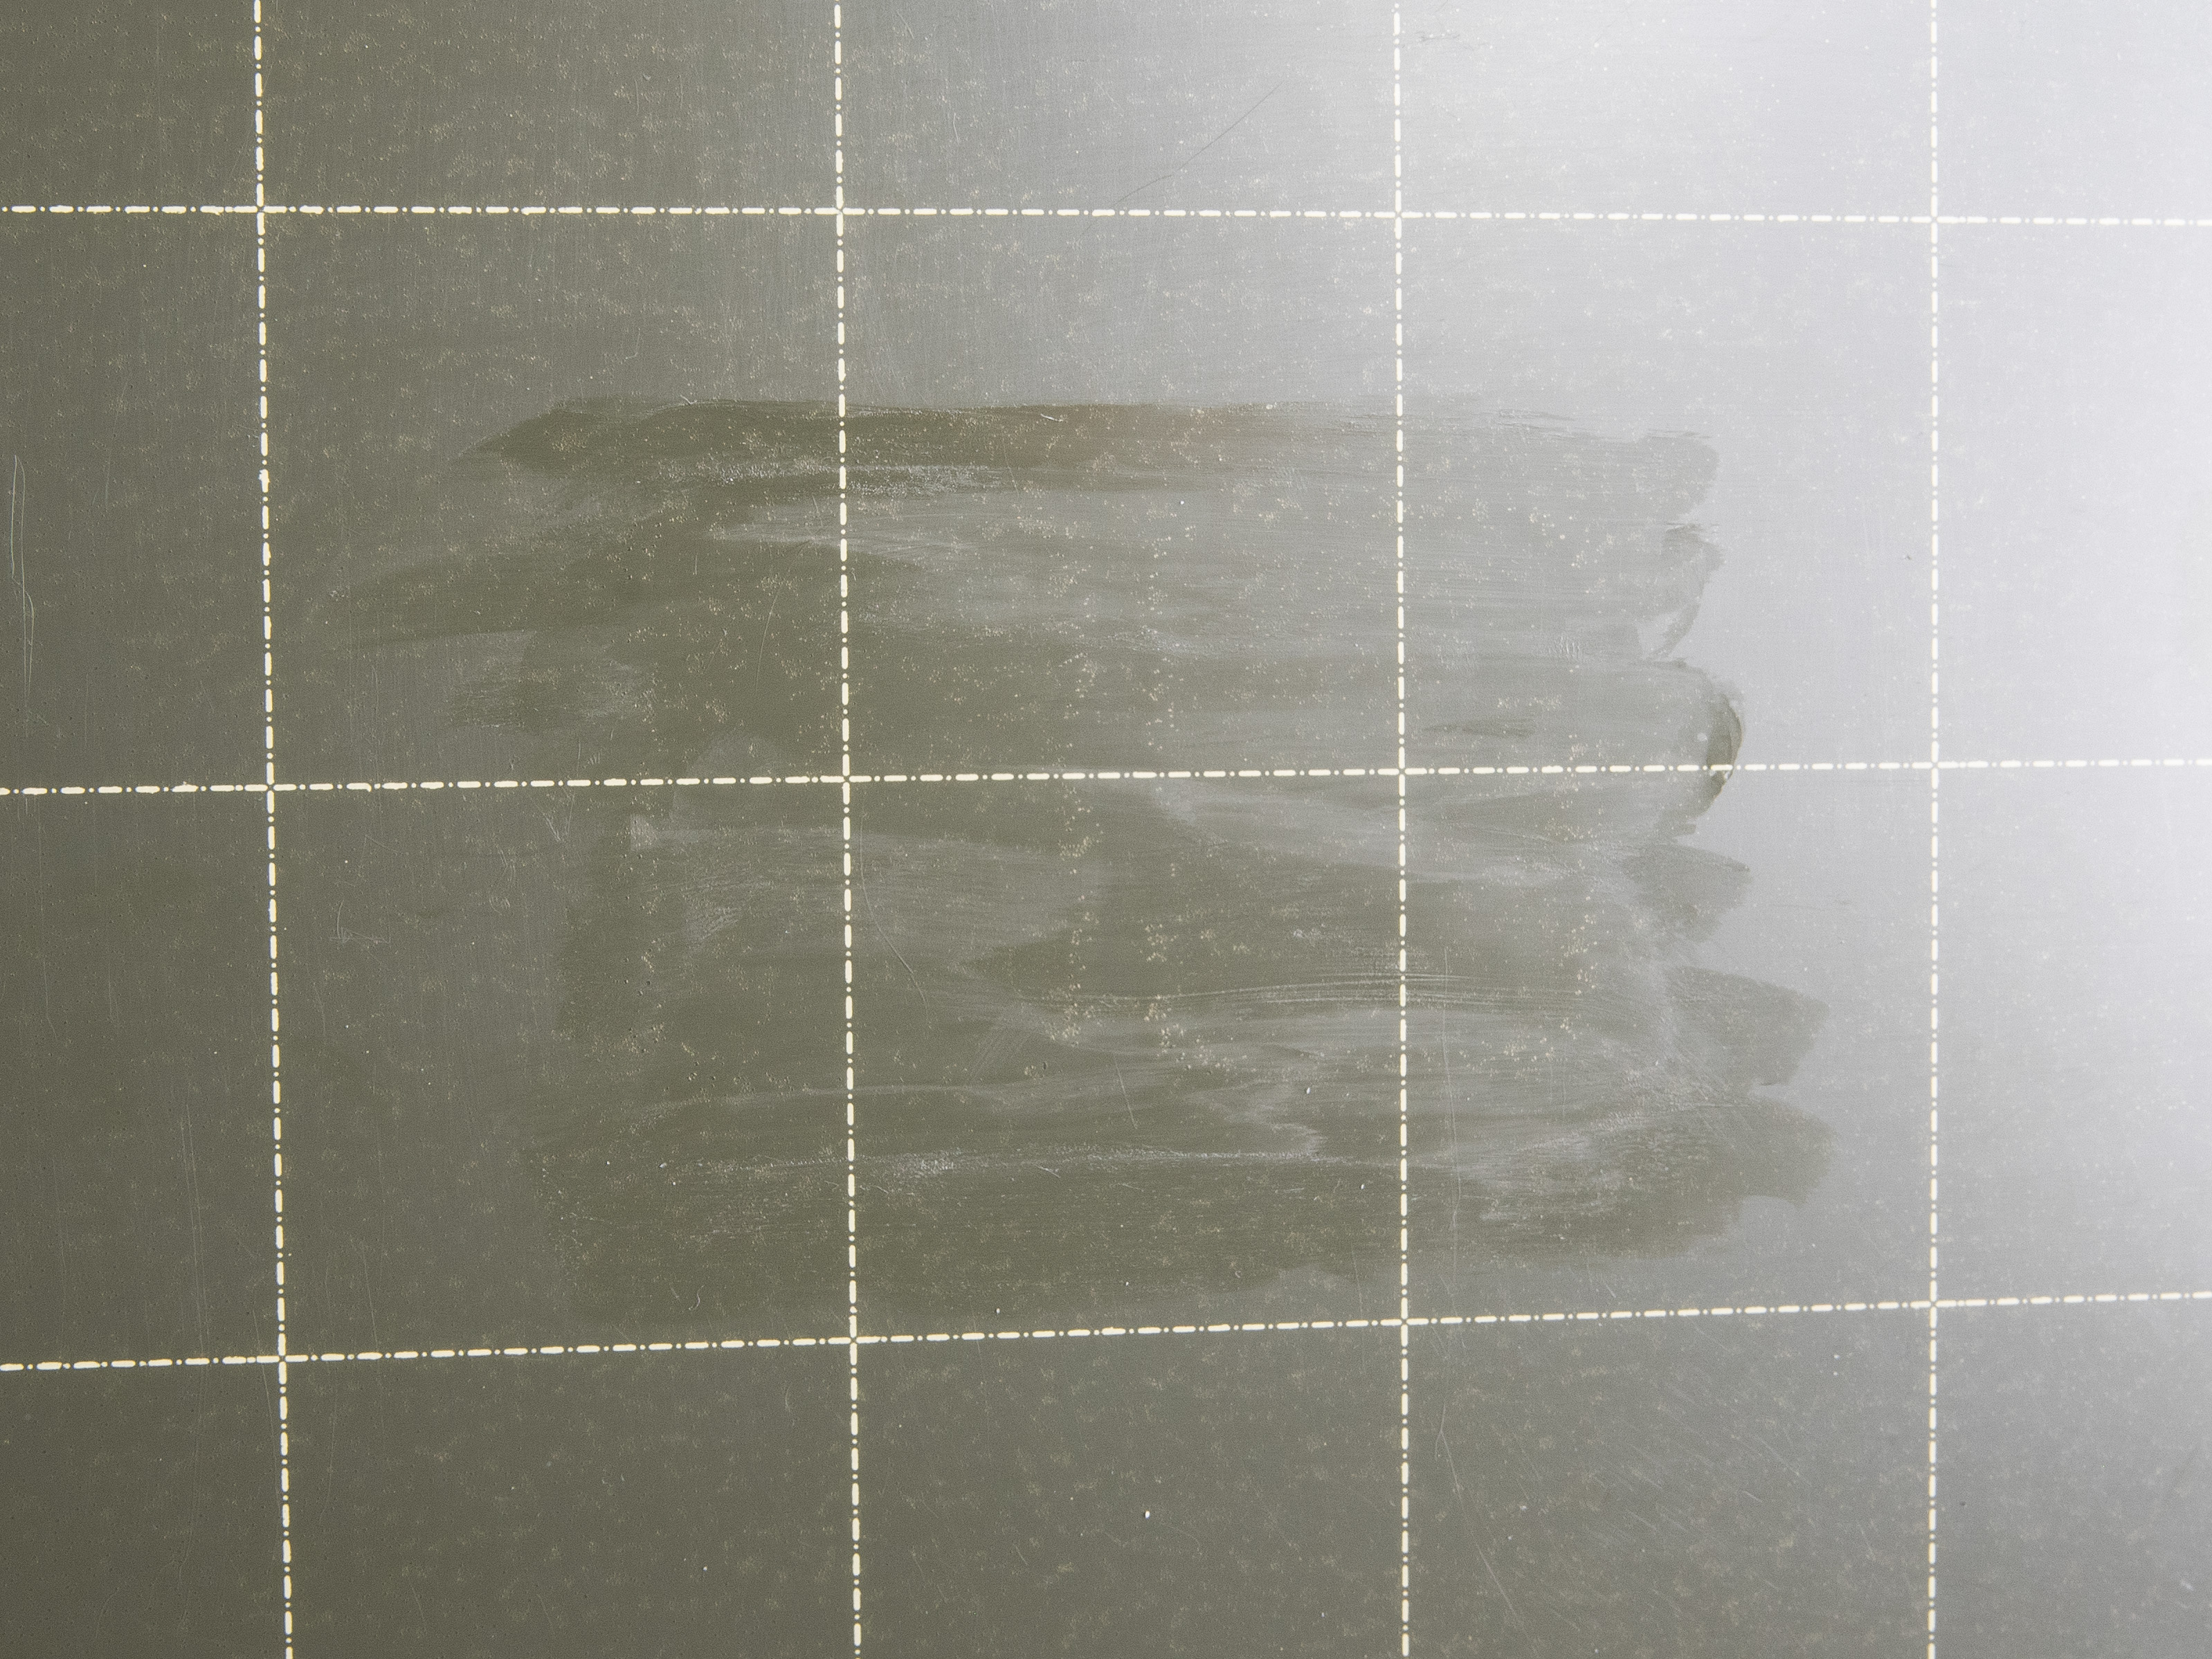
                  Tip: If you use the smooth print sheet, use the grid to guess the print size and position, then spread the glue only under the 3D print. You don’t need to spread the glue all over the whole sheet.

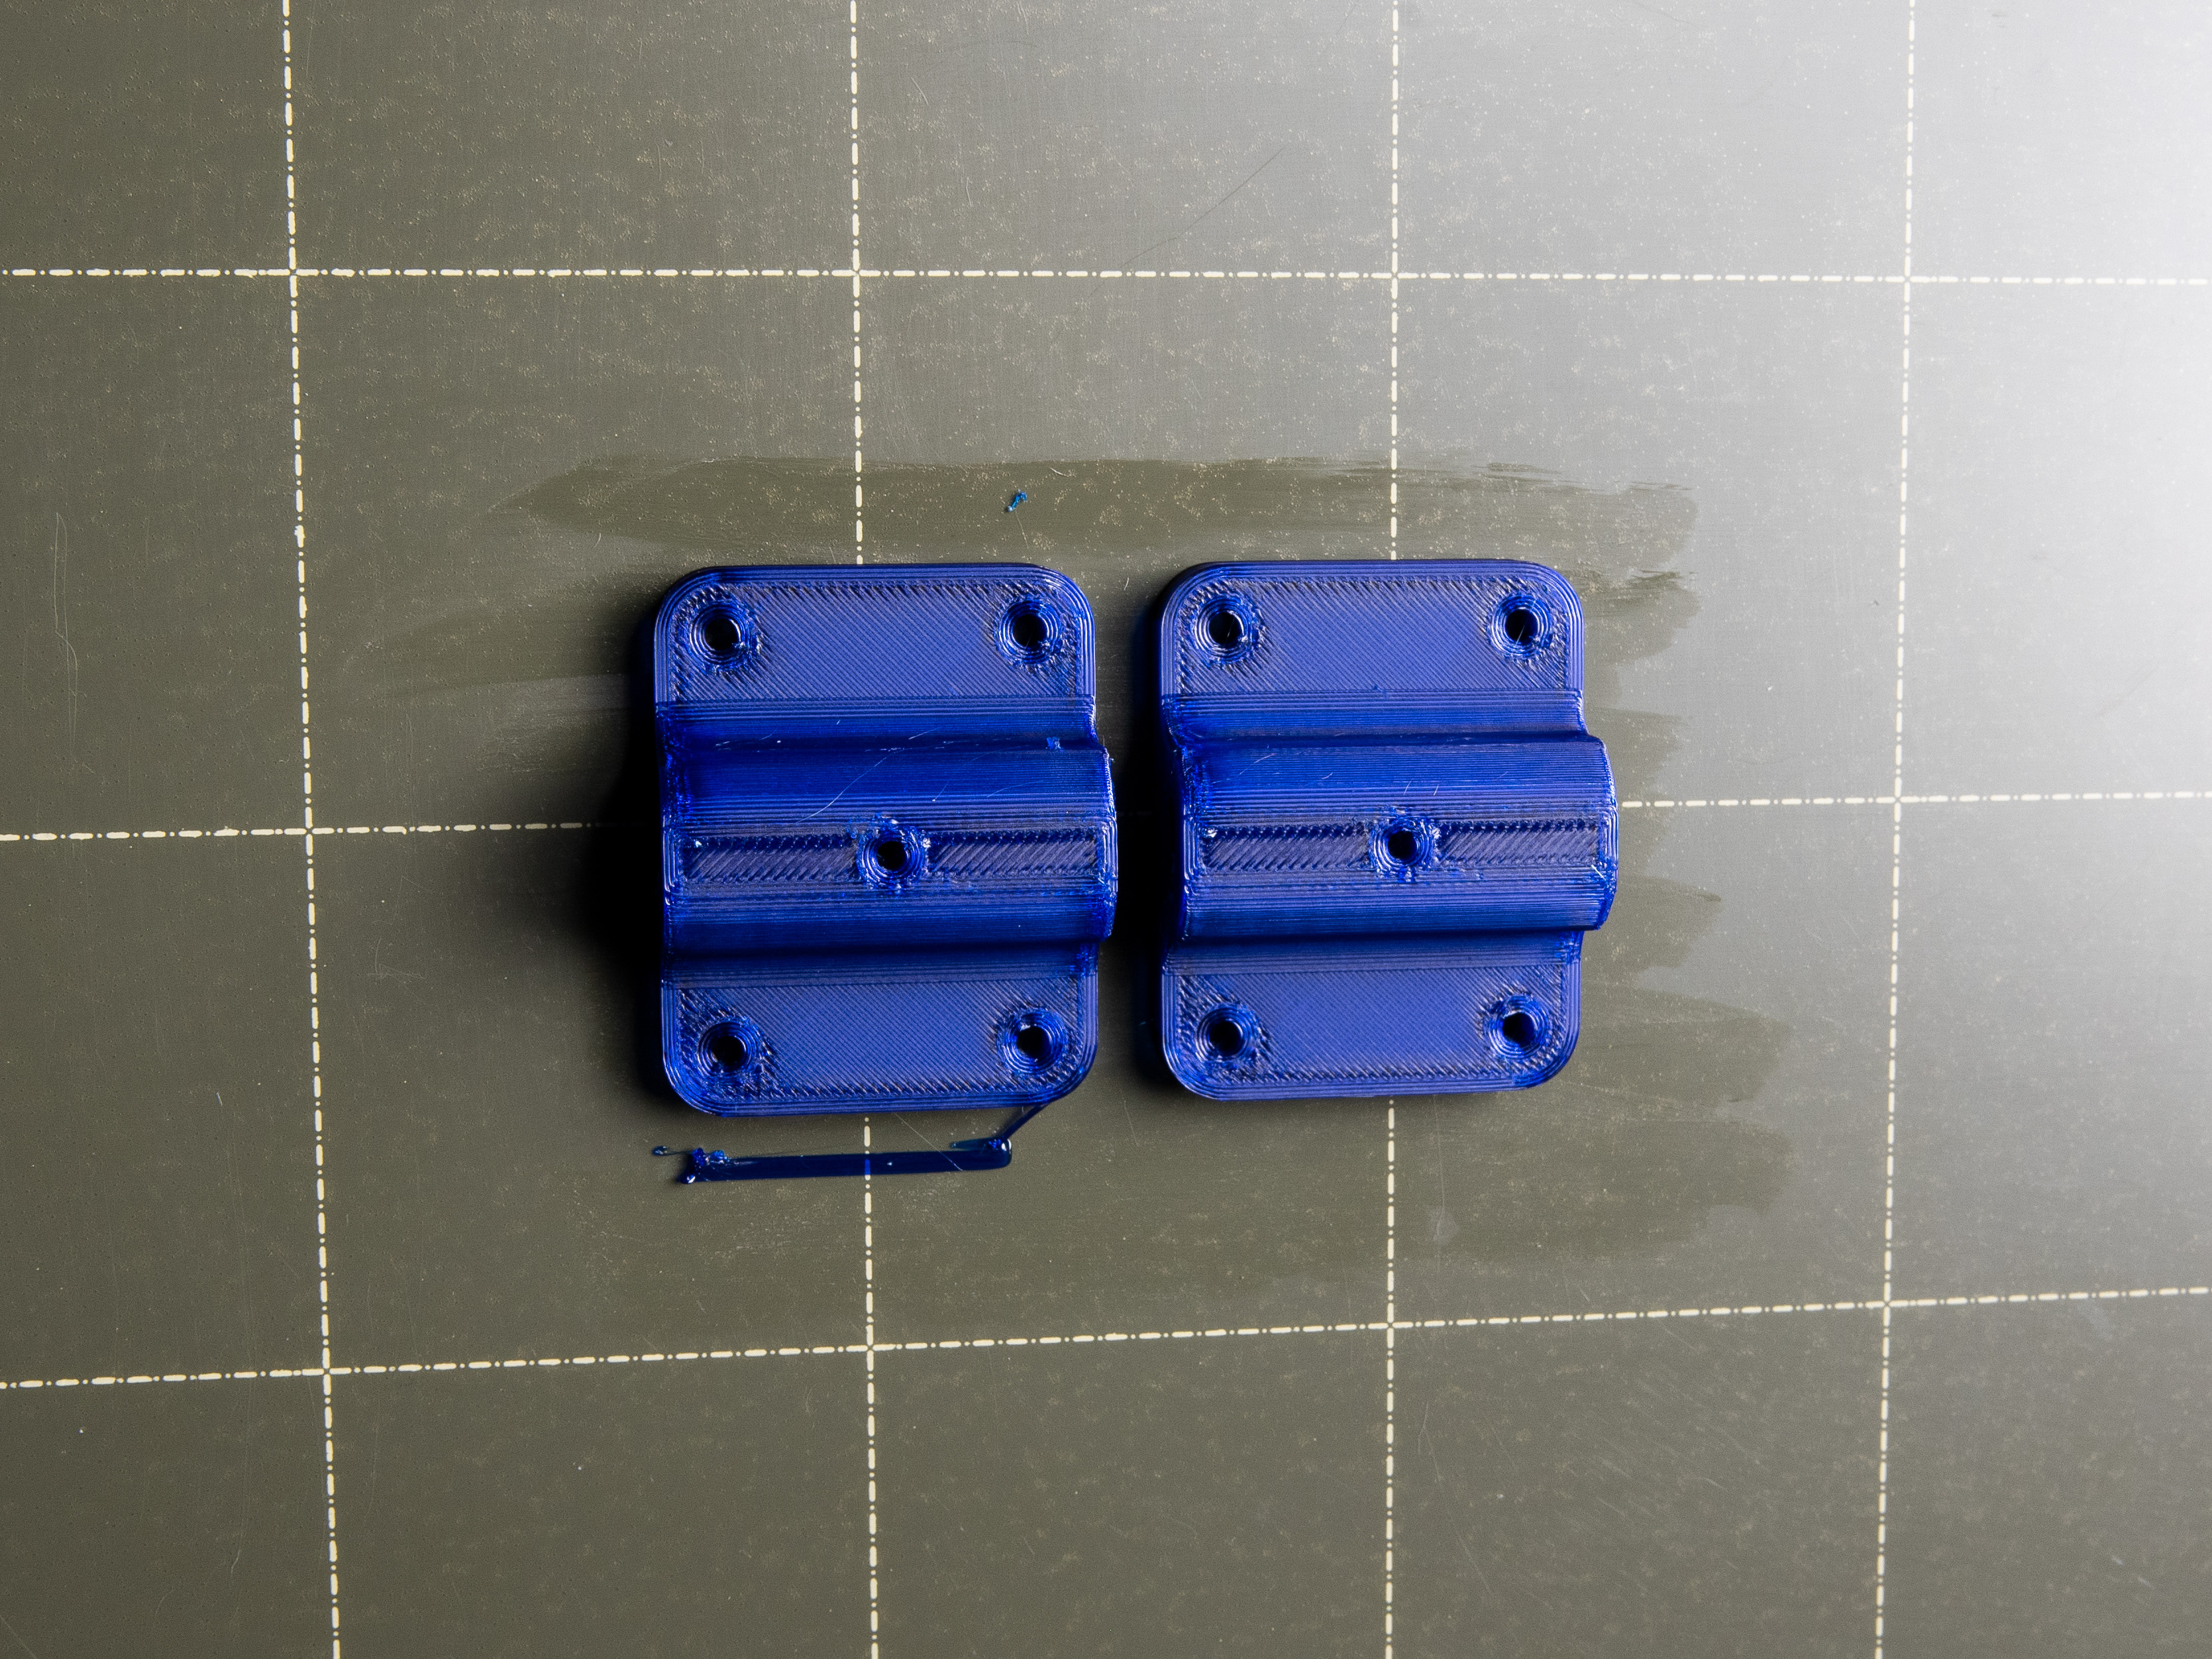
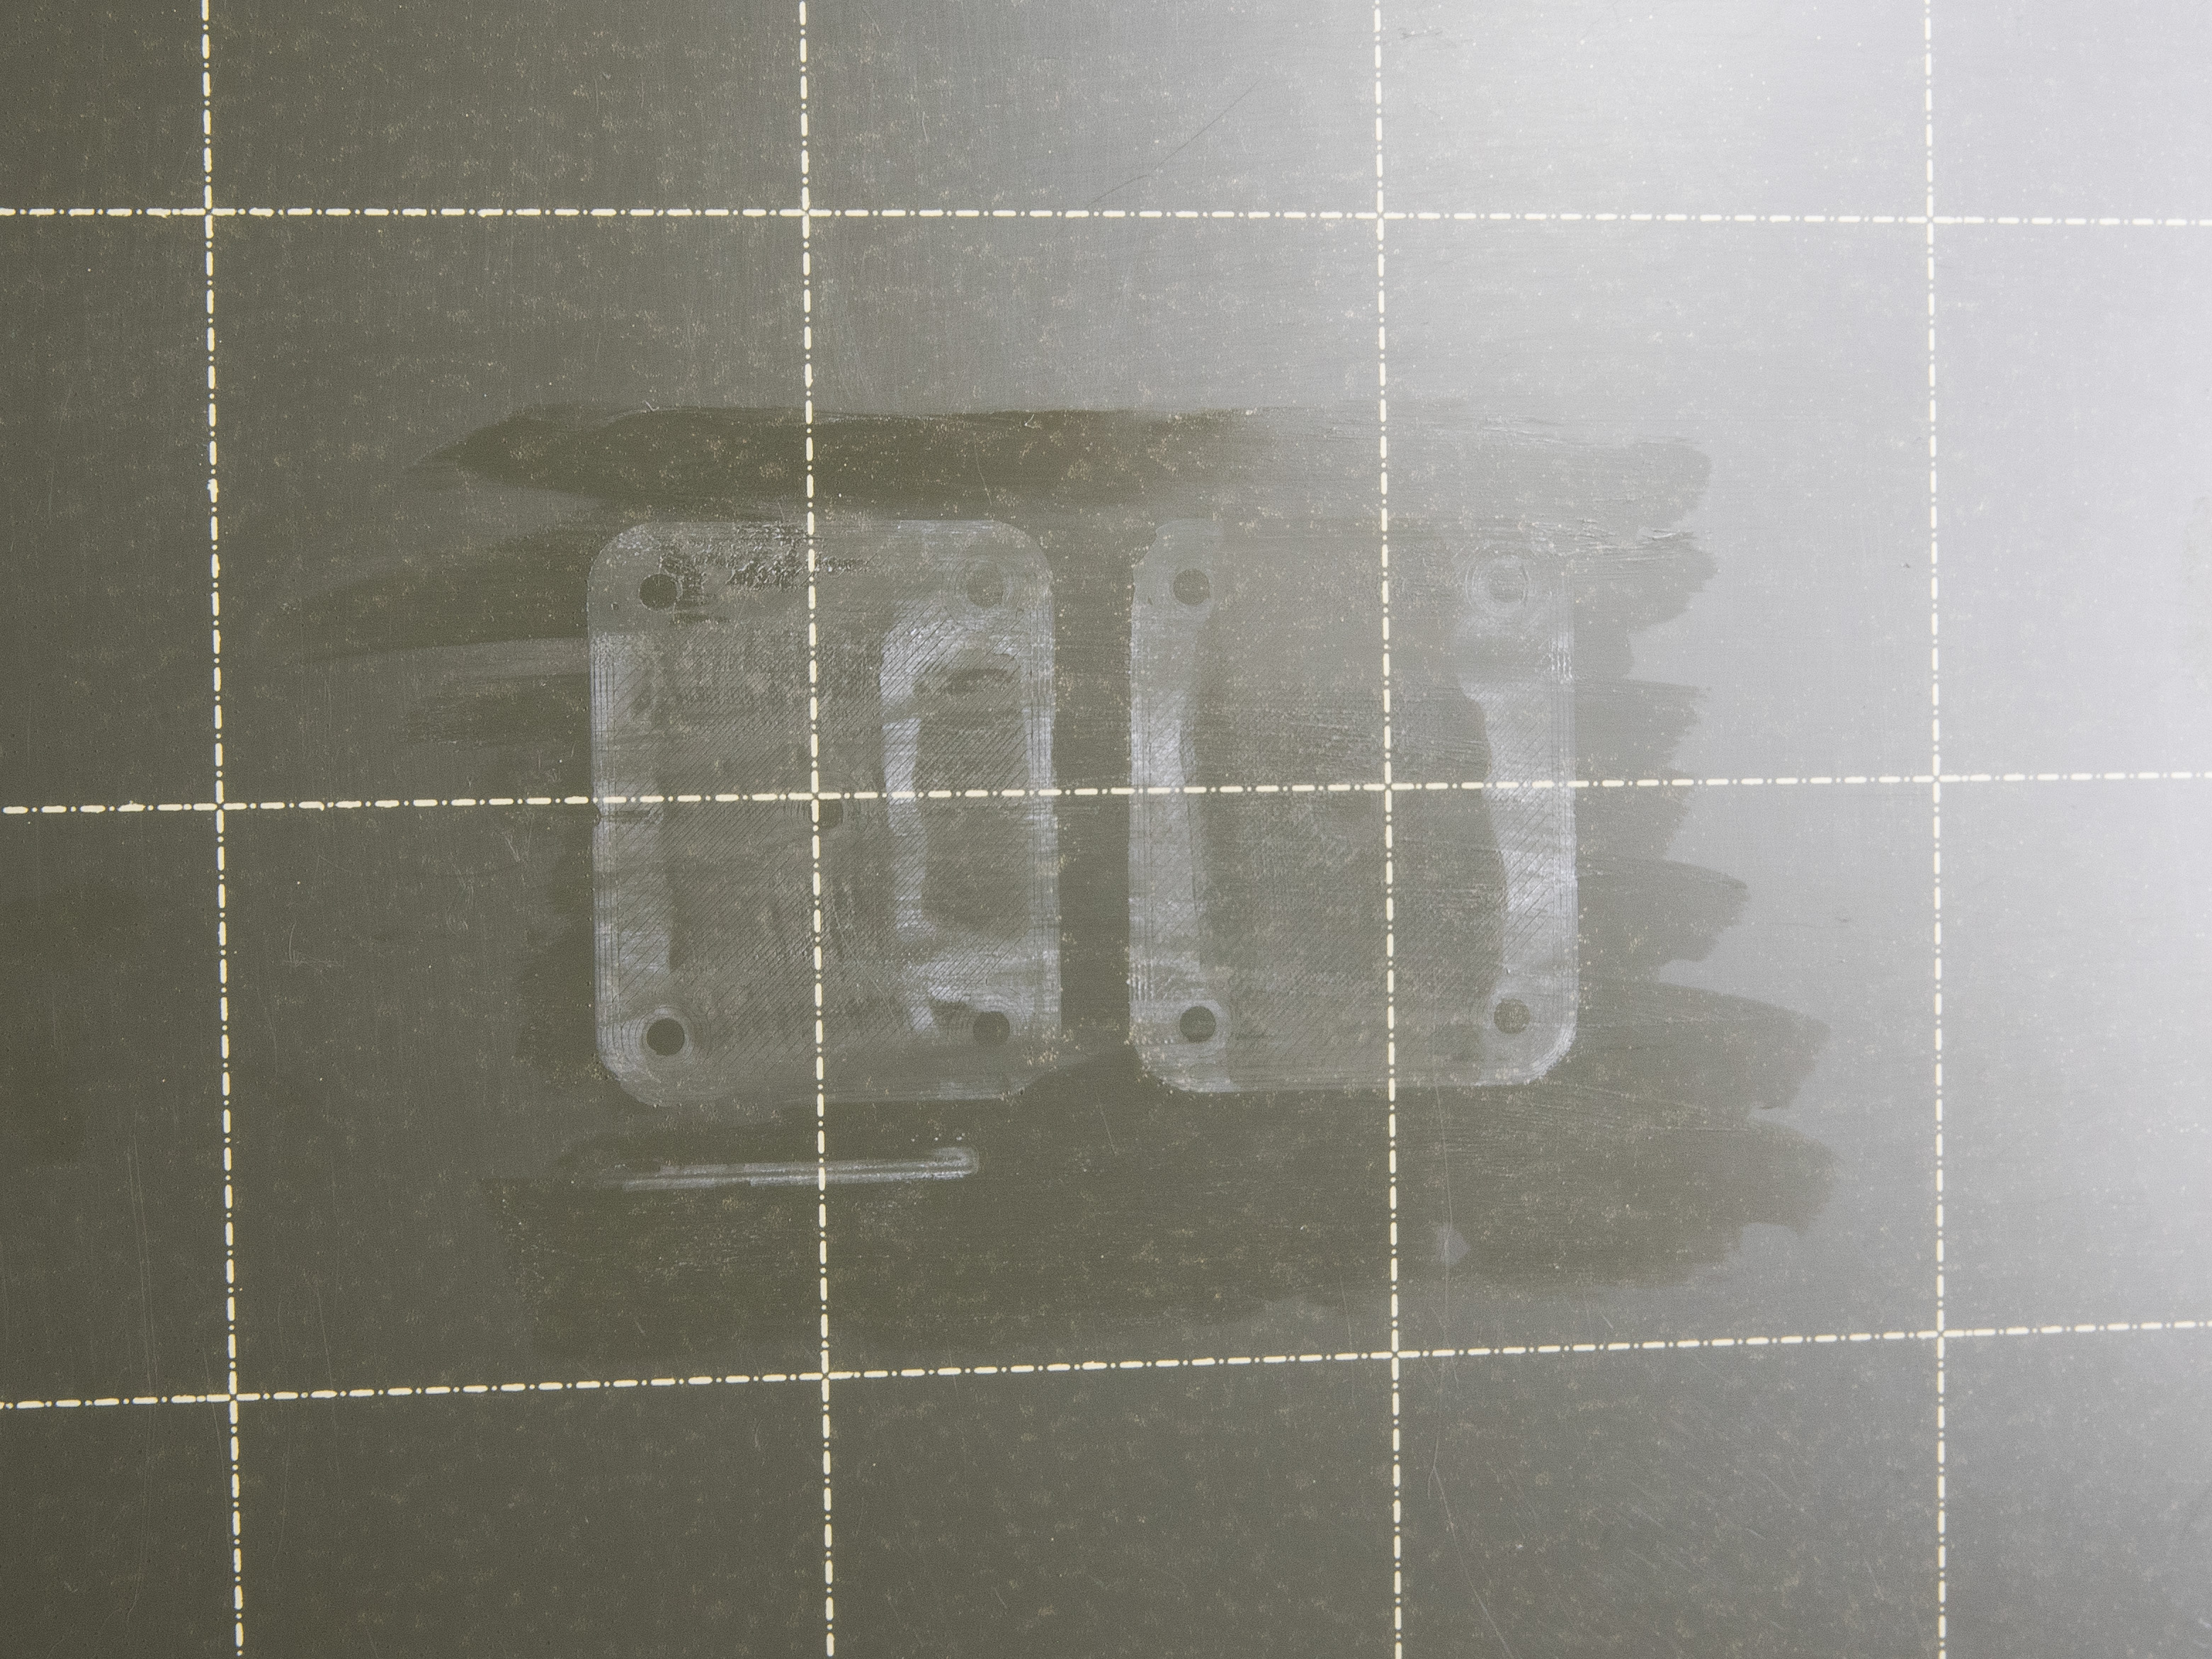
                  PVA glue separation layer, 3D printed PETG parts, and marks left after removing the print. Note that these marks are normal as they are only on a PVA glue layer and not on the print sheet surface. These marks disappear with the glue after washing.

                  Finally, the PP tape. You will most likely not use it, since it’s recommended only for printing PP (Polypropylene), which is quite rare material to print. However, you may decide to use some other tape - kapton tape, for example. For the best adhesion, it is recommended to use in combination with a smooth sheet, no matter which tape you are going to choose. The tape may leave some glue residuals after removing it from the print sheet surface. Usually, these can be washed with IPA or with water and dishwasher soap, but again, double-check the steel sheet maintenance articles before washing them.

                  If you decide to use other separation materials or adhesives, don’t forget to check compatibility with our print sheets. For example, ABS juice should not be used in combination with textured or satin sheets.

                  Removing the print

                  One last thing: always remove the prints by removing and bending the sheet only after they are cooled down. The print will go off easily without the necessity of using various spatulas, knives, or anything else.
                  Was this article helpful?
                  This action is available only to registered users. Please log-in.

                  Topics

                  • Using the printer
                    • Printer maintenance
                      • How to rebuild the Nextruder Hotend
                      • How to replace a hotend heatsink (MK4S / MK3.9S)
                      • Changing or replacing the Prusa Nozzle
                      • Installing or changing the Nextruder V6 Nozzle Adapter
                      • Changing or replacing the nozzle (MK2.5/S, MK3/S/+, MK3.5/S)
                      • i3 Printer Regular Maintenance
                      • Testing safety features (MK3/MK3S)
                      • How to update firmware (MK3S+/MK3S/MK3)
                      • How to remove a stripped screw
                      • SD cards and USB drives
                      • Adjusting belt tension (MK4/S, MK3.9/S, MK3.5/S, MK3/S/+)
                      • Hotend disassembly & heatbreak stuck in the heatsink
                      • Removing filament from extruder manually
                      • How to replace a hotend thermistor (MK3S/MK3S+)
                      • Checking/re-aligning the Bondtech gear (MK3.5/S, MK3S/+, MK2.5S)
                      • Firmware updating (MK2.5S/MK2S)
                      • How to replace a print fan (MK3S/MK3S+)
                      • How to replace a hotend (MK3S/MK3S+)
                      • How to replace an IR-sensor (MK3S/MK3S+)
                      • How to replace a P.I.N.D.A. sensor (MK3S)
                      • How to replace SuperPINDA (MK3S/MK3S+)
                      • How to replace bearings on the Y-axis (MK3S+)
                      • How to replace bearings on the X-axis (MK3S+)
                      • How to replace a hotend heater (MK3S/MK3S+)
                      • Community translations
                      • Filament Guide addon (MK4S/MK4)
                      • How to install the Nextruder V6 Nozzle Adapter (MK4/MK3.9)
                      • Regular printer maintenance (MK4/S, MK3.9/S)
                      • How to replace the Prusa Nozzle (MK4/MK3.9)
                      • How to replace Loveboard (MK4S/MK4/MK3.9S/MK3.9)
                      • How to replace the silver PSU with the black PSU
                      • How to replace a hotend heater (MK4/MK3.9)
                      • How to replace a hotend thermistor (MK4/MK3.9)
                      • How to replace a hotend fan (MK4 / MK3.9)
                      • How to replace the xBuddy board (MK4/MK3.9/MK3.5)
                      • How to replace a print fan (MK4 / MK3.9)
                      • How to replace a hotend assembly (MK4 / MK3.9)
                      • How to replace a Heatbed Thermistor (MK4/S, MK3.9/S, MK3.5/S)
                      • Print surface preparation
                      • How to replace a hotend heatsink (MK4 / MK3.9)
                      • How to replace xLCD (MK4/MK3.9/MK3.5)
                      • Regular printer maintenance (MK3.5/S)
                      • How to replace the Prusa Nozzle (MK4S/MK3.9S)
                      • How to use accelerometer (MK3.5/S)
                      • How to replace a hotend assembly (MK4S / MK3.9S)
                      • Changing or replacing the Nextruder Hotend
                      • How to install the Nextruder V6 Nozzle Adapter (MK4S/MK3.9S)
                      • Maintenance warning #31117 (CORE One) #26117 (MK4S) #13117 (MK4) #27117 (MK3.9S) #21117 (MK3.9) #28117 (MK3.5S) #23117 (MK3.5)
                      • How to replace a heatbreak/heatsink/heaterblock (MK3S+/MK3S/MK2.5S/MMU2S)
                      • How to trim PTFE tube - Multi Material
                      • How to replace a print fan (MK4S / MK3.9S)
                      • Cold pull (MK3/S/+, MK2.5/S, MK3.5/S)
                      • How to post-process the printed parts
                      • How to replace a heatbed thermistor (MK3S+/MK3S/MK2.5S/MK2S)
                      • How to replace PSU on MK3 printers
                      • How to replace a hotend PTFE tube (MK3S+/MK3S/MK2.5S/MMU2S)
                      • How to replace a hotend thermistor (MK2S)
                      • How to trim PTFE tube - Original Prusa printers
                      • Maintenance tips
                      • Replacing the PEI sheet on the (MK3S/MK3/MK2.5S/MK2.5)
                      • MK3 Series Hotend Guide
                    • 3D models
                    • Material guide
                    • Slicing
                    • Prusa Connect & PrusaLink

                  4 comments

                  Log in  to post a comment
                  cpotter485
                  •
                  One additional danger with glue sticks is that you can leave gaps in the glue. For that reason, I apply glue only moderately thick, then use a wet sponge to spread it around. (wetter than damp but not so wet as to leave visible drops) You can get the glue thin and very uniform that way. Just wait a bit for it to dry thoroughly before printing.
                  Reply
                  Harris
                  •
                  I read a lot about using glue (sticks) but no real guidance on how that's done. It seems to me that just wiping a glue stick on the sheet is going to leave lines that will badly affect print quality. Is there a way of smoothing the glue? Or can liquid PVA glue (supplied for DIY woodwork) be used? Maybe diluted with a bit of water so it goes on smooth?
                  Reply
                  RockRider215
                  •
                  I've just wiped a glue stick onto the sheet and can see no negative effect on the print quality. When I remove the print, I wash off any glue residue from the first layer, which looks perfect with hardly any signs of glue having been used.
                  Reply
                  Andy Smithers
                  •
                  Thank you. As a newcomer to 3D printing, (Prusa Mk4s kit, worked first time, best Meccano kit yet!) I’m already addicted. This material guide is really useful. Saving up for the enclosure now as my first two ABS prints both delaminated.
                  Reply
                  Avinash
                  •
                  Is there any reason to avoid using glue, perhaps for any specific material?
                  Reply
                  UjinDesign
                  •
                  I avoid using glue just because it leaves a unsightly bottom surface on the prints that you have to wash off. It just requires some quick washing with water, but I'd rather avoid it entirely.
                  Reply