
1. Begin assembly
Step 1 of 11 (Chapter 10 of 14)
Contents
Comments
Contents
Printer maintenance
- Filament Guide addon (MK4S/MK4)
- How to install the Nextruder V6 Nozzle Adapter (MK4/MK3.9)
- How to replace the Prusa Nozzle (MK4/MK3.9)
- How to replace Loveboard (MK4S/MK4/MK3.9S/MK3.9)
- How to replace the silver PSU with the black PSU
- How to replace a hotend heater (MK4/MK3.9)
- How to replace a hotend thermistor (MK4/MK3.9)
- How to replace a hotend fan (MK4 / MK3.9)
- How to replace the xBuddy board (MK4/MK3.9/MK3.5)
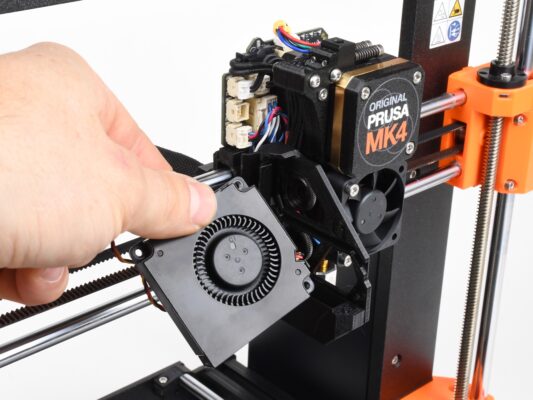
- How to replace a print fan (MK4 / MK3.9)
- How to replace a hotend assembly (MK4 / MK3.9)
- How to replace a Heatbed Thermistor (MK4/S, MK3.9/S, MK3.5/S)
- How to replace a hotend heatsink (MK4 / MK3.9)
- How to replace xLCD (MK4/MK3.9/MK3.5)
Comments
Log in to post a comment
No comments