Before you start printing, you should know that various materials have different adhesions on various surfaces. It is crucial to pick the right steel sheet for your printer and prepare its surface properly. This article is about the most common types of print surfaces and how to prepare them for printing.
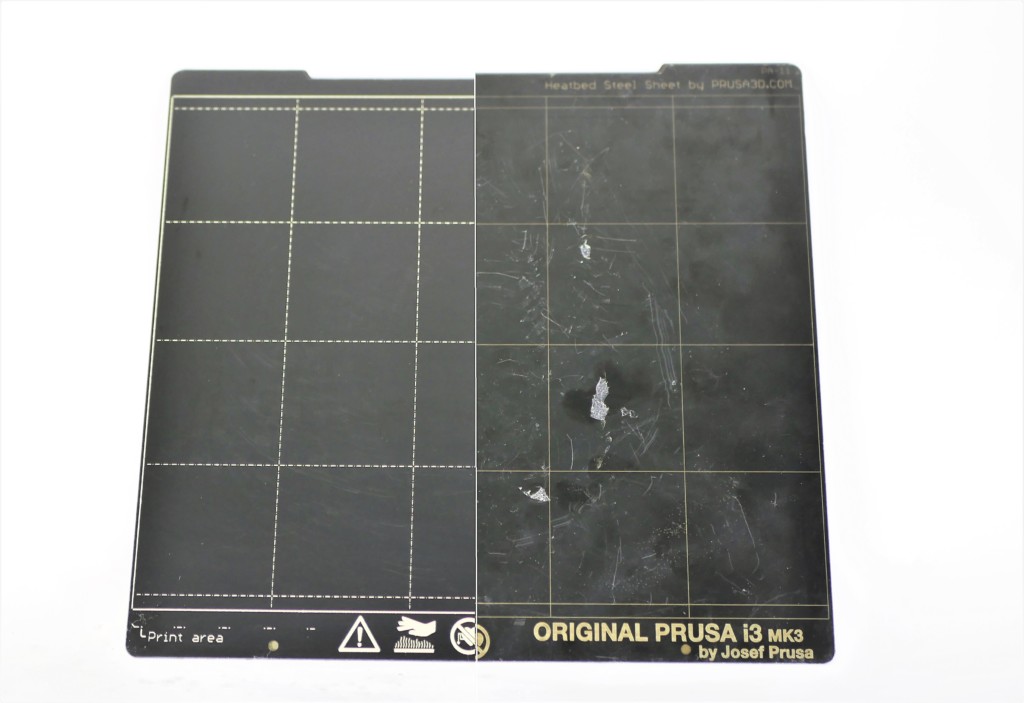
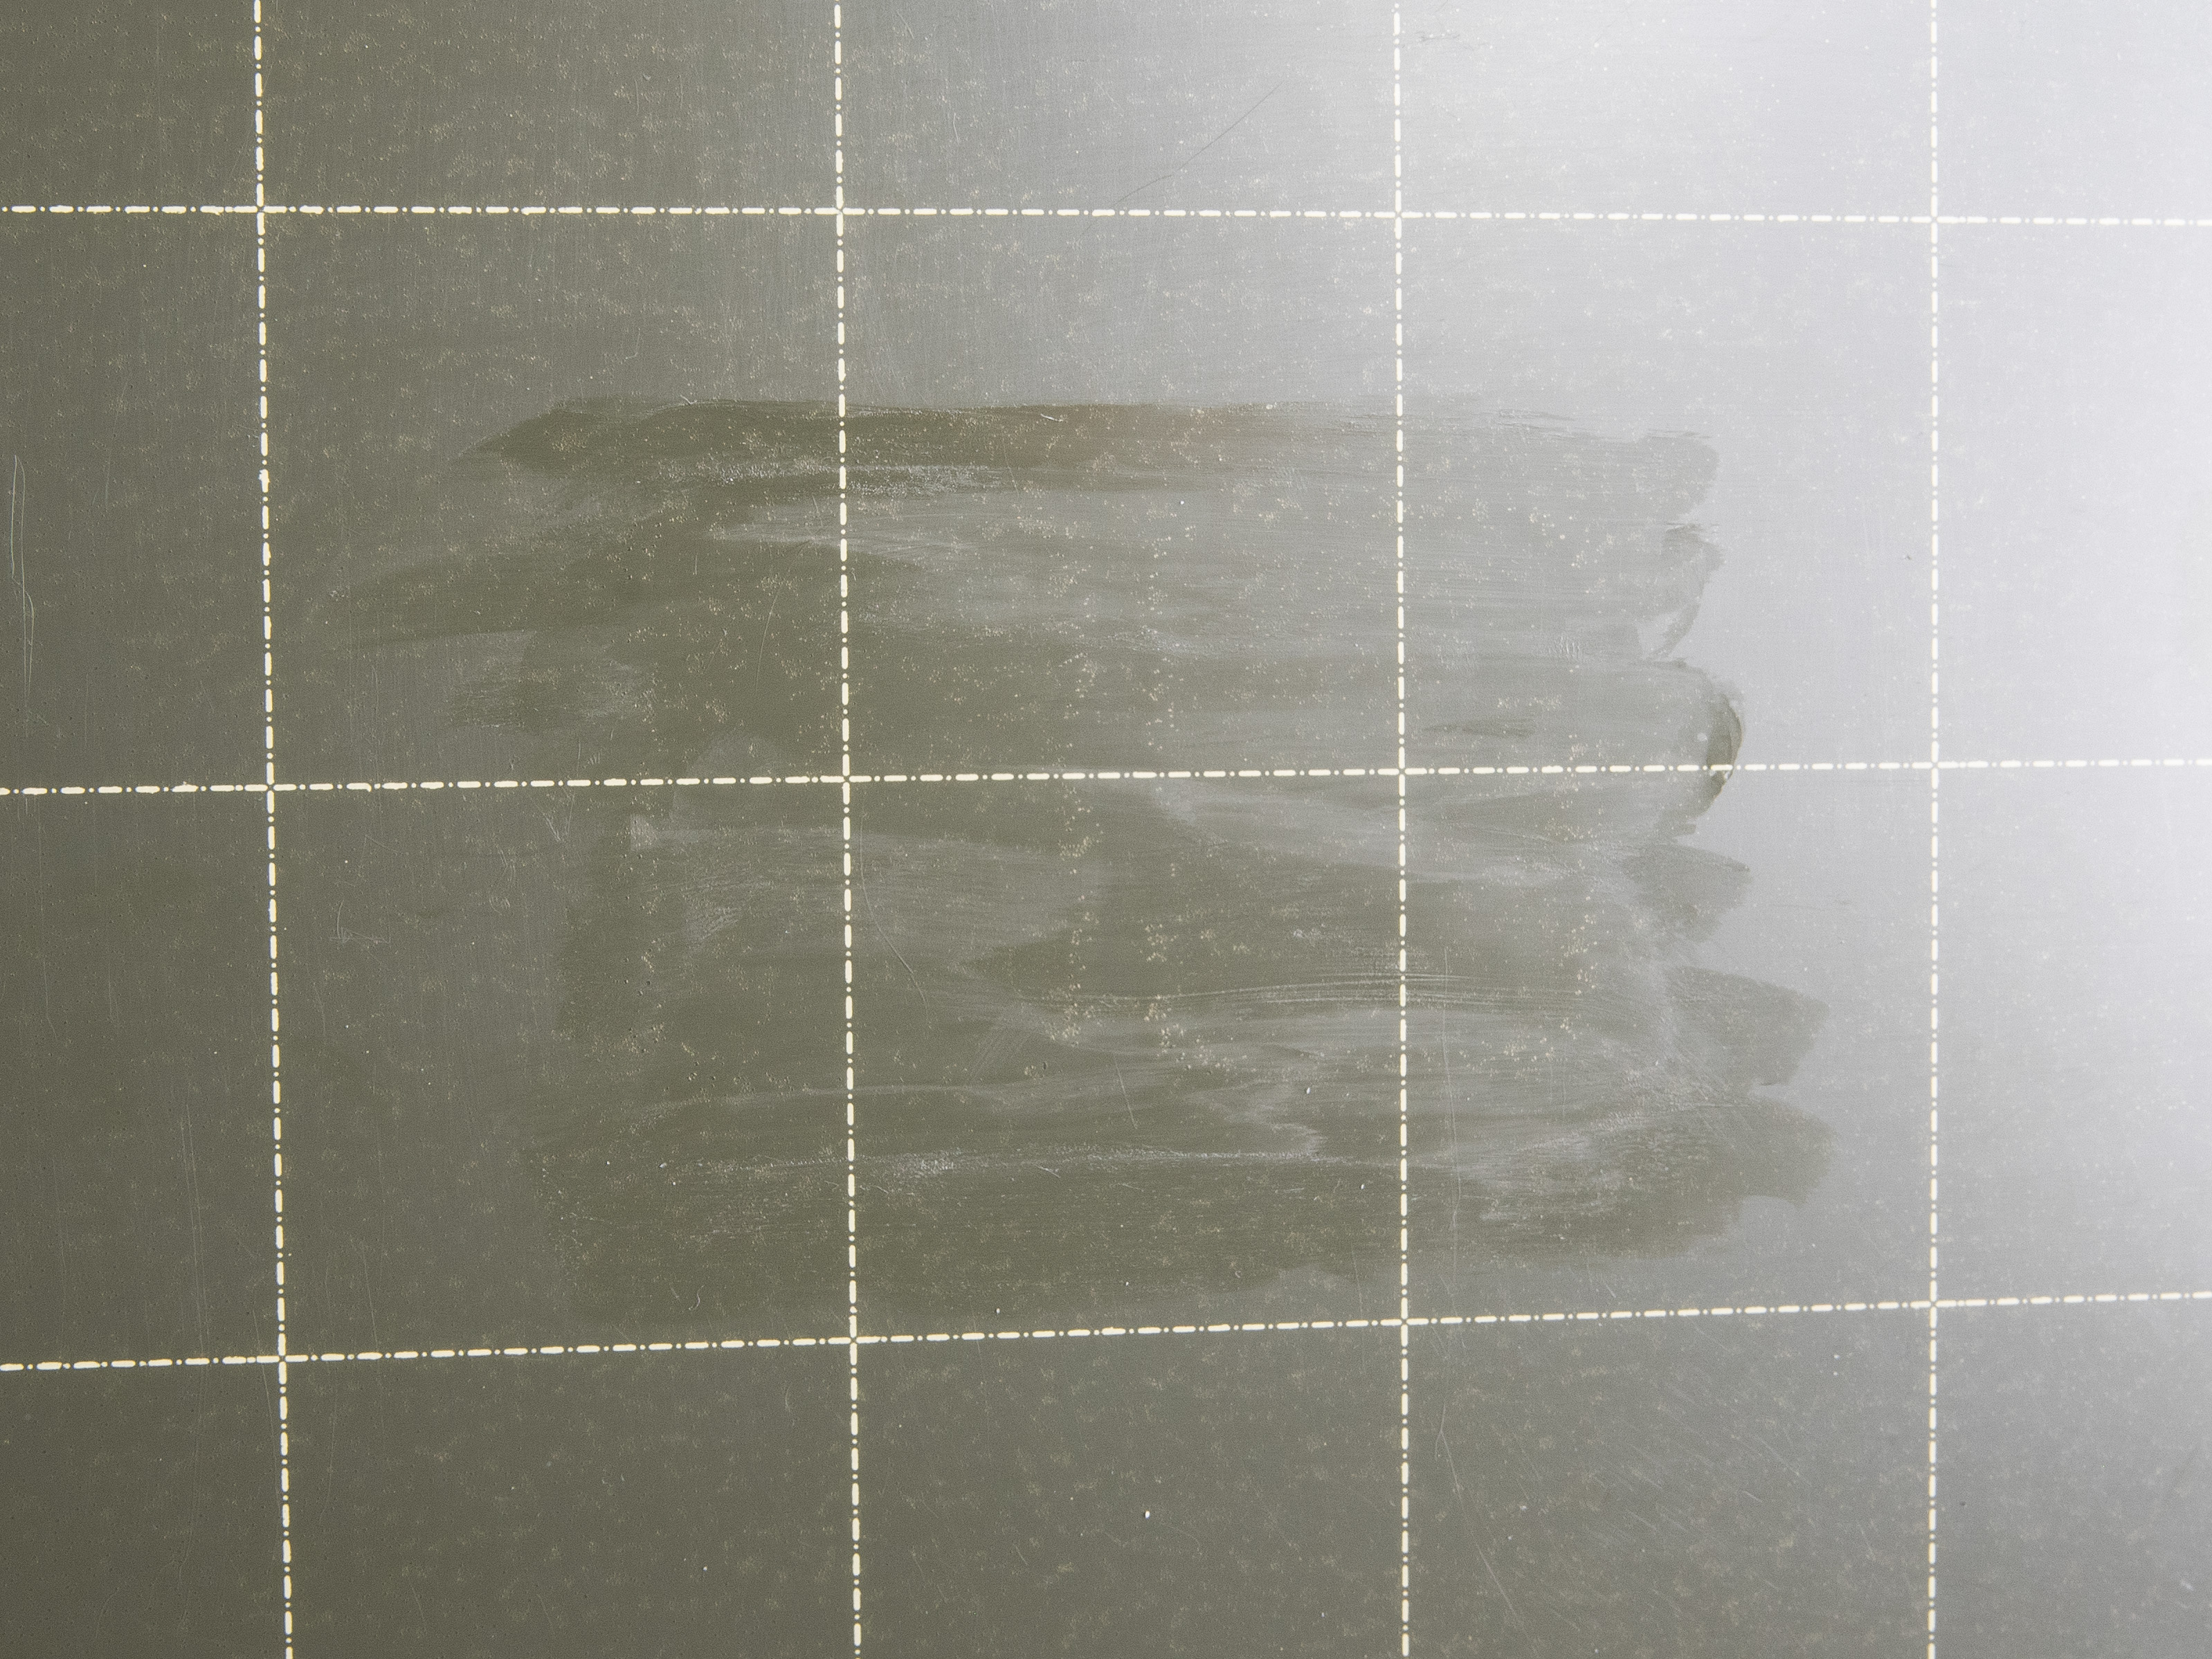
Steel sheet damaged by a PETG print
Choosing the right print sheet
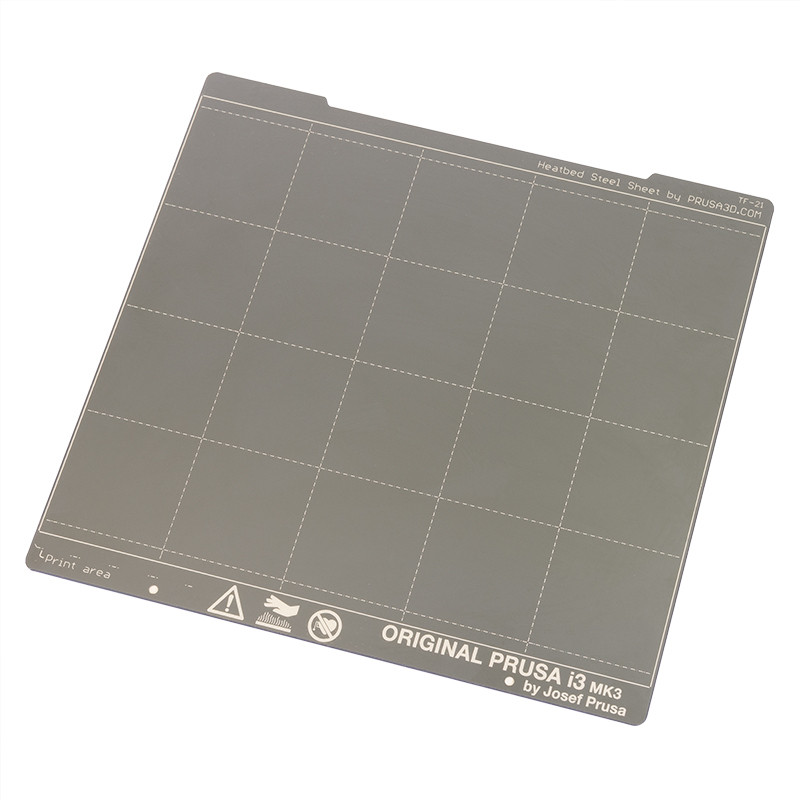
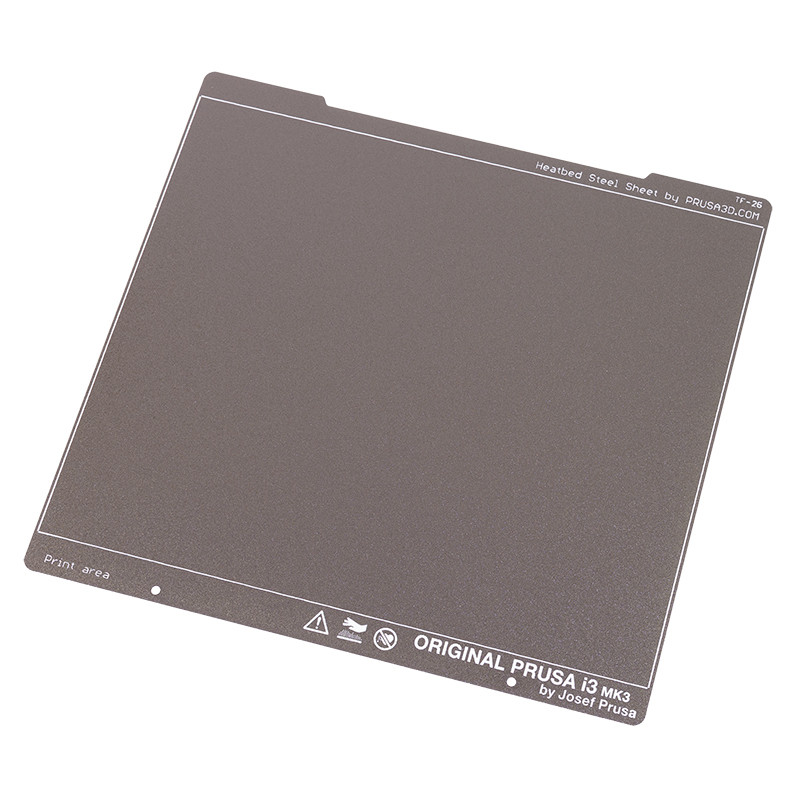
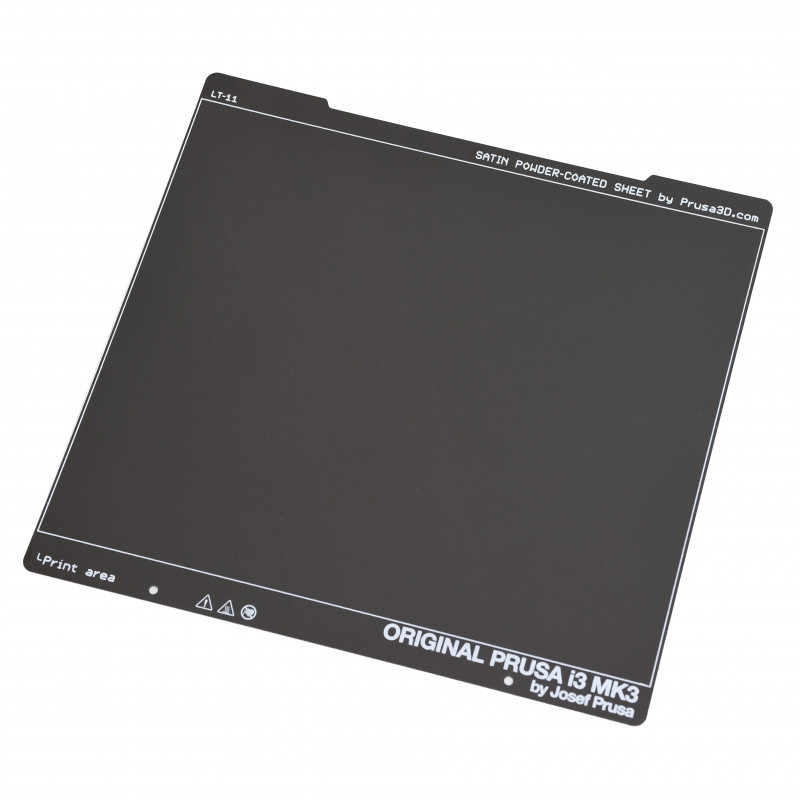
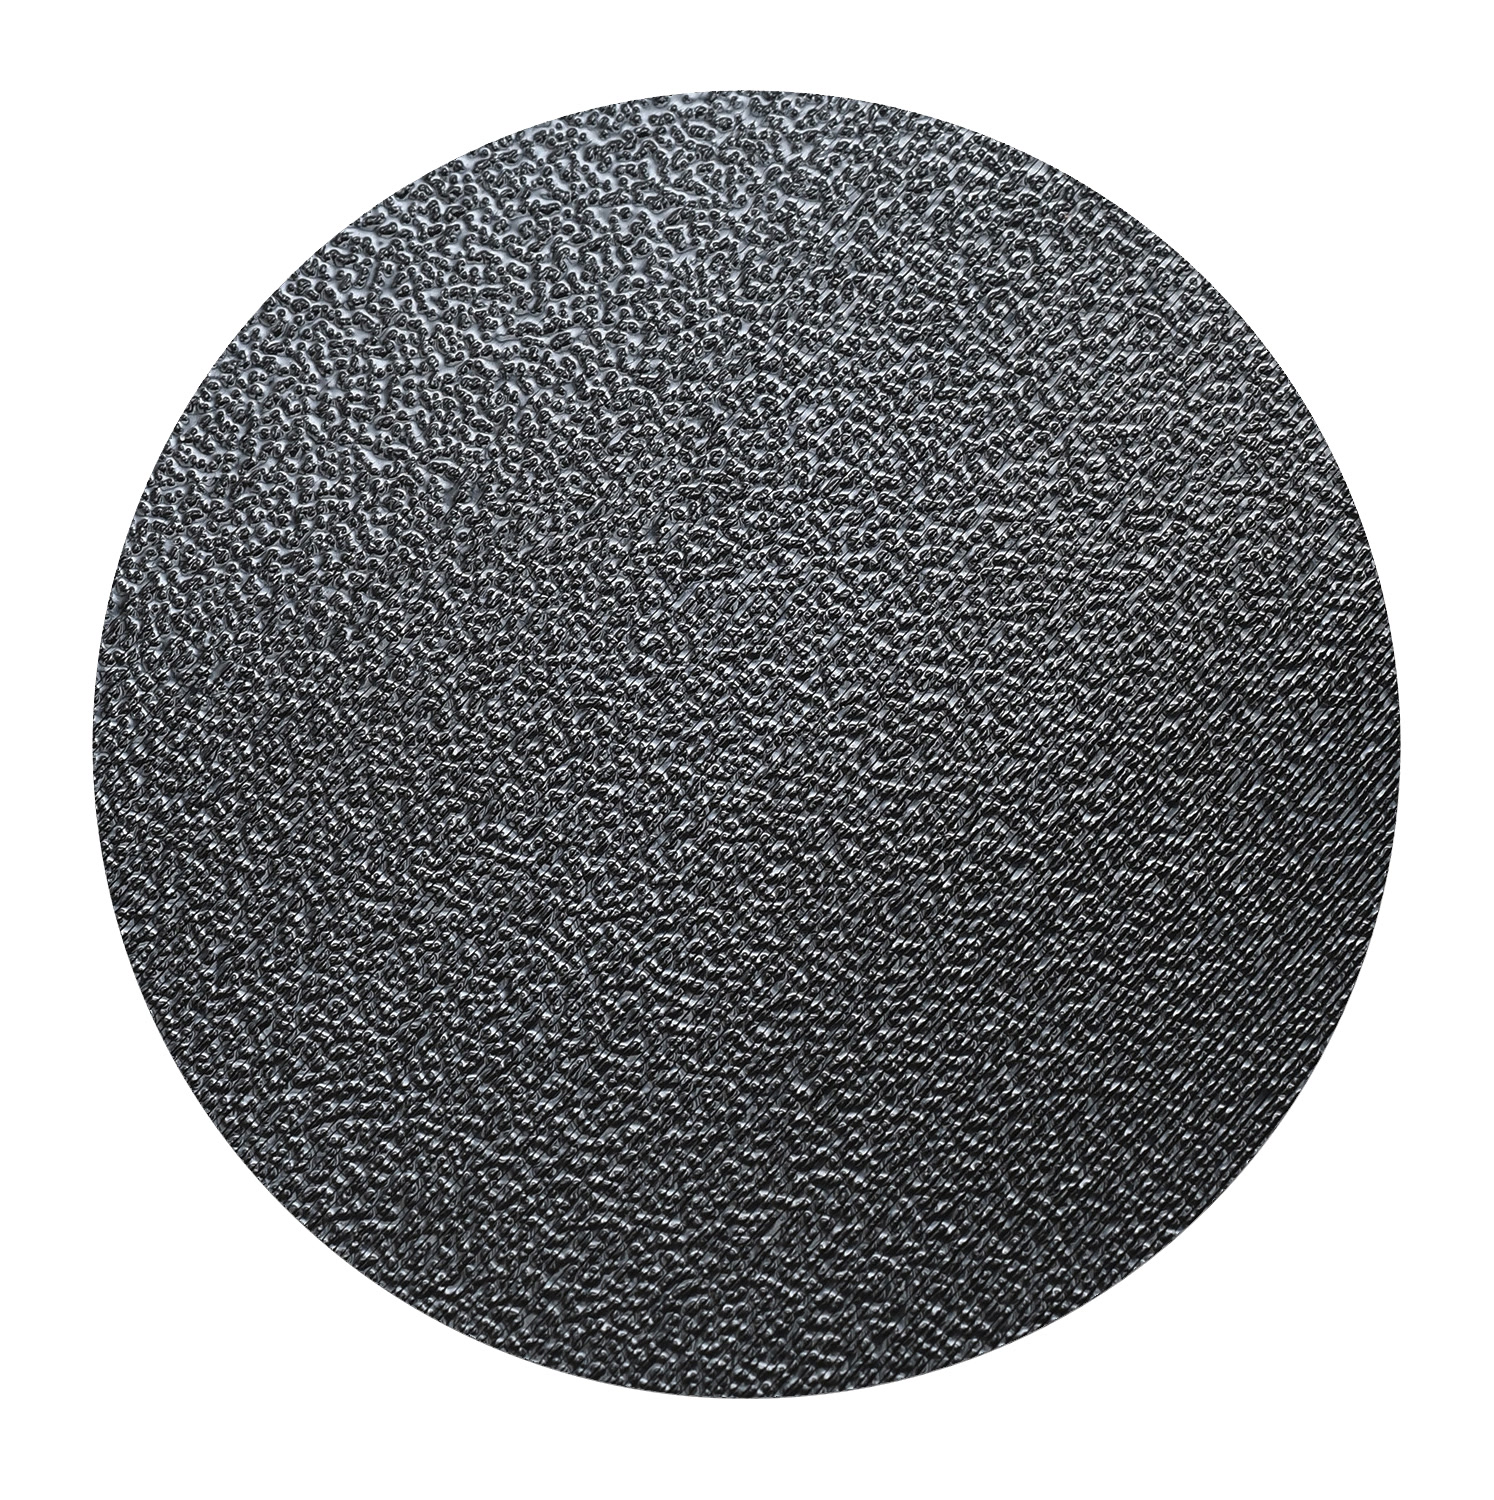
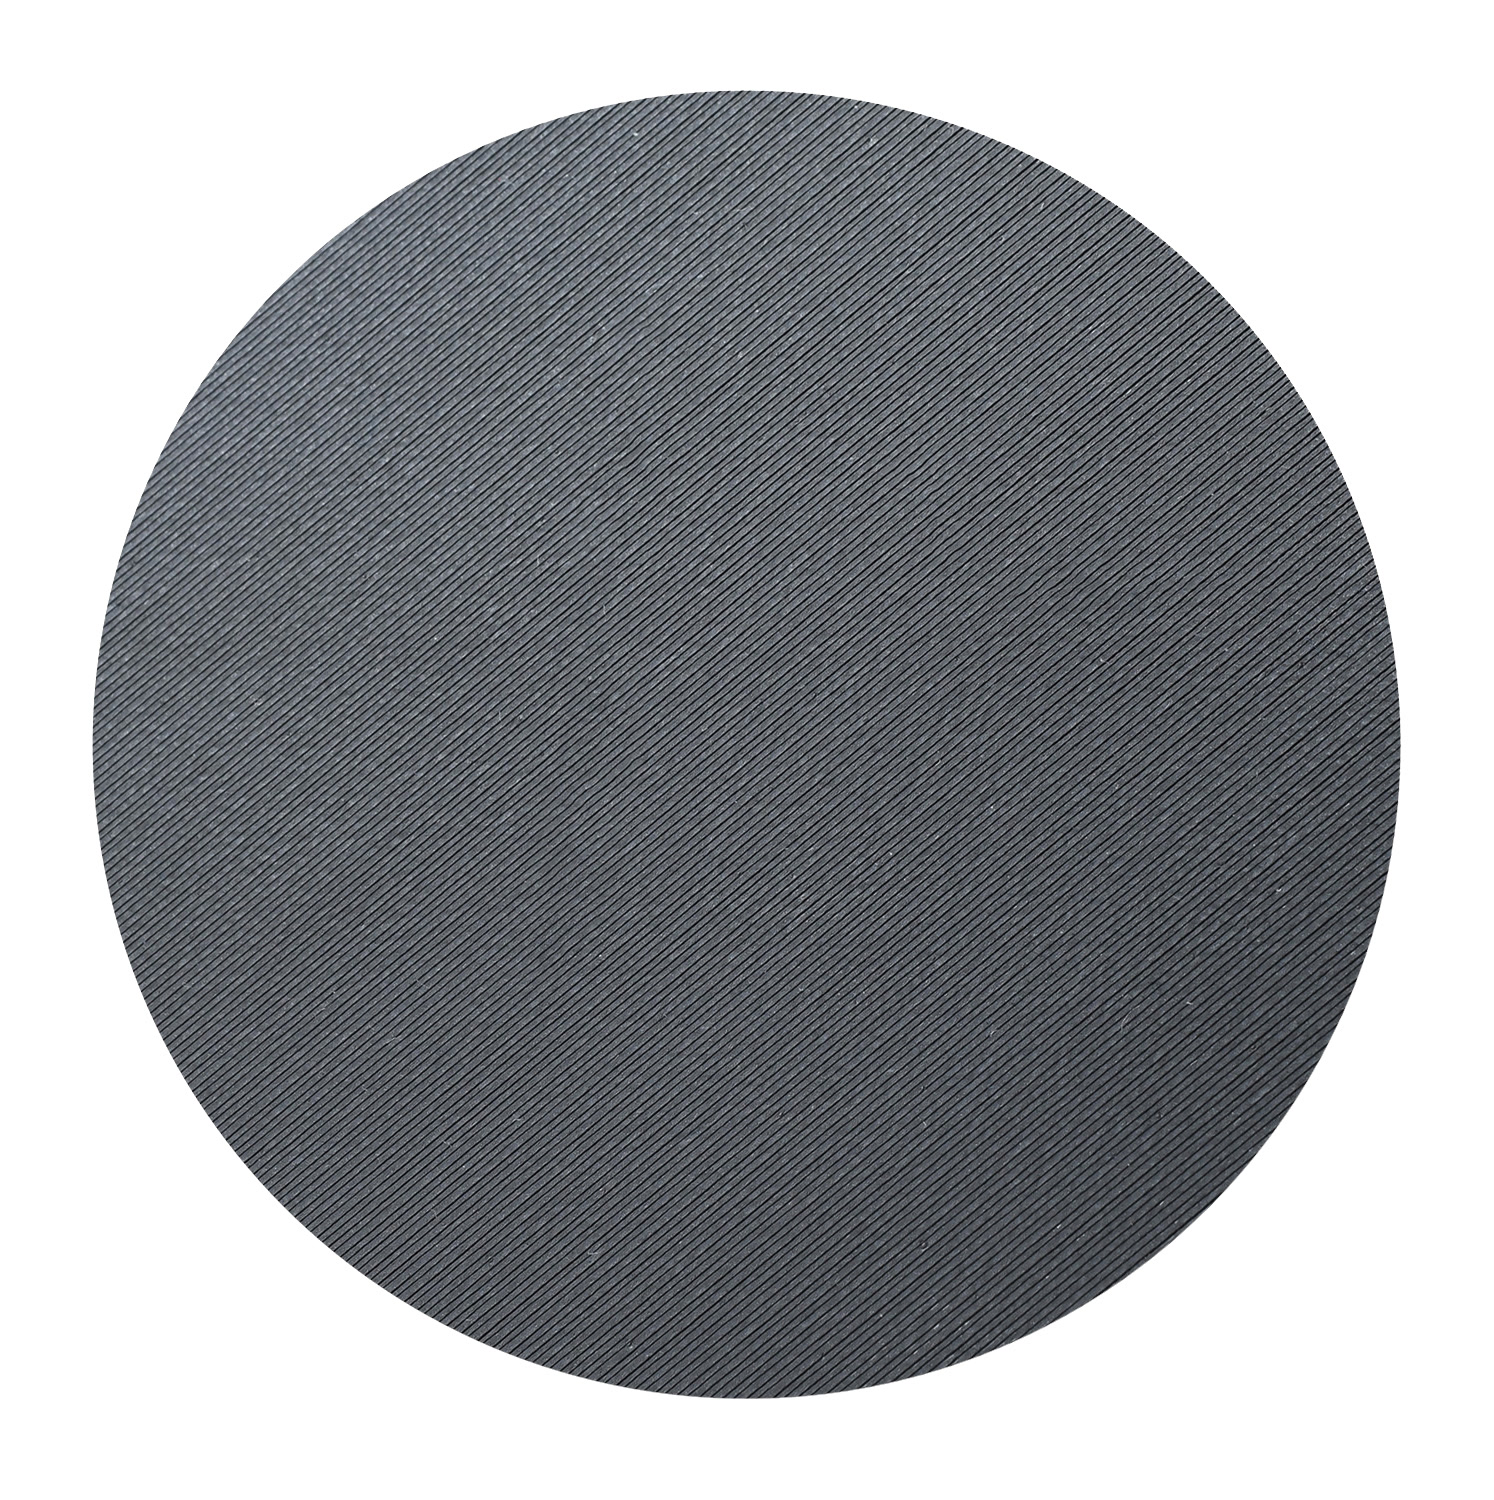
We offer 4 types of spring steel sheets, each has a different surface finish that leaves not only a specific texture on your print but also supports a variety of materials that can be printed on it.

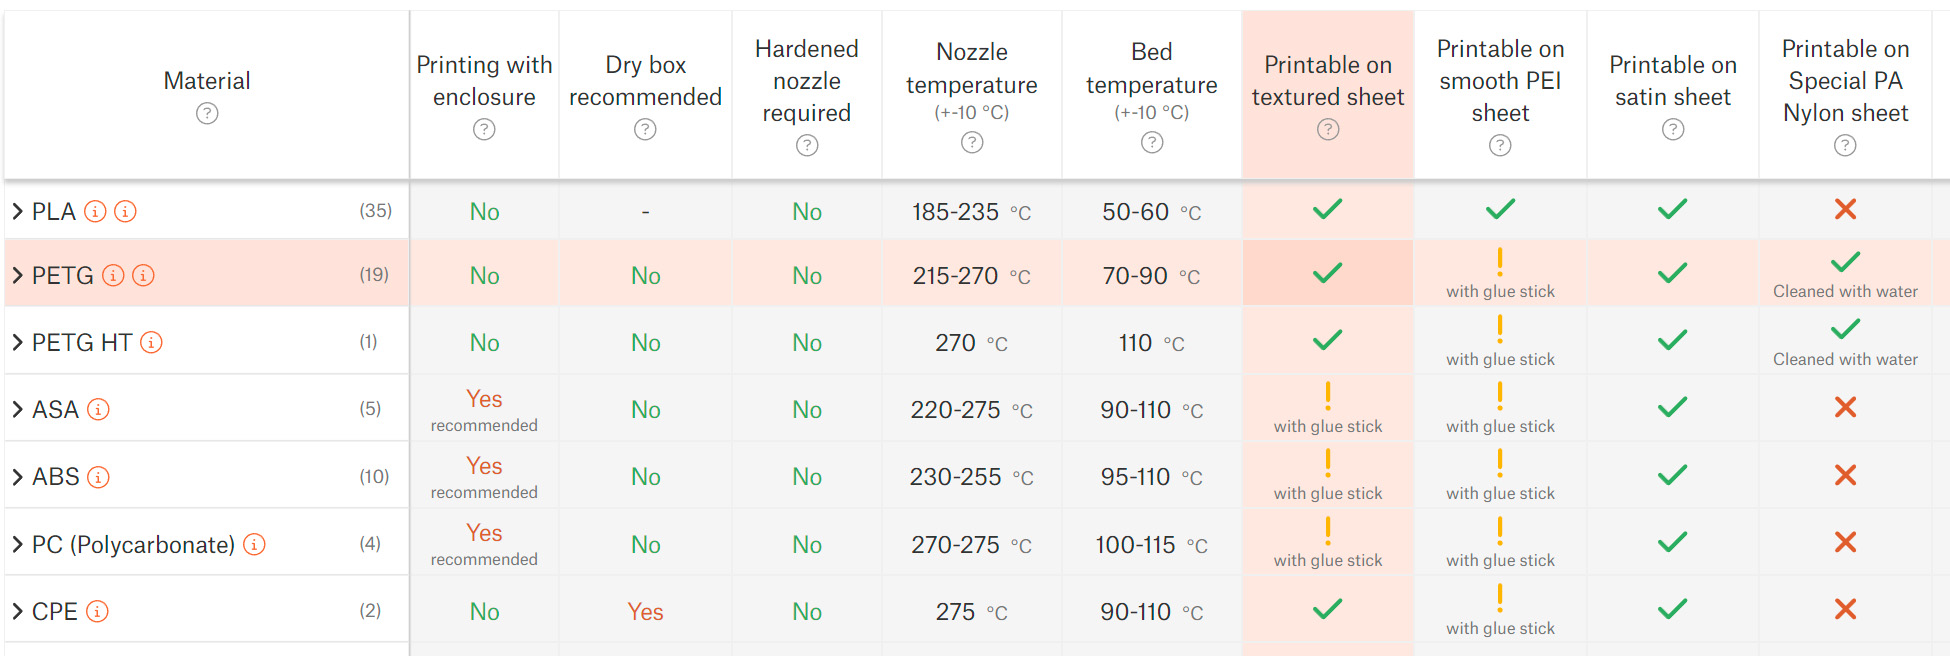
The best way to identify whether your sheet is suitable for the chosen material is by checking our Material table. If there’s a green check mark matching the selected sheet and material, you can simply degrease the print surface and you’re good to go. If there’s an exclamation mark, a separation layer of some sort is needed (see below). Failing to use the separation layer may lead to damaging your sheet!
Cleaning the print surface
This is an easy, yet crucial step you should perform before (almost) every print. We already described this in the 3D printing handbook and several other places but here’s a quick reminder:
Grease stains (fingerprints, etc.) often cause poor surface adhesion and, eventually, a print failure. To degrease the print sheet, spray some isopropyl alcohol (90% or stronger) or denatured ethyl alcohol on the cold print surface and wipe it with an unscented paper towel. Do not use any products for skin care: they usually contain oils that ruin adhesion!
Alright, the print surface is clean, now the final checklist (see the material table):
- Green check mark: Good to go!
- Yellow exclamation mark: Use a separation layer (see below).
- Red X: Do not print! The chosen material may damage your print sheet!
Using the most common separation layers
You may find various separation (or adhesive) layer materials on the market, some of those even in our e-shop. Every material has its benefits, but describing every single one of them is beyond the scope of this article. If you check our material table, you’ll find out that it all comes down to two most common separation layers: PVA glue stick and PP tape.
PVA (paper) glue is usually sold in the form of sticks that make the application easier. Usually, only a thin layer of glue is enough. Spreading a thick layer may leave various unsightly traces, bumps, and artifacts that will be imprinted onto your 3D print’s surface. However, if you want to print a mechanical part, where good looks are not as important as functionality and reliability, making the layer slightly thicker won’t hurt. Also, the PVA glue melts at relatively low temperatures, so we suggest applying it on a cold surface to avoid making an extra thick layer.
 | 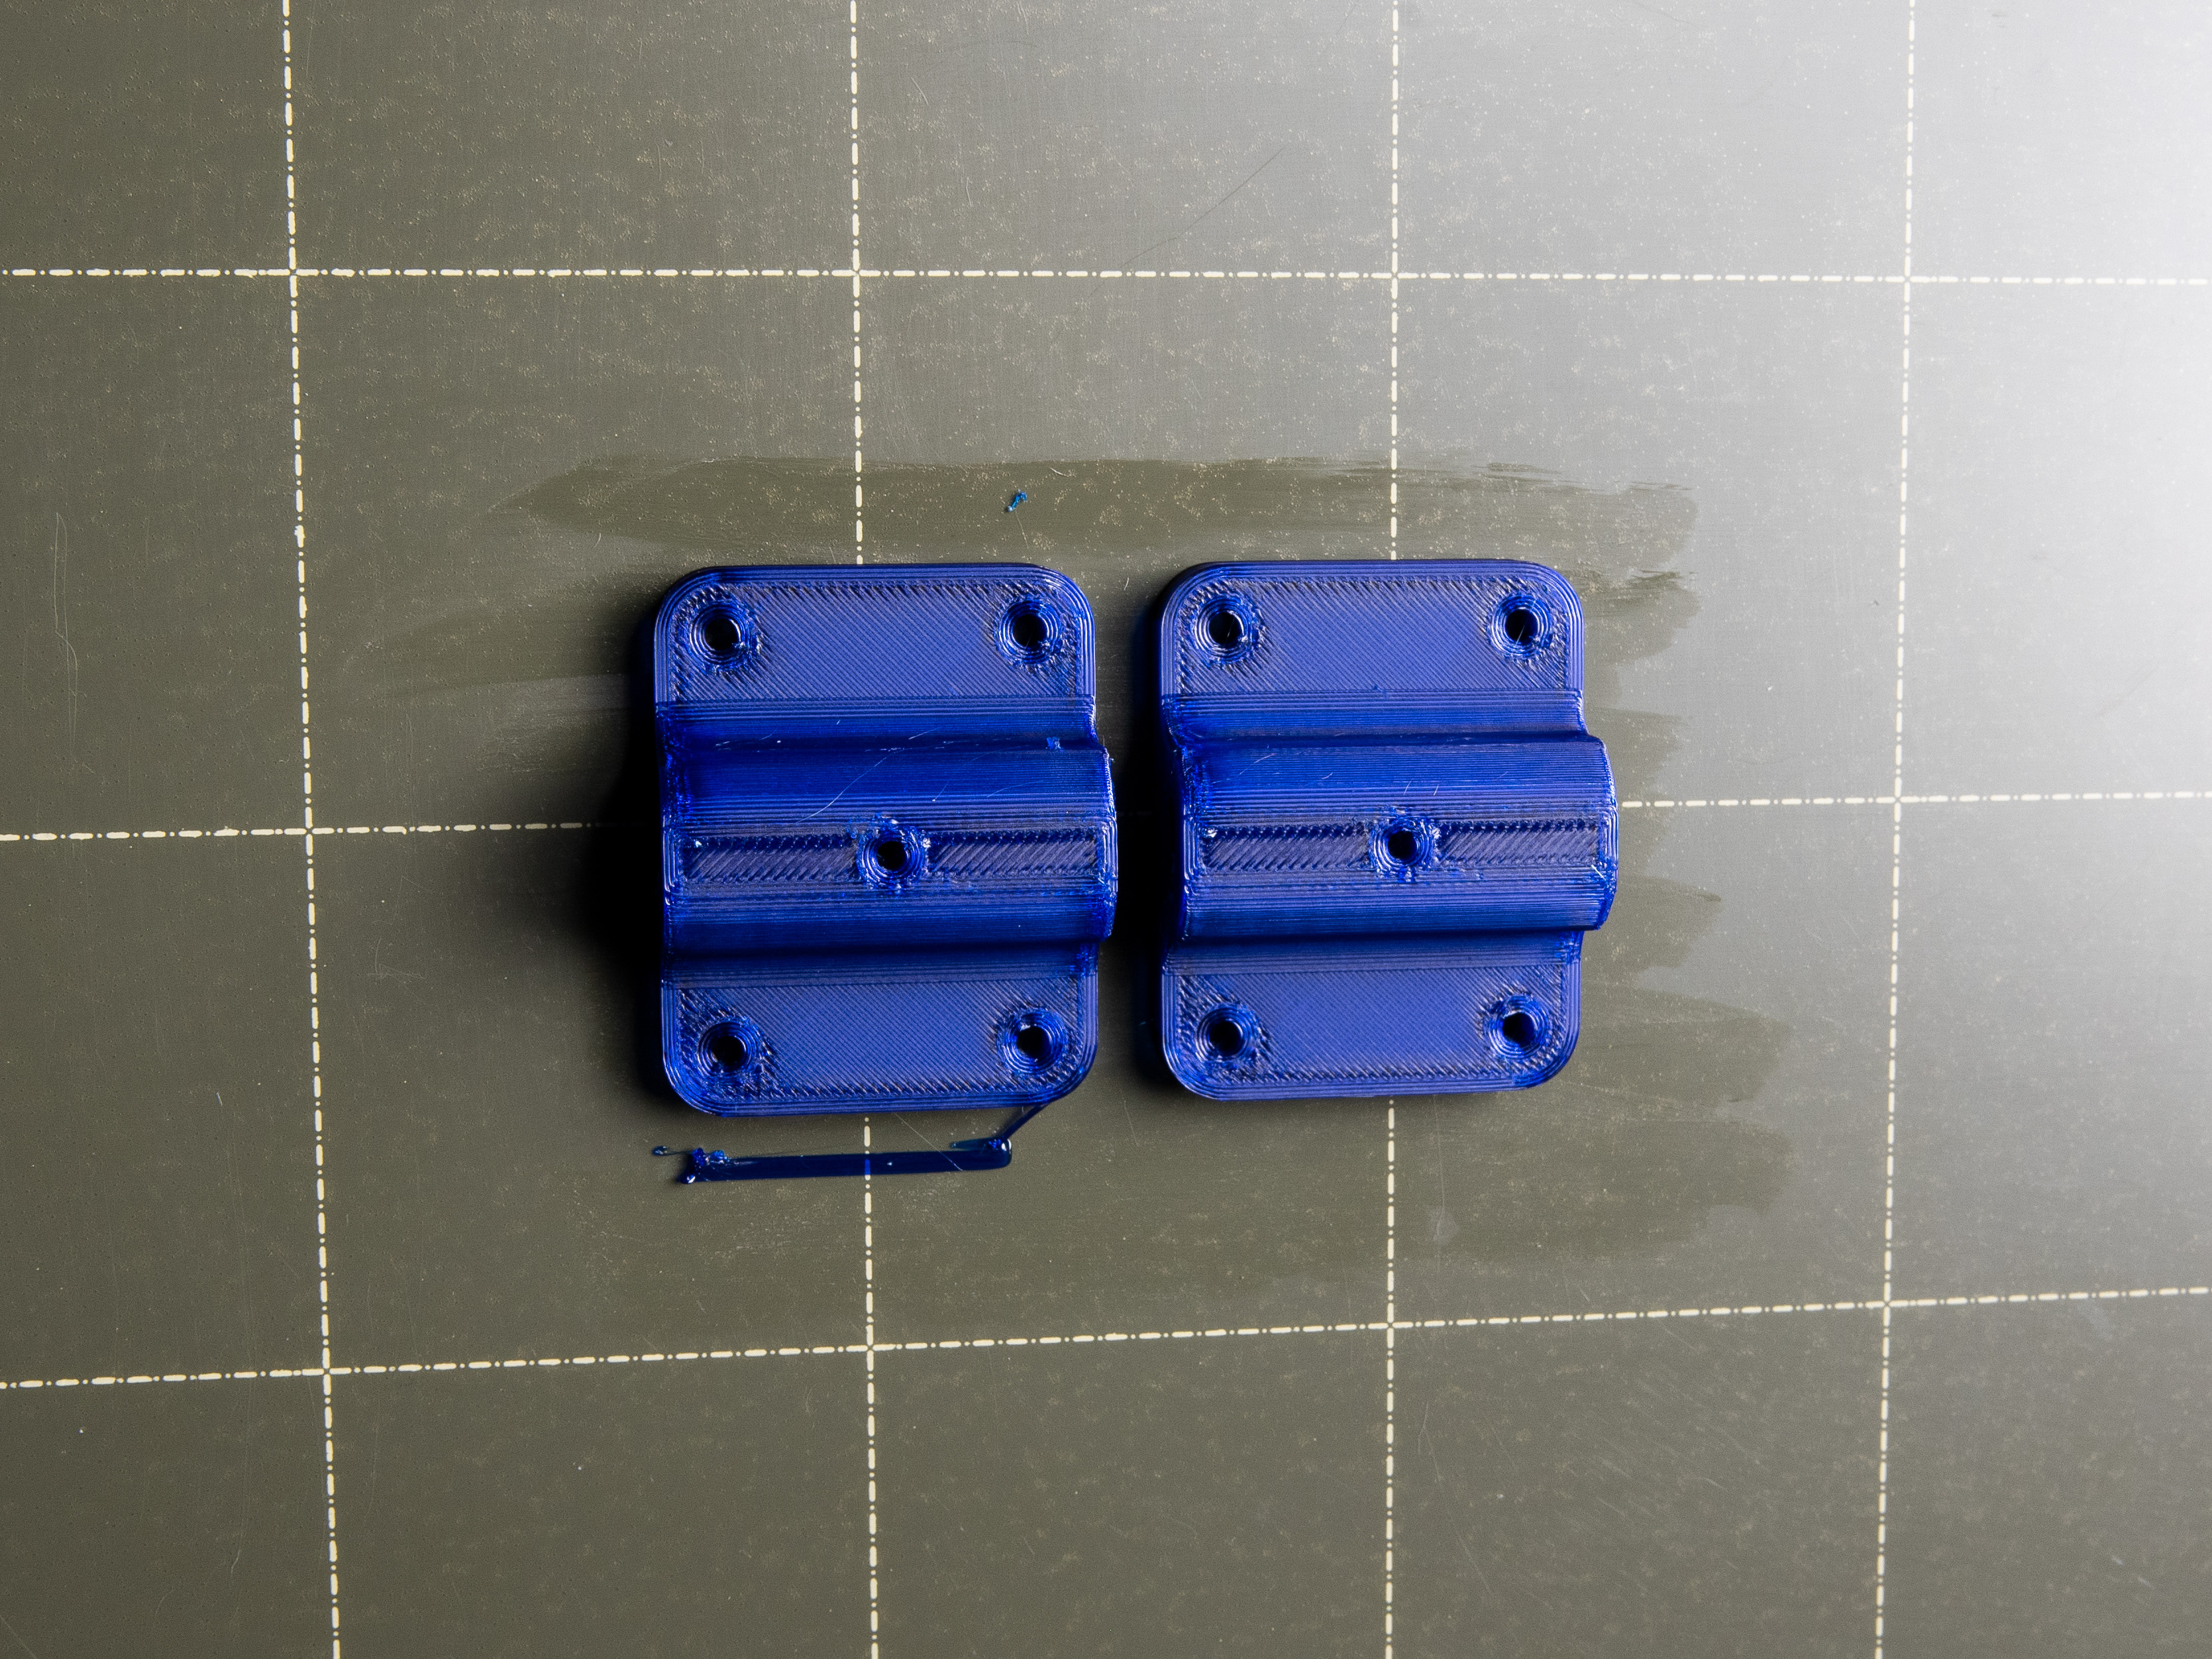 | 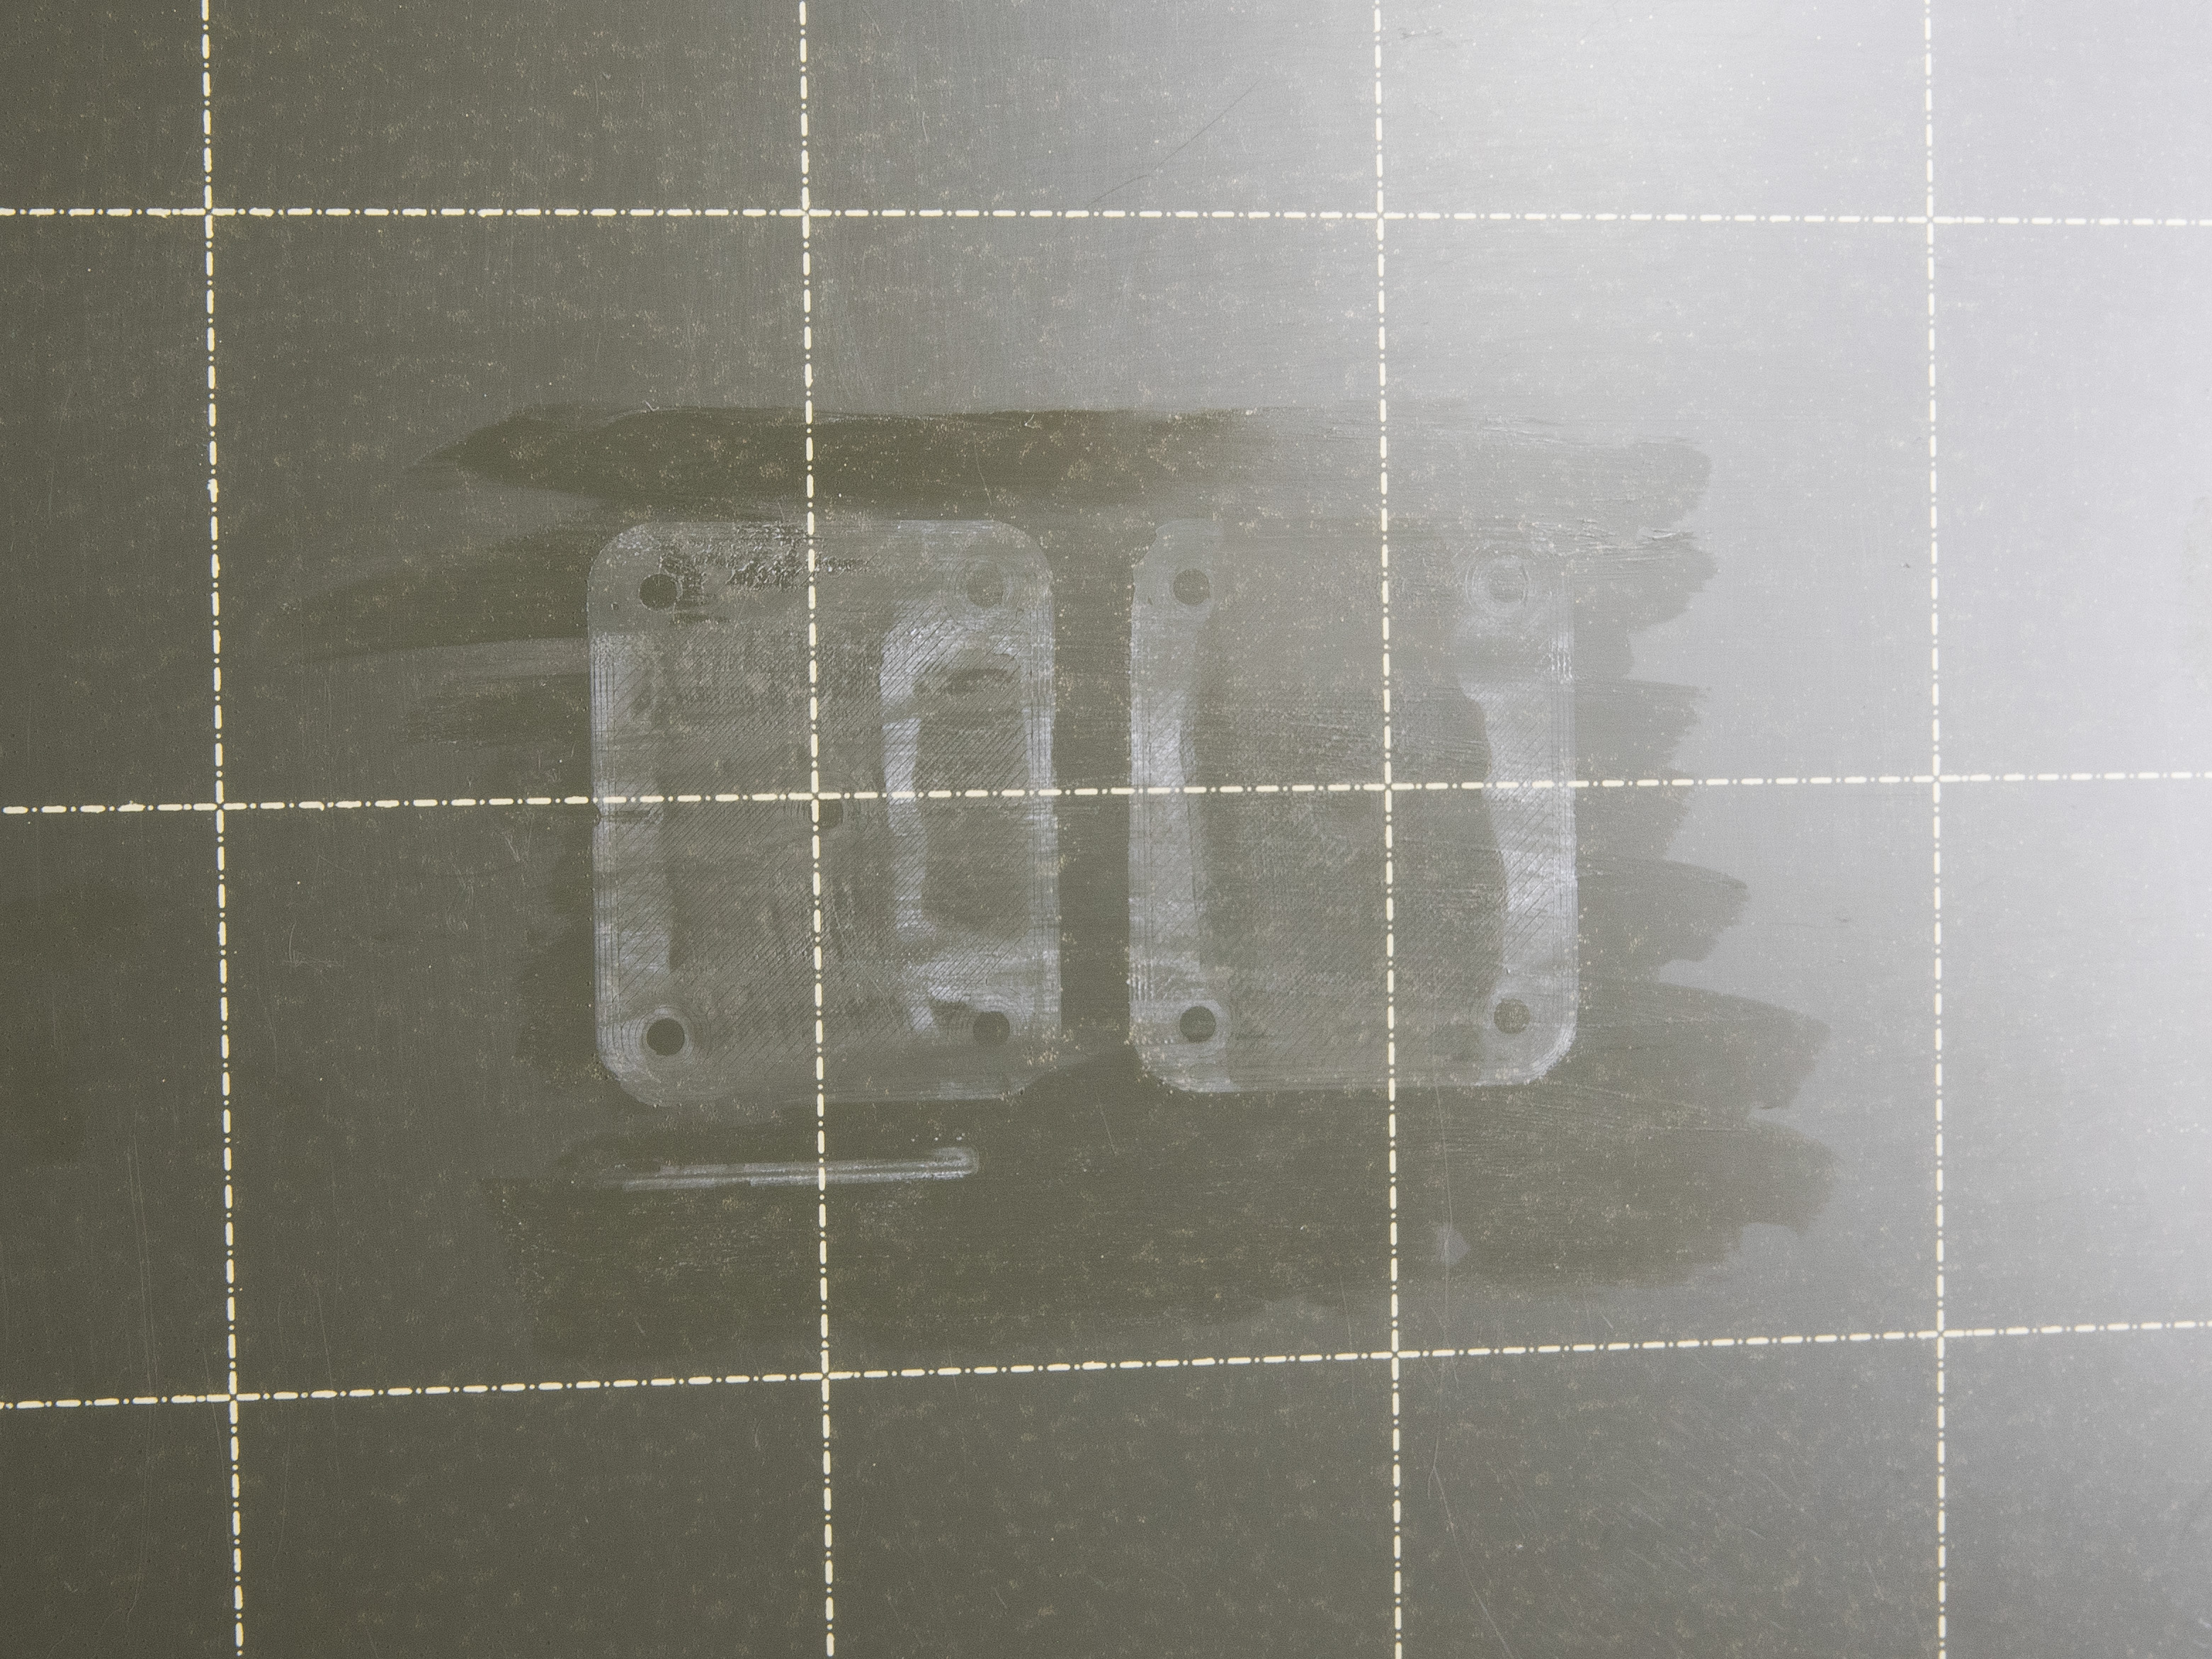 |
PVA glue separation layer, 3D printed PETG parts, and marks left after removing the print. Note that these marks are normal as they are only on a PVA glue layer and not on the print sheet surface. These marks disappear with the glue after washing.
Finally, the PP tape. You will most likely not use it, since it’s recommended only for printing PP (Polypropylene), which is quite rare material to print. However, you may decide to use some other tape - kapton tape, for example. For the best adhesion, it is recommended to use in combination with a smooth sheet, no matter which tape you are going to choose. The tape may leave some glue residuals after removing it from the print sheet surface. Usually, these can be washed with IPA or with water and dishwasher soap, but again, double-check the steel sheet maintenance articles before washing them.
Removing the print
One last thing: always remove the prints by removing and bending the sheet only after they are cooled down. The print will go off easily without the necessity of using various spatulas, knives, or anything else.
4 comments