Relevant for


On the Prusa CORE One, CORE One+, CORE One INDX, and CORE One L/+, adjusting the belt to optimal tension is crucial for achieving high-quality prints. A loose belt can cause Layer shifting, Ghosting, or other print abnormalities, like getting an irregular shape instead of a perfect circle. An over-tightened belt can cause an irregular movement in the X and Y axes.
The following check applies exclusively to CORE One and CORE One+ kits. Pre-assembled CORE One, CORE One+, and CORE One L have this step done at the factory.
During the assembly process, we instruct you to apply a small amount of Prusa lubricant to the tips of both M3x30 screws for the belt tensioner parts. If this was done during the assembly of the kit, there is no need to redo it. Proceed directly to the next steps.
However, early CORE One kits did not have this step recommended in our manual. If this is the case, and other steps have not worked, the belt tensioner right/left and their attached belt tensioner pulleys might need to be replaced.
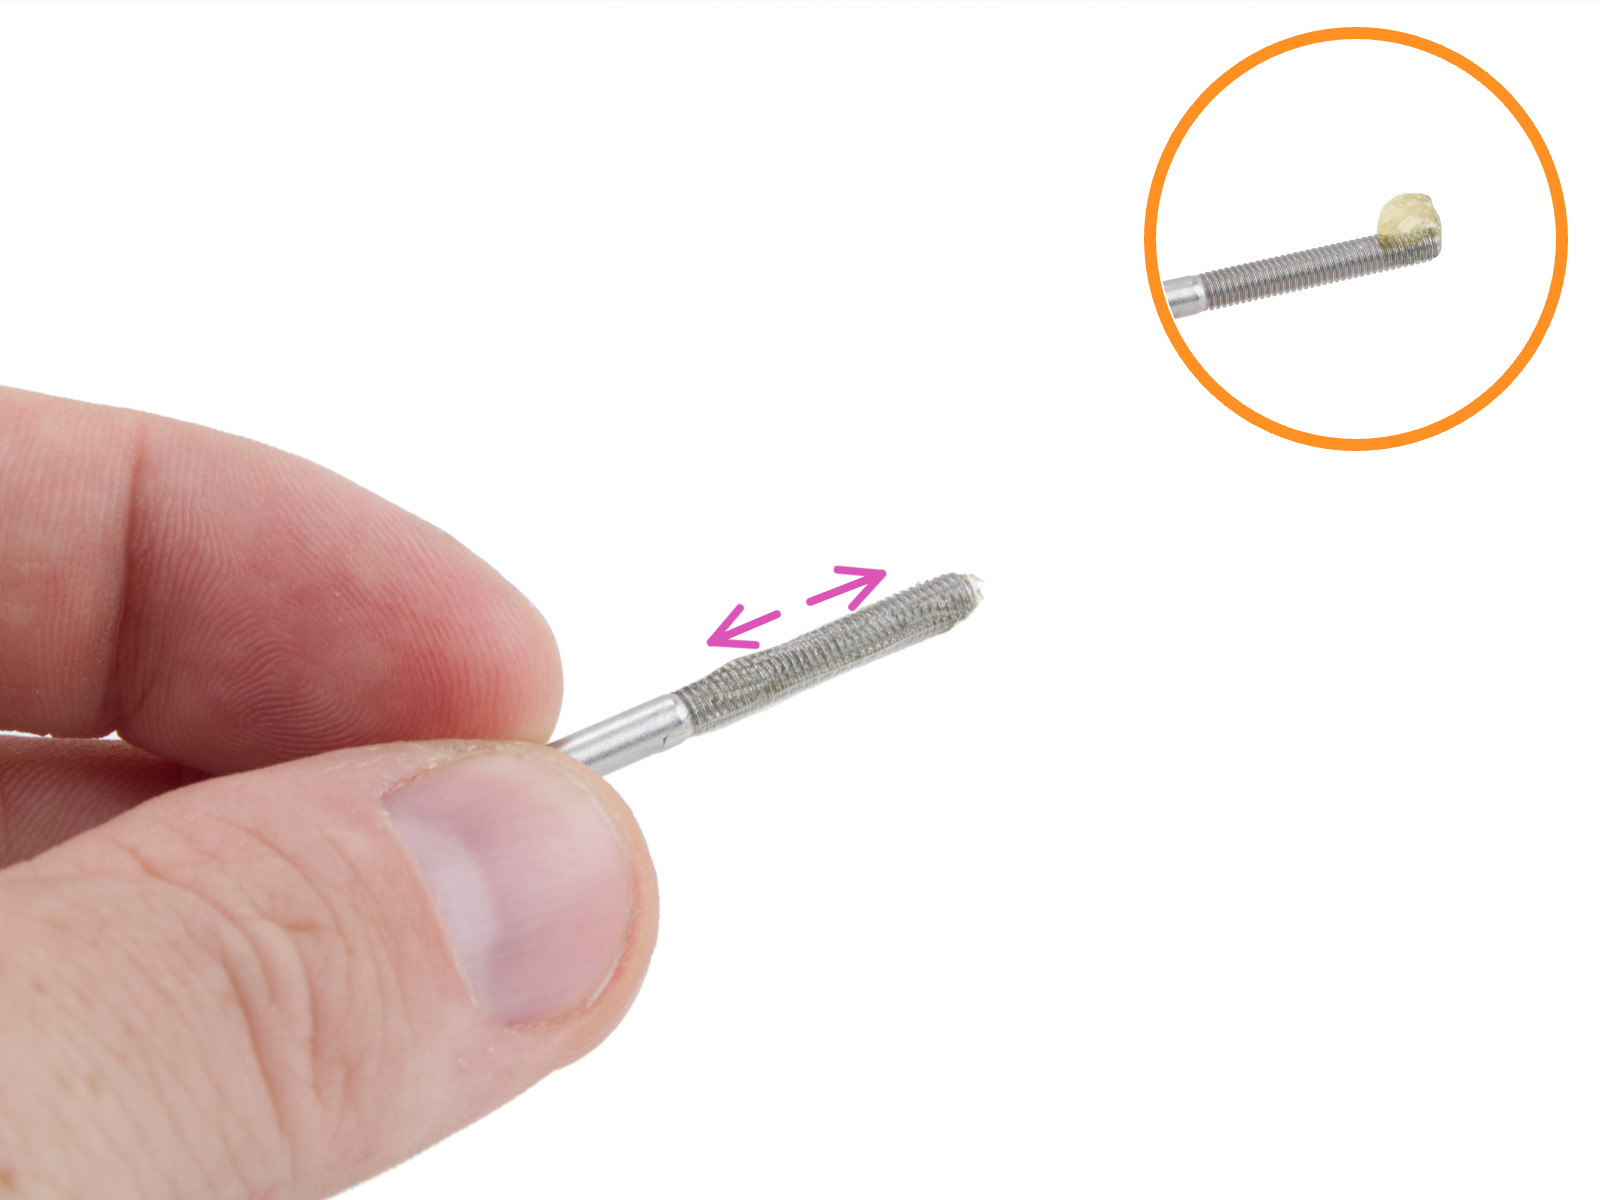 | 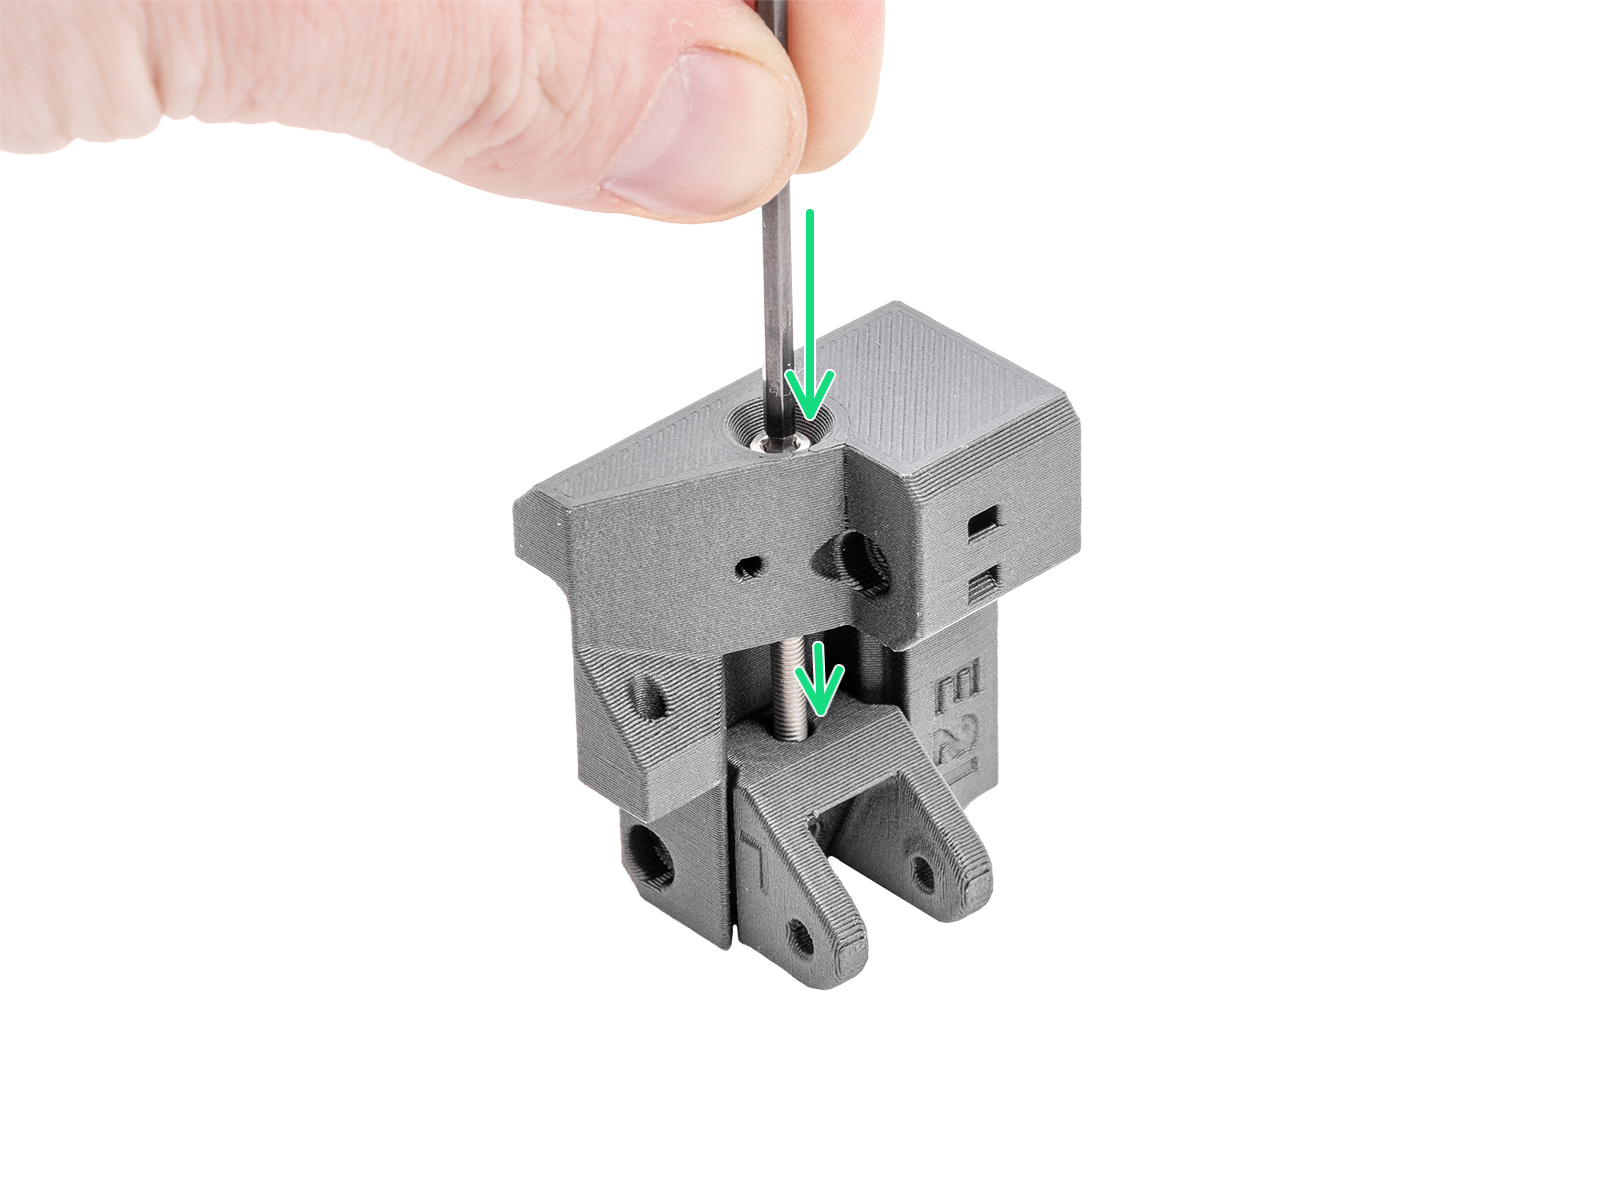 |
For printers equipped with INDX upgrade, skip to the next paragraph Alignment (CORE One INDX).
Before adjusting the belt, ensure the proper alignment of the CoreXY structure.
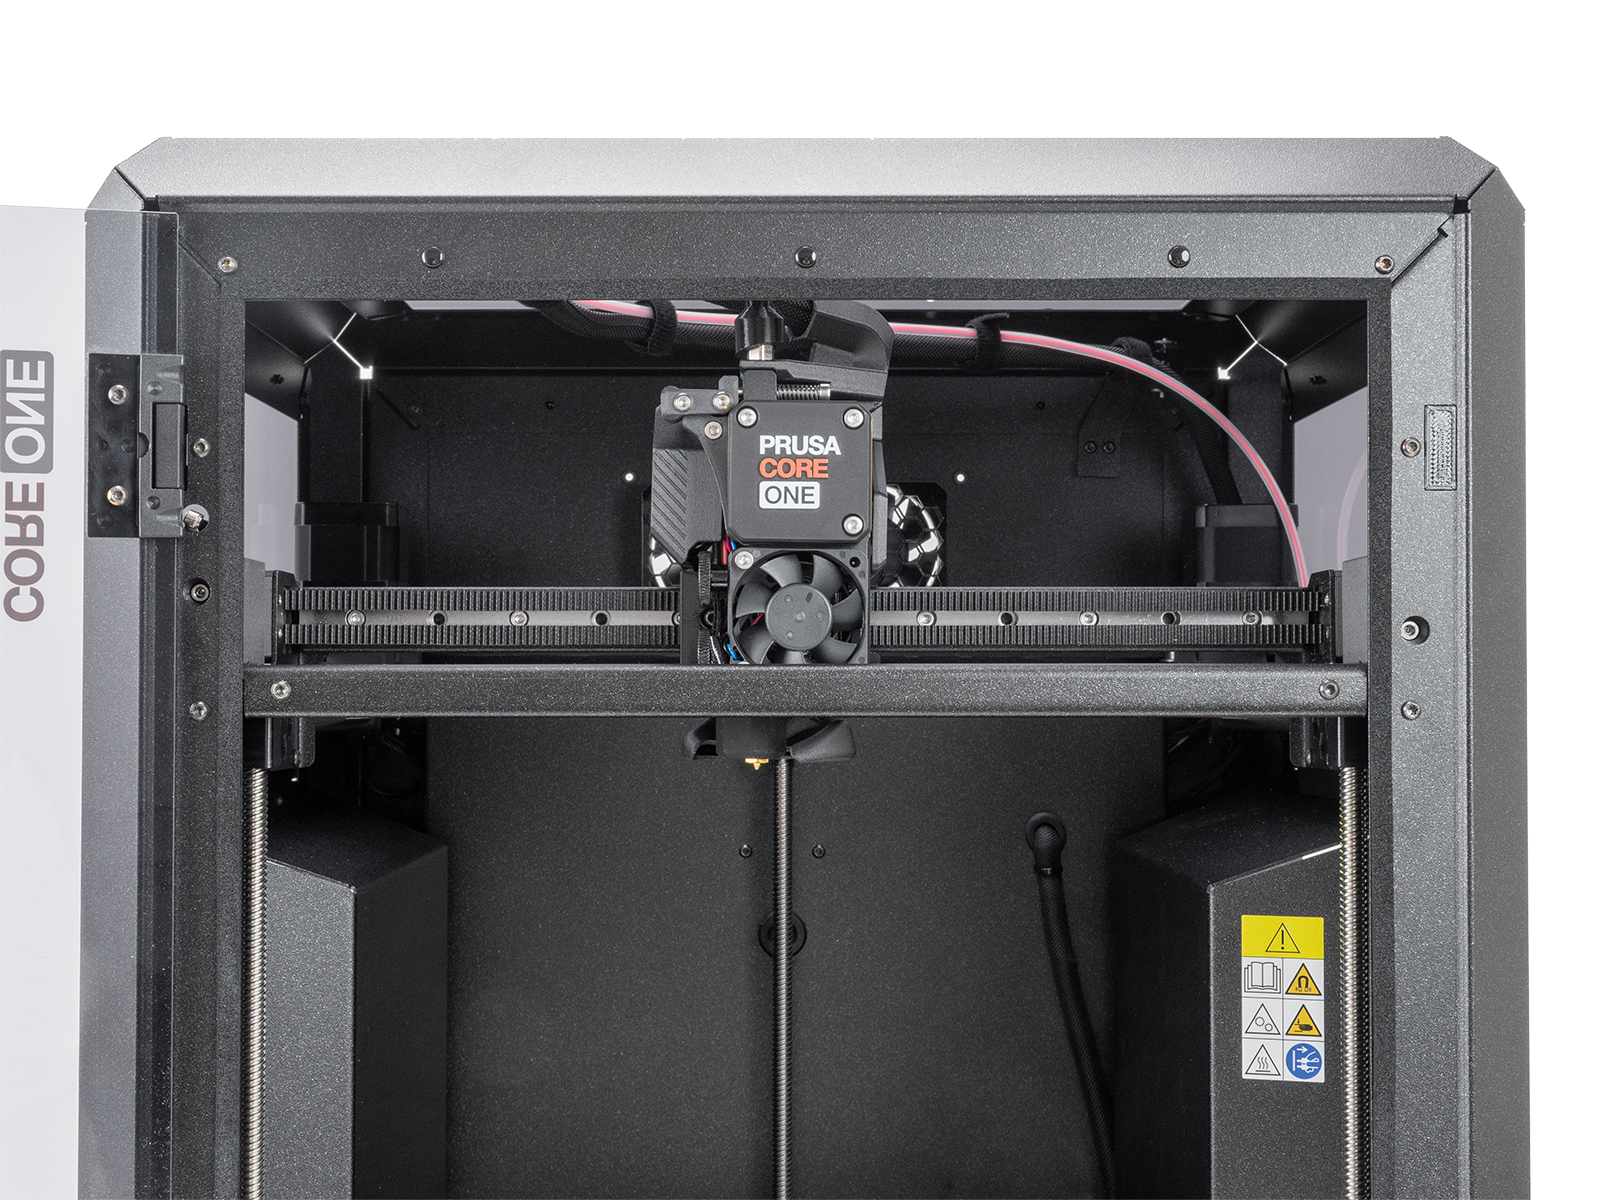
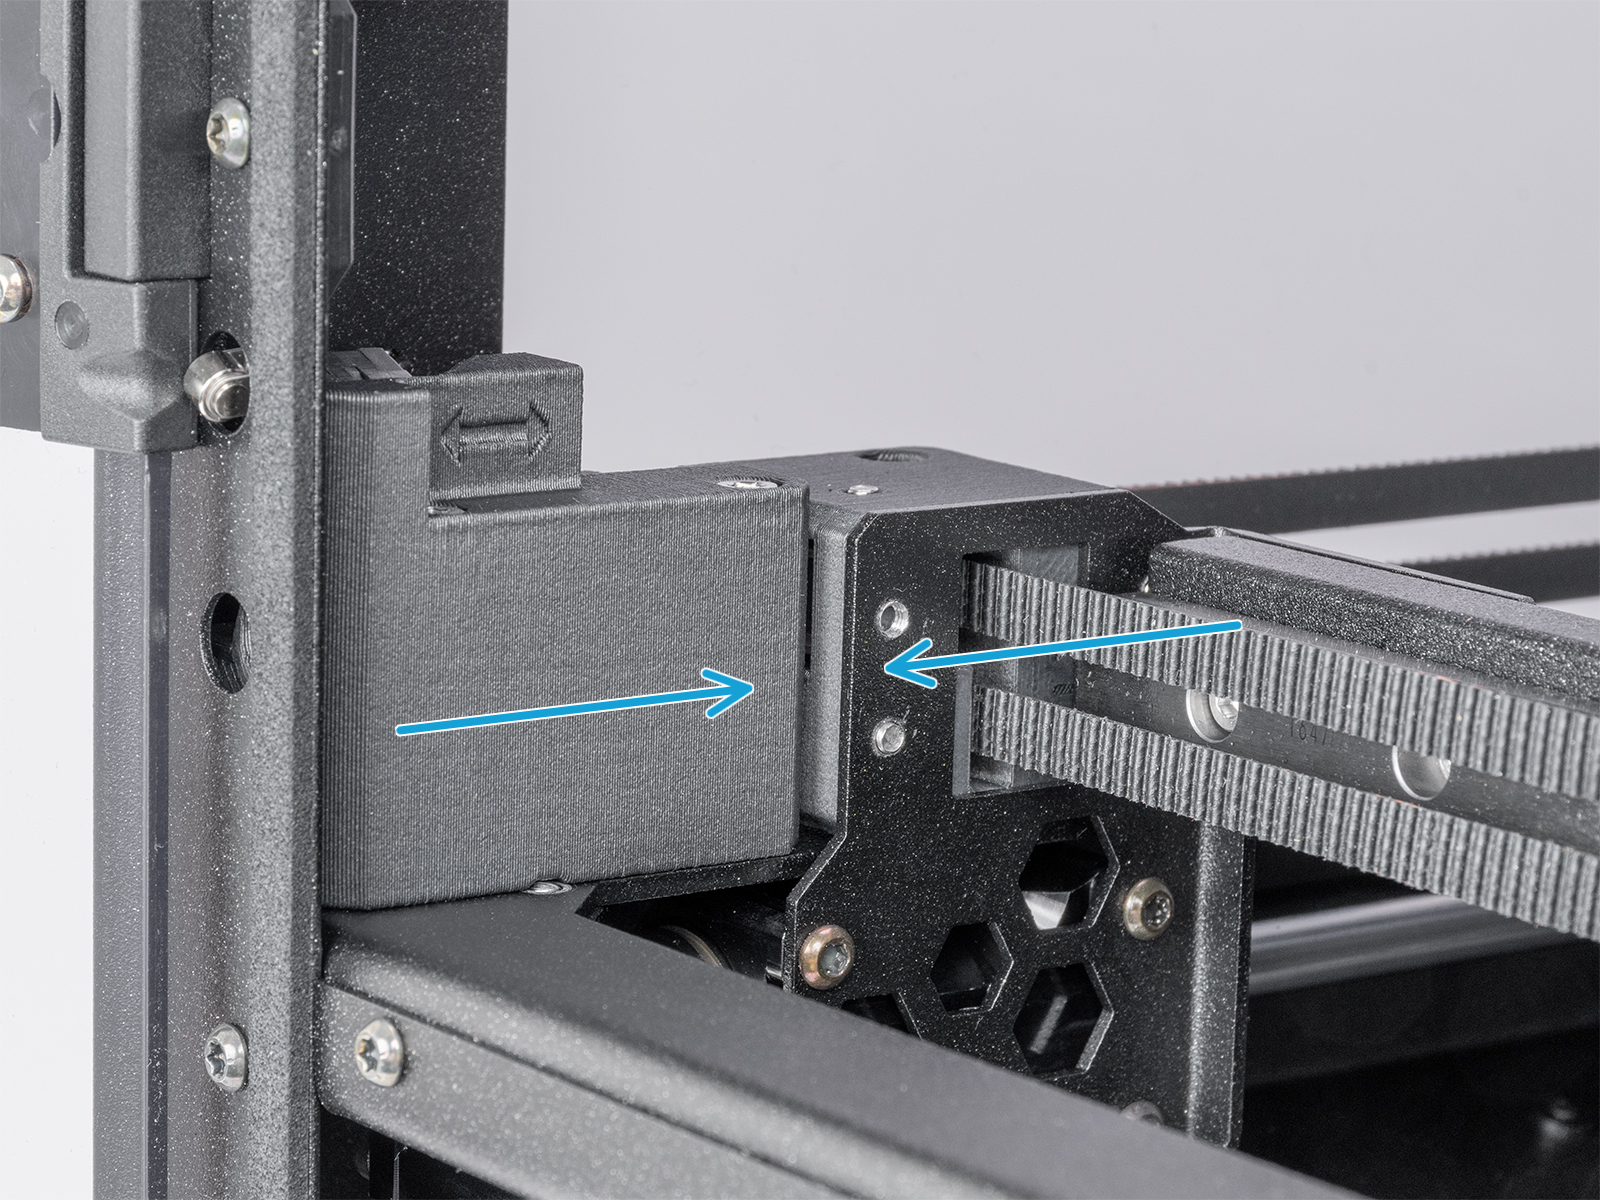 | 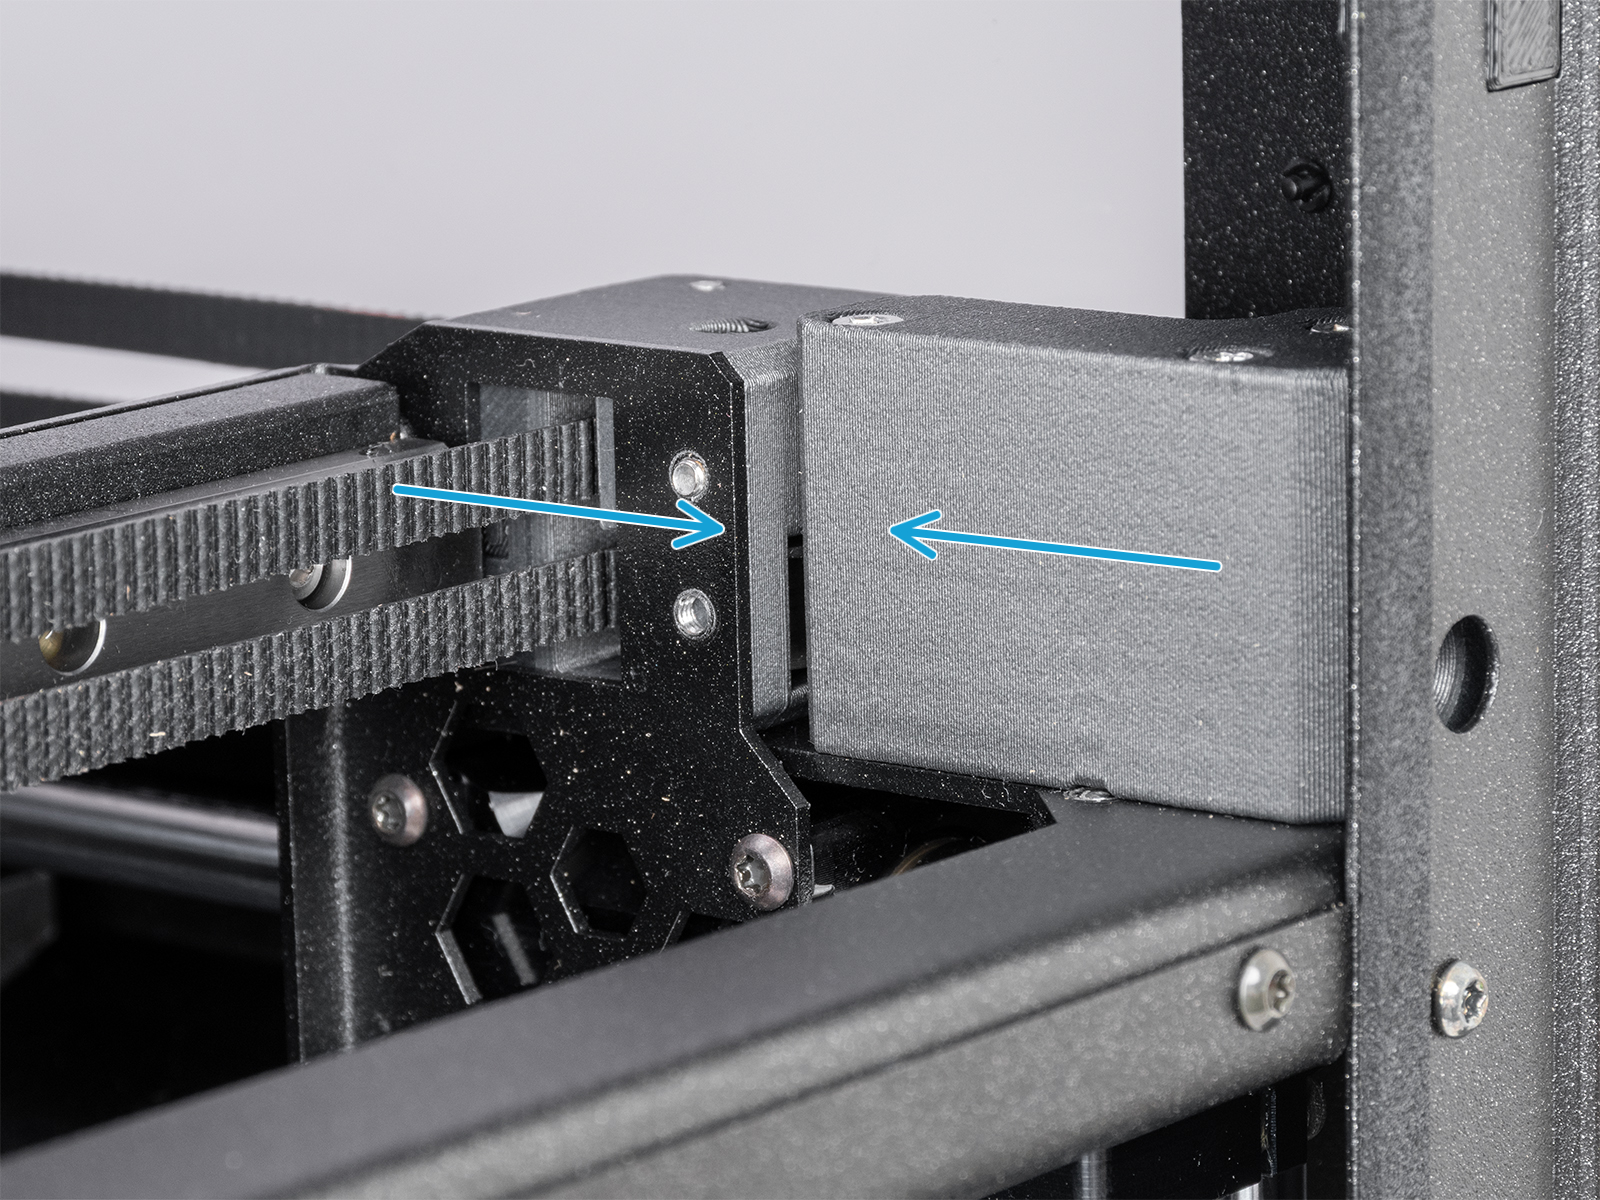 |
1. Fully loosen both tensioner bolts; this will allow free gantry movement.
2. Move the gantry halfway back along the rails.
3. Grip the gantry firmly on both ends and apply a gentle counter-force in the opposite direction of the tilt until it straightens.
4. Check the alignment with the belts still loose, and carefully push the gantry forward. Since the loose belts will not pull it all the way, you may need to guide it by hand. Verify that there is no gap on either side at the front position.
5. Tighten both tensioner bolts gradually, alternating between them, tightening each by the same amount to keep the gantry straight. You may hold the gantry in place with your hand while tightening. After tightening both belts, make sure no gap has reappeared.
Note: Apply force carefully to avoid damaging belts or bearings.
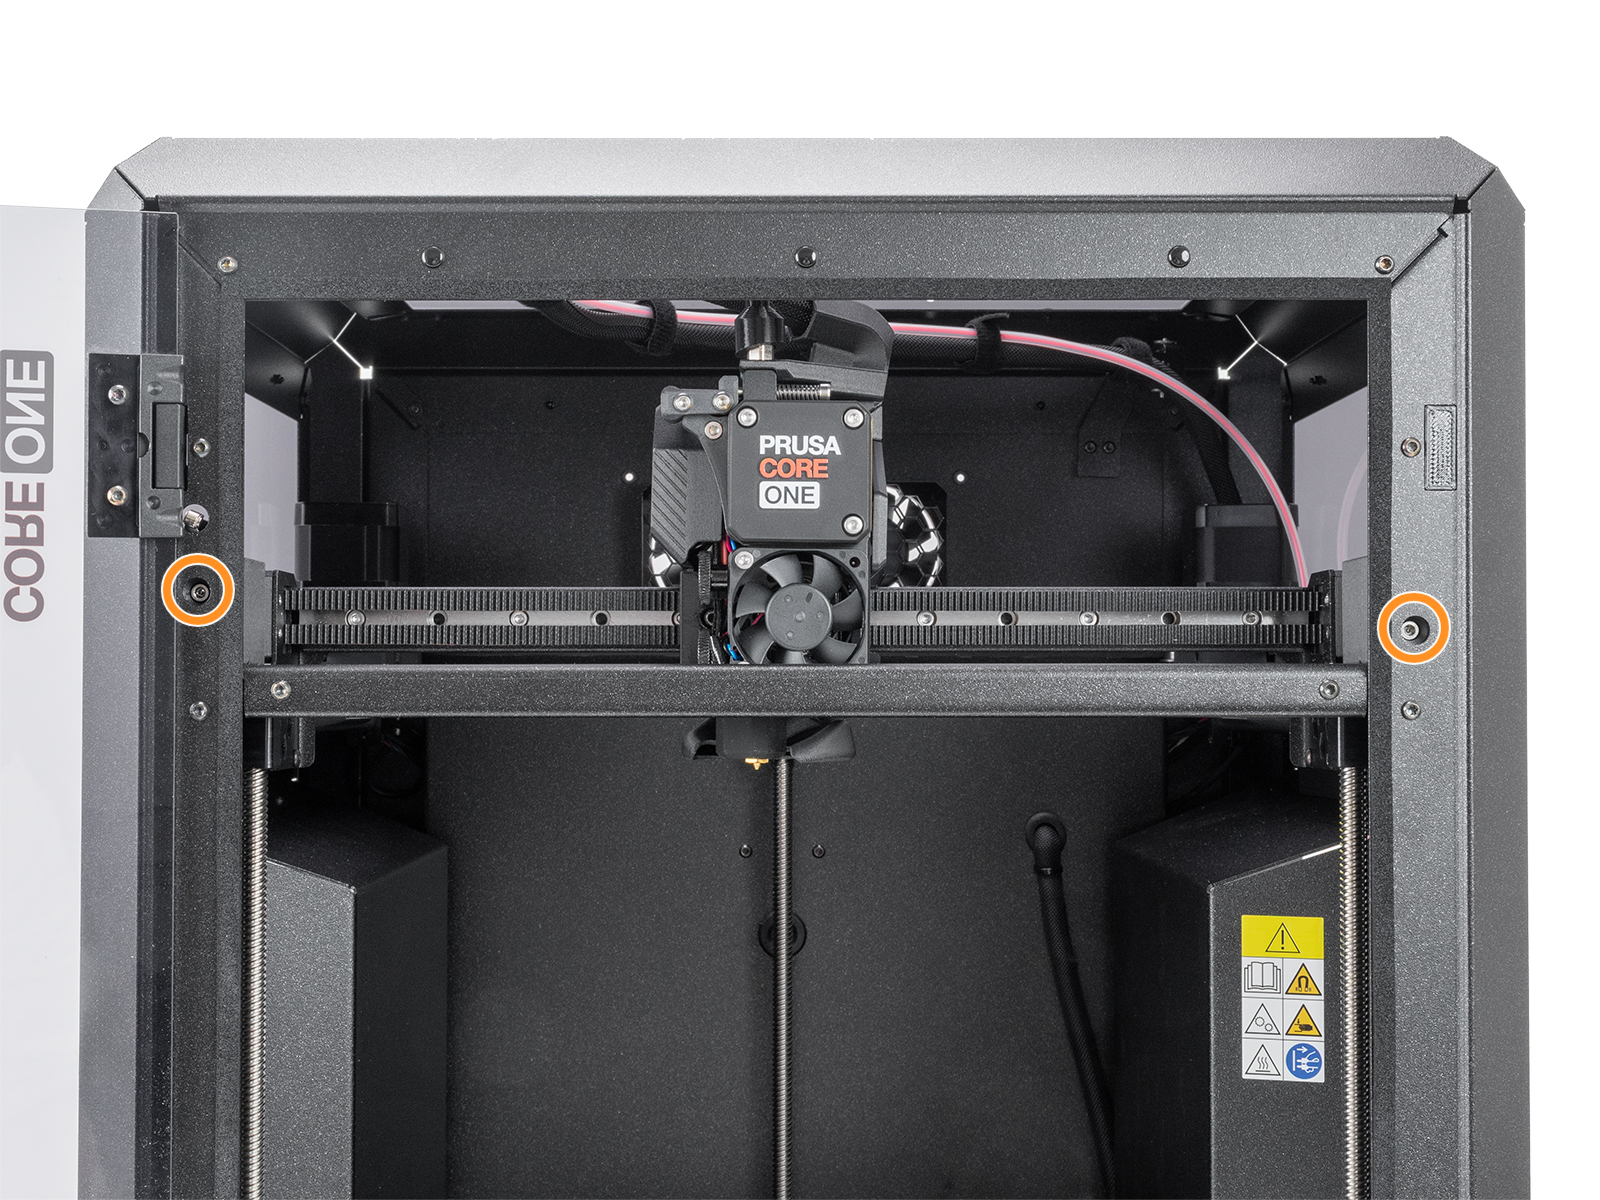
Before adjusting the belt, ensure the proper alignment of the CoreXY structure.
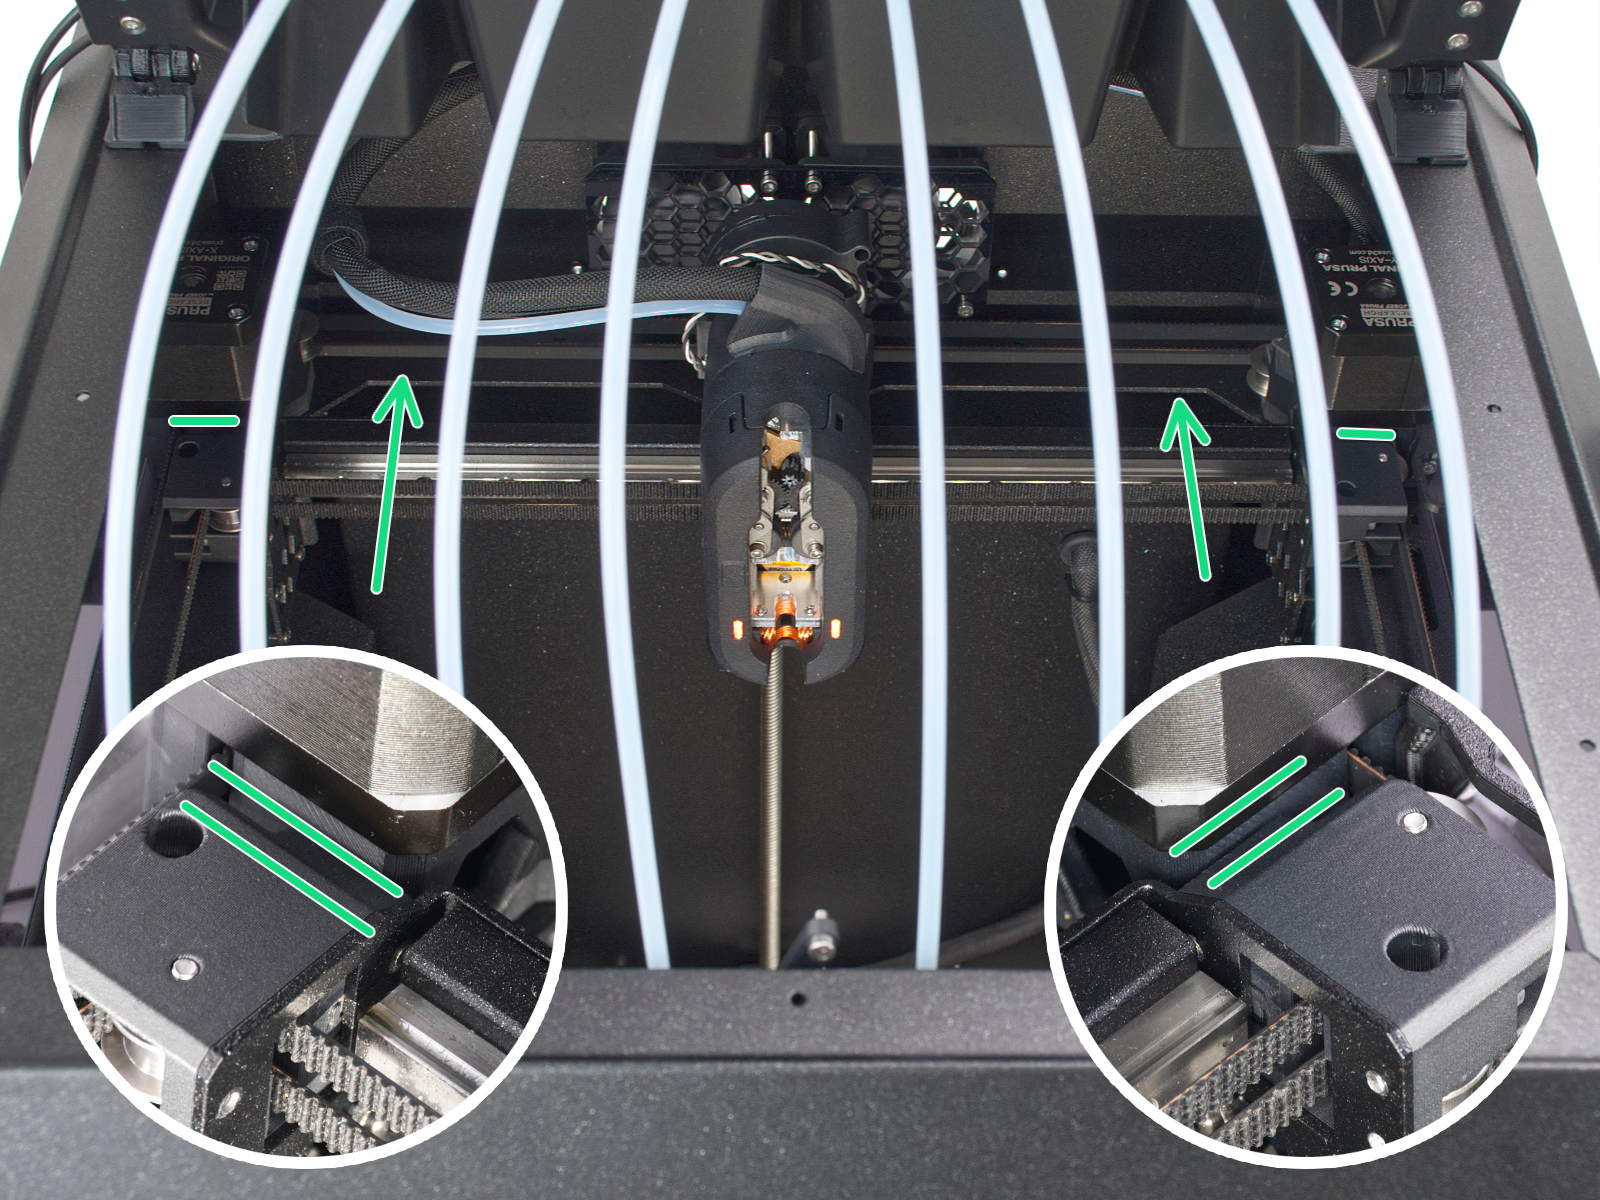
Quick gantry alignment
If there is a gap on either side of the gantry, you can try to force it in the opposite direction manually:
1. Fully loosen both tensioner bolts; this will allow free gantry movement.
2. Move the gantry halfway back along the rails.
3. Grip the gantry firmly on both ends and apply a gentle counter-force in the opposite direction of the tilt until it straightens.
4. Check the alignment with the belts still loose, and carefully push the gantry backward. Since the loose belts will not pull it all the way, you may need to guide it by hand. Verify that there is no gap on either side at the front position.
5. Tighten both tensioner bolts gradually, alternating between them, tightening each by the same amount to keep the gantry straight. You may hold the gantry in place with your hand while tightening. After tightening both belts, make sure no gap has reappeared.
Note: Apply force carefully to avoid damaging belts or bearings.
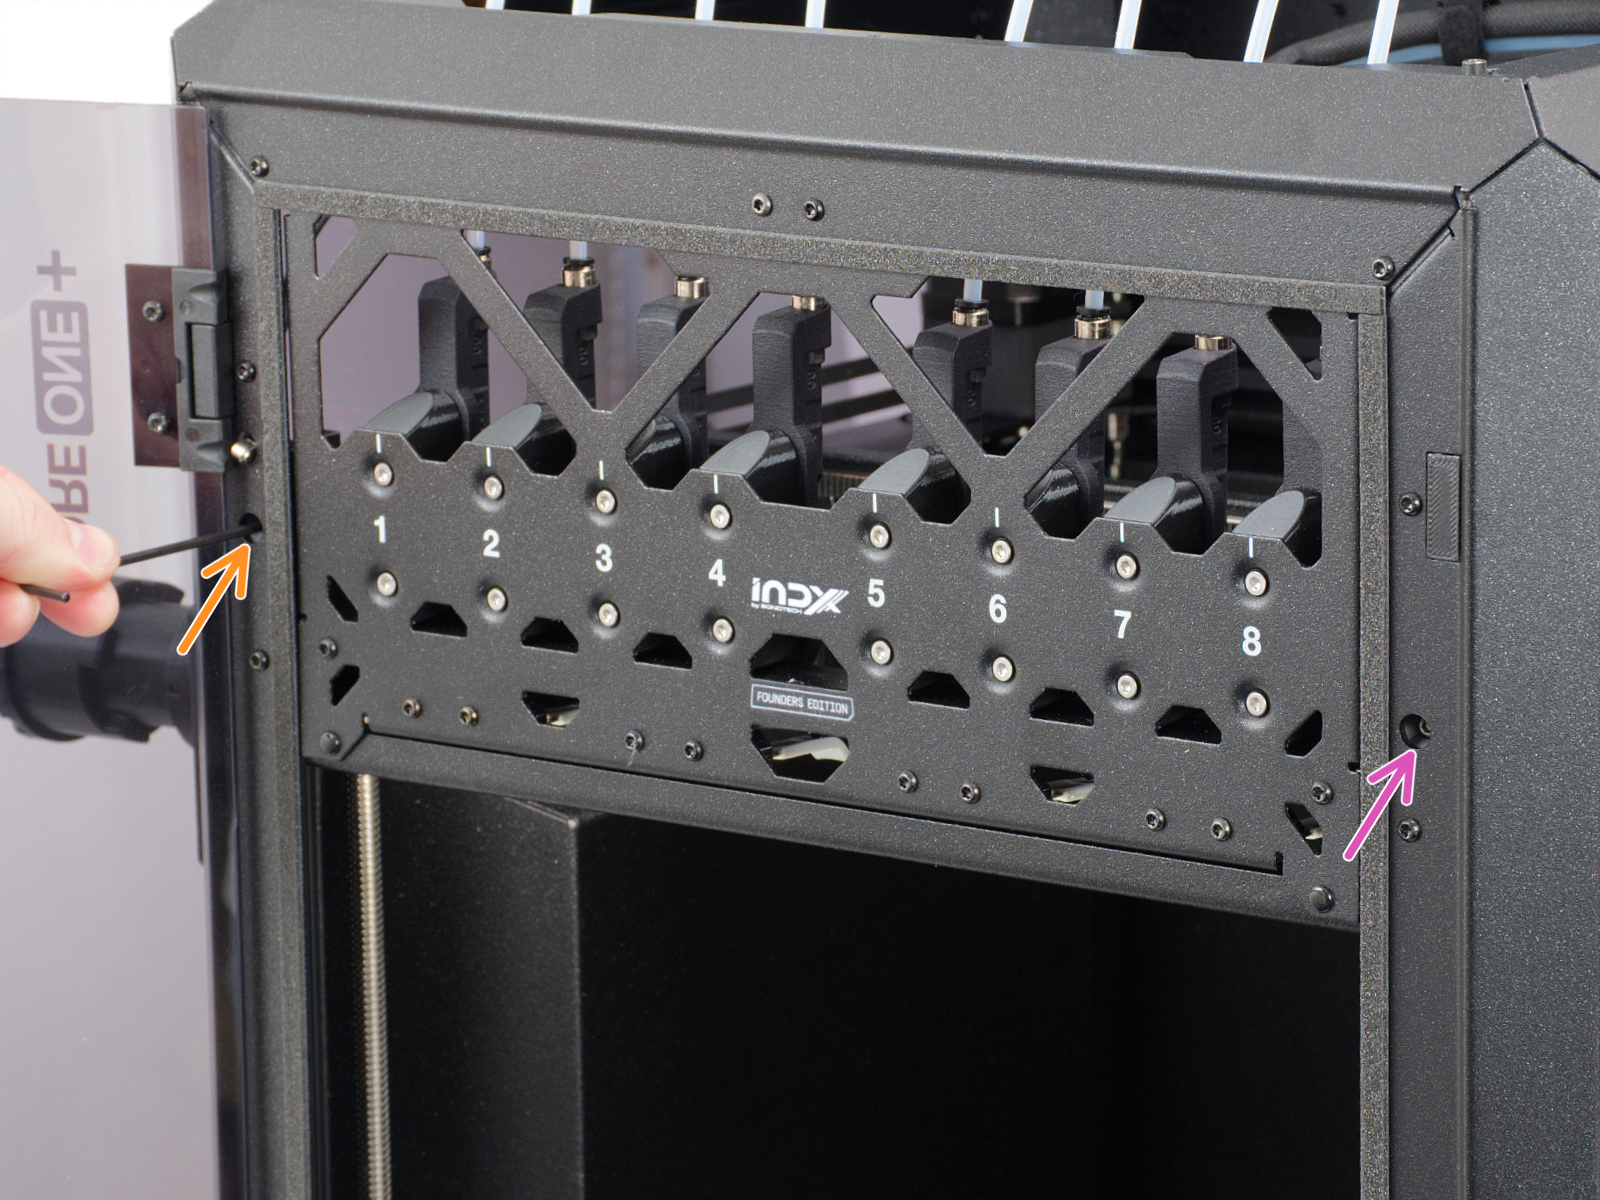
Starting from firmware 6.4.0, a belt tuning wizard is available in the printer menu, navigating to LCD Menu -> Settings -> Manual Belt Tuning. The printer uses controlled belt excitation combined with stroboscopic feedback to visualize belt resonance.
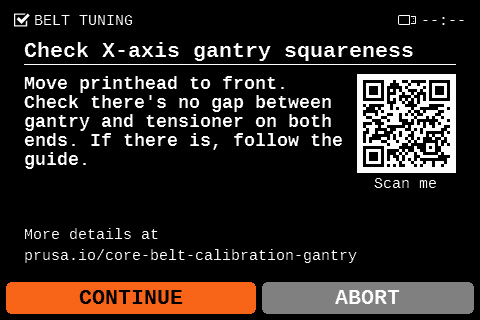
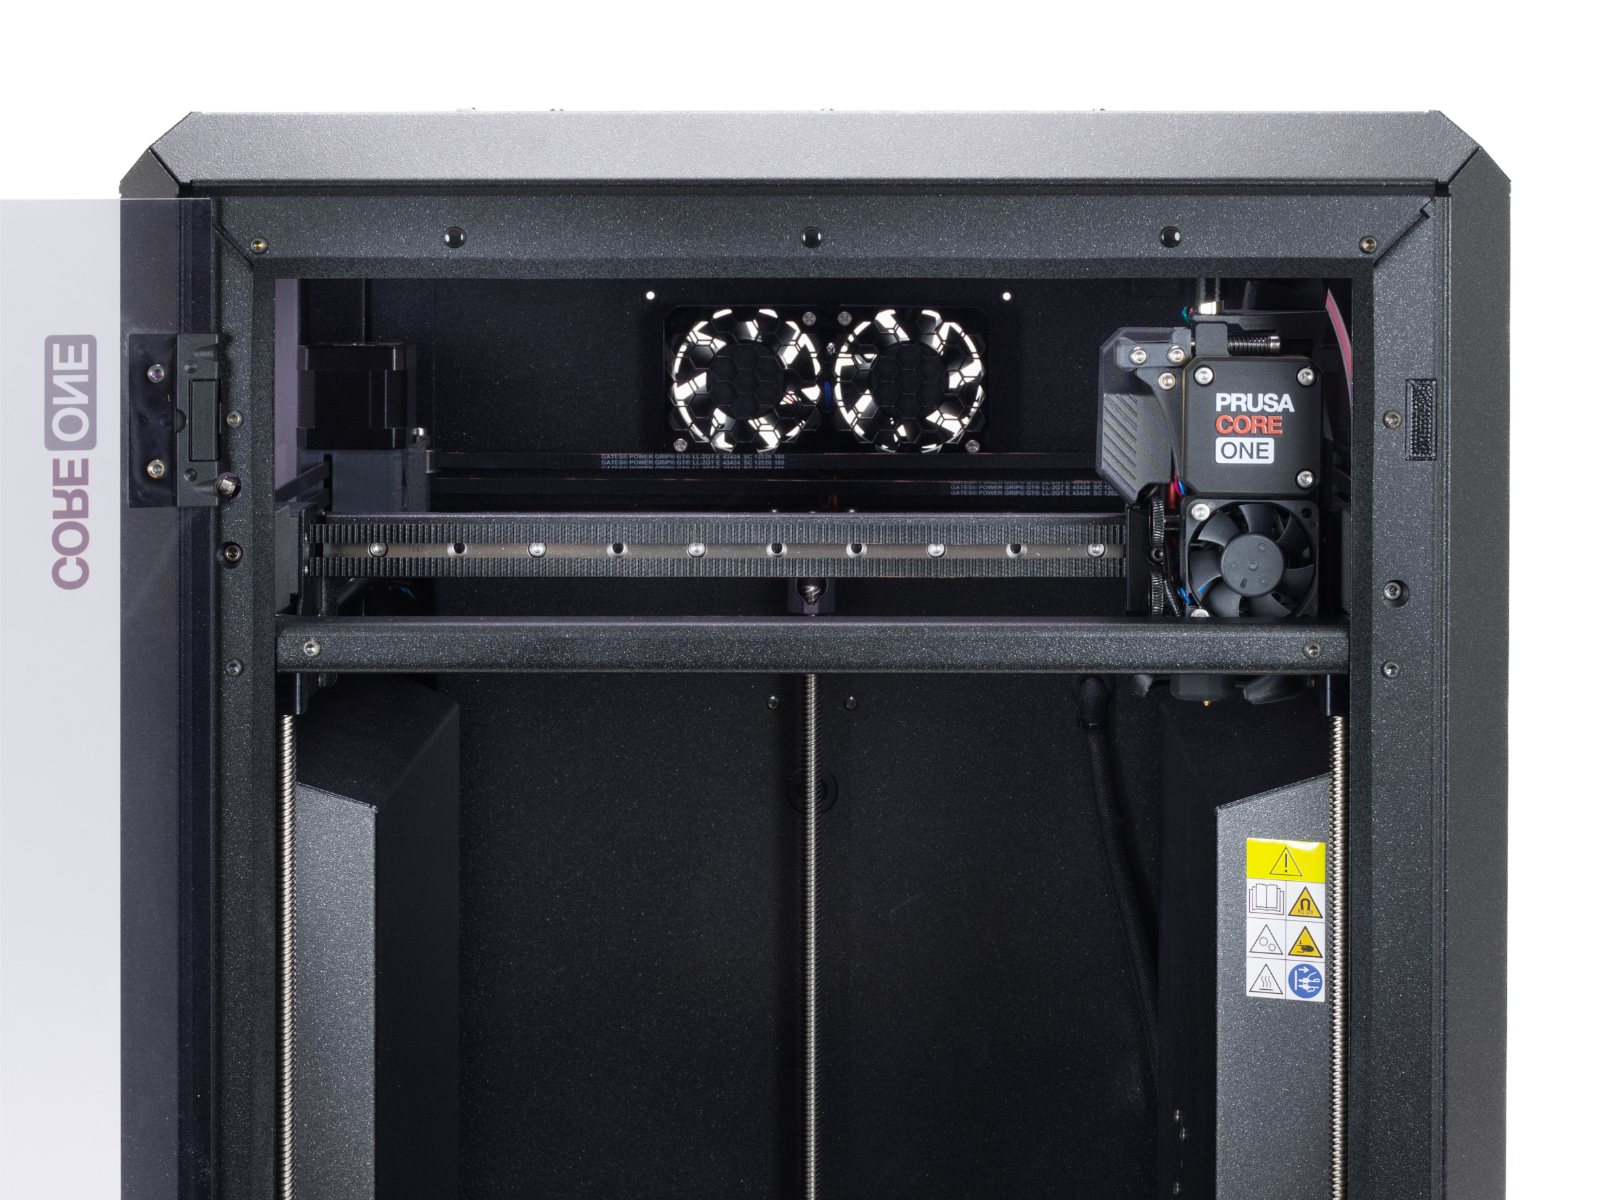
The wizard begins by prompting the user to check that the gantry is properly aligned, as misalignment can affect measurement accuracy. Follow the in-screen instructions to verify the gantry alignment, and in case of misalignment, follow the steps in the previous alignment paragraph.
The wizard then measures the vibration frequency of both belts and recommends whether to tighten or loosen them. Follow the in-screen instructions to turn the encoder to vary the vibration frequency, and at the same time, observe the vibrating movement made by the selected belt as the frequencies are changed.
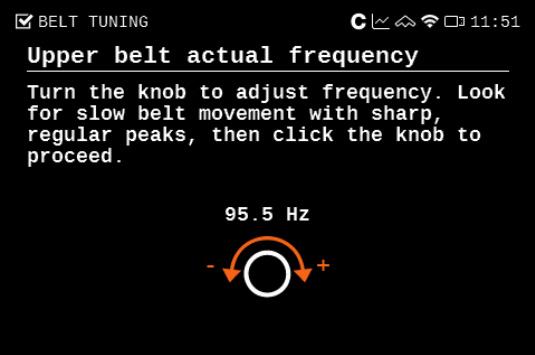
Look for a slow, extended, and steady resonating movement of the selected belt. Once you see that movement on the selected belt, select the current frequency on the printer screen.
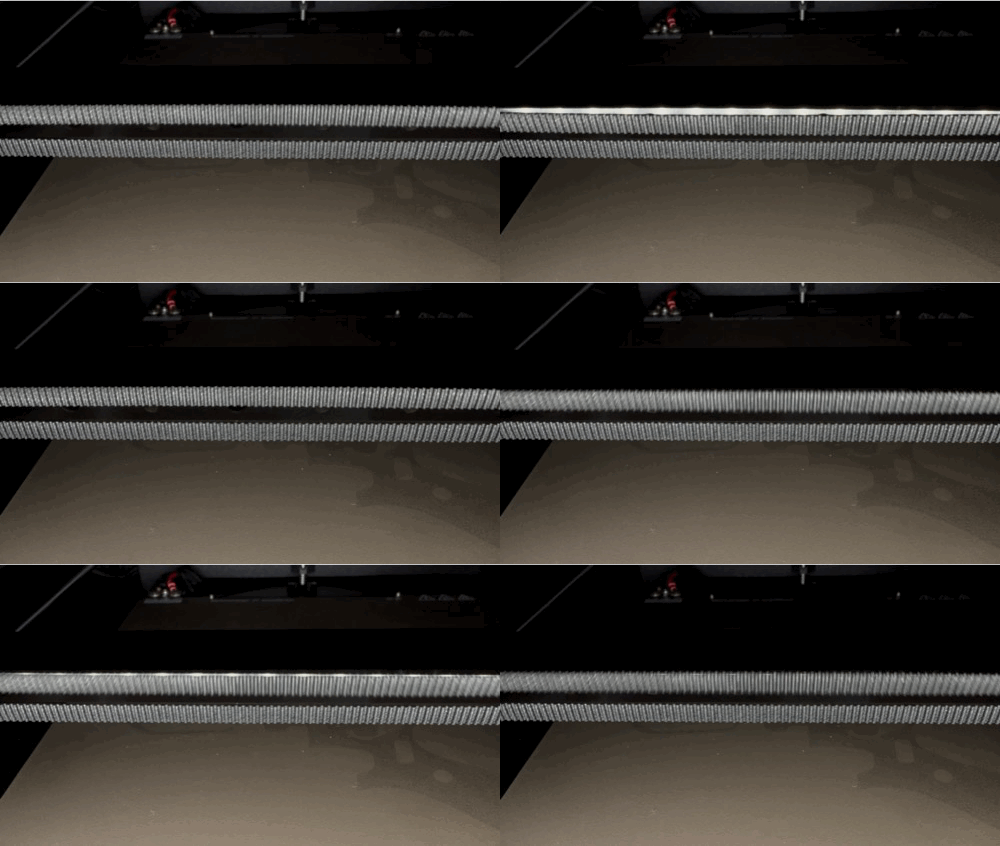 | 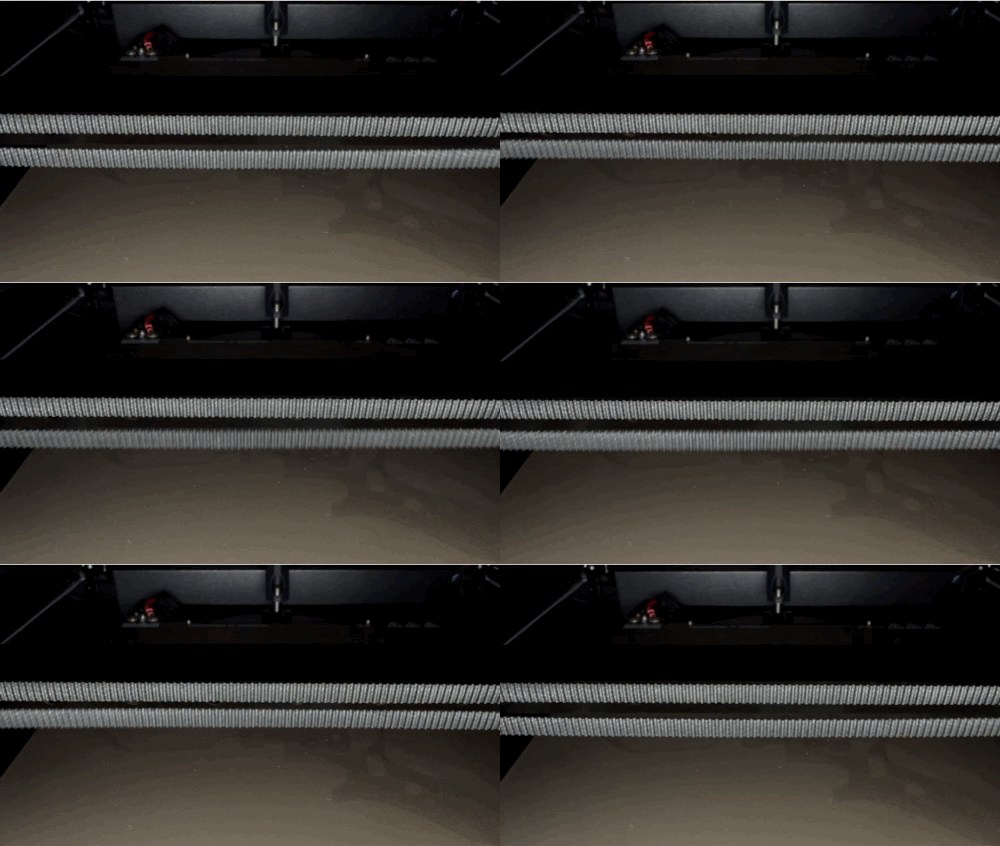 |
| Upper belt resonating movement | Lower belt resonating movement |
On CORE One, the ideal target frequency range is a maximum of 98 Hz for the upper belt and a minimum of 90 Hz for the lower belt.
On CORE One L, the ideal target frequency range is a maximum of 95 Hz for the upper belt and a minimum of 85 Hz for the lower belt.
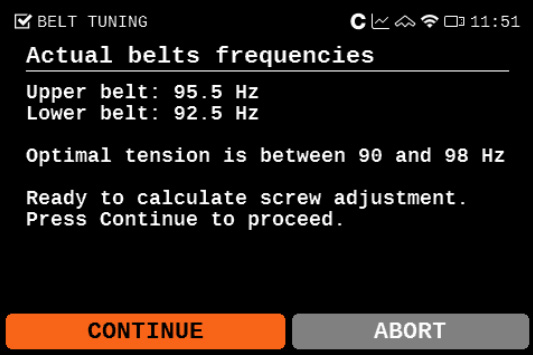
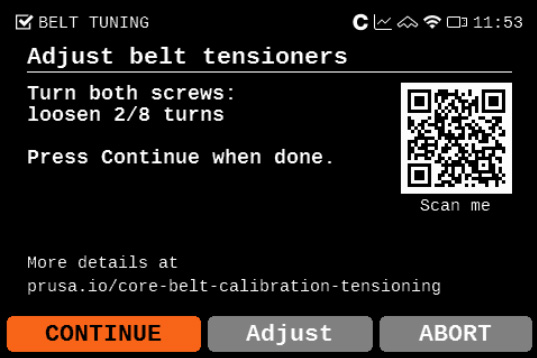
Once the resonance test is completed, the printer dialog shows the found resonating frequencies and the suggested adjustment.
Important: always tighten both tensioner bolts evenly and alternately. This ensures that the gantry stays square during adjustment.
 |  |
We have our own belt tuner, available on our belt tuner webpage. The belt tuner can also be accessed in our Prusa App, navigating to >Menu >Belt Tuner.
The belt tuner uses your device's microphone and determines the belt tension by measuring the frequency of the vibration generated by strumming it.
Select CORE One, then select XY-belt, and follow the instructions shown on your device. When ready to measure the belt frequency, tap on Start listening to use your device's microphone.
On CORE One, the ideal target frequency range is a maximum of 98 Hz for the upper belt and a minimum of 92 Hz for the lower belt.
On CORE One L, the ideal target frequency range is a maximum of 95 Hz for the upper belt and a minimum of 85 Hz for the lower belt.
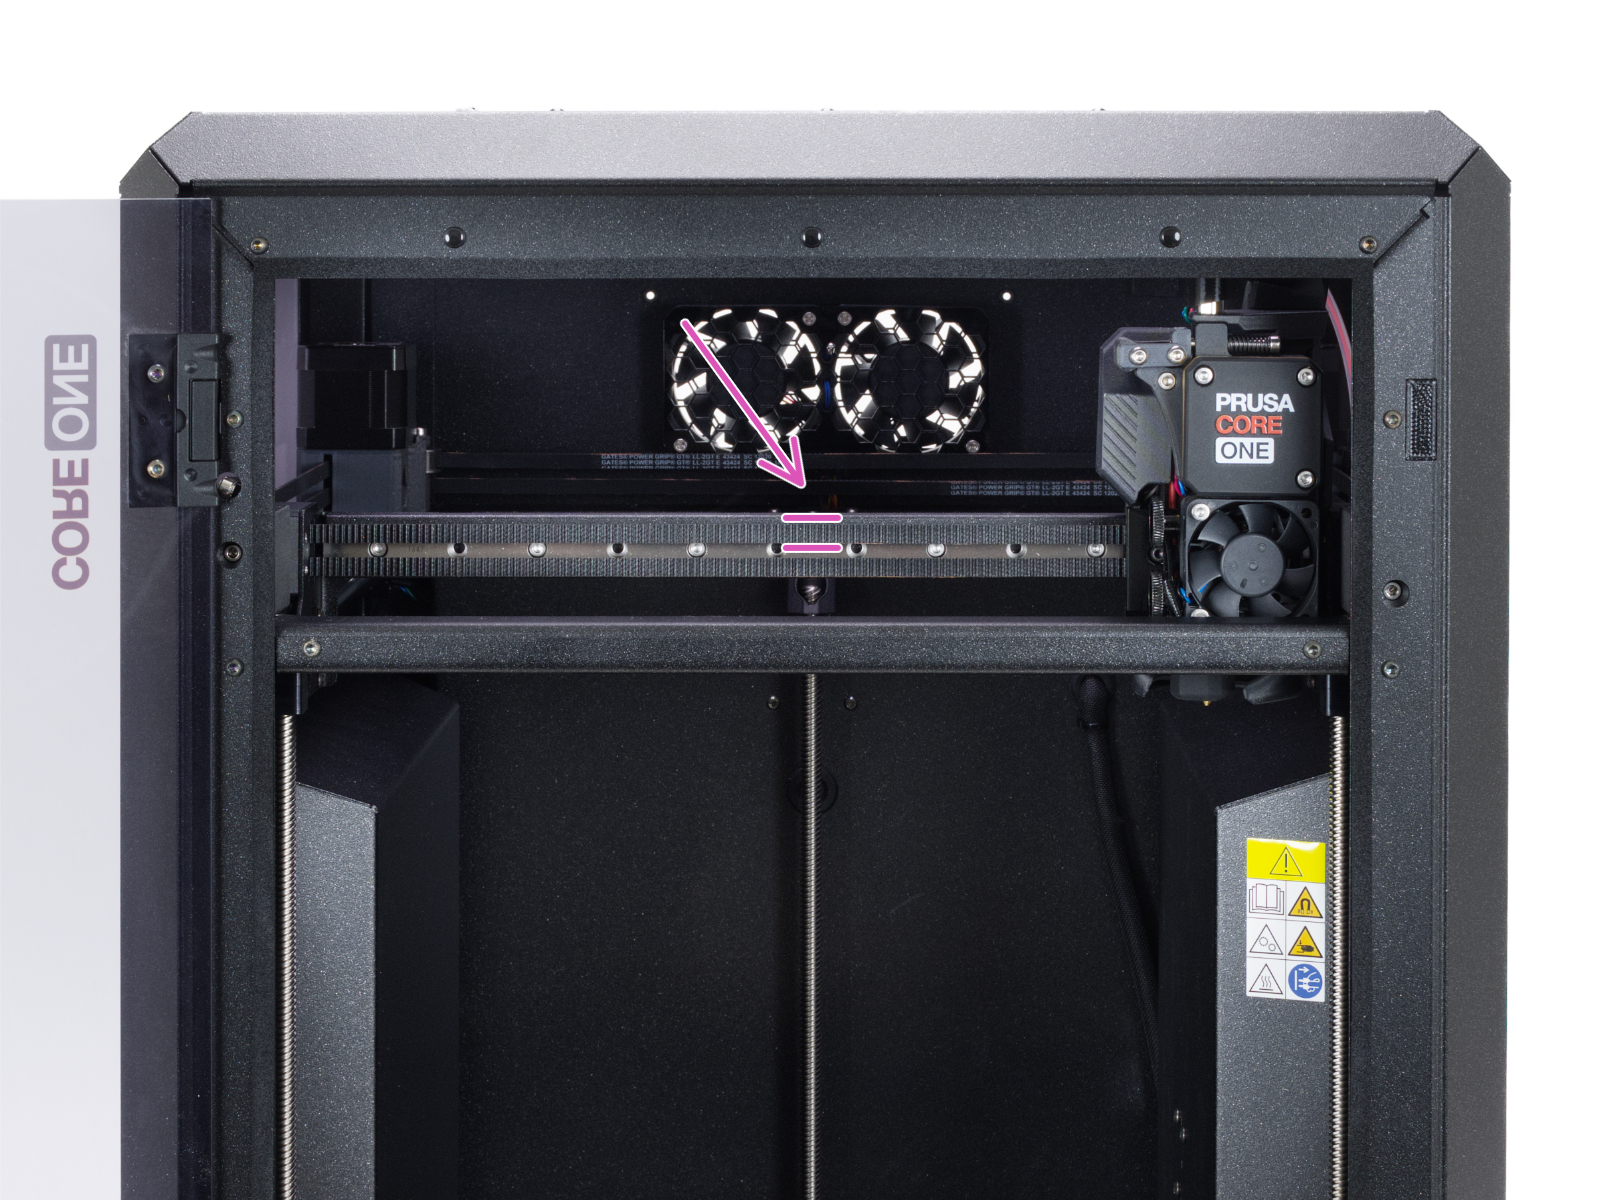
If your gantry is out of alignment, you may not be able to reach these exact values. In some cases, the lower belt can even show a slightly higher frequency than the upper belt. This is acceptable as long as the difference between the two does not exceed 8 Hz, and both values remain within the 90–98 Hz range (CORE One) and within the 85-95 Hz range (CORE One L).
If you cannot achieve this, you will need to square the gantry manually before adjusting the belt tension. See the instructions in “Quick Gantry Alignment” above or “Extensive Adjustment of gantry and belts” at the bottom of this article.
Important: Always tighten both tensioner bolts evenly and alternately. This ensures that the gantry stays square during adjustment.
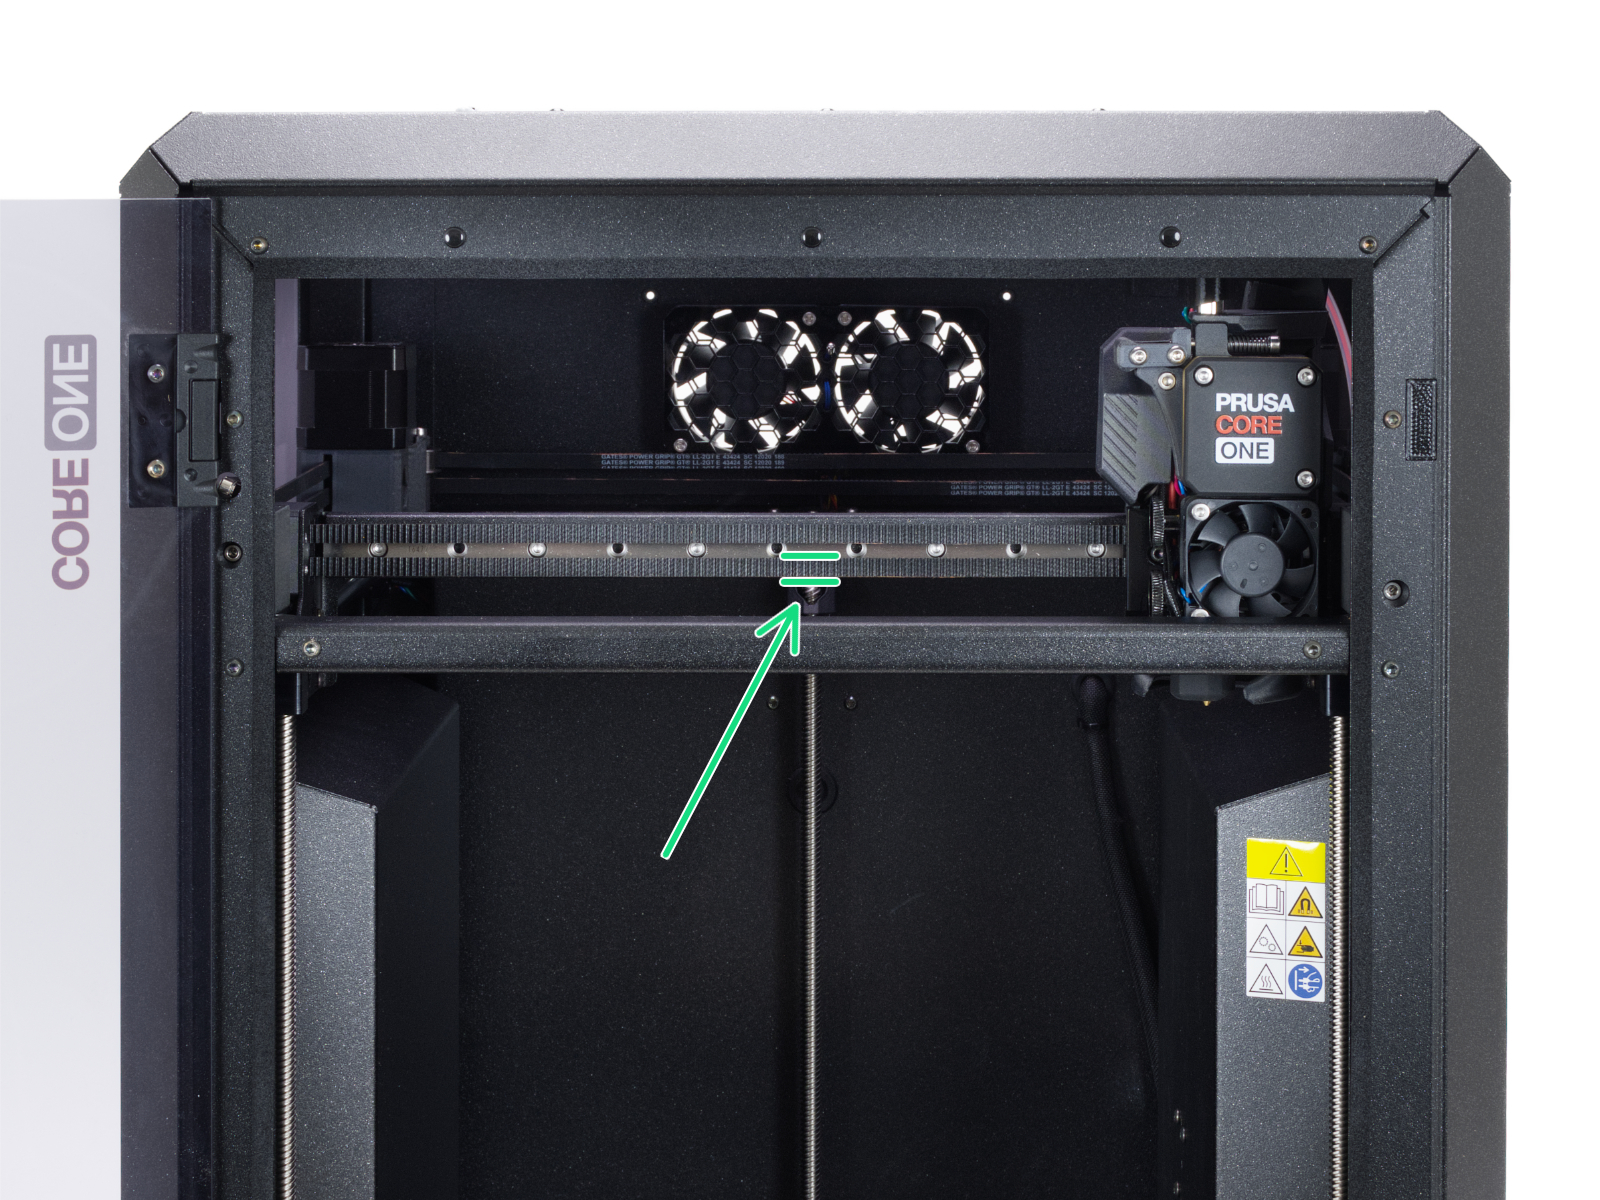
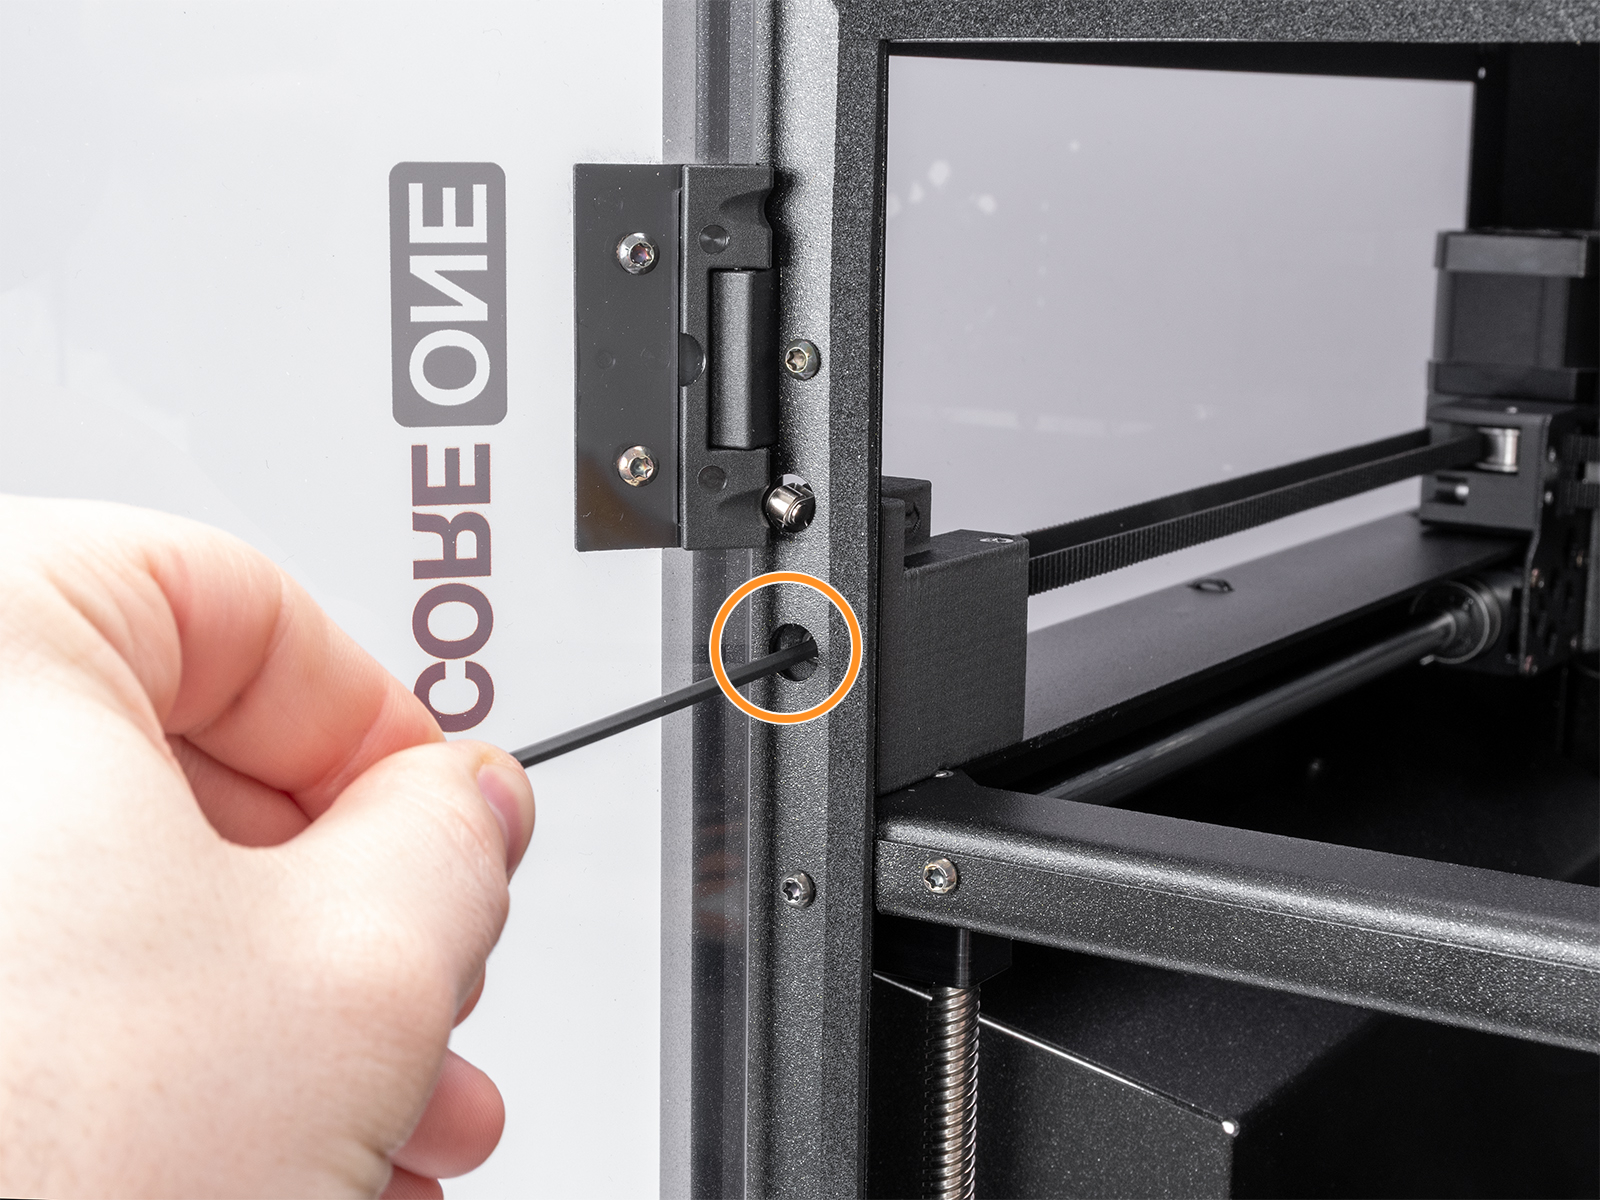 | 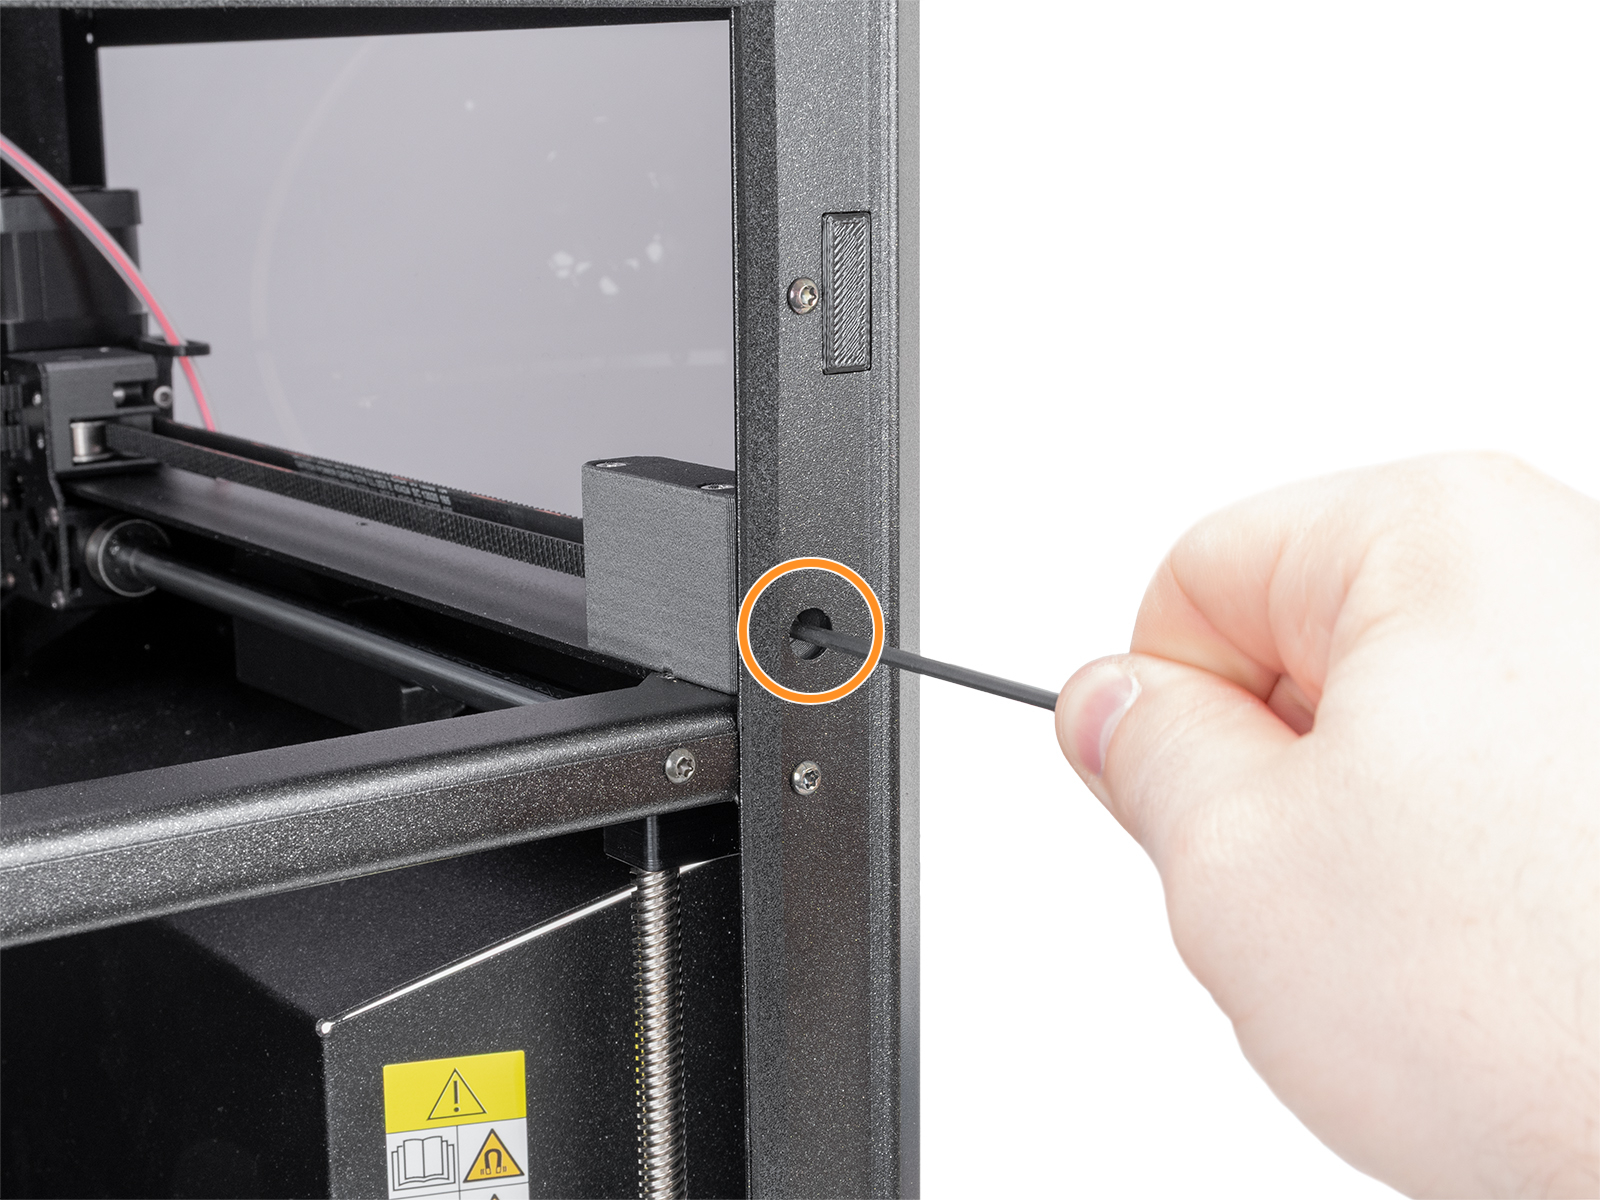 |
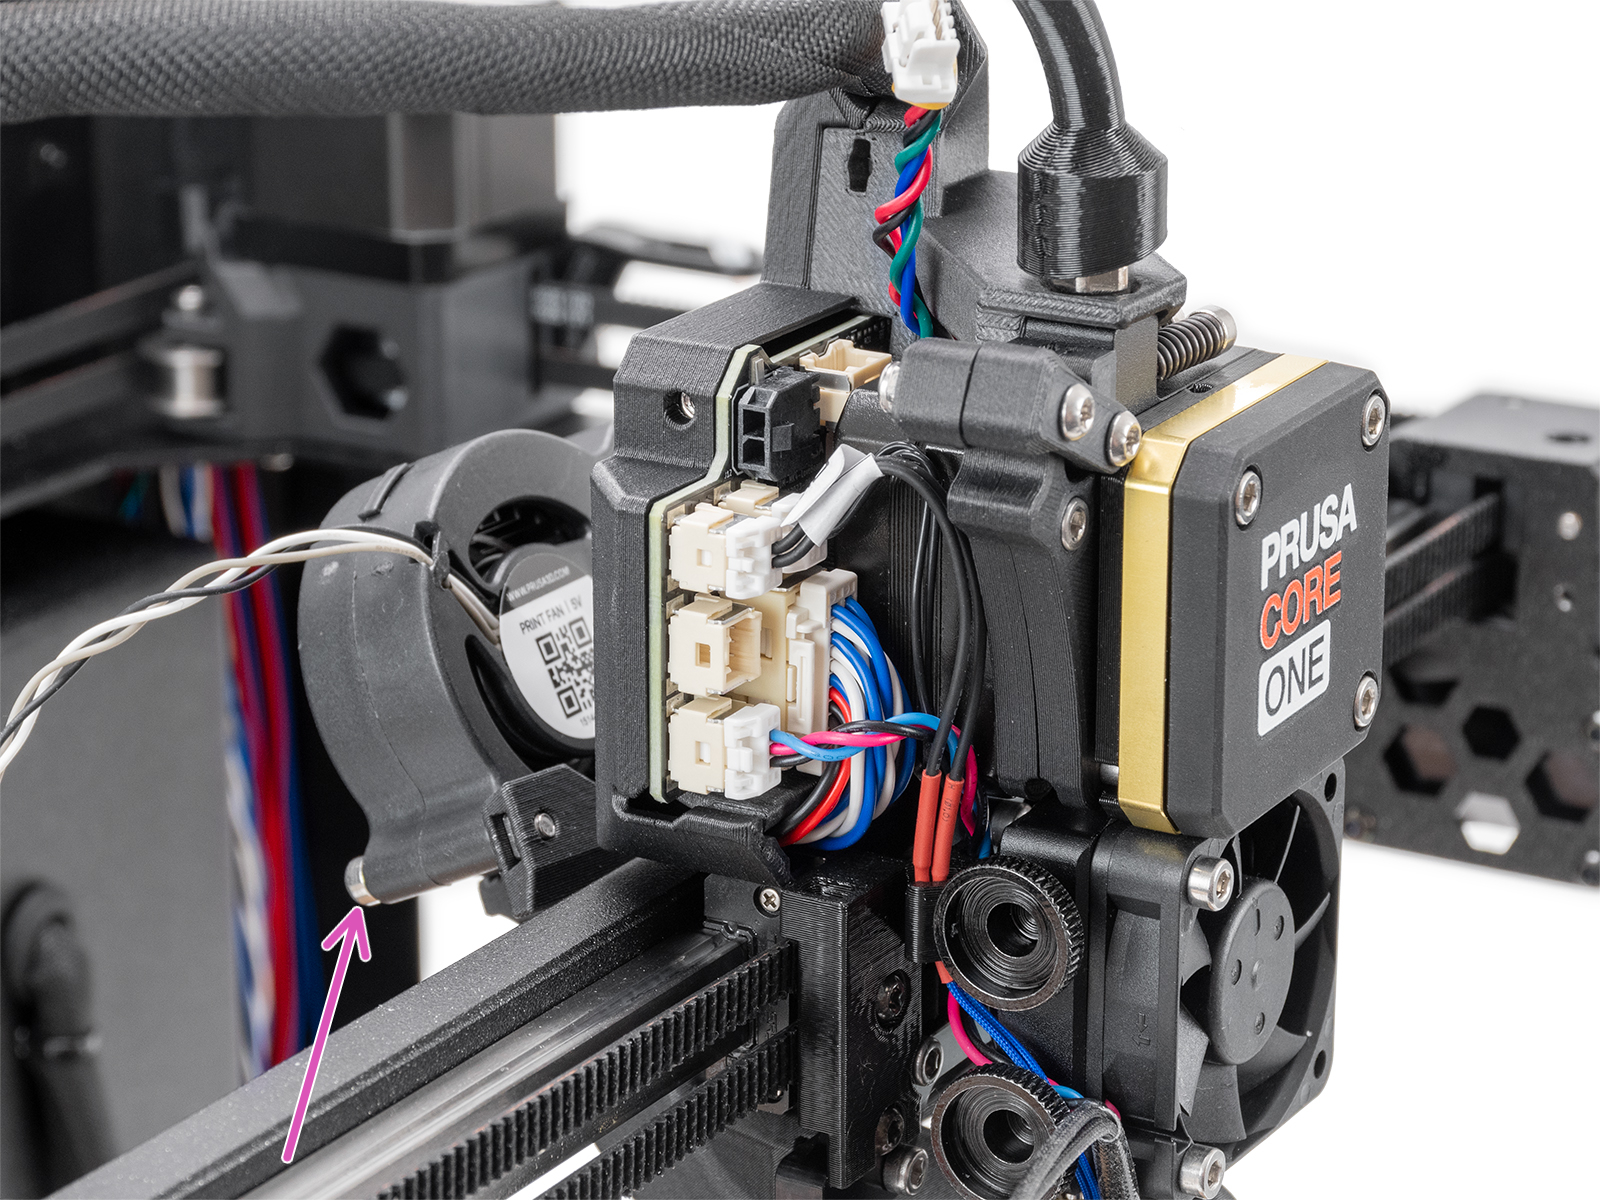
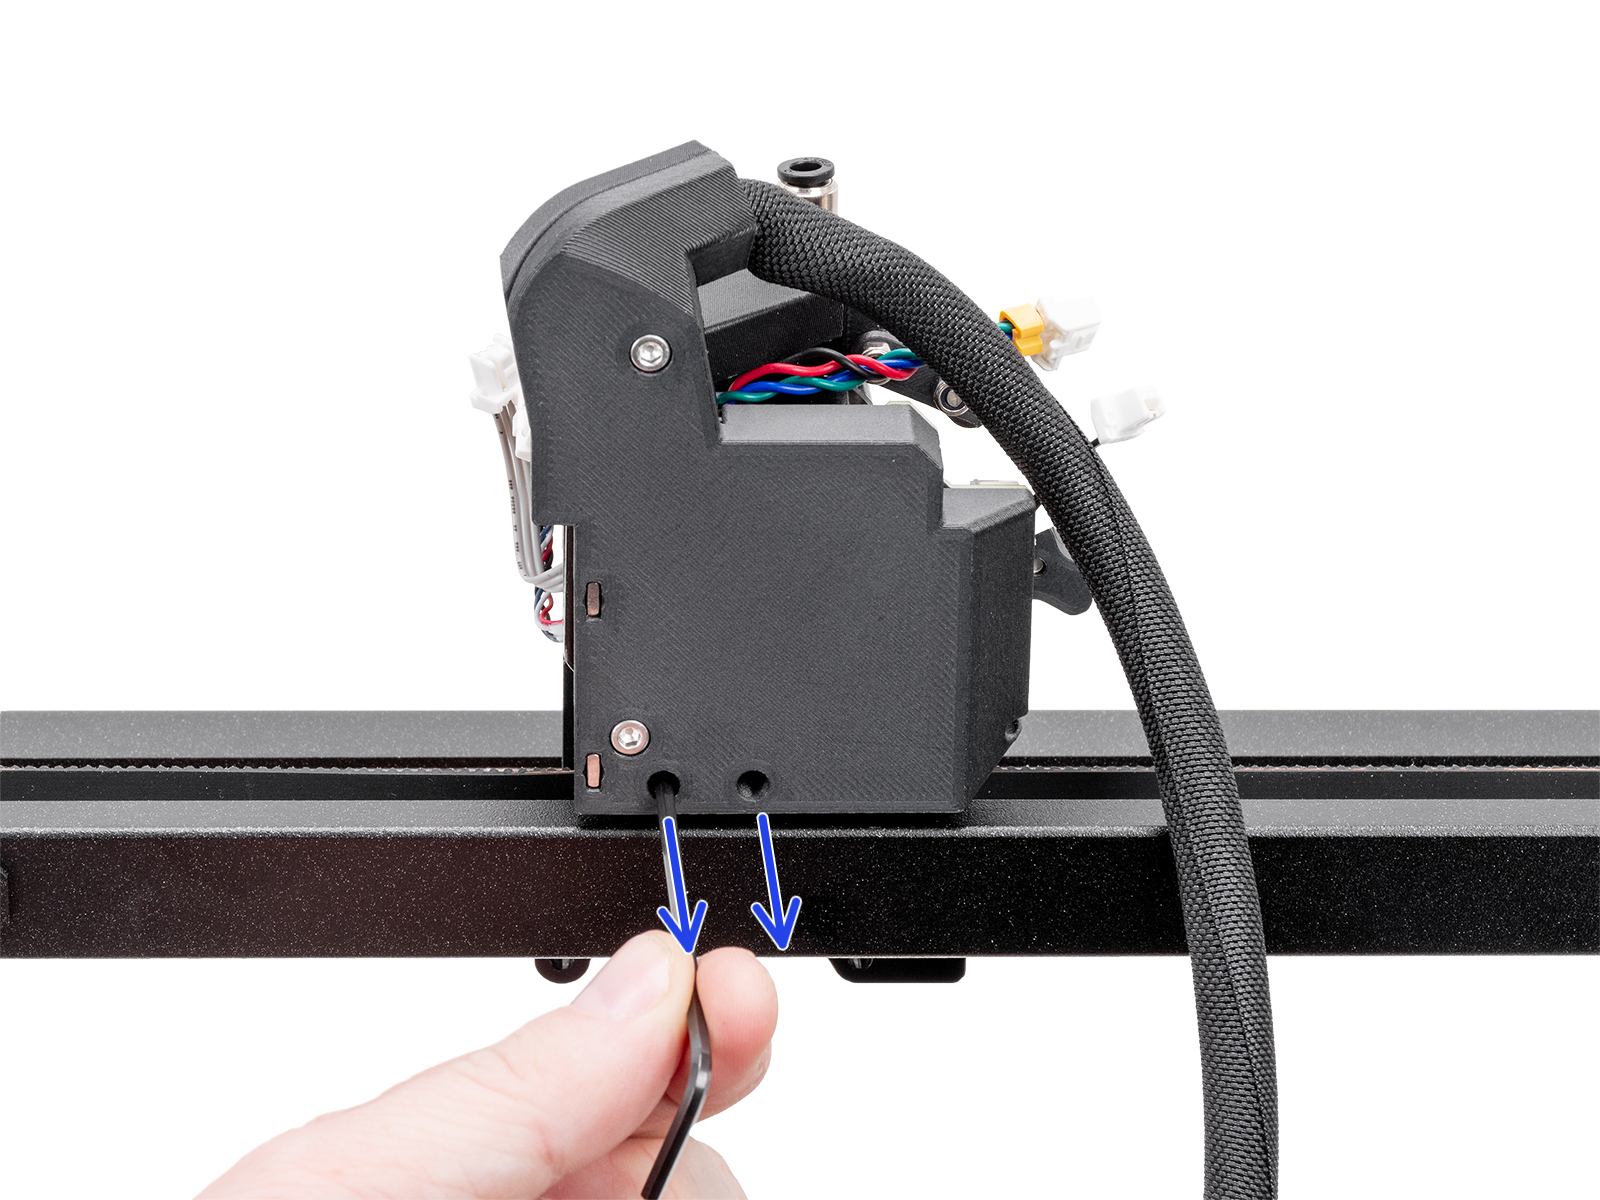
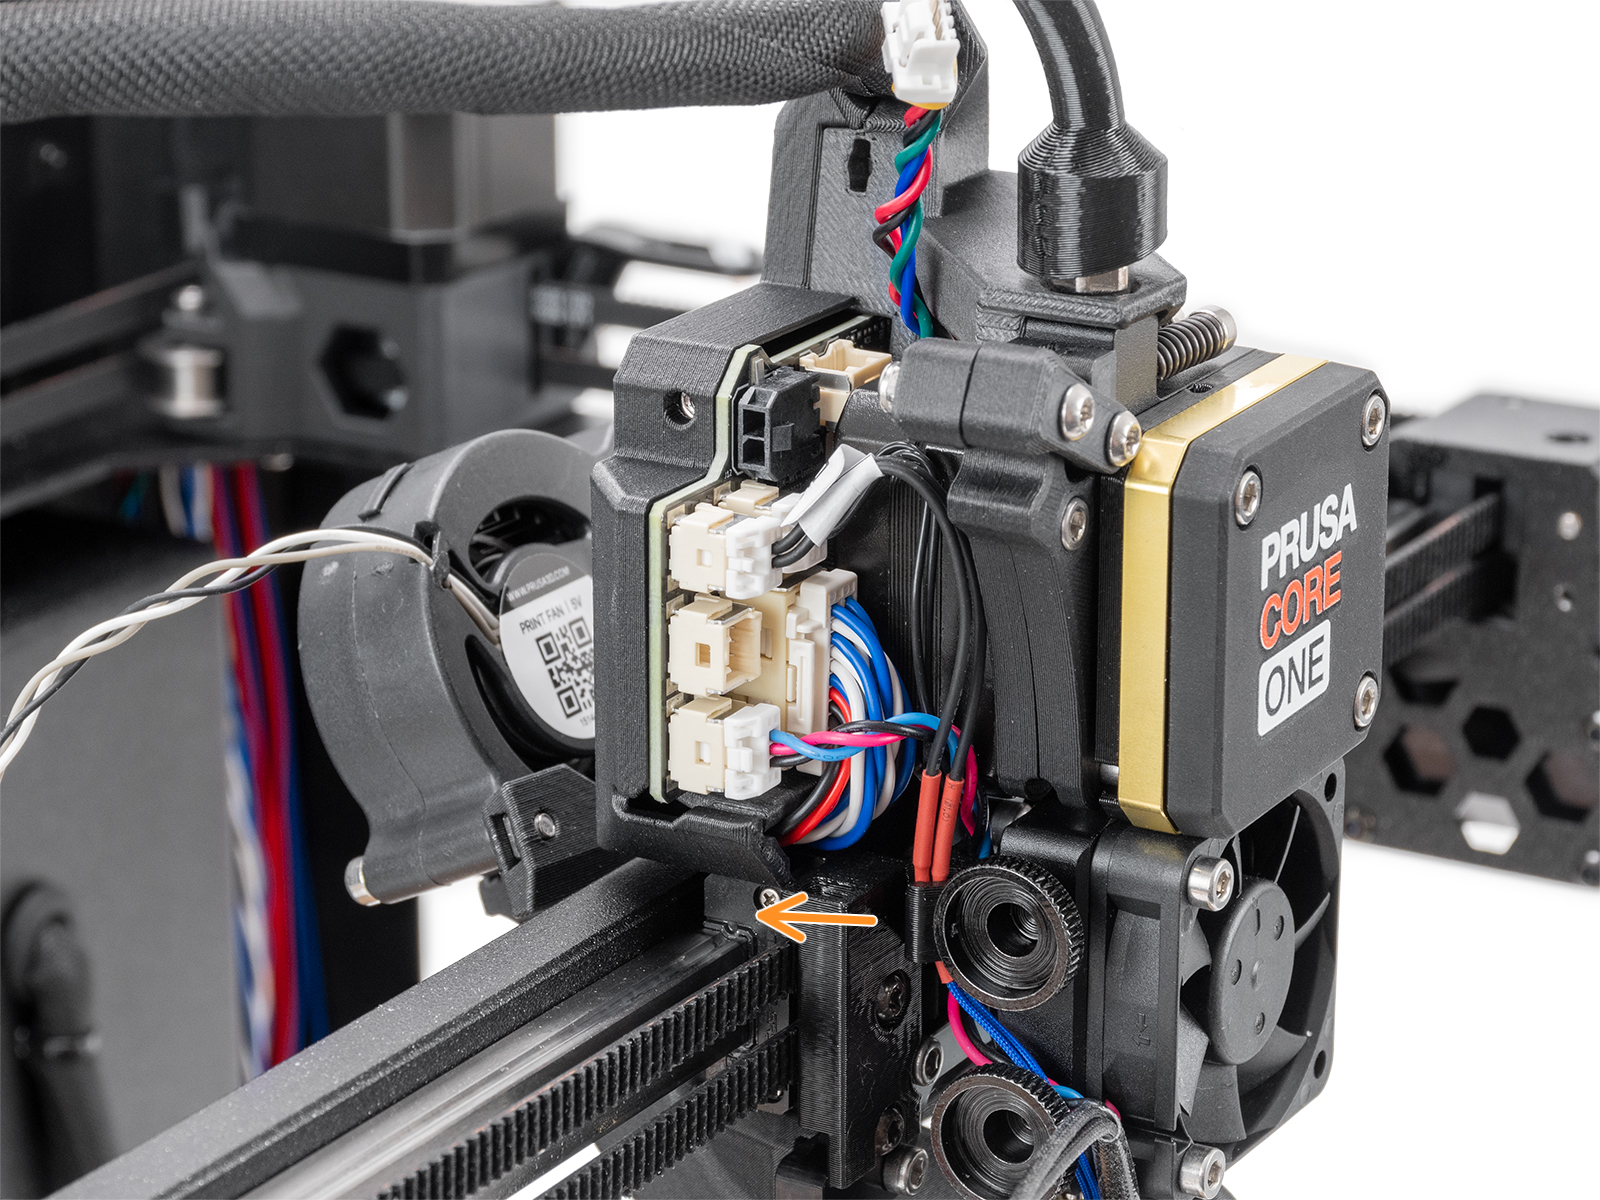
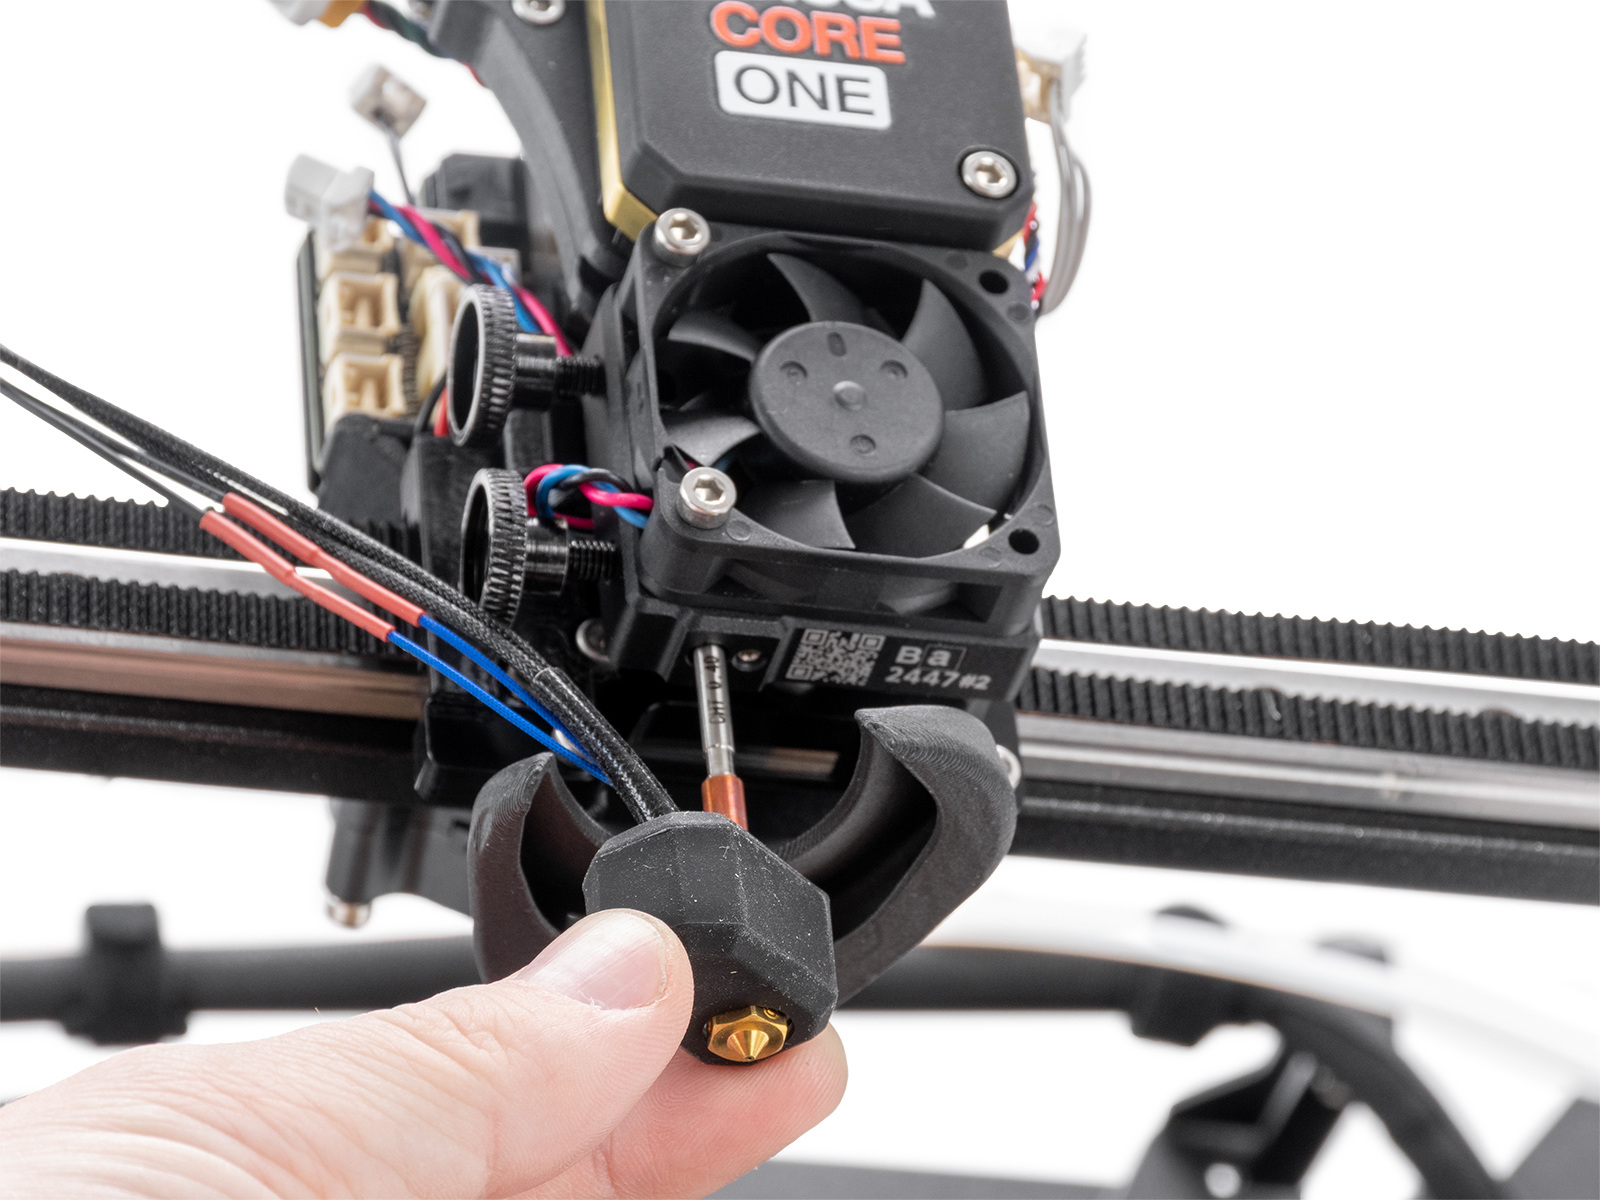
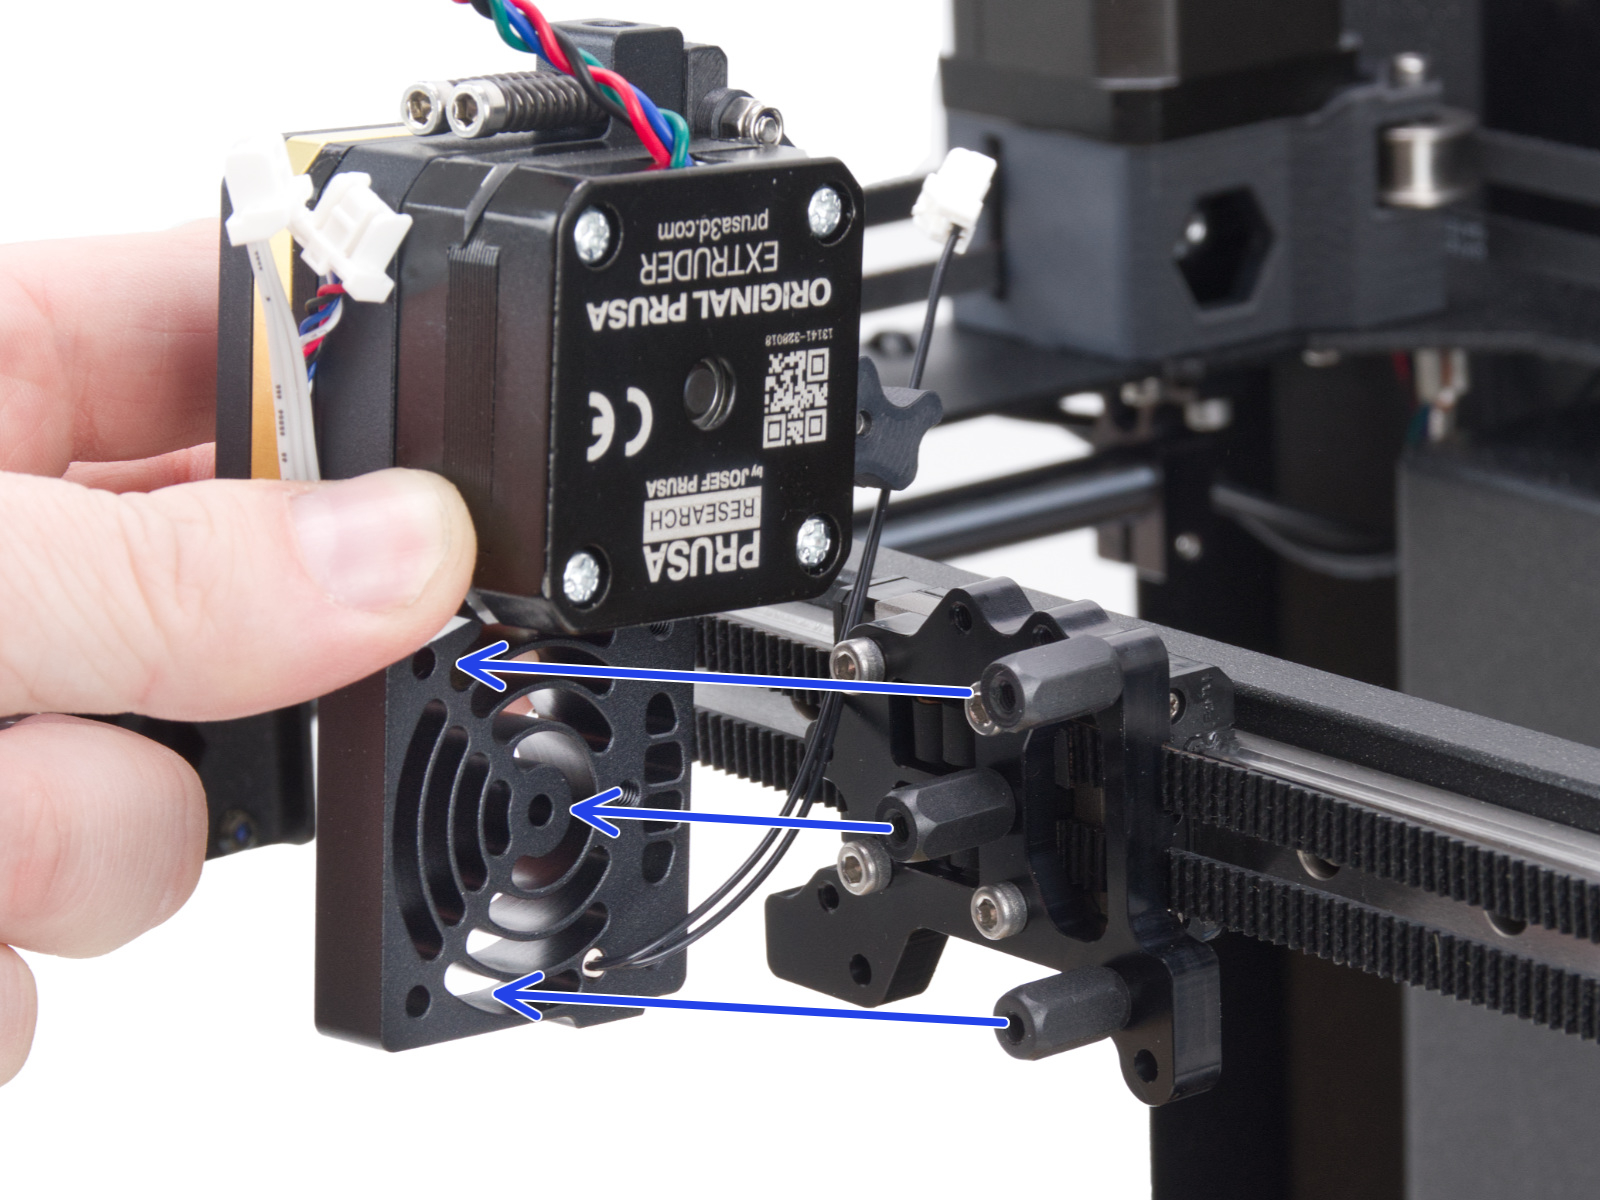
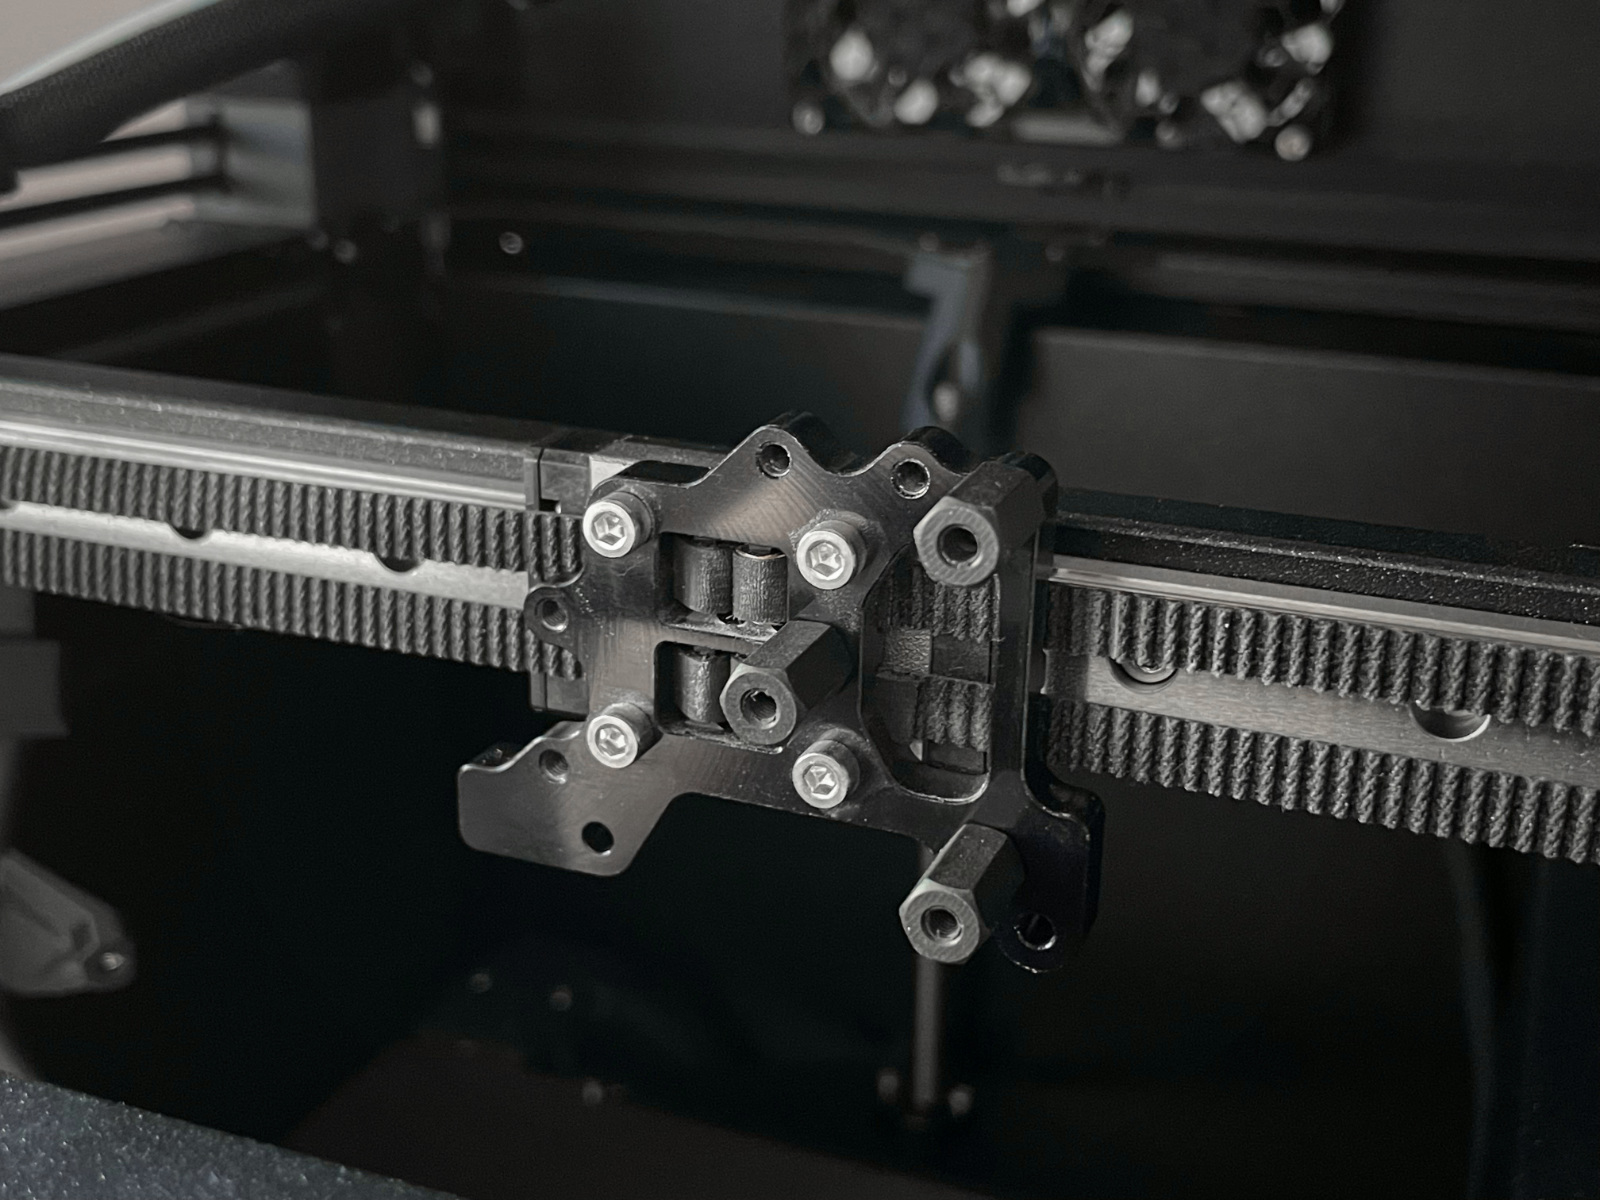
The belt tensioners should be able to solve most belt issues. However, if you need to make a larger adjustment because of a really out-of-alignment gantry or a belt that has slipped from the holder, follow the steps below to access the belt.
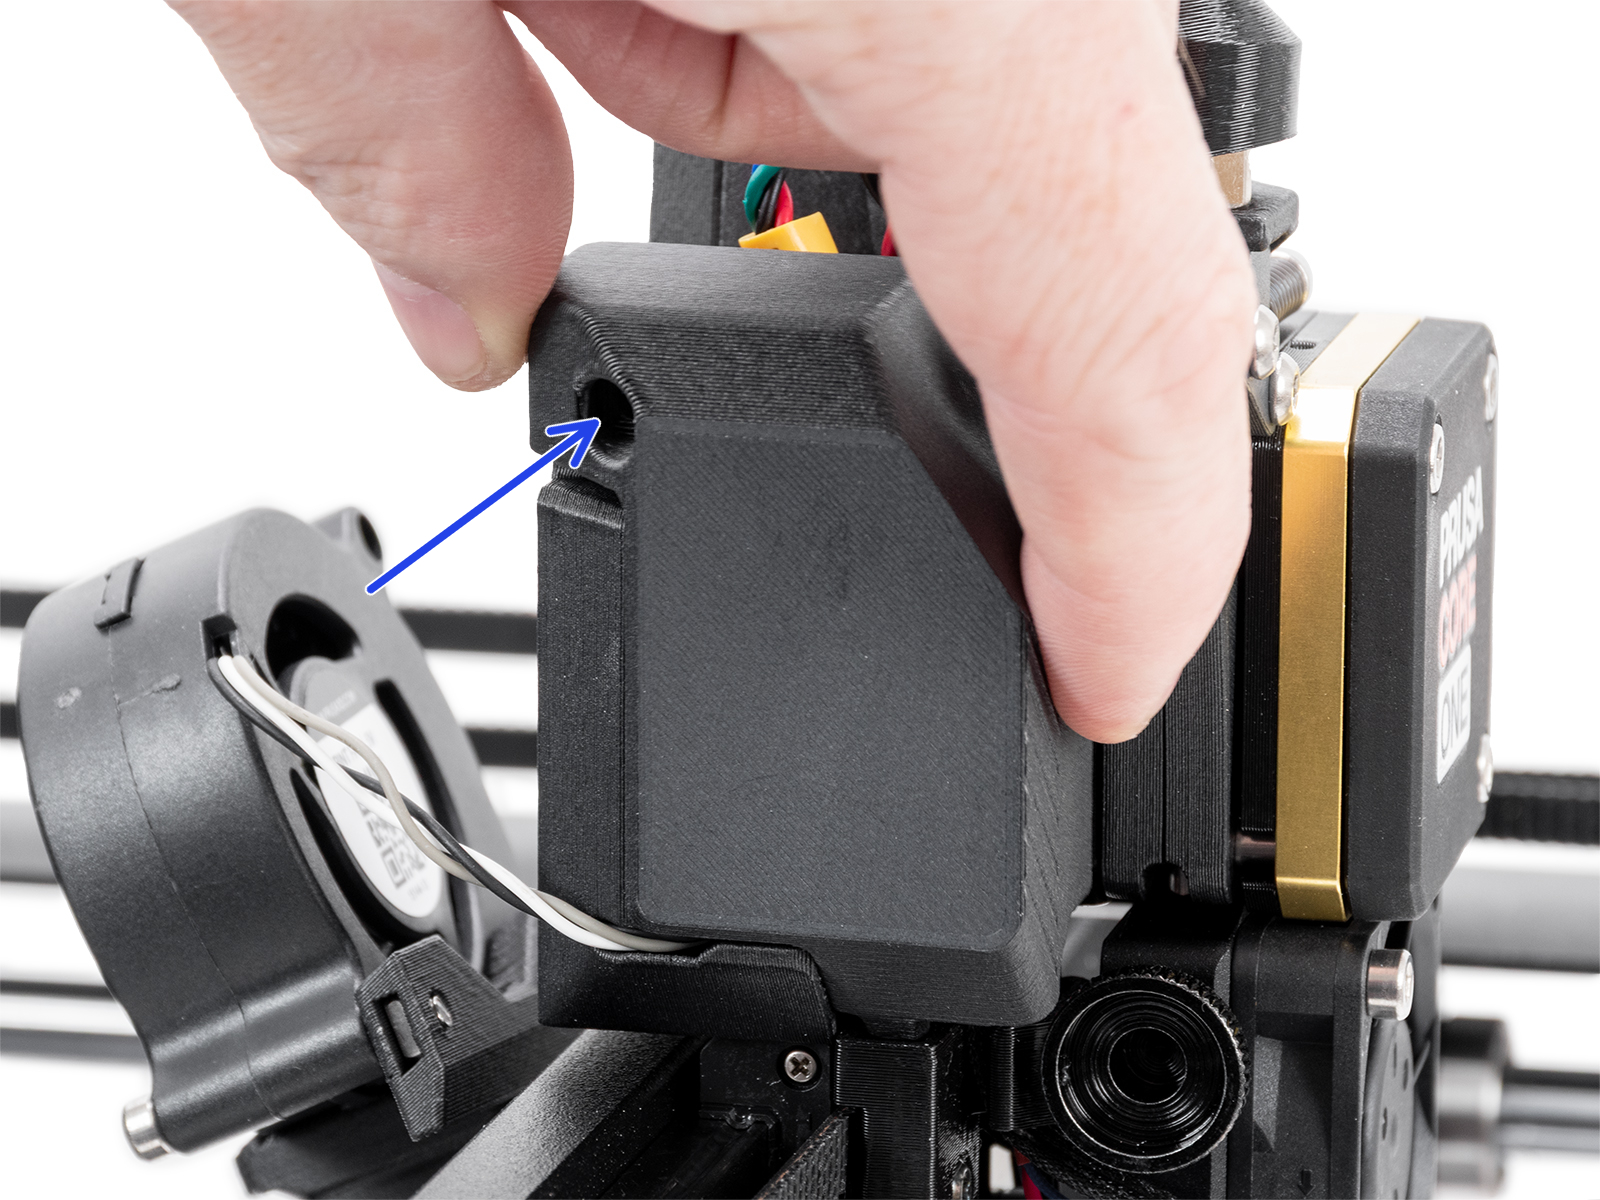 | 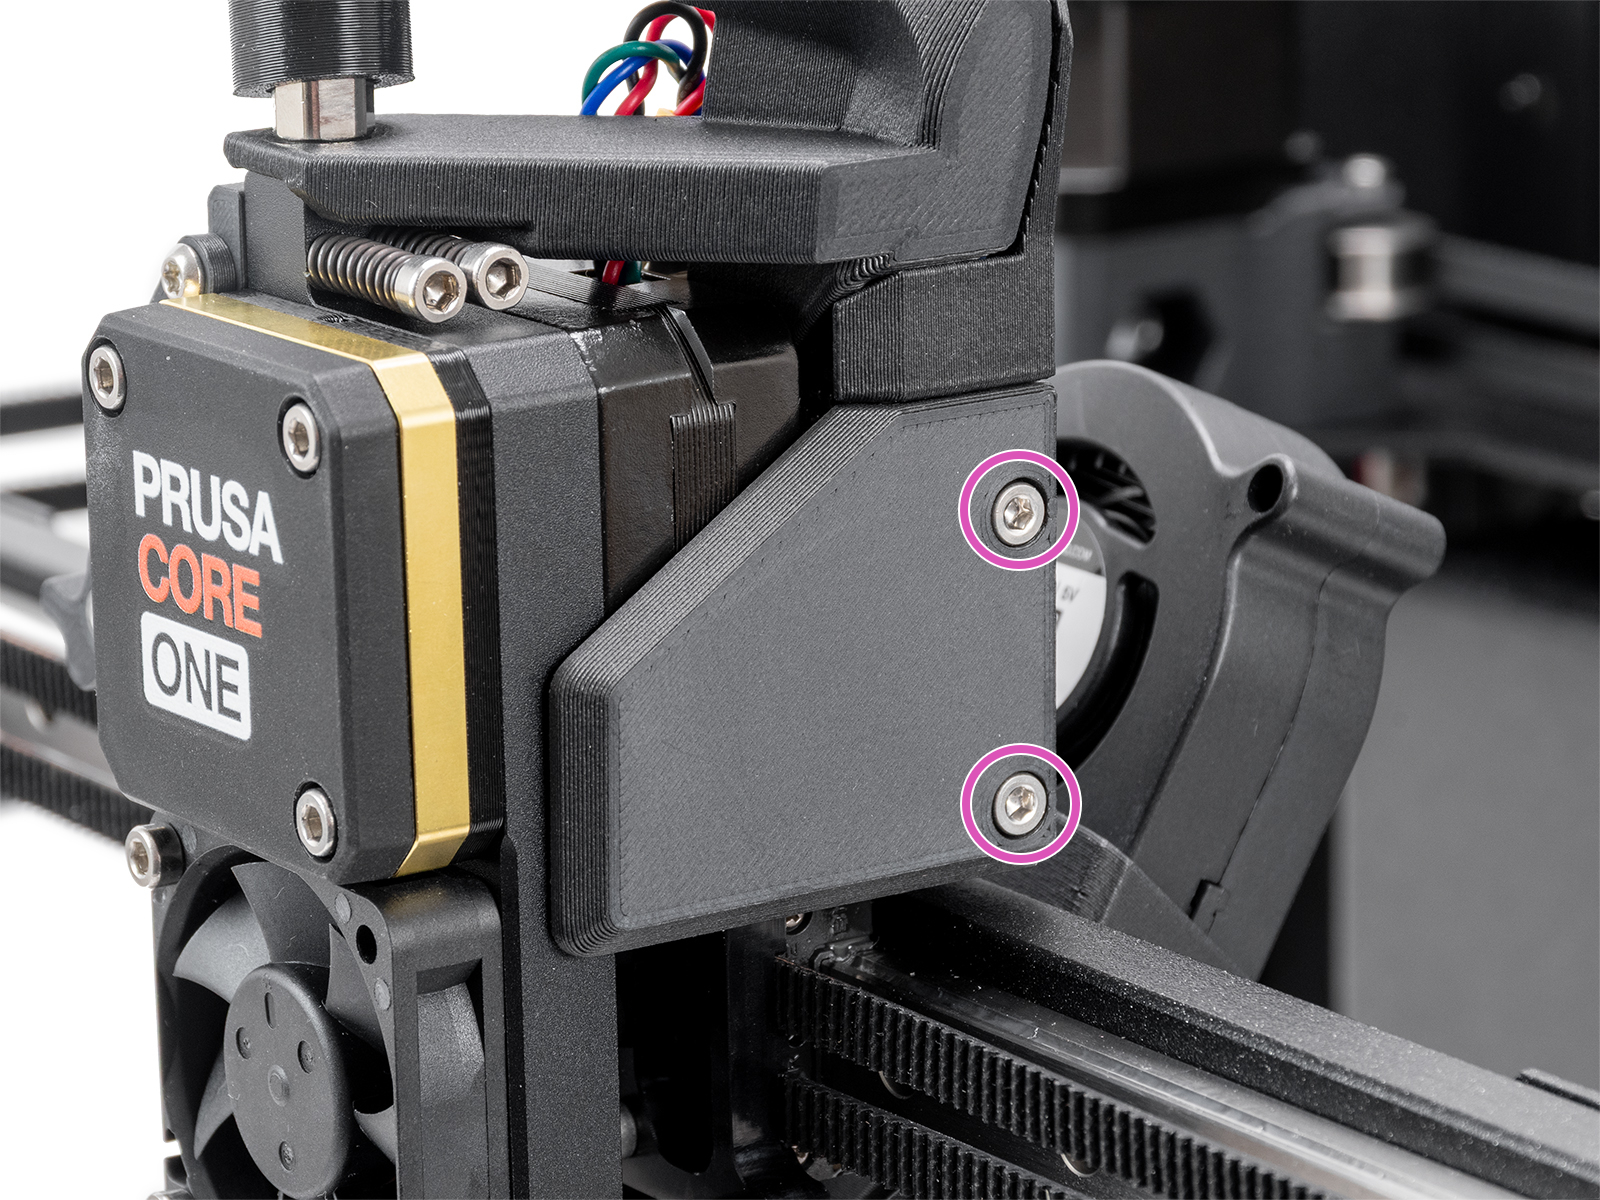 |
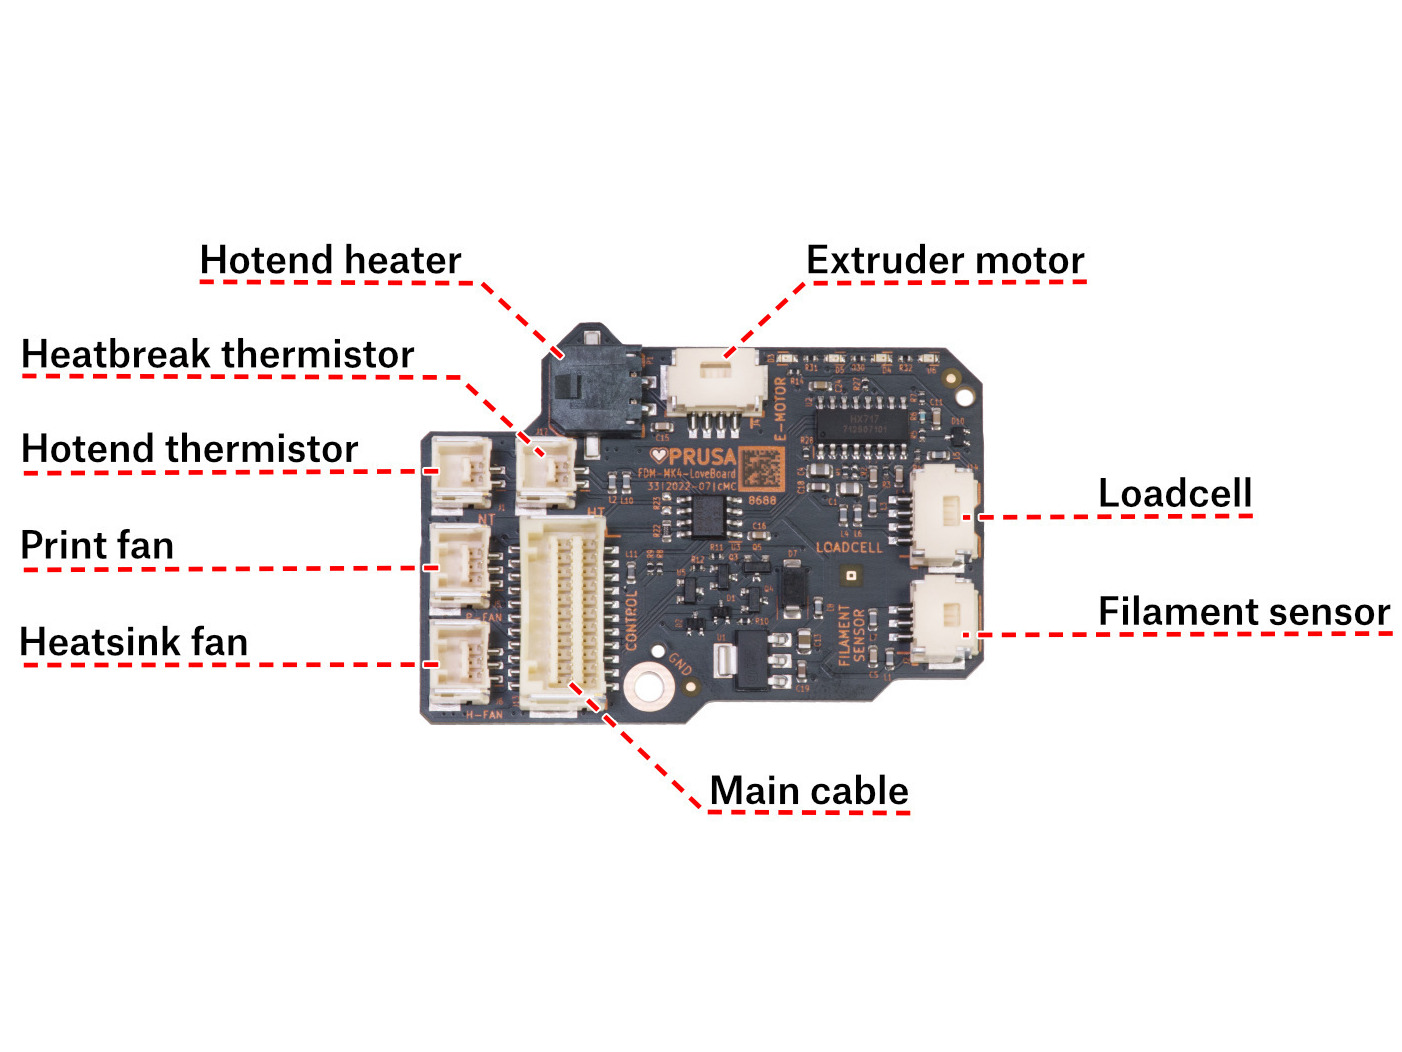
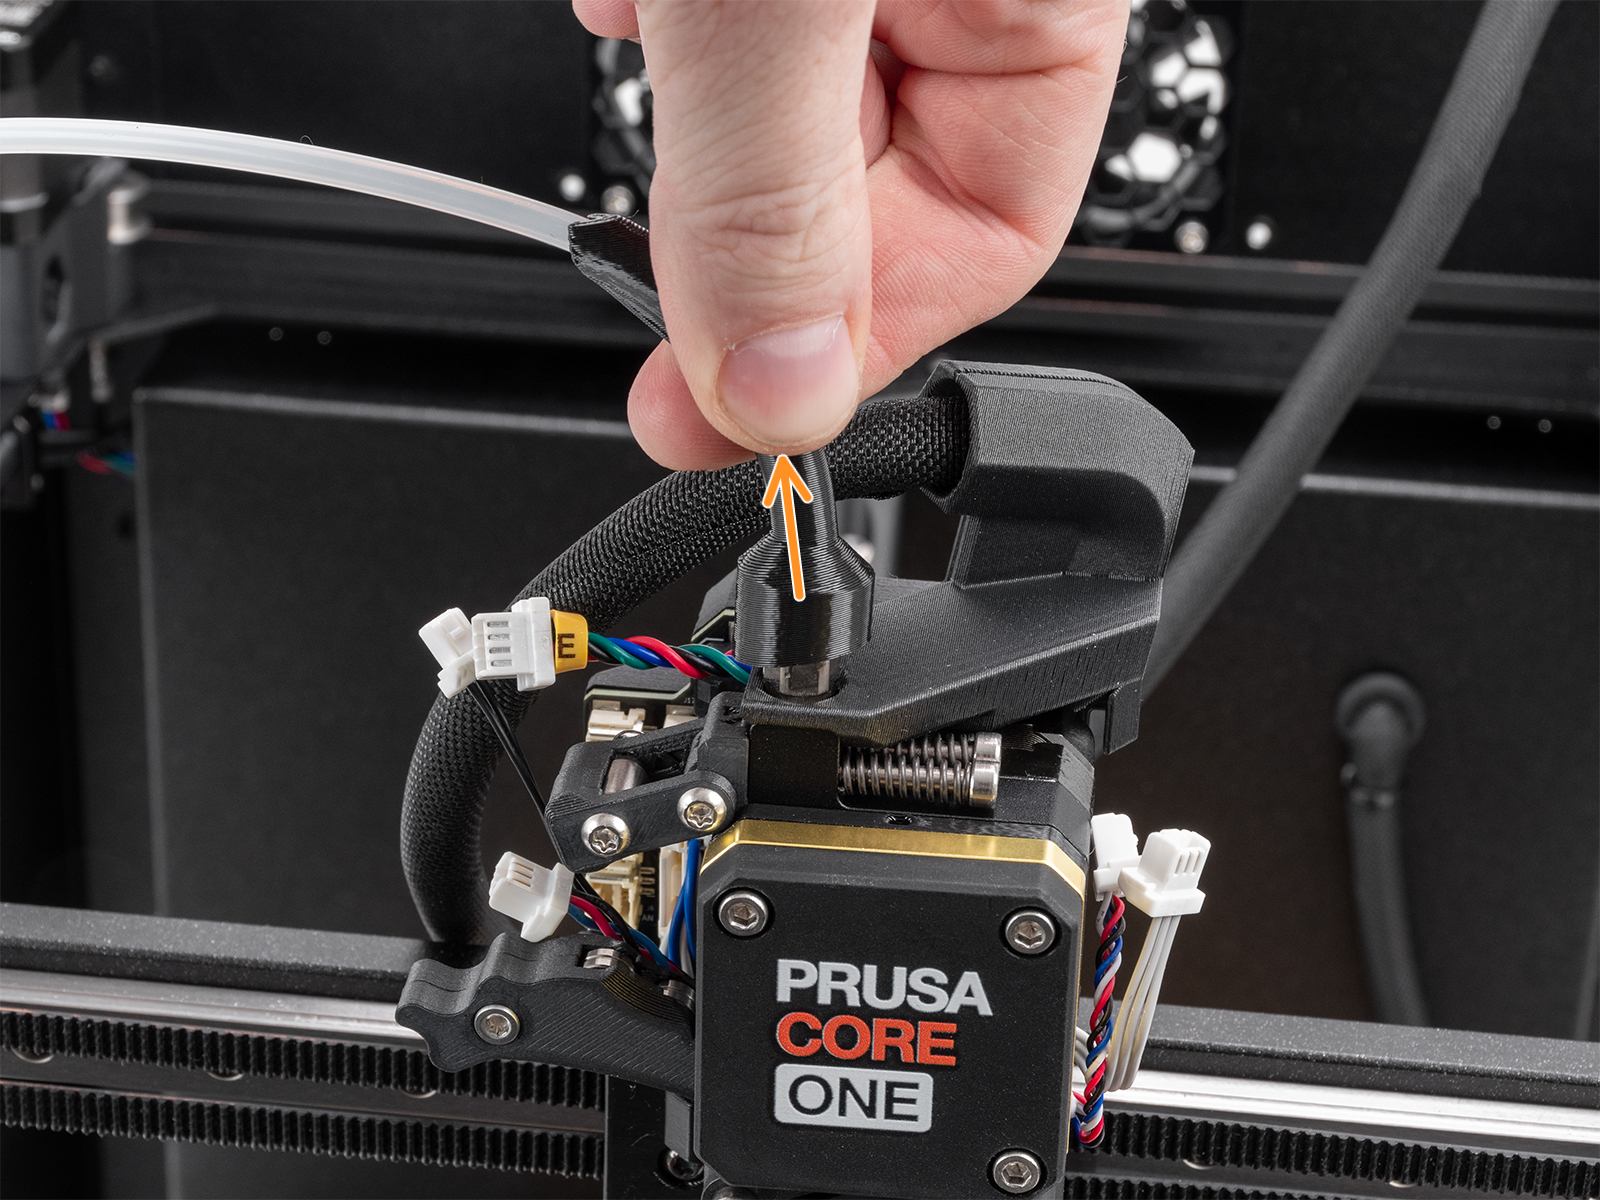
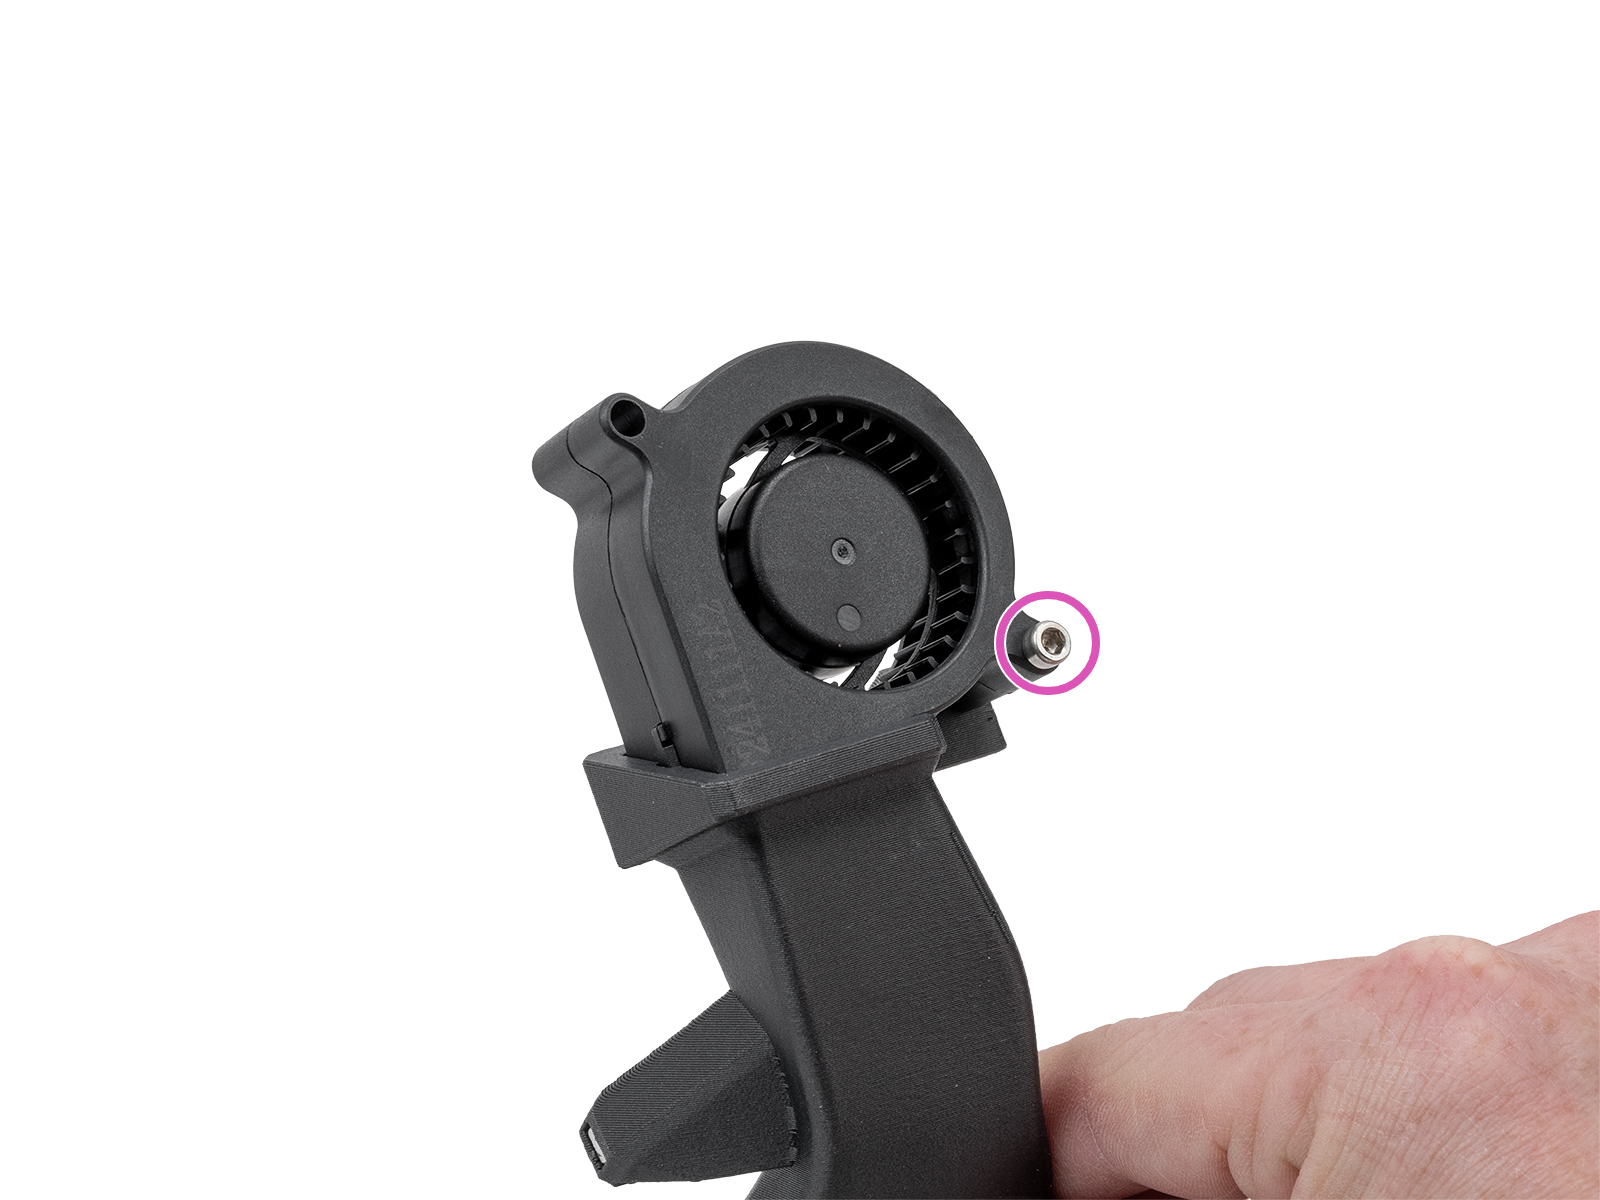 |  |
 |  |
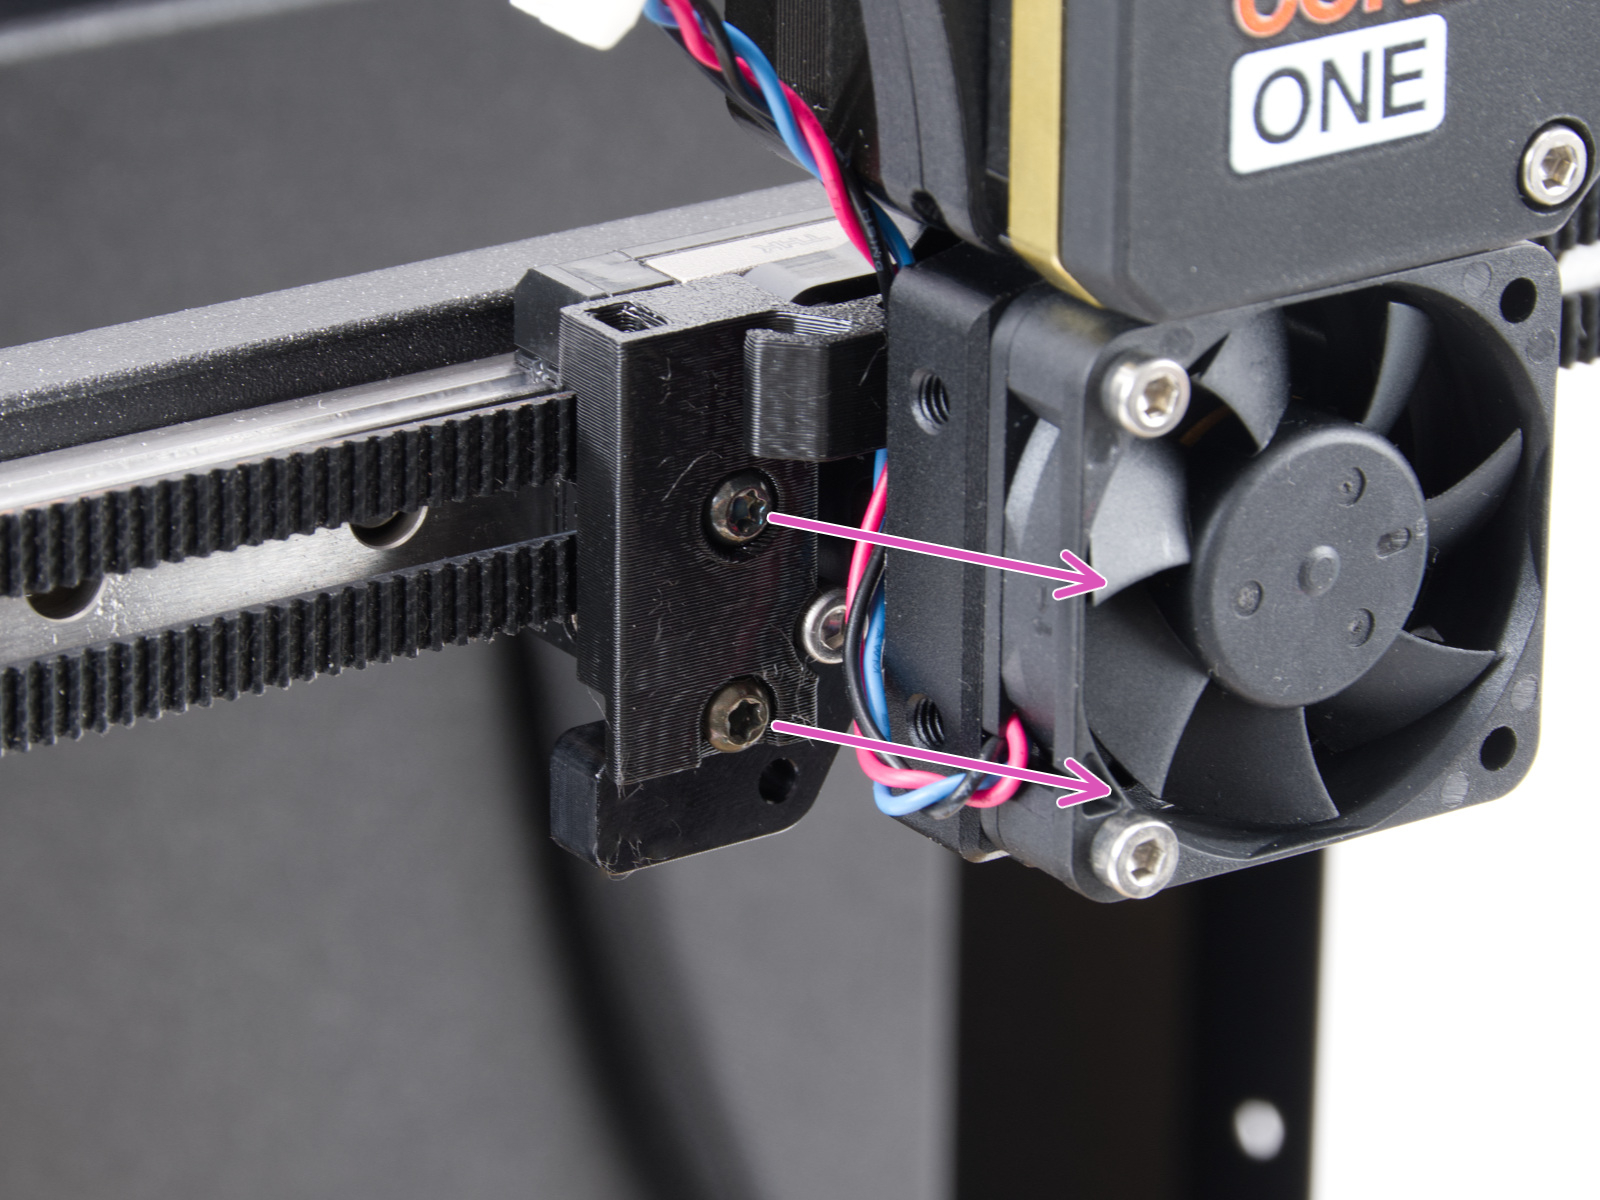 | 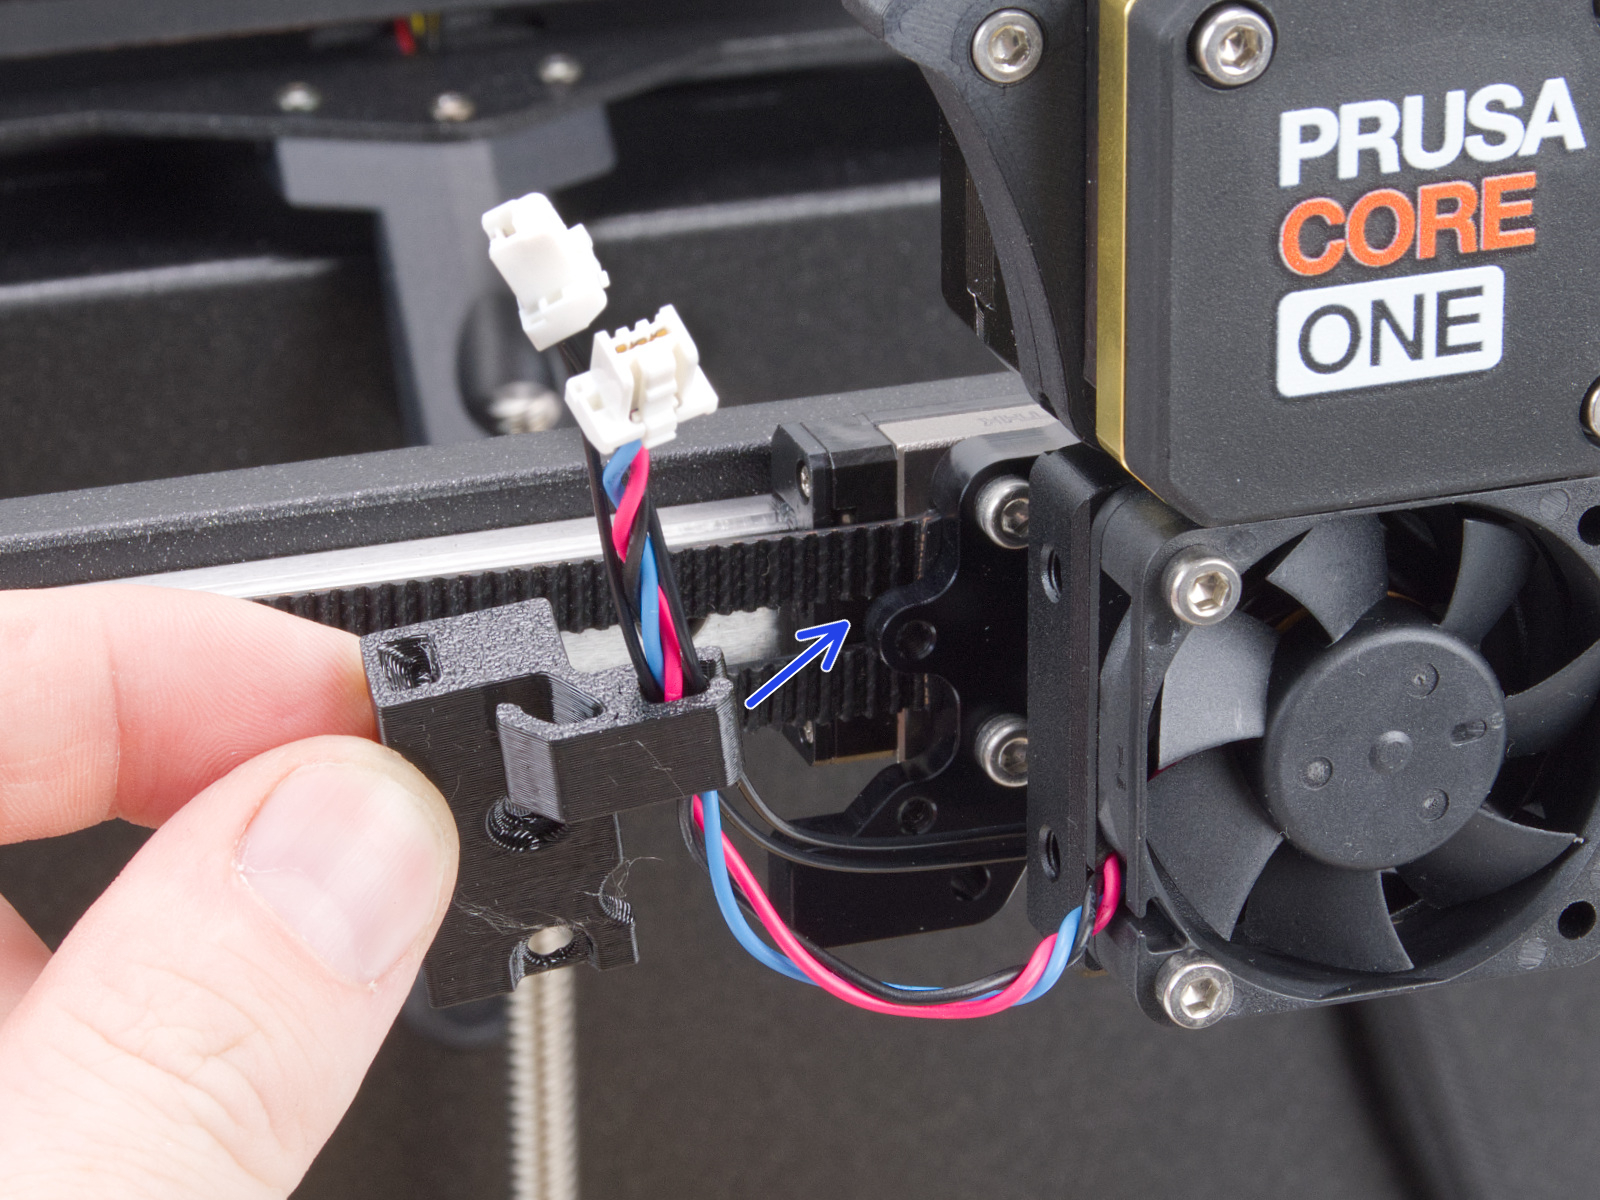 |
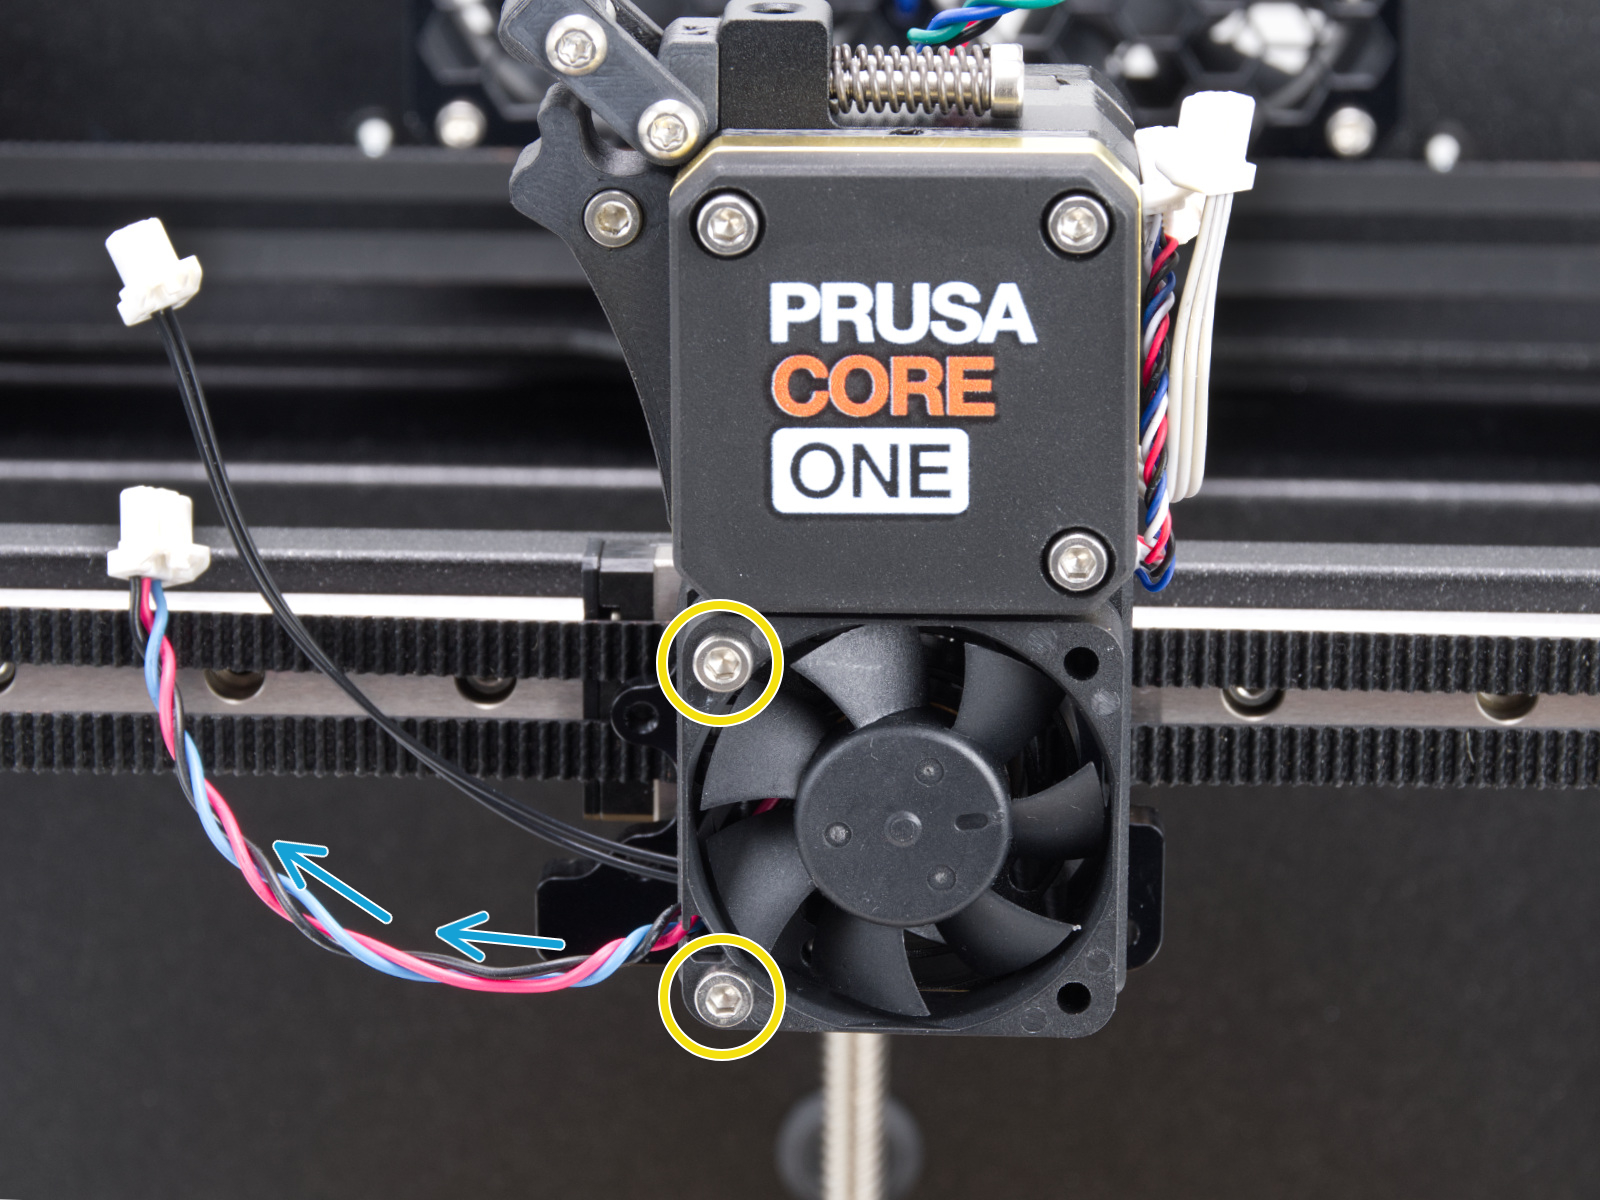
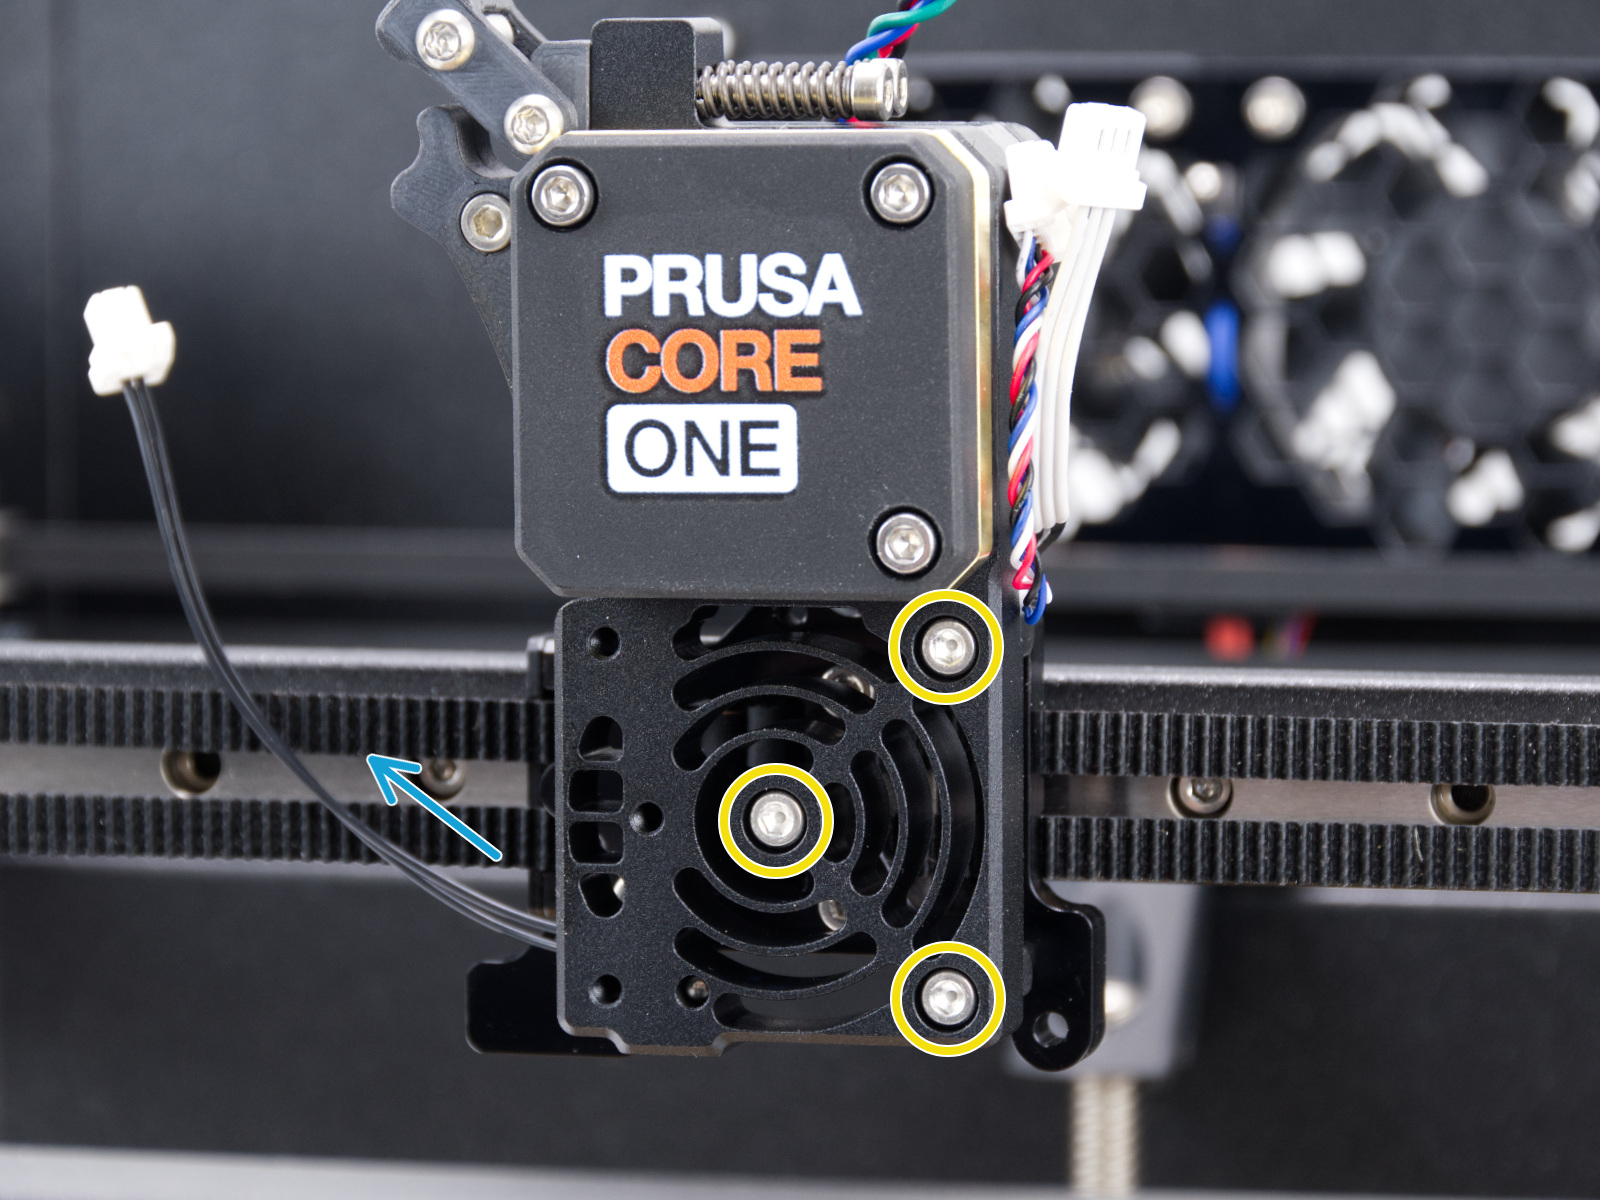 |  |
100 comments
It appears as though the self-tuning process has a relatively narrow bandwidth. If you are not within 15-20 percent of ‘correct’’, you will be left clueless about what to do.
After unsuccessfully getting any reaction from the belts during the stimulation process, I decided to try the old fashioned way. Downloaded an audio spectrum analyzer app to my iPhone and plucked the belts. This showed me that they were both too loose … under 70hz. I tightened both to get them to about 90. I then tried the Prusa self-test method and was quite surprised to see exactly what the video was showing. Tuned per the instructions and all is good.
My recommendation would be to create instructions that mere mortals can use to get the tension into the range where the self-test will actually work.
Since we dont know how much to tighten before trying to calibrate. At first it was way to low and even tho i managed to get it to vibrate the tuner always failed because "values where out of limits" and i shall adjust the gentry. but my gentry was perfectly alligned with no play nor gap at all.
TLDR: What i did was starting with the upper belt and tigthend both until the upper belt vibrated with 90hz as expected. then the same for the lower belt until that vibrated aswell.
that got me to passing the test. but changing one belt has also influence on the other so i started the tensioning again and proceded the same until both belts vibrated at 90hz regardless of the step of the wizzard.
to make sure everything was fine i then checked gantry allignement again and run the calibration again. Gantry was still square and both belts where vibrating on 90hz.
i really like the built in tuner but i think either the tuner or the article about it need rework.
i would really aprecheate some feedback on how i should have done it and if my procedure is fine or not
best regards