The HT Hotend is a high-temperature hotend. Its main benefit is enabling nozzle temperatures up to 400°C and offering broader material compatibility than the standard hotend configuration.
Note that the MMU is not compatible with the HT hotend.
It is compatible with the following printers:
CORE One
CORE One+
CORE One+ (Gen 2)
CORE One L
CORE One L+
Do not use the HT hotend with nozzles or printers that are not explicitly specified in this article as being compatible. Doing so might damage your nozzle and printer, and will not be covered under warranty.
General use recommendation
The HT hotend can't be used with the standard Prusa Nozzle, high-flow nozzles, or standard Obxidian nozzles. Use it only with the compatible E3D ObXidian Standard Flow 500 nozzles in 0.4 mm or 0.6 mm diameters.
Do not exceed 30% print cooling fan power unless a specific, validated material profile explicitly permits a higher setting.
For high-temperature polymers, start with the filament manufacturer's recommended parameters and tune only as needed, in small increments.
Always operate the printer in a well-ventilated area with filaments appropriate for the intended application.
Avoid contact between bare skin and the heater block. Natural skin oils adhere to the block and bake on at high temperatures, degrading heatblock performance. If touched accidentally while cold, clean the block thoroughly with a dry paper towel before heating.
Starting procedure
When the HT hotend is installed, the printer will briefly heat up the nozzle to detect whether it is a regular or HT hotend.
Select the correct printer profile and matching nozzle diameter (0.4 mm or 0.6 mm) in PrusaSlicer.
Always apply a filament profile specifically matched to the HT Hotend and the material being used.
Properly dry and store hygroscopic filaments (such as the PA/nylon family) according to the manufacturer's recommendations before loading.
Perform the Gearbox alignment required by the printer, and confirm the hotend upgrade menu prompt on initial start-up.
Closely monitor the initial extrusion and first layers of your print to confirm smooth melting and stable temperature control.
Idler and hotend for each material
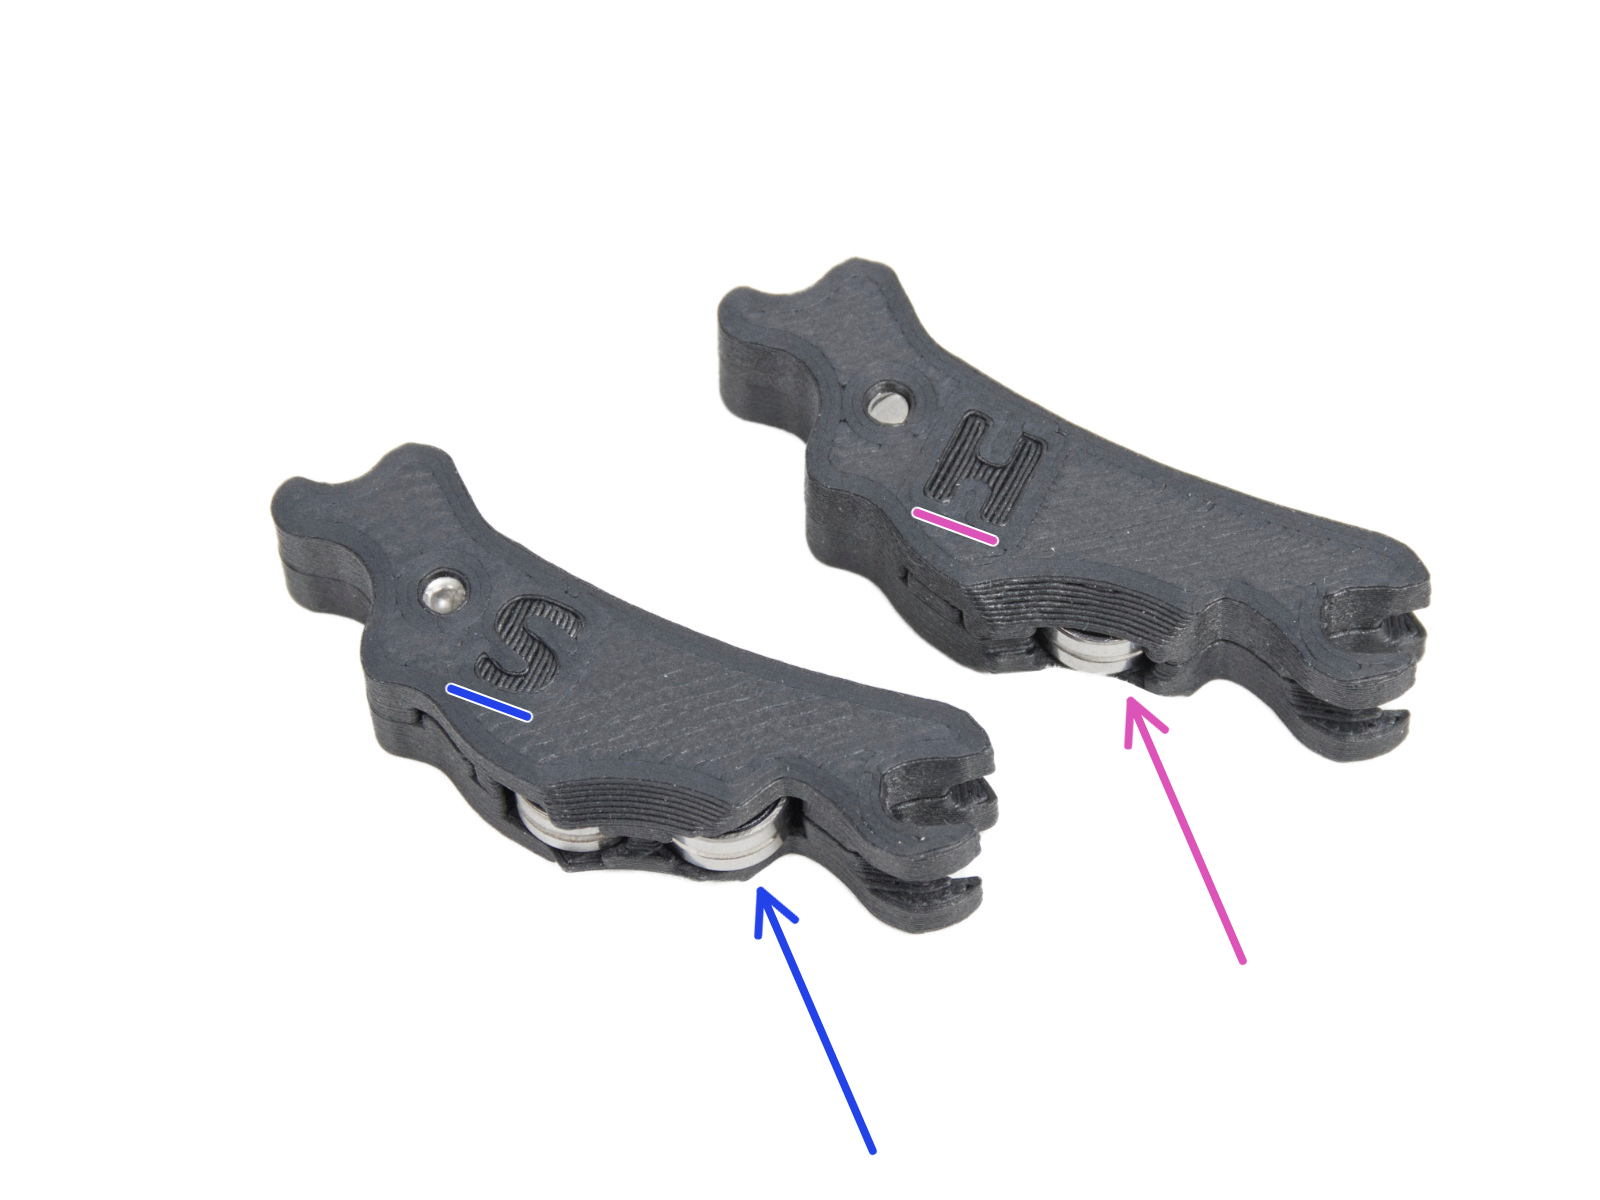
The HT Hotend Upgrade assembly kit also includes a new set of idlers. Each is intended for a different material type.
Marked S: standard idler, has two bearings.
Marked H: modified idler for more demanding materials, has one bearing.
For best results, we recommend installing the appropriate idler before each print according to the table below.
Material
Required Idler
Required hotend
PLA
Standard idler (S)
Standard
PETG
Standard idler (S)
Standard
TPU/Flex
Standard idler (S)
Standard
PVB
Standard idler (S)
Standard
ASA
Standard idler (S)
Standard/HT
PA11-CF
Standard idler (S)
Standard/HT
PC
Standard idler (S)
Standard/HT
PCCF
Standard idler (S)
Standard/HT
PPS-CF
Modified idler (H)
HT hotend
PPS-GF
Modified idler (H)
HT hotend
PPA-GF
Modified idler (H)
HT hotend
PEKK-CF
Modified idler (H)
HT hotend
PPCF
Modified idler (H)
HT hotend
PPSU
Modified idler (H)
HT hotend
PEEK
Modified idler (H)
HT hotend
Installing the idler
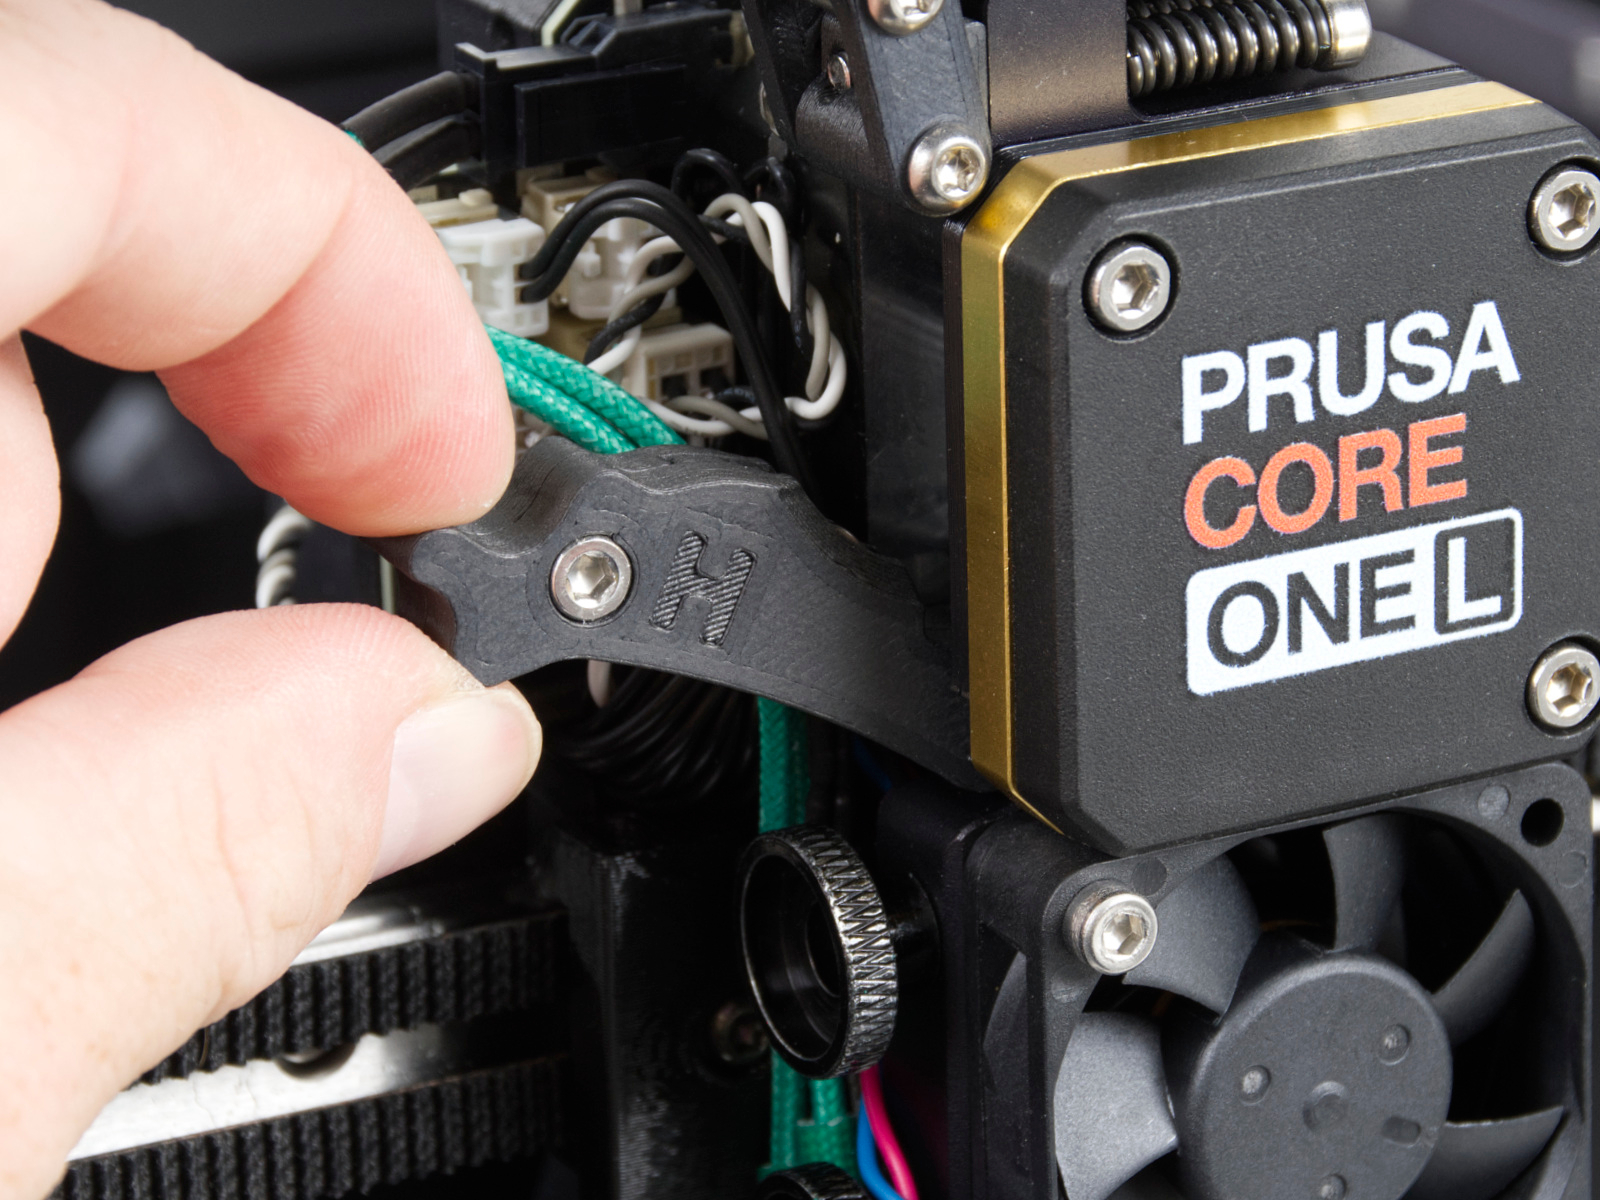
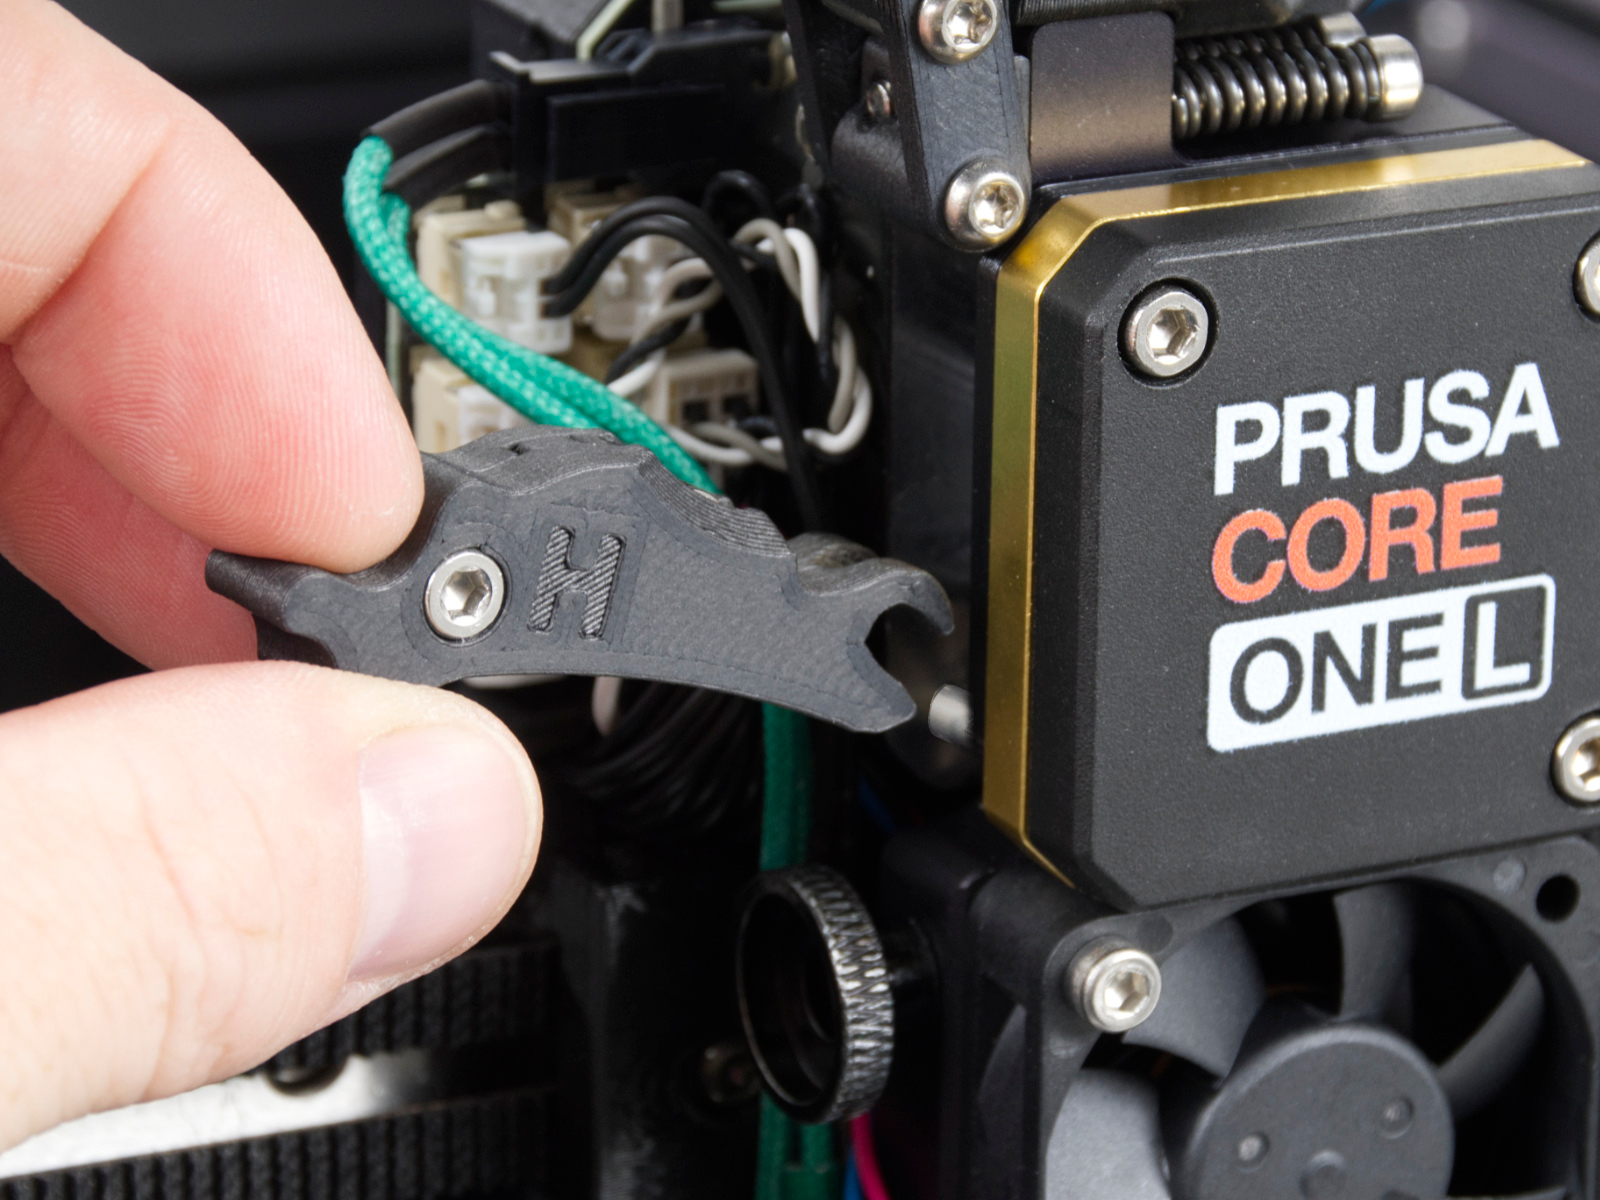
After installing the HT hotend using the assembly guide, it will be possible to switch between the idlers without disassembling the extruder. For that, just open the idler and detach it from the tubular spacer.
Note that the screw head must face the front of the Nextruder.
Was this article helpful?
This action is available only to registered users. Please log-in.
If I plan on swapping between the HT hotend and the standard hotend, can I leave in the HT main plate and new idler while using the standard hotend, or do I need to go back to the original main plate and idler whenever I want to reuse the standard hotend?
For context, I don't plan on installing the MMU3 now or at any point in the future. This would be for single-material only.


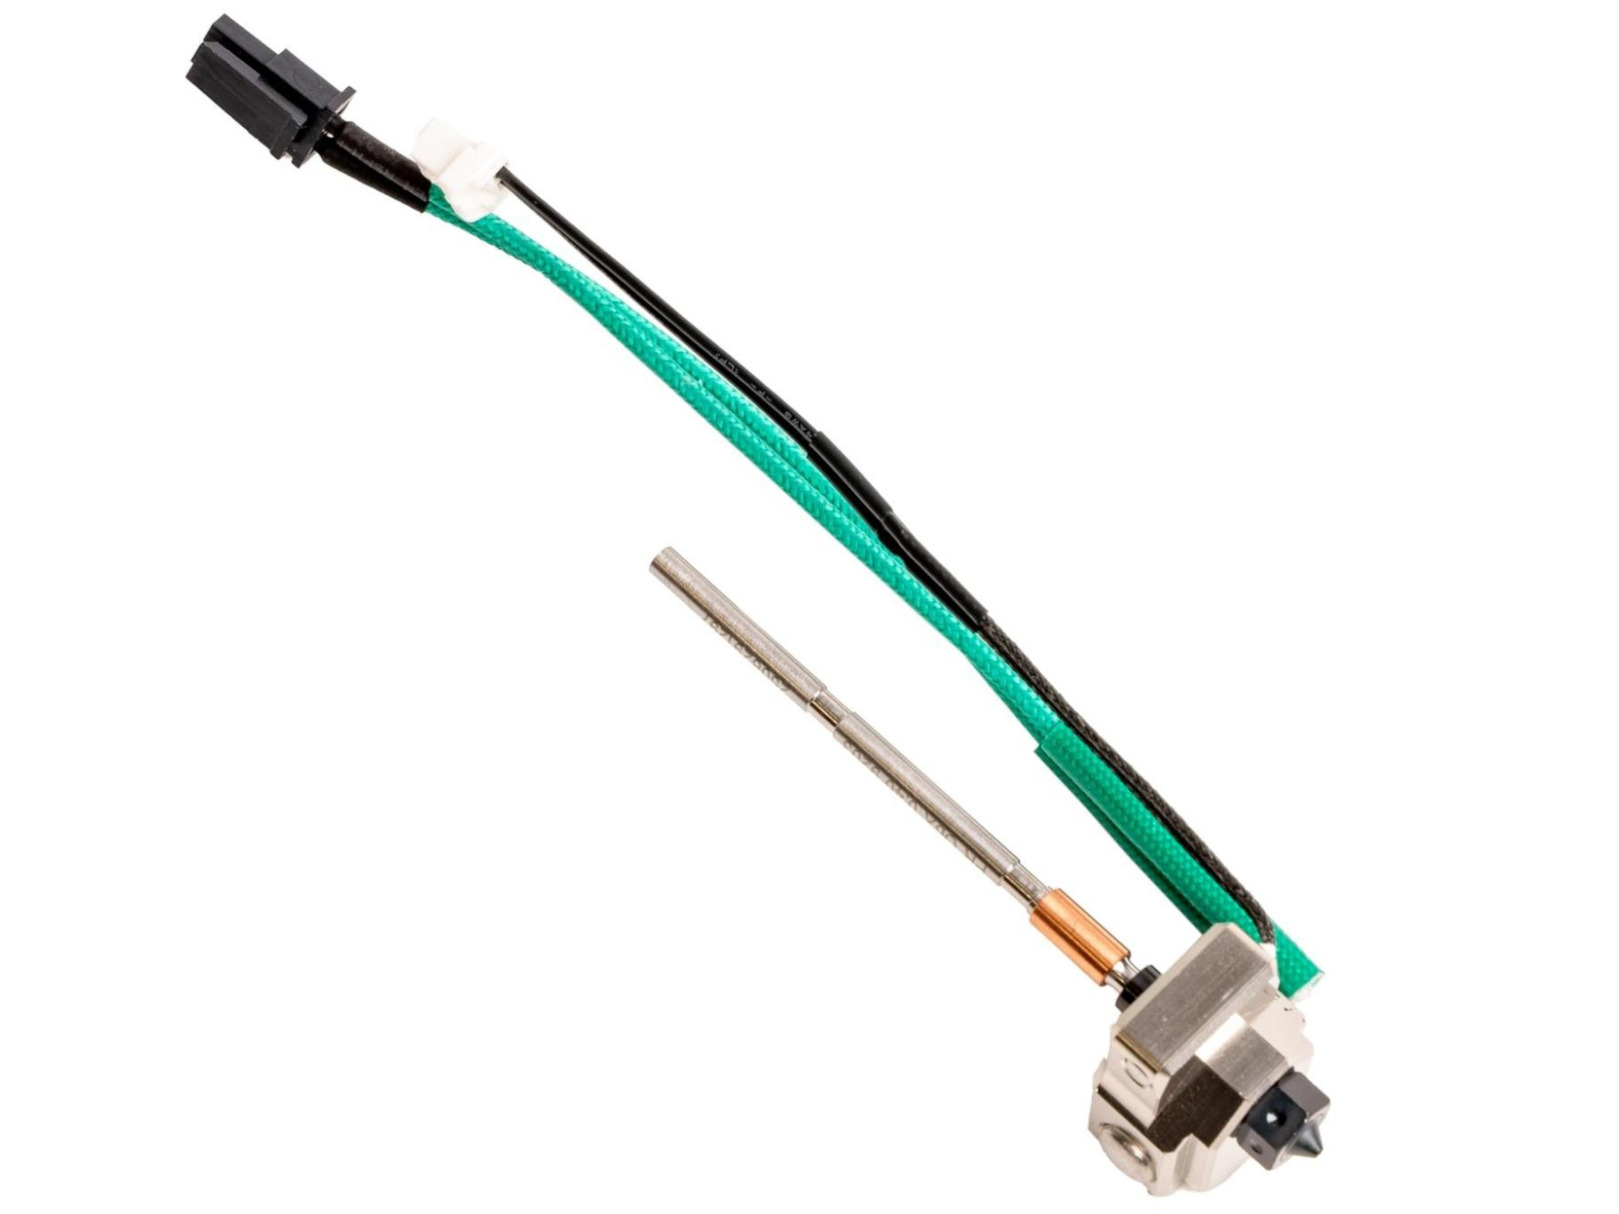 It is compatible with the following printers:
10 comments
For context, I don't plan on installing the MMU3 now or at any point in the future. This would be for single-material only.
Great just got my MMU3 delivered and started putting it all together when I realised the Nextruder had to be botched back to 2024.
So now I have an MMU3 Enclosed Assembled for Core one in a box...
Guess there's no way a Prusa Core One printer can do the occasional multicolor and the modern technical filaments. Only the XL.
I wanted to avoid having to swap hotends every time I need to use HF or low-temp materials.
Also would like to know if the spare main plate included with the HT Hotend is needed since this mentions nothing about it.
Check the manual here:
https://help.prusa3d.com/guide/how-to-install-ht-hotend-upgrade-core-one-core-one-l_1080575#1081509
TL,DR: It is used for the new idlers mentioned in the table above.
It's for the new changeable idlers mentionend