Prusa
  • ショップ
    • 最新製品
    カテゴリー別
    • 3Dプリンター新着
    • 3Dプリンターアップグレード新着
    • 材料
    • アクセサリー
    • スペアパーツ
    • コース
    • グッズ
    • 見積もりを取得
    クイックリンク
    • 配送と配達
    • 返品と返金
    • 支払いと融資
    • 保証
    • VATと関税
    • よくある質問

    0 点の商品がカートに入っています点の商品がカートに入っています

    カートは空です

    カートを見る3Dプリンターを購入

    マイプロフィール

    ログイン すると注文や保存した商品を確認できます

    マイプロフィール

    ログイン中:

    • 注文
    • ログアウト
  • 3Dプリント
    • 3Dプリントを探る
    初心者向け
    • 3Dプリントの基礎
    • FDM印刷の仕組み
    • 初めてのプリンターを購入する
    • 3Dモデルカタログ
    用途別
    • ラピッドプロトタイピング
    • 製造
    • エンジニアリング
    • 研究
    • アートとデザイン
    さらに深く
    • 材料ガイド
    • コース
    • ウェビナー
    • 導入事例
    • カスタム3Dプリンティング
  • 3Dプリンター
    • すべての3Dプリンター
    用途
    • 自宅またはガレージ愛好家、改造愛好家、ホームプリンティング
    • ビジネス小規模チーム向けの社内生産
    • エンタープライズフリート、セキュリティ、大規模生産
    • どのPrusaが私に適していますか
    ショップと閲覧
    • CORE One+新着
    • CORE One+ INDX新着
    • CORE One L+新着
    • CORE One L+ INDX新着
    • XL+新着
    • MK4S
    • Prusa Pro HT90
    • Prusa Pro AFS
    • Prusa Pro SLX
    プリンターからさらに
    • 部品とアップグレード新着
    • Spare parts
    • 重要インフラ
    • 導入事例
    • シグネチャーオーク
    • キット
  • 材料
    • すべての材料
    用途別
    • 日常とデザイン
    • 機能工学
    • 複合材料
    • プロフェッショナル向け特殊材料
    • SLAレジン
    Prusament
    • PLA
    • PETG
    • ASA
    • PC
    • PA11
    • Flex
    • TPU
    材料からさらに
    • 材料ガイド
    • 自社製材料
    • サステナビリティ
    • ストアで注文
  • ソフトウェア
    • すべてのソフトウェア
    印刷の準備
    • PrusaSlicer 3.0新着
    印刷と監視
    • Prusa Connect
    • EasyPrint
    • iOS & Androidアプリ
    • Prusaファーム
    始める
    • ダウンロードとインストール
    • ナレッジベース
    その他のソフトウェア
    • 3Dモデルカタログ
  • サポート
    • サポートを探す
    回答を探す
    • ナレッジベース
    • トラブルシューティング
    • コース
    • ウェビナー
    ヘルプ
    • お問い合わせ
    • ライブチャット
    • 配送と配達
    • 保証
    • 返品と返金
    • サービスとスペアパーツ
    • サービスと修理
    コミュニティ
    • フォーラム
    • Reddit
    • Printables
  • トラストセンター
    • トラストセンター概要
    トピック別
    • GDPR
    • 証明書
    • セキュリティ
    • コンプライアンス
    コミットメント
    • サステナビリティレポート
    お問い合わせ
    • セキュリティチームに連絡
  • 会社
    • Prusaについて
    私たちについて
    • 私たちのストーリー
    • プリンターの製造方法
    • オープンソース
    • ブランド&メディアキット
    ニュース
    • ブログ
    • ニュースルーム
    • イベント
    信頼とパートナー
    • サステナビリティ
    • 再販業者と販売代理店
    • アフィリエイトプログラム
    • お問い合わせ
    • English
    • Čeština
    • Deutsch
    • Español
    • Français
    • Italiano
    • Polski
    • 日本語
  • ログイン中:

    • 注文
    • 住所
    • 在庫アラート
    • マイコース
    • サブスクリプション
    • アカウントを編集
    • ログアウト

ログイン すると注文や保存した商品を確認できます

ログイン中:
  • 注文
  • 住所
  • 在庫アラート
  • マイコース
  • サブスクリプション
  • アカウントを編集
  • English
  • Čeština
  • Deutsch
  • Español
  • Français
  • Italiano
  • Polski
  • 日本語
ショップ

0 点の商品がカートに入っています点の商品がカートに入っています

カートは空です

カートを見る3Dプリンターを購入

マイプロフィール

ログイン すると注文や保存した商品を確認できます

マイプロフィール

ログイン中:

  • 注文
  • ログアウト
ショップ
  • 最新製品
カテゴリー別
  • 3Dプリンター新着
  • 3Dプリンターアップグレード新着
  • 材料
  • アクセサリー
  • スペアパーツ
  • コース
  • グッズ
  • 見積もりを取得
クイックリンク
  • 配送と配達
  • 返品と返金
  • 支払いと融資
  • 保証
  • VATと関税
  • よくある質問

おすすめ製品

    人気のカテゴリー

      急上昇ワード

        記事

          ブログ

            製品

              カテゴリー

                検索候補

                  検索中…
                  結果がありません
                  エラーが発生しました。
                  ↑↓ 選択↵ 開くEsc 検索を閉じる
                  1. サポート
                  2. Original Prusa MK3.9
                  3. プリンターメンテナンス
                  4. Print surface preparation
                   

                  内容

                  • Choosing the right print sheet
                  • Cleaning the print surface
                  • Using the most common separation layers
                  • Removing the print

                  ブログ

                  • Prusament PLA ColorMix:わずか5巻のフィラメントで45色以上をプリント
                  • PrusaSlicer 3.0プレビュー版 — 3Dプリントの未来を見据えた仕様
                  • より高品質なプリントを、もっと簡単に:Prusa XL+、CORE One L+、CORE One+(Gen 2)― 大規模製品アップグレード

                  ニュースレター

                  ご登録いただくと、毎月 新しいファームウェア、PrusaSlicerの新バージョン、3Dプリントプロジェクトの一般的なヒントなど、役立つ情報をお届けします。

                  クリックして、ニュースレターを受け取る。

                  このサイトはreCAPTCHA Enterpriseによって保護されており、Googleのプライバシーポリシーと利用規約が適用されます。

                  Heavy Duty Keyboard Holder (No Supports)
                  E-shop
                  • 3Dプリンター
                  • プリンターのアップグレード
                  • フィラメント
                  • アクセサリー
                  • Prusa 商品
                  Prusa

                  © Prusa Research a.s.

                  Printables
                  • 3Dモデル
                  • Store
                  • Clubs
                  • 3Dデザインコンテスト
                  • Brands
                  コミュニティ
                  • ワールドマップ
                  • フォーラム
                  • ユーザーグループ
                  • イベント
                  ヘルプ
                  • Prusa ヘルプ
                  • Prusa アカデミー
                  • 3Dプリンティング計算機
                  ソフトウェア
                  • PrusaSlicer
                  • Prusa.app
                  • Prusa Connect
                  • ドライバーとソフトウェア
                  会社概要
                  • 私たちについて
                  • Blog
                  • プルサ正規販売代理店
                  • お問い合わせ
                  • ISO 9001・ISO 14001・ISO 45001 認証取得済み
                  • 一般利用規約
                  • PRUSAウェブサイト利用のための一般利用規約
                  • プライバシーポリシー
                  • クッキーに関する情報
                  • お客様の苦情対応に関する方針
                  • Webサイトのステータスページ
                  • Cookie 設定
                  Prusa
                  • 一般利用規約
                  • PRUSAウェブサイト利用のための一般利用規約
                  • プライバシーポリシー
                  • クッキーに関する情報
                  • お客様の苦情対応に関する方針
                  • Webサイトのステータスページ
                  • Cookie 設定

                  © Prusa Research a.s.

                  JOSEF PRUSA®、PRUSA RESEARCH®、PRUSA POLYMERS®、PRUSA ORANGE®、PRUSA 3D ® および PRUSAMENT® は、Prusa Development a.s. の登録商標であり、Prusa Research a.s. が Prusa Development a.s. からのライセンスに基づき使用しています。

                  Print surface preparation

                  関連するもの

                  MK4 family
                  MK3 family
                  MK3.5 family
                  MK3.9 family
                  OLD PRODUCTS
                  記事 他の言語でもご覧になれます。
                  English
                  Čeština
                  Polski
                  Deutsch
                  Français
                  Español
                  Italiano
                  日本語

                  Before you start printing, you should know that various materials have different adhesions on various surfaces. It is crucial to pick the right steel sheet for your printer and prepare its surface properly. This article is about the most common types of print surfaces and how to prepare them for printing.
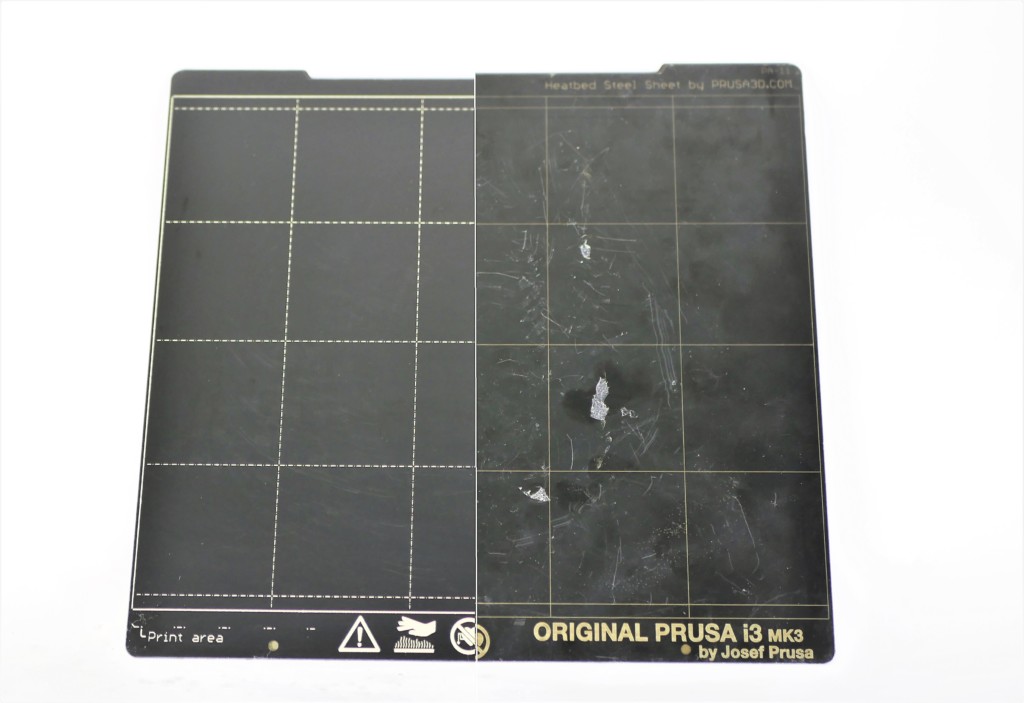
                  To kick it off with a quick (and most common) example: PETG filament has great adhesion to a clean, degreased, smooth PEI sheet, making it extremely hard to remove. Removing the print often leads to peeling off the PEI surface and irreversible damage to the sheet. This is why we recommend using another type of steel sheet or adding PVA glue as a separation layer on the print surface.

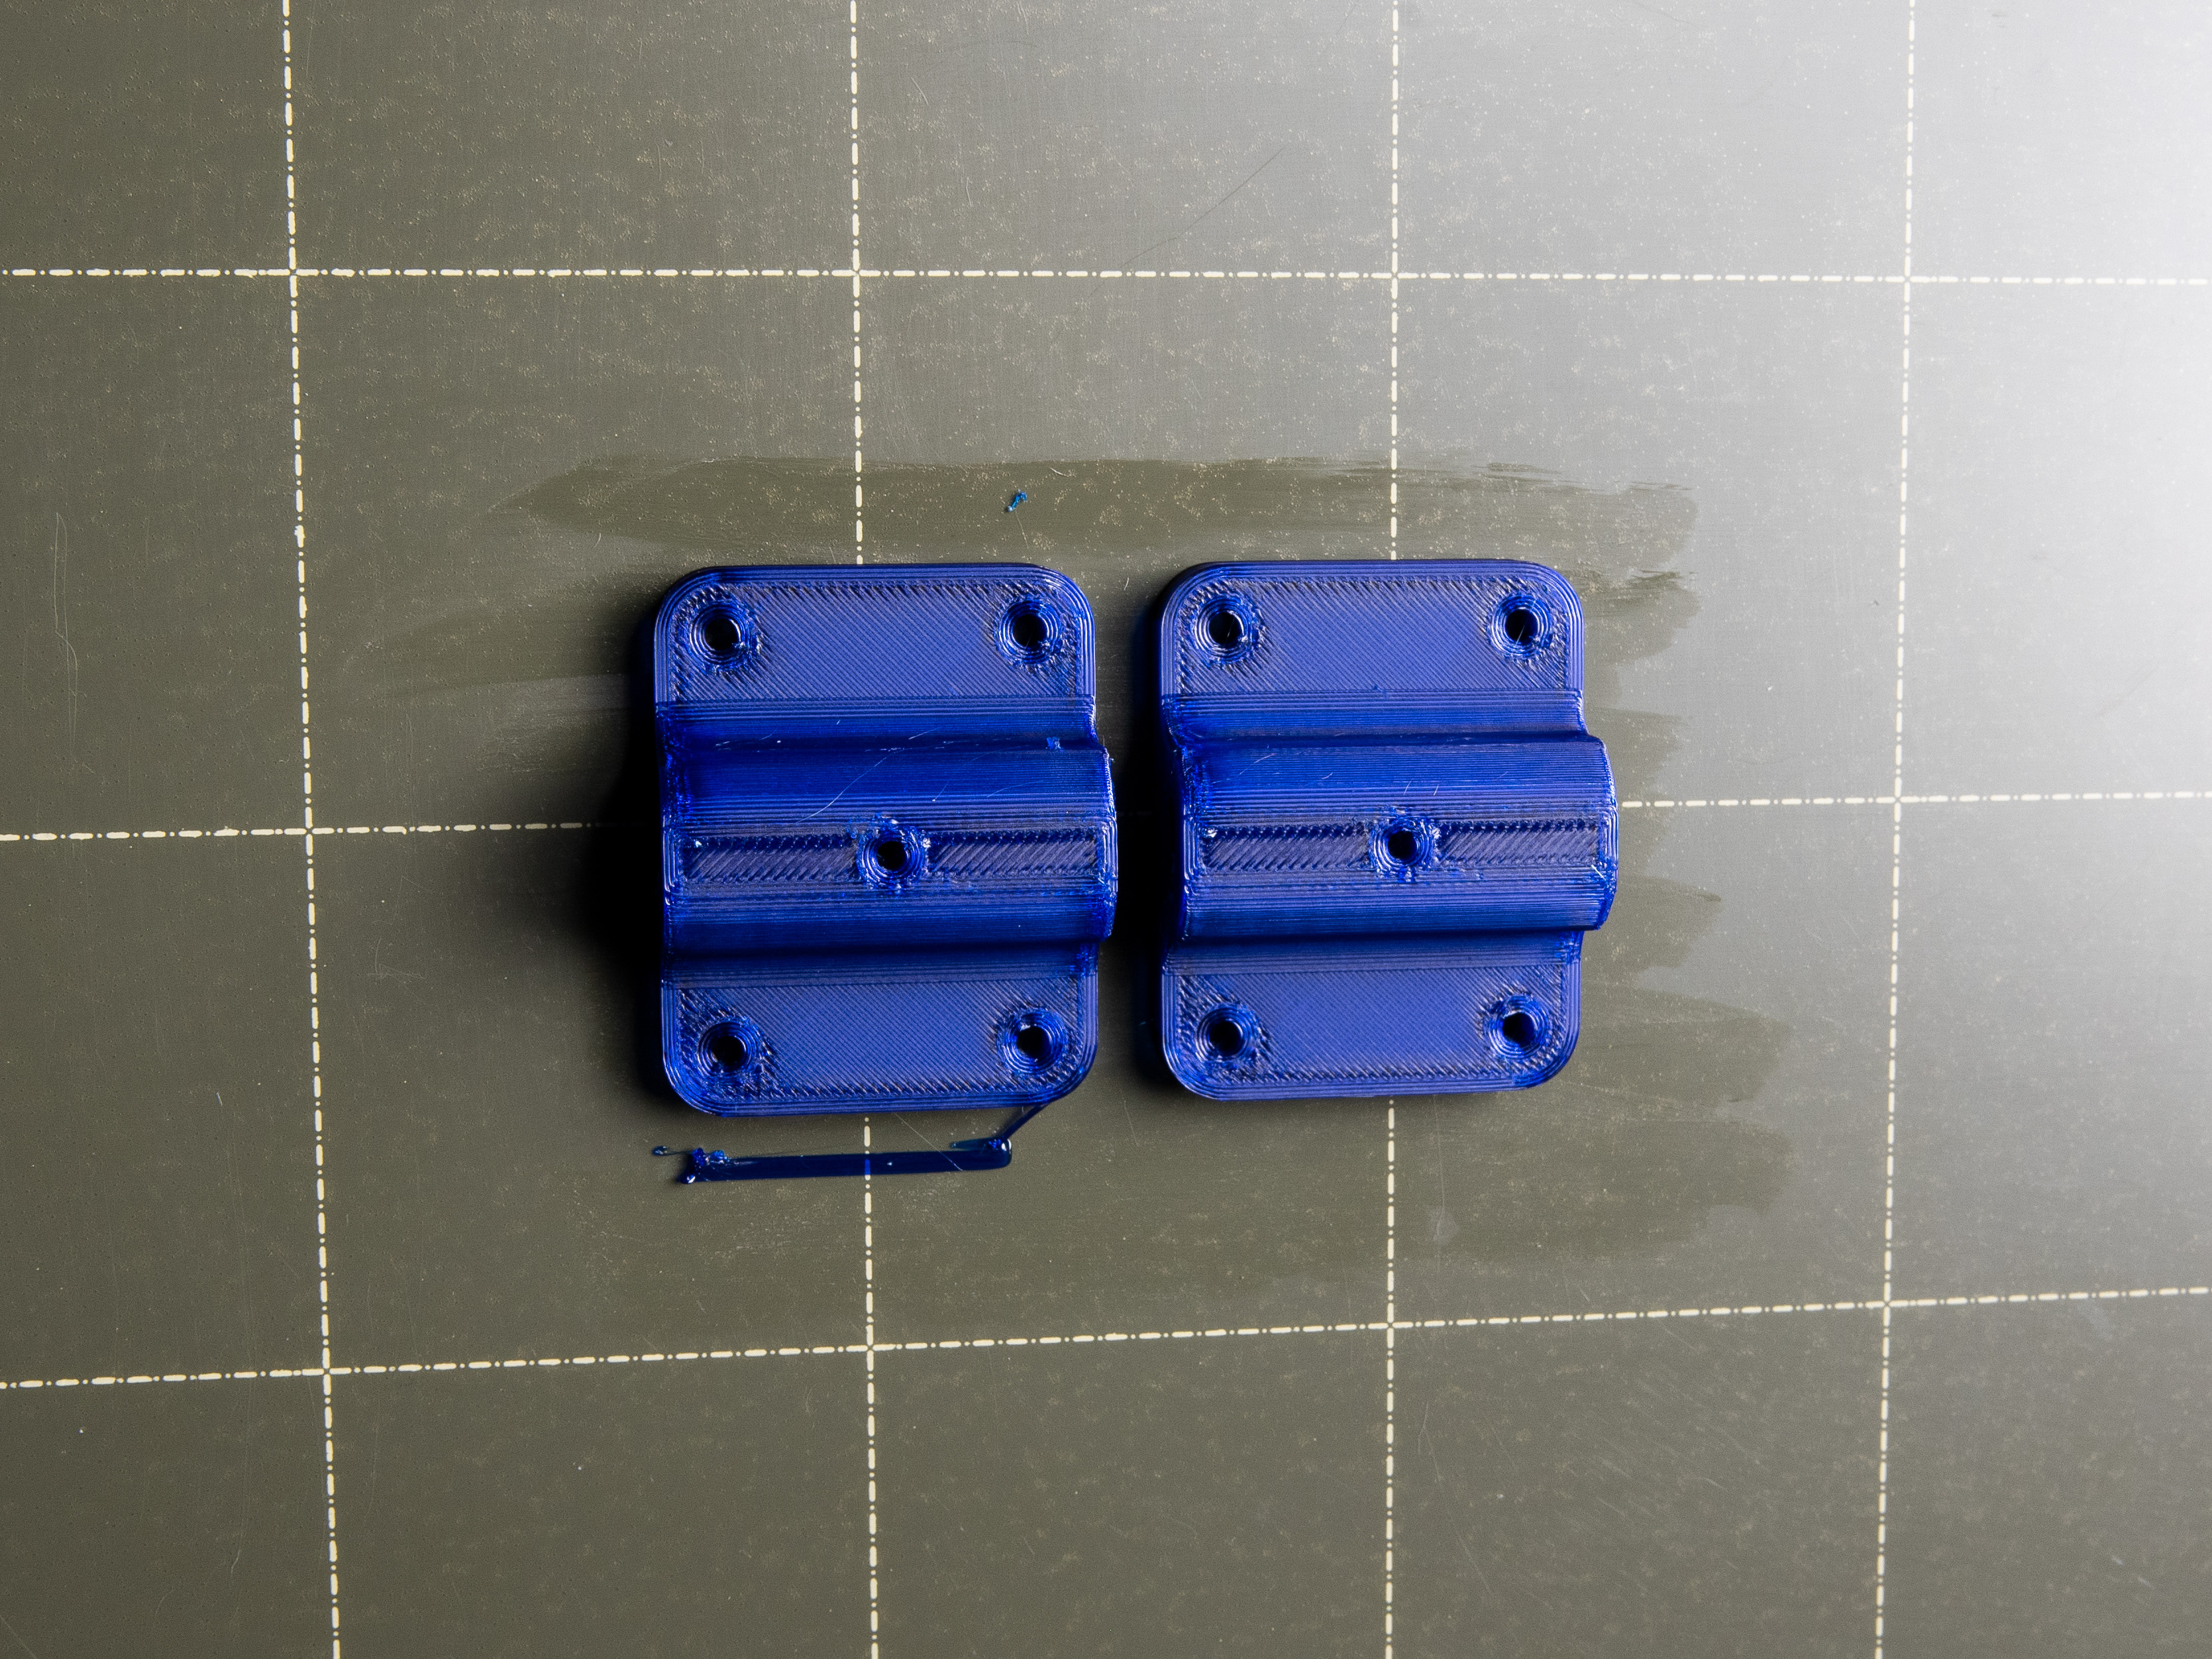
                  Steel sheet damaged by a PETG print

                  Choosing the right print sheet

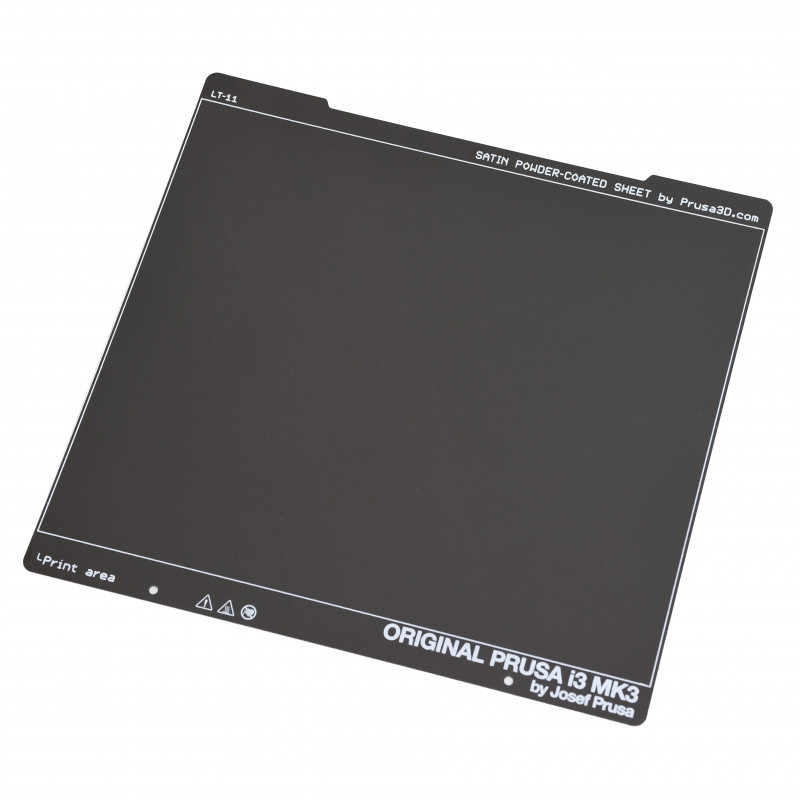
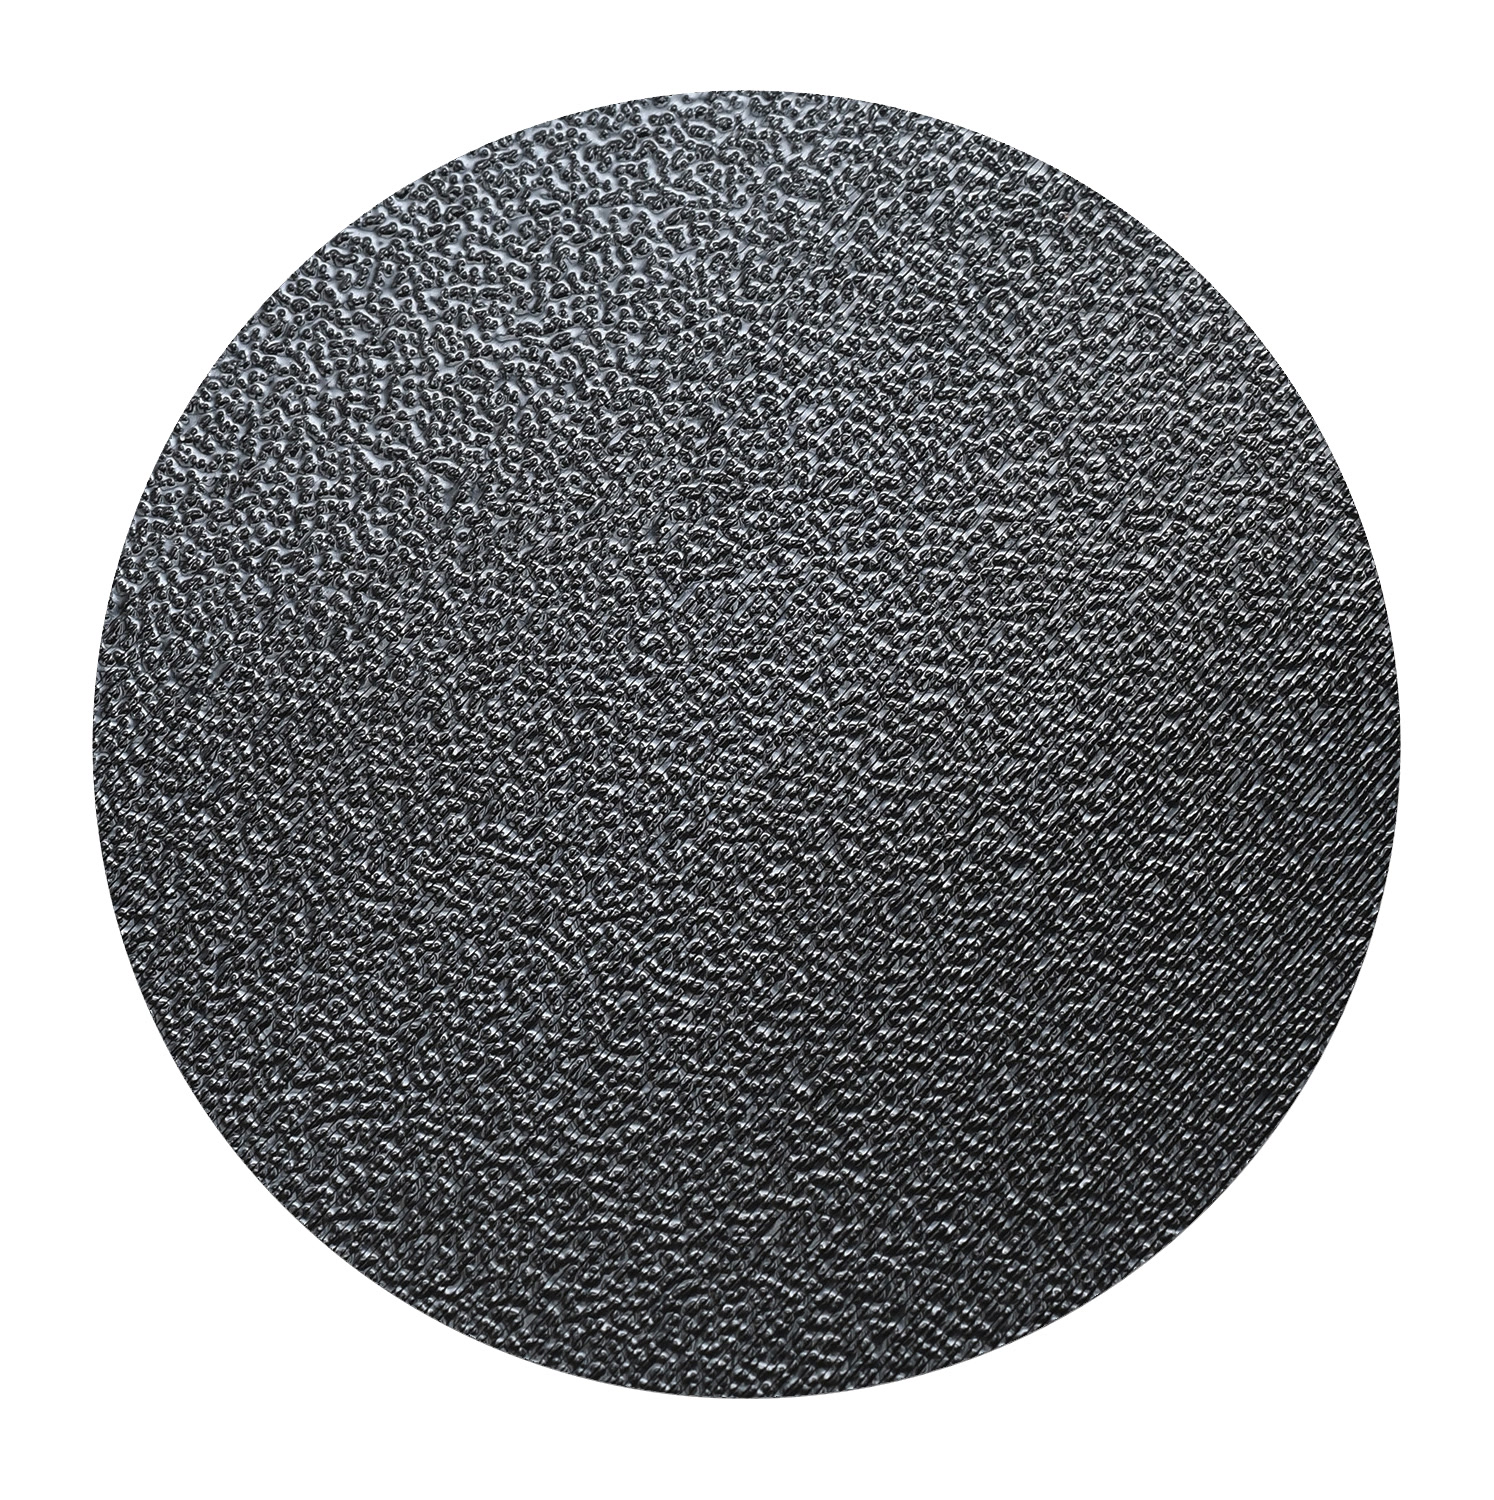
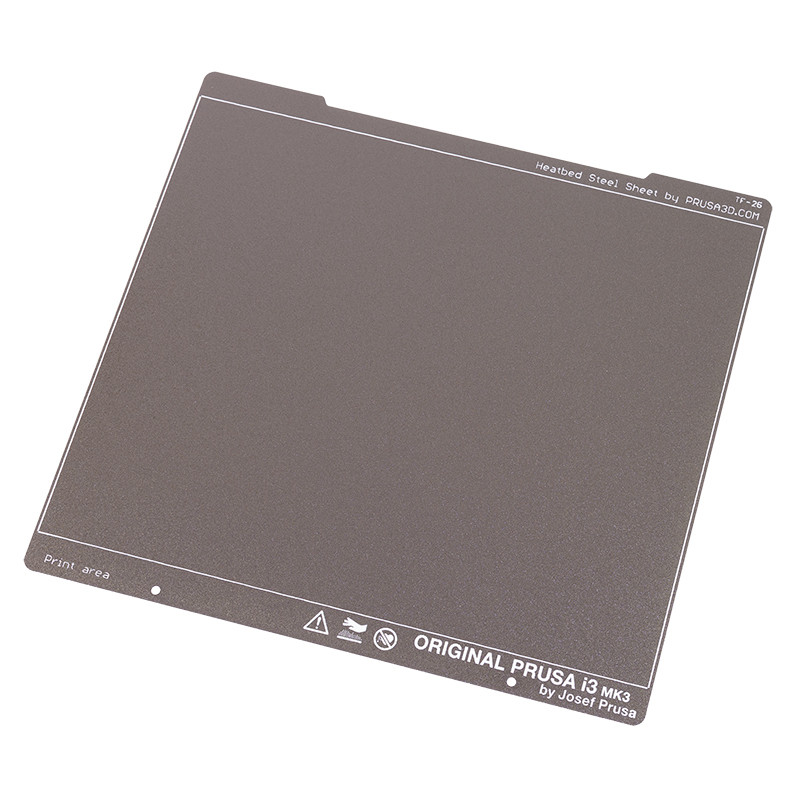
                  We offer 4 types of spring steel sheets, each has a different surface finish that leaves not only a specific texture on your print but also supports a variety of materials that can be printed on it.

                  Here’s a guidepost that provides the most information about the maintenance and properties of our three most common print sheets. Plus, here’s an article about our special PA Nylon steel sheet.
                  Smooth sheetTextured sheetSatin sheet

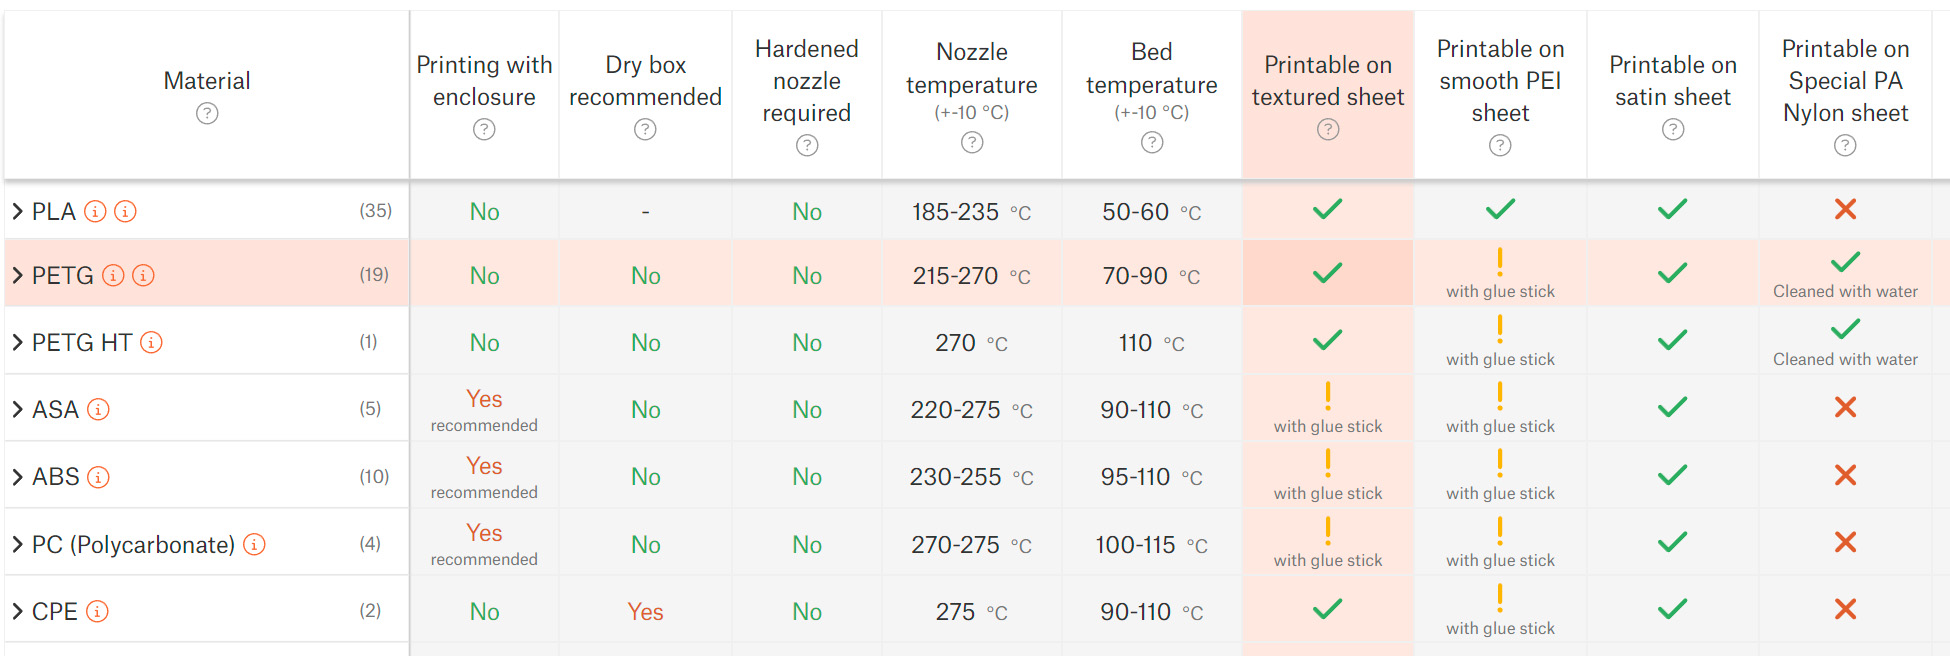
                  The best way to identify whether your sheet is suitable for the chosen material is by checking our Material table. If there’s a green check mark matching the selected sheet and material, you can simply degrease the print surface and you’re good to go. If there’s an exclamation mark, a separation layer of some sort is needed (see below). Failing to use the separation layer may lead to damaging your sheet!
                  Cleaning the print surface

                  This is an easy, yet crucial step you should perform before (almost) every print. We already described this in the 3D printing handbook and several other places but here’s a quick reminder:

                  Grease stains (fingerprints, etc.) often cause poor surface adhesion and, eventually, a print failure. To degrease the print sheet, spray some isopropyl alcohol (90% or stronger) or denatured ethyl alcohol on the cold print surface and wipe it with an unscented paper towel. Do not use any products for skin care: they usually contain oils that ruin adhesion!

                  There are some more specific rules for long-term sheet maintenance and you should definitely learn these but it reaches beyond this article’s purpose. Don’t forget to go through the steel sheet guidepost. Keep in mind that the special PA Nylon sheet has very different and highly specific rules for maintenance.

                  Alright, the print surface is clean, now the final checklist (see the material table):

                  1. Green check mark: Good to go!
                  2. Yellow exclamation mark: Use a separation layer (see below).
                  3. Red X: Do not print! The chosen material may damage your print sheet!

                  Using the most common separation layers

                  You may find various separation (or adhesive) layer materials on the market, some of those even in our e-shop. Every material has its benefits, but describing every single one of them is beyond the scope of this article. If you check our material table, you’ll find out that it all comes down to two most common separation layers: PVA glue stick and PP tape.

                  PVA (paper) glue is usually sold in the form of sticks that make the application easier. Usually, only a thin layer of glue is enough. Spreading a thick layer may leave various unsightly traces, bumps, and artifacts that will be imprinted onto your 3D print’s surface. However, if you want to print a mechanical part, where good looks are not as important as functionality and reliability, making the layer slightly thicker won’t hurt. Also, the PVA glue melts at relatively low temperatures, so we suggest applying it on a cold surface to avoid making an extra thick layer.
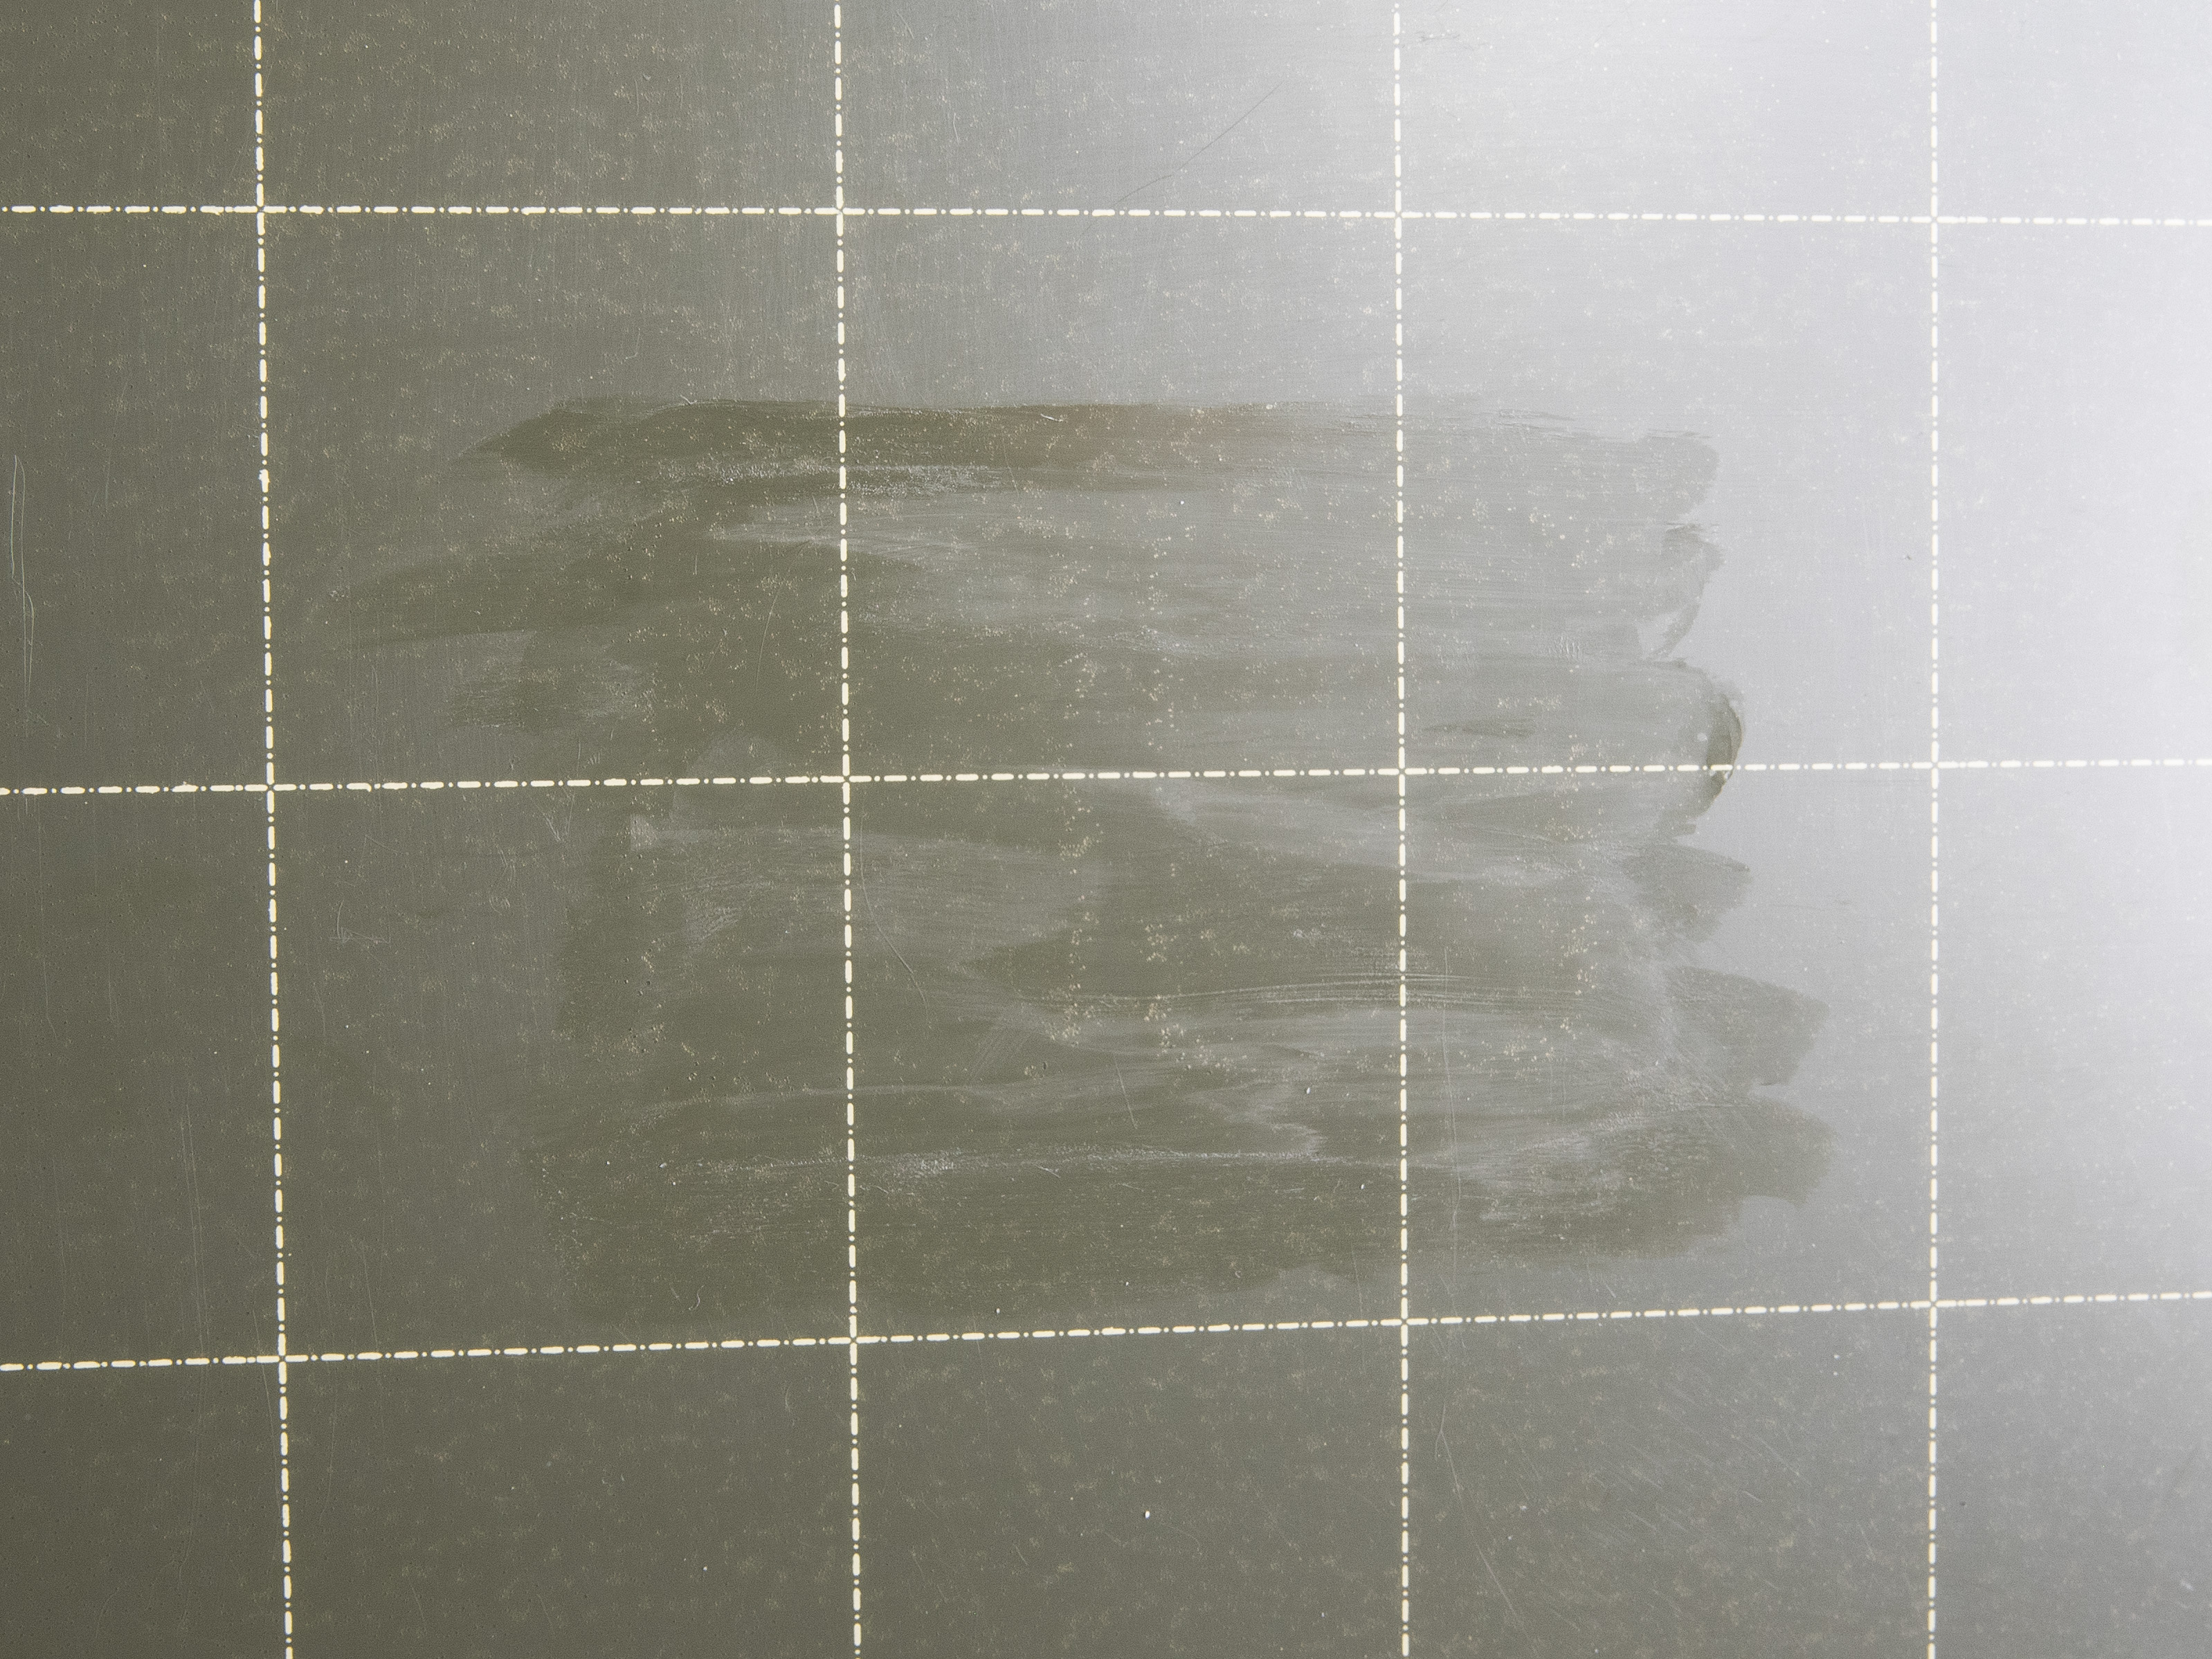
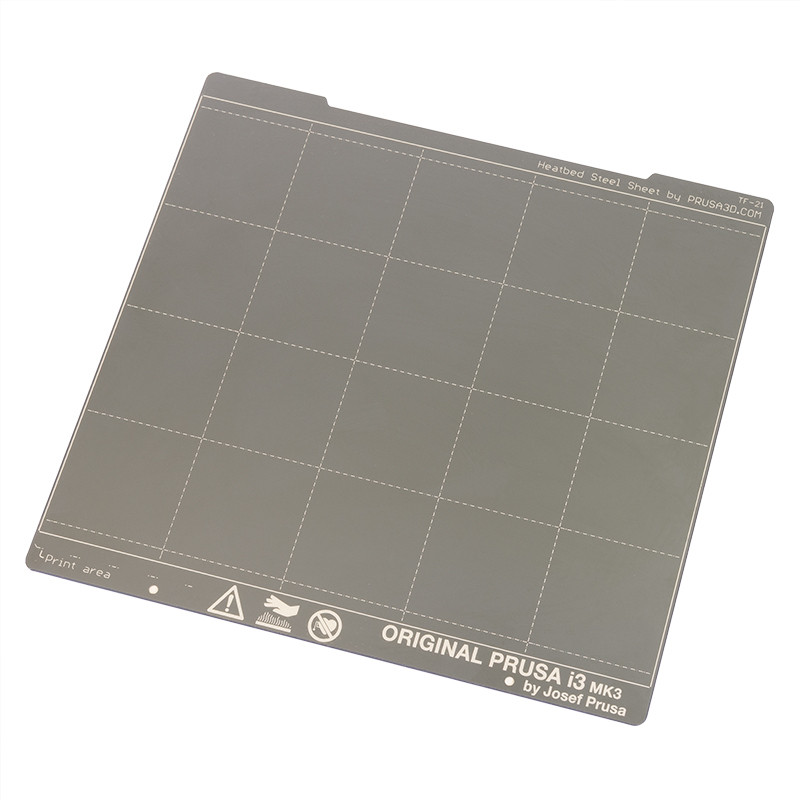
                  Tip: If you use the smooth print sheet, use the grid to guess the print size and position, then spread the glue only under the 3D print. You don’t need to spread the glue all over the whole sheet.

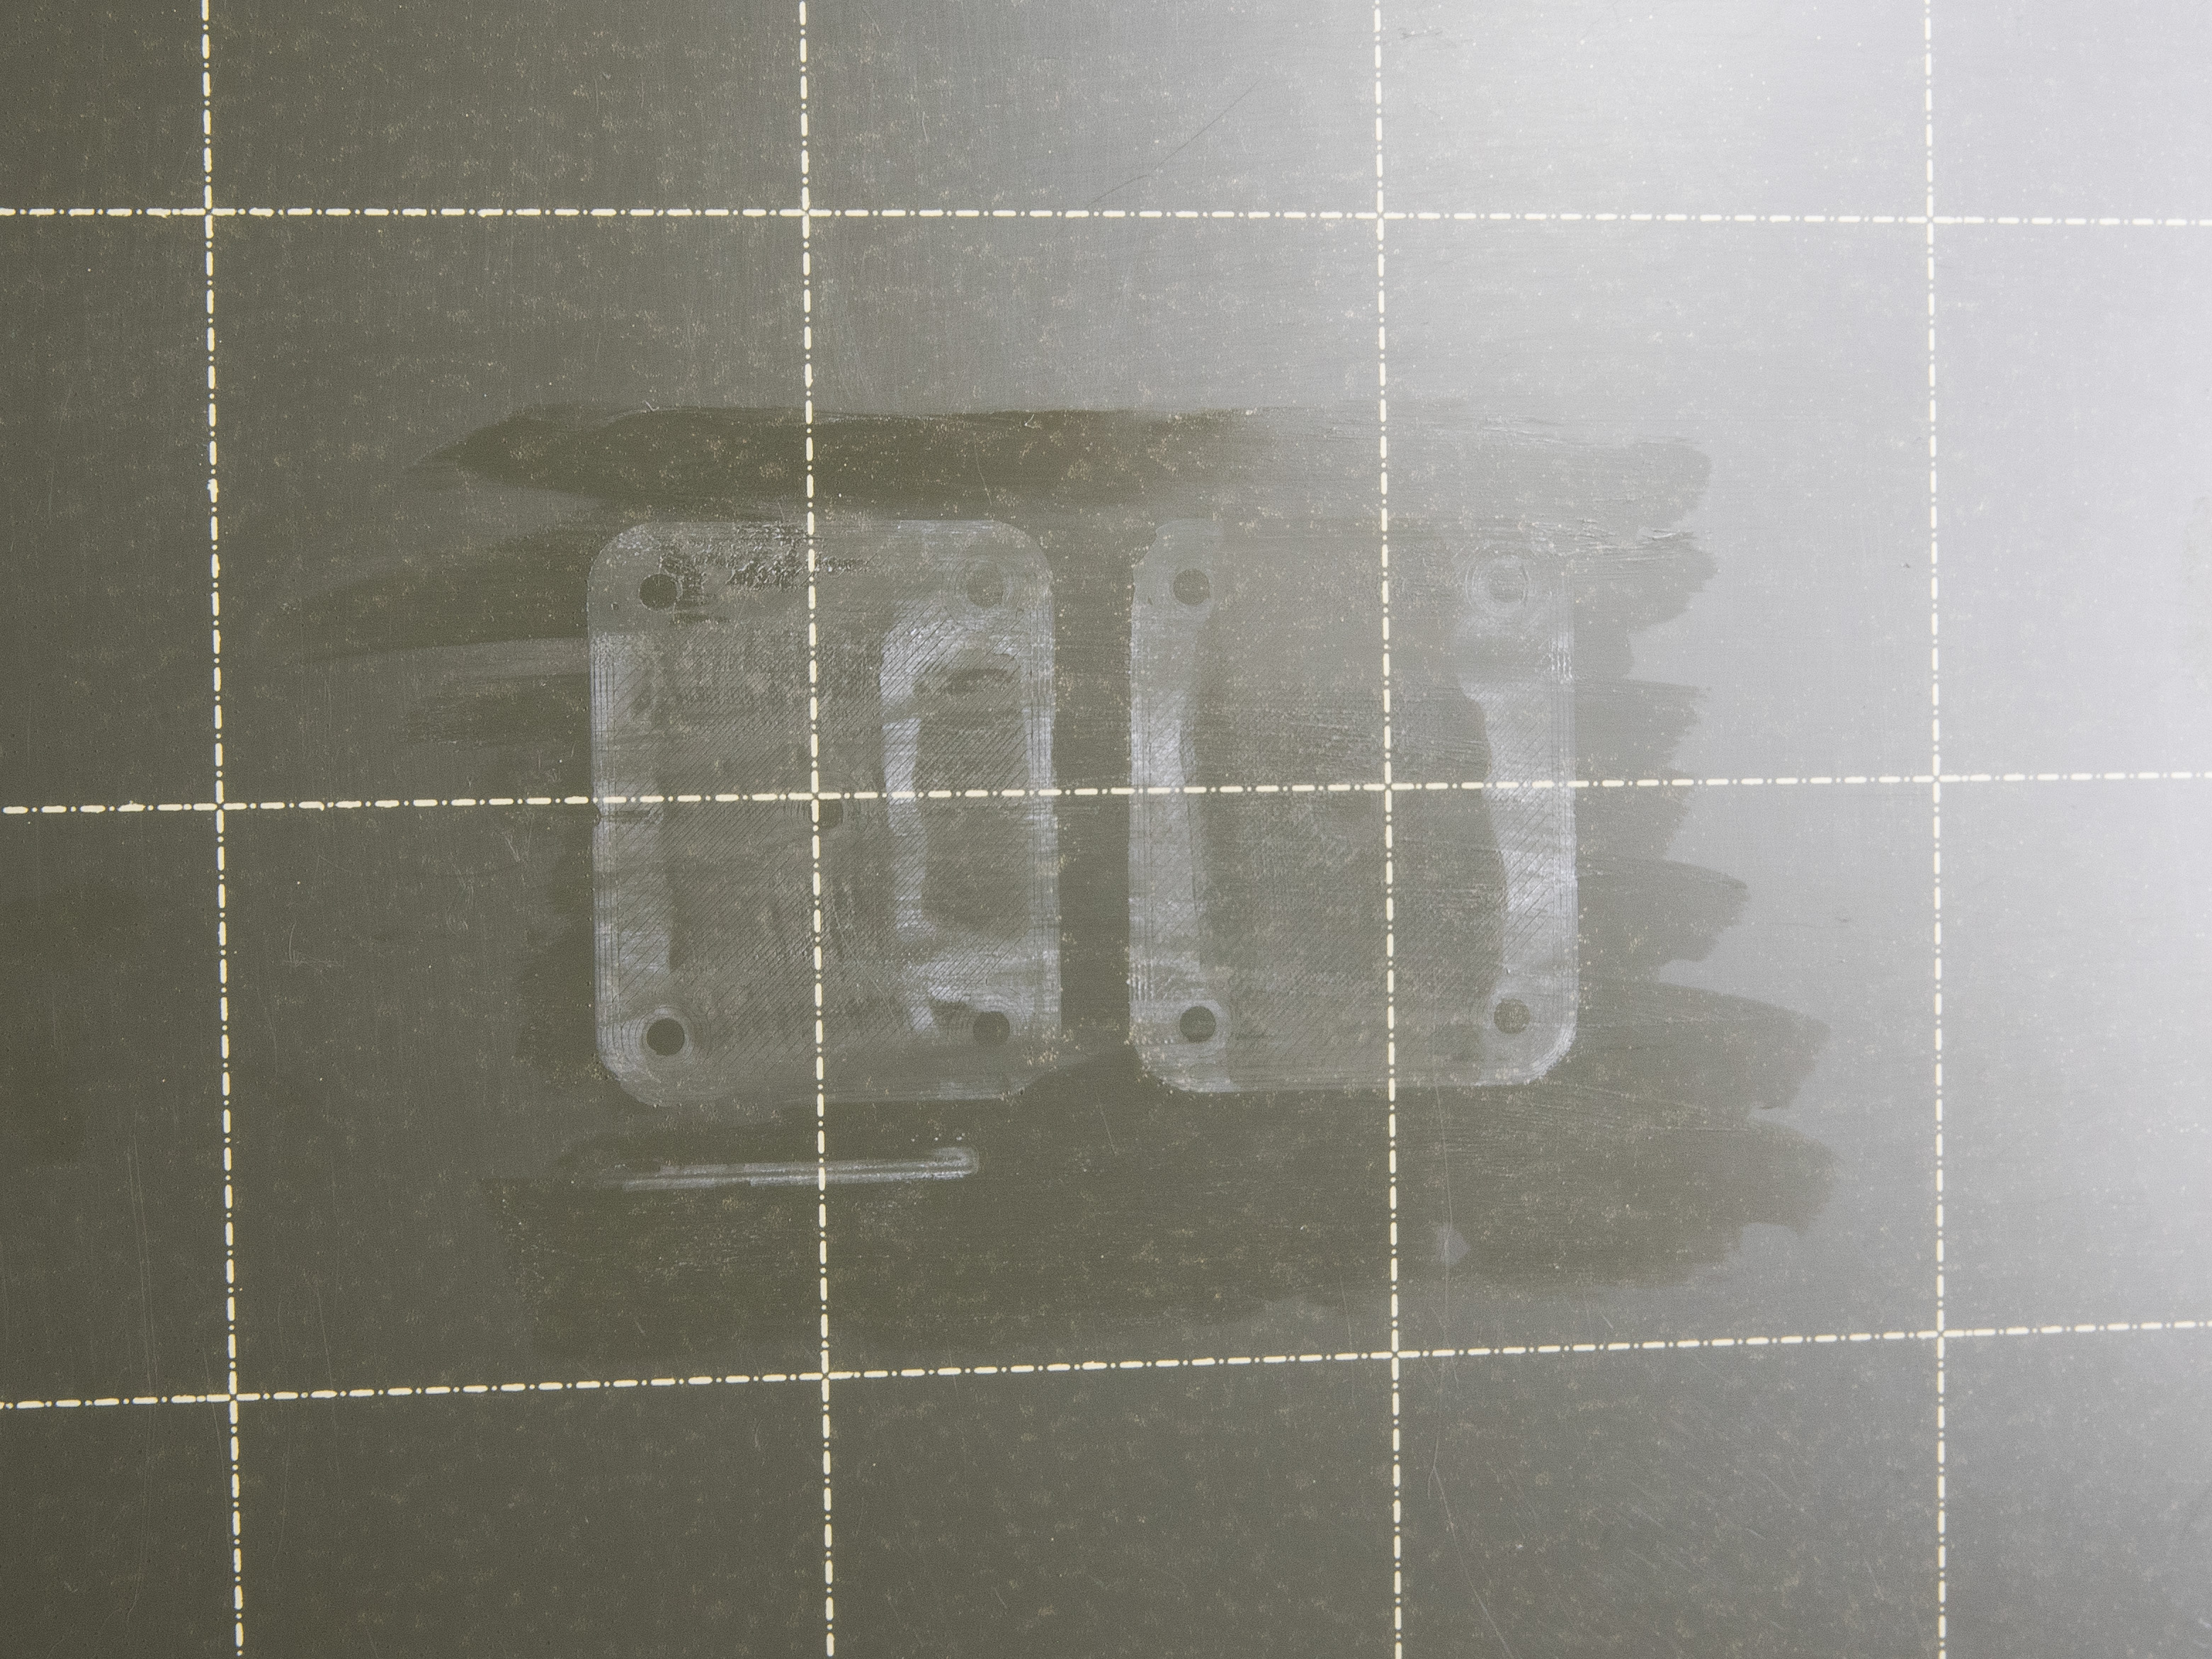
                  PVA glue separation layer, 3D printed PETG parts, and marks left after removing the print. Note that these marks are normal as they are only on a PVA glue layer and not on the print sheet surface. These marks disappear with the glue after washing.

                  Finally, the PP tape. You will most likely not use it, since it’s recommended only for printing PP (Polypropylene), which is quite rare material to print. However, you may decide to use some other tape - kapton tape, for example. For the best adhesion, it is recommended to use in combination with a smooth sheet, no matter which tape you are going to choose. The tape may leave some glue residuals after removing it from the print sheet surface. Usually, these can be washed with IPA or with water and dishwasher soap, but again, double-check the steel sheet maintenance articles before washing them.

                  If you decide to use other separation materials or adhesives, don’t forget to check compatibility with our print sheets. For example, ABS juice should not be used in combination with textured or satin sheets.

                  Removing the print

                  One last thing: always remove the prints by removing and bending the sheet only after they are cooled down. The print will go off easily without the necessity of using various spatulas, knives, or anything else.
                  この記事は役に立ちましたか?
                  この操作は登録ユーザーのみが利用できます。ログインしてください。
                  ログイン してコメントを投稿する
                  コメントなし

                  トピックス

                  • このプリンターを使用
                    • プリンターメンテナンス
                      • How to rebuild the Nextruder Hotend
                      • How to replace a hotend heatsink (MK4S / MK3.9S)
                      • Changing or replacing the Prusa Nozzle
                      • Installing or changing the Nextruder V6 Nozzle Adapter
                      • ノズルの変更・交換 (MK2.5/S, MK3/S/+, MK3.5/S)
                      • i3プリンターの定期的なメンテナンス
                      • 安全機能のテスト(MK3/MK3S)
                      • ファームウェアのアップデート方法 (MK3S+/MK3S/MK3)
                      • 頭が潰れてしまったネジの外し方
                      • SDカード・USBメモリ
                      • ベルト張力の調整 (MK4/S, MK3.9/S, MK3.5/S, MK3/S/+)
                      • ホットエンドの分解&ヒートシンクのヒートブレイクがスタック
                      • エクストルーダーからの手動によるフィラメントの取り出し
                      • ホットエンドサーミスターの交換 (MK3S/MK3S+)
                      • Bondtechギアのチェックとアラインメント調整 (MK3.5/S, MK3S/+, MK2.5S)
                      • Firmware updating (MK2.5S/MK2S)
                      • プリントファンの交換方法 (MK3S/MK3S+)
                      • ホットエンドの交換方法 (MK3S/MK3S+)
                      • IR-sensor の交換方法 (MK3S/MK3S+)
                      • P.I.N.D.A.センサーの交換方法 (MK3S)
                      • SuperPINDAセンサーの交換方法 (MK3S/MK3S+)
                      • Y軸ベアリングの交換方法 (MK3S+)
                      • X軸ベアリングの交換方法 (MK3S+)
                      • ホットエンドヒーターの交換方法 (MK3S/MK3S+)
                      • Community translations
                      • フィラメントガイドアドオン (MK4S/MK4)
                      • ネクストルーダーV6ノズルアダプター(MK4/MK3.9)の取り付け方法
                      • プリンタの定期メンテナンス (MK4/S, MK3.9/S)
                      • Prusaノズルの交換方法(MK4/MK3.9)
                      • Loveボードの交換方法 (MK4S/MK4/MK3.9S/MK3.9)
                      • 銀のPSUから黒いPSUへの交換方法
                      • ホットエンドヒーターの交換方法 (MK4/MK3.9)
                      • ホットエンドサーミスターの交換 (MK4/MK3.9)
                      • ホットエンドファンの交換方法 (MK4/MK3.9)
                      • xBuddyボードの交換方法 (MK4/MK3.9/MK3.5)
                      • プリントファンの交換方法 (MK4 / MK3.9)
                      • ホットエンドアッセンブリの交換方法 (MK4/MK3.9)
                      • How to replace a Heatbed Thermistor (MK4/S, MK3.9/S, MK3.5/S)
                      • Print surface preparation
                      • How to replace a hotend heatsink (MK4 / MK3.9)
                      • How to replace xLCD (MK4/MK3.9/MK3.5)
                      • Regular printer maintenance (MK3.5/S)
                      • How to replace the Prusa Nozzle (MK4S/MK3.9S)
                      • How to use accelerometer (MK3.5/S)
                      • How to replace a hotend assembly (MK4S / MK3.9S)
                      • Changing or replacing the Nextruder Hotend
                      • How to install the Nextruder V6 Nozzle Adapter (MK4S/MK3.9S)
                      • Maintenance warning #31117 (CORE One) #26117 (MK4S) #13117 (MK4) #27117 (MK3.9S) #21117 (MK3.9) #28117 (MK3.5S) #23117 (MK3.5)
                      • ヒートブレーク/ヒートシンク/ヒートブロックの交換方法 (MK3S+/MK3S/MK2.5S/MMU2S)
                      • PTFEチューブのトリミング方法 - マルチマテリアル
                      • How to replace a print fan (MK4S / MK3.9S)
                      • コールドプル (MK3/S/+, MK2.5/S, MK3.5/S)
                      • プリントパーツの後処理方法
                      • ヒートベッドサーミスターの交換方法 (MK3S+/MK3S/MK2.5S/MK2S)
                      • MK3のPSU(電源ユニット)の交換方法
                      • ホットエンドPTFEチューブの交換方法 (MK3S+/MK3S/MK2.5S/MMU2S)
                      • How to replace a hotend thermistor (MK2S)
                      • PTFEチューブのトリミング方法 - Original Prusa プリンター
                      • メンテナンスのコツ
                      • PEIシートの交換 (MK3S/MK3/MK2.5S/MK2.5)
                      • MK3シリーズのホットエンドガイド
                    • 3Dモデル
                    • 材料ガイド
                    • スライス処理
                    • Prusa Connect [進行中の翻訳]