Relevant for


The Input Shaper functionality on the Prusa CORE One/+, and on the Original Prusa MK4/S, MK3.9/S, and MK3.5/S can be calibrated using an optional accelerometer.
The accelerometer assembly consists of a small PCB enclosed in a printed cover, which connects to the printer. Please note that using the accelerometer requires partial disassembly of the printer.
The input shaper is pre-calibrated from the factory, so this calibration is usually unnecessary on a stock printer. However, if you've made any modifications to the printer hardware, it may be beneficial to recalibrate the settings using the accelerometer.
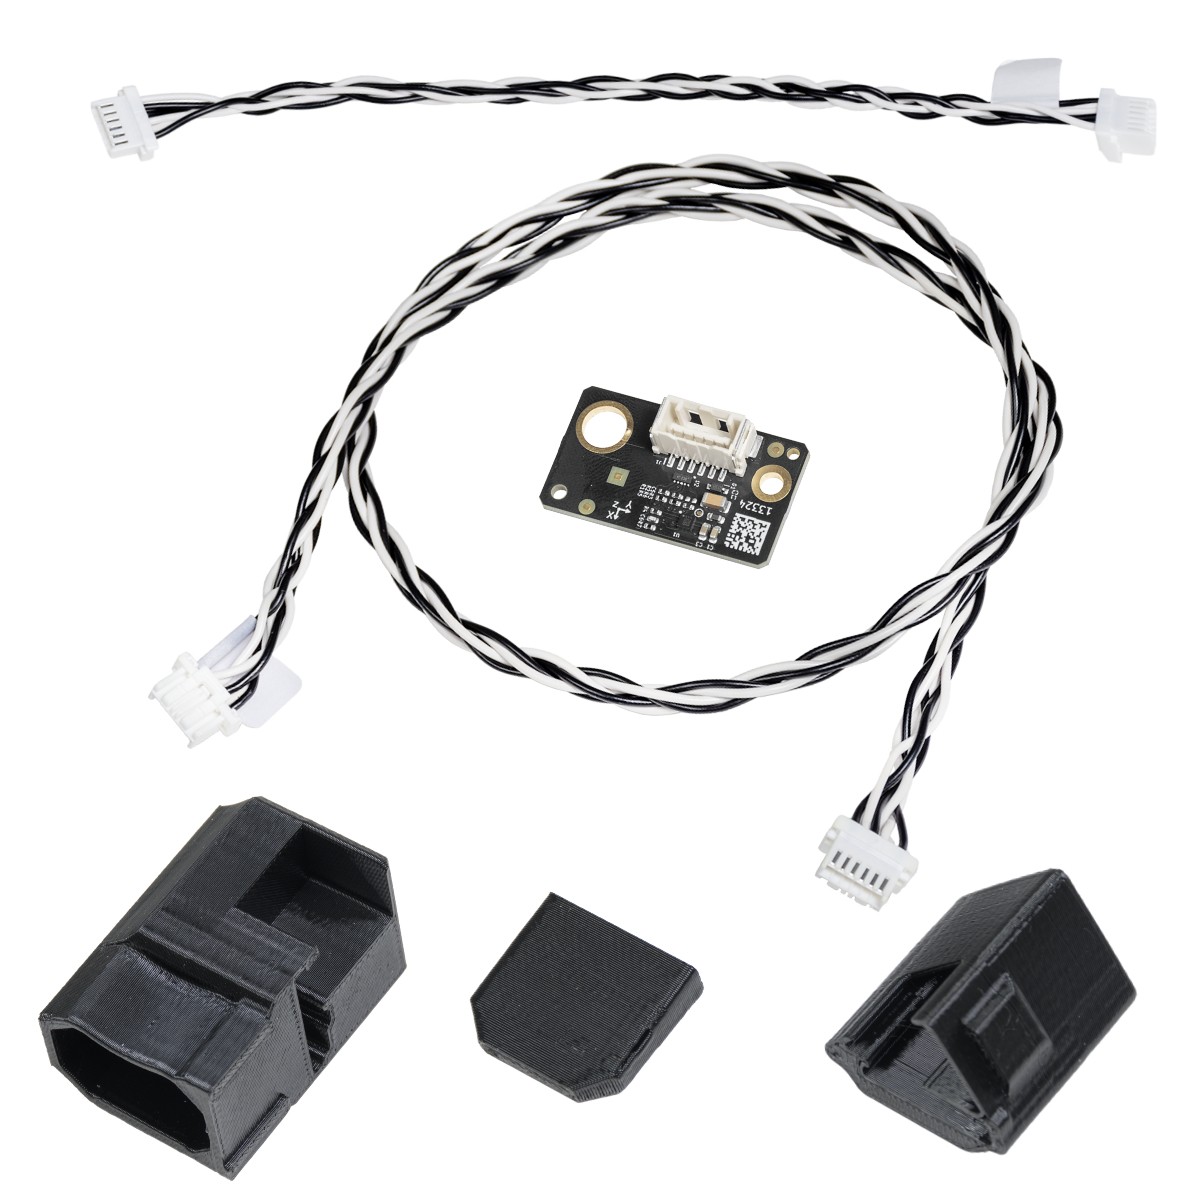 Contents of the accelerometer set.
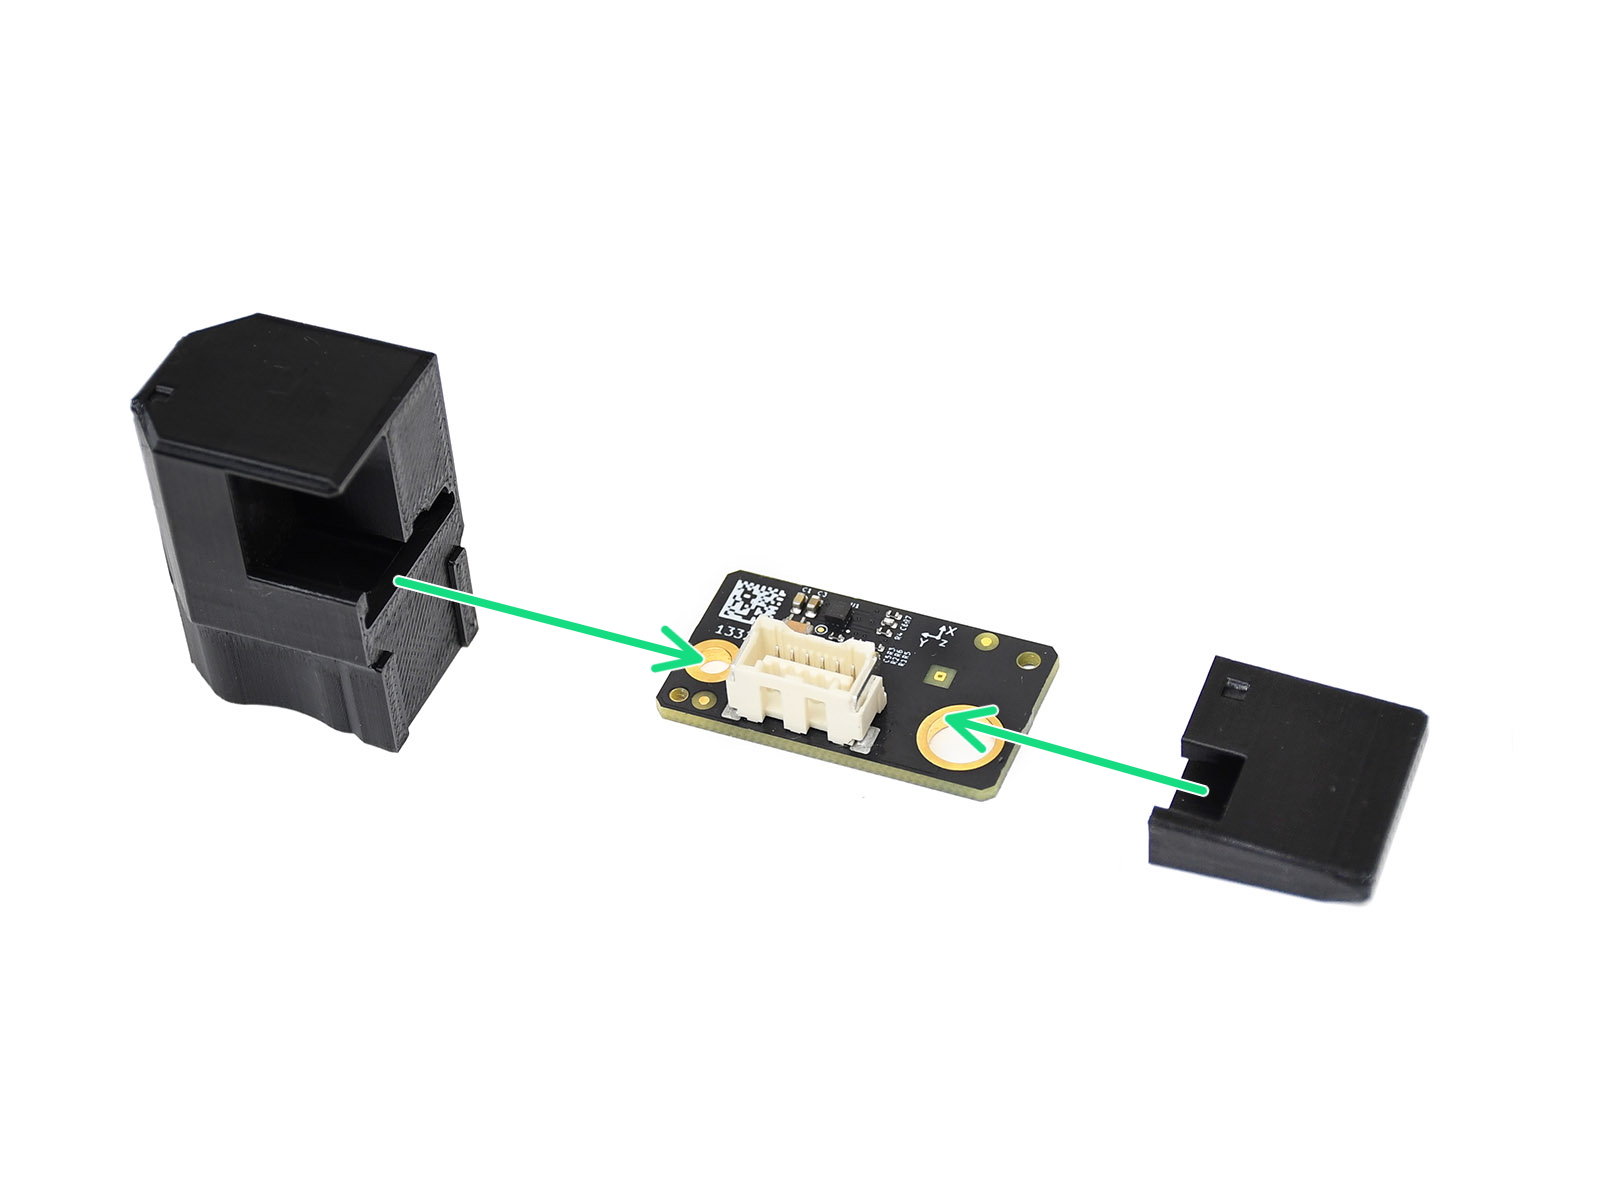 | 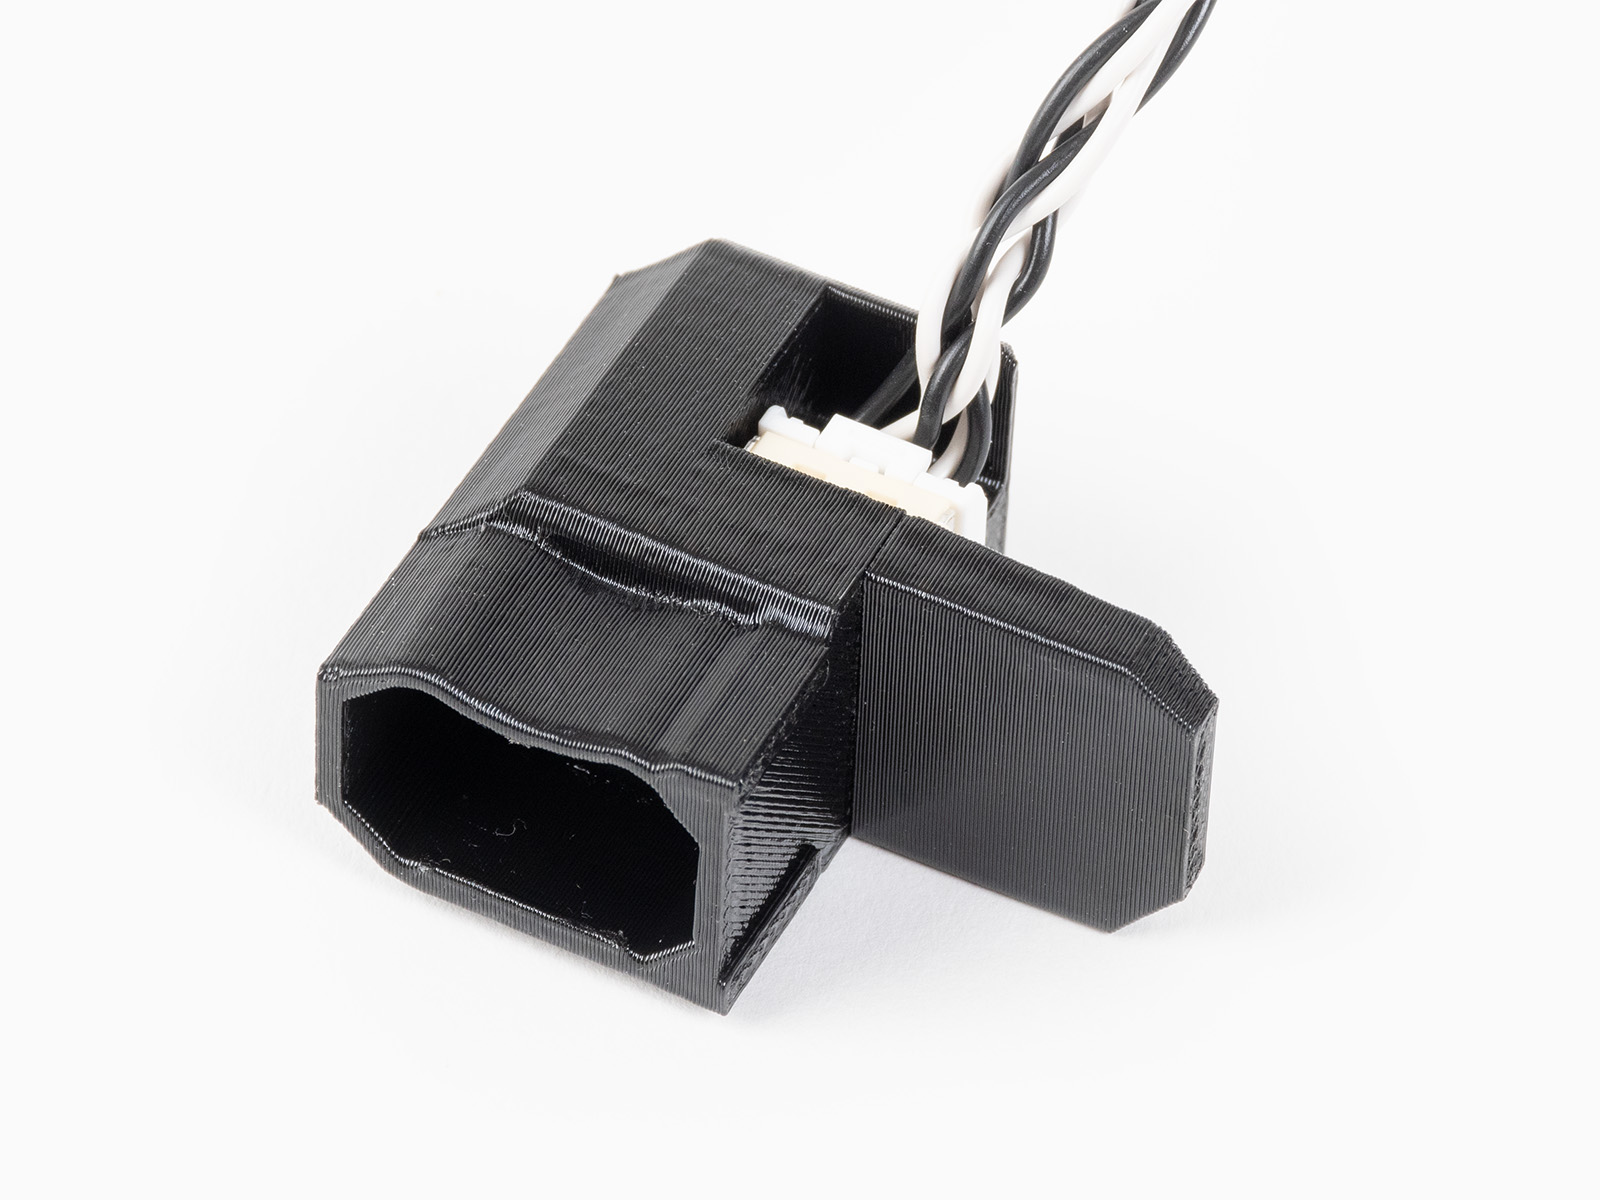 |
| Assembling accelerometer for CORE One/+, MK4/S, MK3.9/S. | Assembled accelerometer for CORE One/+, MK4/S, MK3.9/S. |
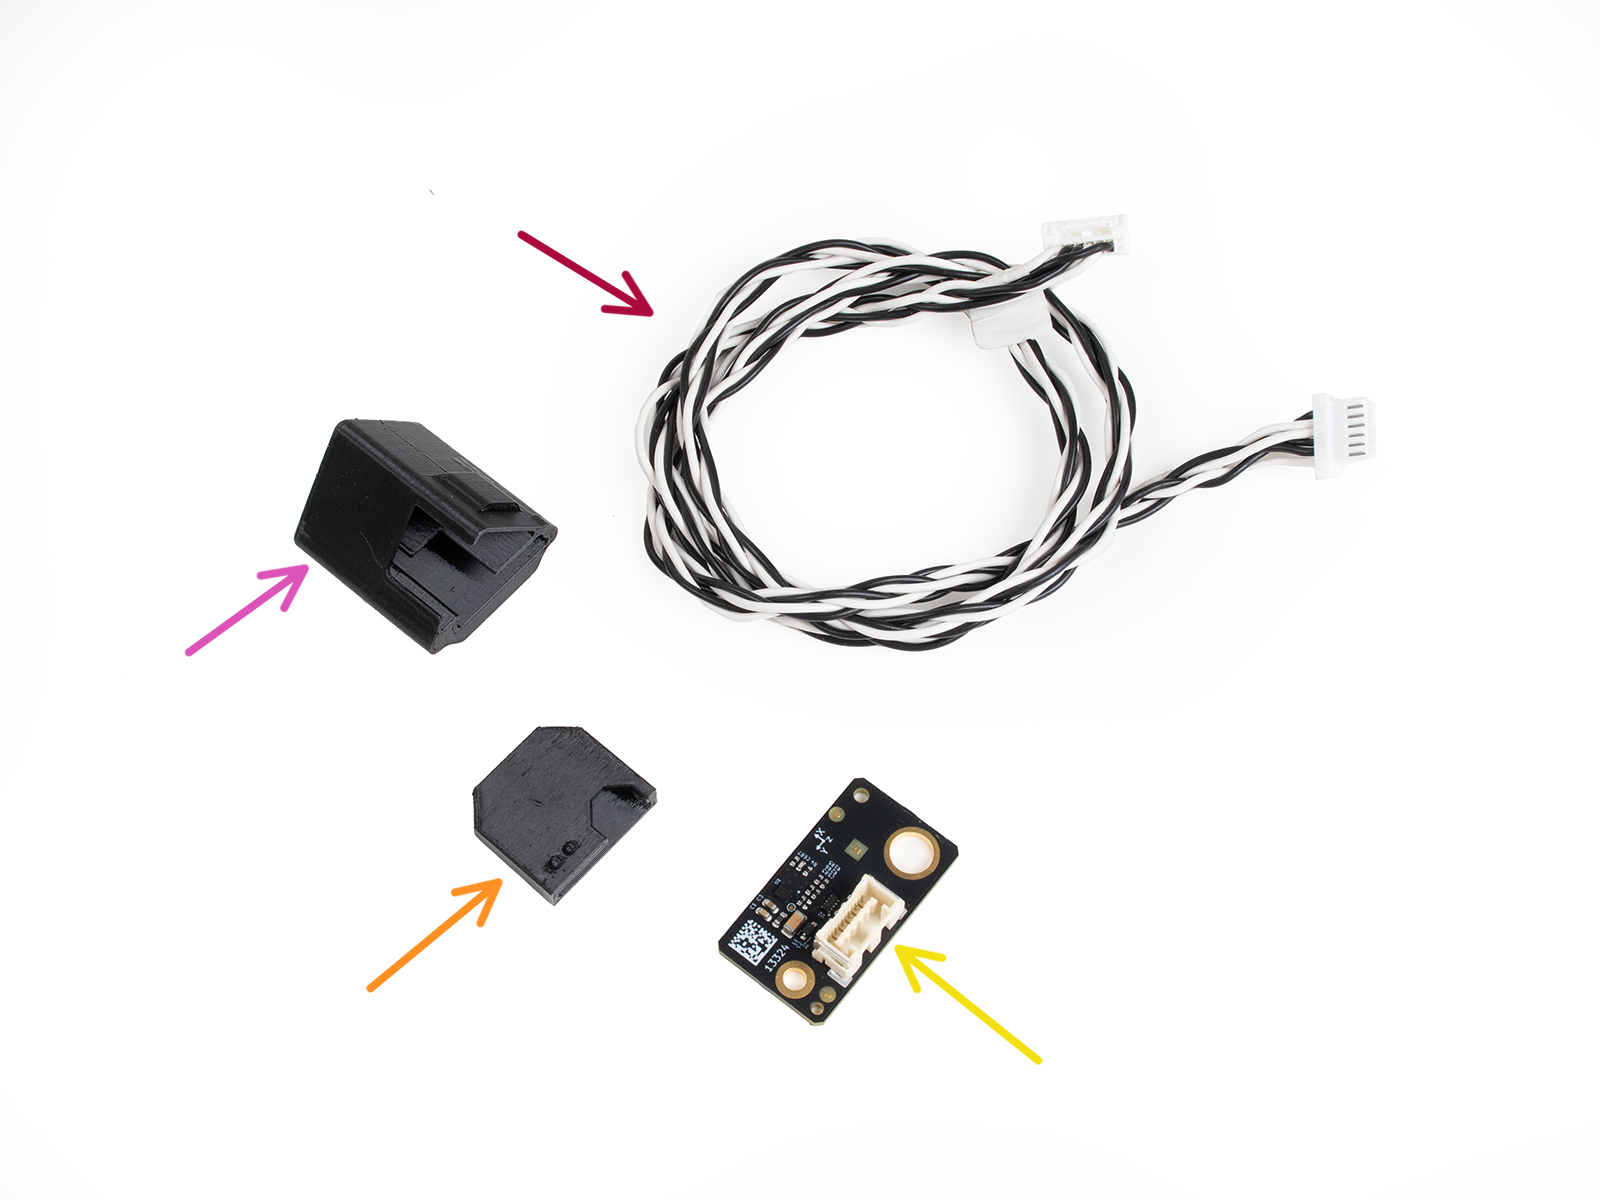 | 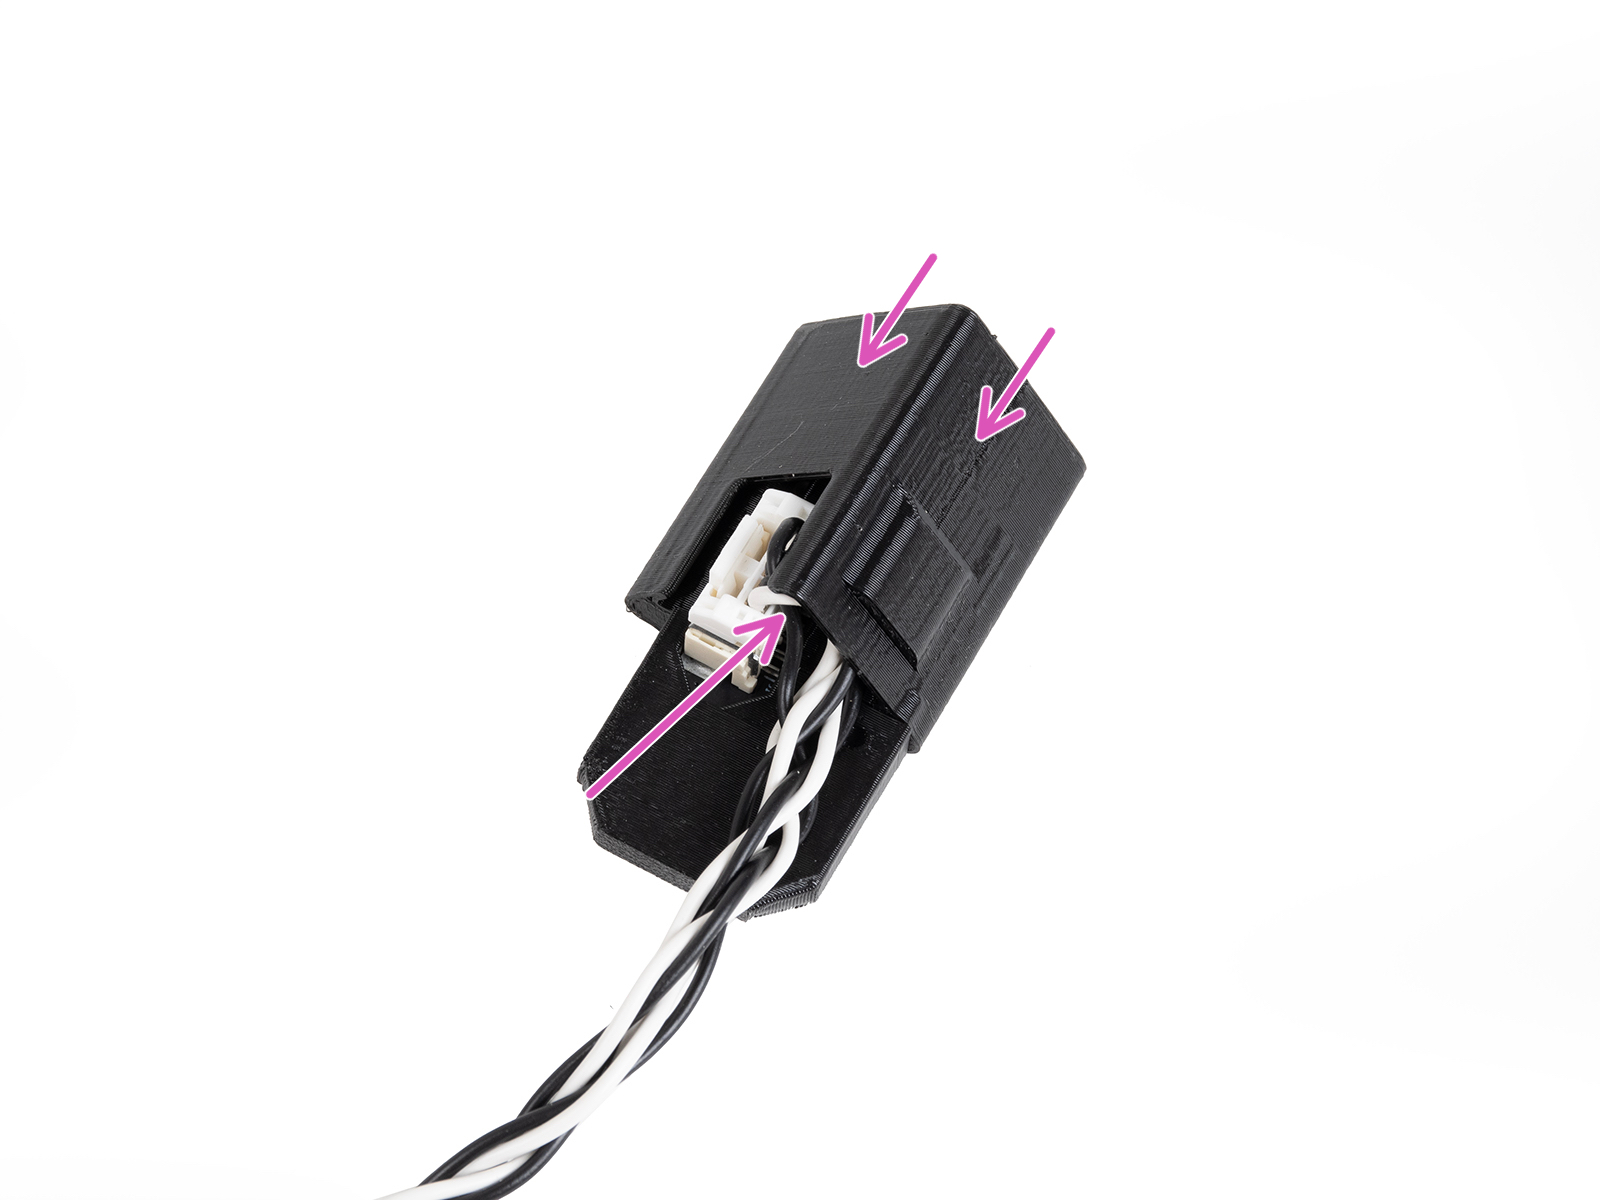 |
| Assembling accelerometer for MK3.5/S | Assembled accelerometer for MK3.5/S |
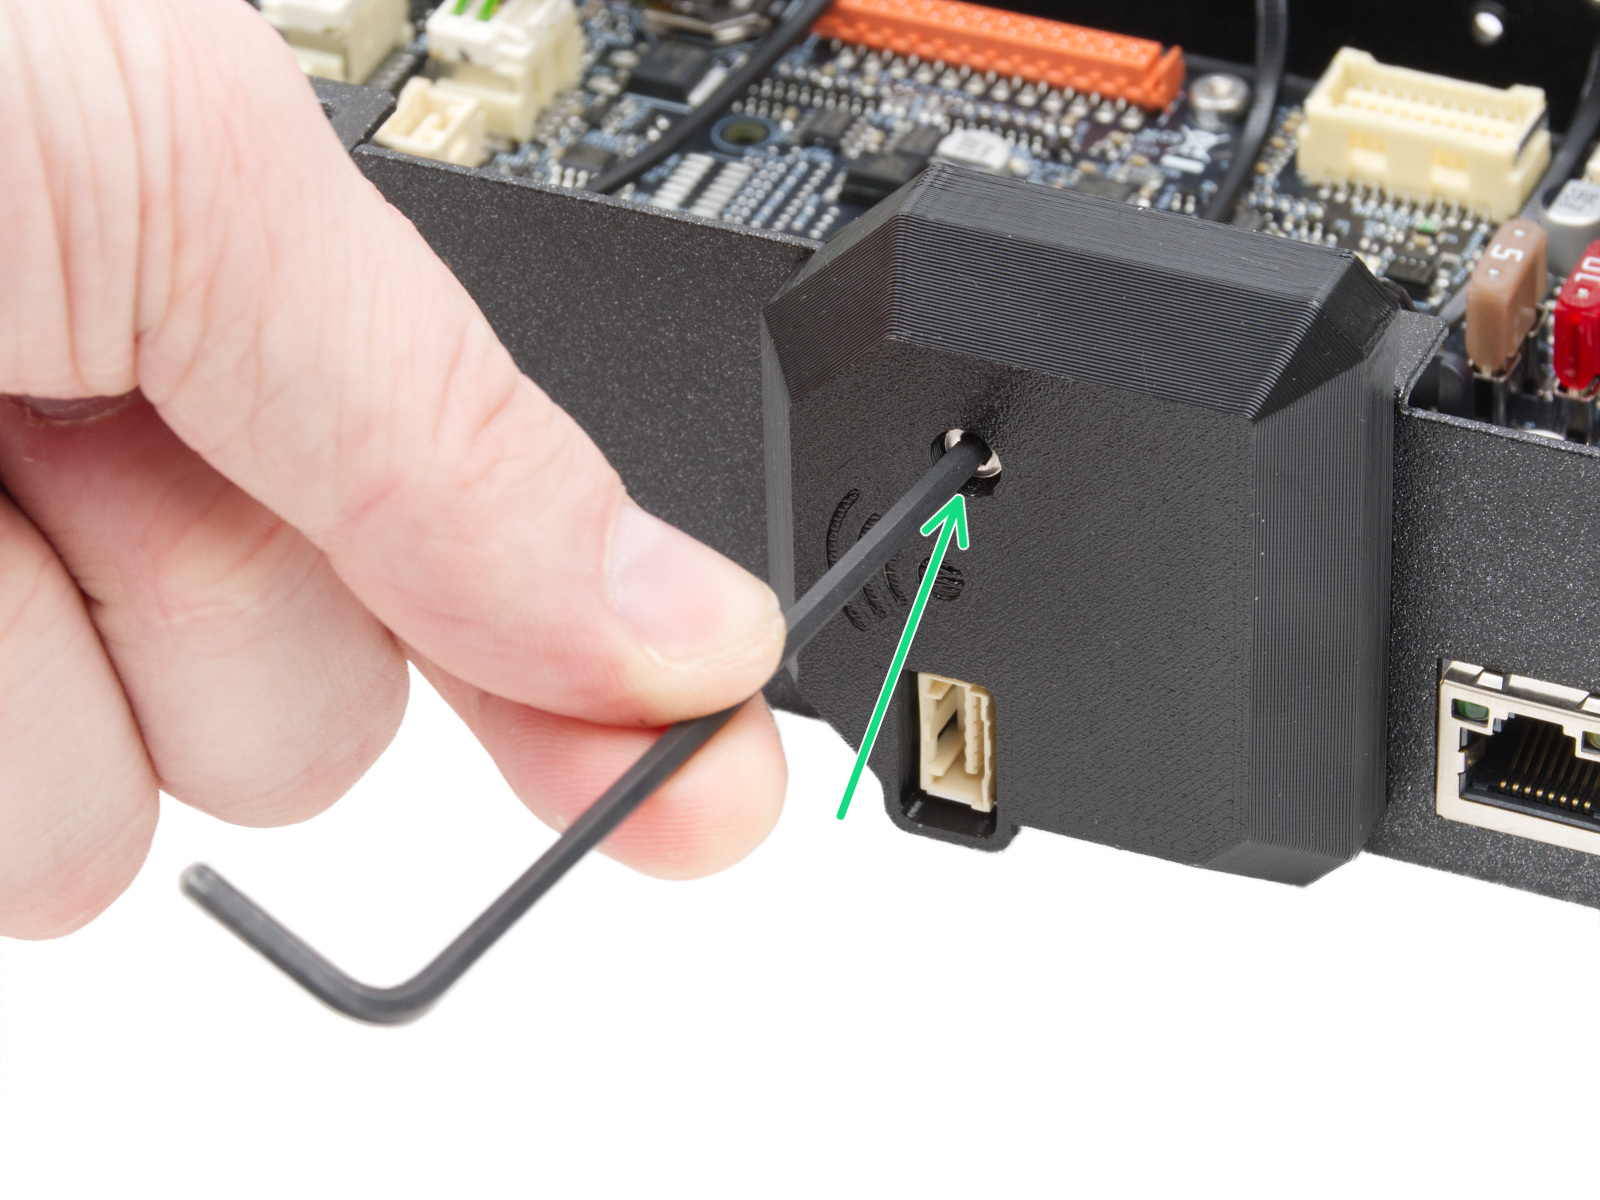
Temporarily remove the Wi-Fi board cover, by loosening its M3x12 screw.
Connect the jumper cable between the xBuddy connector and the Wi-Fi module connector.
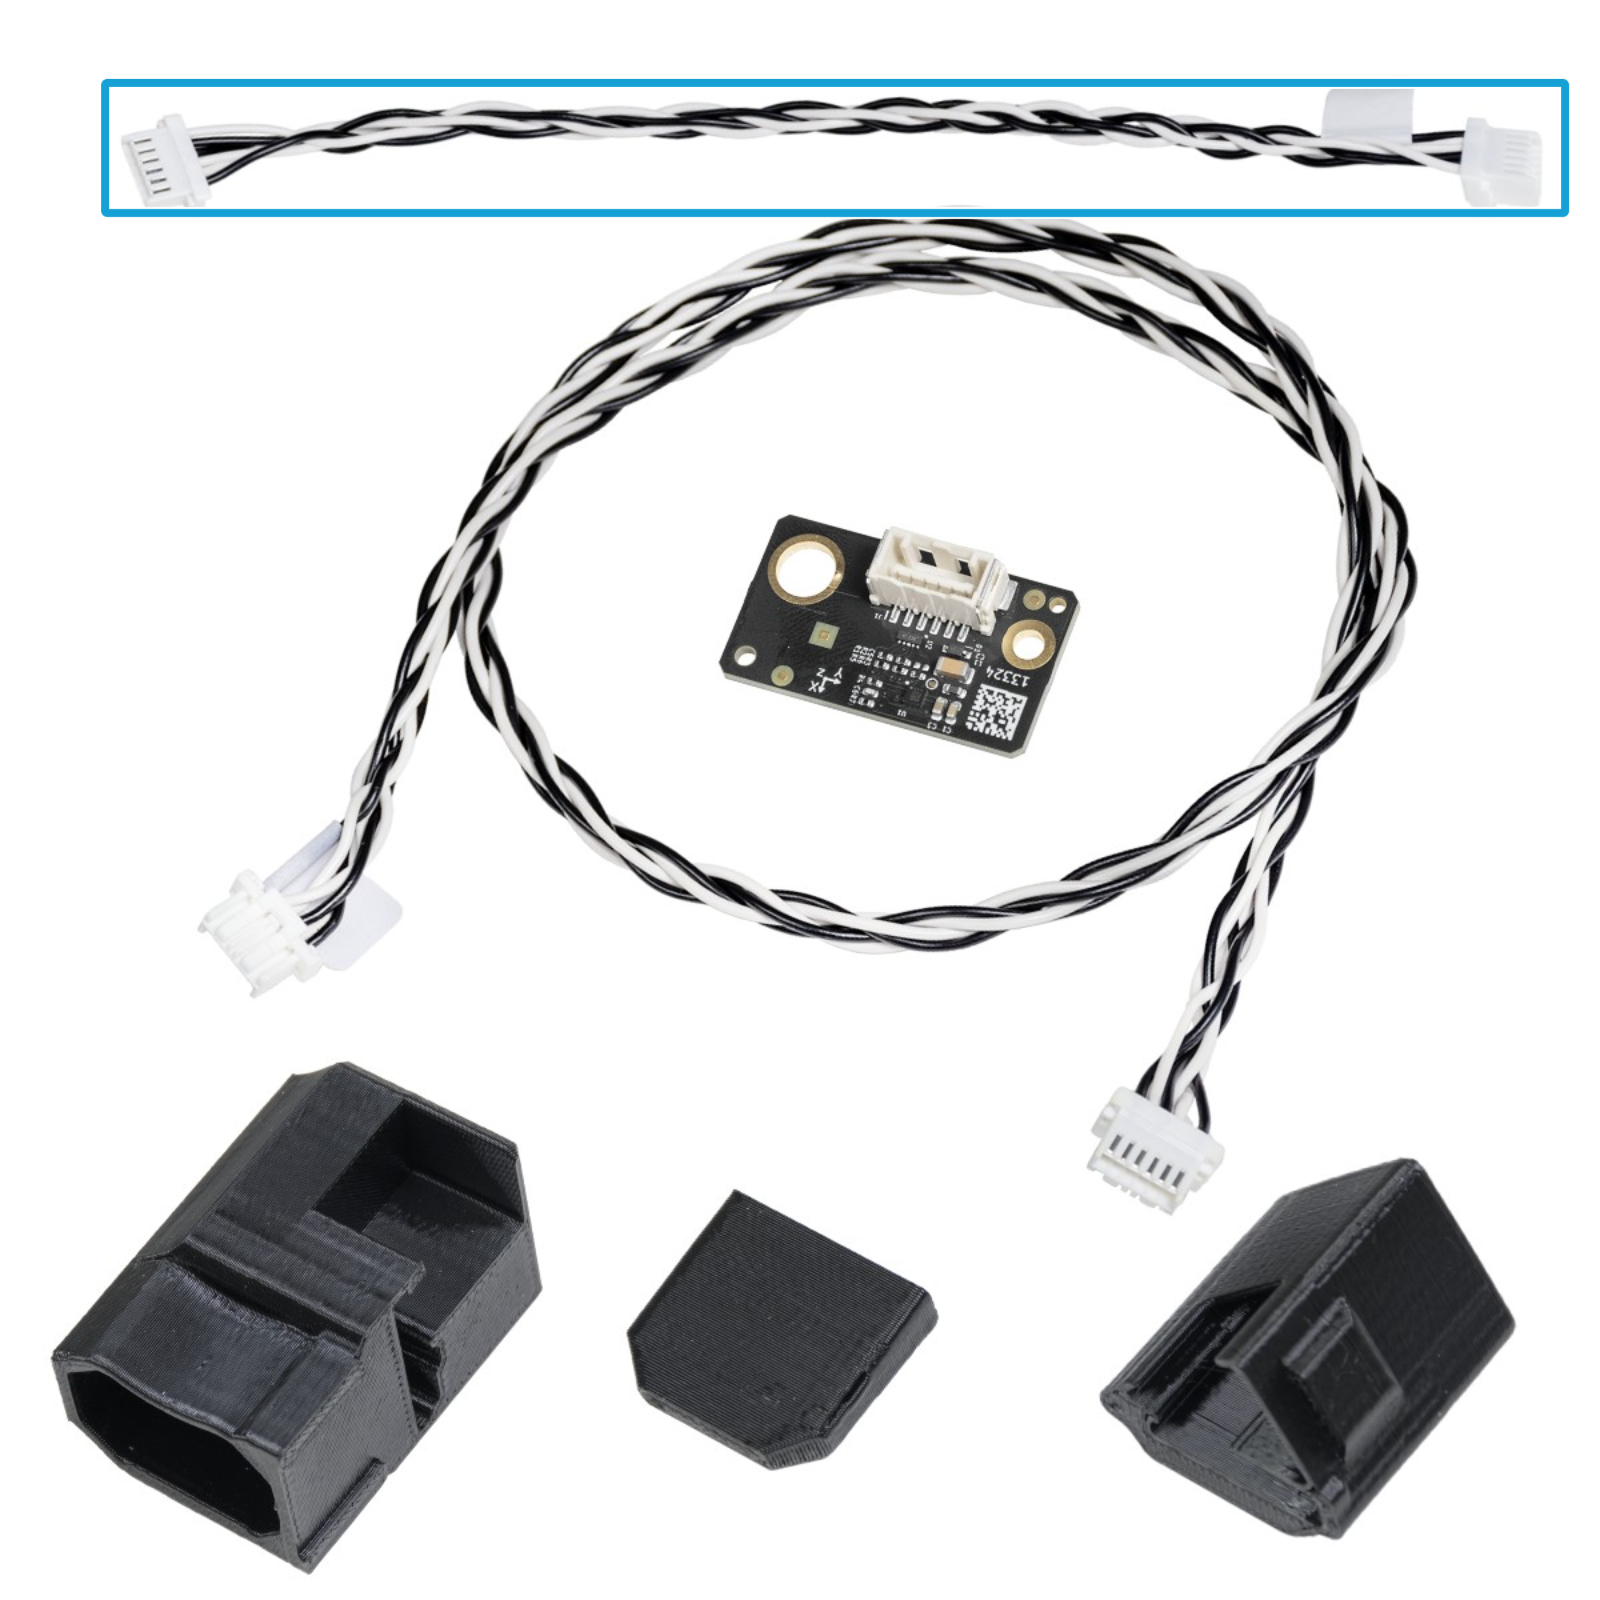 | 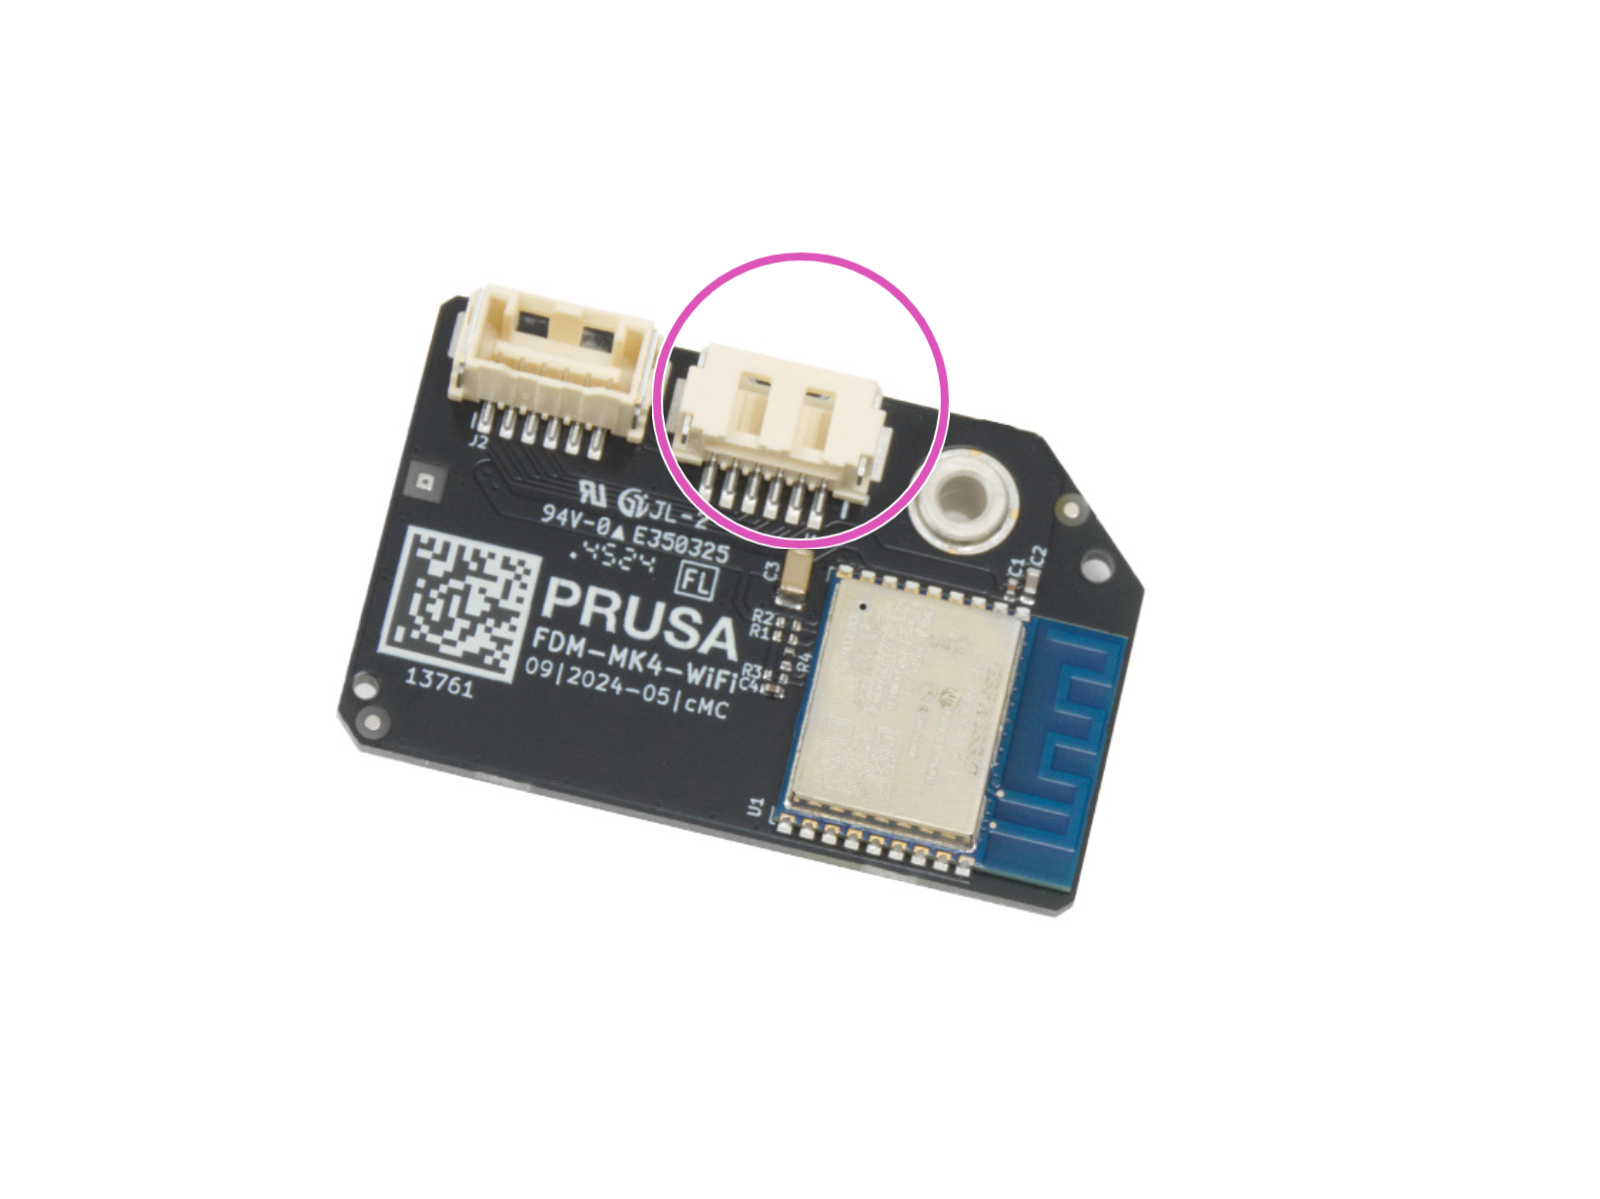 |
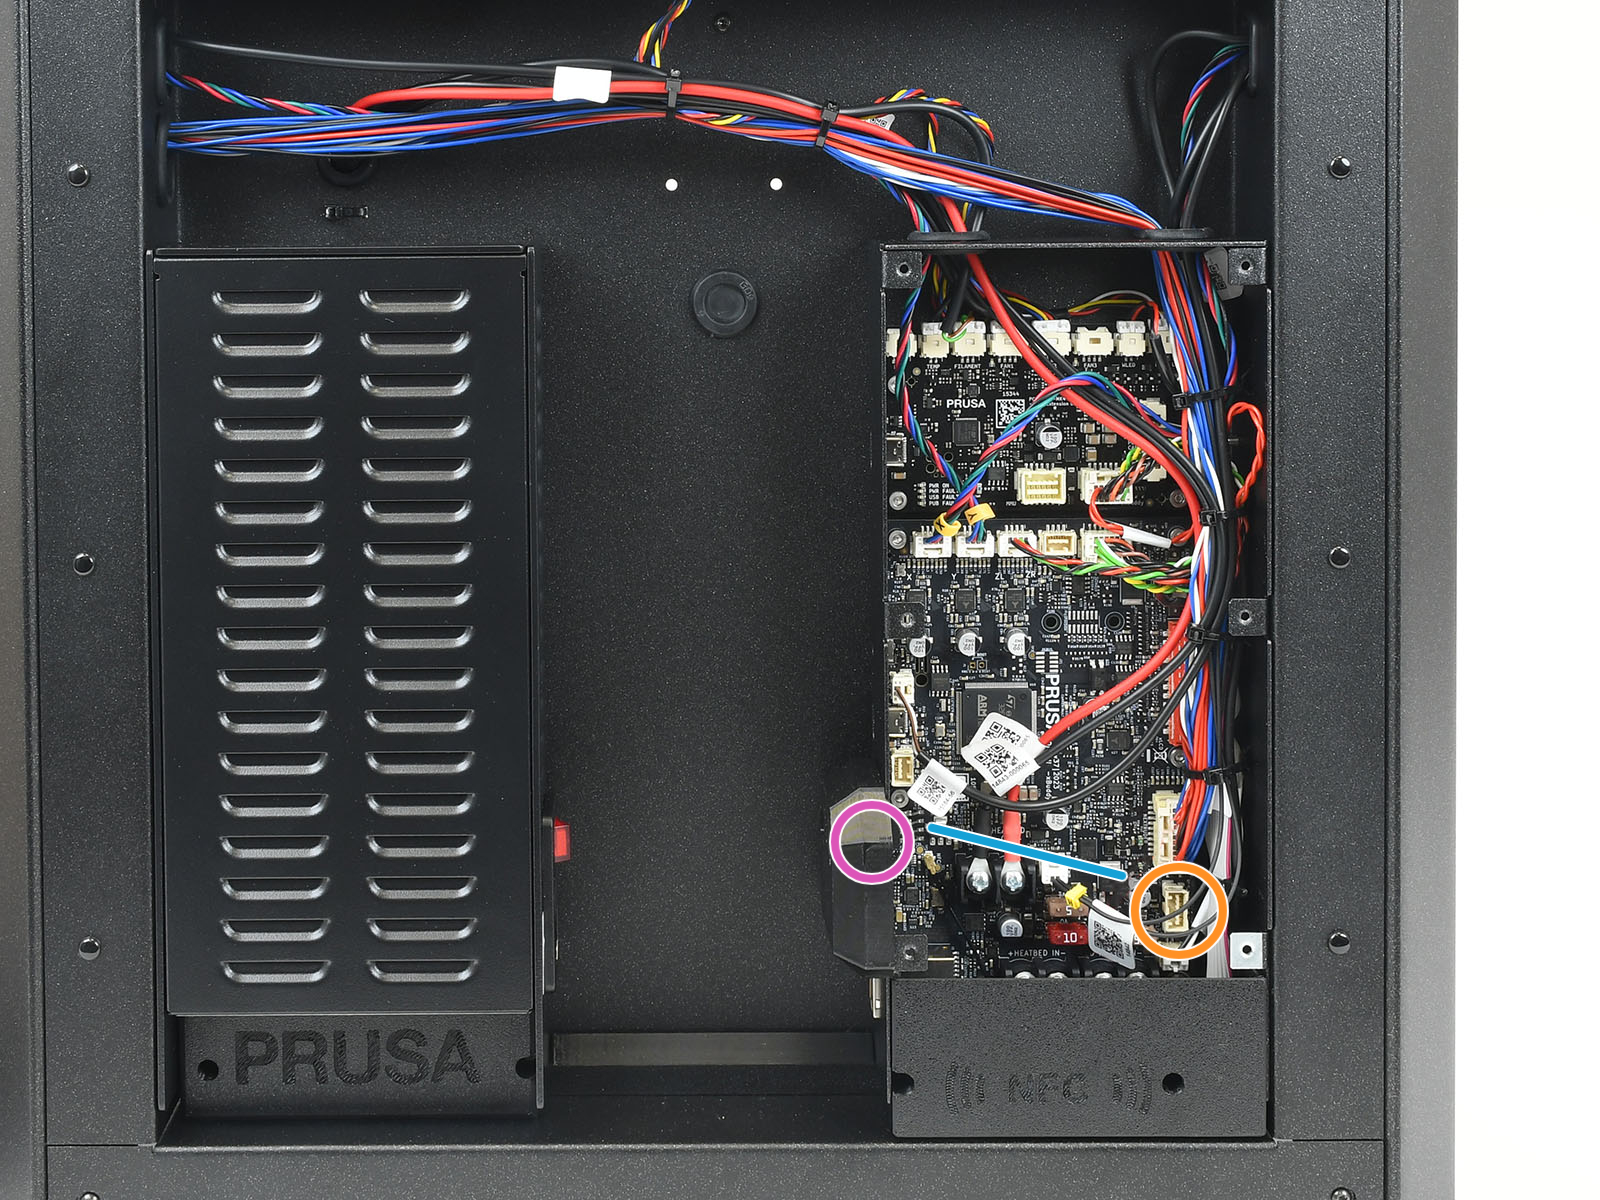
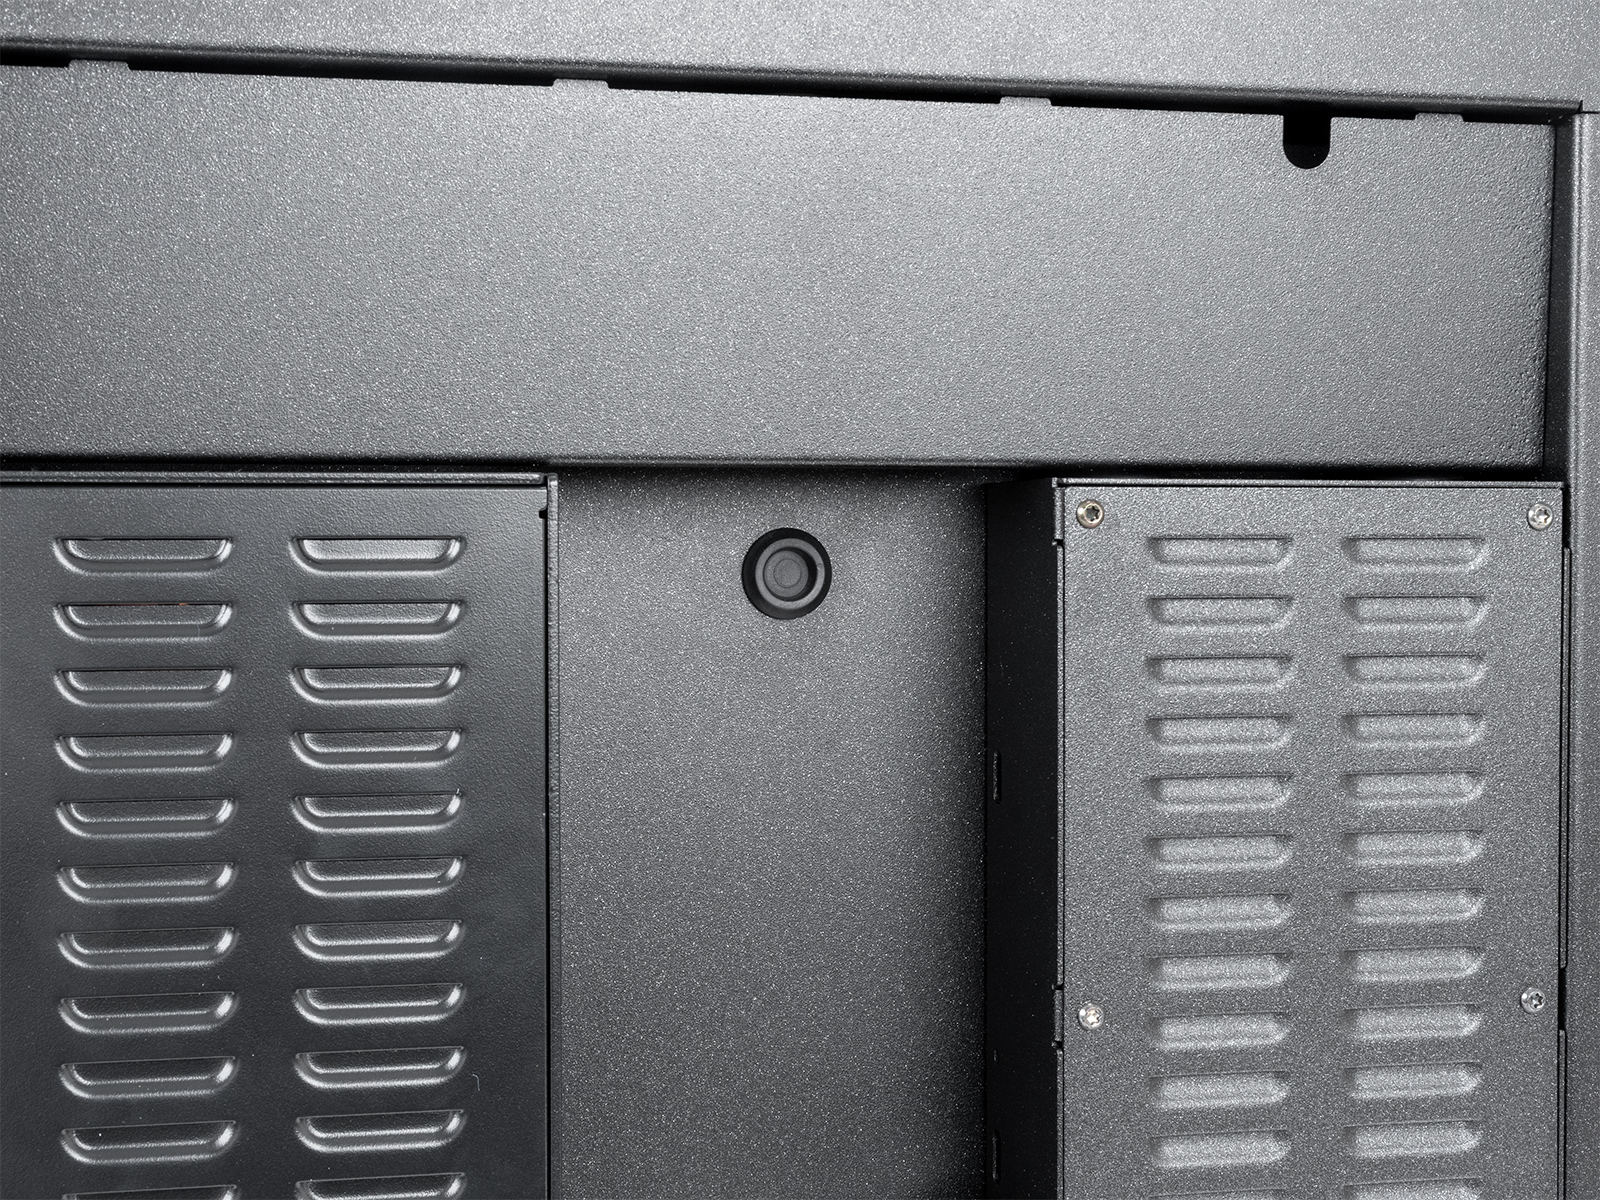
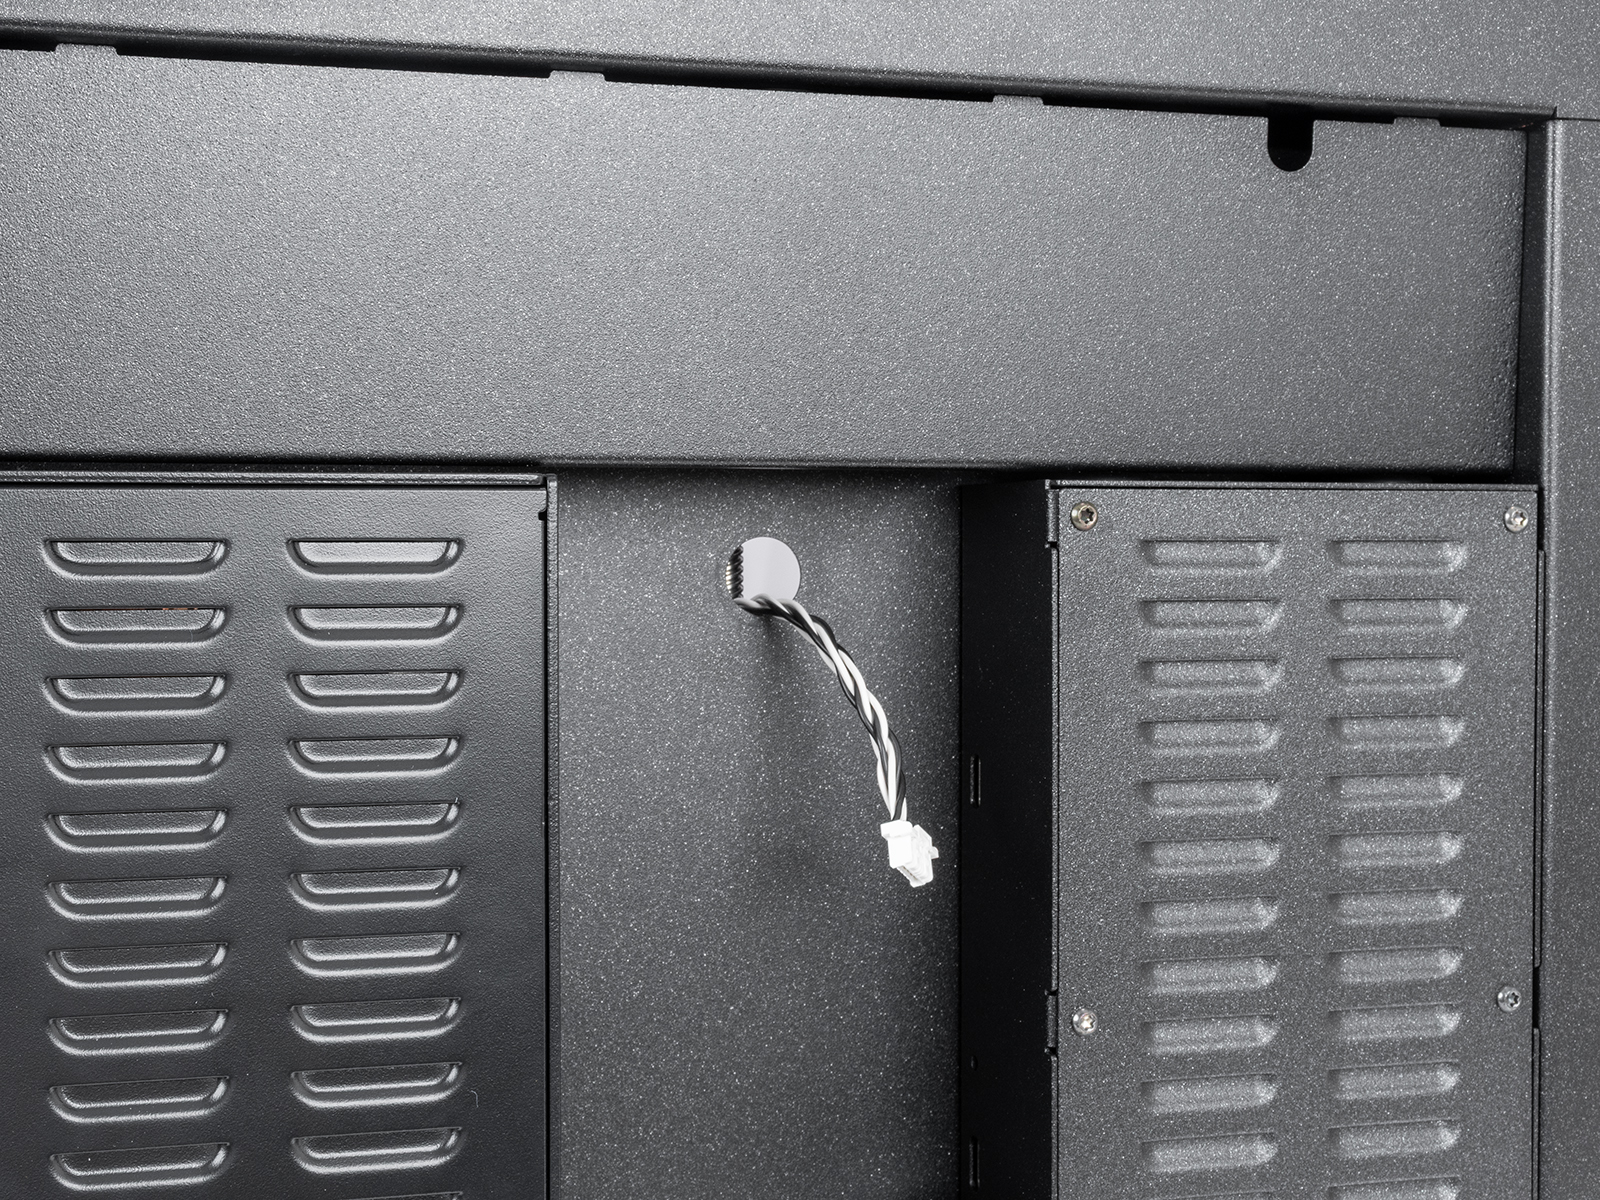
Remove the circular cover on the back. Then, route the accelerometer cable in the hole.
 |  |
Connect the accelerometer cable to the connector at the back of the printer. 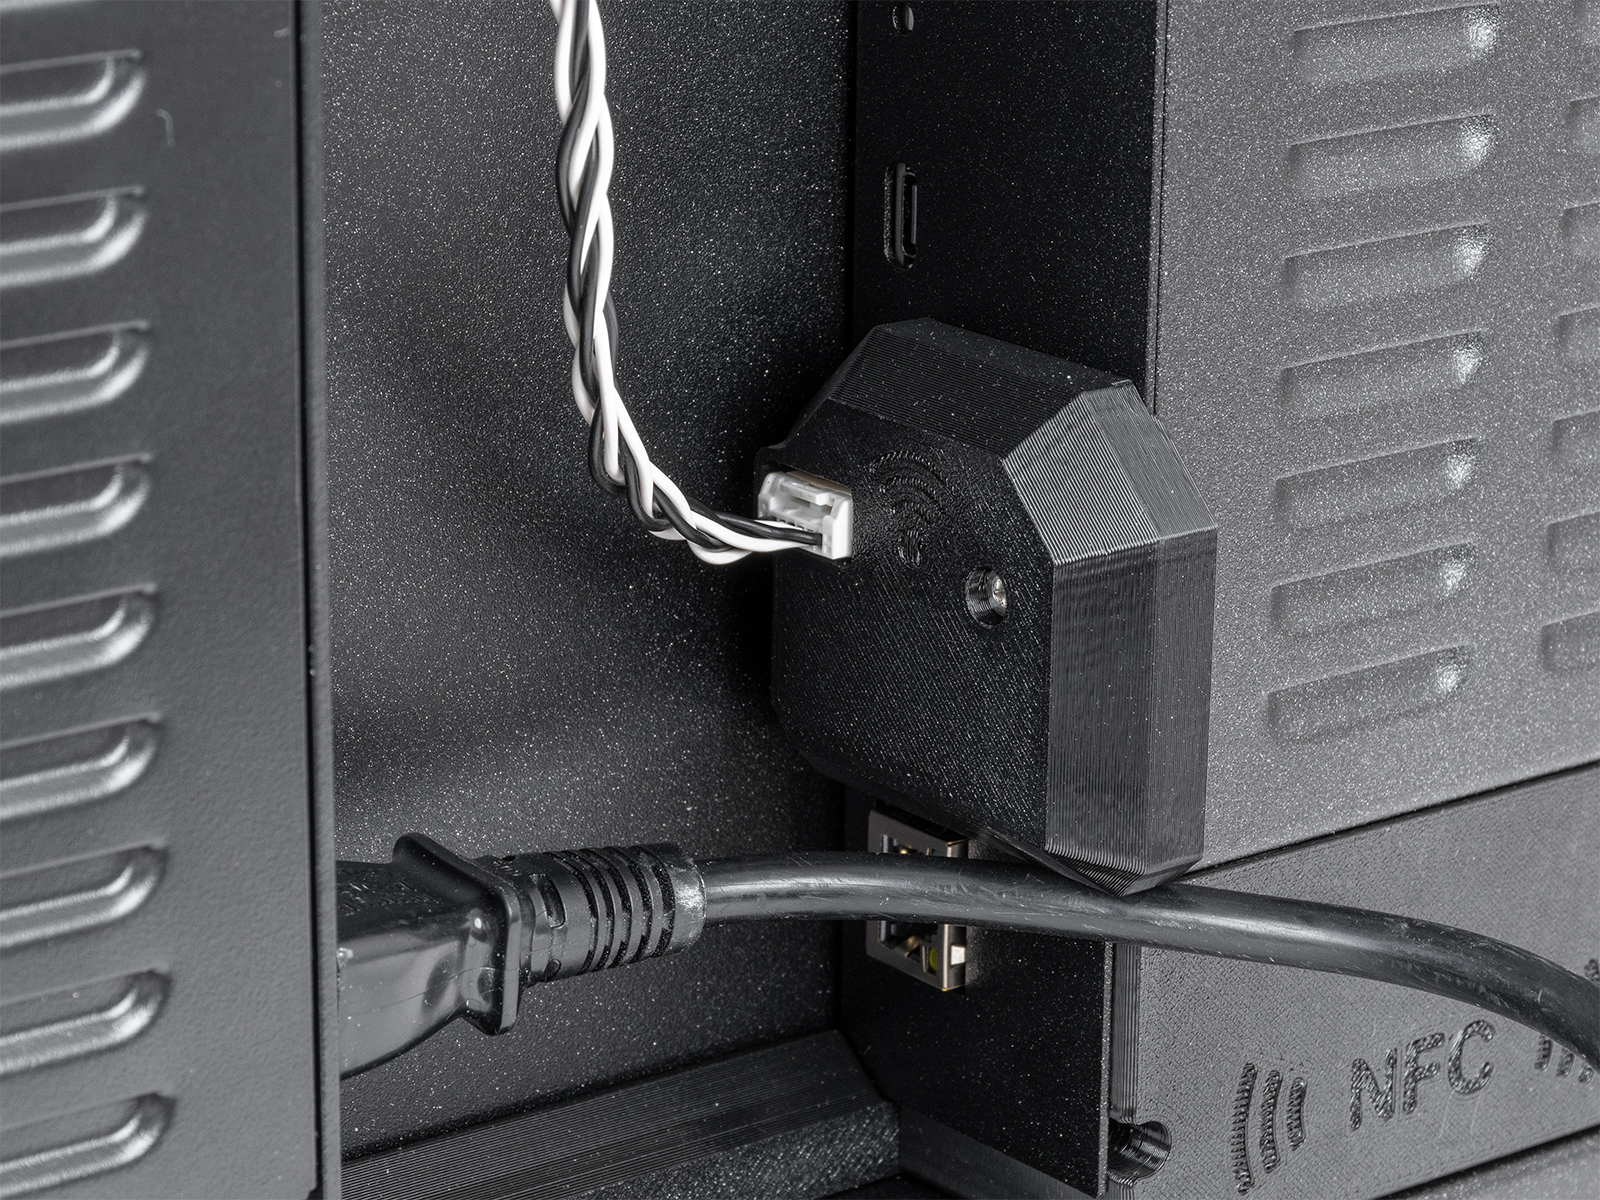
On MK4S and MK3.9S, connect the accelerometer to the dedicated port on the xBuddy board.
Alternatively, you can install a short jumper cable between the xBuddy and the Wi-Fi module on the back of the printer. Then, you can connect the accelerometer to the connector on the back of the printer.
On MK4 and MK3.9, connect the cable to the accelerometer's PCB and attach the printed covers. The accelerometer connects directly to the dedicated port on the xBuddy board.
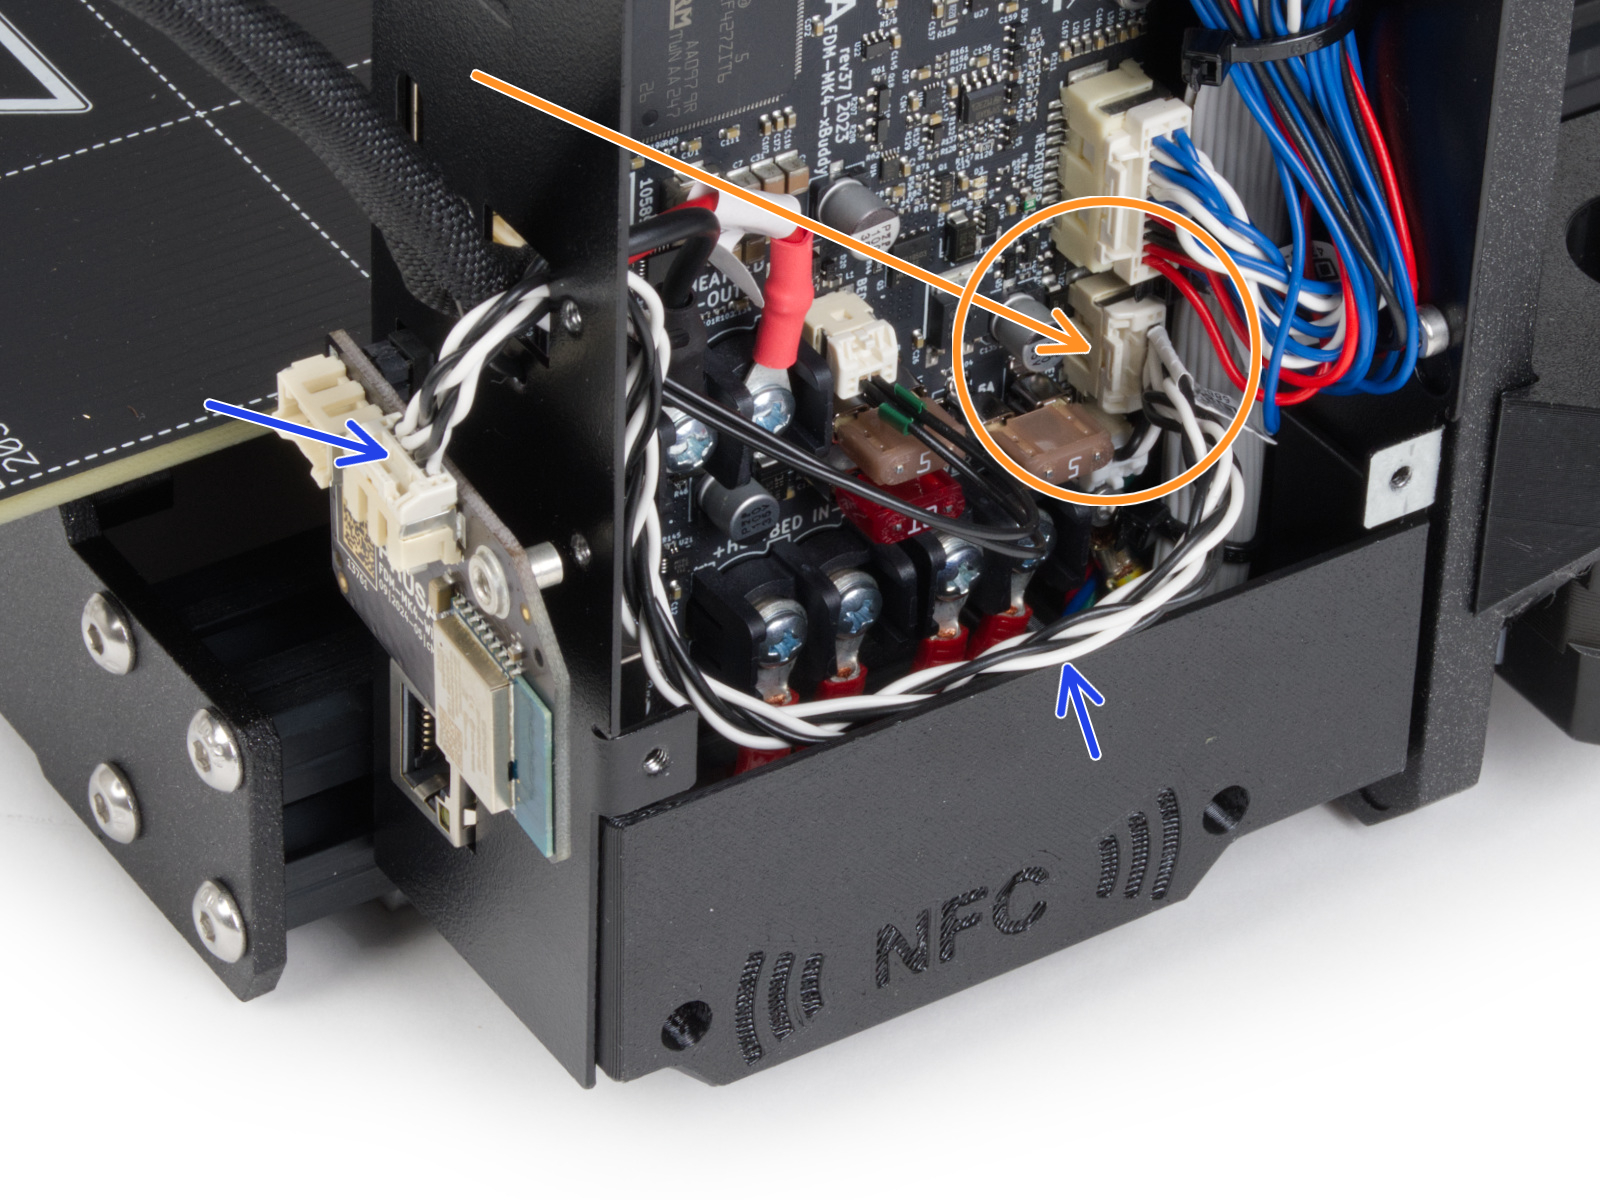 | 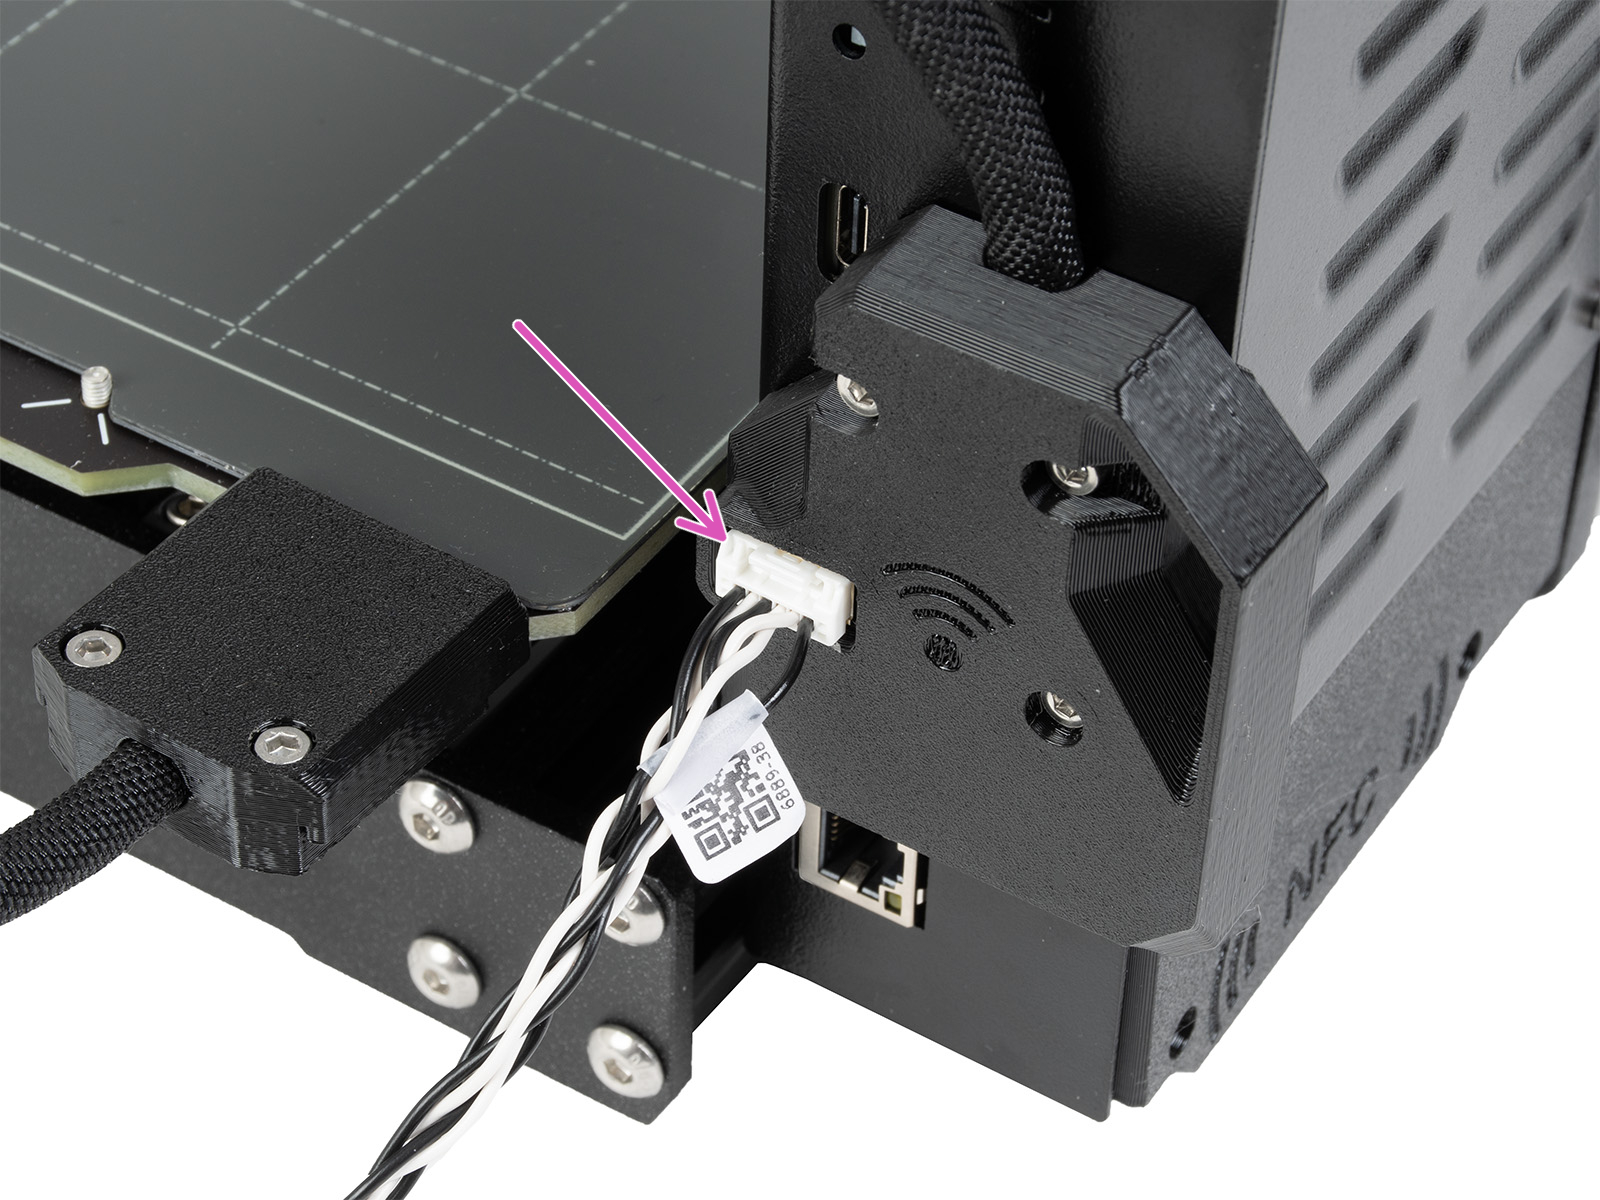 |
Accelerometer connection on MK4S and MK3.9S
For MK3.5 or MK3.5S, please visit the dedicated guide.
The accelerometer is used to calibrate the input shaper parameters. You can launch the calibration from the LCD Menu -> Settings -> Hardware -> Input Shaper -> Calibration.
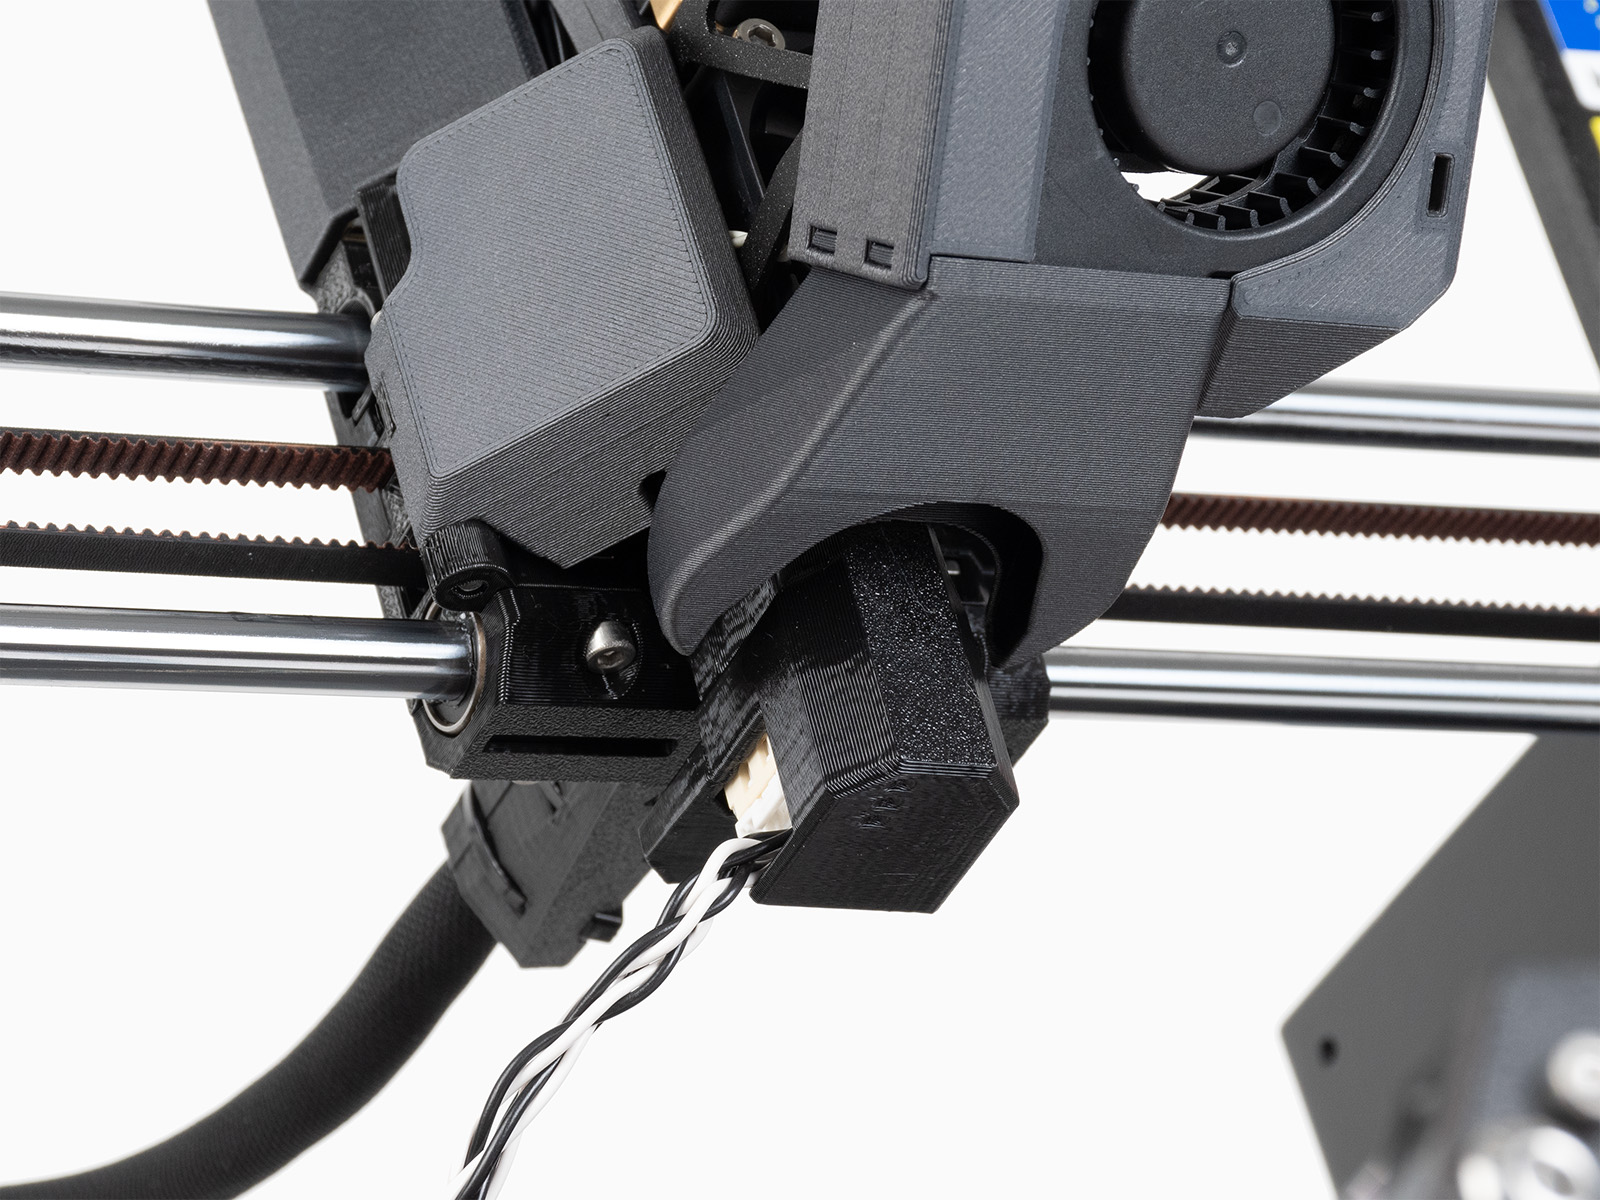
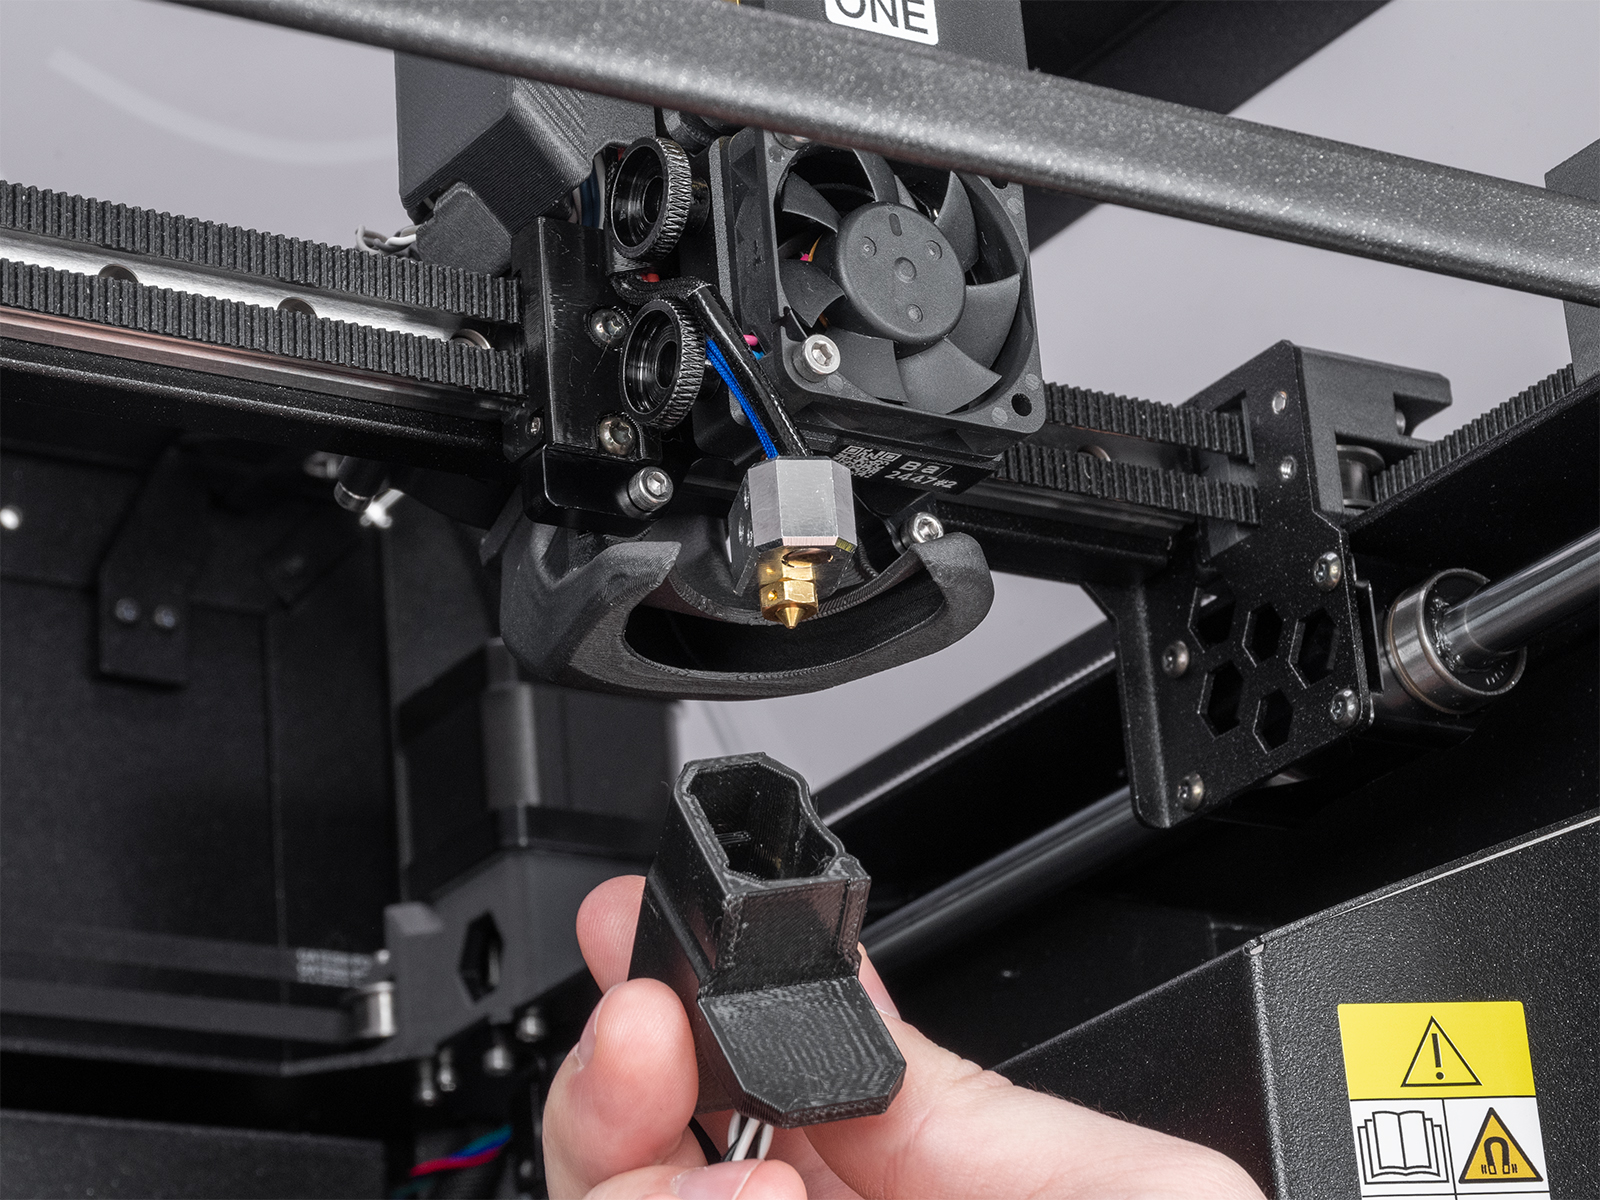
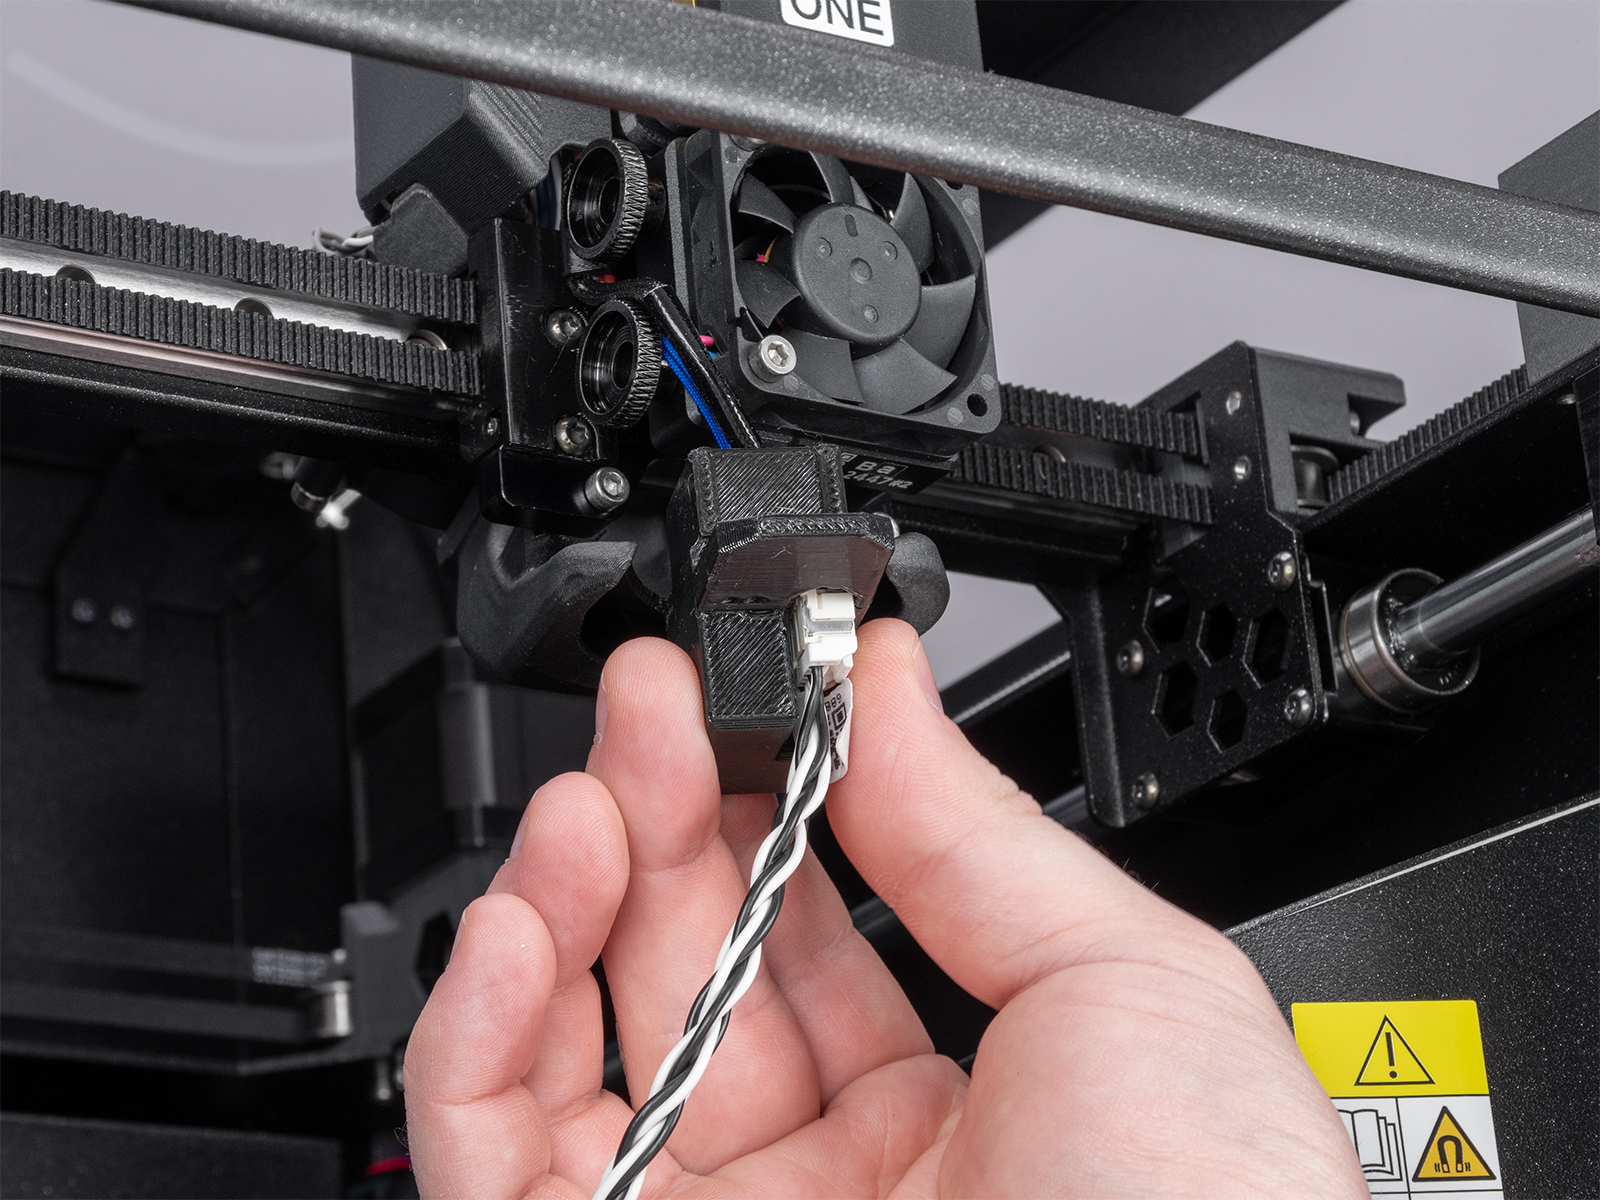
On MK3.9 or MK4, open the fan-door completely before the procedure. Remove the silicone sock, if installed. Identify the part of the accelerometer that is in the shape of the heater block.
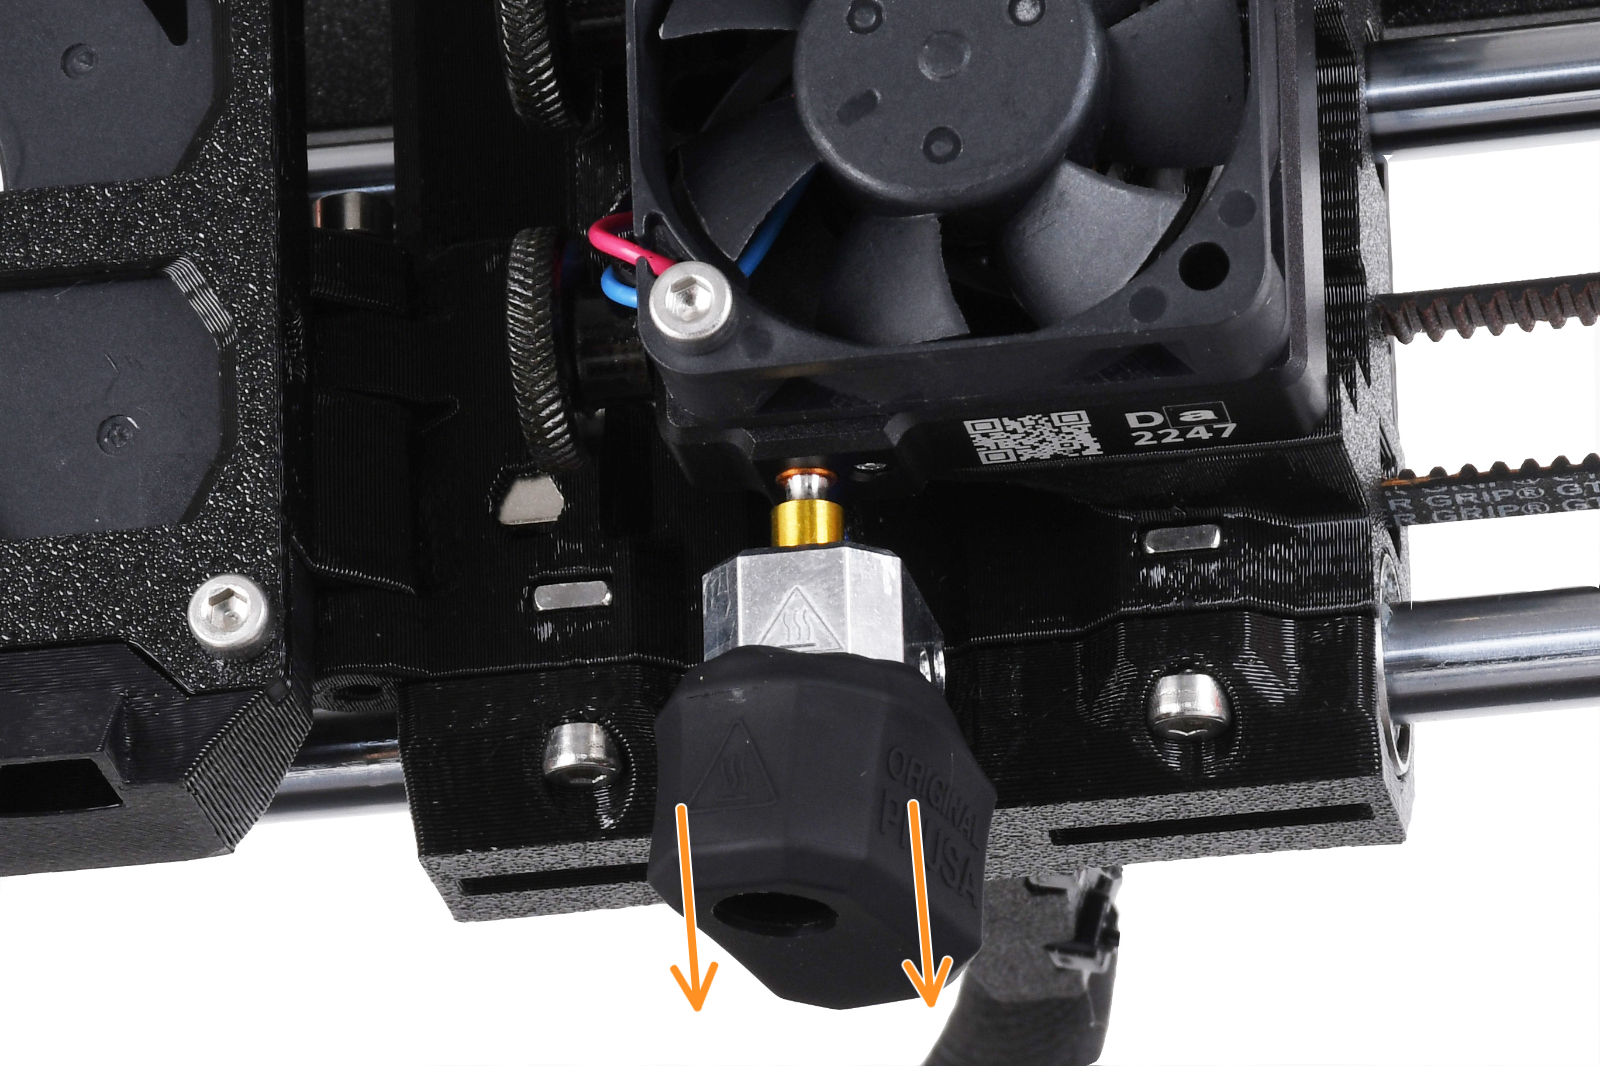 | 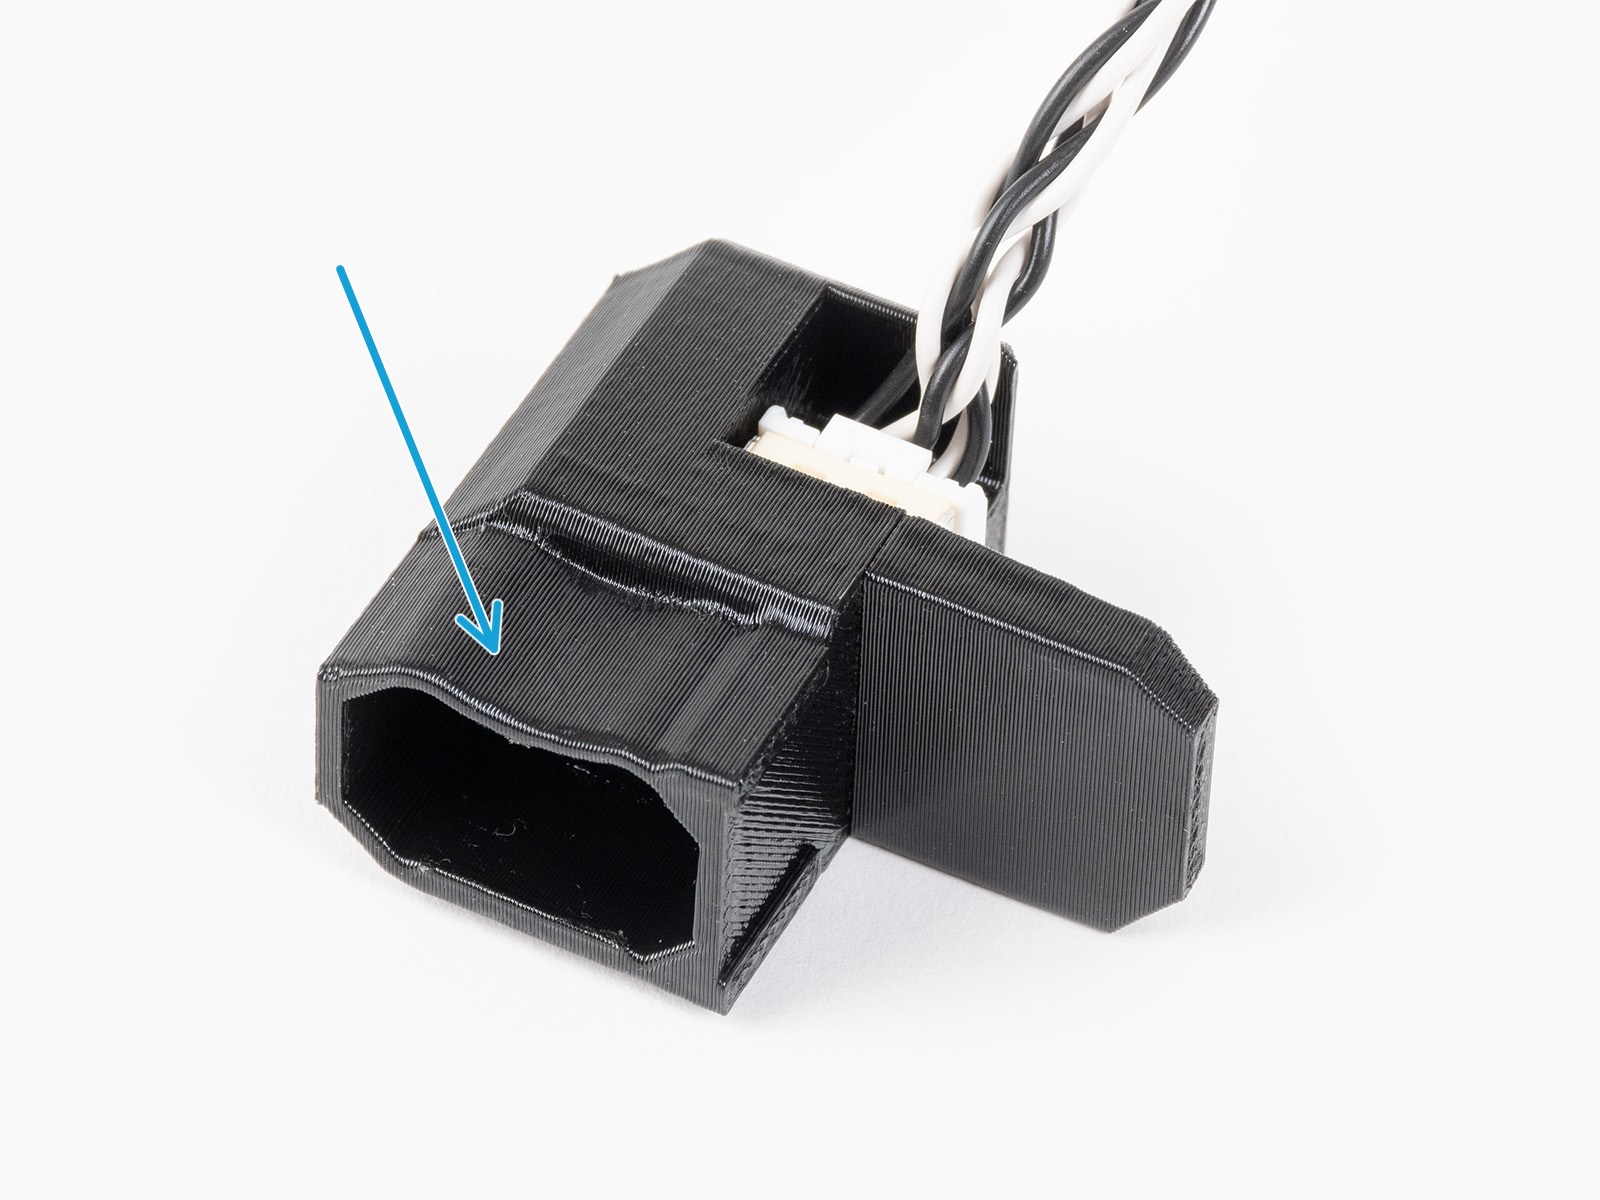 |
Fit the accelerometer to the heater block, by pushing it from the bottom of the hotend. If there is any resistance, do not attempt to push the accelerometer harder, as excessive force might bend the heatbreak.
 |  |
 |  |
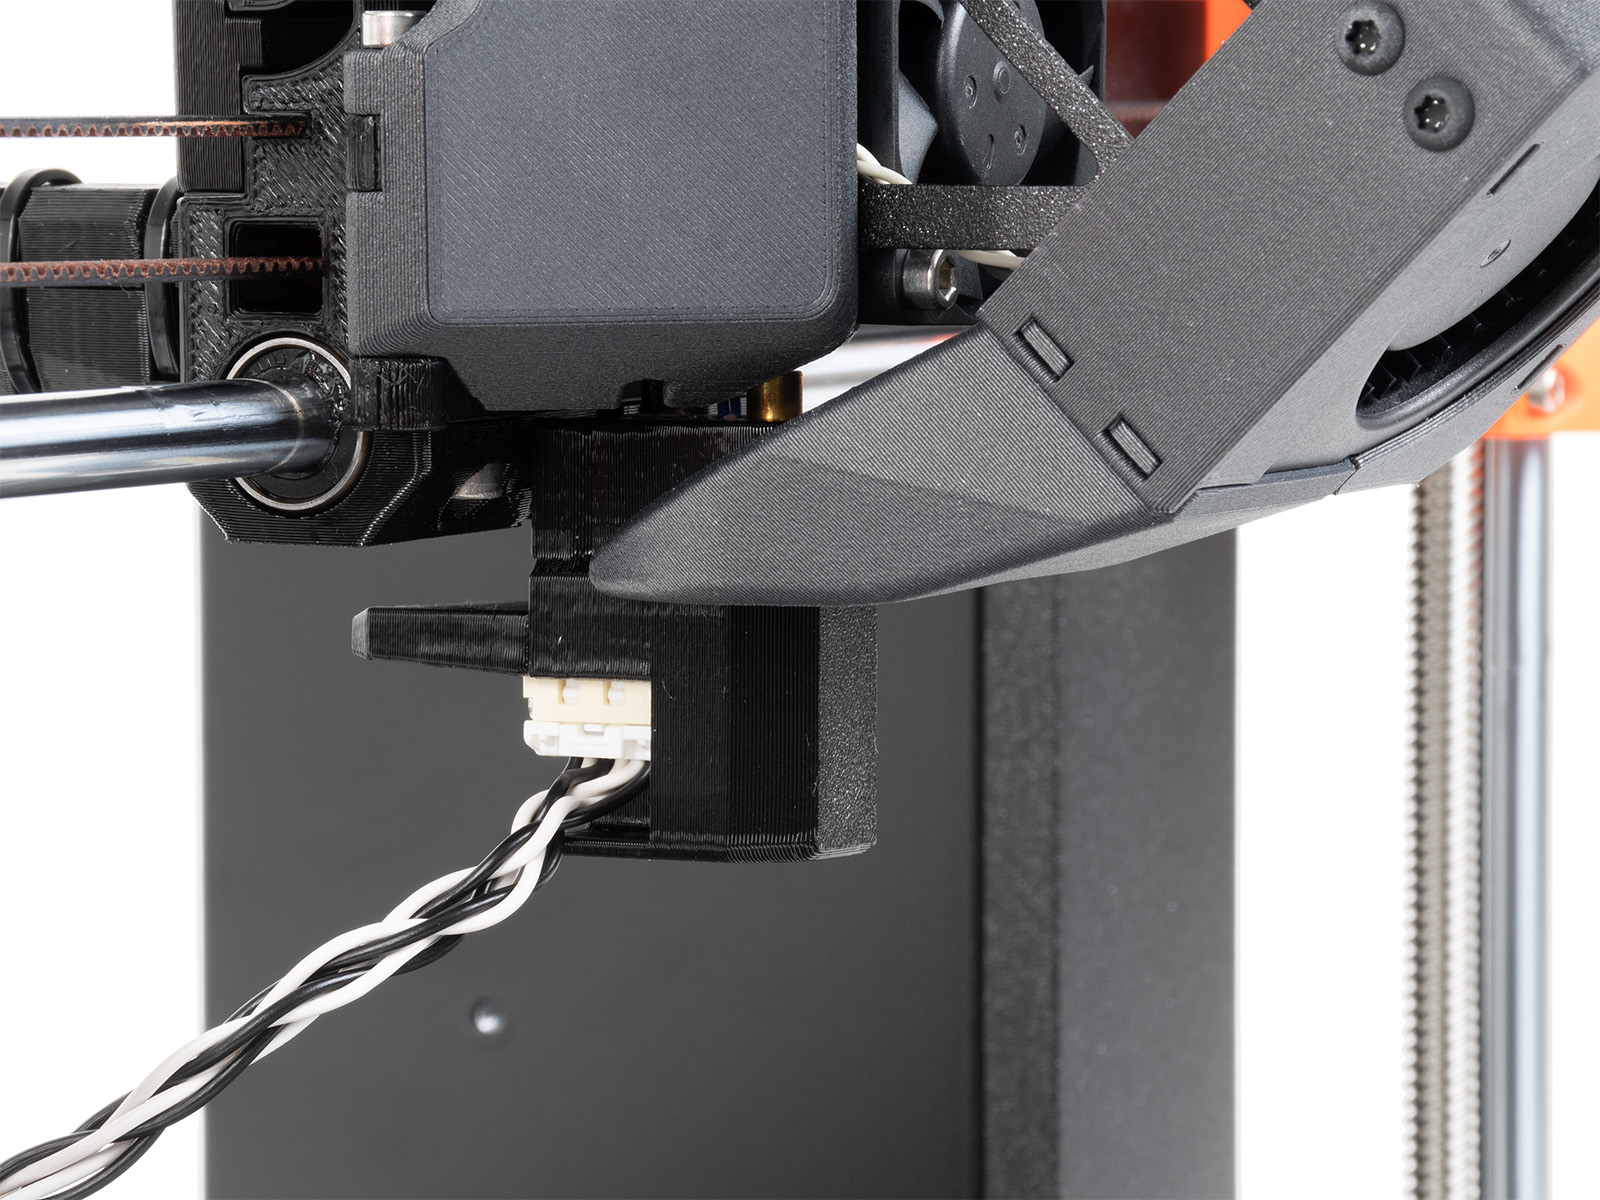
Identify the part of the accelerometer that protrudes from the rest. On the front side of the Y-axis, place the protrusion between the steel sheet and the heatbed.
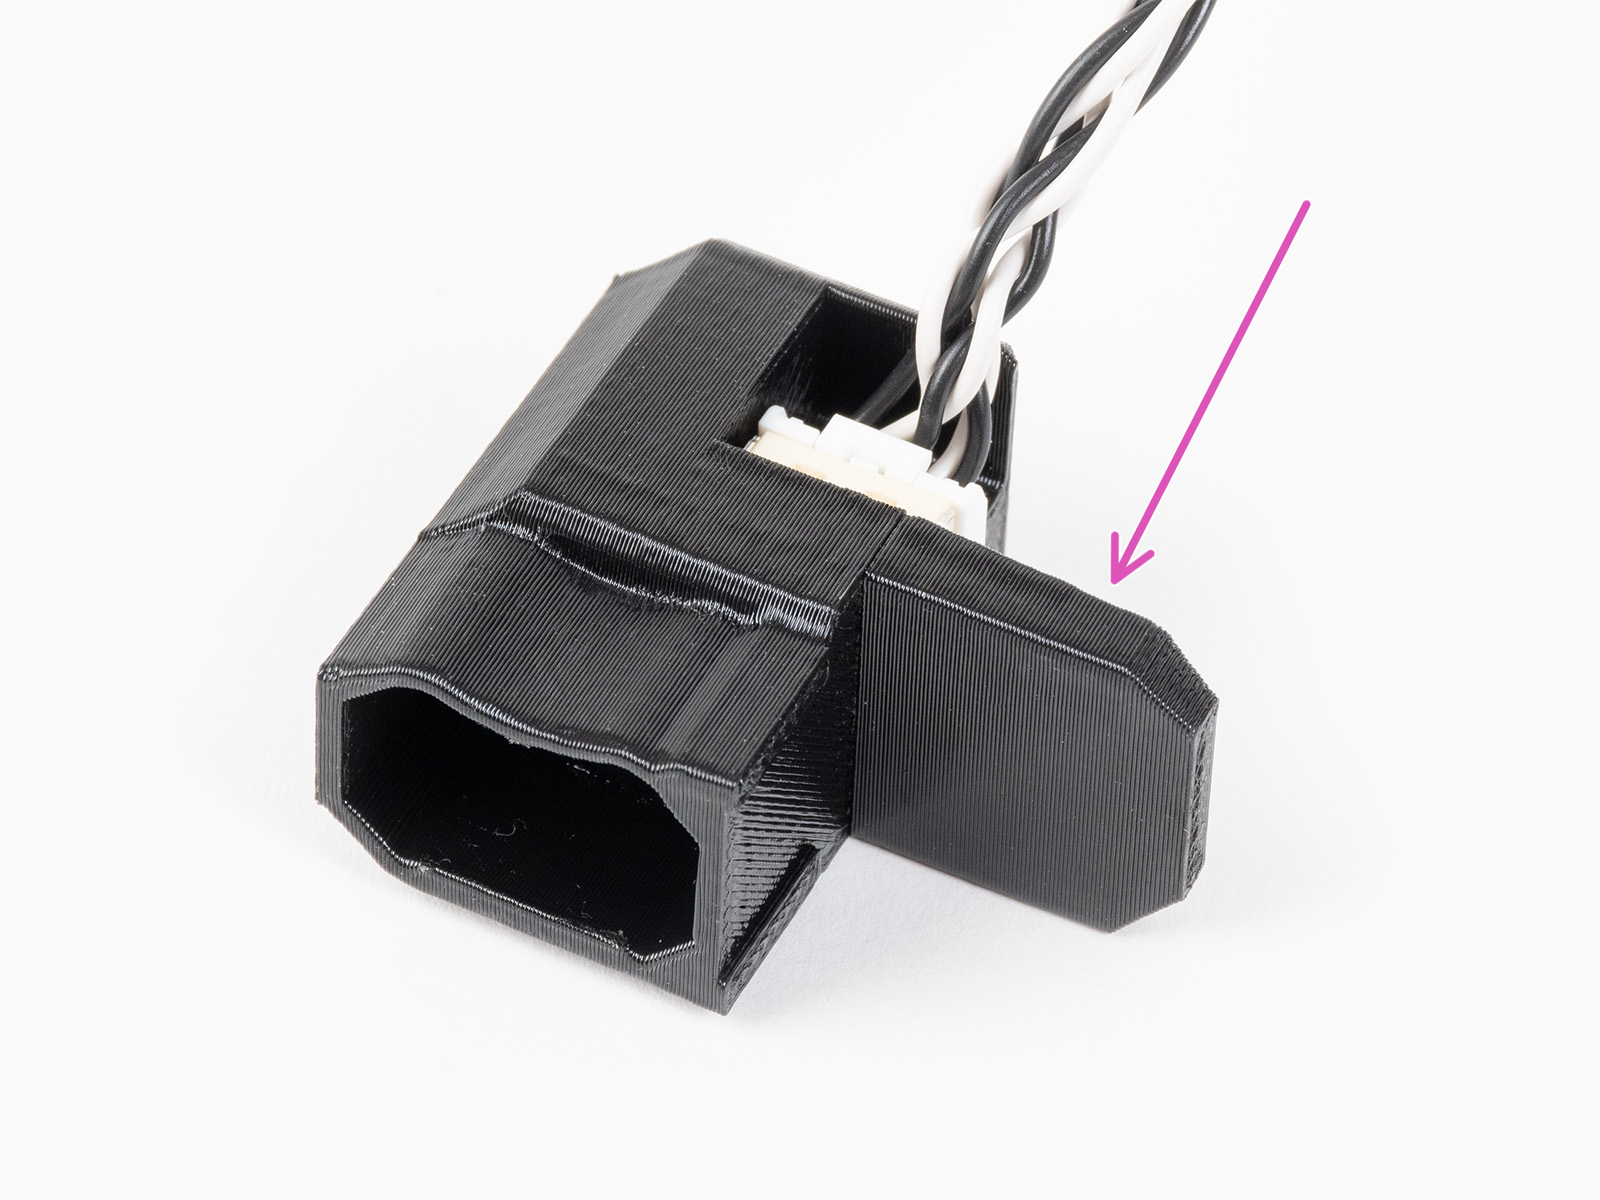 | 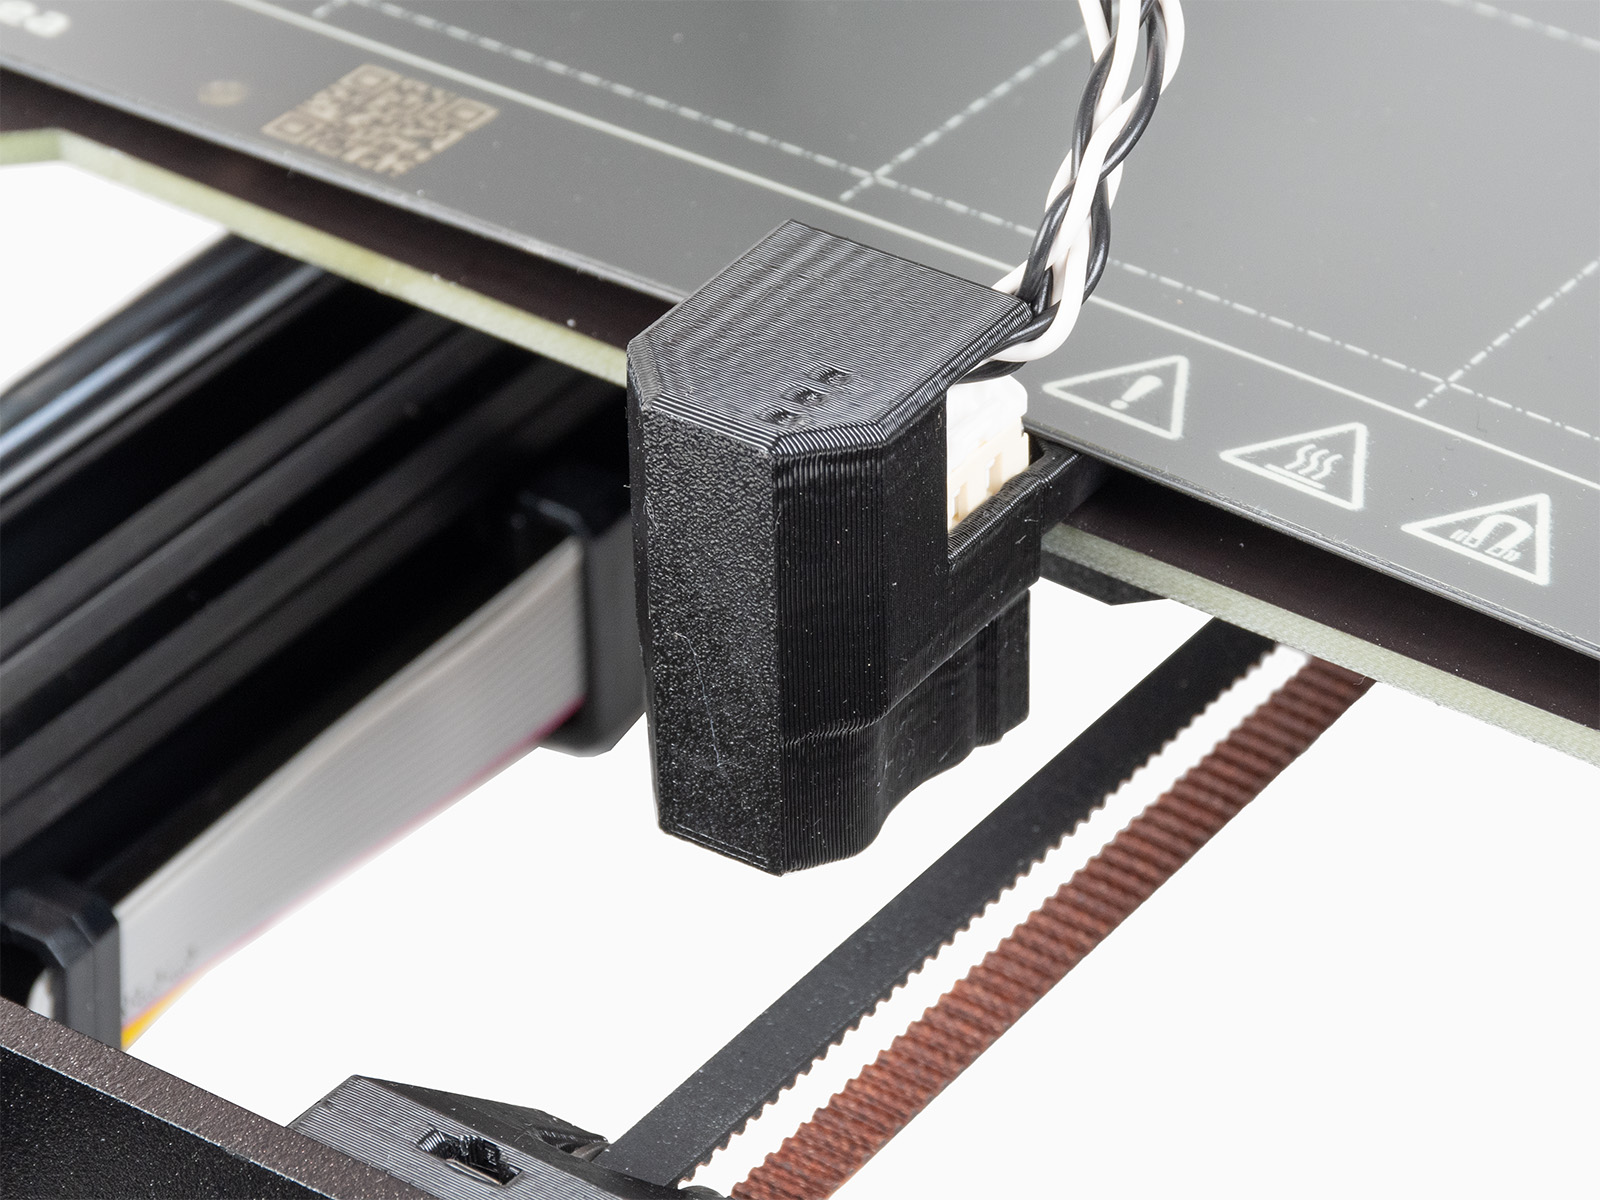 |
The results shown on the printer's display at the end of the calibration indicate the optimal input shaping type and frequency found with the calibration.
48 comments
I was under the impression that the accelerometer kit was not necessary even for the kit-built printer but do wonder if it could improve the situation...
I'd obviously rather not buy the accelerometer unless I actually need it, in which case I would have gladly added it to my original order.
Would I need this anyway whenever I get and install my INDX conversion?