- English
- Čeština
- Español
- Italiano
- Deutsch
- Polski
- Français
- Home
- このプリンターを使用
- プリンターメンテナンス
- FEP film replacement (SL1)
FEP film replacement (SL1)
- 3Dモデル
- 材料ガイド
- スライス処理
- プリンターメンテナンス
- ベルトの調整方法 (MINI/MINI+)
- ベルト張力の調整 (MK4/S, MK3.9/S, MK3.5/S, MK3/S/+)
- ベルトの調整方法 (XL)
- Buddyボードの電気配線(MINI)
- Changing or replacing the Nextruder Hotend
- ノズルの変更・交換 (MK2.5/S, MK3/S/+, MK3.5/S)
- Changing or replacing the Prusa Nozzle
- Changing the print head
- ノズルの交換/取り替え(MINI)
- Bondtechギアのチェックとアラインメント調整 (MK3.5/S, MK3S/+, MK2.5S)
- コールドプルテクニック(MINI)
- コールドプル (MK3/S/+, MK2.5/S, MK3.5/S)
- コールドプル (MK4/S, MK3.9/S, XL) #13702 #17702
- Community translations
- CW1 maintenance
- FEP film replacement (SL1)
- How to replace the FEP film:
- Fire Suppression system (Enclosure)
- Firmware updating (CW1)
- ファームウェアのアップデート方法 (MINI/MINI+)
- Firmware updating (MK2.5S/MK2S)
- Firmware updating (MMU2S)
- Firmware updating (SL1/SL1S)
- HEPA filter replacement (HT90)
- ホットエンドの分解&ヒートシンクのヒートブレイクがスタック
- ファームウェアのダウングレード (MK4/S, MK3.9/S, MK3.5/S, XL)
- 頭が潰れてしまったネジの外し方
- How to update firmware (HT90)
- ファームウェアのアップデート方法 (MK3S+/MK3S/MK3)
- ファームウェア更新方法 (MK4/S, MK3.9/S, MK3.5/S, XL)
- How to update firmware (MMU3)
- i3プリンターの定期的なメンテナンス
- IPA pigment filter (CW1/CW1S)
- MMU2S regular maintenance
- MMU3の定期メンテナンス
- Nozzle replacement (HT90)
- PETG sheets (Enclosure)
- Print surface preparation
- Printing without purge tower on the XL (Multi-Tool)
- 定期的なメンテナンス (MINI)
- Regular printer maintenance (HT90)
- Regular printer maintenance (MK3.5/S)
- プリンタの定期メンテナンス (MK4/S, MK3.9/S)
- 定期的なメンテナンス (XL)
- エクストルーダーからの手動によるフィラメントの取り出し
- SDカード・USBメモリ
- SL1/SL1S maintenance
- SL1/SL1S print removing
- 安全機能のテスト(MK3/MK3S)
- プリント中の振動とノイズ (MINI/MINI+)
- Prusa Connect [進行中の翻訳]
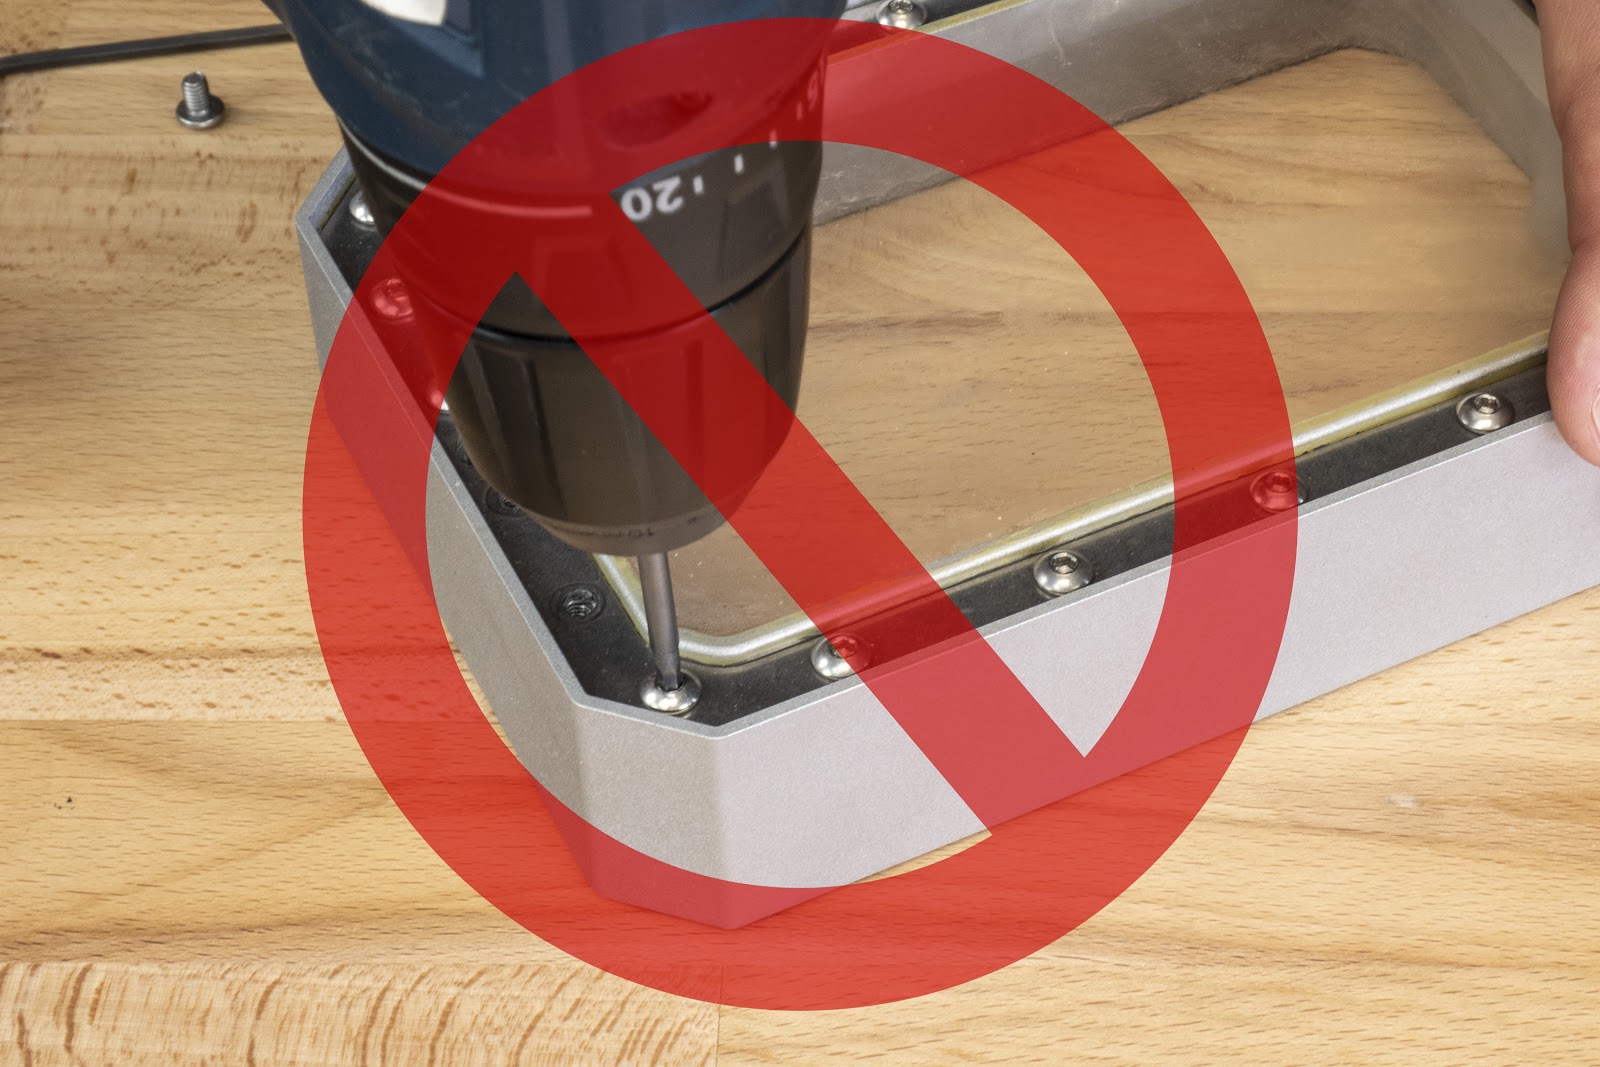
Please note: Every time you replace the FEP film, tighten the screws properly, but don’t use excessive force. Overtightening the screws may lead to issues with their removal, during the next FEP film replacement.
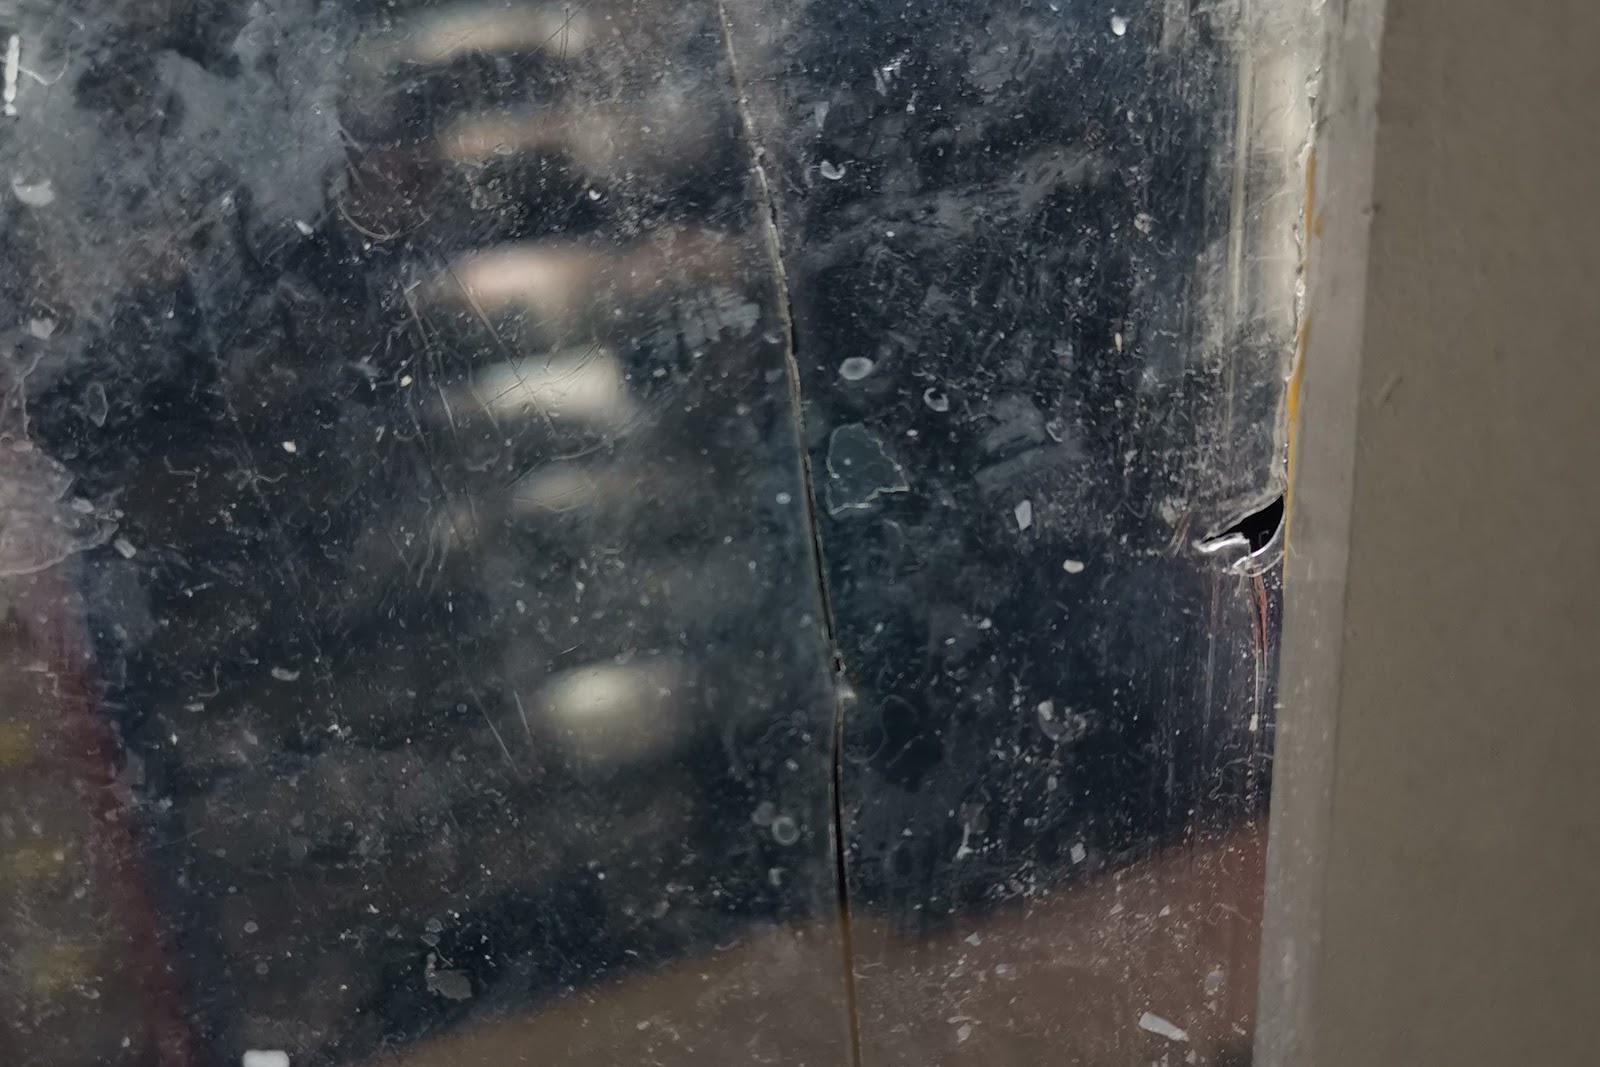
An extreme case of FEP film damage
The FEP film is a consumable item, which means it will degrade after a certain time. You can order replaceable FEP films from our e-shop.
How to replace the FEP film:
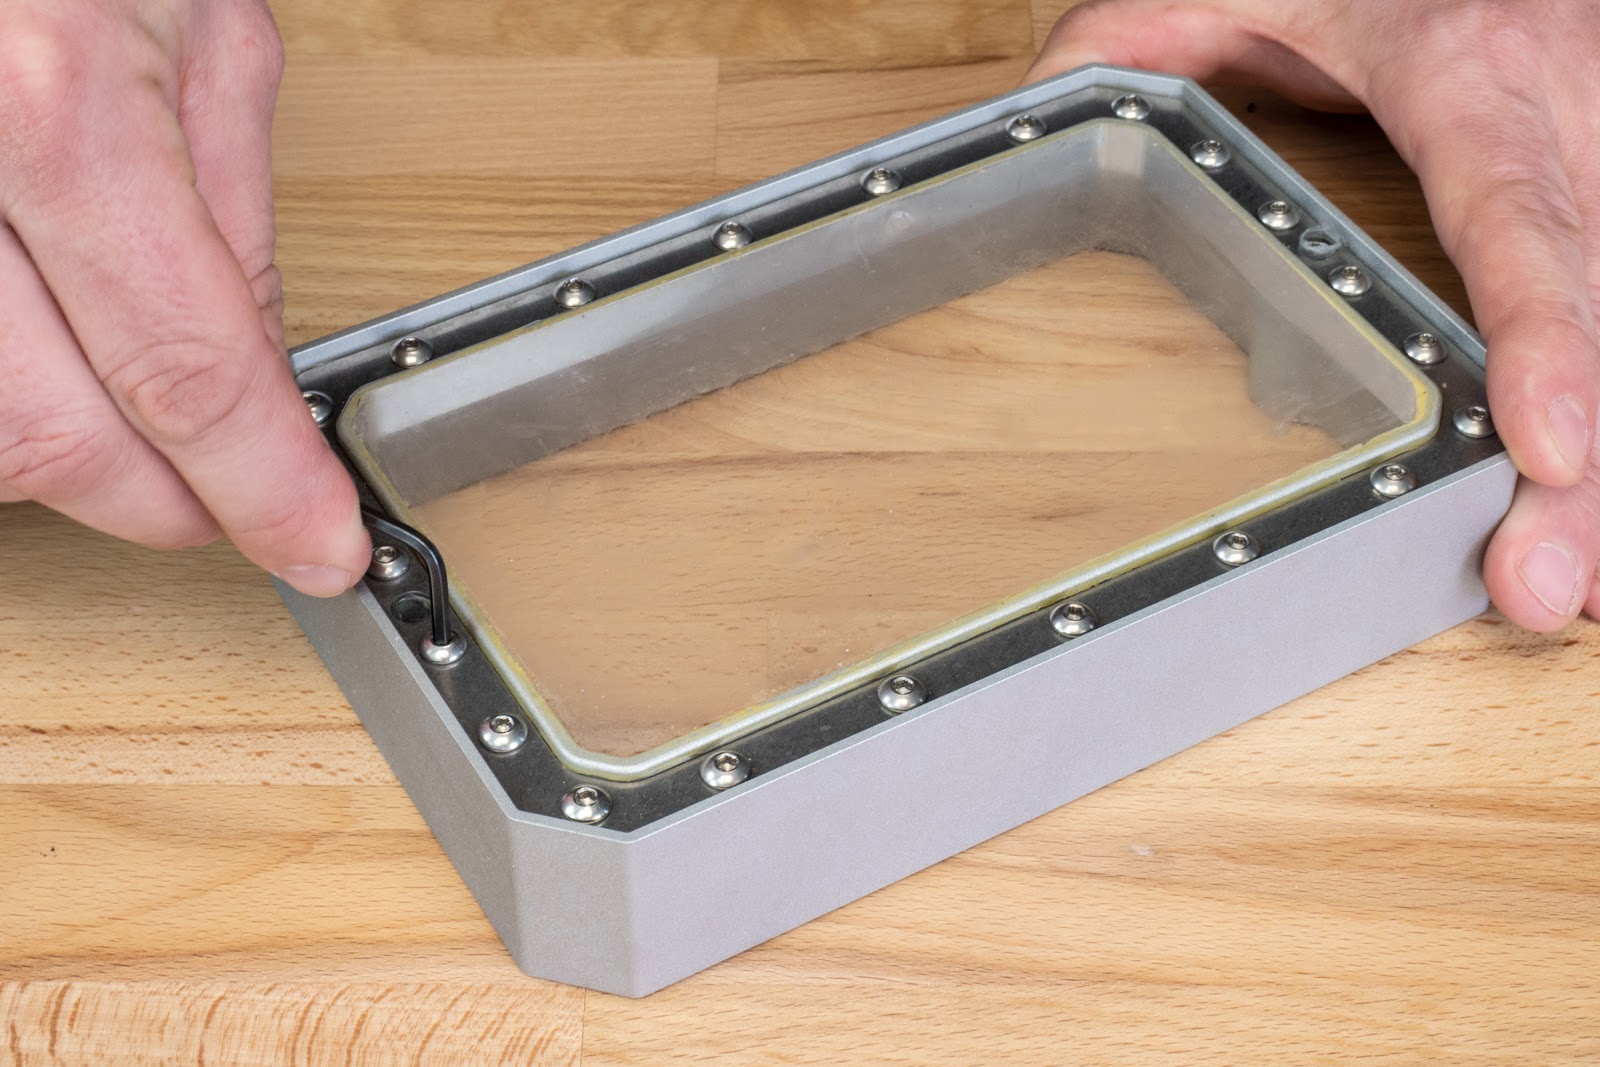
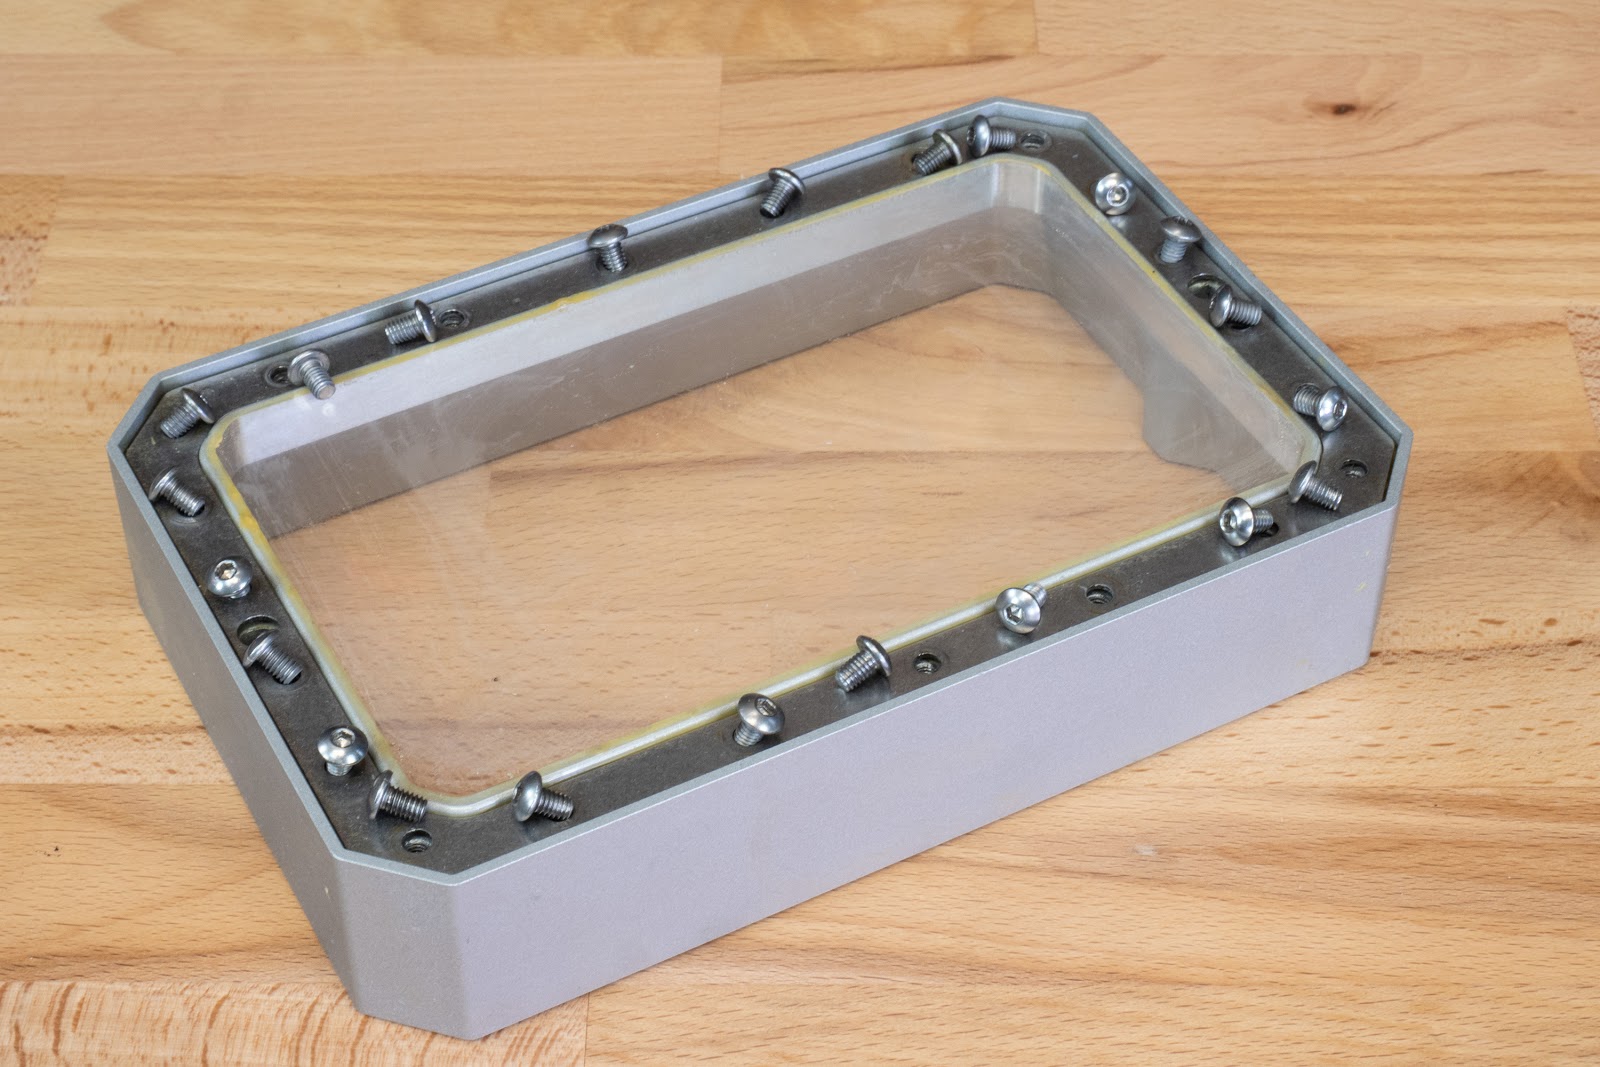
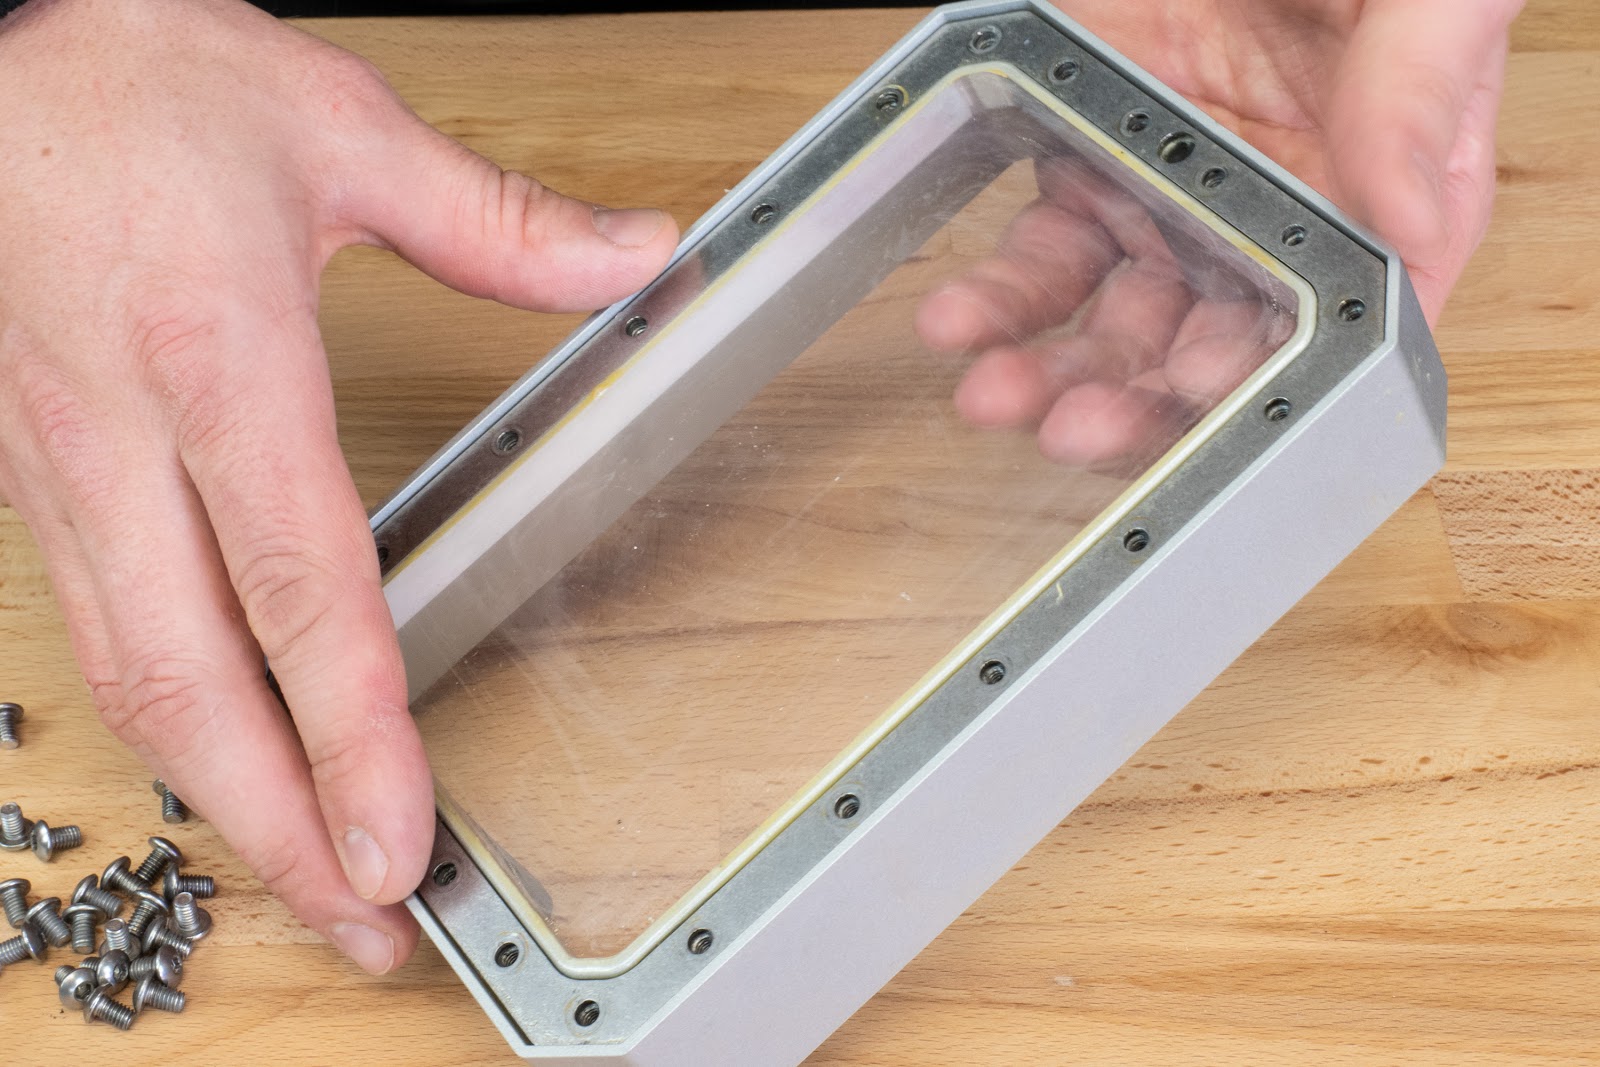
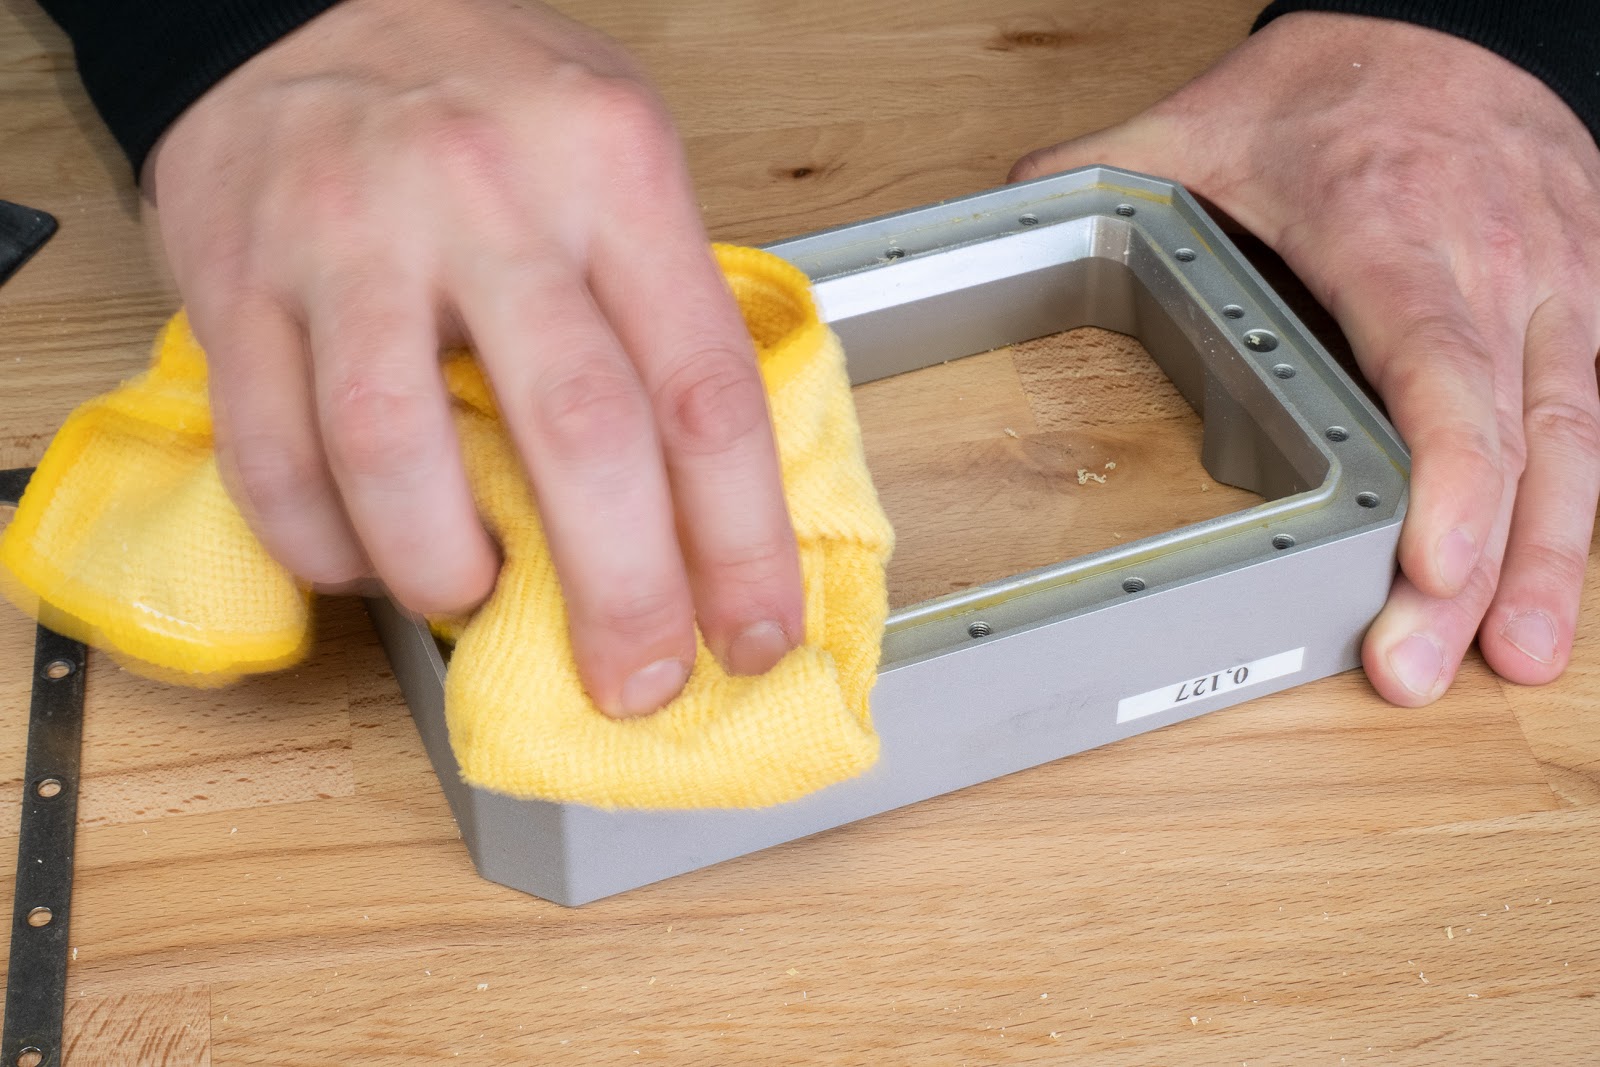
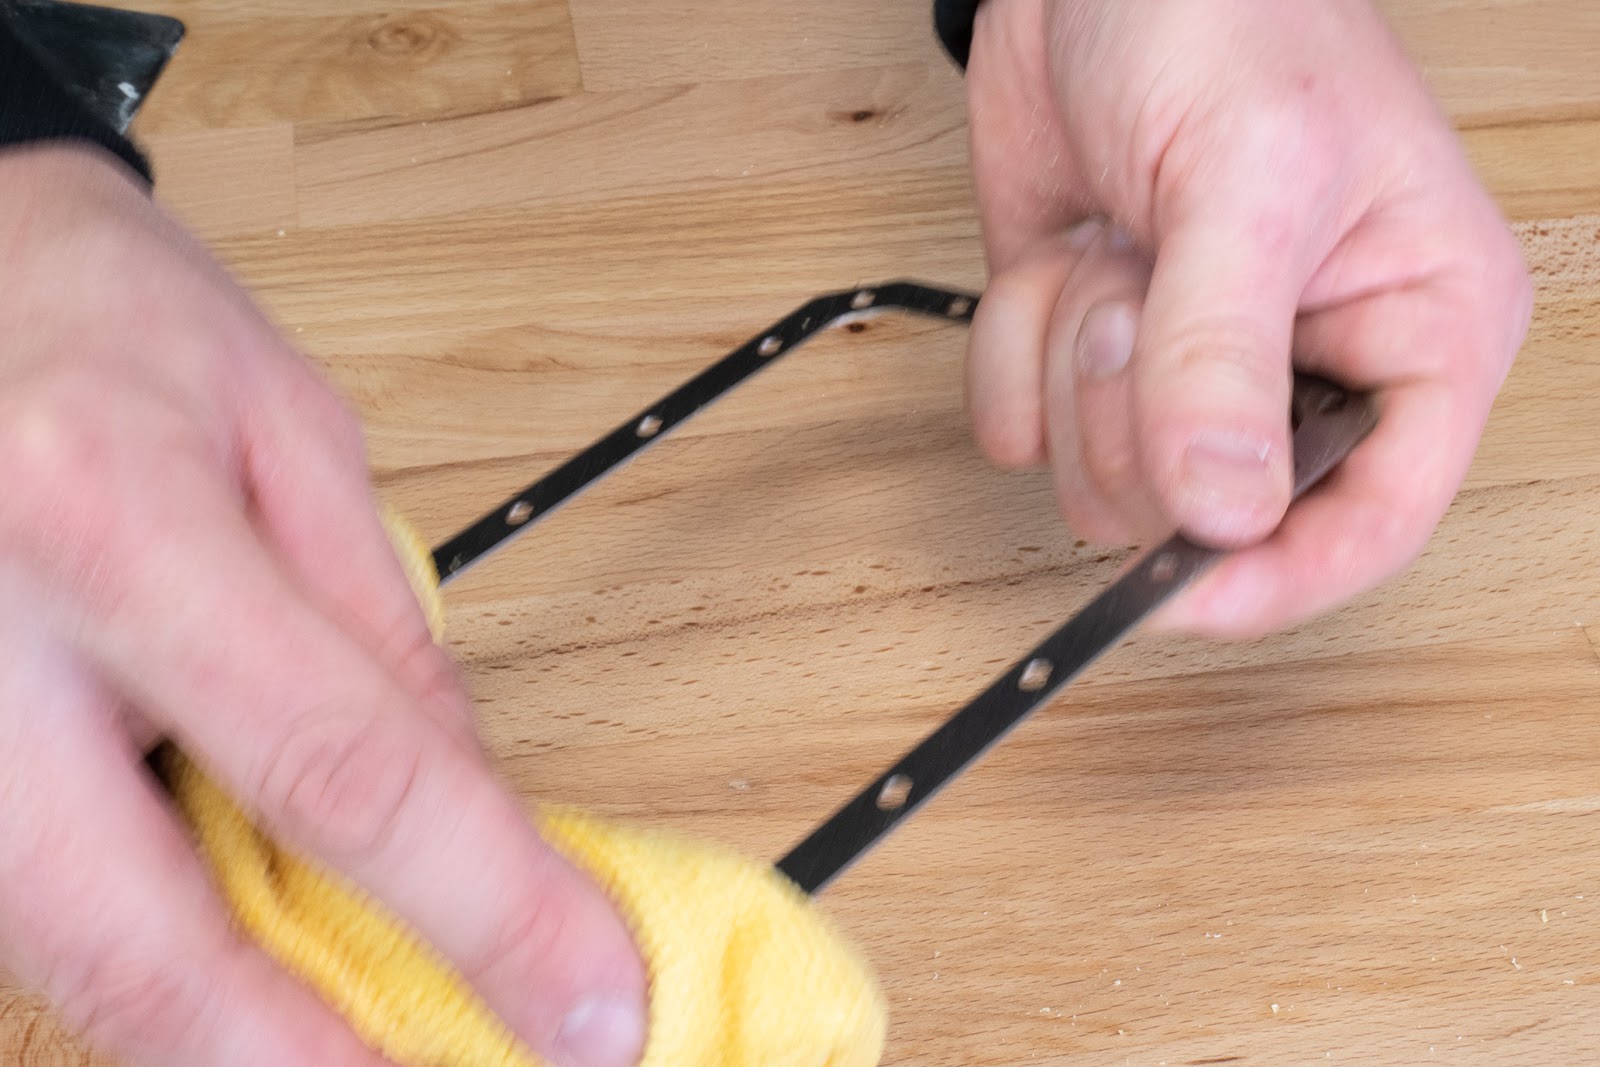
Before you start, clean the tank thoroughly and wipe it clean. Use T20 Torx key to loosen the screws. Remove all screws and gently press your fingers against the used FEP film to release it.
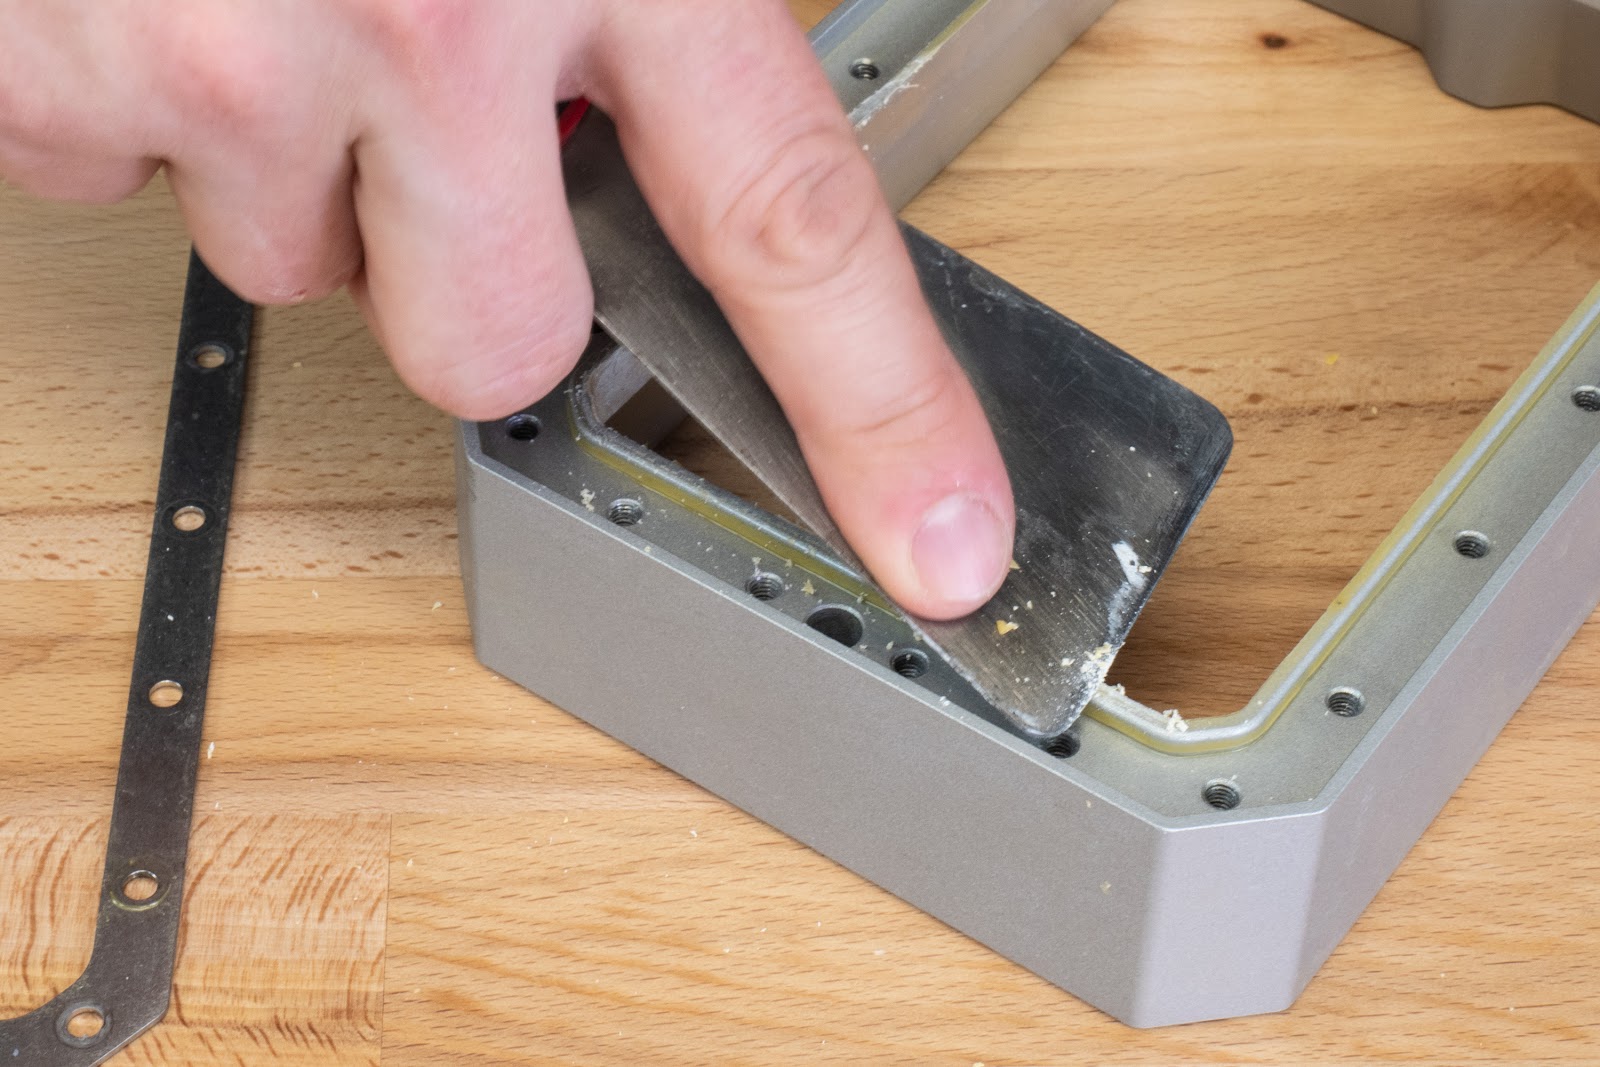
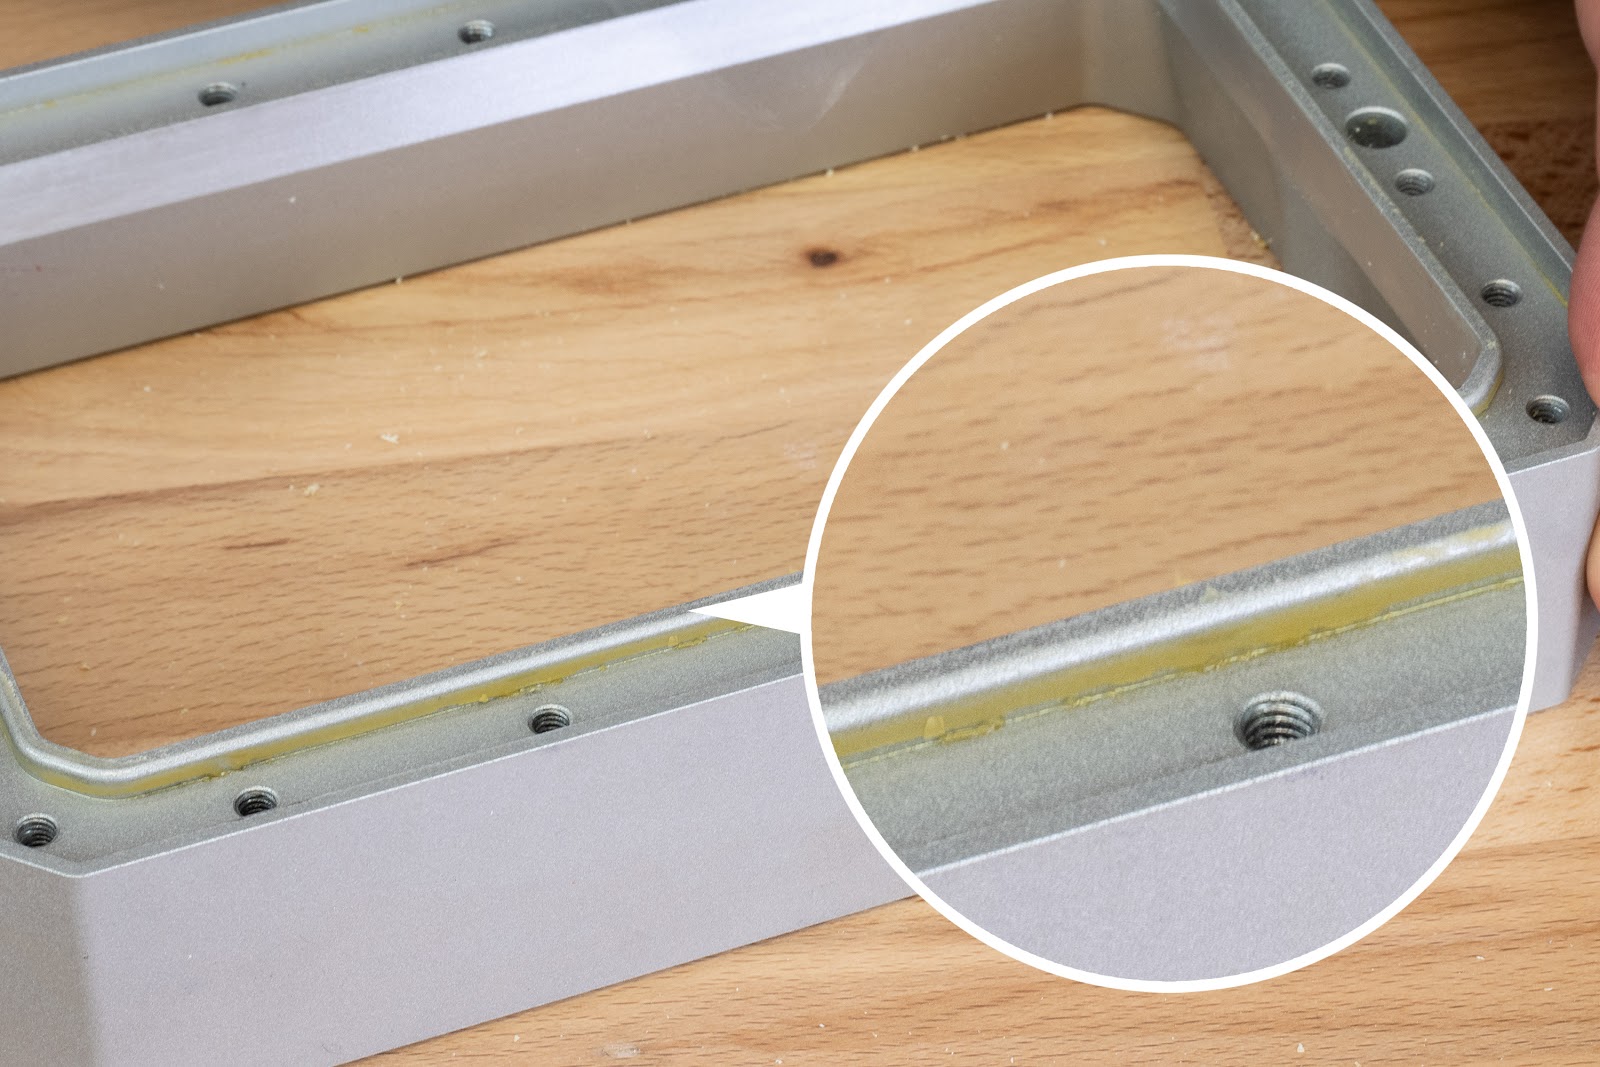
After you remove the FEP film, take a spatula and scrape all bits of leftover resin from the edges. The edges must be perfectly clean, otherwise, the tank will leak
 |  |
 |  |
 |  |
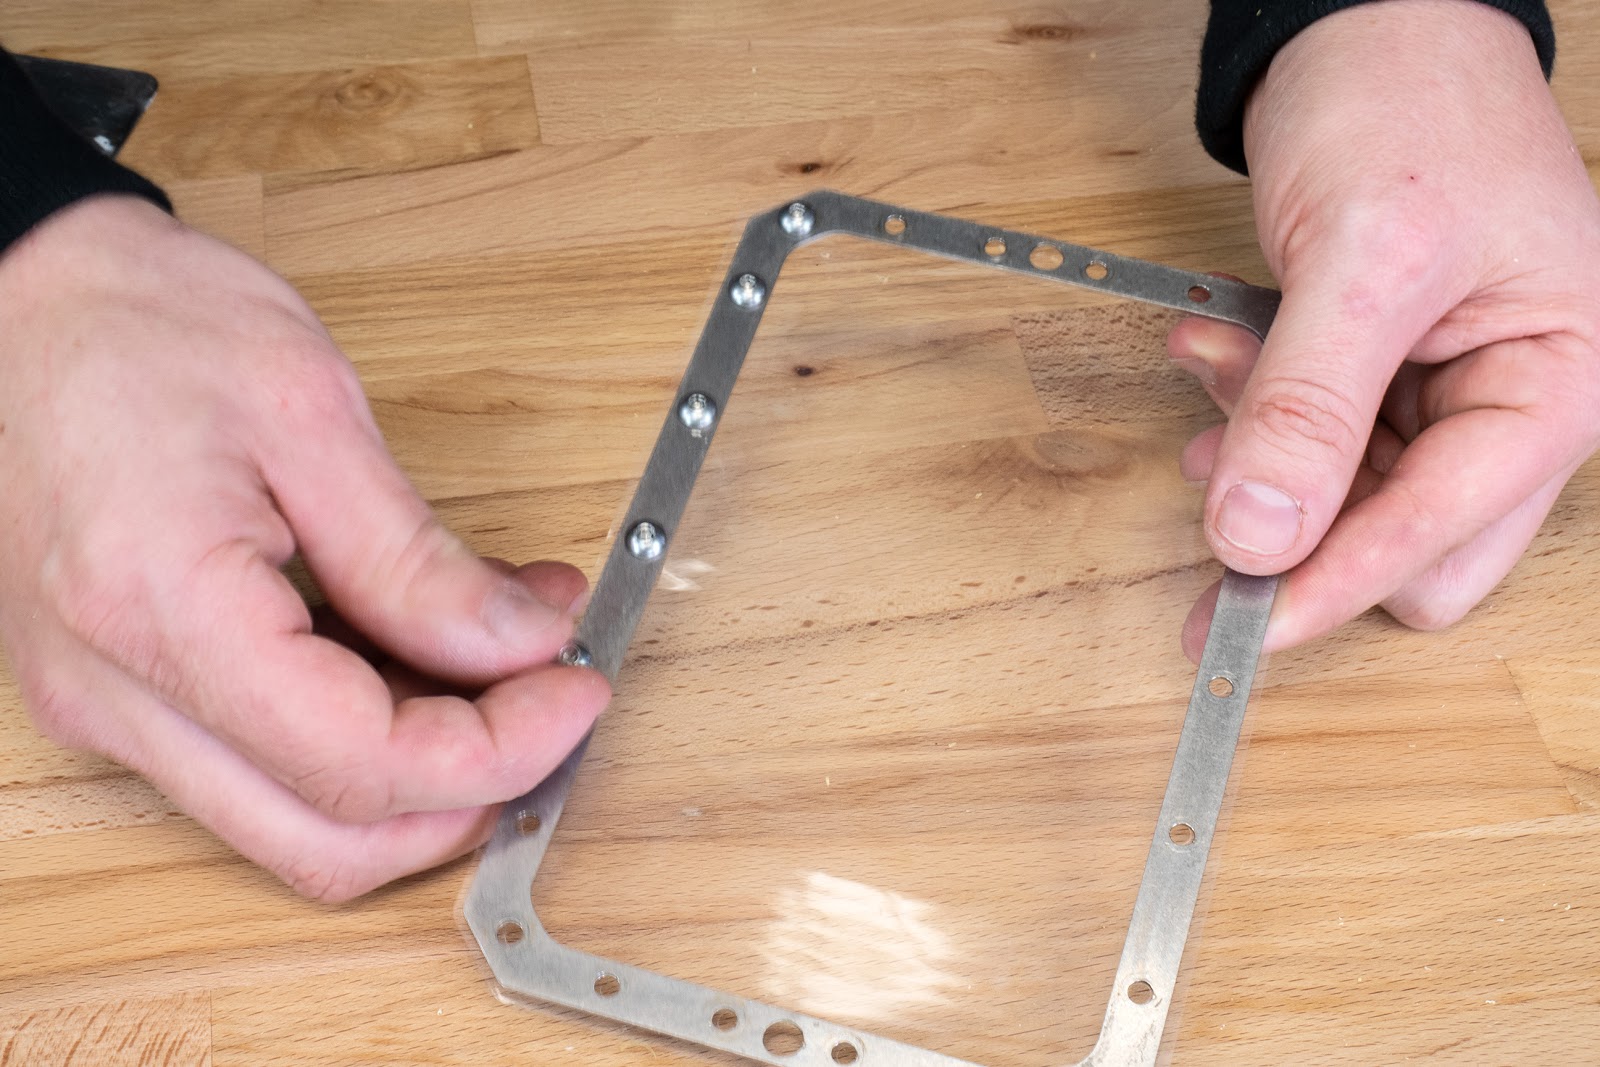
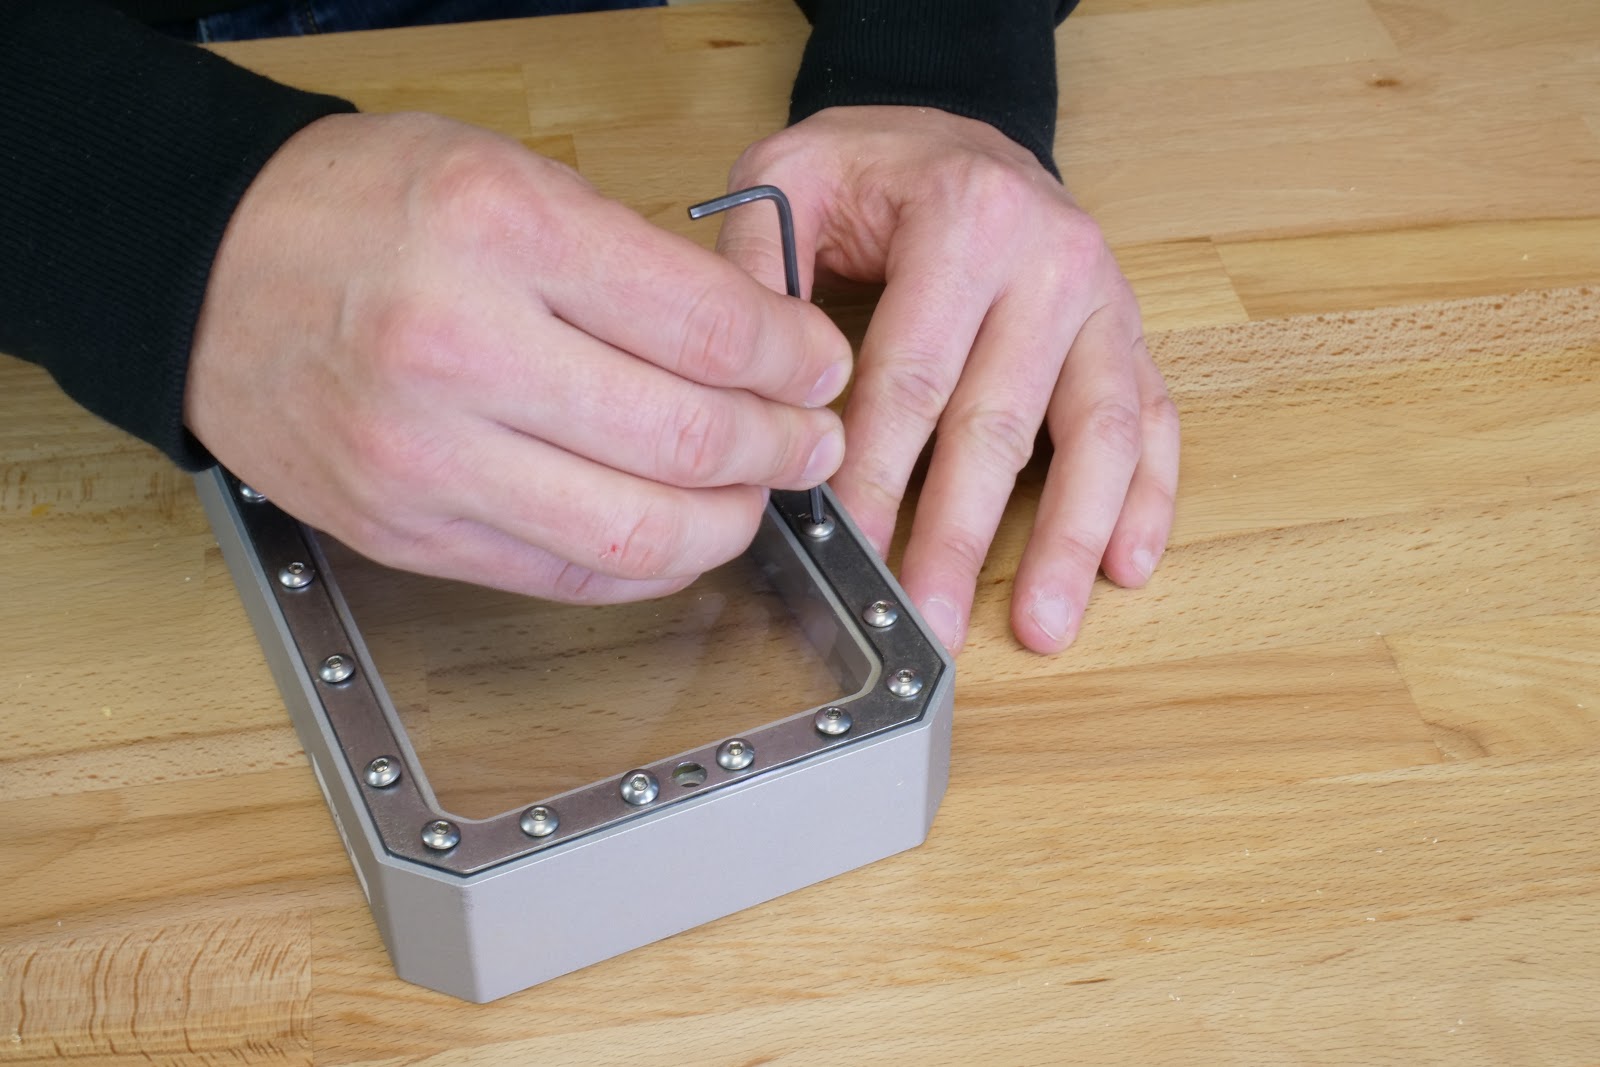
Remember to remove the protective plastic, on both sides of the new FEP film. Align the frame with the new FEP film, so the holes match, then start adding screws one by one.
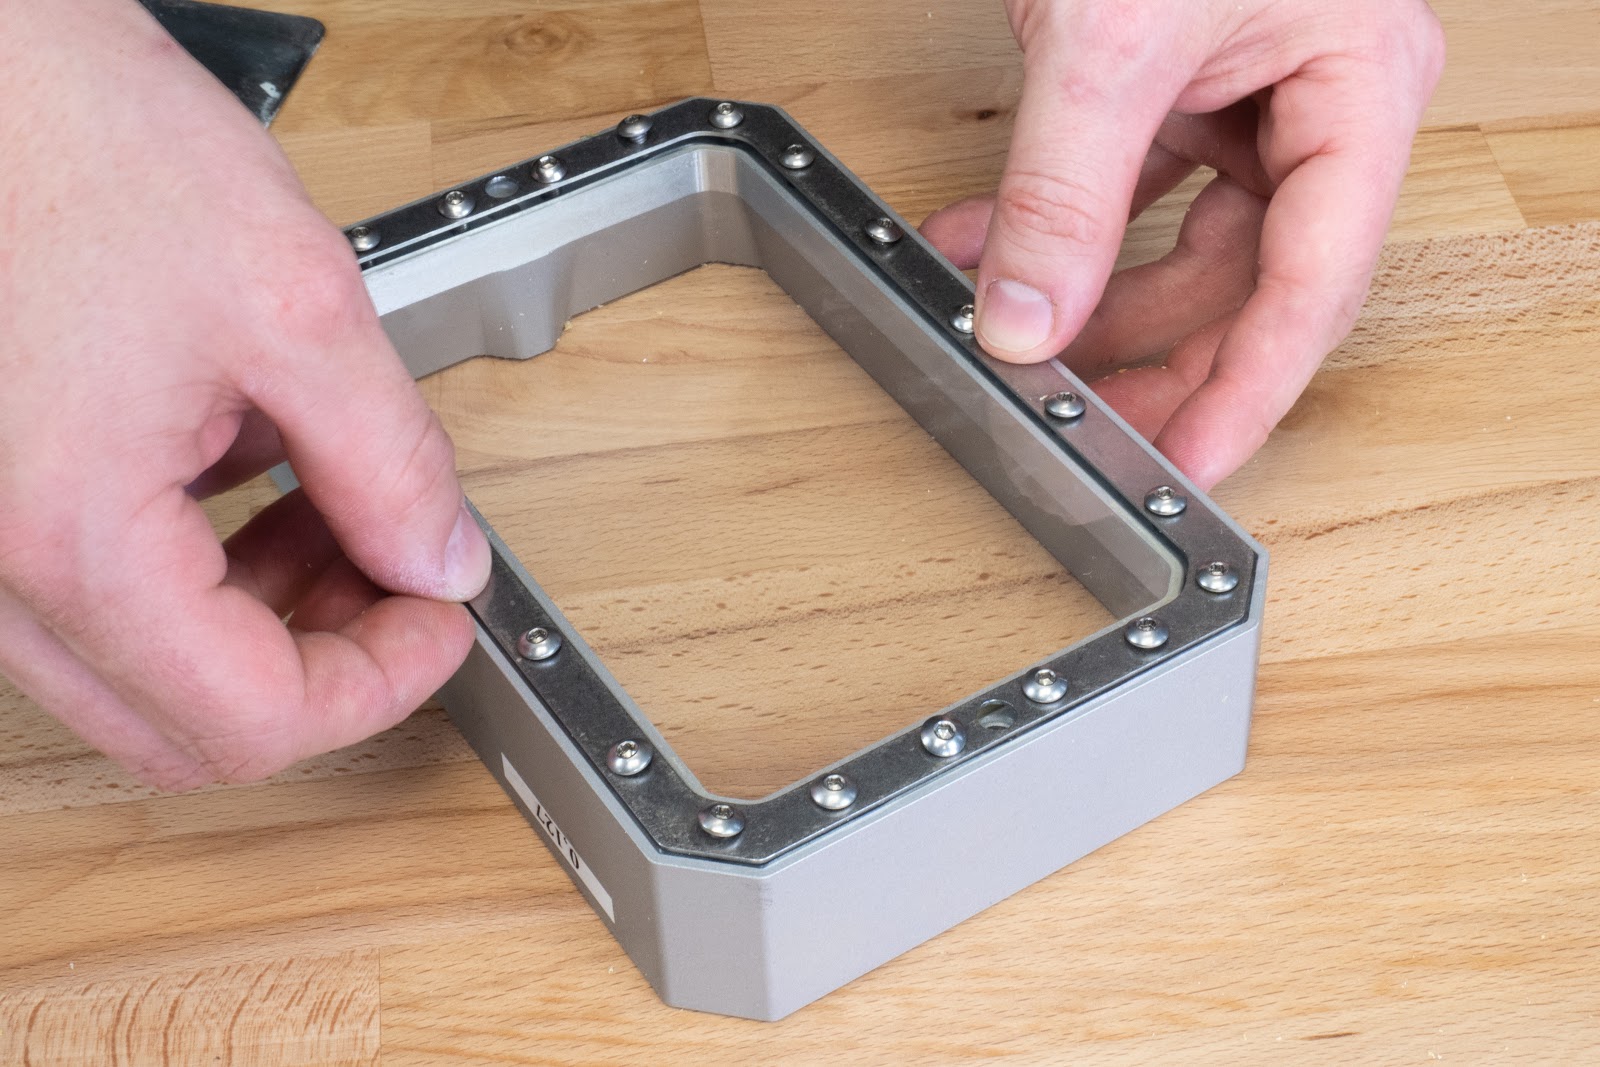
Place the assembly onto the tank body and align the screws with the holes. Don’t create holes for resin tank screws yet!
Start tightening the screws only halfway one by one clockwise, as shown in the picture. After all the screws are inserted but not tightened, reseat the parts if necessary and tighten the screws in the same order. Make sure that all screws are tightly screwed.
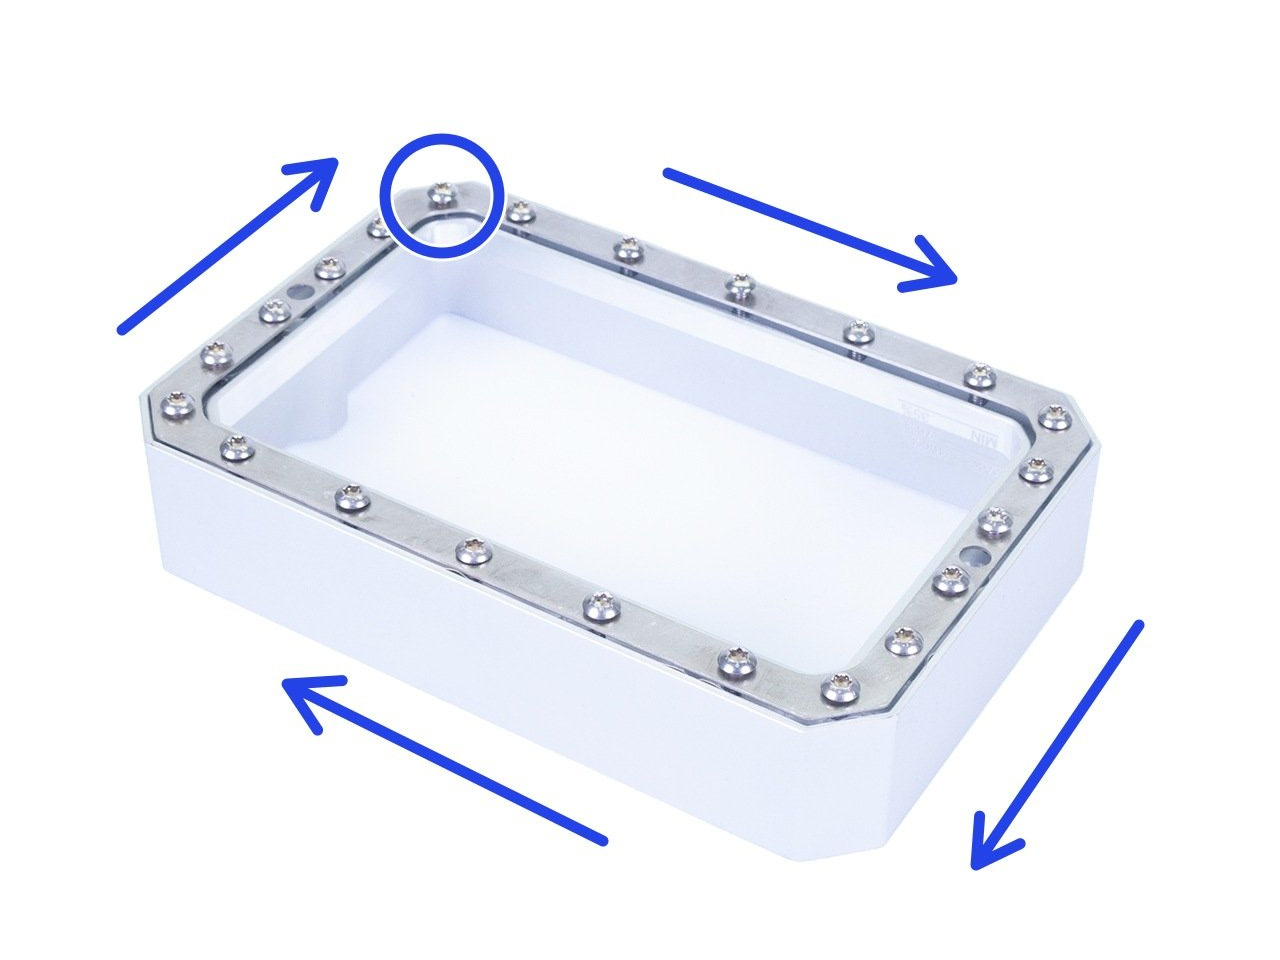
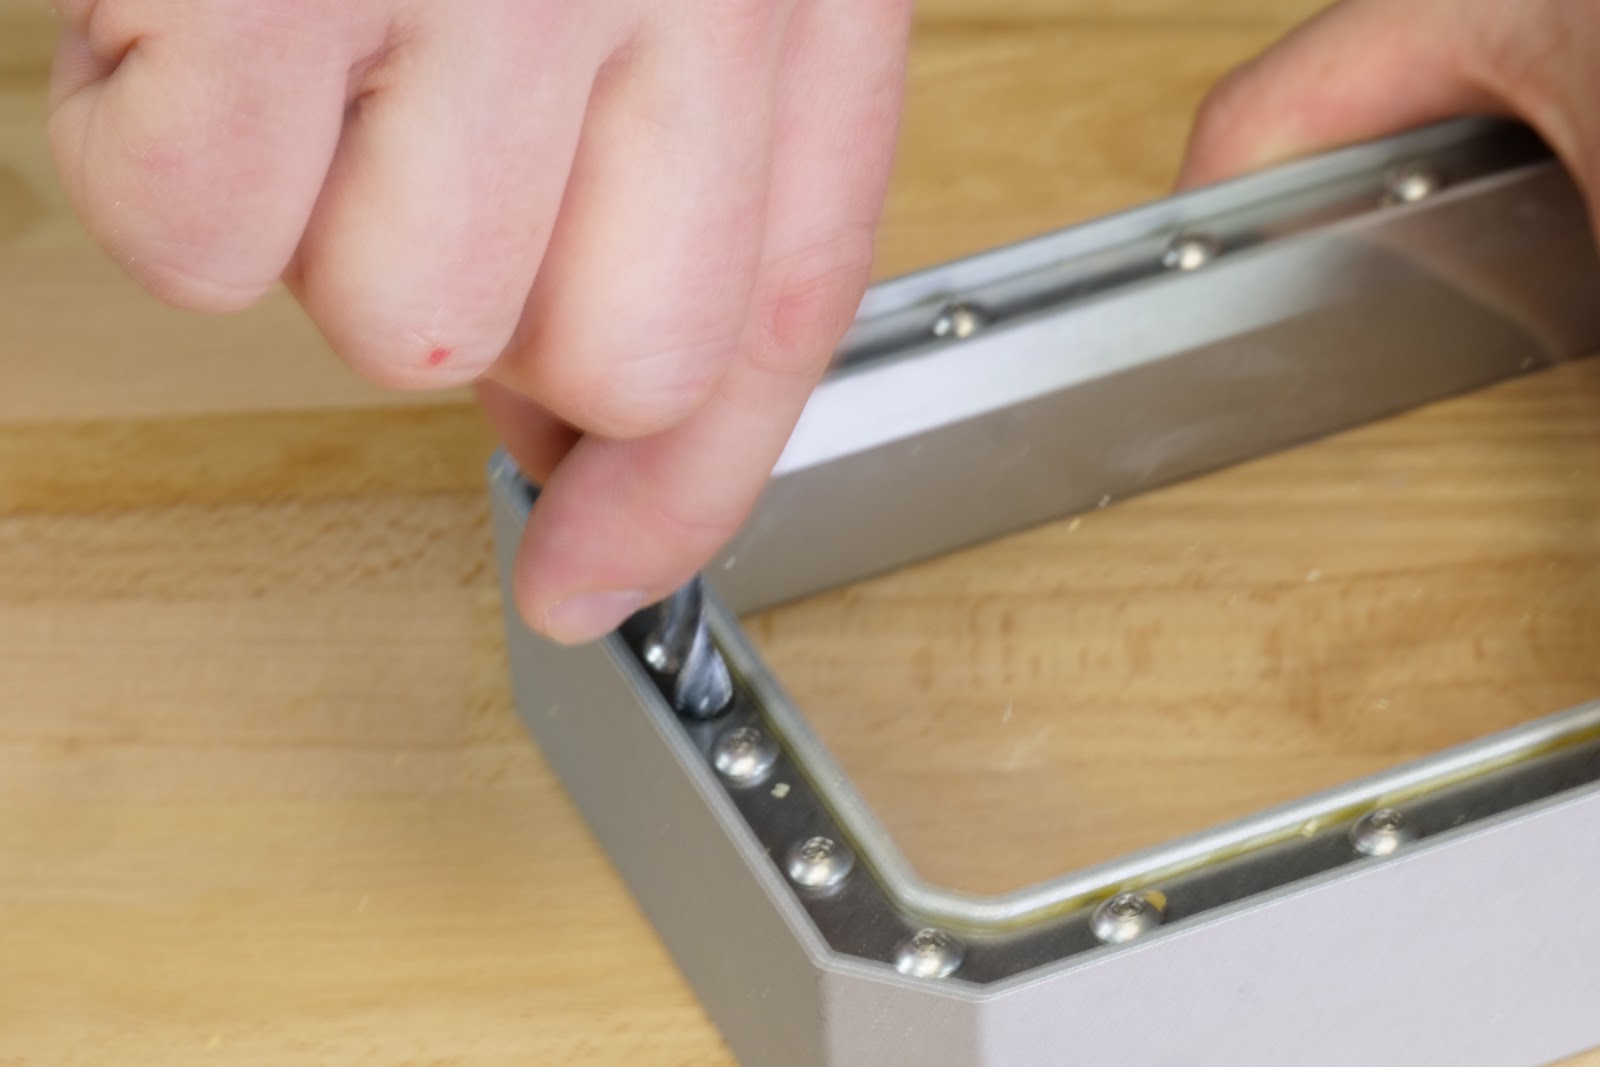
Once everything is in place, take an object with a sharp tip (e.g. a 6mm drill bit) and puncture two holes for resin tank screws.
Re-calibrate the printer, using the tank with the new FEP film.
 |  |
 |  |
 |  |
Comments
Still have questions?
If you have a question about something that isn't covered here, check out our additional resources.
And if that doesn't do the trick, you can send an inquiry to [email protected] or through the button below.
