The Fuzzy skin feature lets you create a rough fiber-like texture on the sides of your models. If enabled, the perimeter will be resampled with a random step size, and each new sample point will be shifted inside or outside of the perimeter by a random length limited by the Fuzzy skin thickness. This simple algorithm produces nice results, suitable for tool handles or to give the print surface a new, interesting look, or to hide imprecision on prints. You can also use Modifiers to apply fuzzy skin only to a portion of your model.
Ways to apply fuzzy skin
Fuzzy skin can be applied to models in multiple ways, making it a powerful creative feature. There are multiple ways to apply it:
Global settings: Enable Fuzzy Skin for the entire print in Print Settings -> Layers and perimeters -> Fuzzy skin.
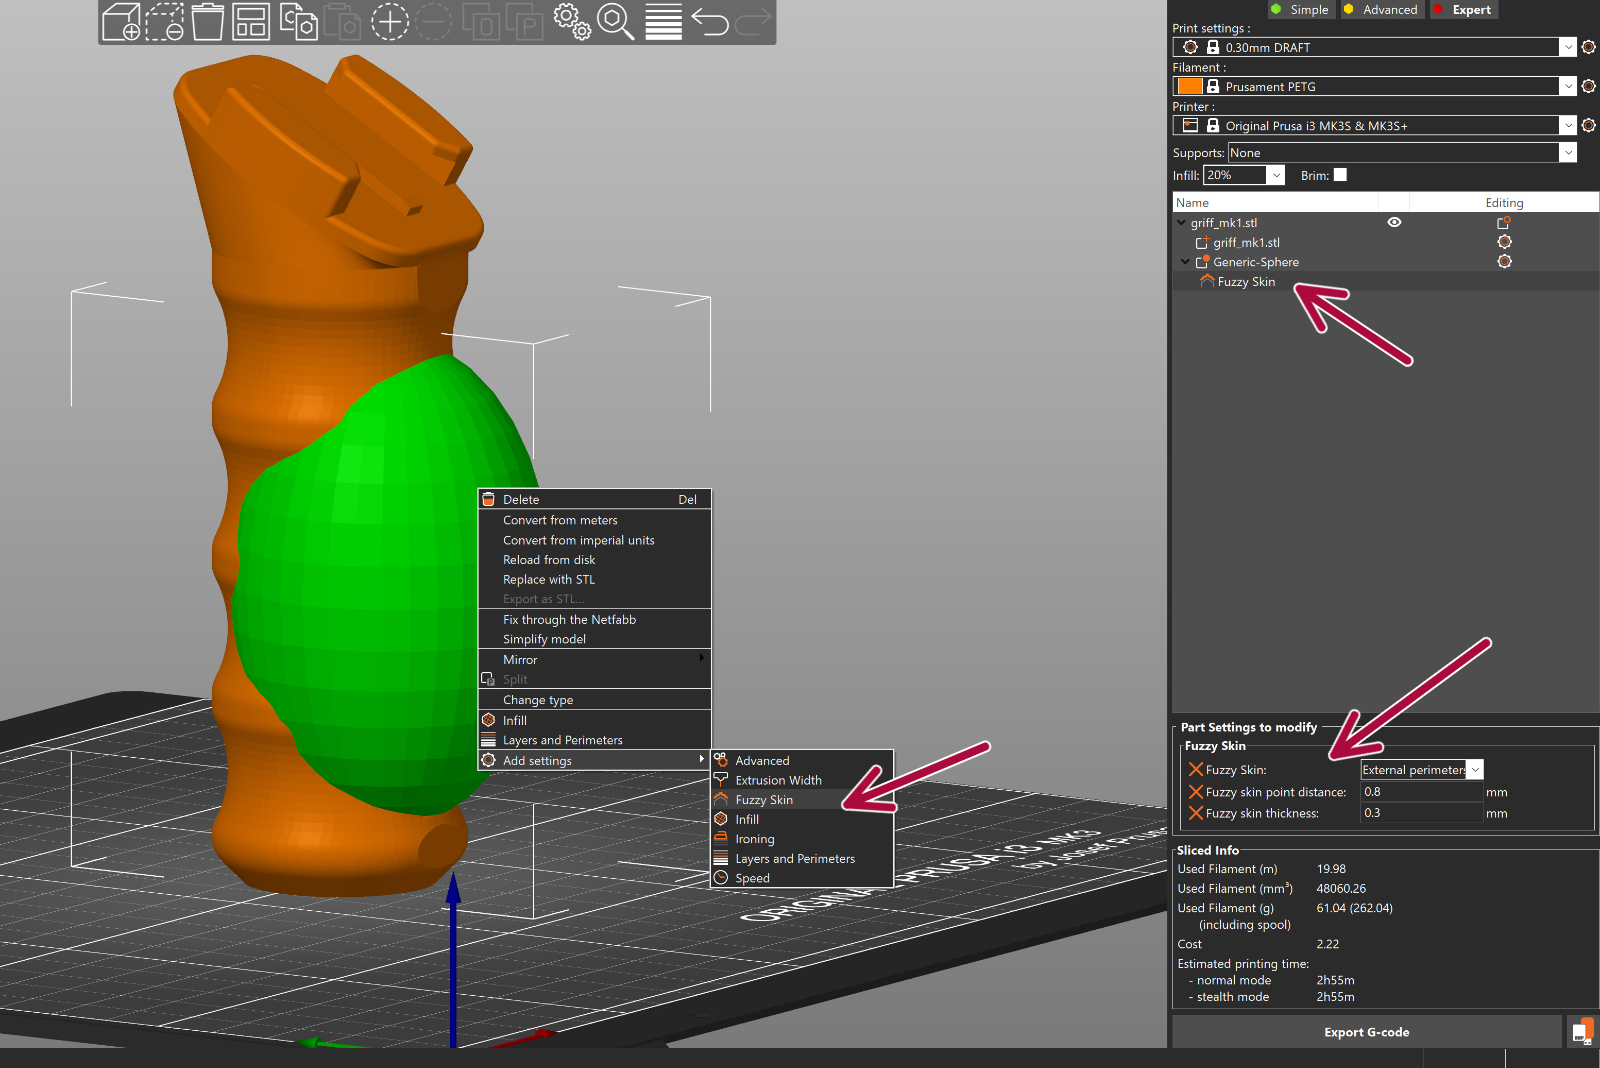
Per-object settings: Right-click an object, go to Add settings -> Fuzzy skin, and choose the needed options.
Modifiers (apply to a region): Instead of affecting the whole object, a TEXT (box/cylinder/sheet/mesh) will enable Fuzzy Skin only inside that modifier. Great for quick regional changes.
Paint-on Fuzzy skin: Paint exactly where you want the texture for a precise, detailed application.

Fuzzy skin settings
Fuzzy skin
You can apply Fuzzy skin only to Outside walls or All walls.
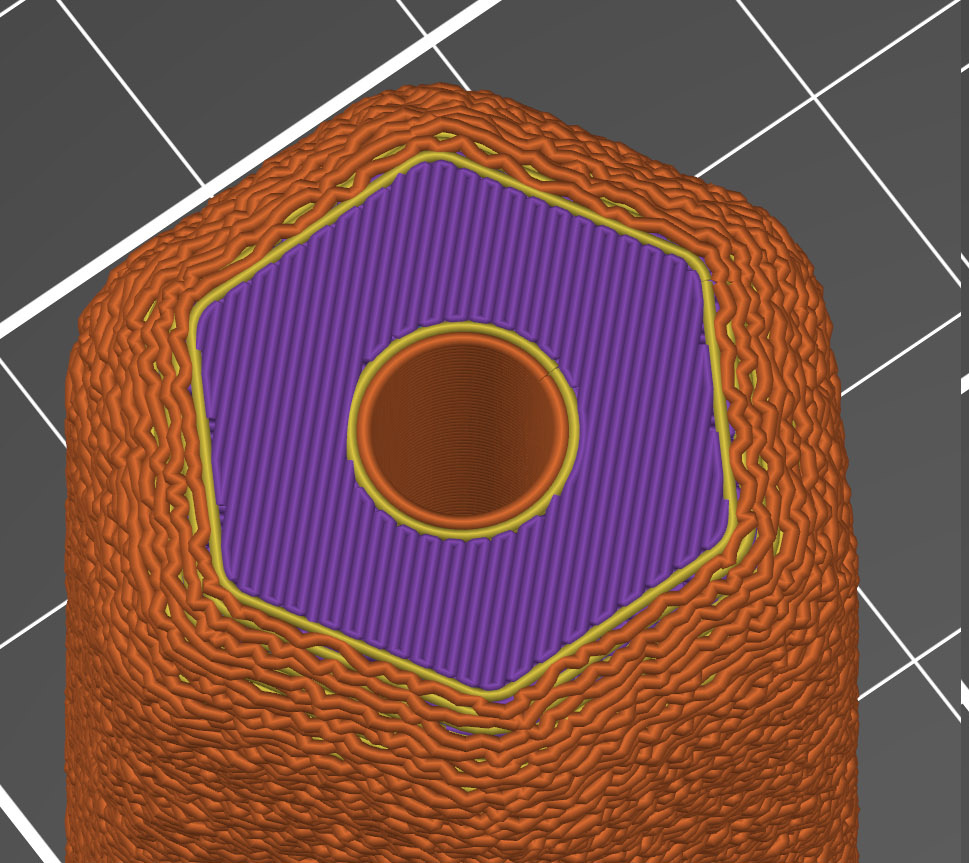 |  |
| Outside walls | All walls |
Fuzzy skin thickness
The maximum distance that each skin point can be offset (both ways) is measured perpendicular to the perimeter wall.
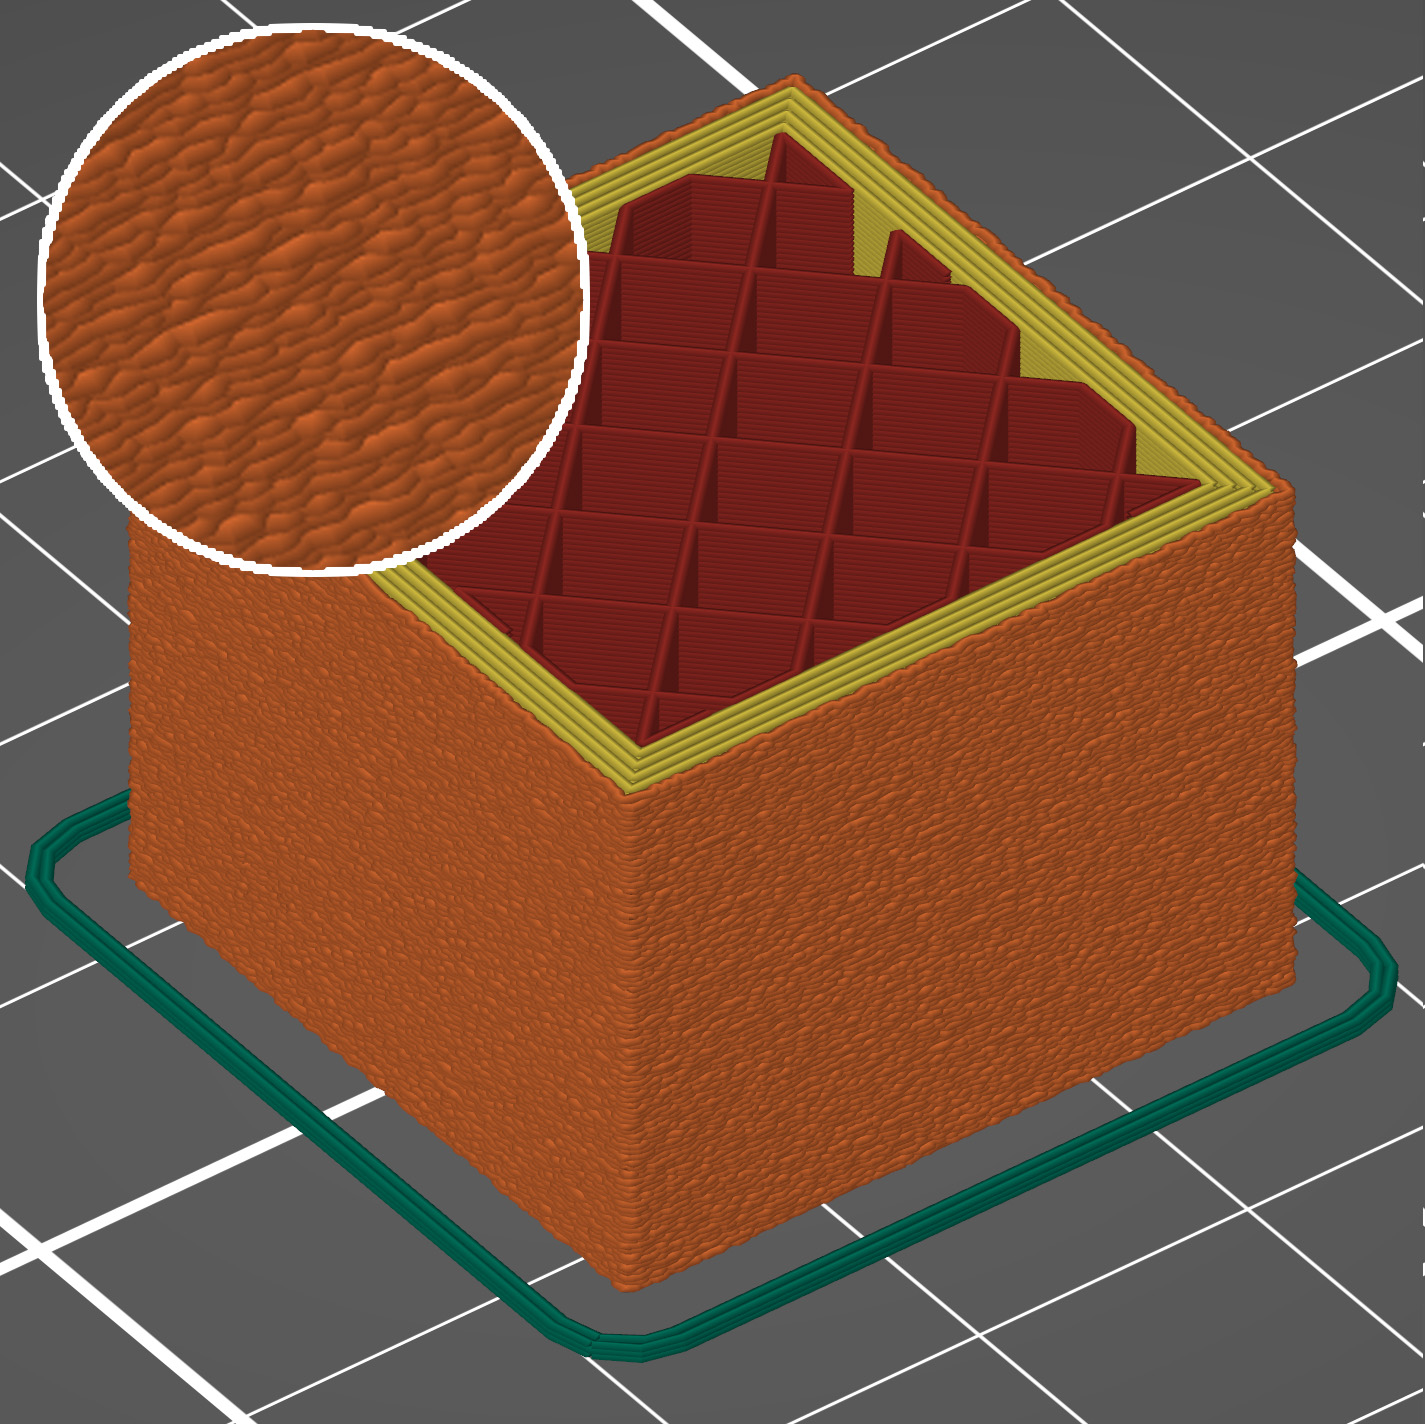 | 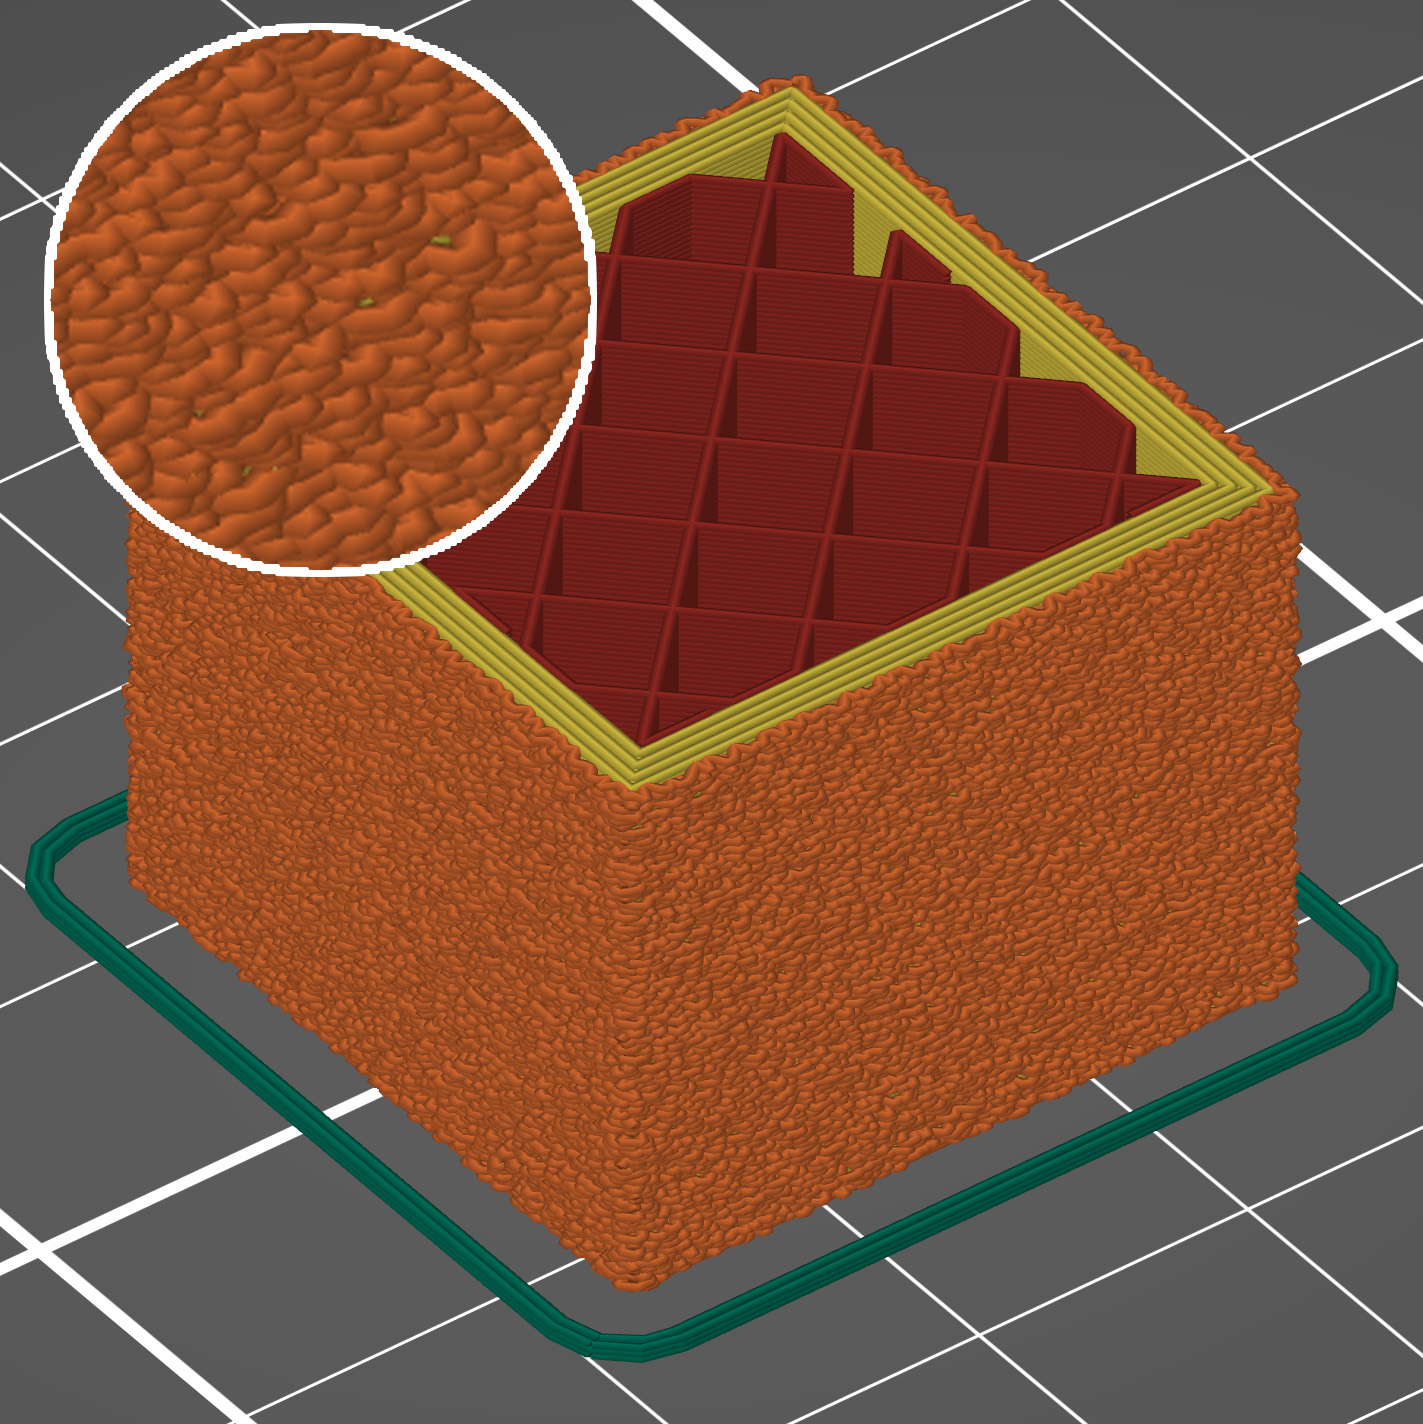 |
| 0.1 mm thickness | 0.3 mm thickness |
Fuzzy skin point distance
Perimeters will be split into multiple segments by inserting Fuzzy skin points. Lowering the Fuzzy skin point distance will increase the number of randomly offset points on the perimeter wall.
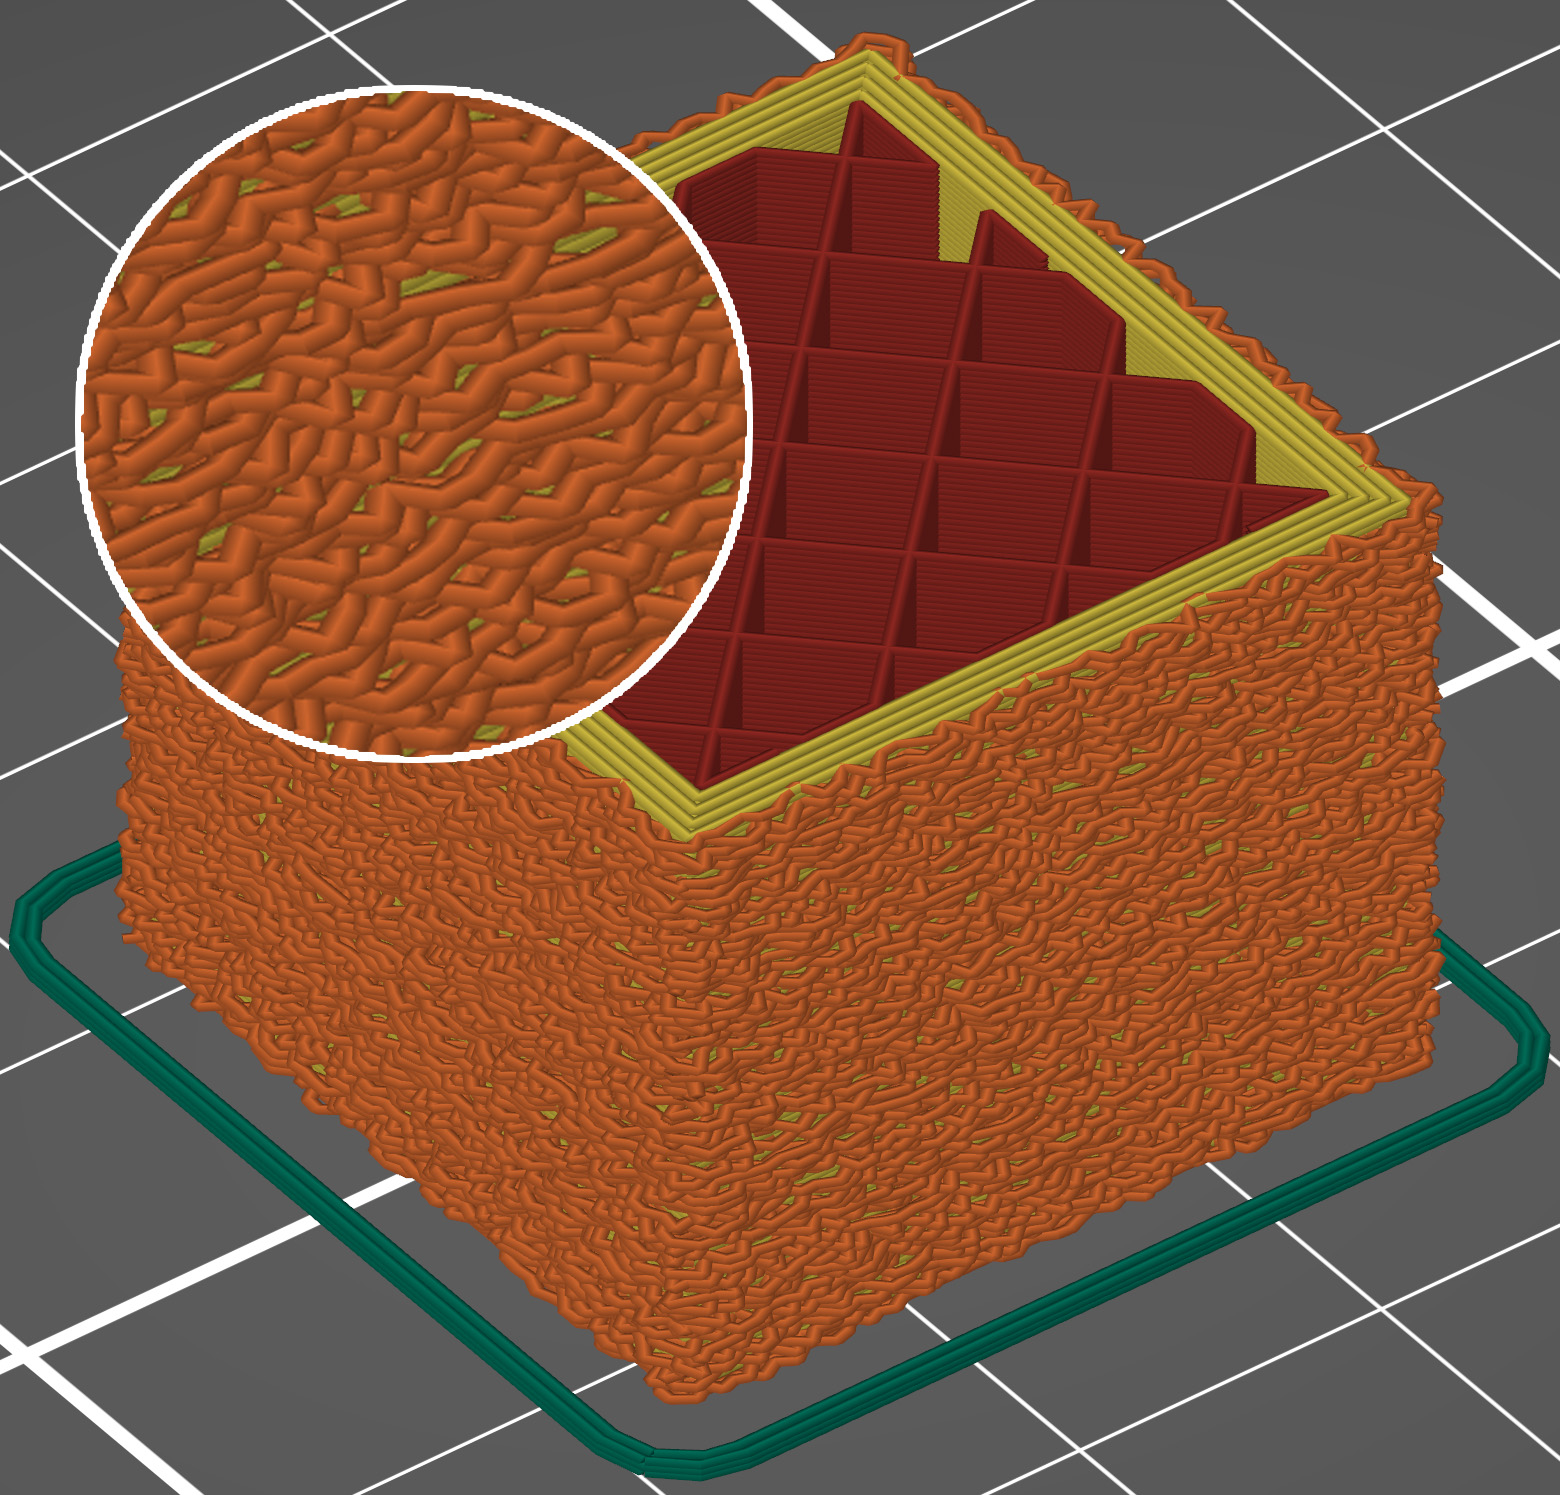 |  |
| Fuzzy skin point distance 0.5 mm | Fuzzy skin point distance 1.0 mm |
Fuzzy skin modifier
You can use modifiers to apply fuzzy skin only to a portion of your model.
- Right-click a model and pick Add modifier - [Select modifier type].
- Position the modifier so that it overlaps with your model.
- Right-click the modifier and choose Add settings - Fuzzy Skin.
- In the pop-up window, select which settings you wish to modify.
- Change Fuzzy skin to External perimeters or All Perimeters.
- Optionally, you can edit other Fuzzy Skin settings as well.
Paint-on Fuzzy skin
To activate the paint on Fuzzy skin paint-on tool, select your model and click on Fuzzy Skin on the left toolbar.
The painting defines where texture appears. The texture settings (type, thickness, point distance) are taken from Print Settings -> Layers and perimeters -> Fuzzy skin, and is same for all painted areas.
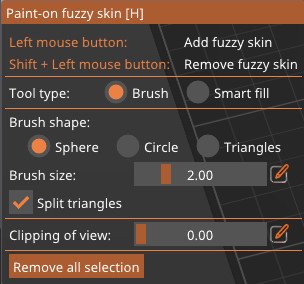
- Brush: Hold the mouse button and paint directly on the model. The available shapes are Sphere, Circle, Triangle.
- Sphere/Circle: set size; optionally Split large facets
- Triangle: uses the model’s existing mesh triangles (no size control)
- Smart Fill: Fills contiguous regions up to sharp edges; small gaps and tiny triangles are filled automatically. Use the Smart fill angle slider to control how far the fill spreads across neighboring facets.

Press Alt + mouse wheel to adjust the Smart Fill angle and see the region expand or shrink in real time.
Erase fuzzy skin: Shift + Left-click or Right-click.
33 comments