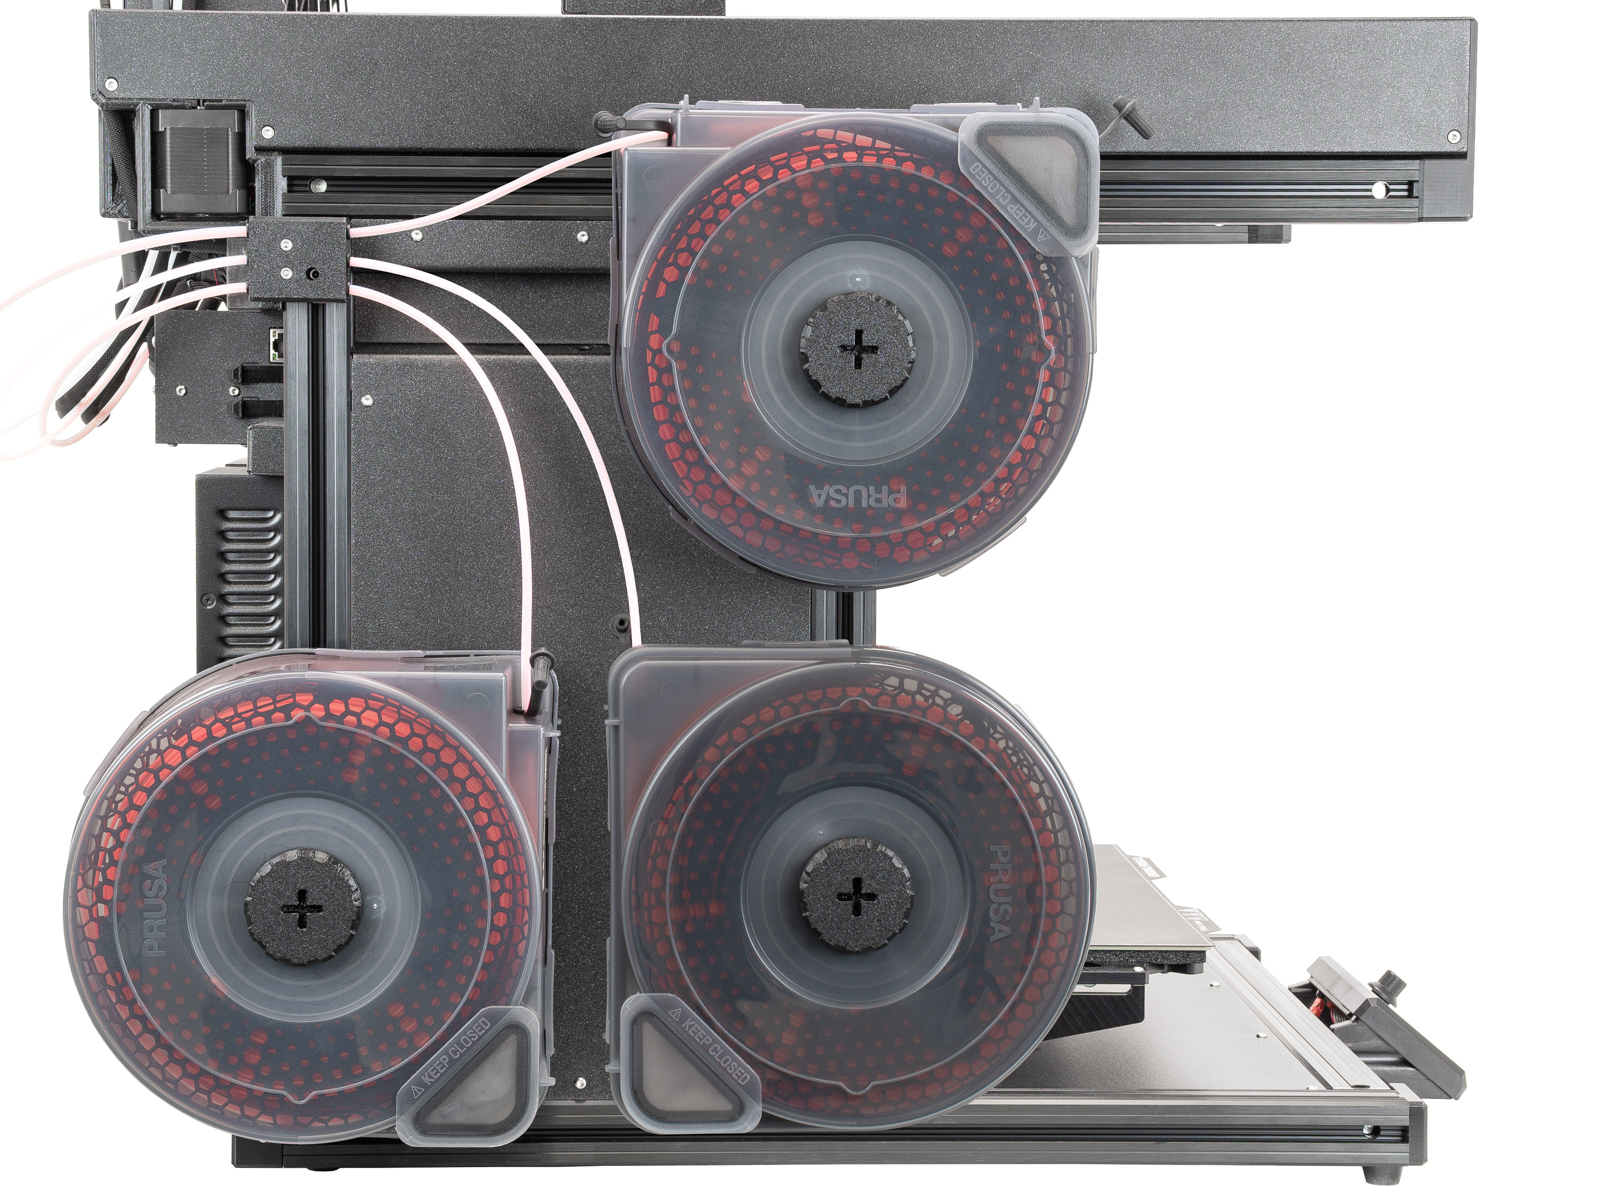
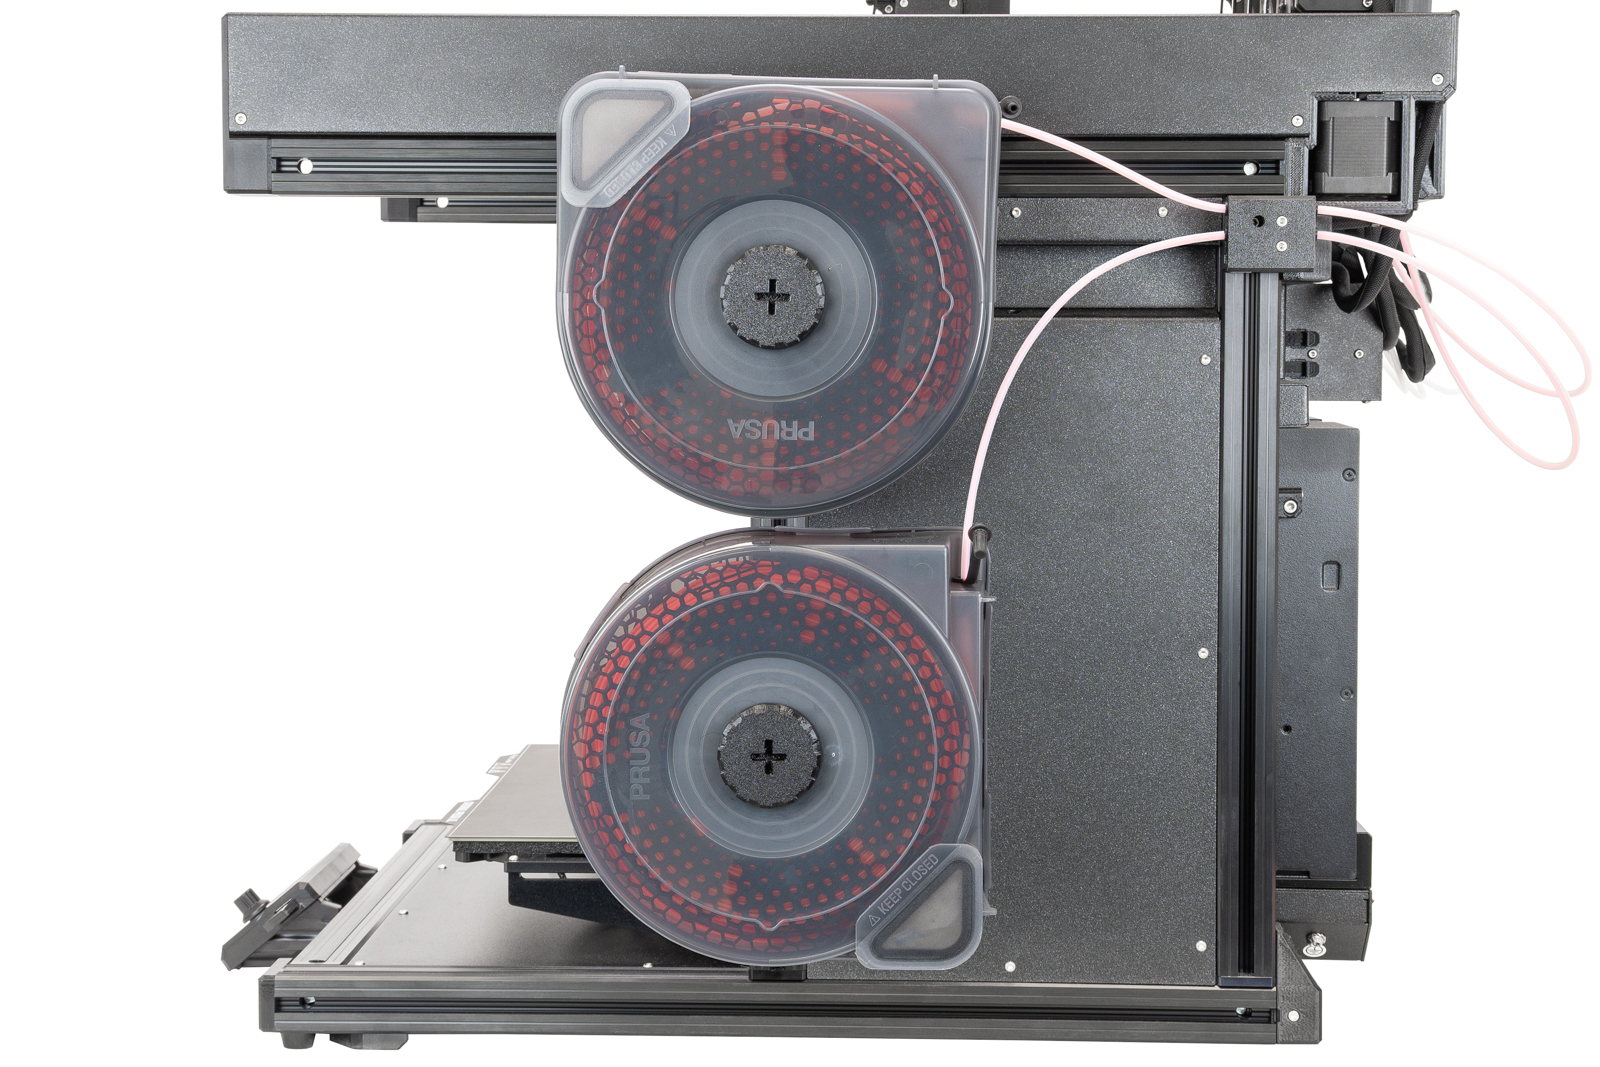
This guide describes how to install the Prusa USS Drybox on the Prusa XL printer.
The XL uses a multi-toolhead system, and each toolhead requires a different PTFE length and mounting position for the Drybox.
This guide covers Drybox mounting, toolhead-specific PTFE routing, and connection to the filament path.
PTFE tube preparation
For Prusa XL, the PTFE tube length depends on the selected toolhead:
- Toolhead 1: 23 cm
- Toolhead 2: 35 cm
- Toolhead 3: 28 cm
- Toolhead 4: 23 cm
- Toolhead 5: 35 cm
Ensure a clean, straight cut to avoid filament friction or misalignment.
You will need:
- M4 Allen key
- Pliers
- 2x M4x6 screws for each drybox
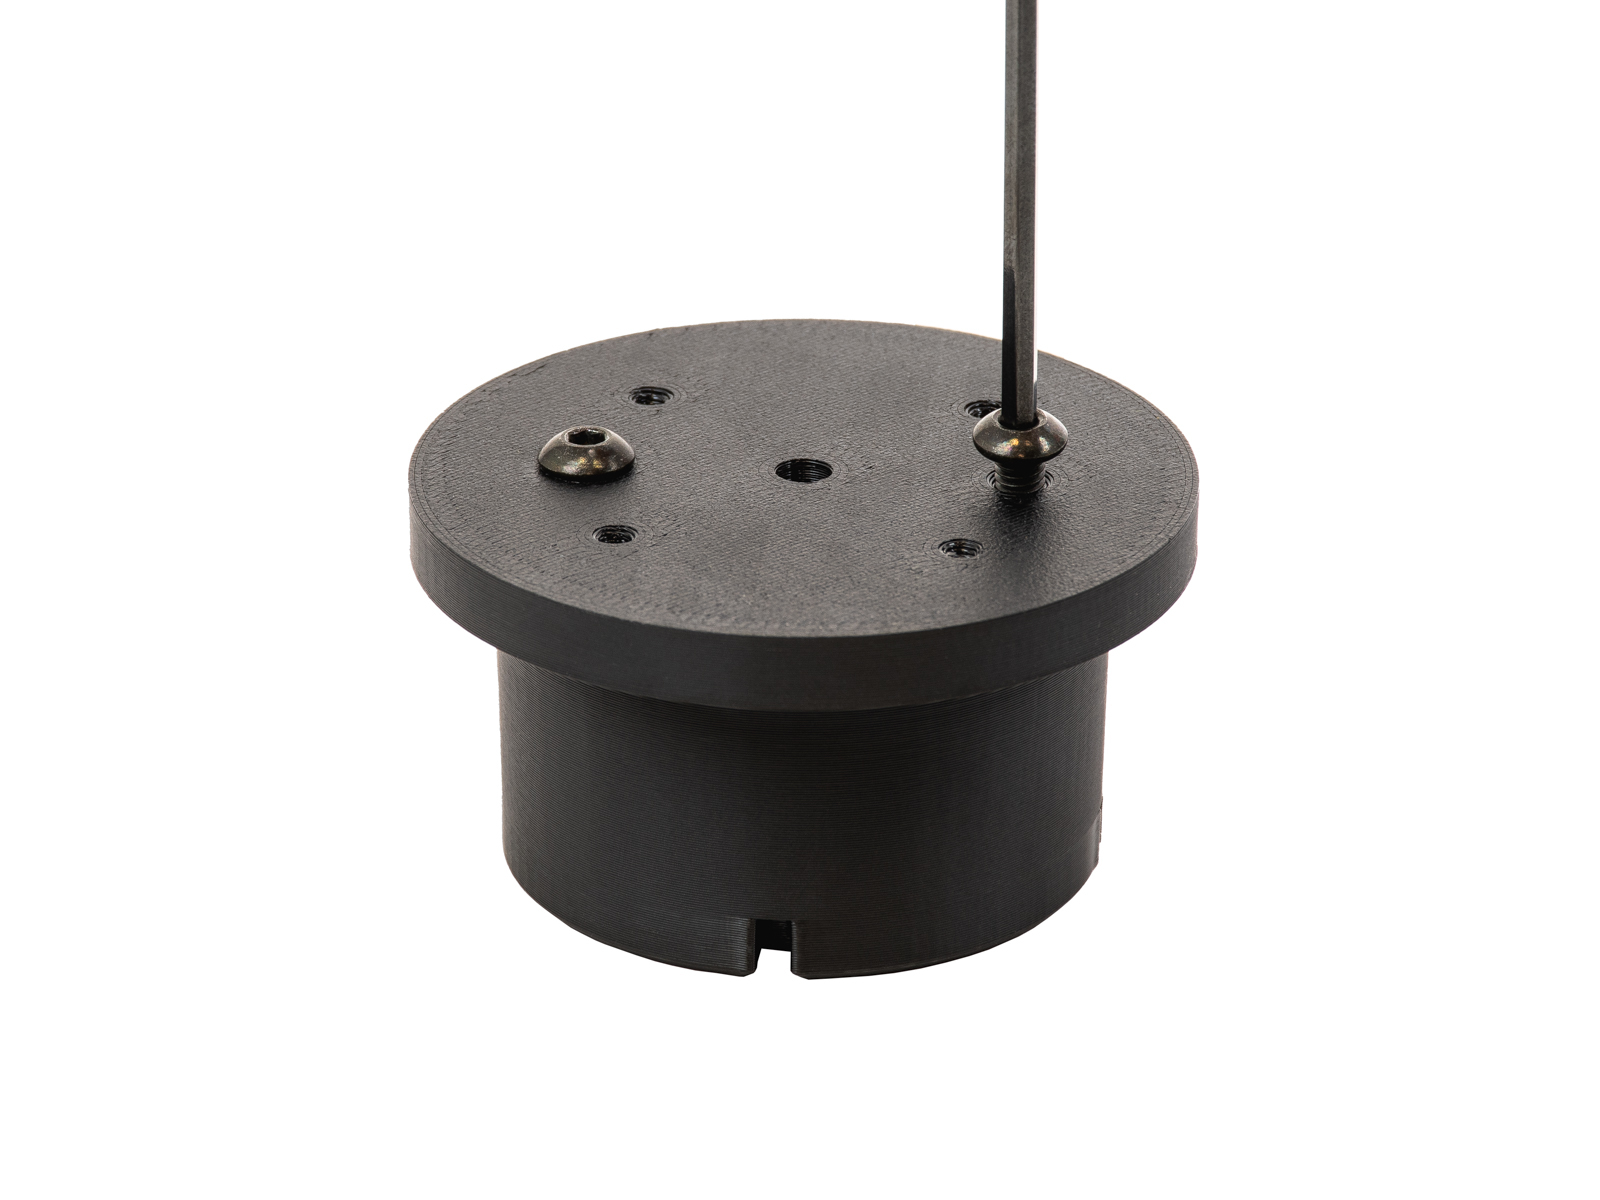
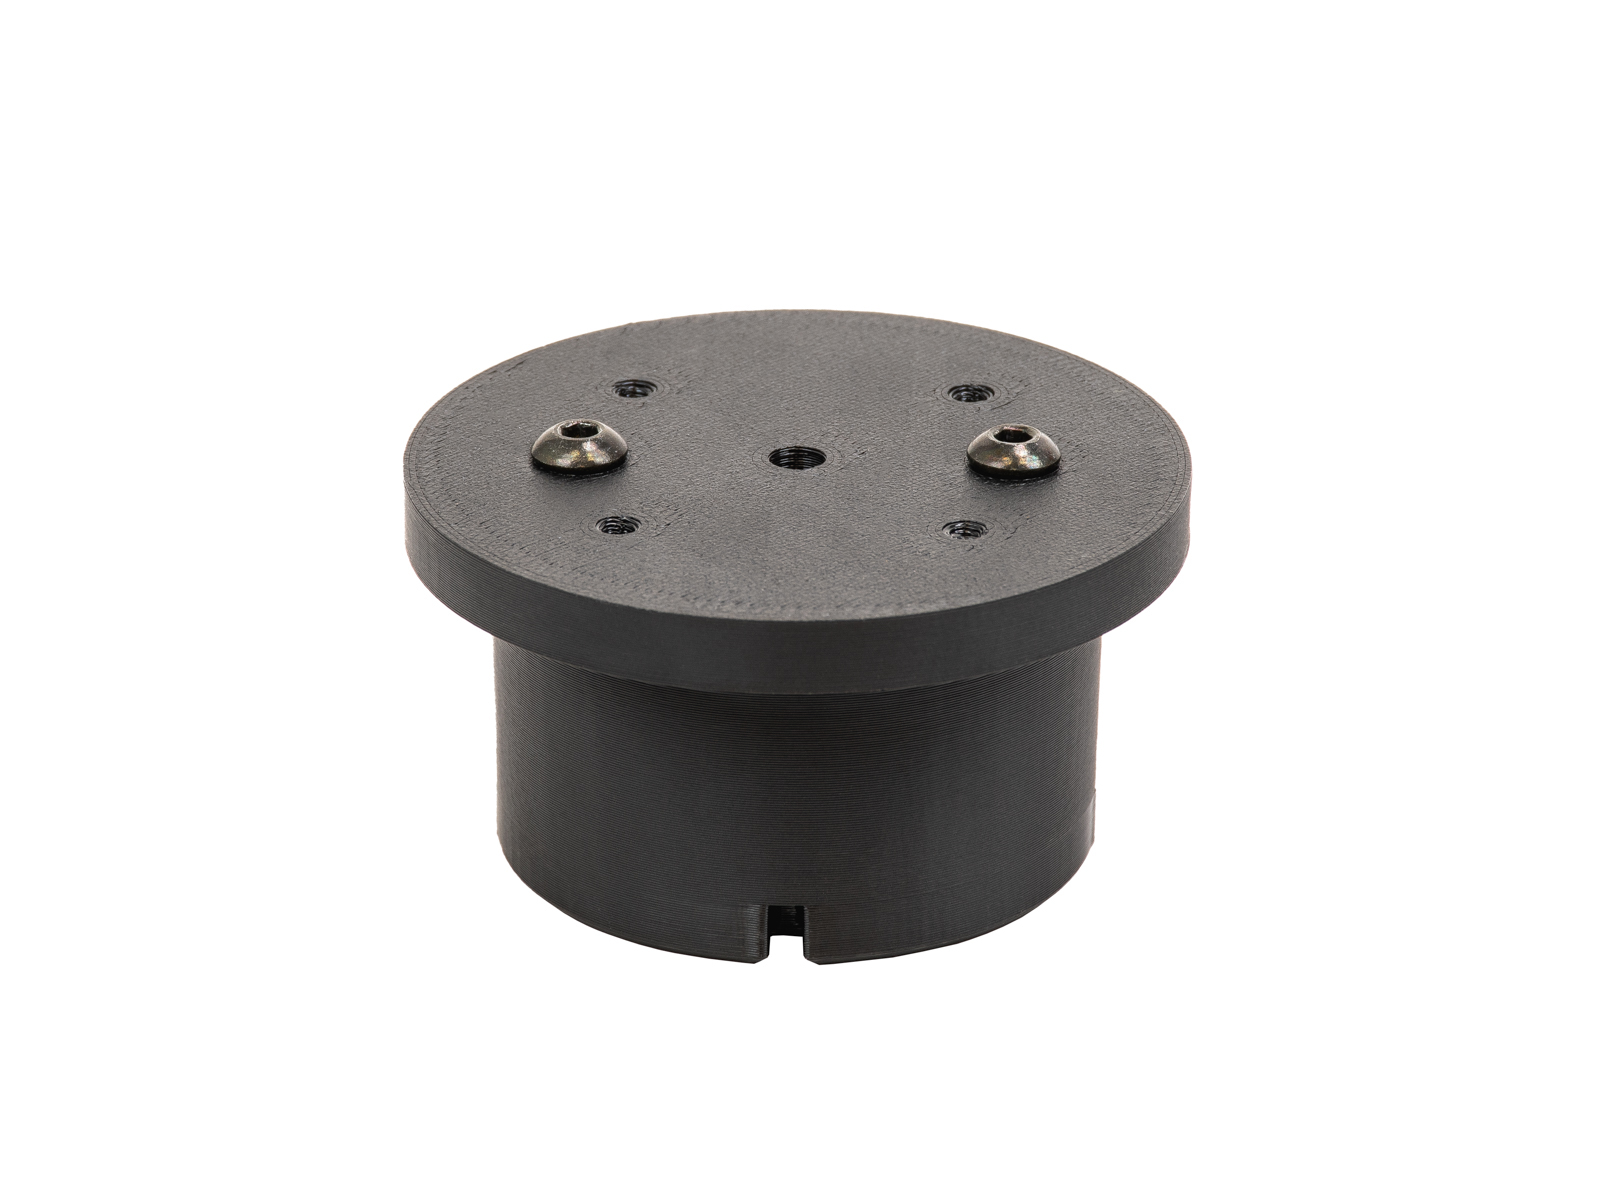
- Prepare the number of pucks you will need (1, 2, or 5) by placing two M4x6 screws on their flat part.
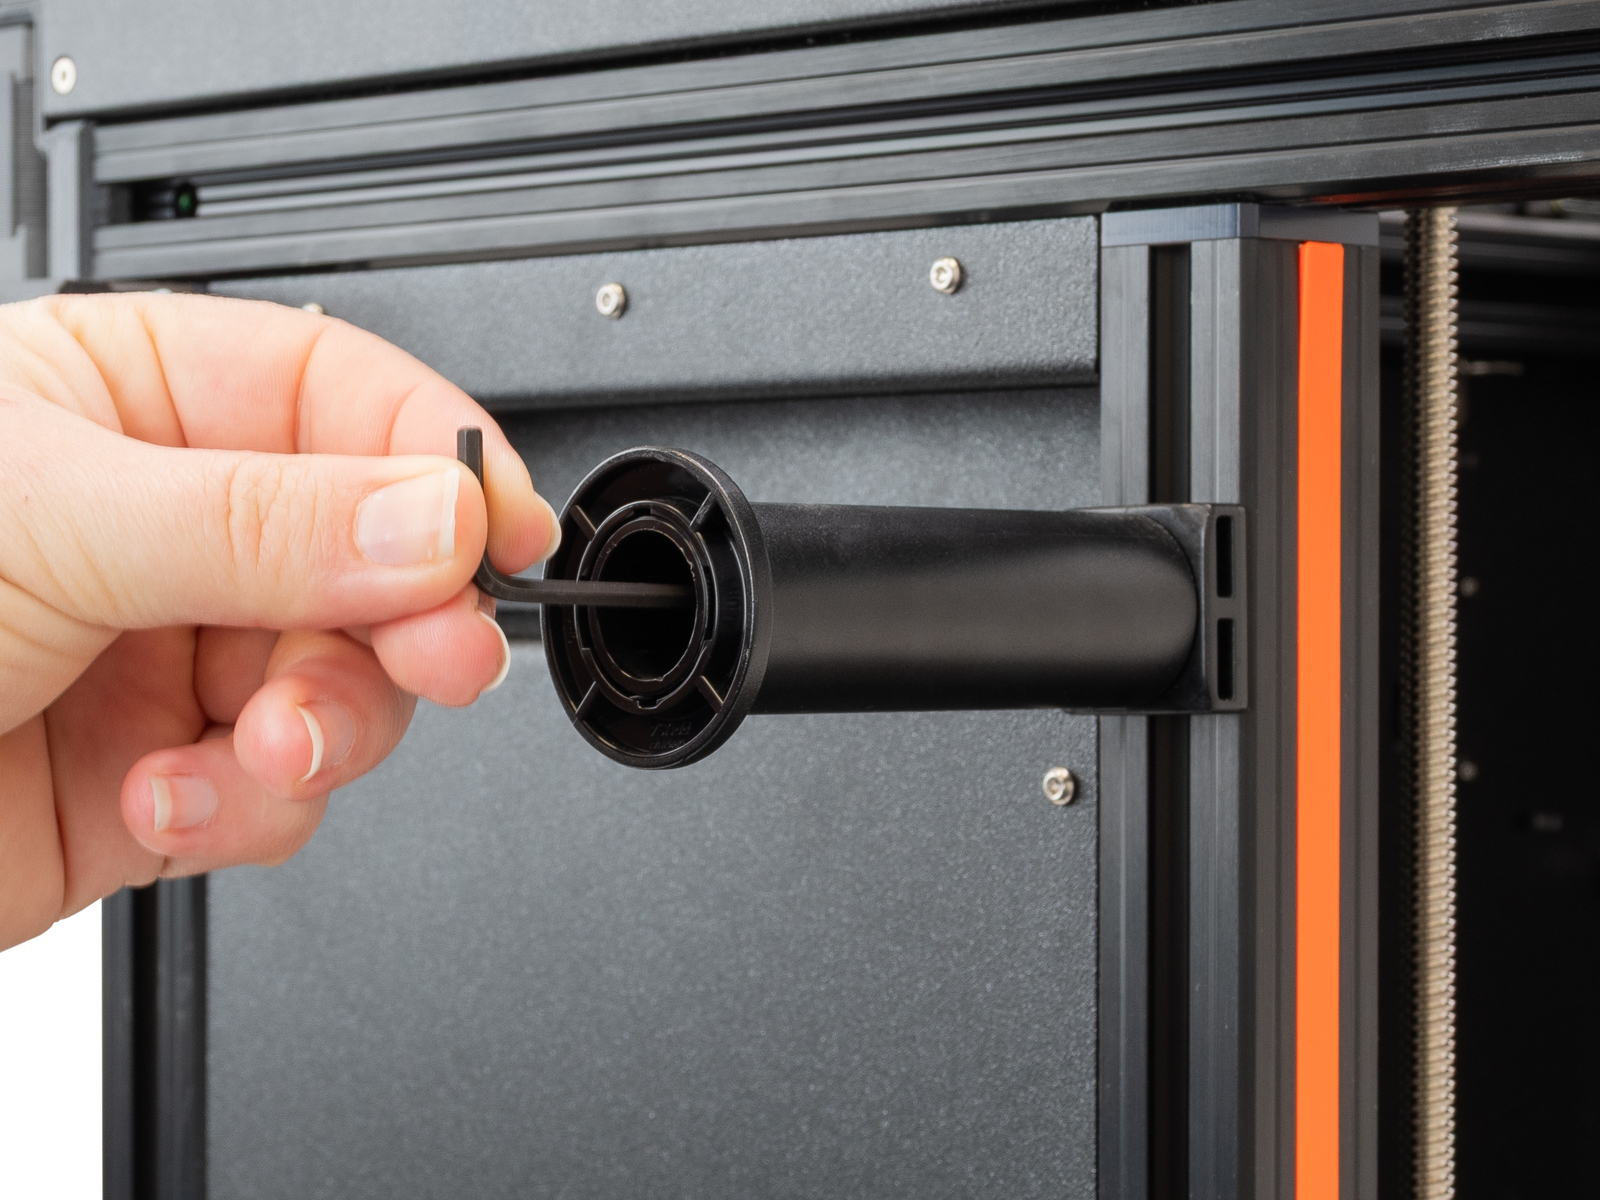
- Unscrew the spoolholders with an M4 Allen key.
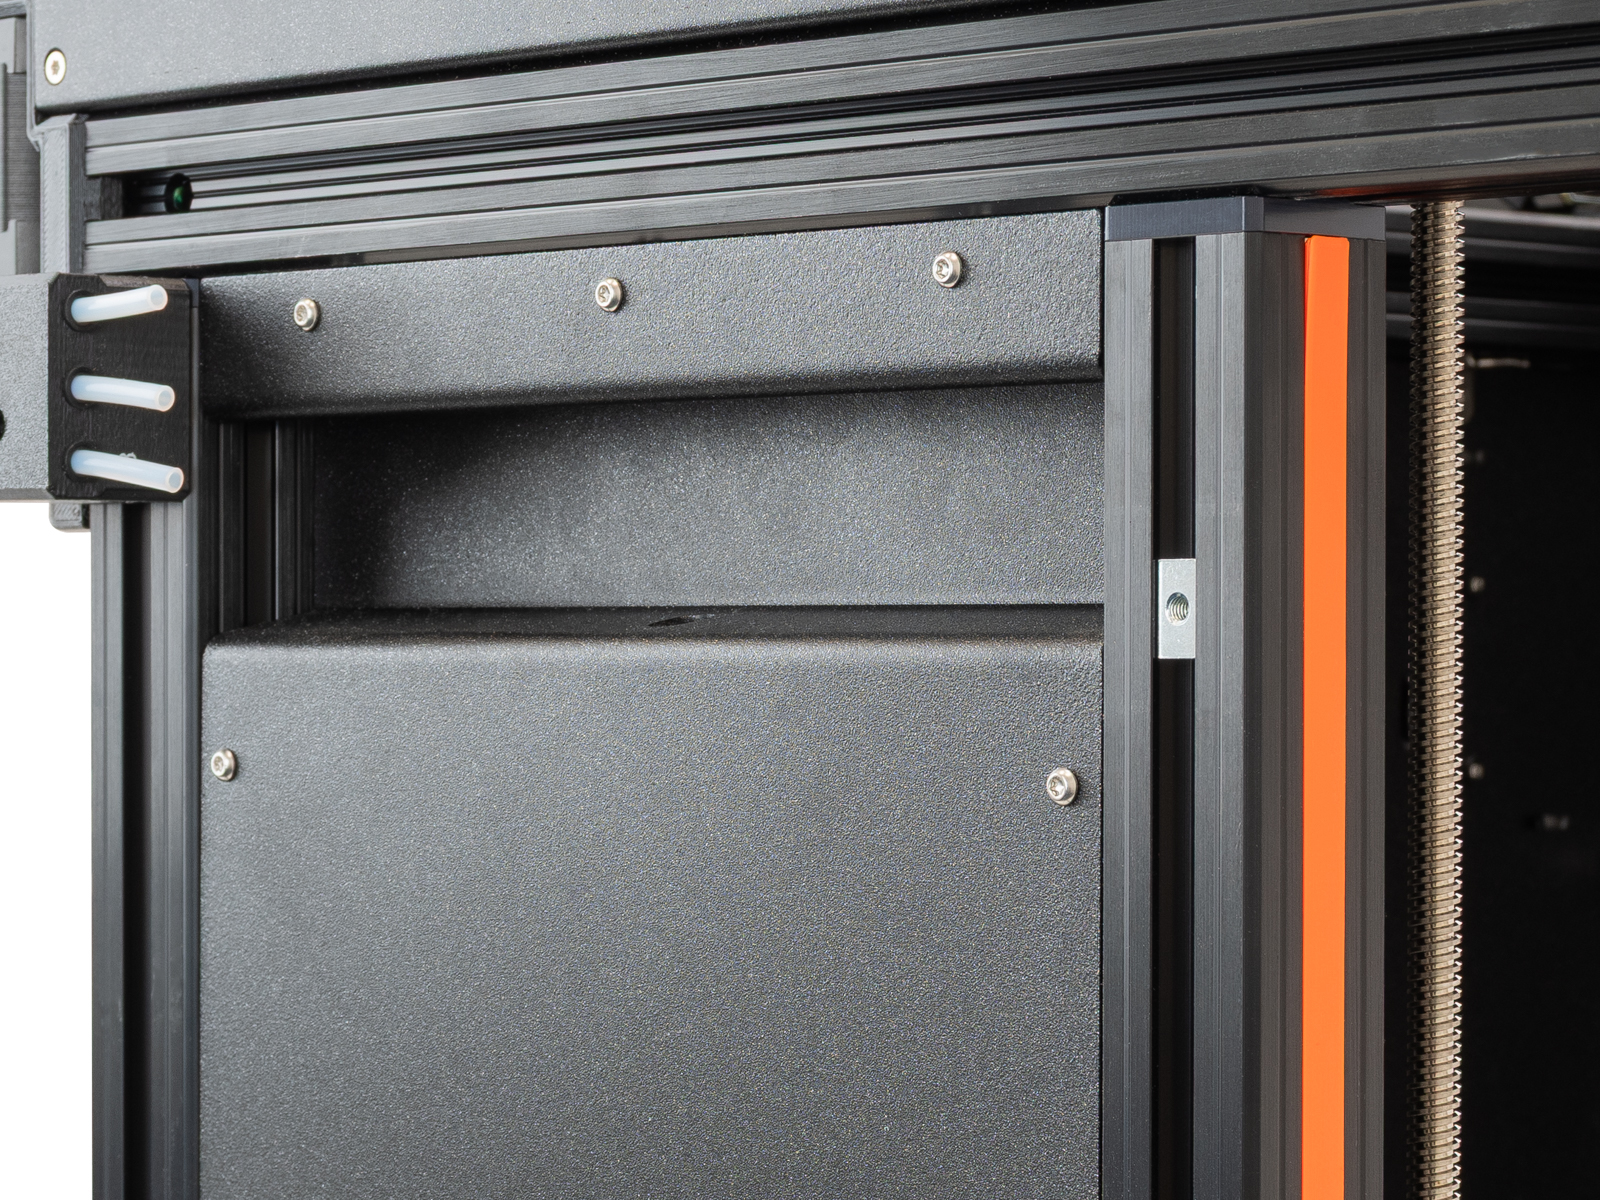
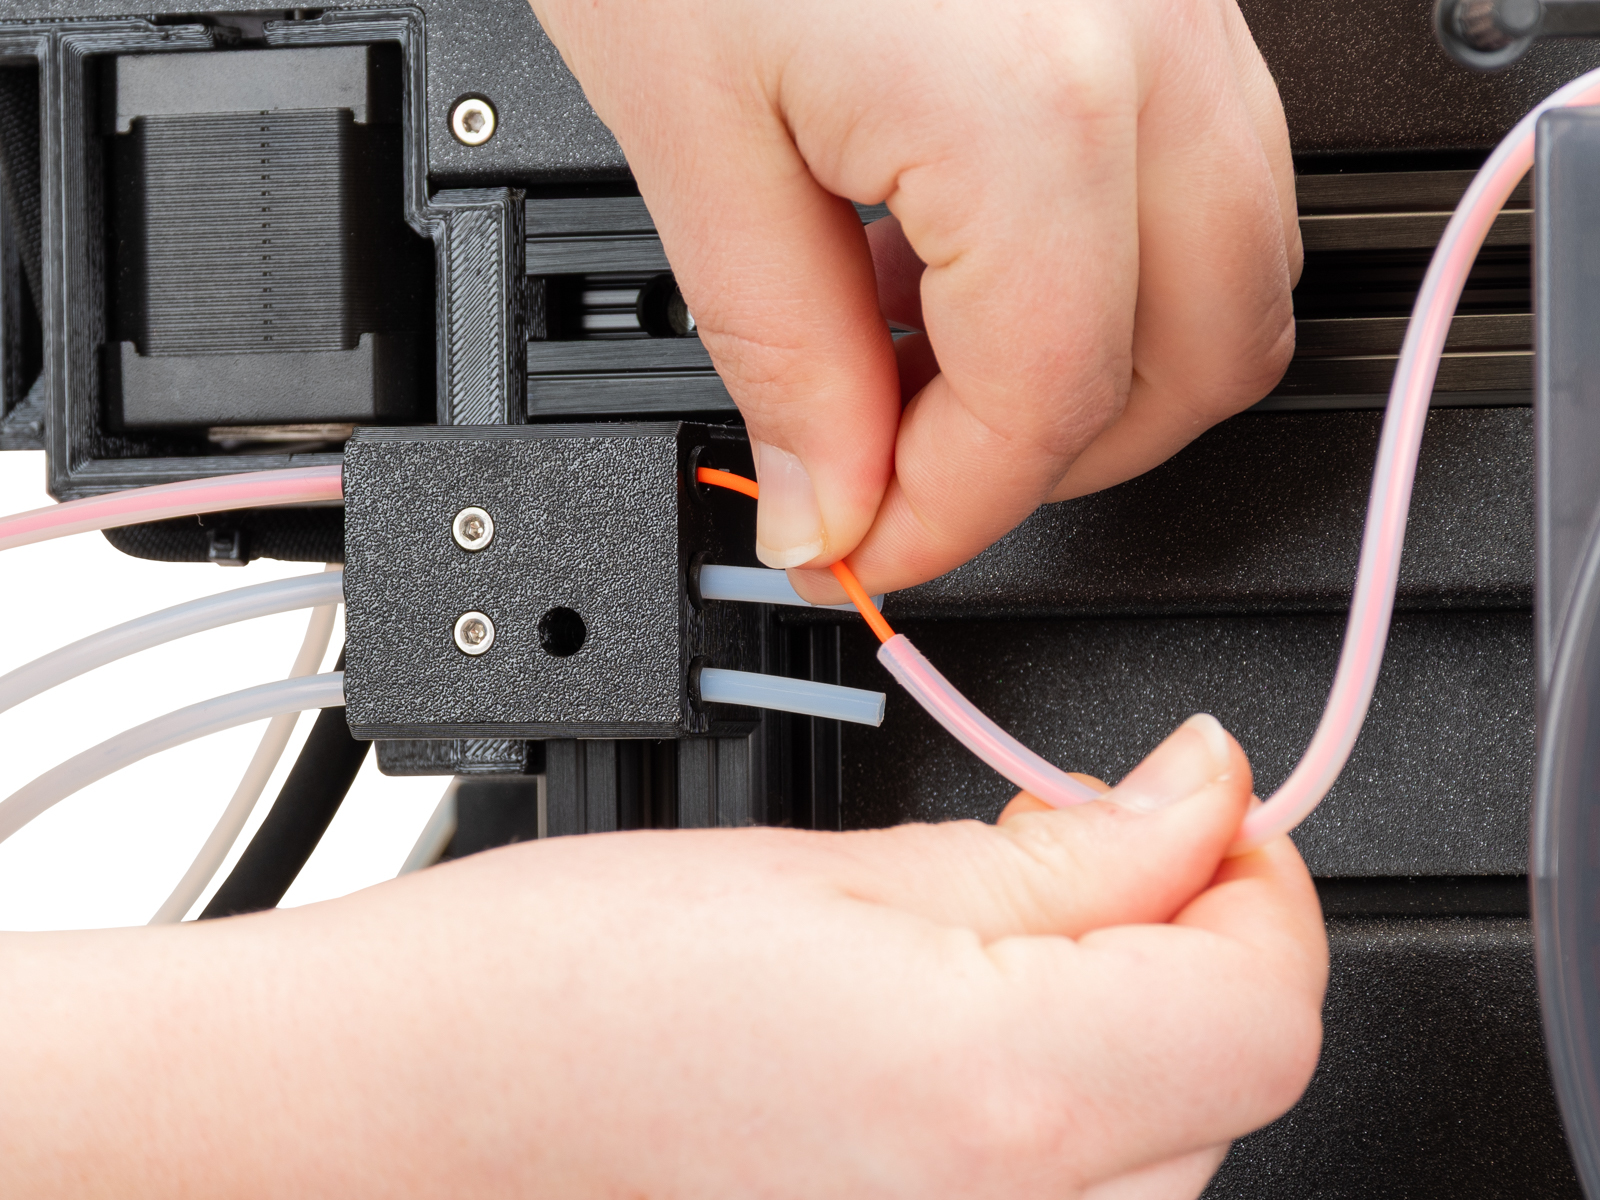
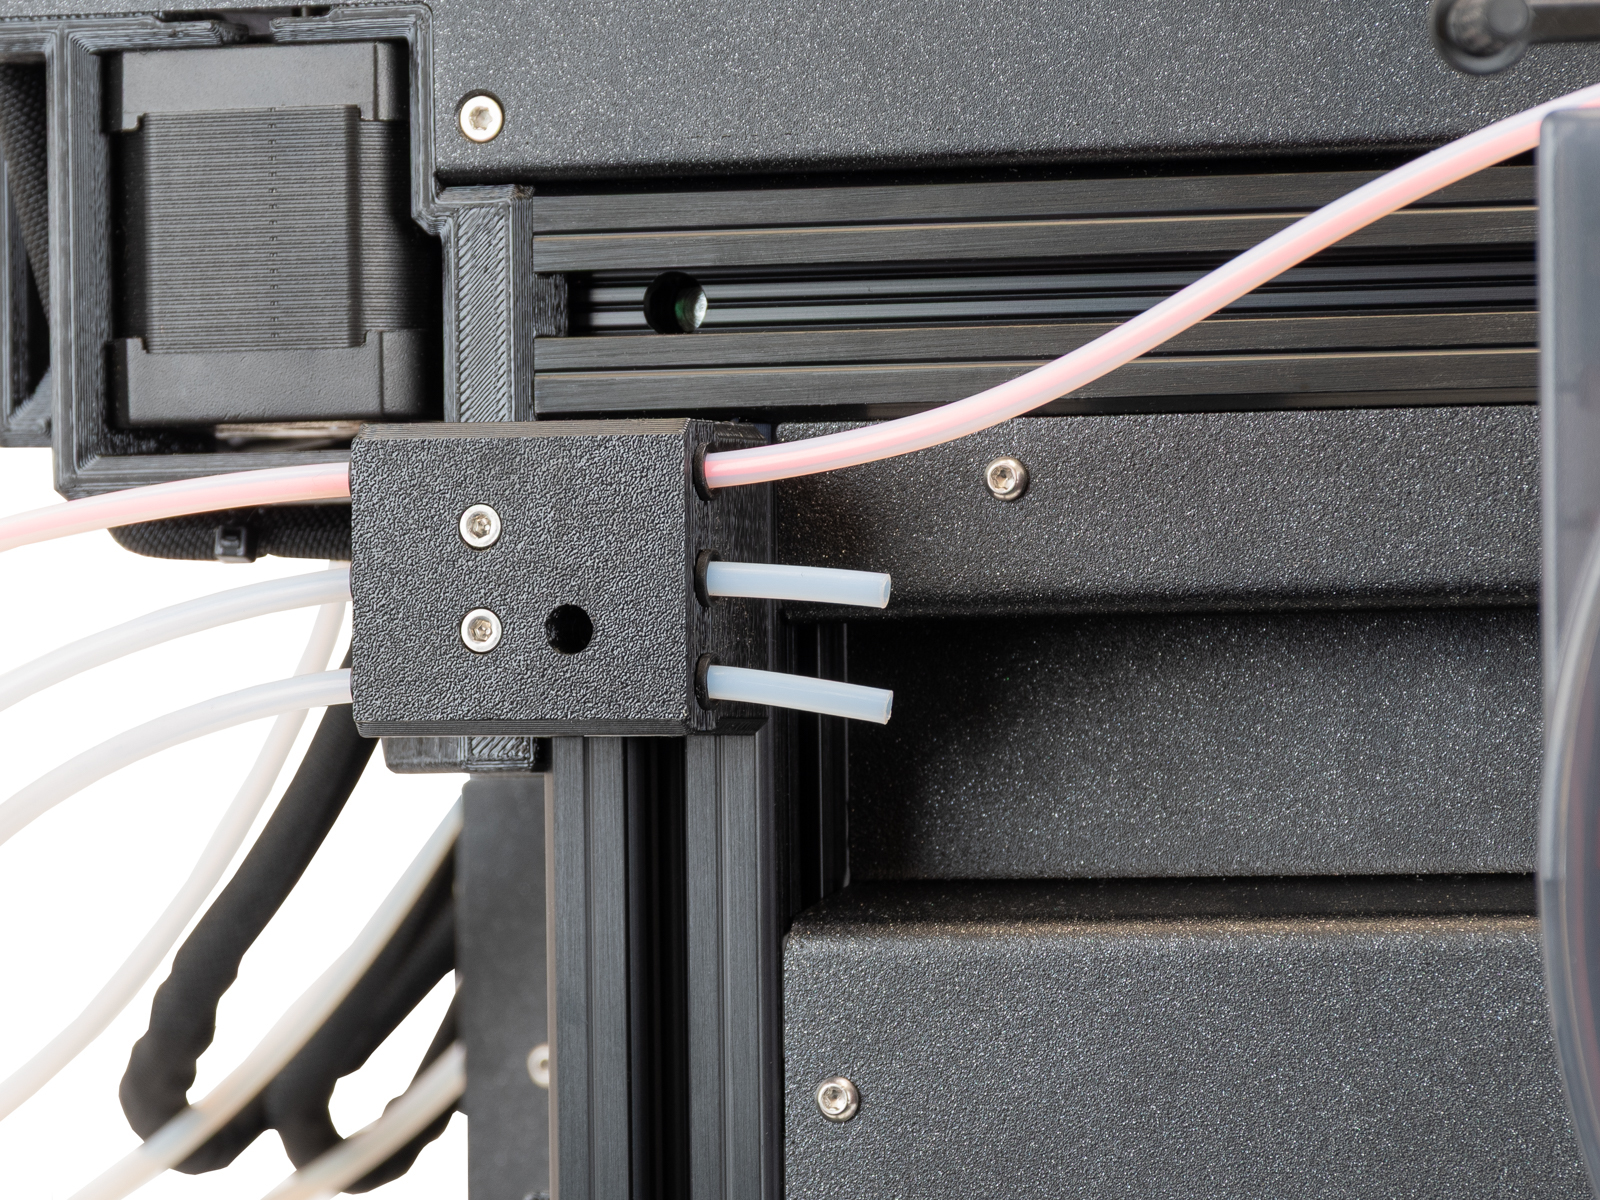
- Remove the PTFE tube from the side filament sensor.
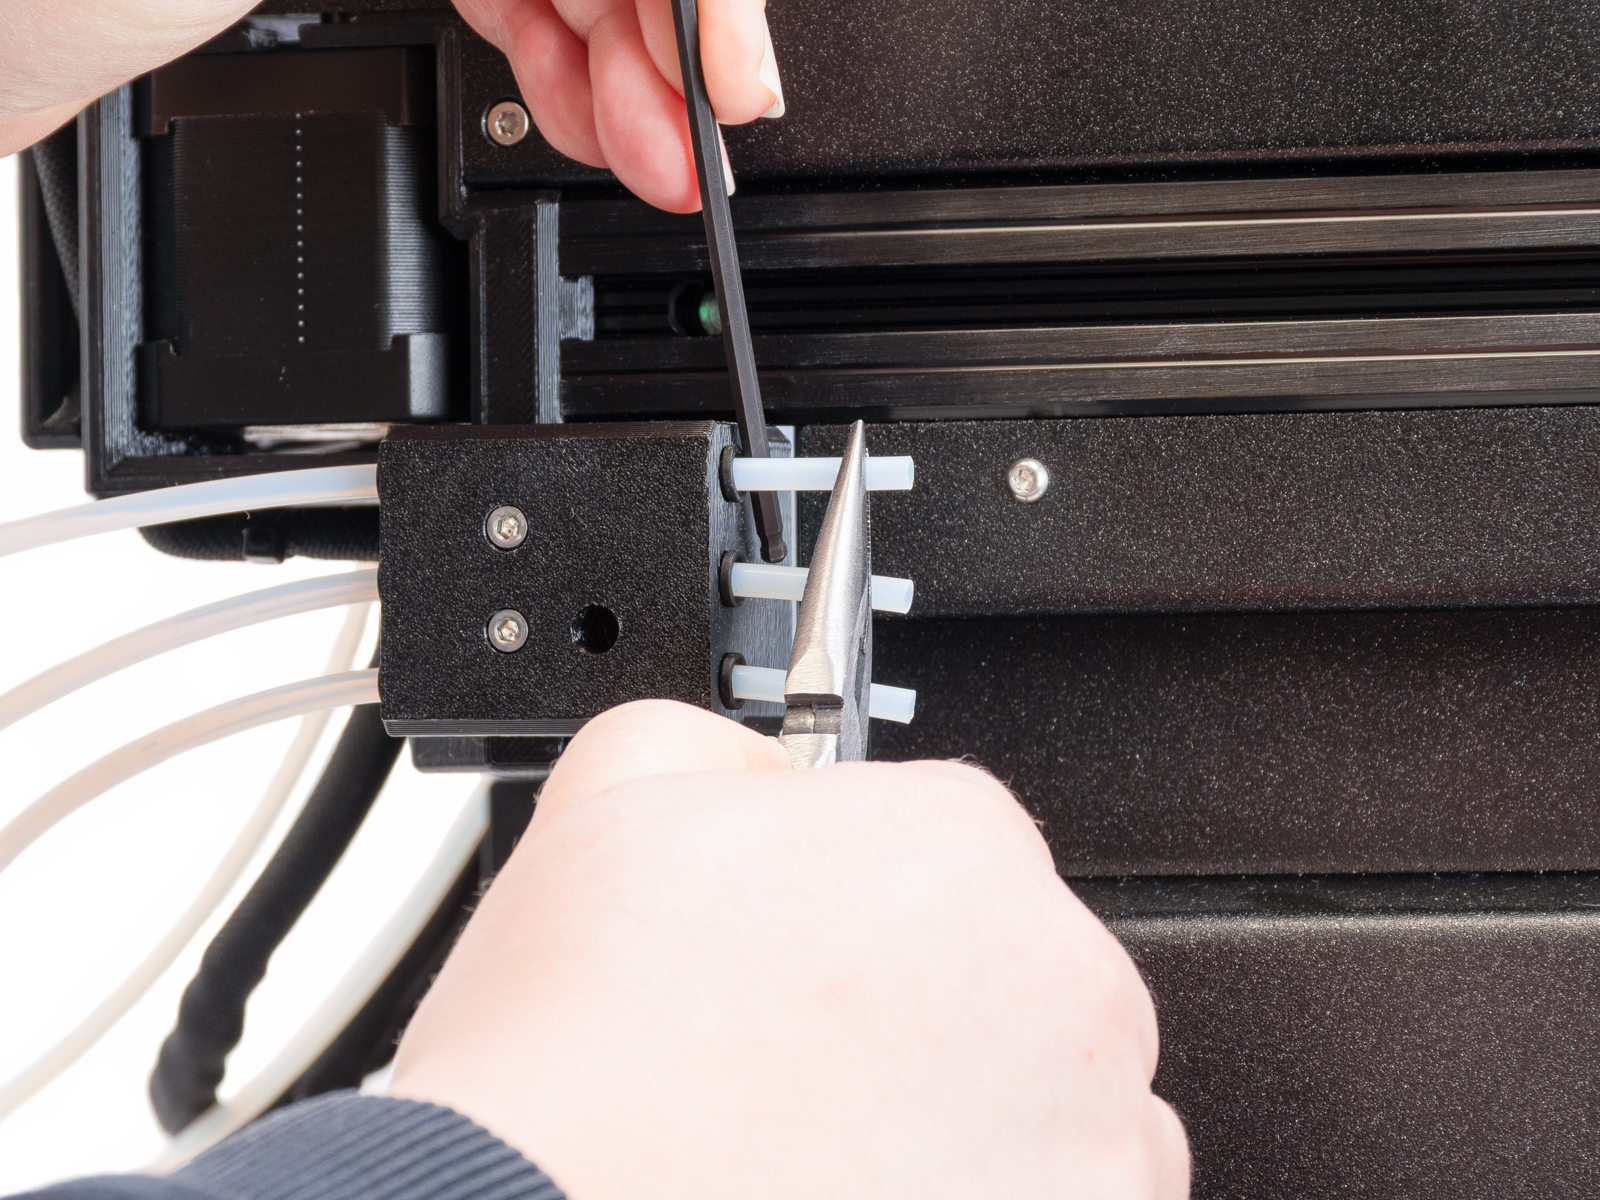
- Place the puck in a way that the previously placed screws are inside the extrusion groove. Screw a puck to each place where a spoolholder was using the M4x12 screw that was previously holding the XL spoolholder.
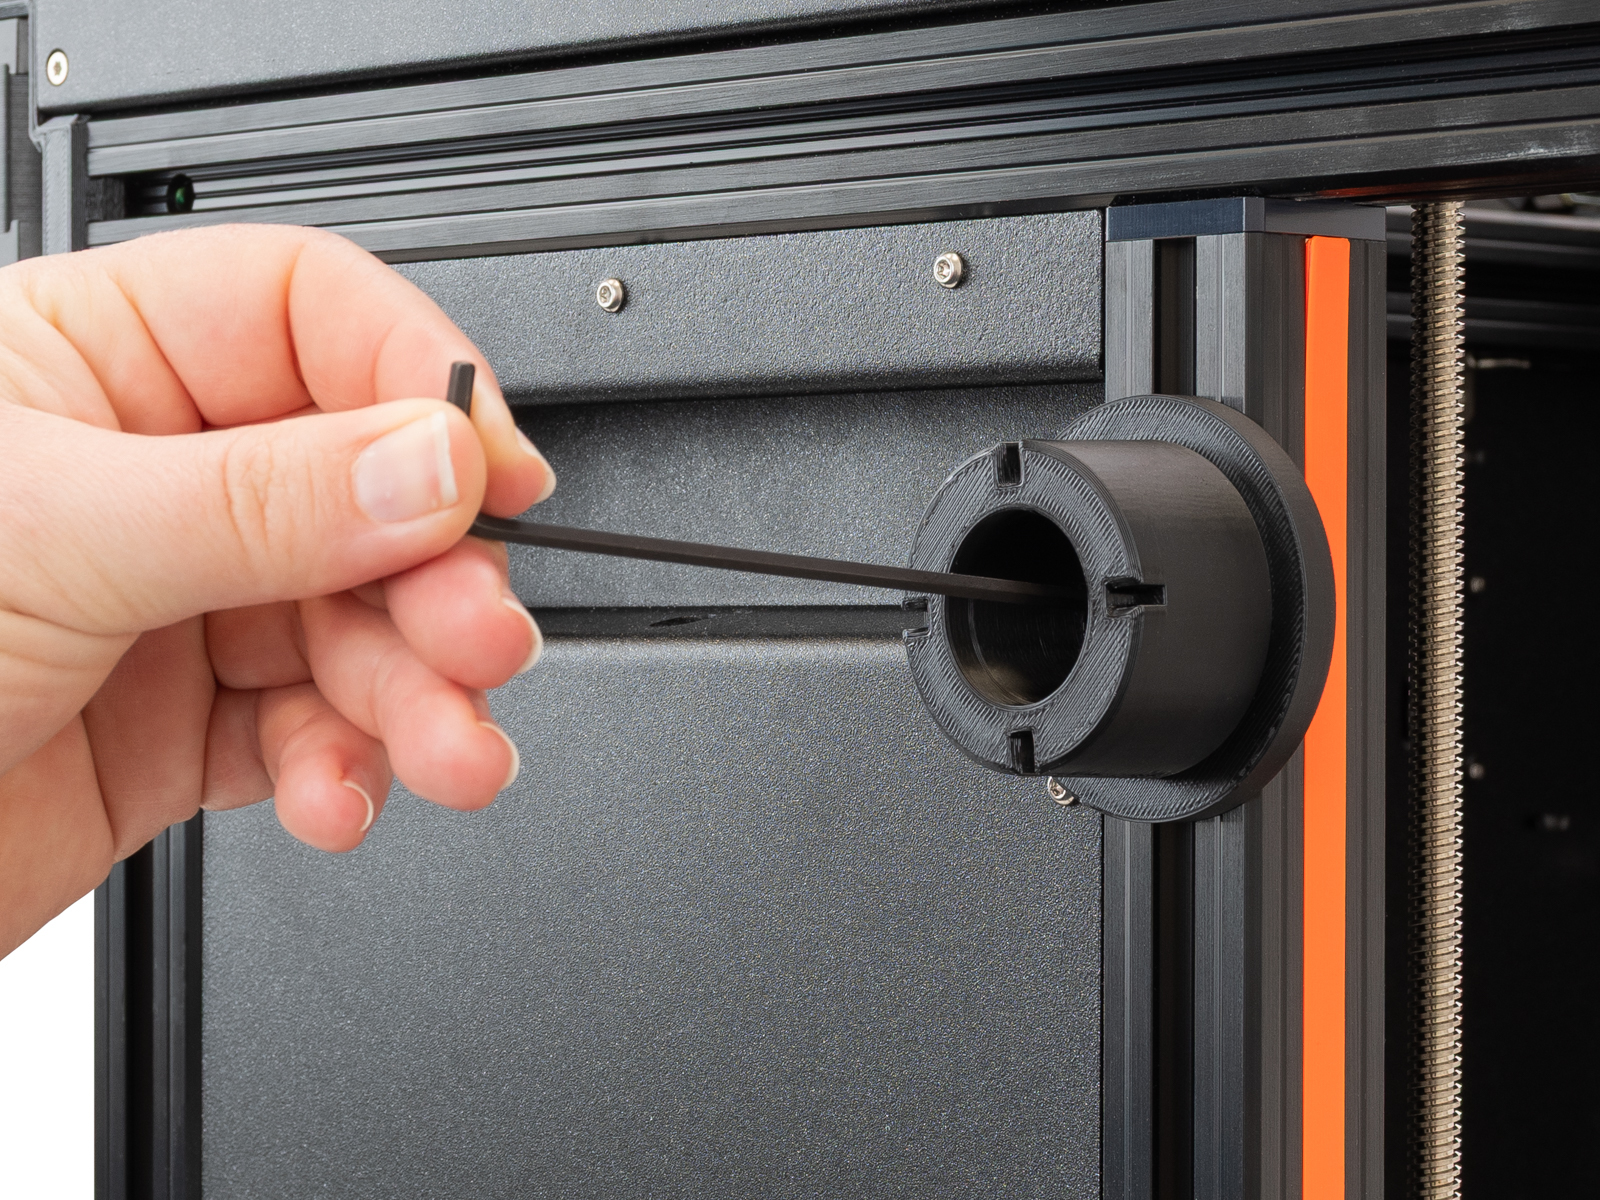
- Place the drybox on the puck. We recommend using the positions below for the five positions. Lock it with the removable spoolholder.
- Load the filament through the side filament sensor, and insert the drybox PTFE tube in the side sensor case.