Prusa
  • ショップ
    • 最新製品
    カテゴリー別
    • 3Dプリンター新着
    • 3Dプリンターアップグレード新着
    • 材料
    • アクセサリー
    • スペアパーツ
    • コース
    • グッズ
    • 見積もりを取得
    クイックリンク
    • 配送と配達
    • 返品と返金
    • 支払いと融資
    • 保証
    • VATと関税
    • よくある質問

    0 点の商品がカートに入っています点の商品がカートに入っています

    カートは空です

    カートを見る3Dプリンターを購入

    マイプロフィール

    ログイン すると注文や保存した商品を確認できます

    マイプロフィール

    ログイン中:

    • 注文
    • ログアウト
  • 3Dプリント
    • 3Dプリントを探る
    初心者向け
    • 3Dプリントの基礎
    • FDM印刷の仕組み
    • 初めてのプリンターを購入する
    • 3Dモデルカタログ
    用途別
    • ラピッドプロトタイピング
    • 製造
    • エンジニアリング
    • 研究
    • アートとデザイン
    さらに深く
    • 材料ガイド
    • コース
    • ウェビナー
    • 導入事例
    • カスタム3Dプリンティング
  • 3Dプリンター
    • すべての3Dプリンター
    用途
    • 自宅またはガレージ愛好家、改造愛好家、ホームプリンティング
    • ビジネス小規模チーム向けの社内生産
    • エンタープライズフリート、セキュリティ、大規模生産
    • どのPrusaが私に適していますか
    ショップと閲覧
    • CORE One+新着
    • CORE One+ INDX新着
    • CORE One L+新着
    • CORE One L+ INDX新着
    • XL+新着
    • MK4S
    • Prusa Pro HT90
    • Prusa Pro AFS
    • Prusa Pro SLX
    プリンターからさらに
    • 部品とアップグレード新着
    • Spare parts
    • 重要インフラ
    • 導入事例
    • シグネチャーオーク
    • キット
  • 材料
    • すべての材料
    用途別
    • 日常とデザイン
    • 機能工学
    • 複合材料
    • プロフェッショナル向け特殊材料
    • SLAレジン
    Prusament
    • PLA
    • PETG
    • ASA
    • PC
    • PA11
    • Flex
    • TPU
    材料からさらに
    • 材料ガイド
    • 自社製材料
    • サステナビリティ
    • ストアで注文
  • ソフトウェア
    • すべてのソフトウェア
    印刷の準備
    • PrusaSlicer 3.0新着
    印刷と監視
    • Prusa Connect
    • EasyPrint
    • iOS & Androidアプリ
    • Prusaファーム
    始める
    • ダウンロードとインストール
    • ナレッジベース
    その他のソフトウェア
    • 3Dモデルカタログ
  • サポート
    • サポートを探す
    回答を探す
    • ナレッジベース
    • トラブルシューティング
    • コース
    • ウェビナー
    ヘルプ
    • お問い合わせ
    • ライブチャット
    • 配送と配達
    • 保証
    • 返品と返金
    • サービスとスペアパーツ
    • サービスと修理
    コミュニティ
    • フォーラム
    • Reddit
    • Printables
  • トラストセンター
    • トラストセンター概要
    トピック別
    • GDPR
    • 証明書
    • セキュリティ
    • コンプライアンス
    コミットメント
    • サステナビリティレポート
    お問い合わせ
    • セキュリティチームに連絡
  • 会社
    • Prusaについて
    私たちについて
    • 私たちのストーリー
    • プリンターの製造方法
    • オープンソース
    • ブランド&メディアキット
    ニュース
    • ブログ
    • ニュースルーム
    • イベント
    信頼とパートナー
    • サステナビリティ
    • 再販業者と販売代理店
    • アフィリエイトプログラム
    • お問い合わせ
    • English
    • Čeština
    • Deutsch
    • Español
    • Français
    • Italiano
    • Polski
    • 日本語
  • ログイン中:

    • 注文
    • 住所
    • 在庫アラート
    • マイコース
    • サブスクリプション
    • アカウントを編集
    • ログアウト

ログイン すると注文や保存した商品を確認できます

ログイン中:
  • 注文
  • 住所
  • 在庫アラート
  • マイコース
  • サブスクリプション
  • アカウントを編集
  • English
  • Čeština
  • Deutsch
  • Español
  • Français
  • Italiano
  • Polski
  • 日本語
ショップ

0 点の商品がカートに入っています点の商品がカートに入っています

カートは空です

カートを見る3Dプリンターを購入

マイプロフィール

ログイン すると注文や保存した商品を確認できます

マイプロフィール

ログイン中:

  • 注文
  • ログアウト
ショップ
  • 最新製品
カテゴリー別
  • 3Dプリンター新着
  • 3Dプリンターアップグレード新着
  • 材料
  • アクセサリー
  • スペアパーツ
  • コース
  • グッズ
  • 見積もりを取得
クイックリンク
  • 配送と配達
  • 返品と返金
  • 支払いと融資
  • 保証
  • VATと関税
  • よくある質問

おすすめ製品

    人気のカテゴリー

      急上昇ワード

        記事

          ブログ

            製品

              カテゴリー

                検索候補

                  検索中…
                  結果がありません
                  エラーが発生しました。
                  ↑↓ 選択↵ 開くEsc 検索を閉じる
                  1. サポート
                  2. プリンターメンテナンス
                  3. First setup and filament loading (USS Drybox)
                   

                  内容

                  • Initial setup
                  • Open the Drybox
                  • Prepare the hygrometer
                  • Add silica gel
                  • Insert filament spool
                  • Close the Drybox
                  • Filament guiding

                  ブログ

                  • Prusament PLA ColorMix:わずか5巻のフィラメントで45色以上をプリント
                  • PrusaSlicer 3.0プレビュー版 — 3Dプリントの未来を見据えた仕様
                  • より高品質なプリントを、もっと簡単に:Prusa XL+、CORE One L+、CORE One+(Gen 2)― 大規模製品アップグレード

                  ニュースレター

                  ご登録いただくと、毎月 新しいファームウェア、PrusaSlicerの新バージョン、3Dプリントプロジェクトの一般的なヒントなど、役立つ情報をお届けします。

                  クリックして、ニュースレターを受け取る。

                  このサイトはreCAPTCHA Enterpriseによって保護されており、Googleのプライバシーポリシーと利用規約が適用されます。

                  Heavy Duty Keyboard Holder (No Supports)
                  E-shop
                  • 3Dプリンター
                  • プリンターのアップグレード
                  • フィラメント
                  • アクセサリー
                  • Prusa 商品
                  Prusa

                  © Prusa Research a.s.

                  Printables
                  • 3Dモデル
                  • Store
                  • Clubs
                  • 3Dデザインコンテスト
                  • Brands
                  コミュニティ
                  • ワールドマップ
                  • フォーラム
                  • ユーザーグループ
                  • イベント
                  ヘルプ
                  • Prusa ヘルプ
                  • Prusa アカデミー
                  • 3Dプリンティング計算機
                  ソフトウェア
                  • PrusaSlicer
                  • Prusa.app
                  • Prusa Connect
                  • ドライバーとソフトウェア
                  会社概要
                  • 私たちについて
                  • Blog
                  • プルサ正規販売代理店
                  • お問い合わせ
                  • ISO 9001・ISO 14001・ISO 45001 認証取得済み
                  • 一般利用規約
                  • PRUSAウェブサイト利用のための一般利用規約
                  • プライバシーポリシー
                  • クッキーに関する情報
                  • お客様の苦情対応に関する方針
                  • Webサイトのステータスページ
                  • Cookie 設定
                  Prusa
                  • 一般利用規約
                  • PRUSAウェブサイト利用のための一般利用規約
                  • プライバシーポリシー
                  • クッキーに関する情報
                  • お客様の苦情対応に関する方針
                  • Webサイトのステータスページ
                  • Cookie 設定

                  © Prusa Research a.s.

                  JOSEF PRUSA®、PRUSA RESEARCH®、PRUSA POLYMERS®、PRUSA ORANGE®、PRUSA 3D ® および PRUSAMENT® は、Prusa Development a.s. の登録商標であり、Prusa Research a.s. が Prusa Development a.s. からのライセンスに基づき使用しています。

                  First setup and filament loading

                  (USS Drybox)

                  関連するもの

                  Accessories
                  記事 他の言語でもご覧になれます。
                  English
                  Čeština
                  Polski
                  Deutsch
                  Français
                  Español
                  Italiano
                  日本語

                  Before using the Prusa USS Drybox for the first time, it is important to prepare it correctly to ensure a stable low-humidity environment for your filament.

                  This article covers the initial assembly and first filament loading process. For complete product overview, humidity management, maintenance, and printer-specific installation guides, see the main Prusa USS Drybox article.

                  The Drybox is designed to slow down moisture absorption using silica gel. It does not dry filament. If your filament is already moist, it must be dried in a dedicated drying device before use.

                  Initial setup

                  Open the Drybox

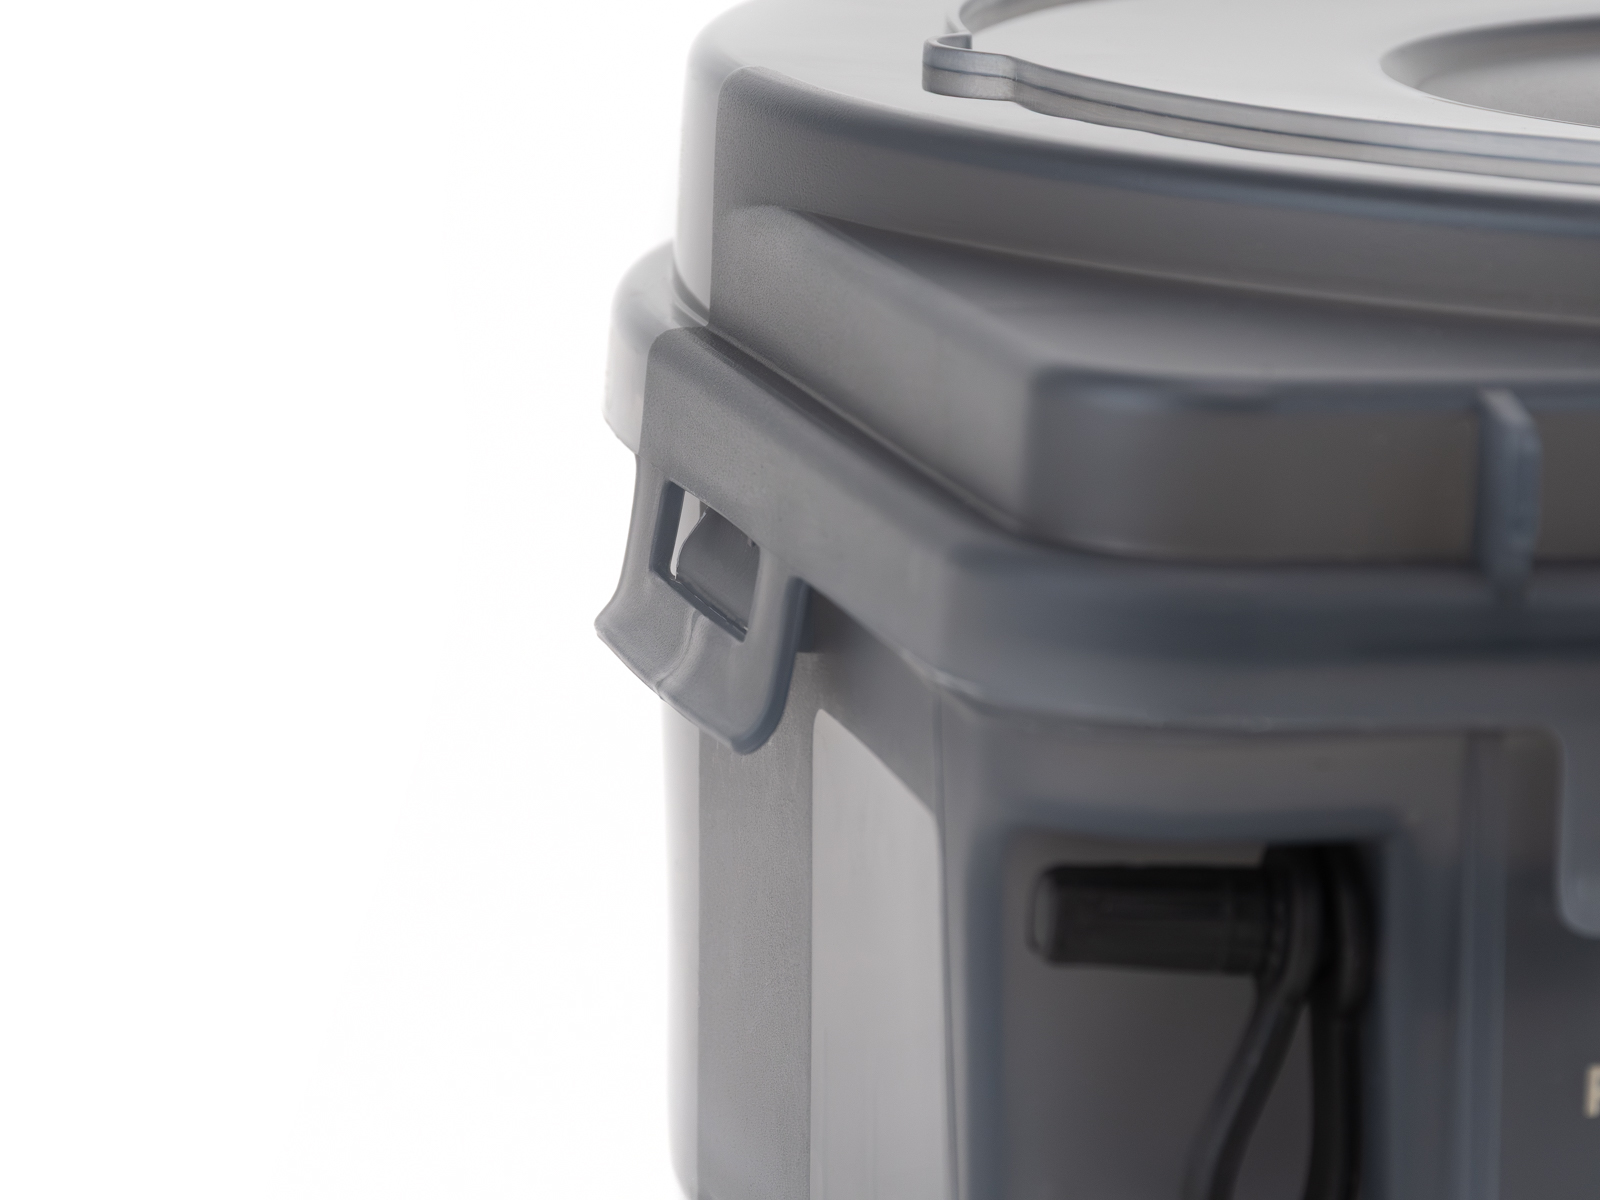
                  Release all latches and open the lid.

                  Check that all seals are properly seated and not damaged.
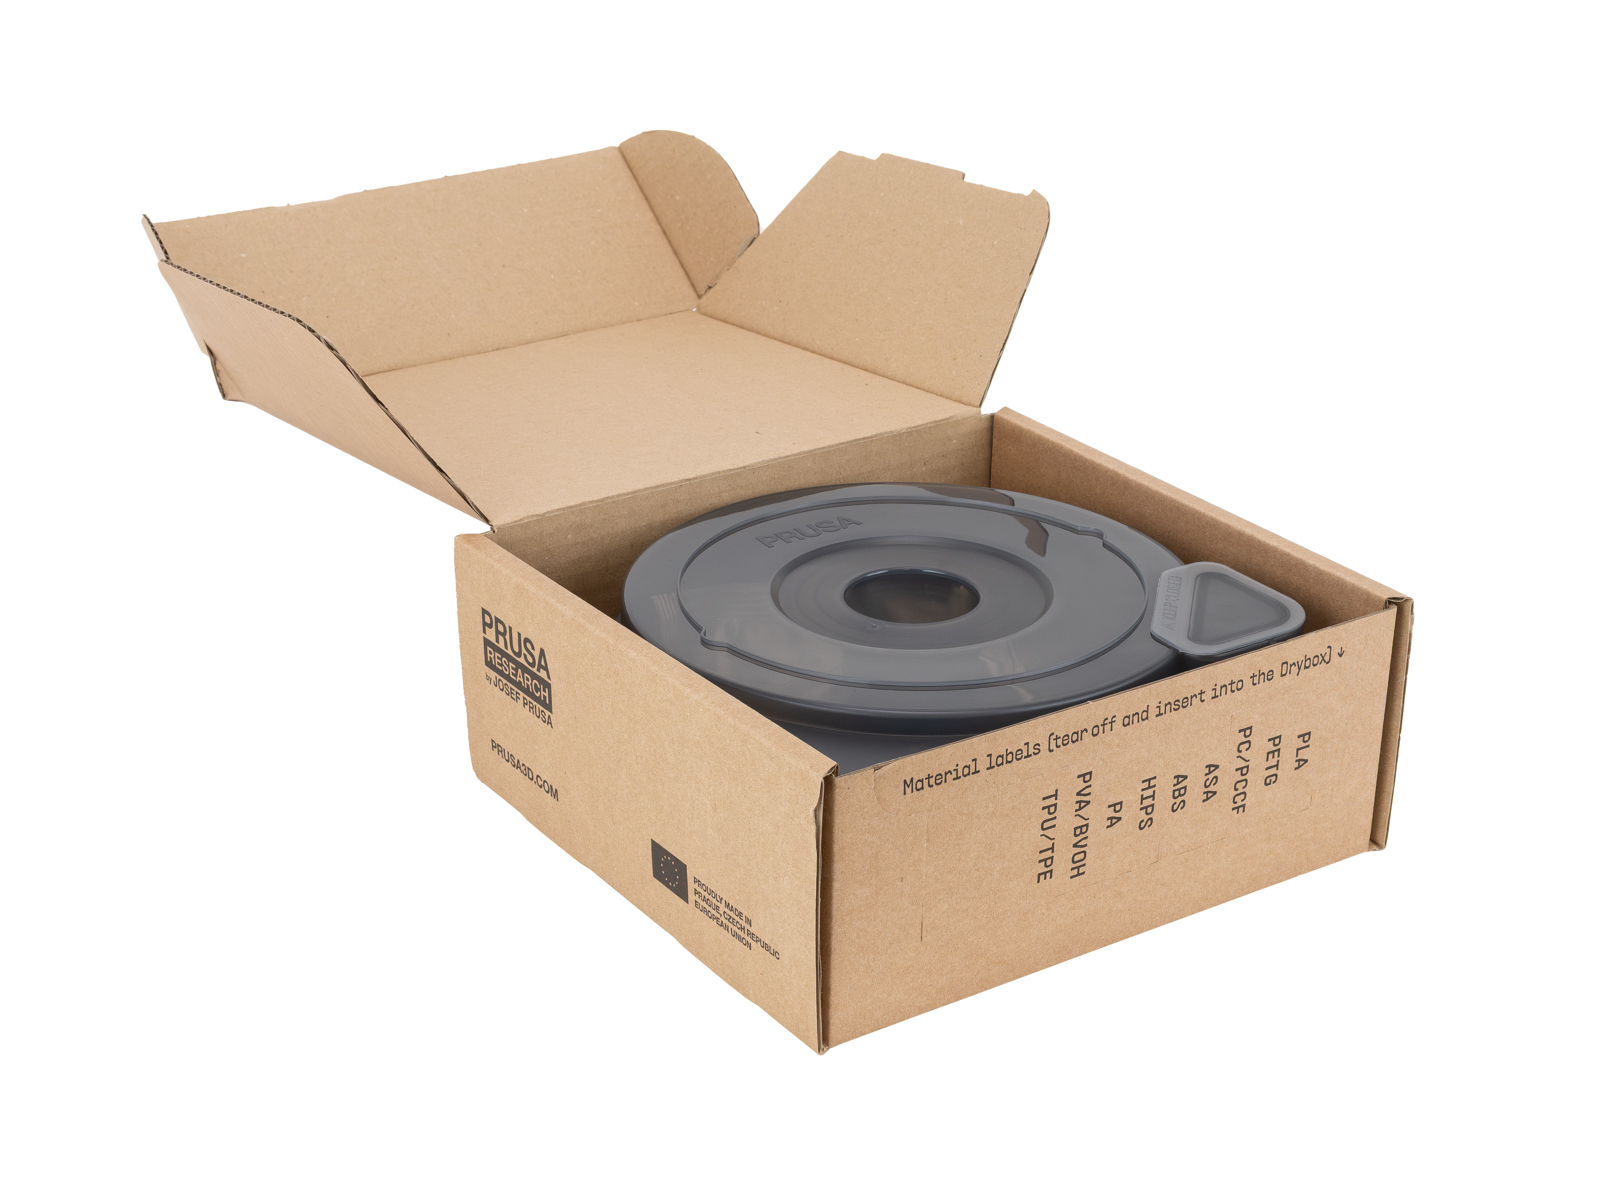
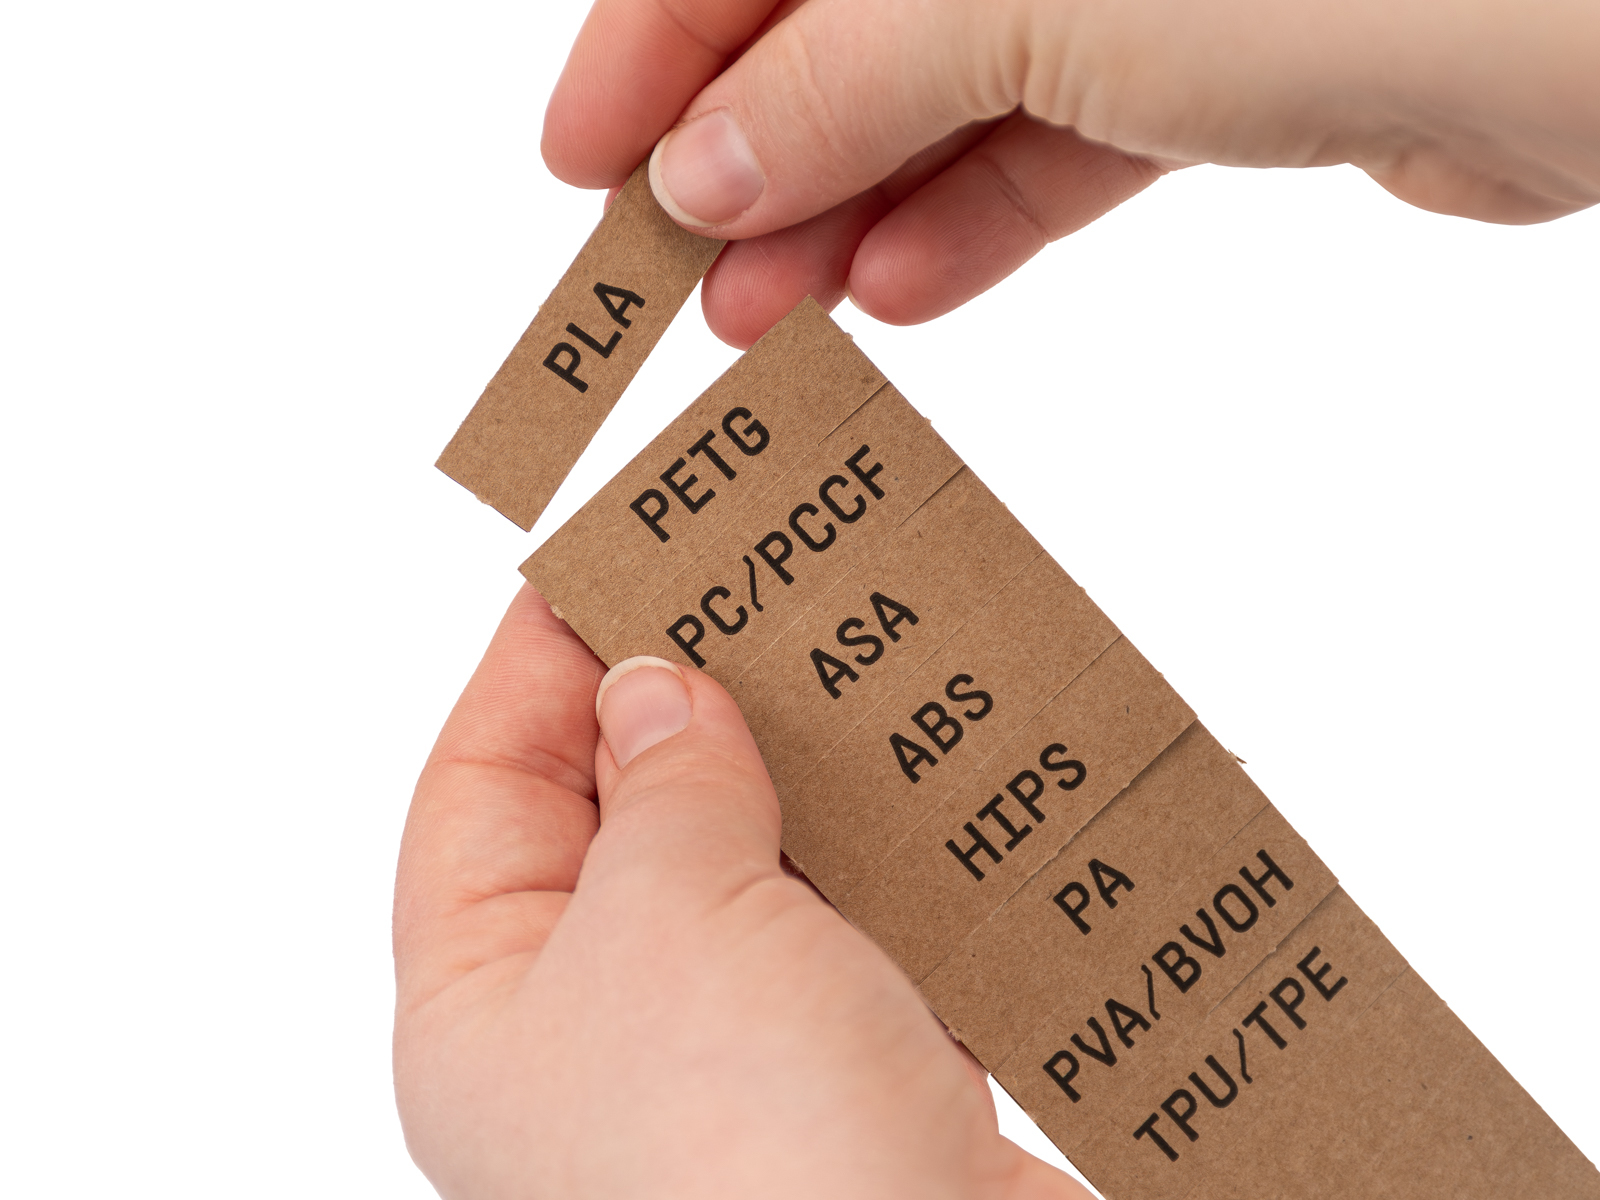
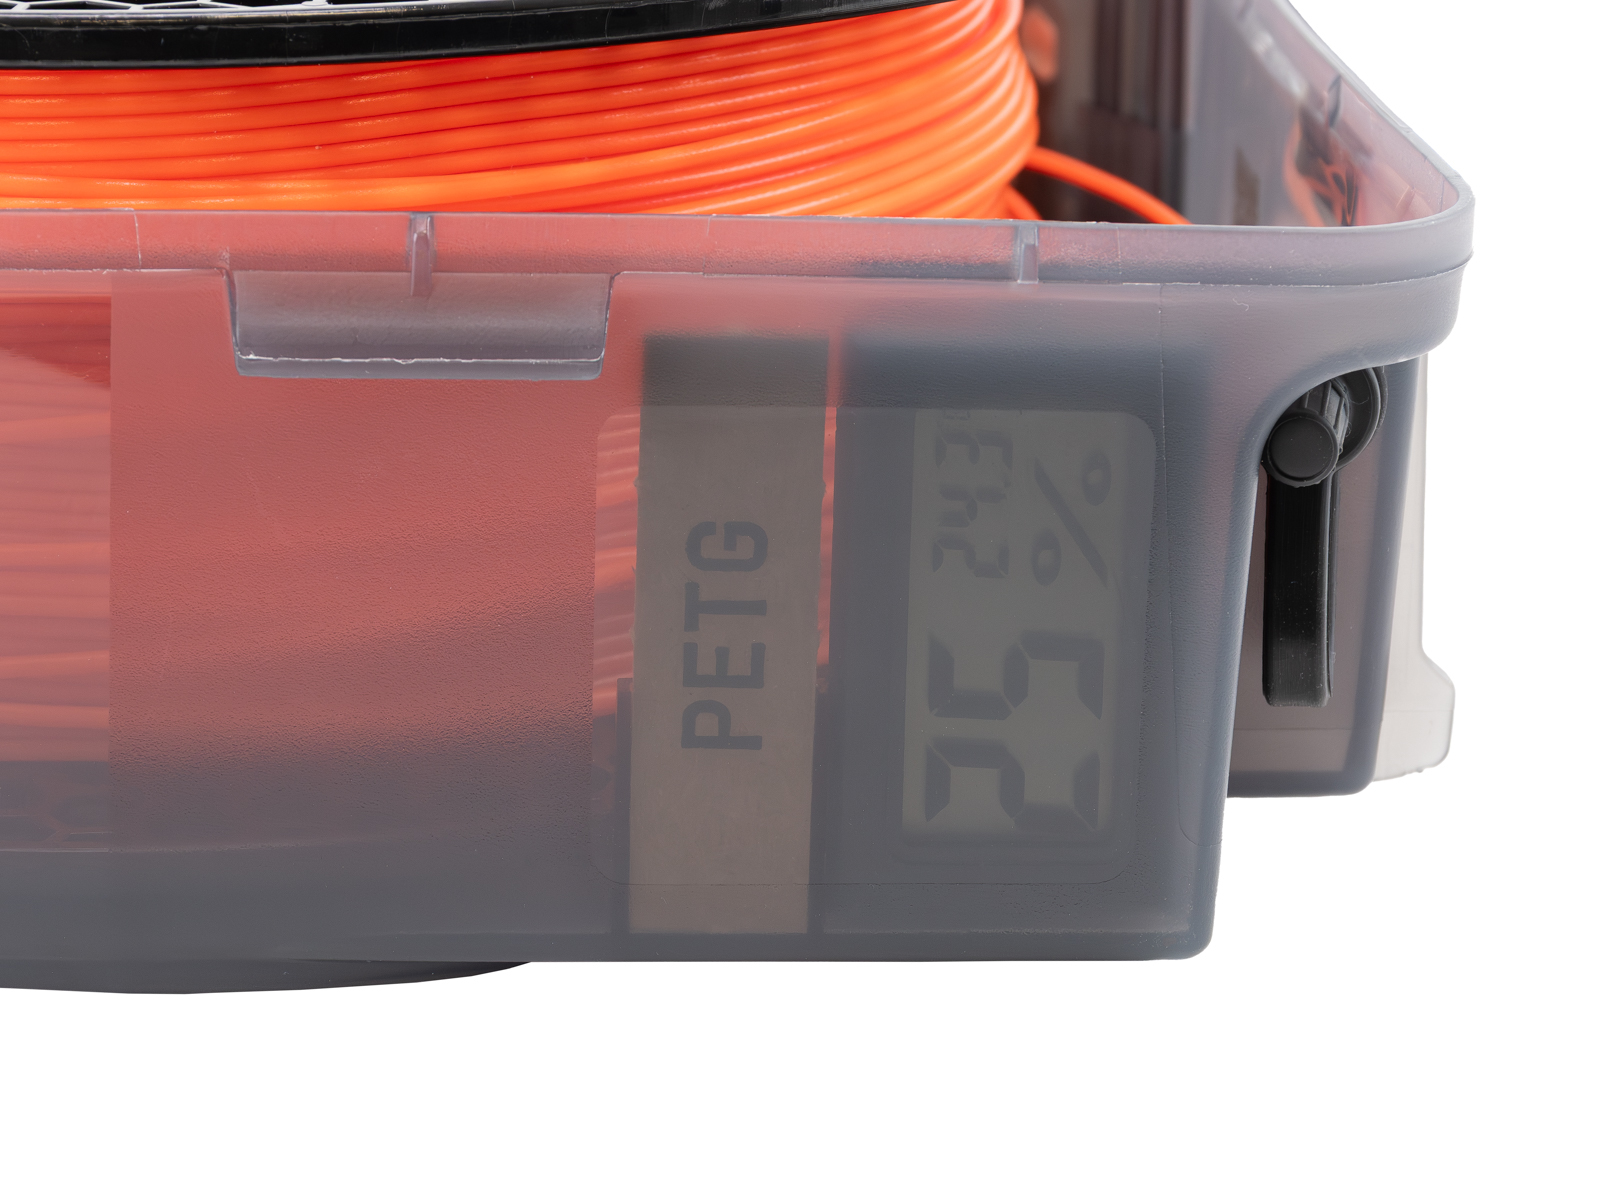
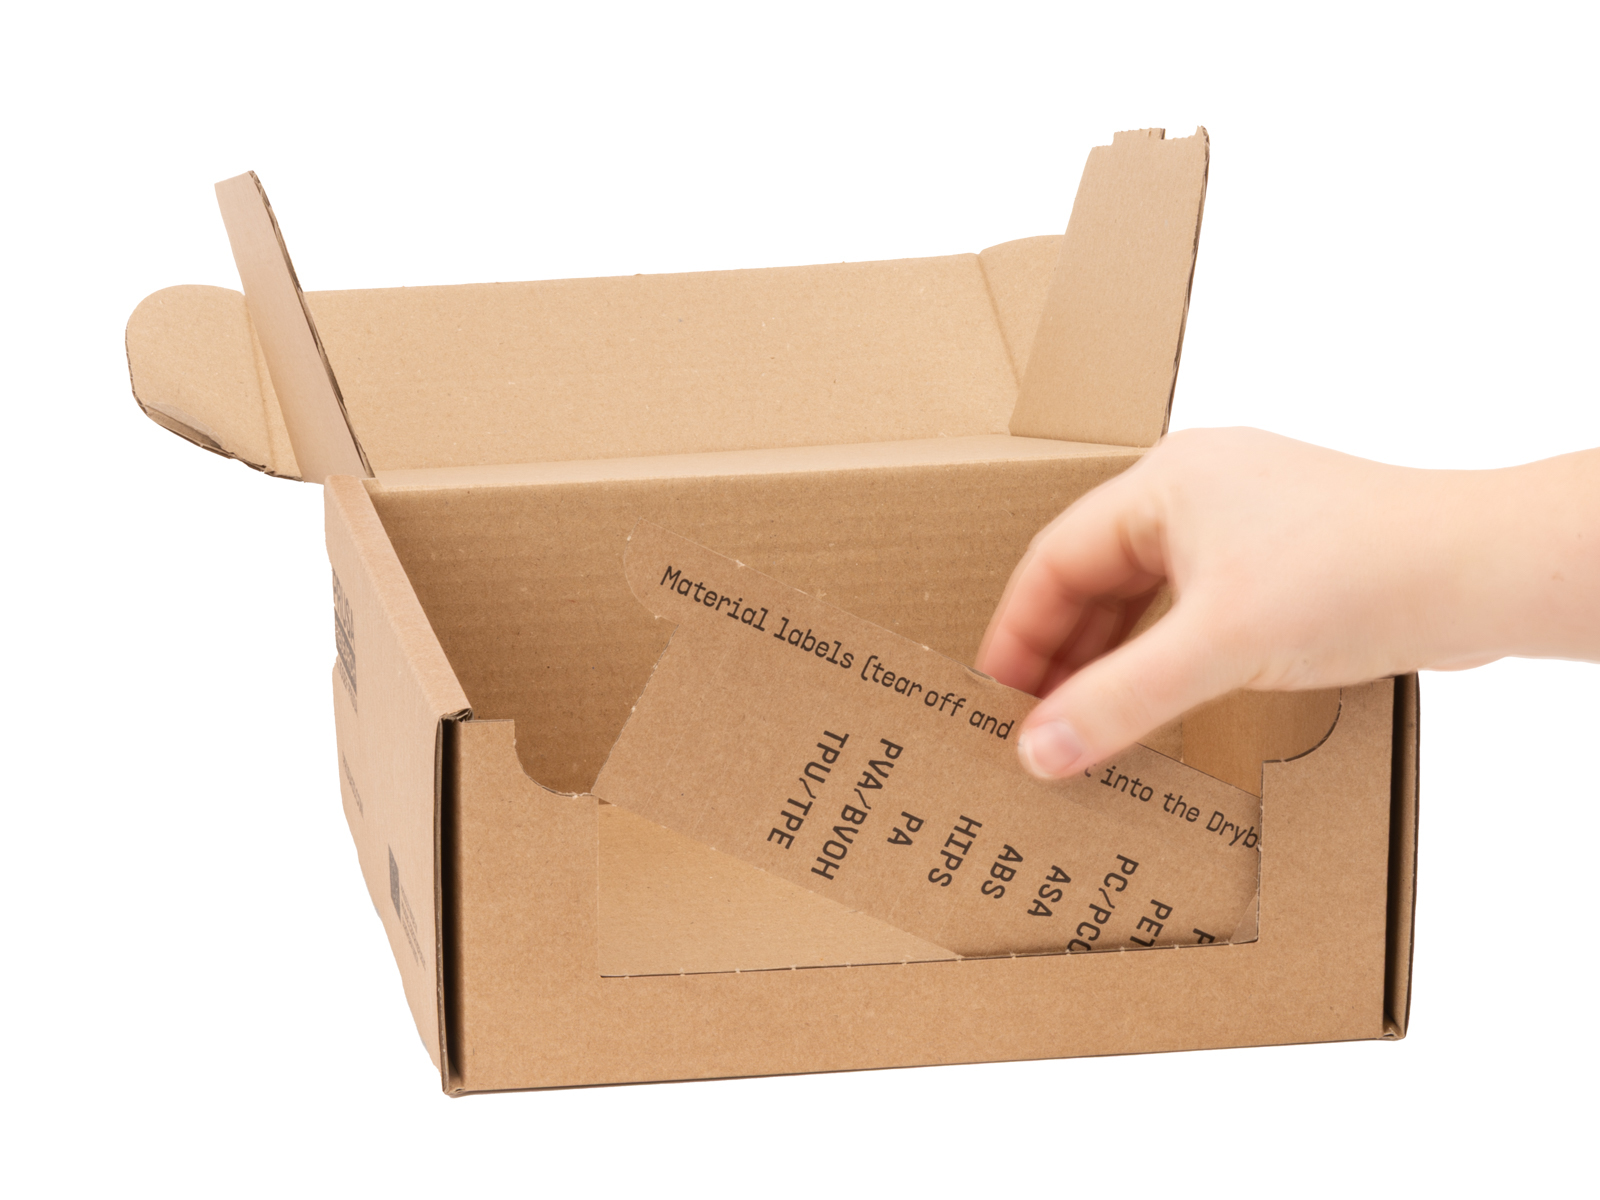
                  On the outer packaging, you will find a label sheet with the most commonly used filaments, along with a few blank labels that can be torn out.

                  Prepare the label you intend to use first. Any remaining labels can be stored for future use.
                  Prepare the hygrometer

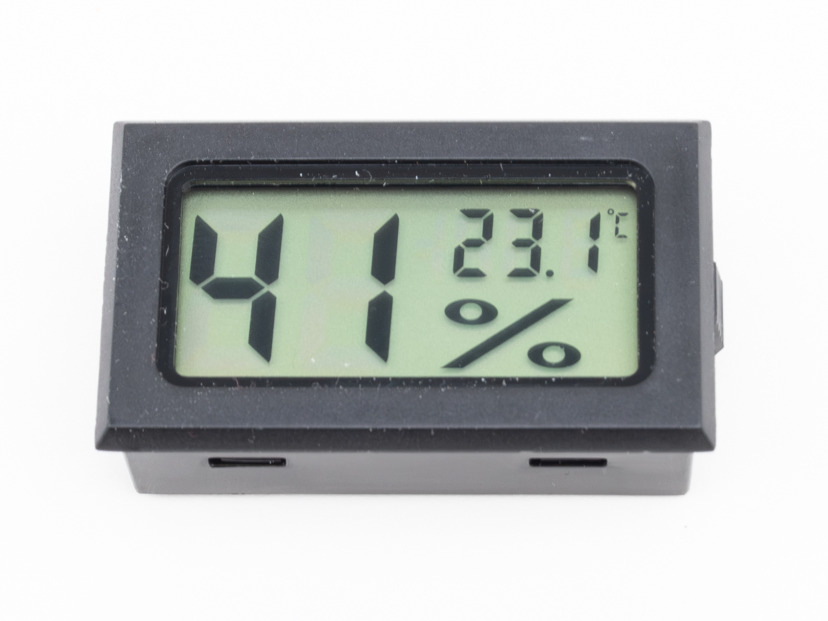
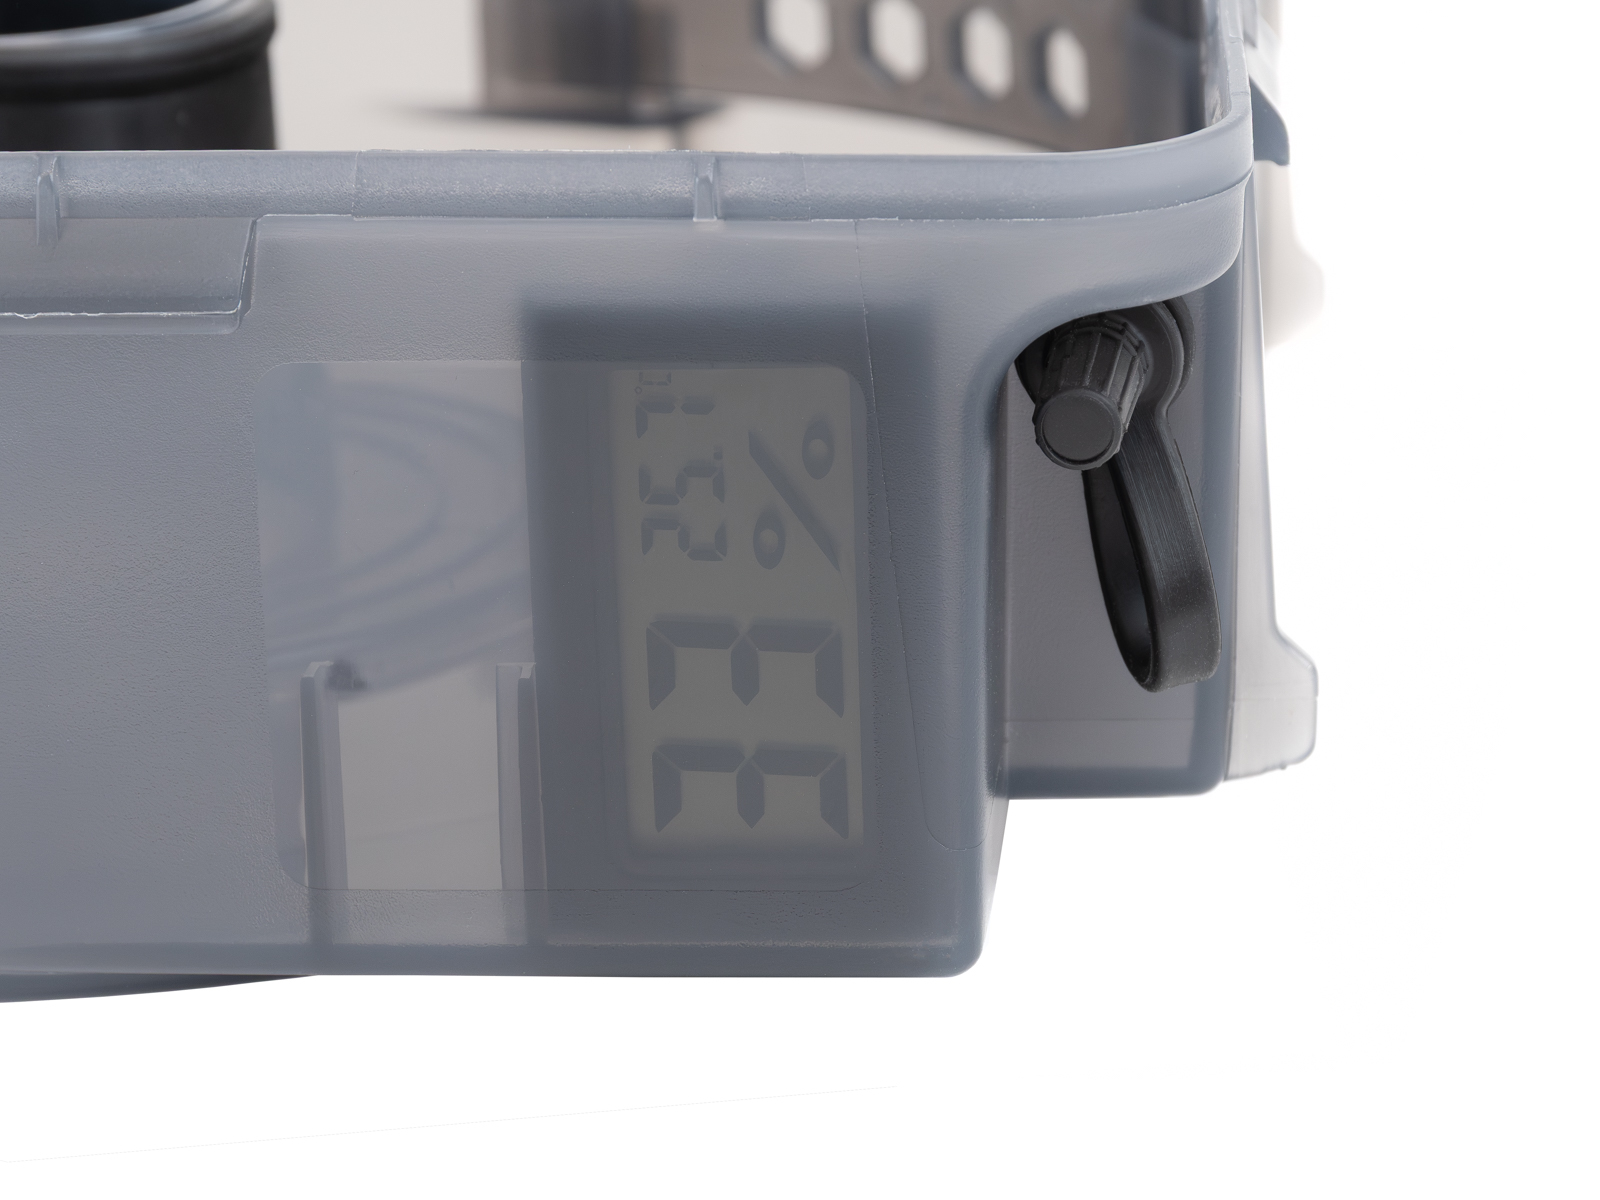
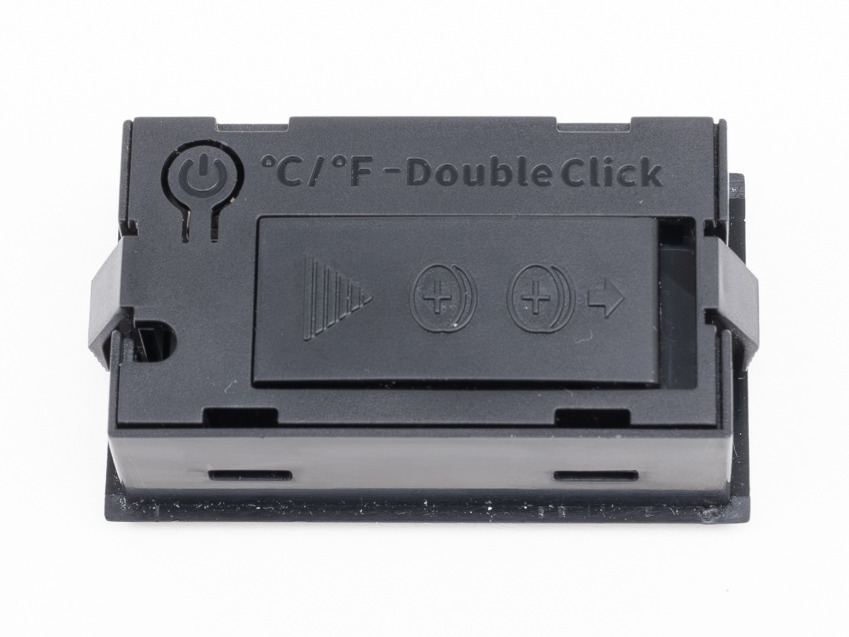
                  Remove the TPM40 hygrometer from its packaging.

                  • Pull out the battery tab (if present)
                  • Turn it on by holding the rear button until it powers up
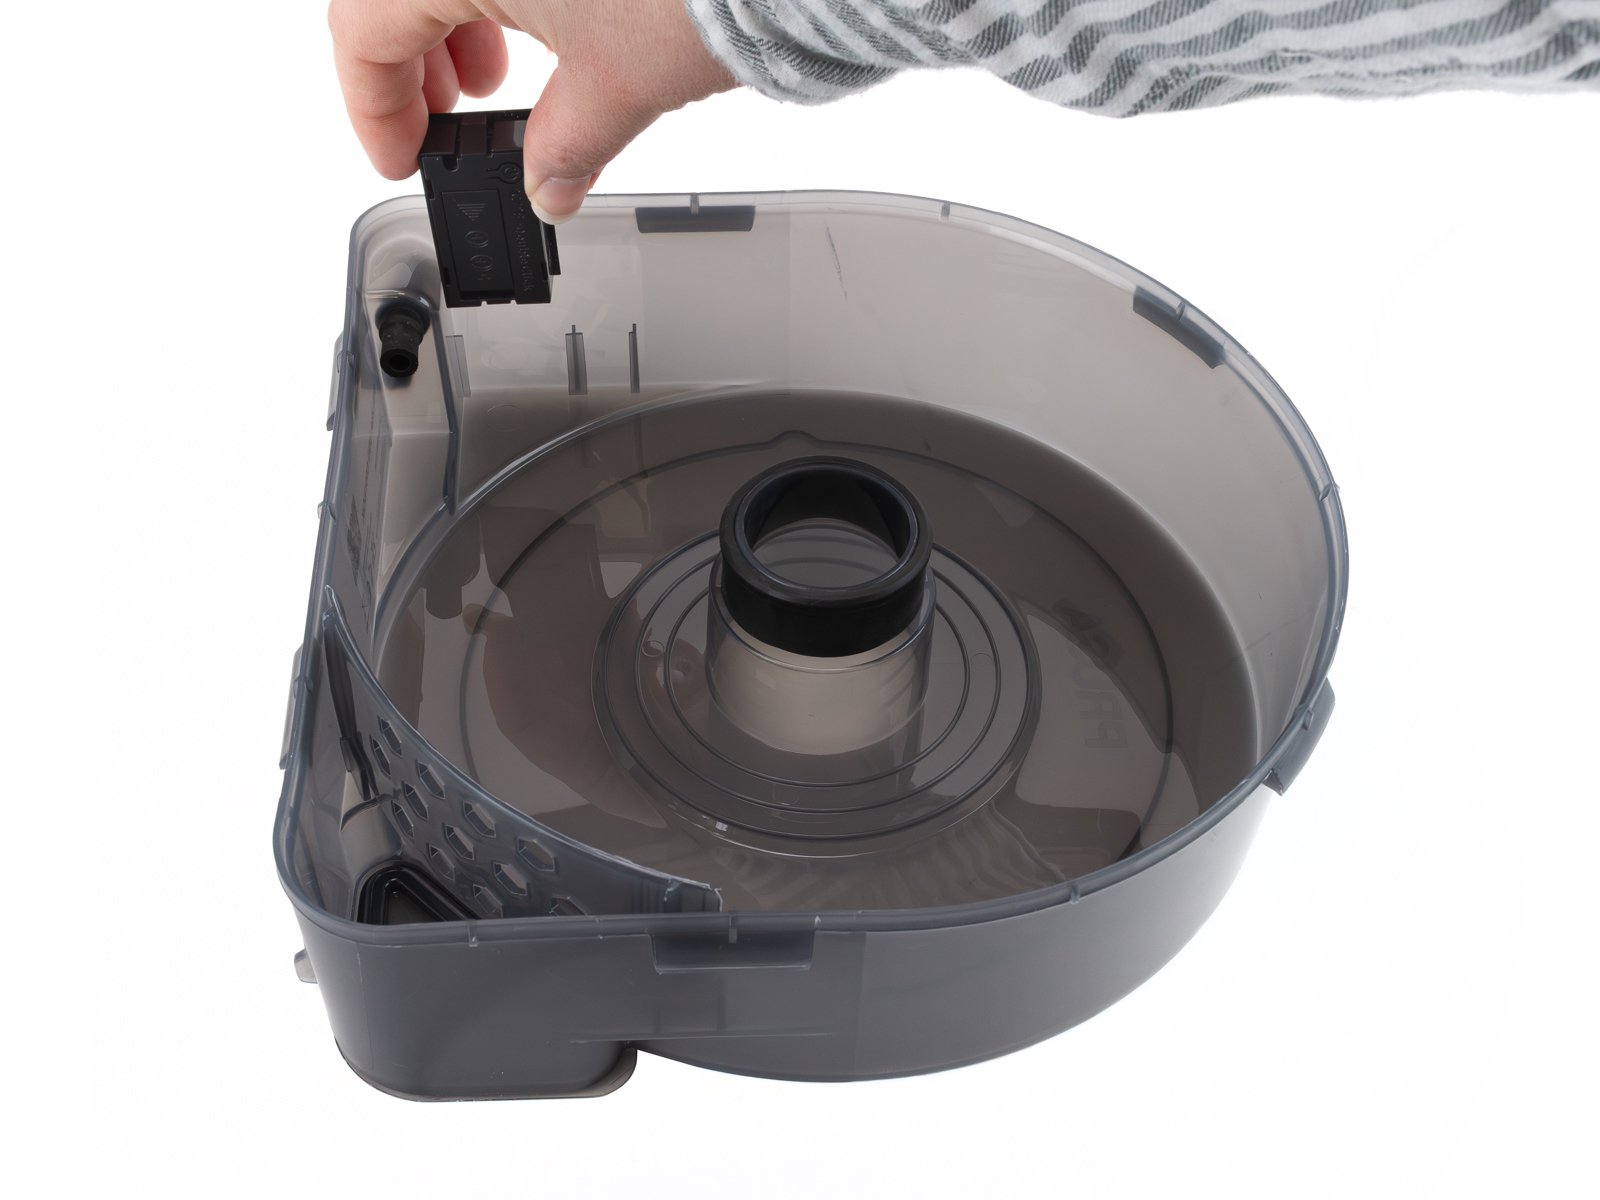
                  • Insert it into the dedicated slot inside the lid
                  • Make sure the display faces the transparent side of the box

                  You can switch between °C and °F using a double press of the button.
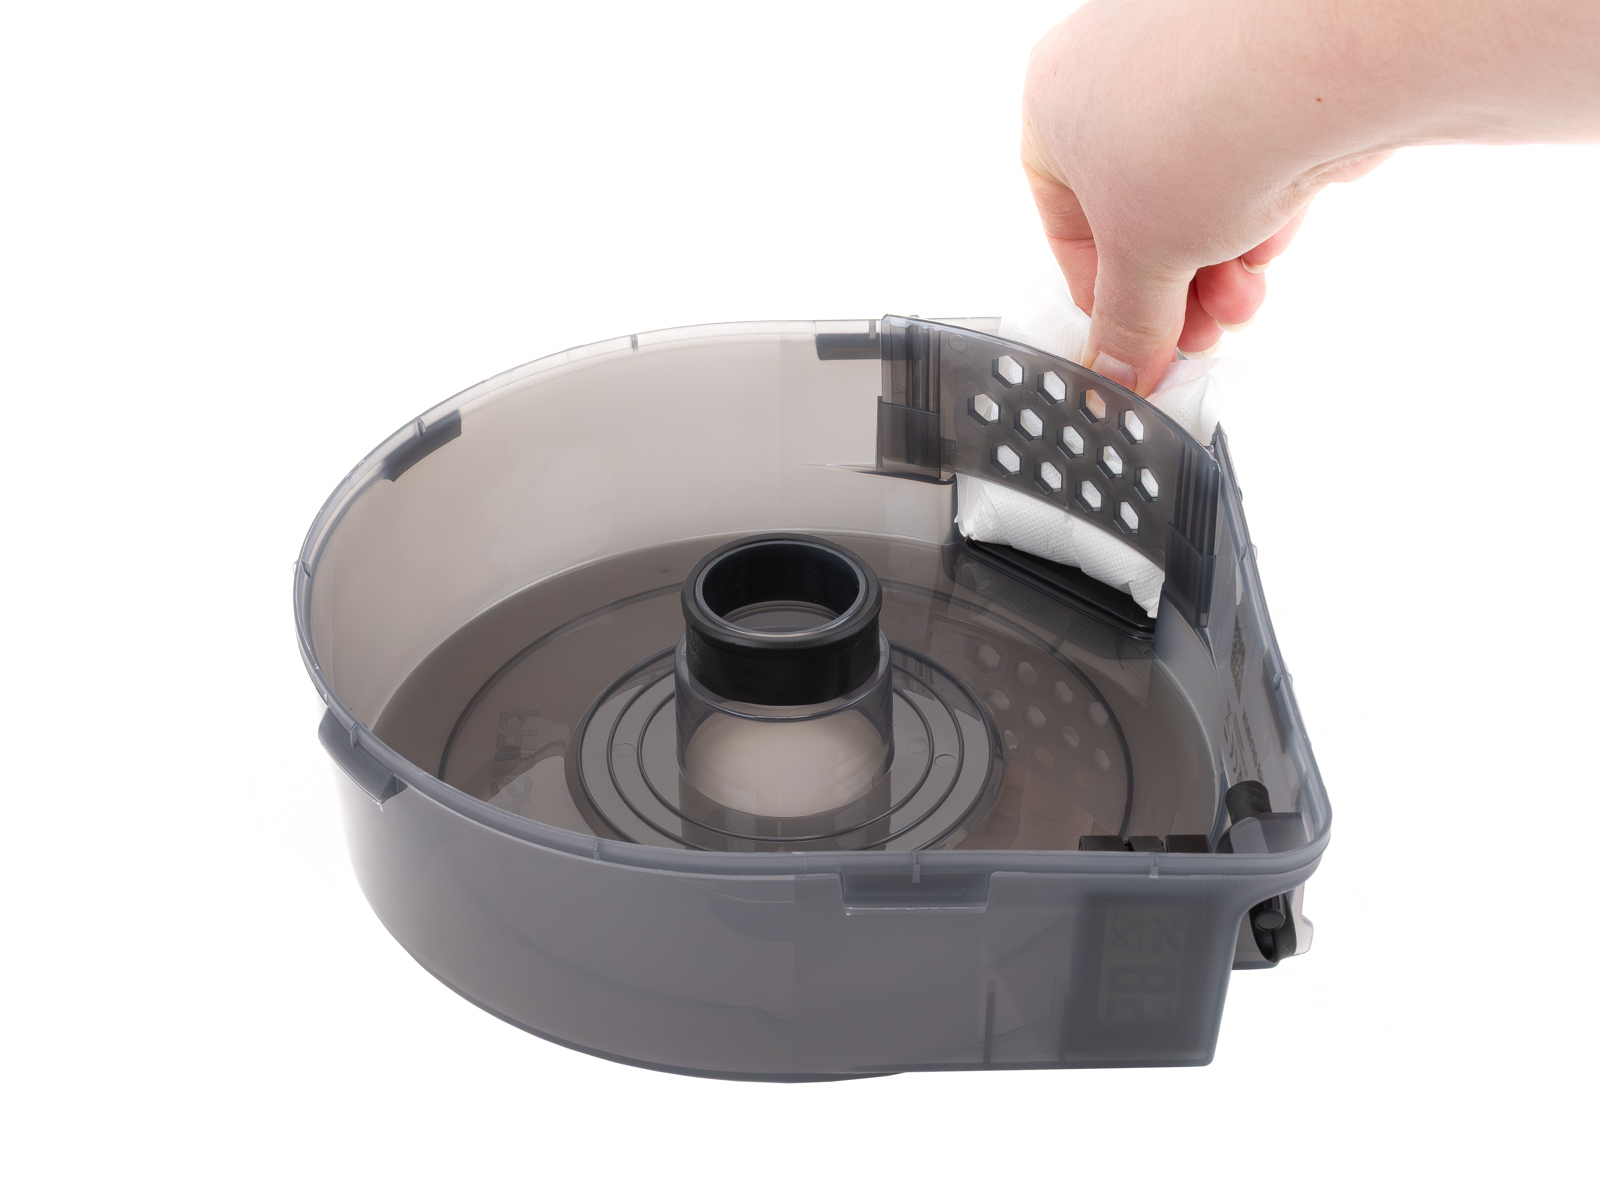
                  Add silica gel

                  Open the aluminium packaging of the silica gel.
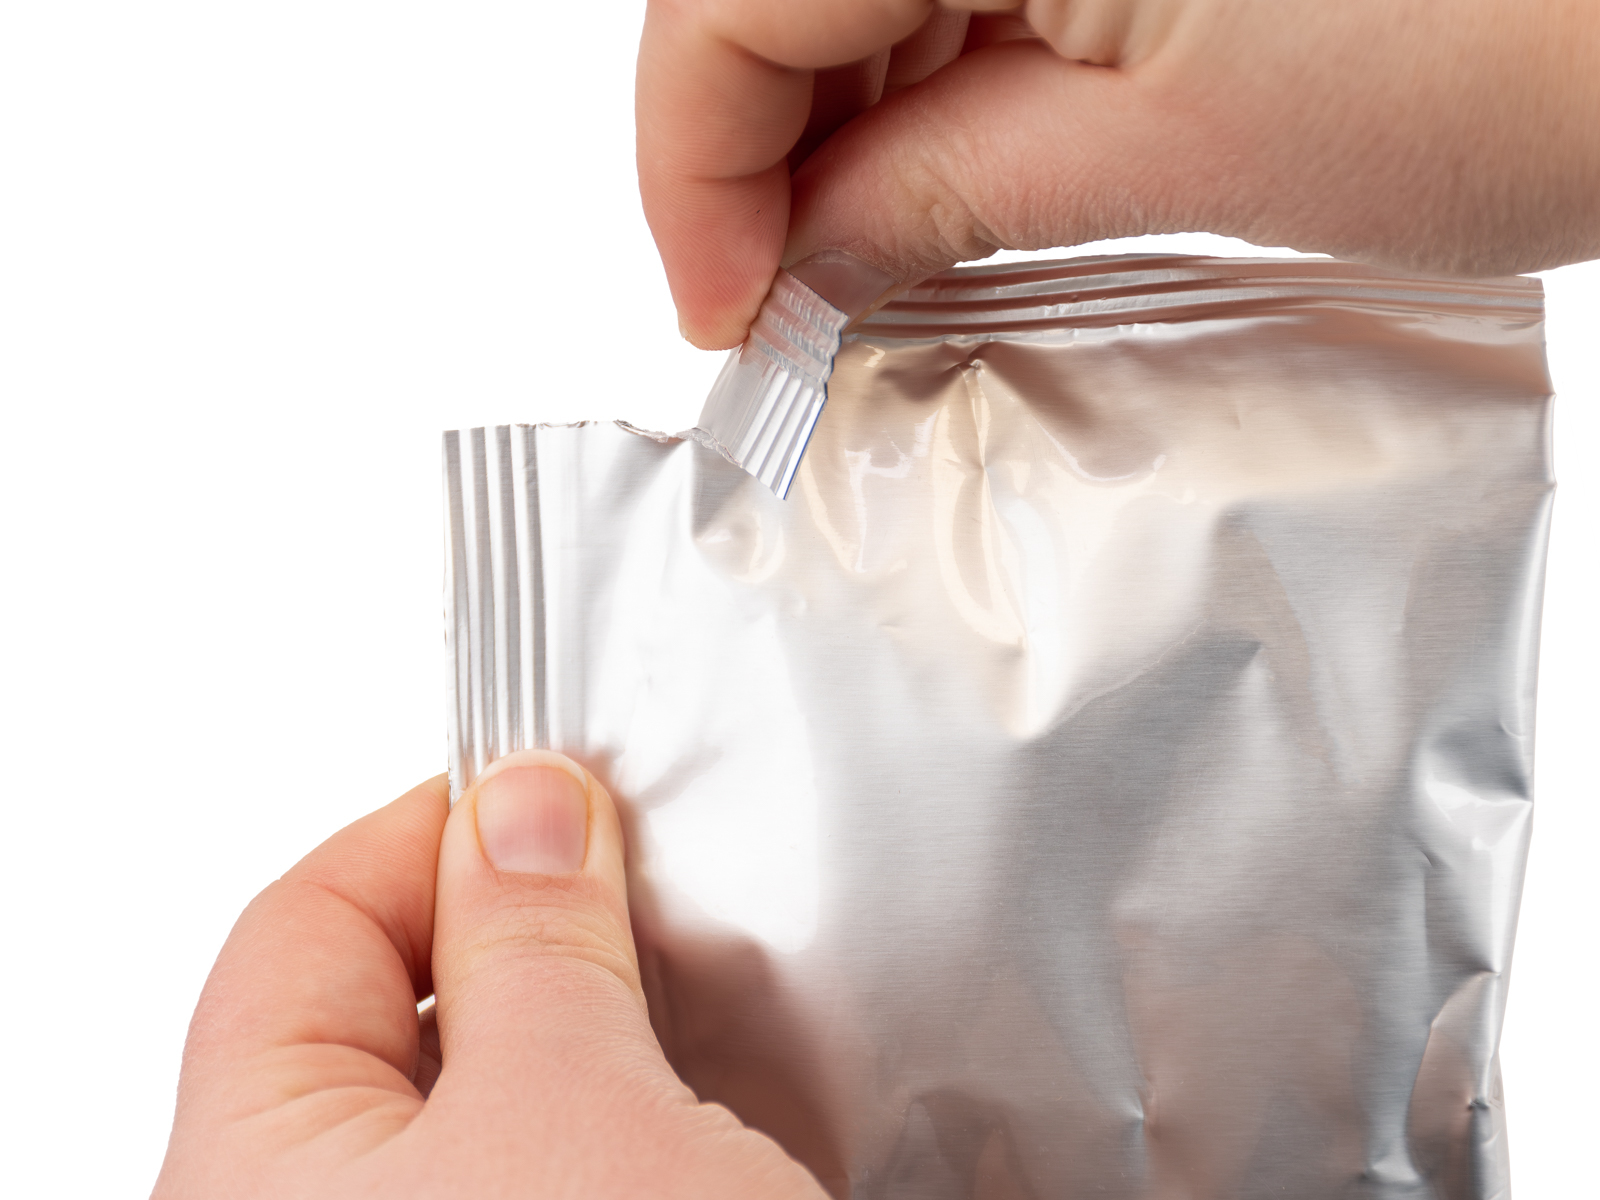
                  Do not cut the packaging with scissors if not required. Avoid damaging the contents.
                  Place the desiccant behind the plastic grid in the corner of the Drybox.

                  Insert filament spool

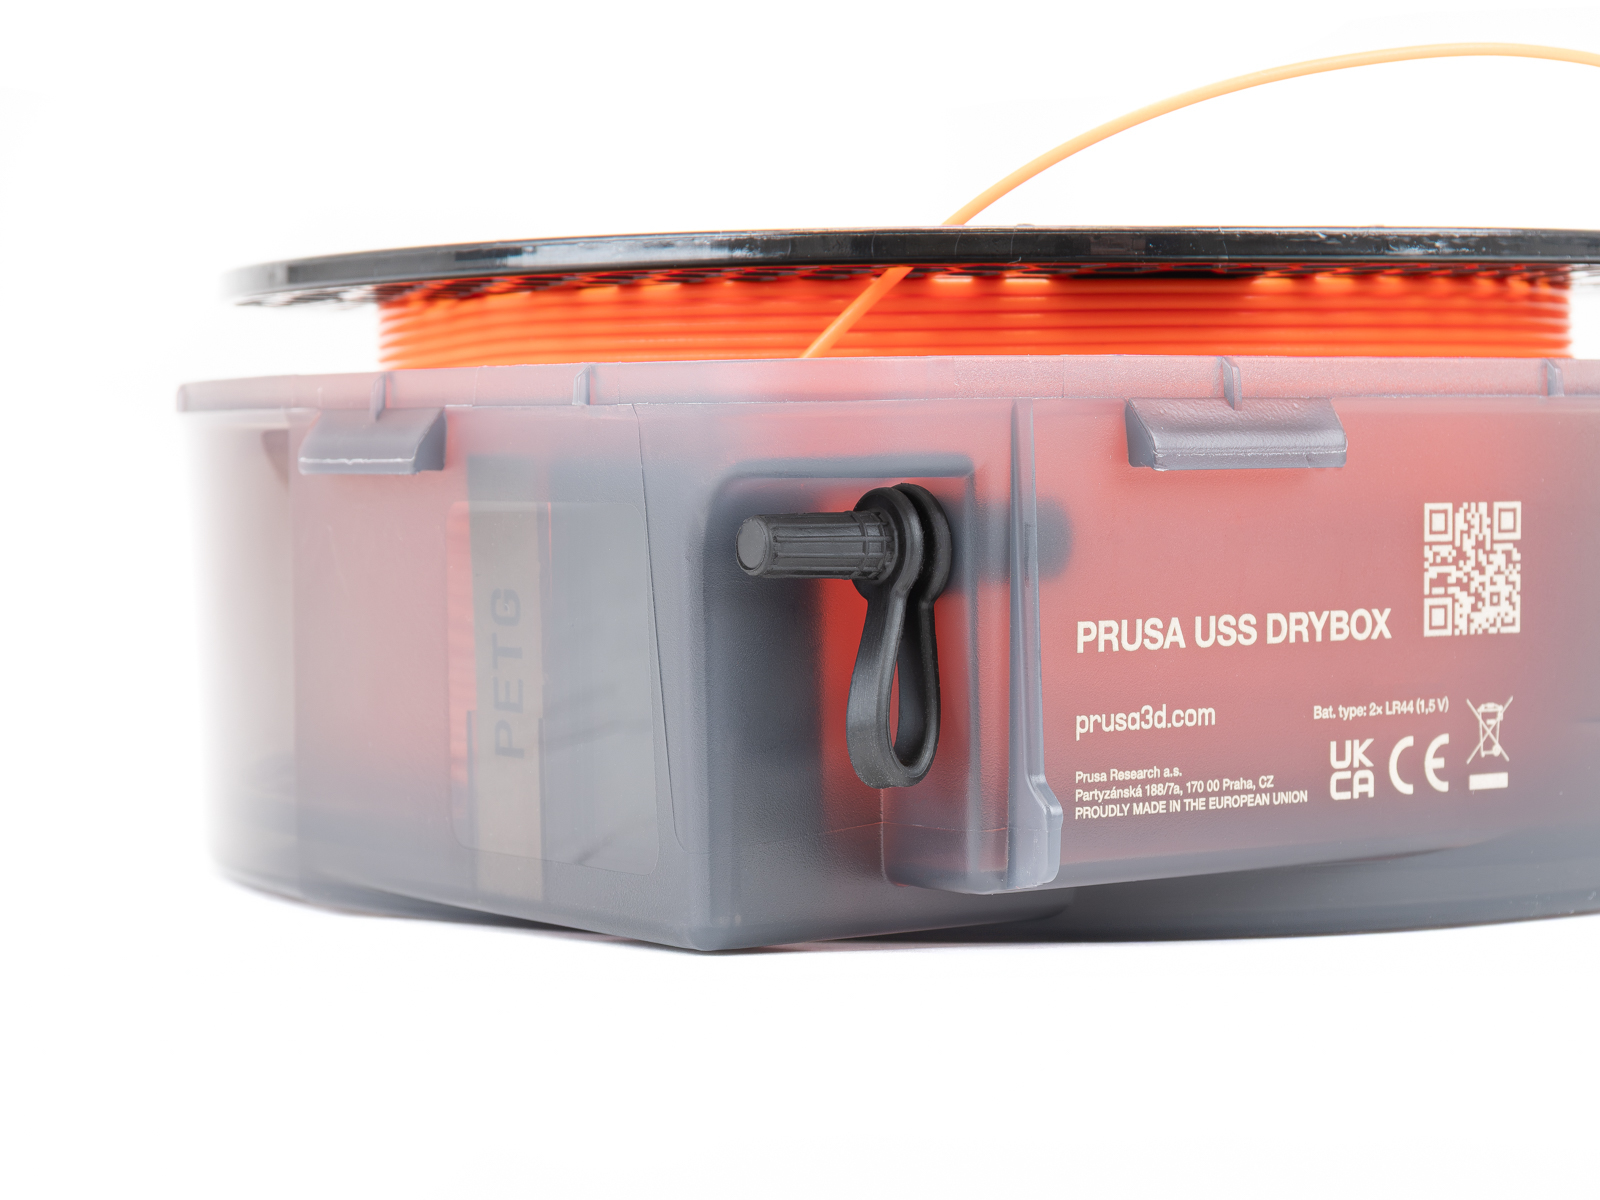
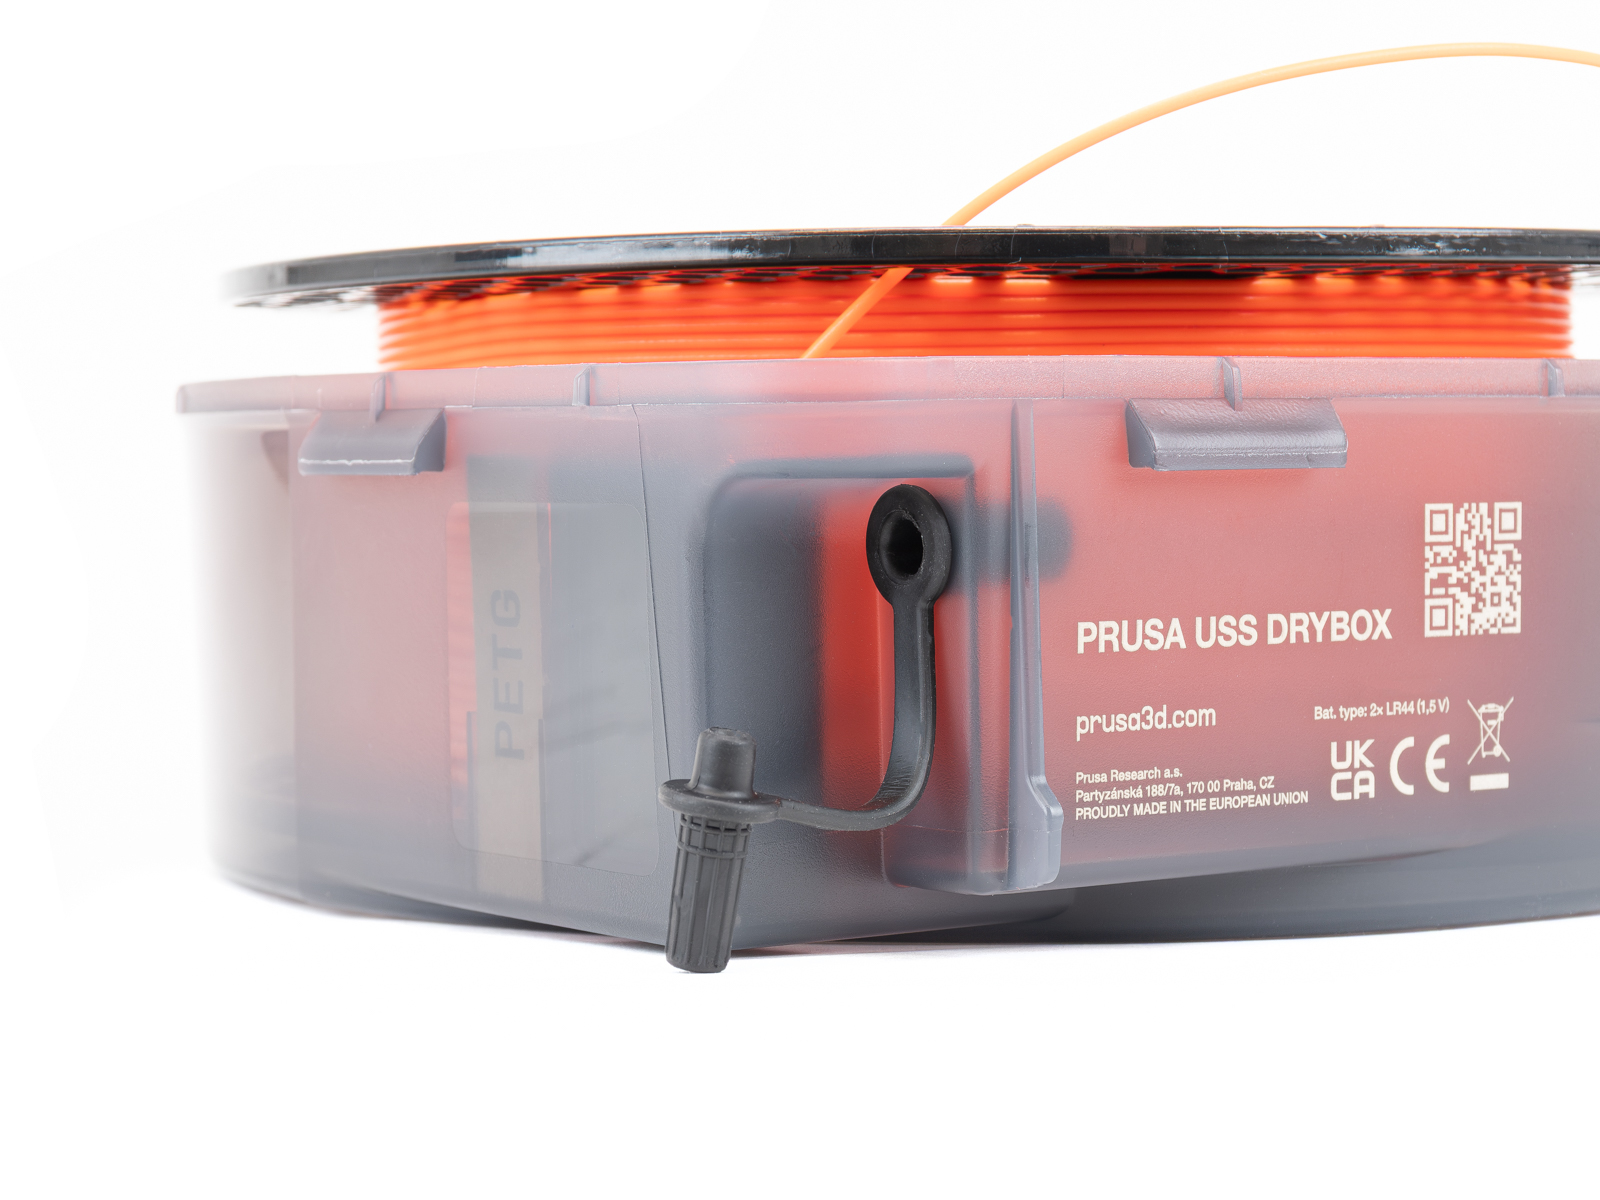
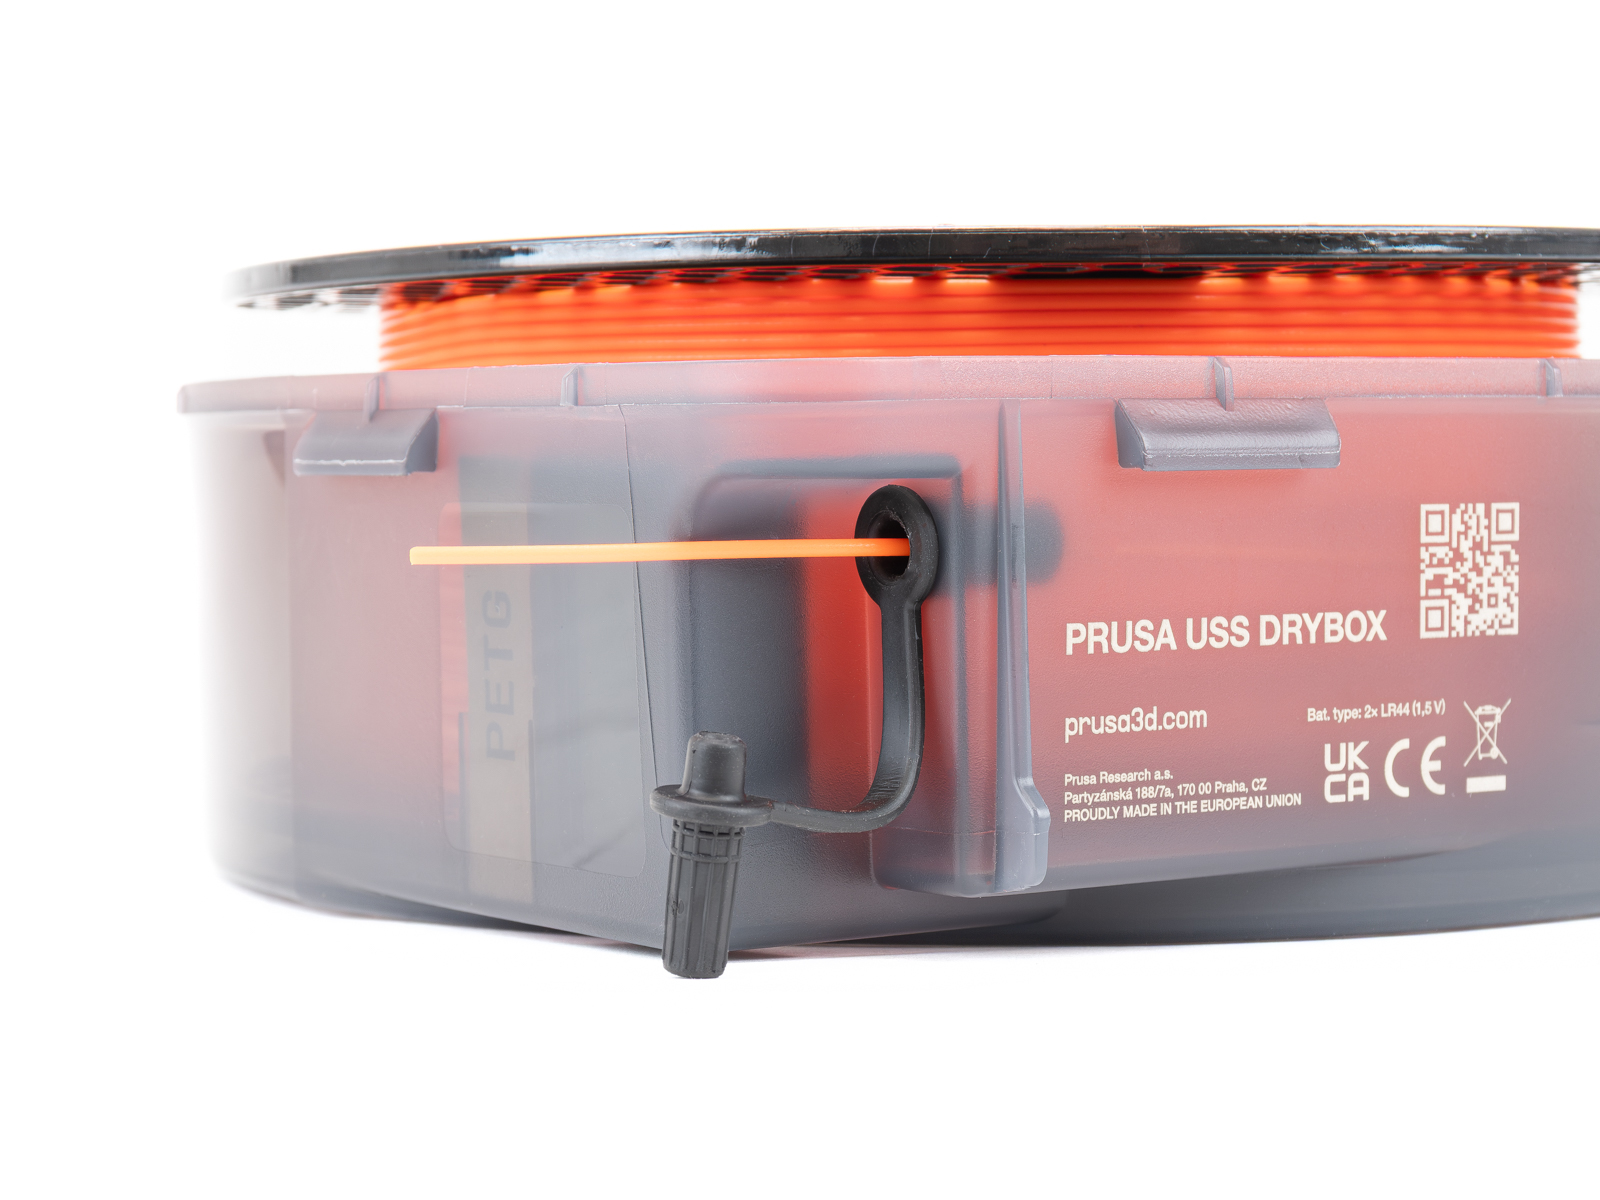
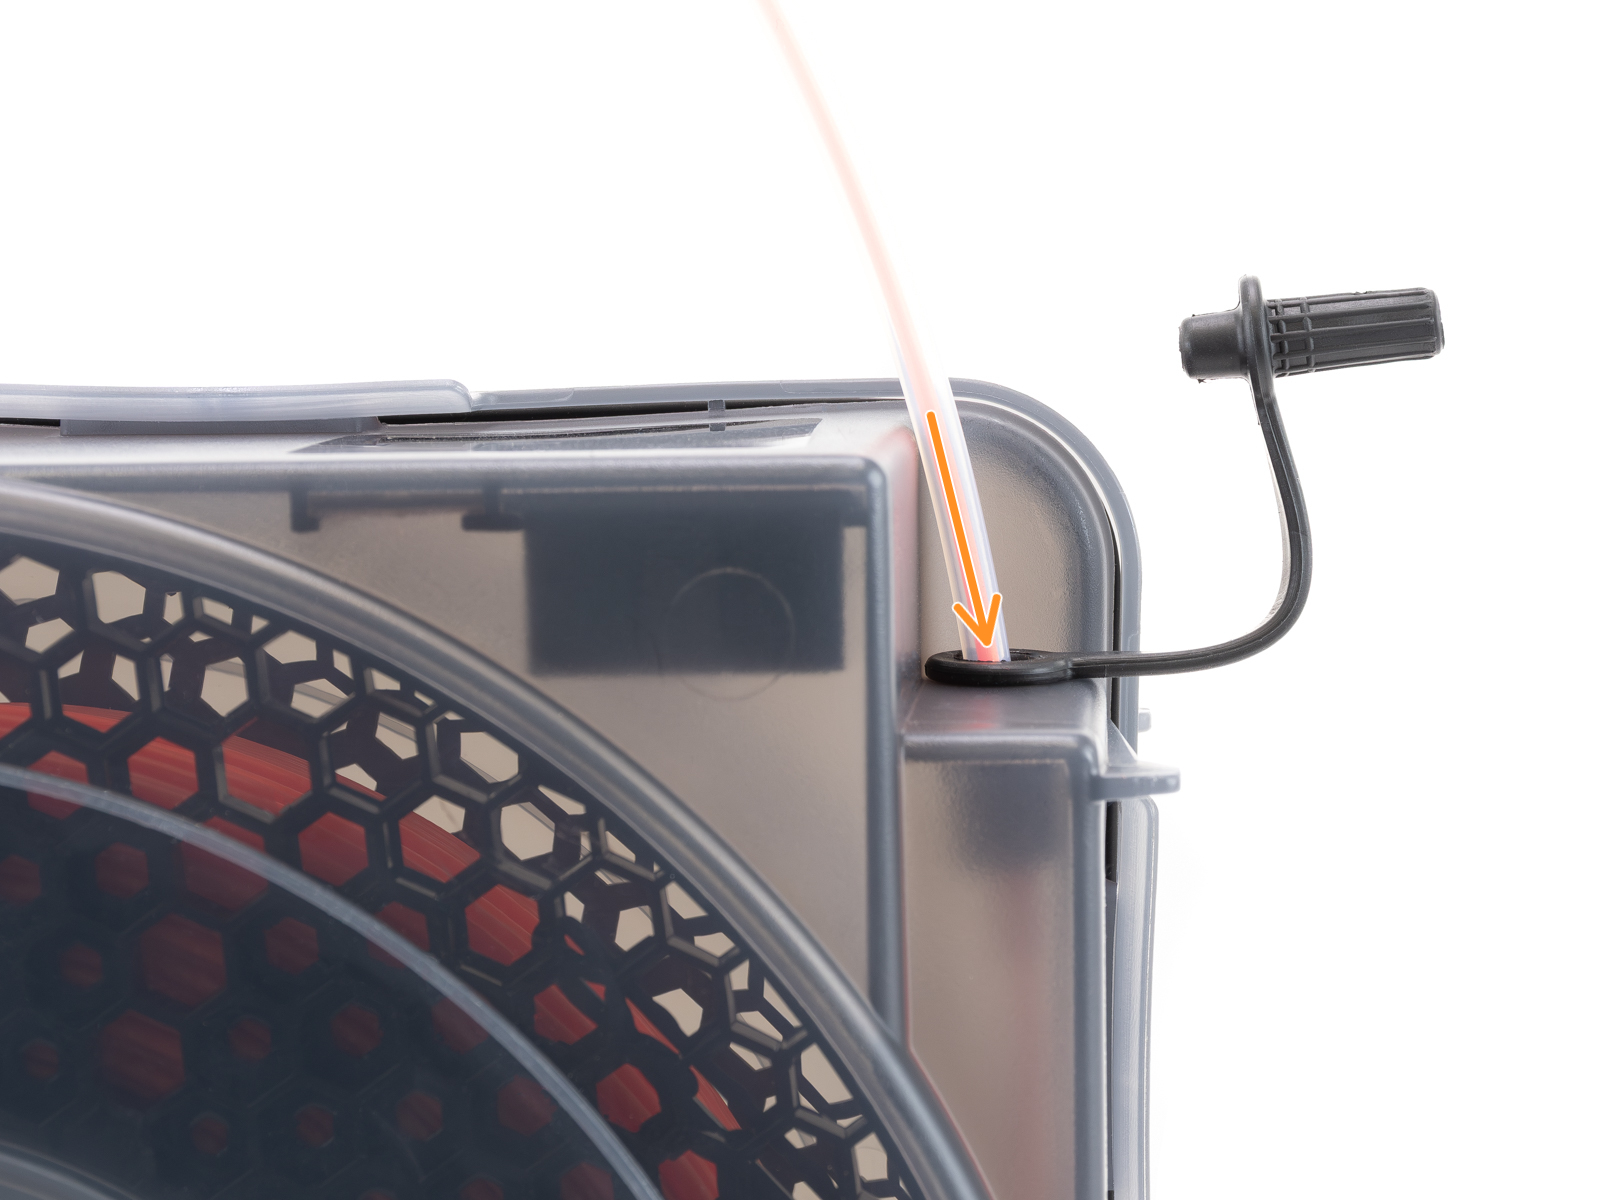
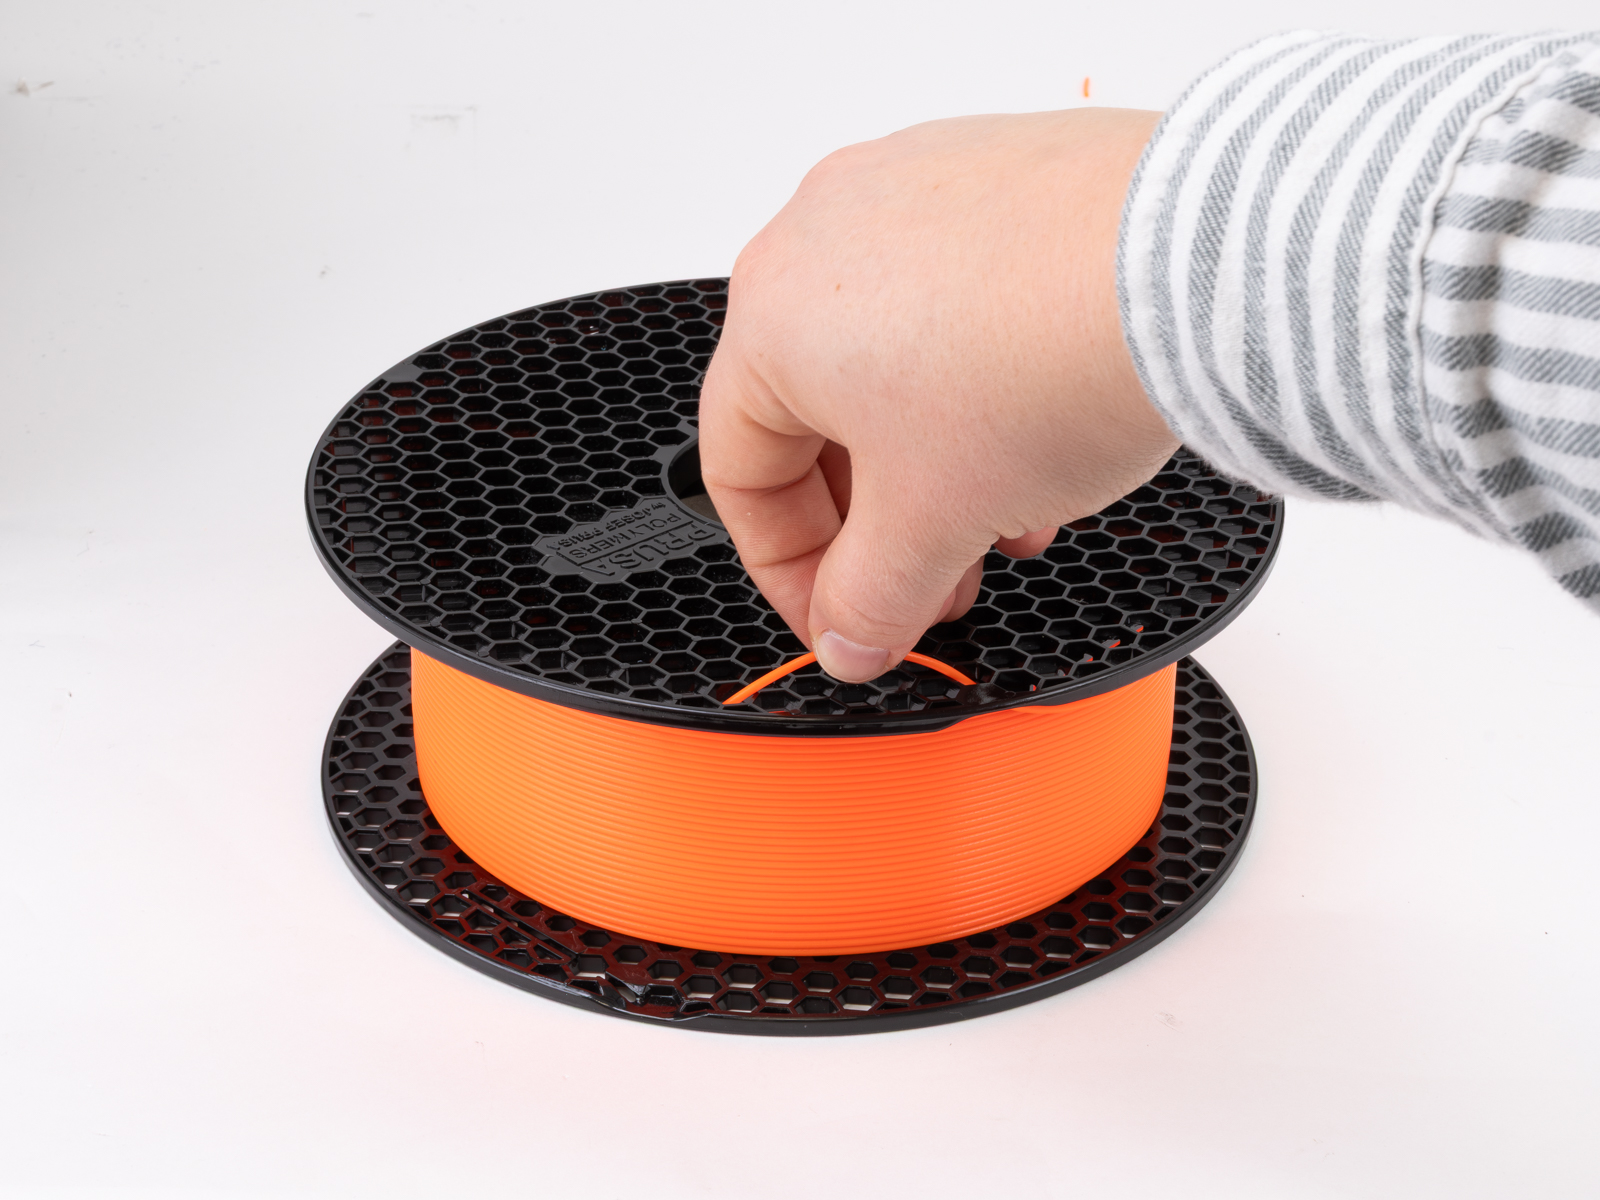
                  Place the filament spool inside the Drybox with the filament end oriented toward the filament outlet (grommet).

                  Secure the loose end of the filament so it does not unwind.

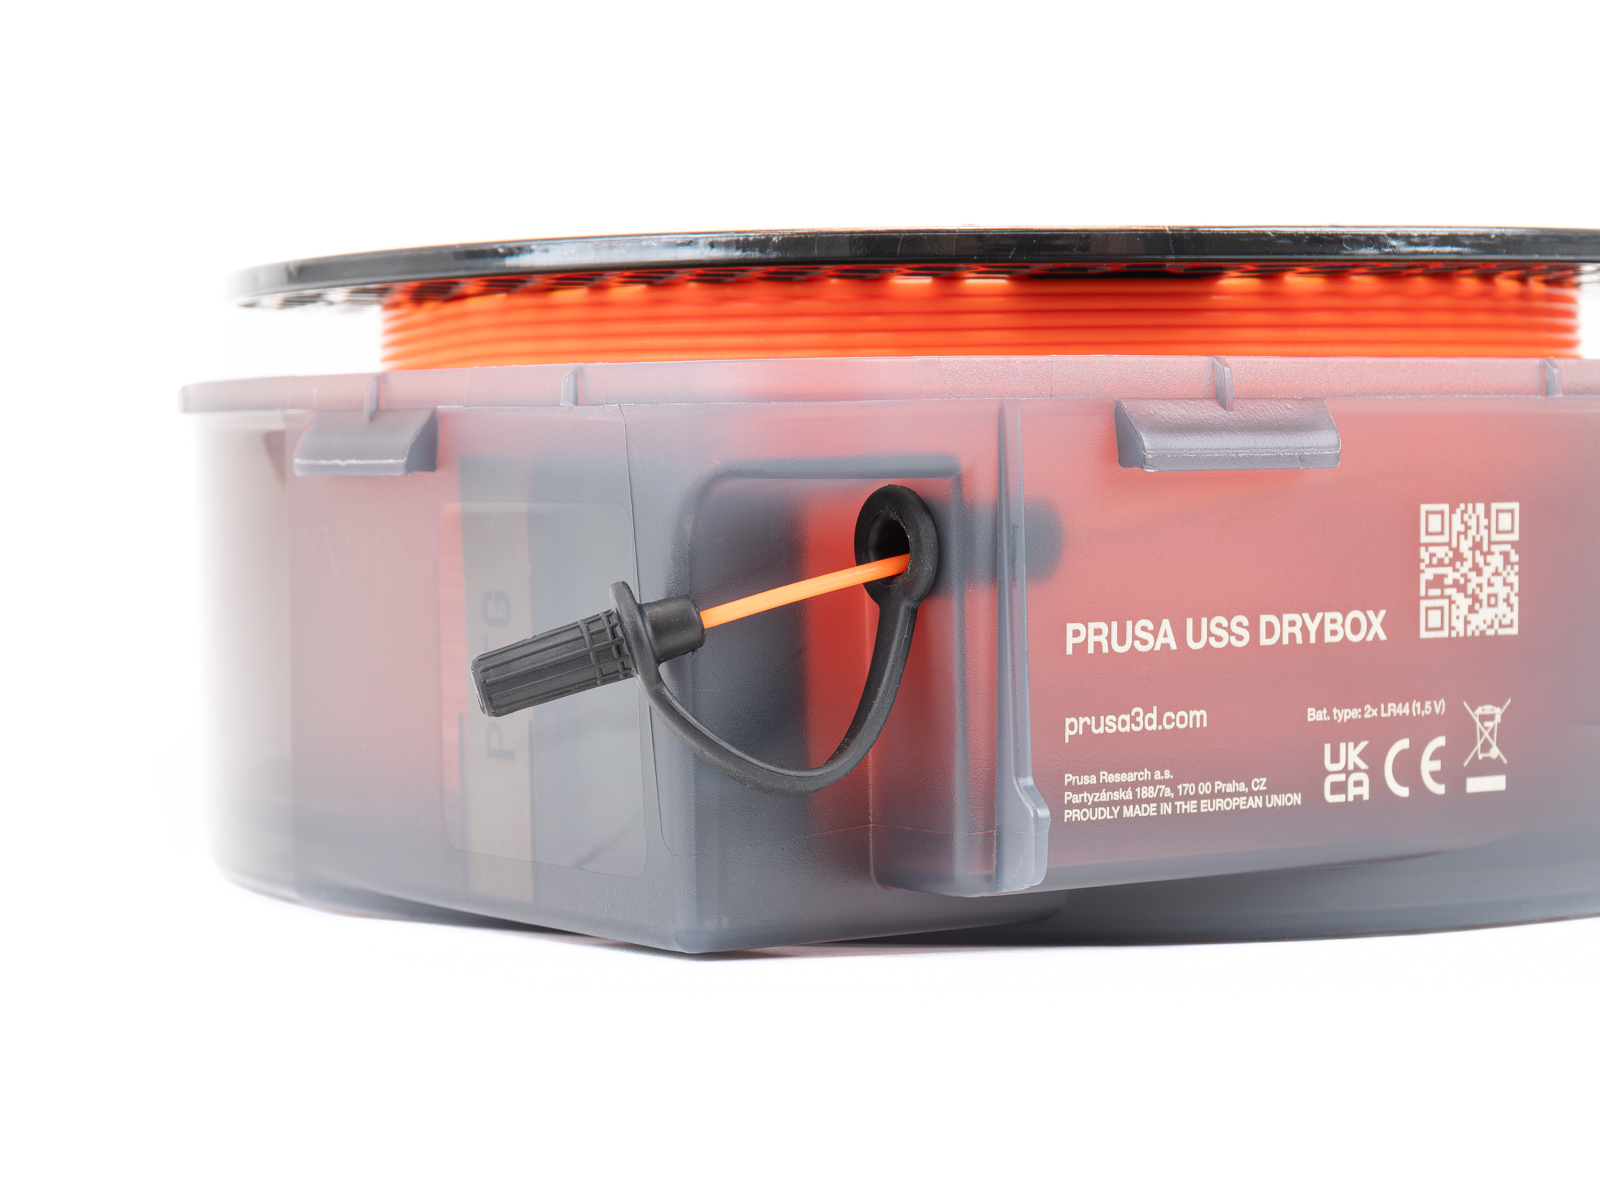
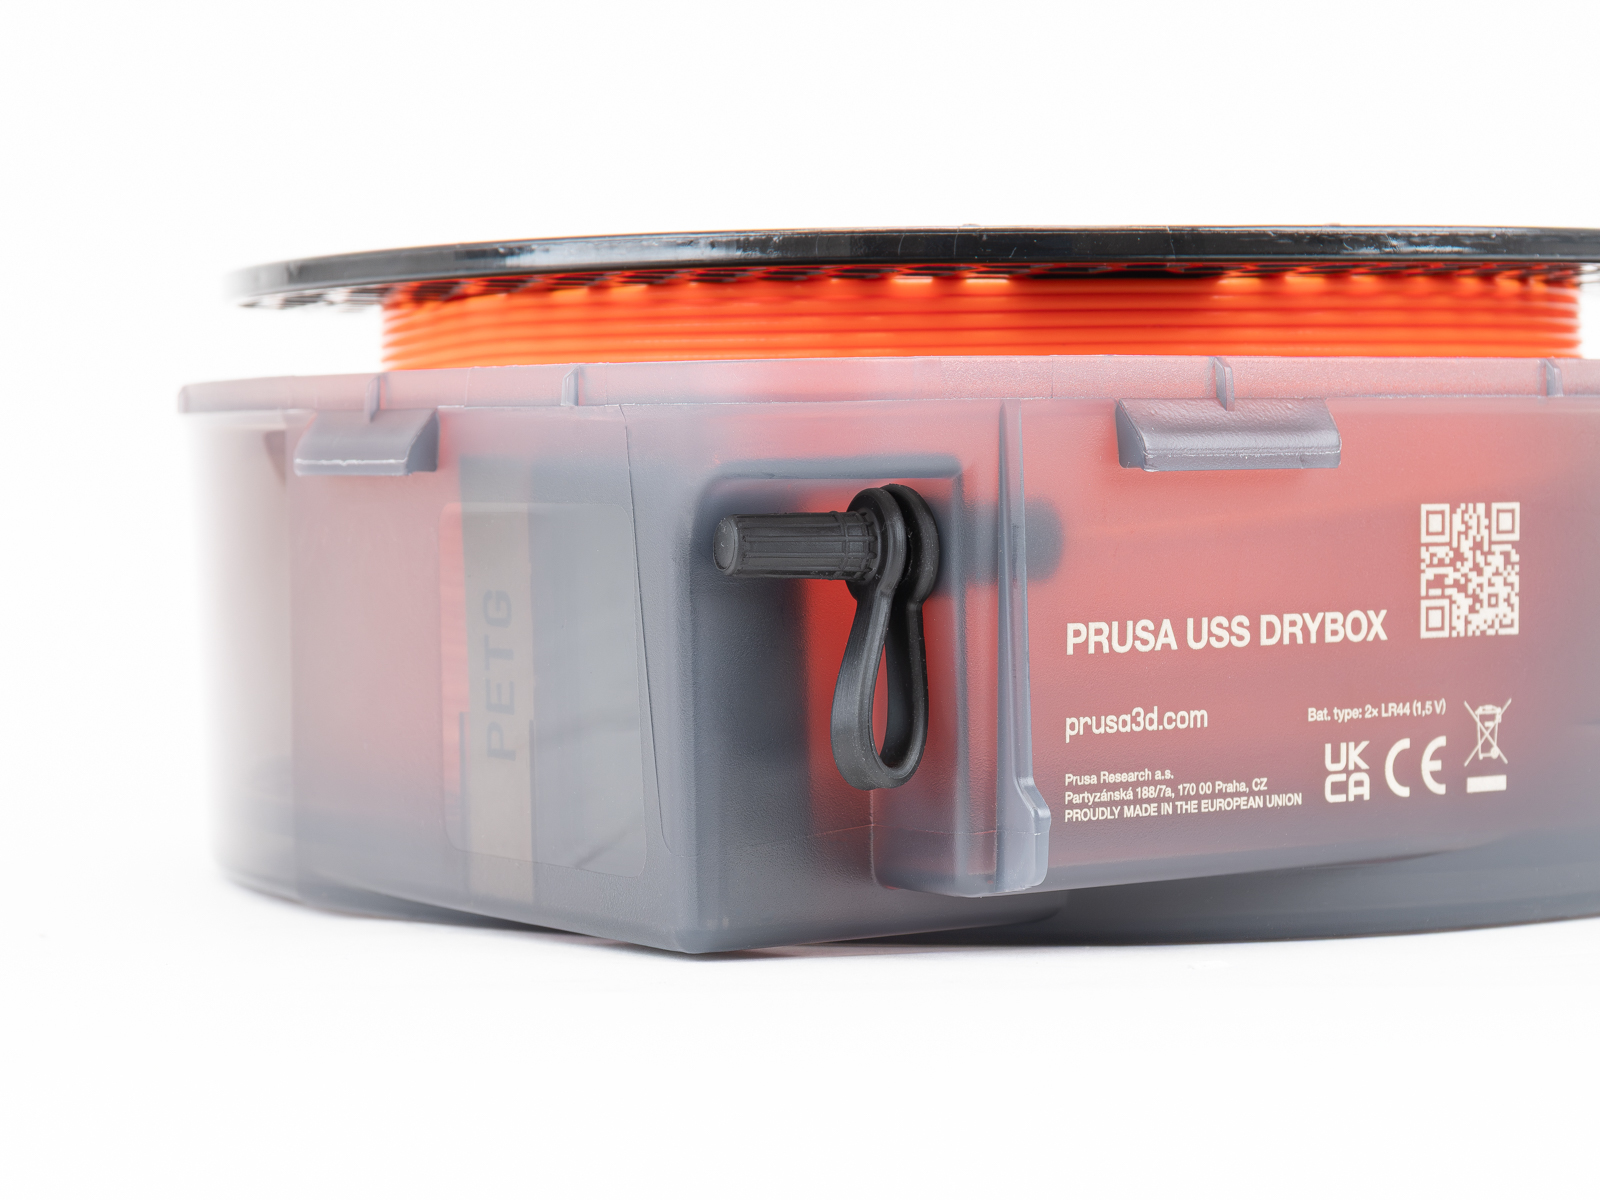
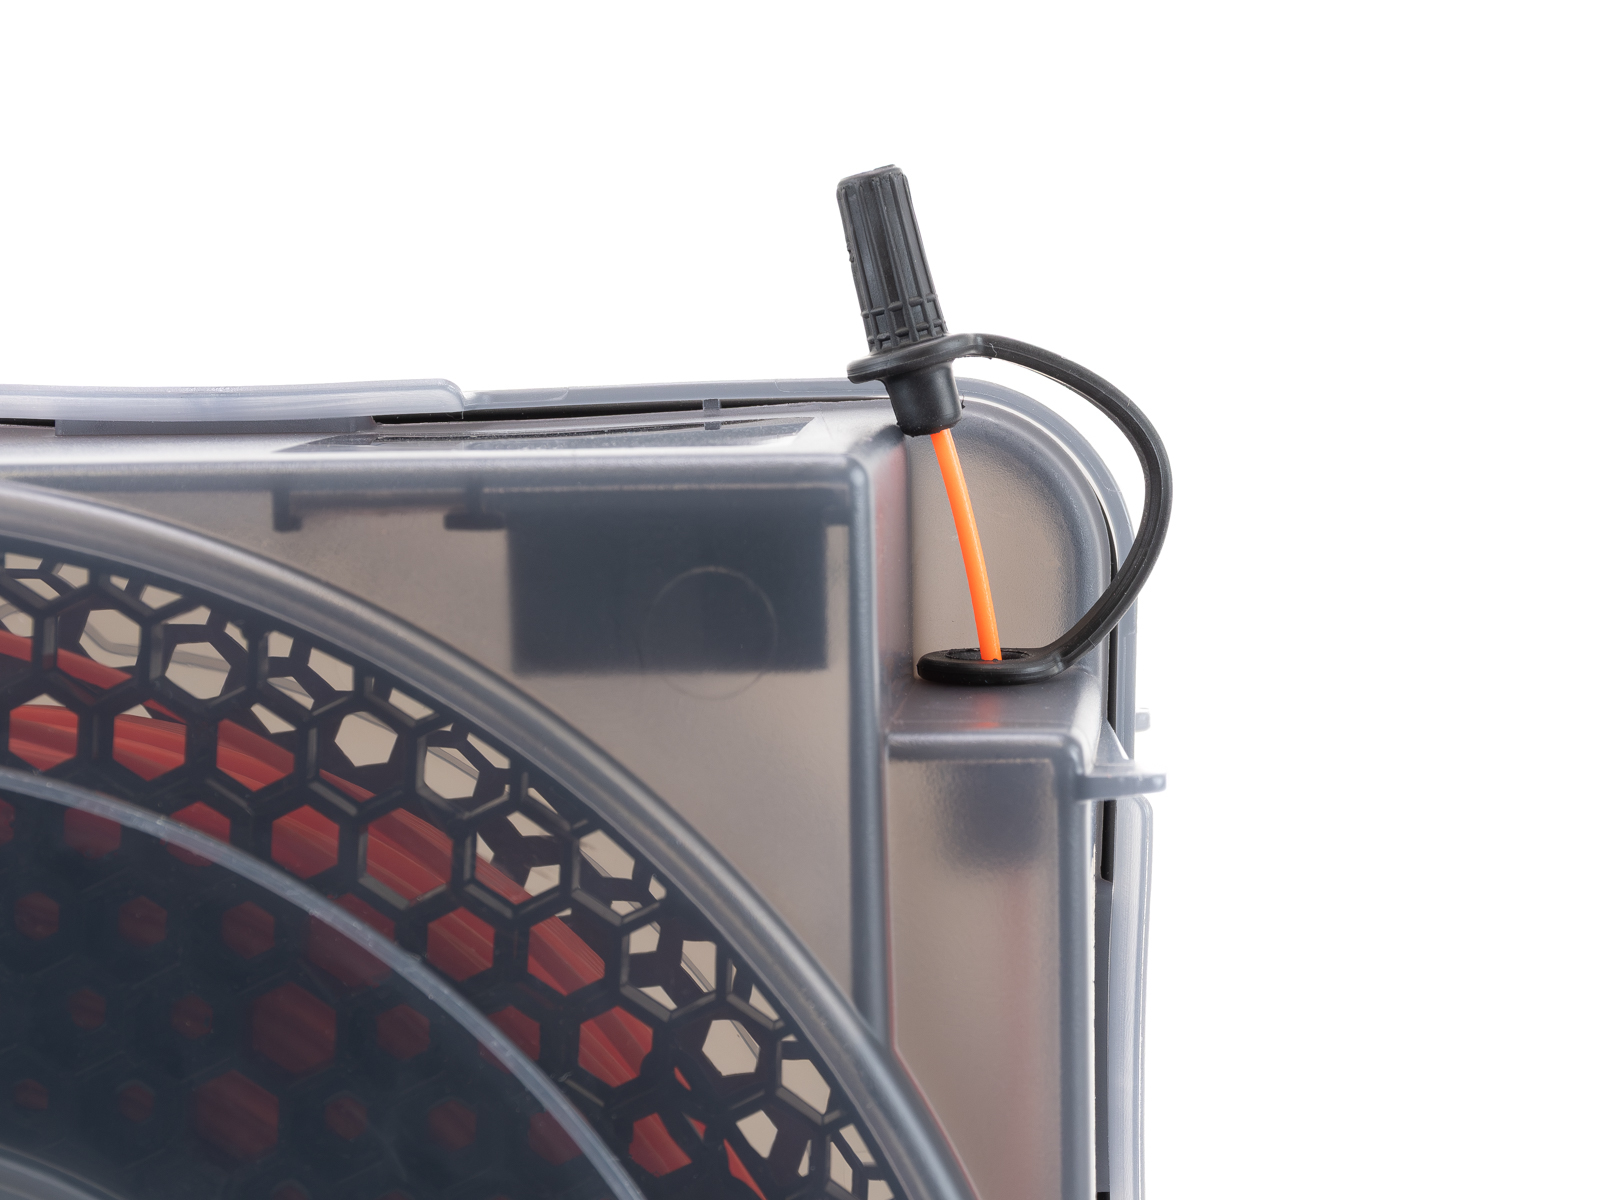
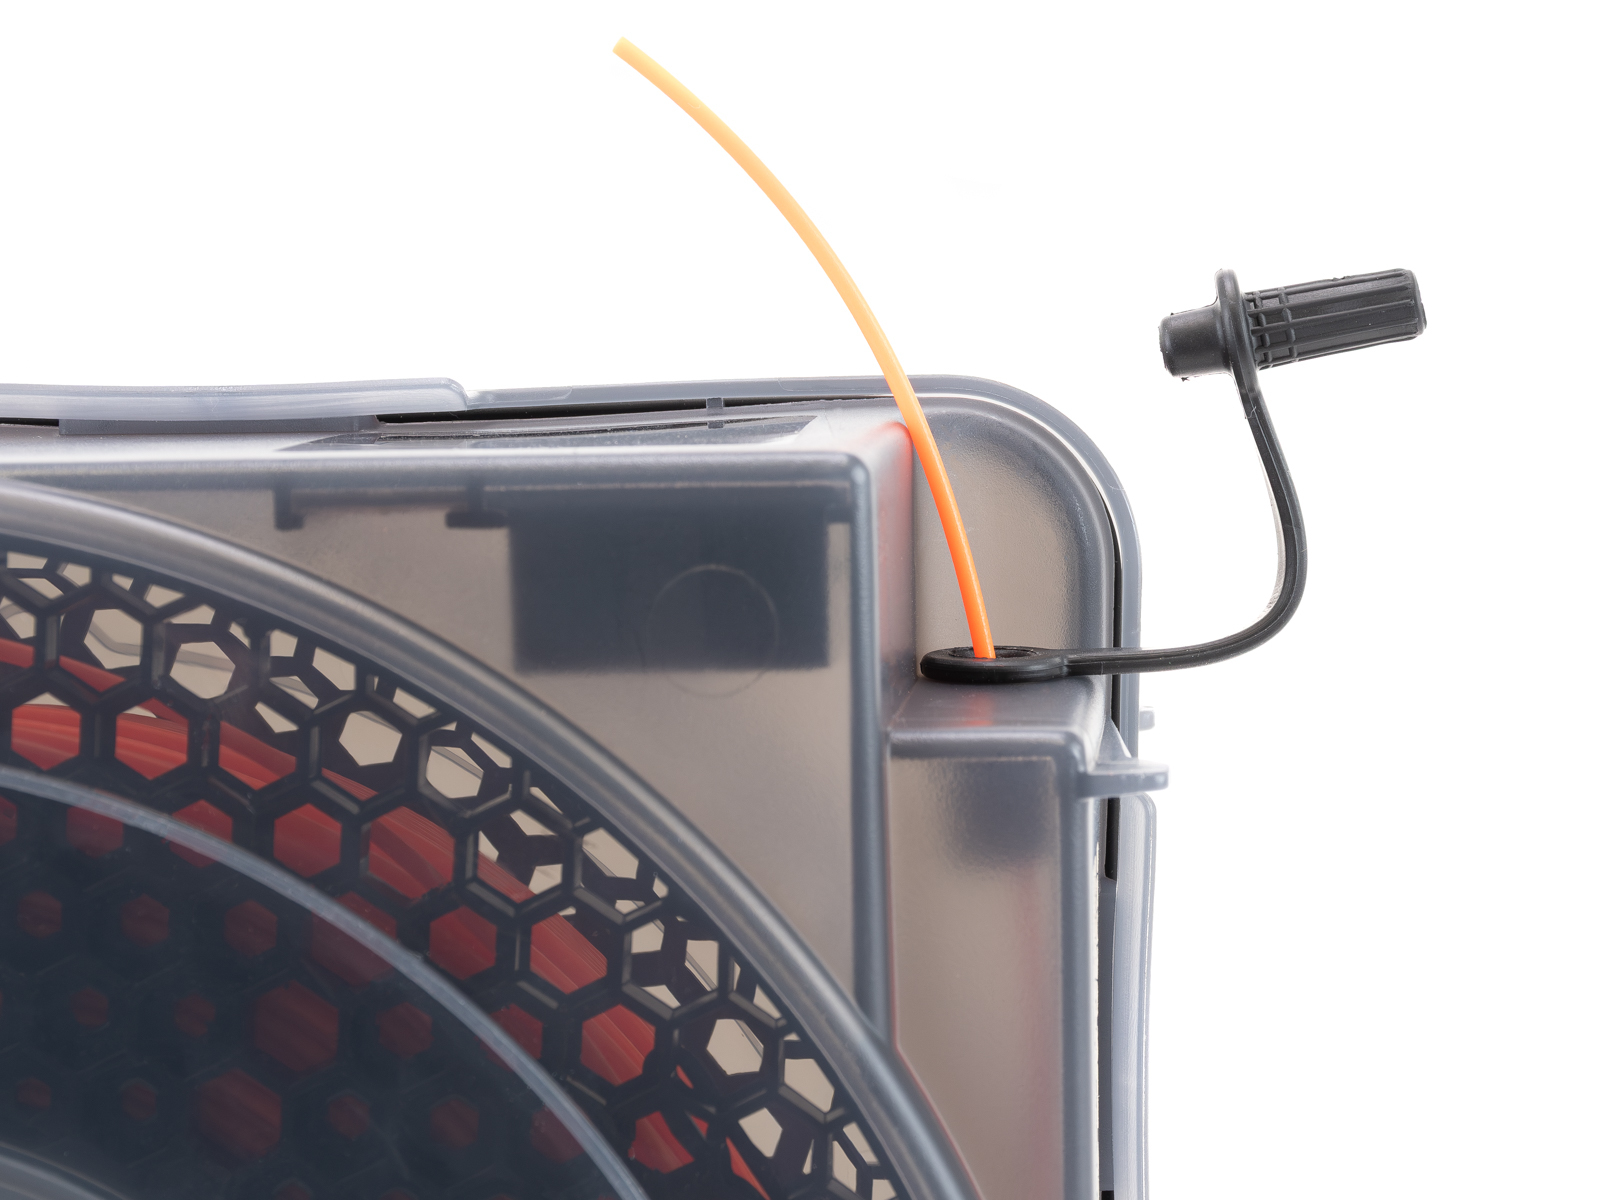
                  Use the grommet system:

                  • Open the grommet lid
                  • Insert filament through the opening
                  • Lock the filament end into the grommet cover
                  • Close the grommet to minimize air exposure

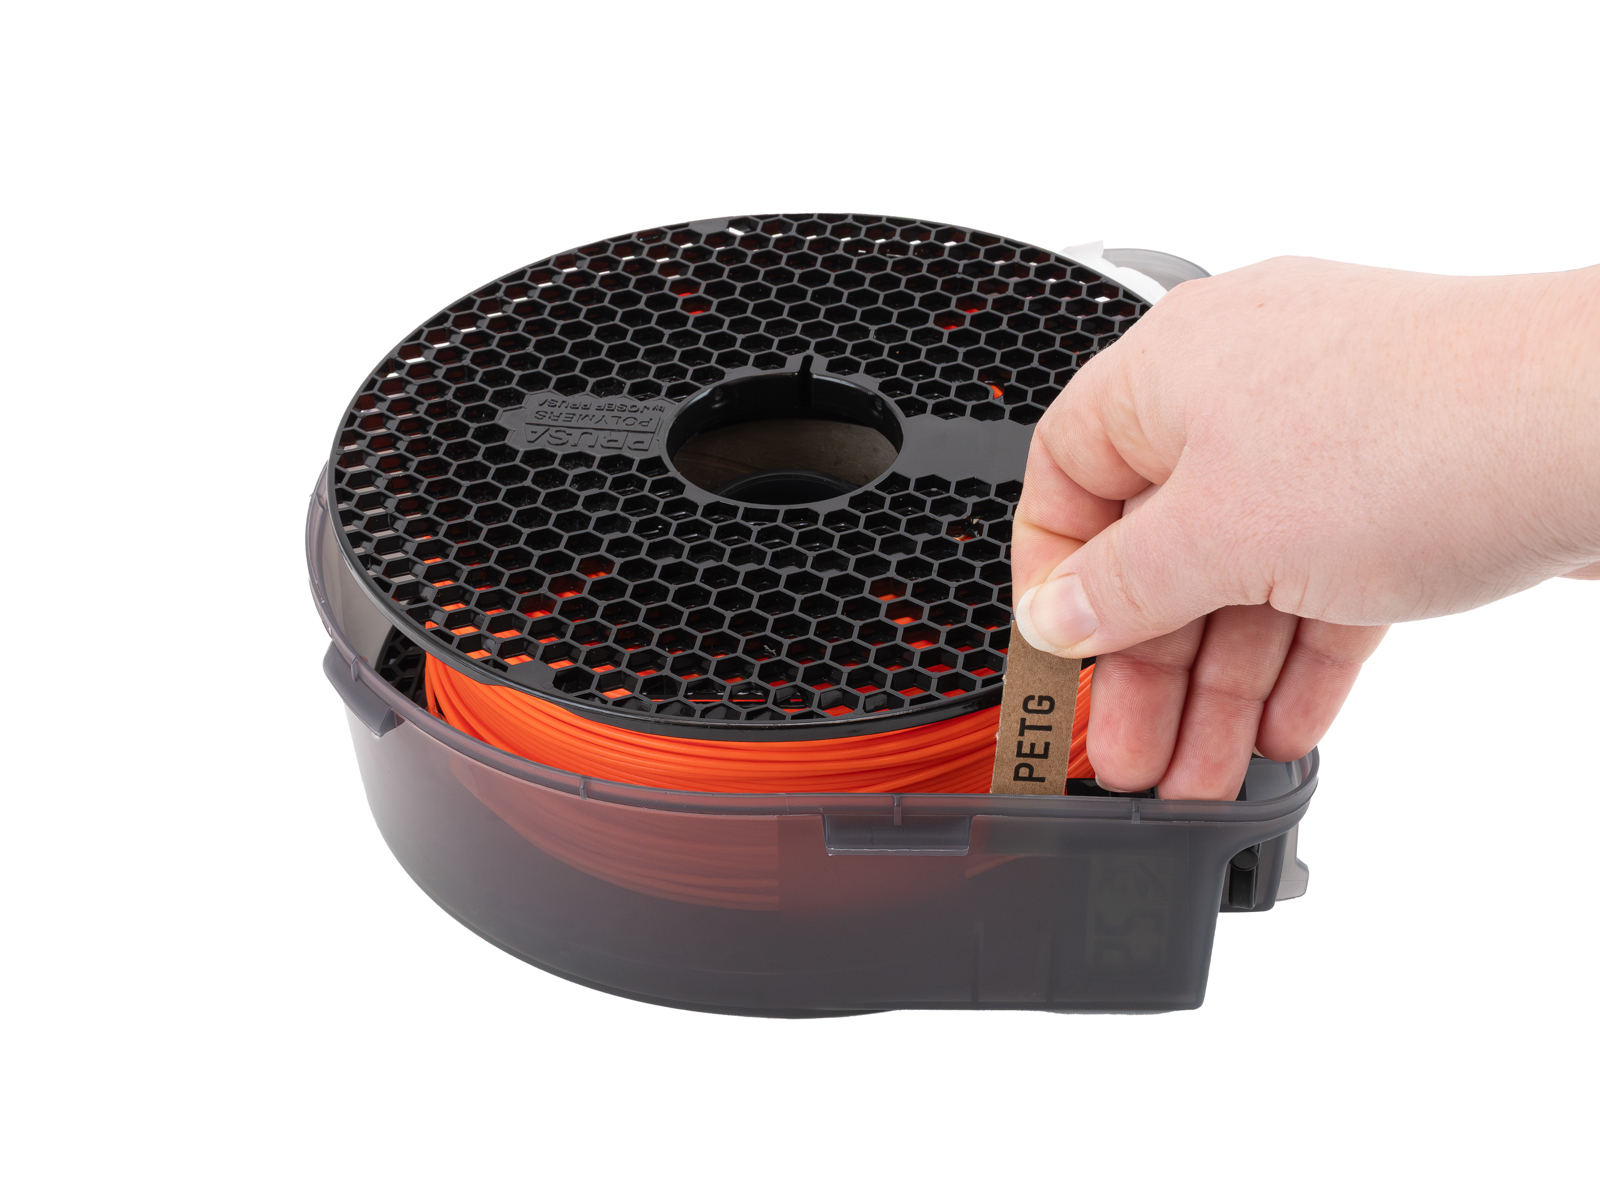
                  Before closing the Drybox, insert the filament label if you are using one.
                  Close the Drybox

                  Close the lid and secure all latches.

                  Make sure:
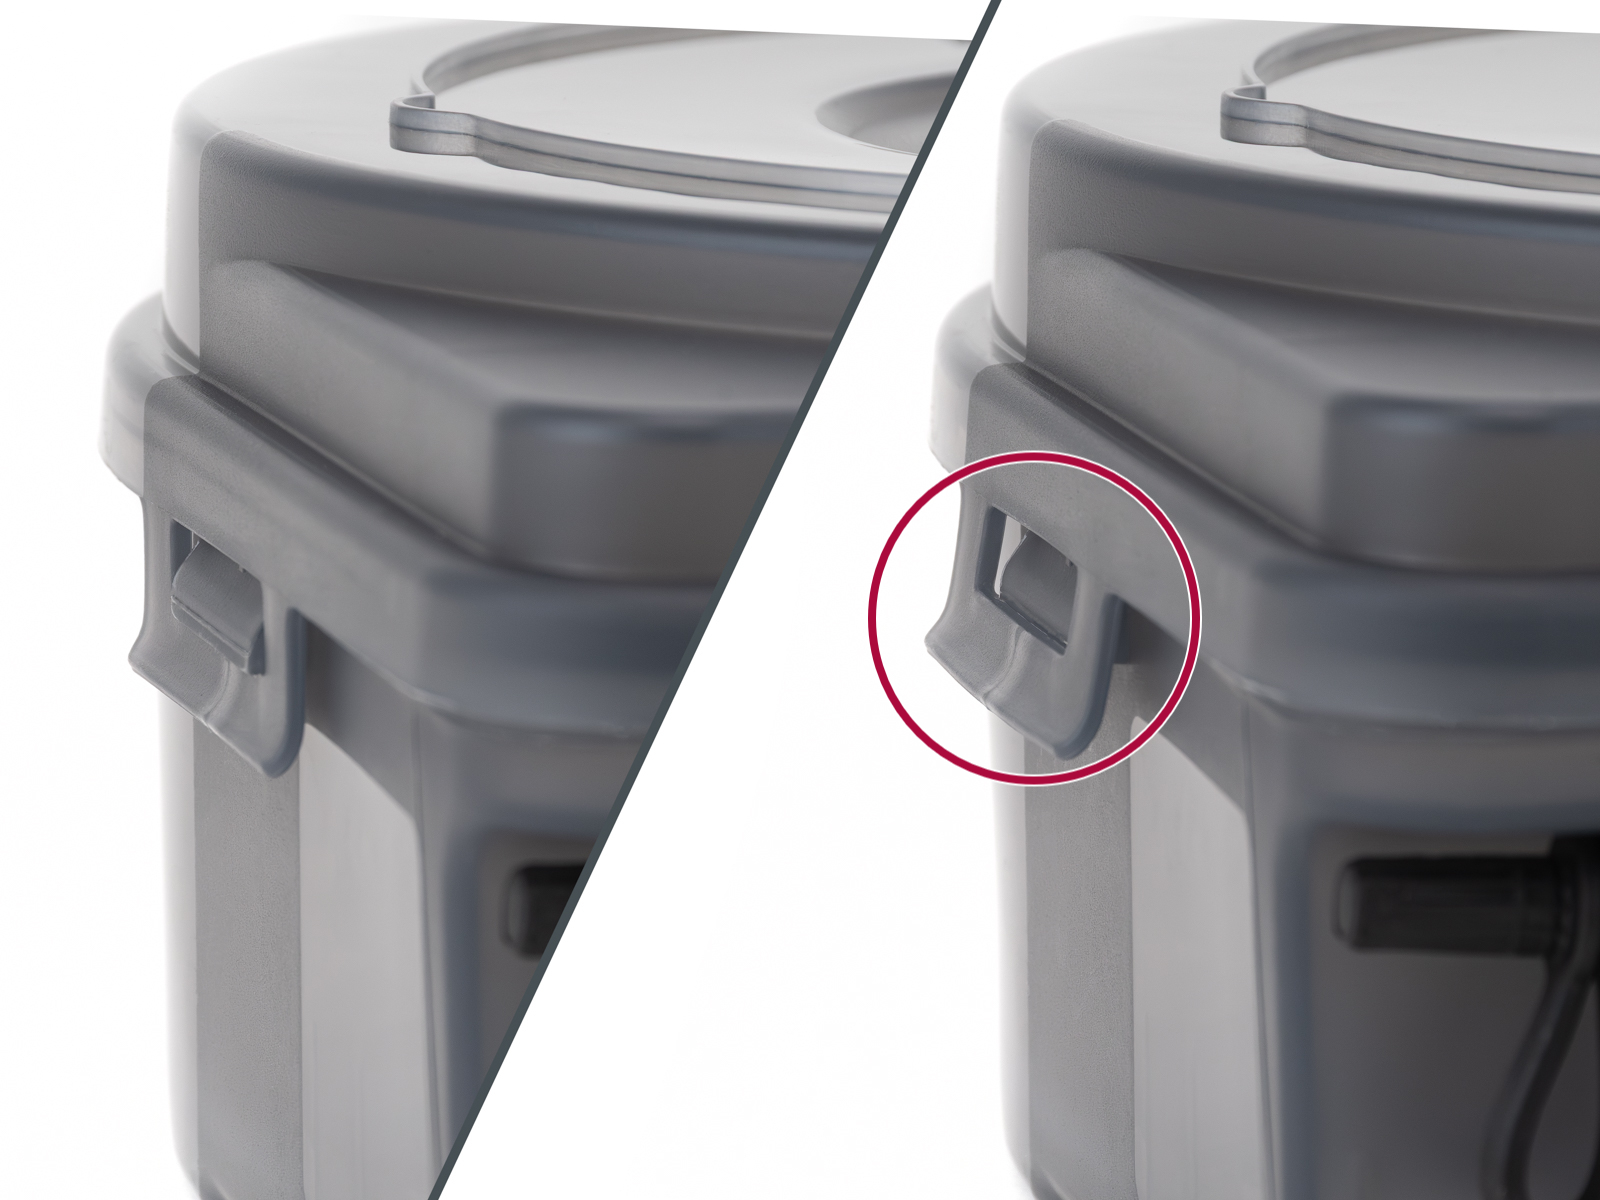
                  • The gasket seals evenly around the entire perimeter
                  • All clips are fully engaged
                  • The box is tightly closed
                  Improper sealing will increase internal humidity.

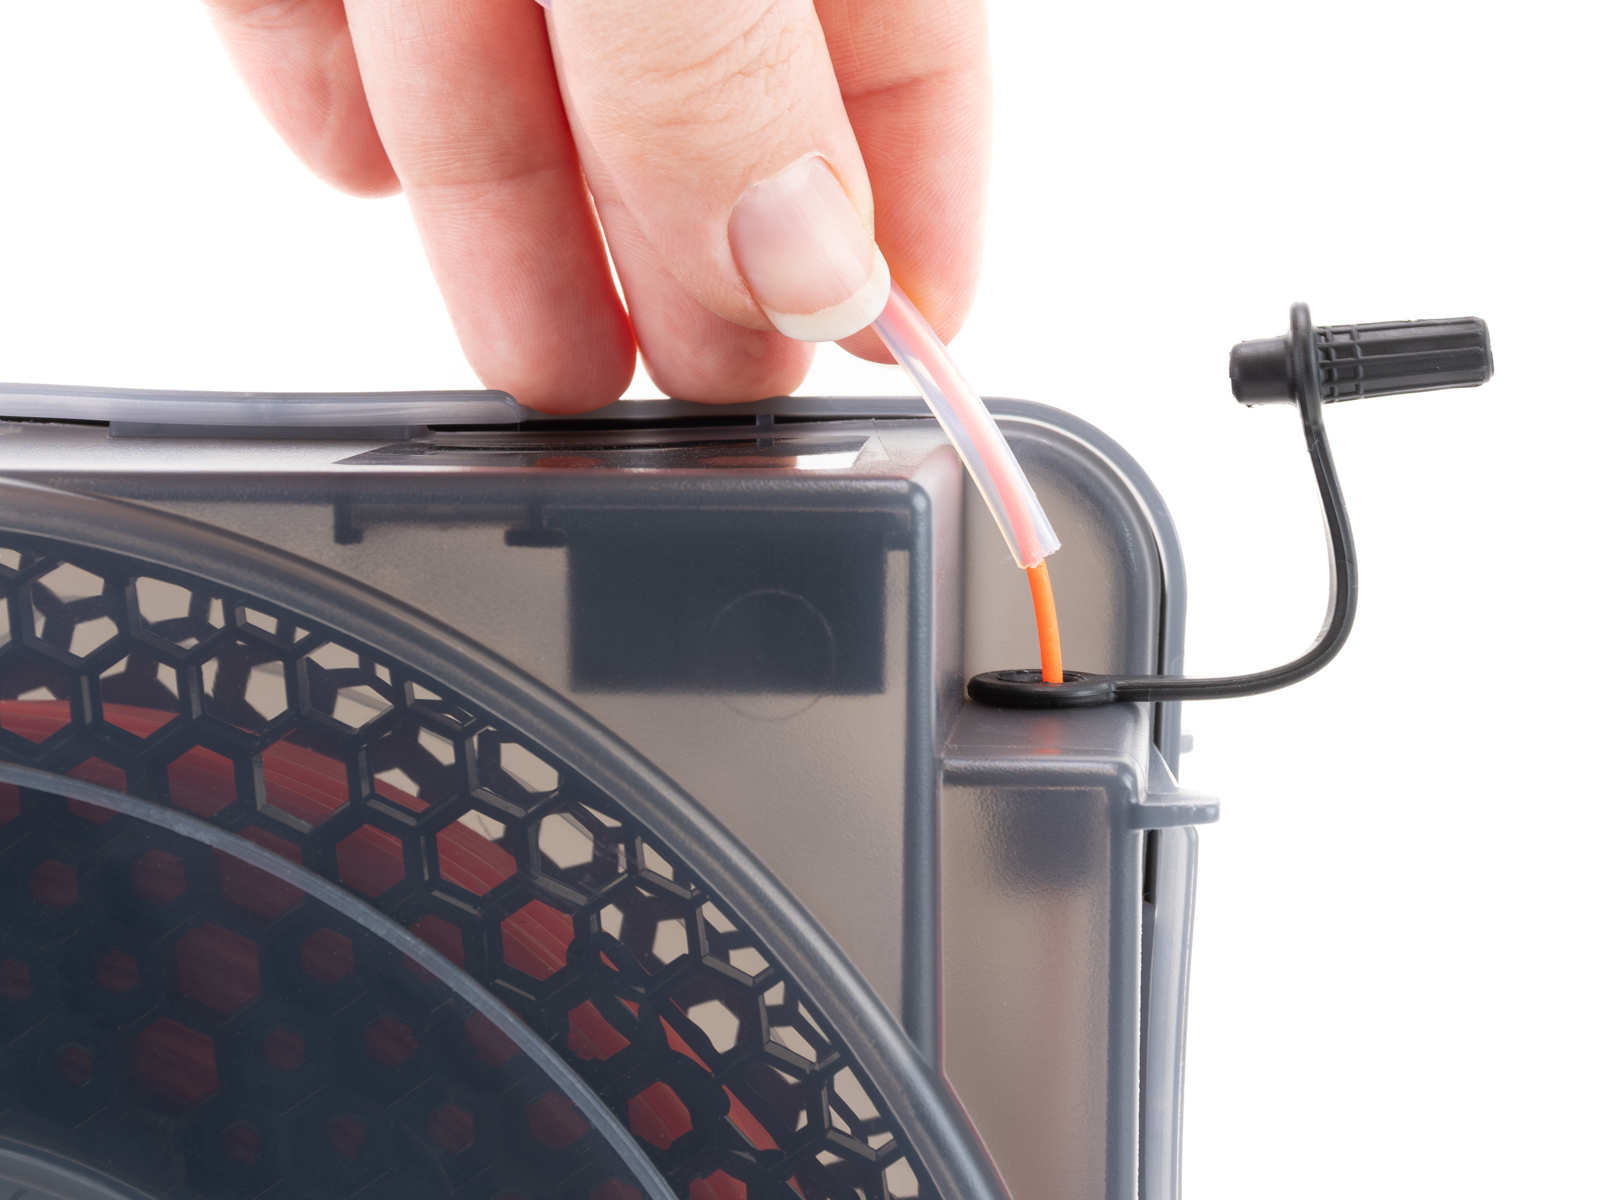
                  Filament guiding

                  Open the grommet again.

                  Take the filament end and guide it through the PTFE tube.

                  Insert the PTFE tube into the grommet opening.
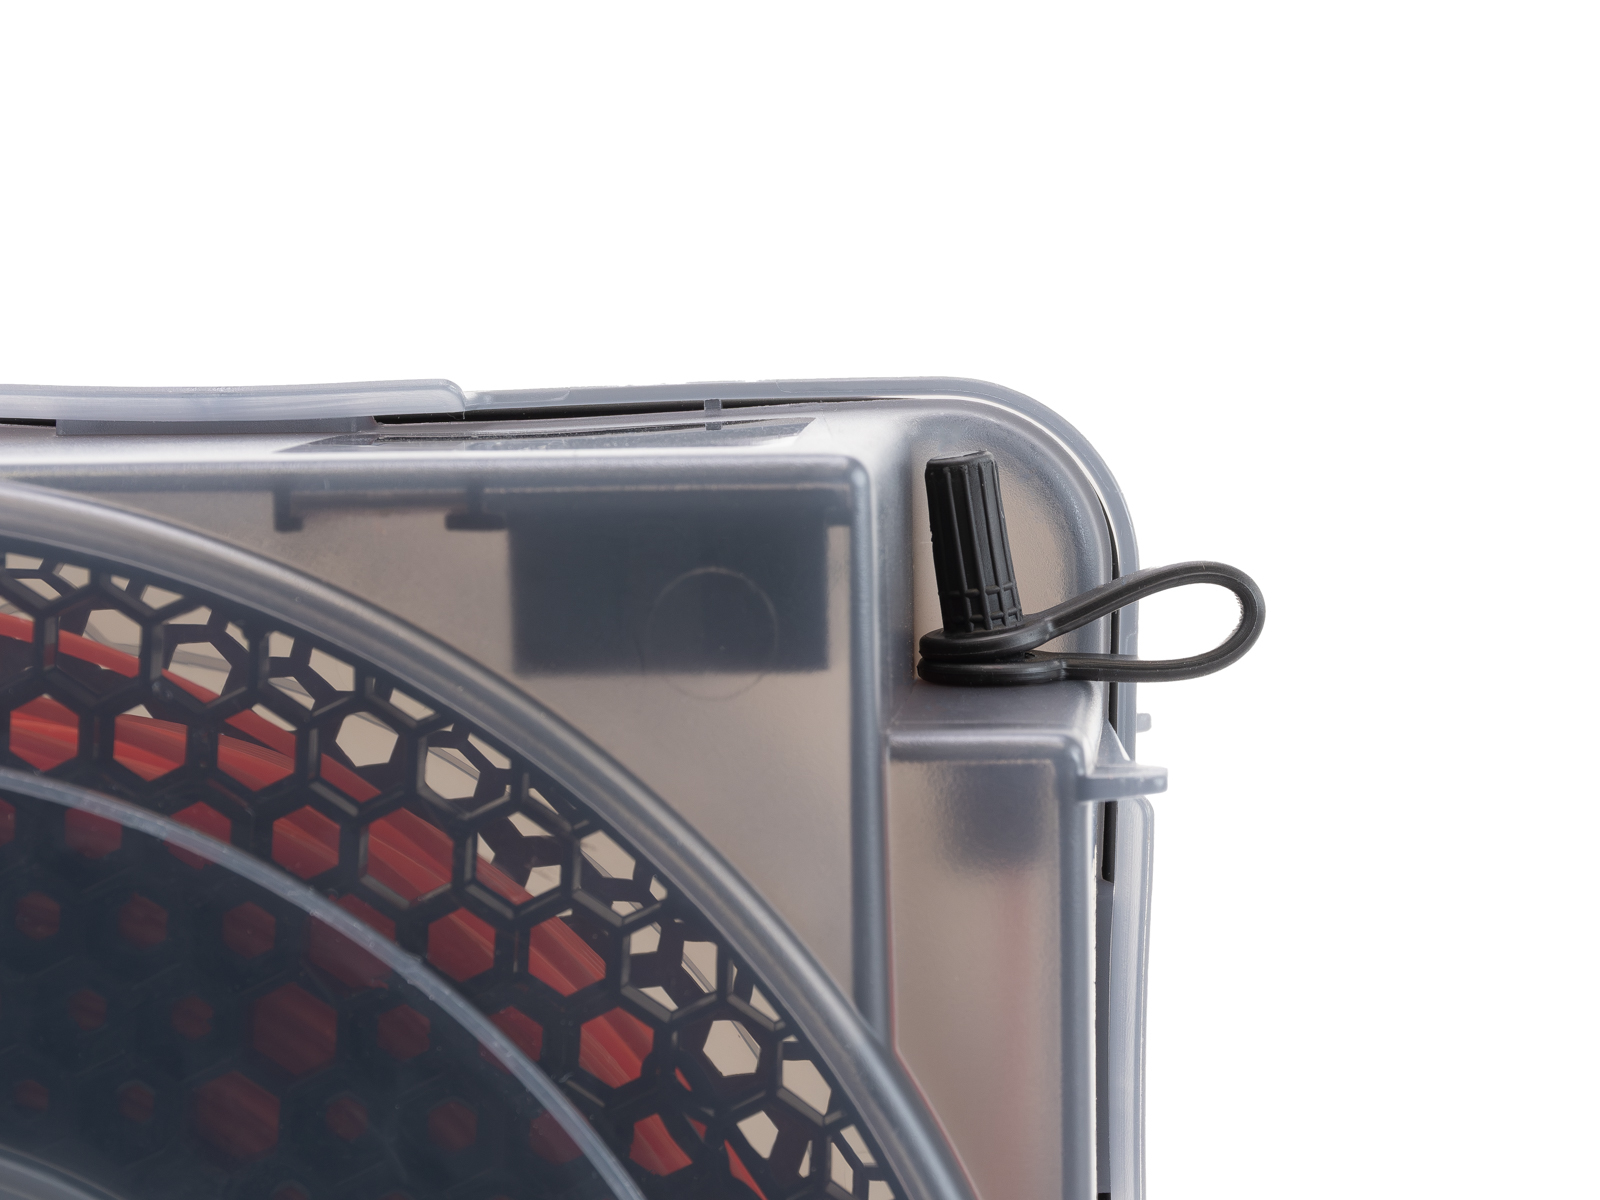
                  Try to minimize filament exposure to ambient air during this step.

                  Once closed, allow up to 1 hour for humidity levels to stabilize.

                  Check the hygrometer reading before printing. If humidity is too high for your material, replace or regenerate the silica gel.

                  この記事は役に立ちましたか?
                  この操作は登録ユーザーのみが利用できます。ログインしてください。
                  ログイン してコメントを投稿する
                  コメントなし

                  トピックス

                  • このプリンターを使用
                    • プリンターメンテナンス
                      • First setup and filament loading (USS Drybox)
                      • Prusa USS Drybox - Installation on CORE One
                      • Prusa USS Drybox - Installation on CORE One L / CORE One+
                      • Prusa USS Drybox - Installation on HT90
                      • Prusa USS Drybox - Installation on XL
                      • Prusa USS Drybox - Installation on MK4/3.9 series
                    • 3Dモデル
                    • 材料ガイド
                    • スライス処理
                    • Prusa Connect [進行中の翻訳]