When slicing a project for the Prusa Pro HT90, a dedicated PrusaSlicer profile is needed. This profile is included directly within the software and can be activated using the built-in Configuration Wizard, or downloaded manually from our Help page.
Prusa Slicer - Configuration Wizard
The presets are downloaded when installing PrusaSlicer.
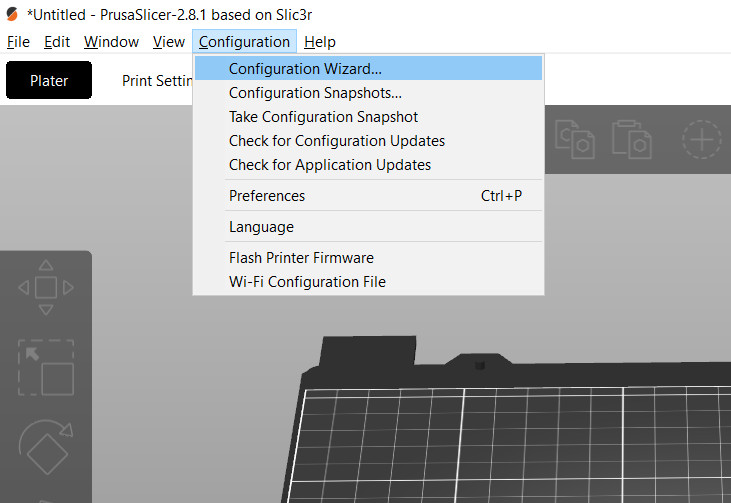
- On the top menu, go to Configuration -> Configuration Wizard.
- Find the Prusa Pro HT on the right side menu in the Configuration Wizard.
- Select all that apply, click "Next" to continue the configuration, or click "Finish" to return to the main Plater.
Download from printer
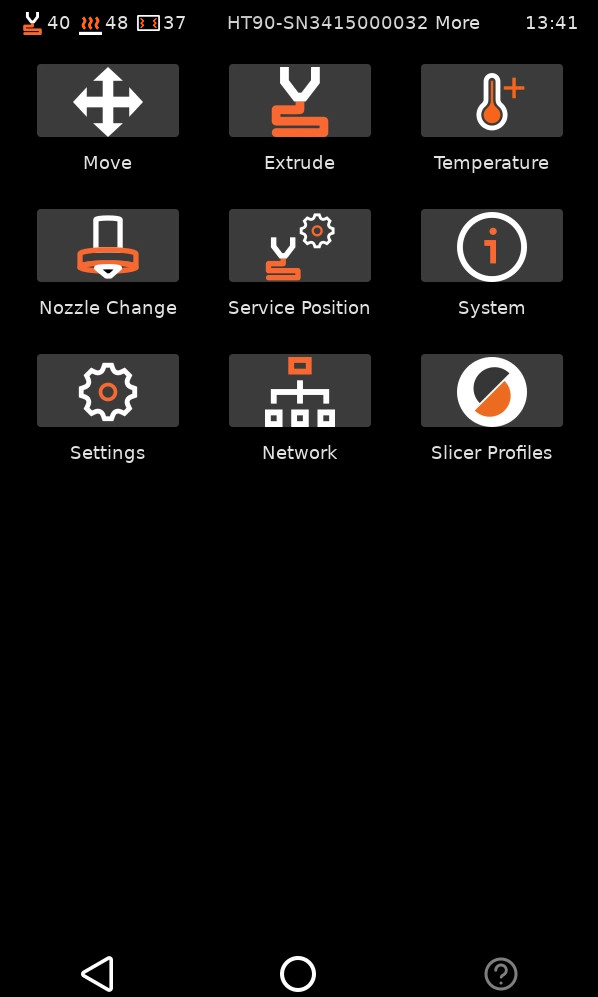
Starting from firmware 1.1.0, it is possible to download the PrusaSlicer profiles from your printer. Note that it is important that a USB drive is connected to the printer to download the profiles. For the download, go to the printer menu at More -> Slicer Profiles and click continue. A new page will open with the option Export slicer profiles to USB.
Download from Web Interface
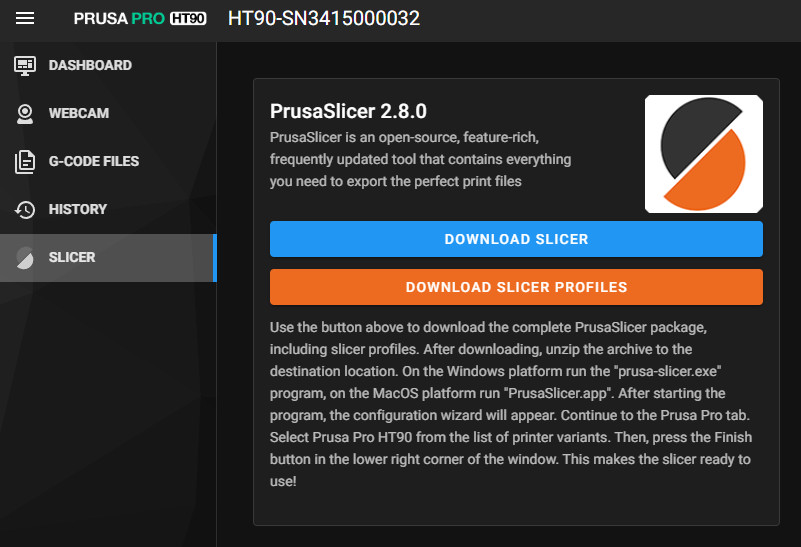
Go to the printer's menu at More -> Settings -> Network, and copy the IPv4 to your browser. On the web interface, go to Slicer on the left side and click to download slicer profiles.
Prusa Slicer - download from configuration sources
If for any reason the profile preset does not show automatically, it is possible to download the presets in PrusaSlicer.
- On the top left go to Menu -> Configuration -> Configuration Wizard.
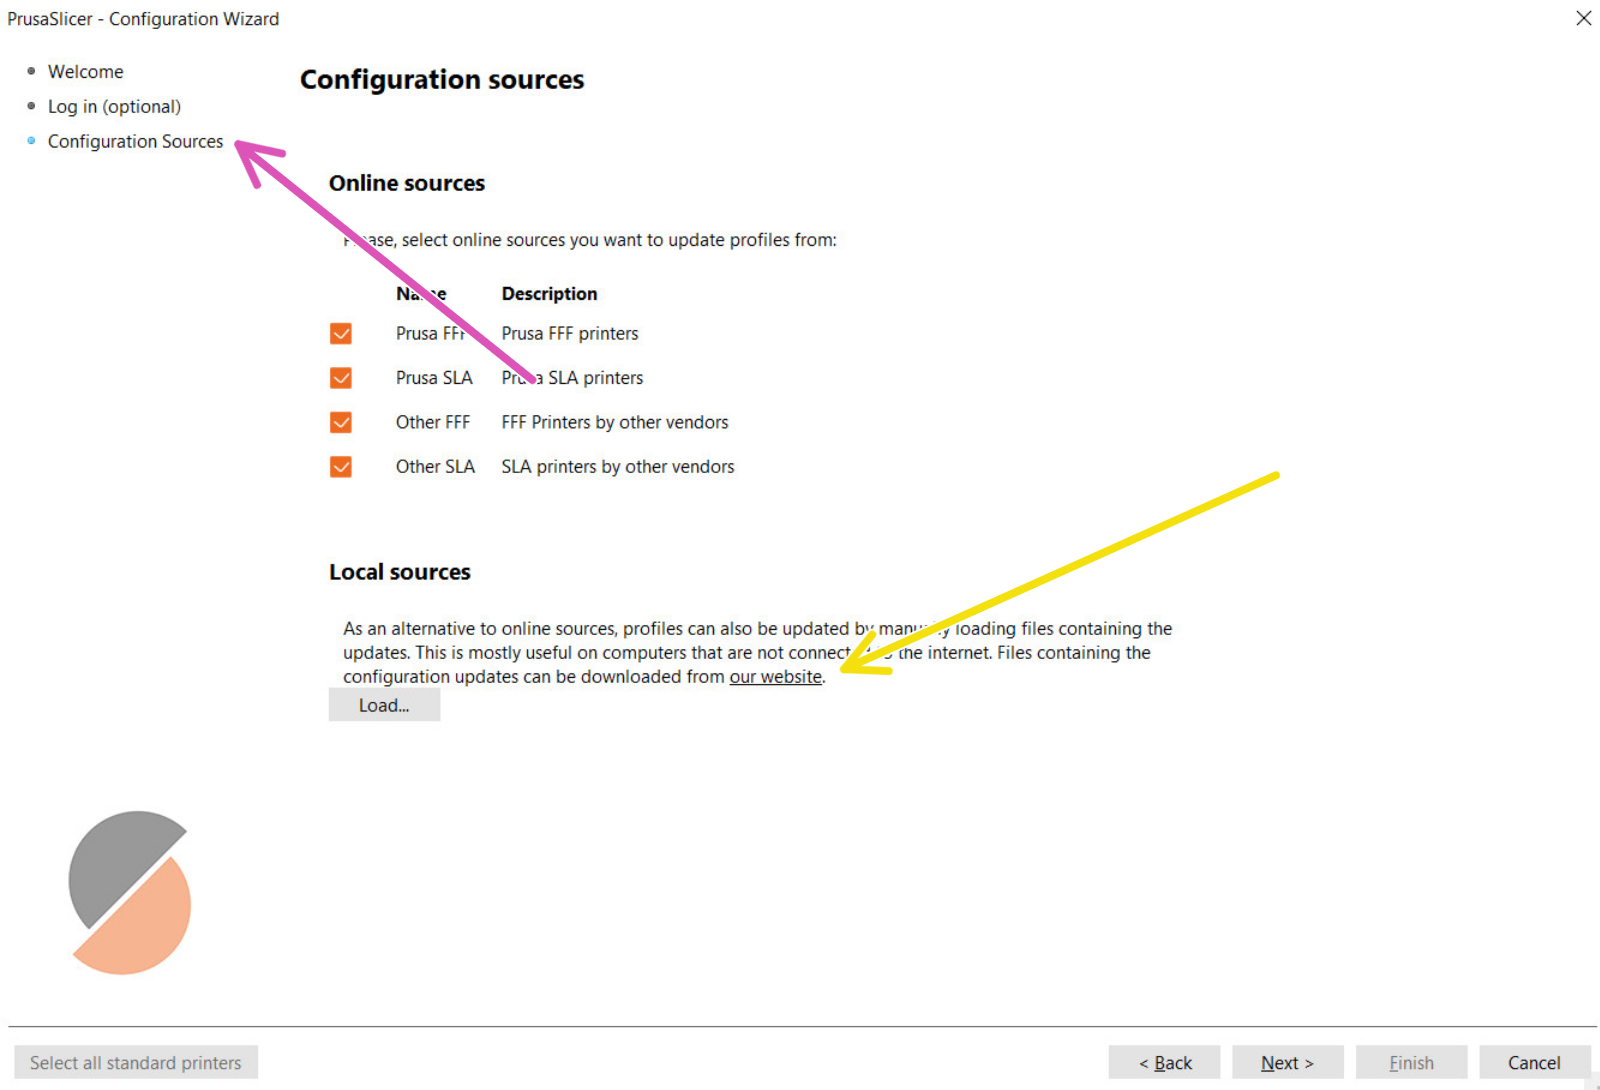
- Go to Configuration Sources on the left menu and click the "our website" link.
- This will direct you to the page where you can find all PrusaSlicer official profiles. Download the Prusa Pro HT profiles.
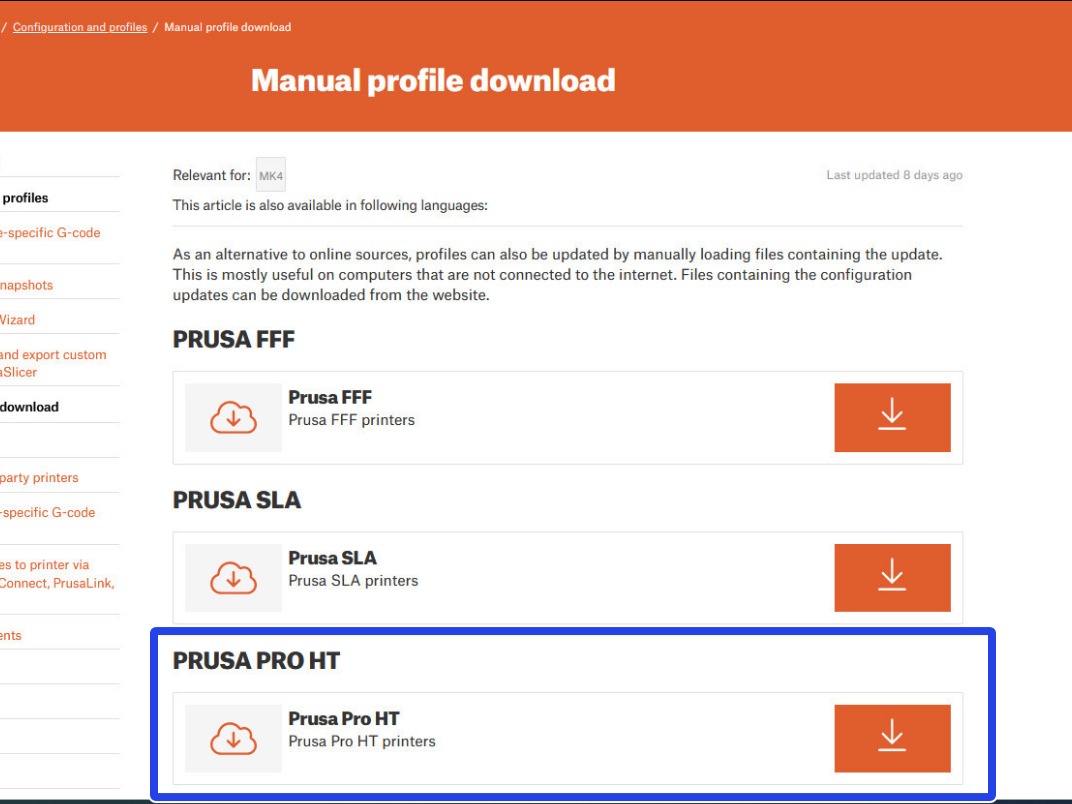
- In PrusaSlicer, click "Load".
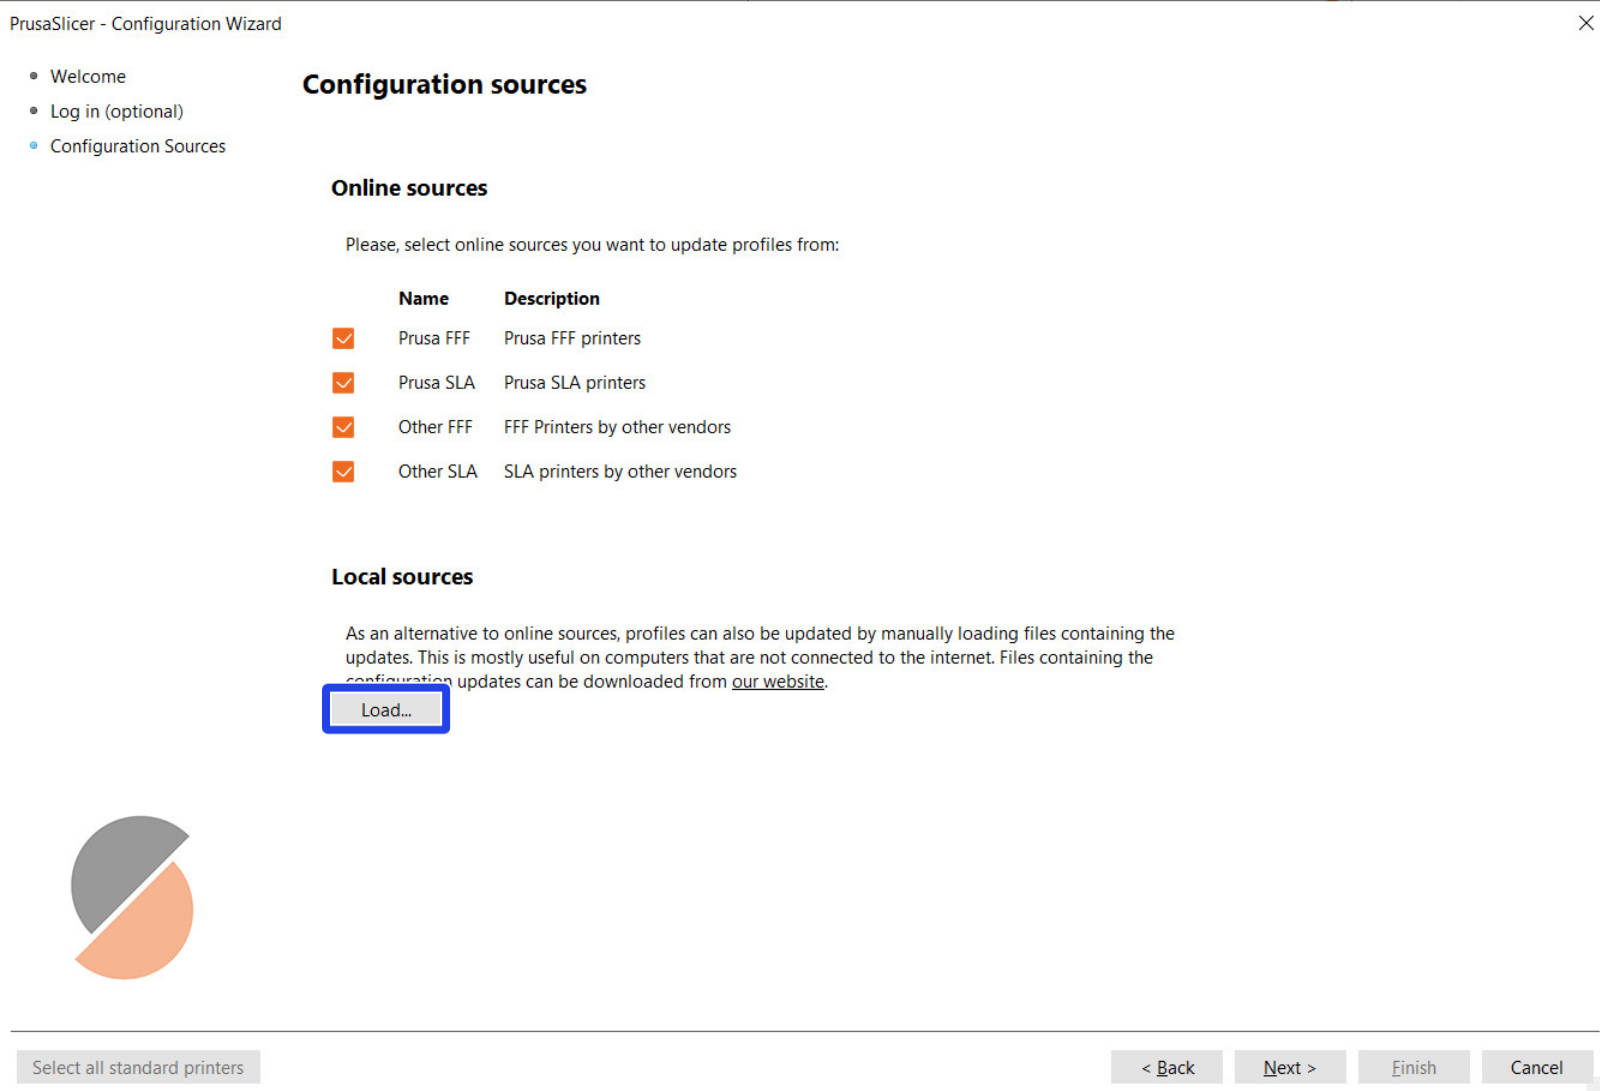
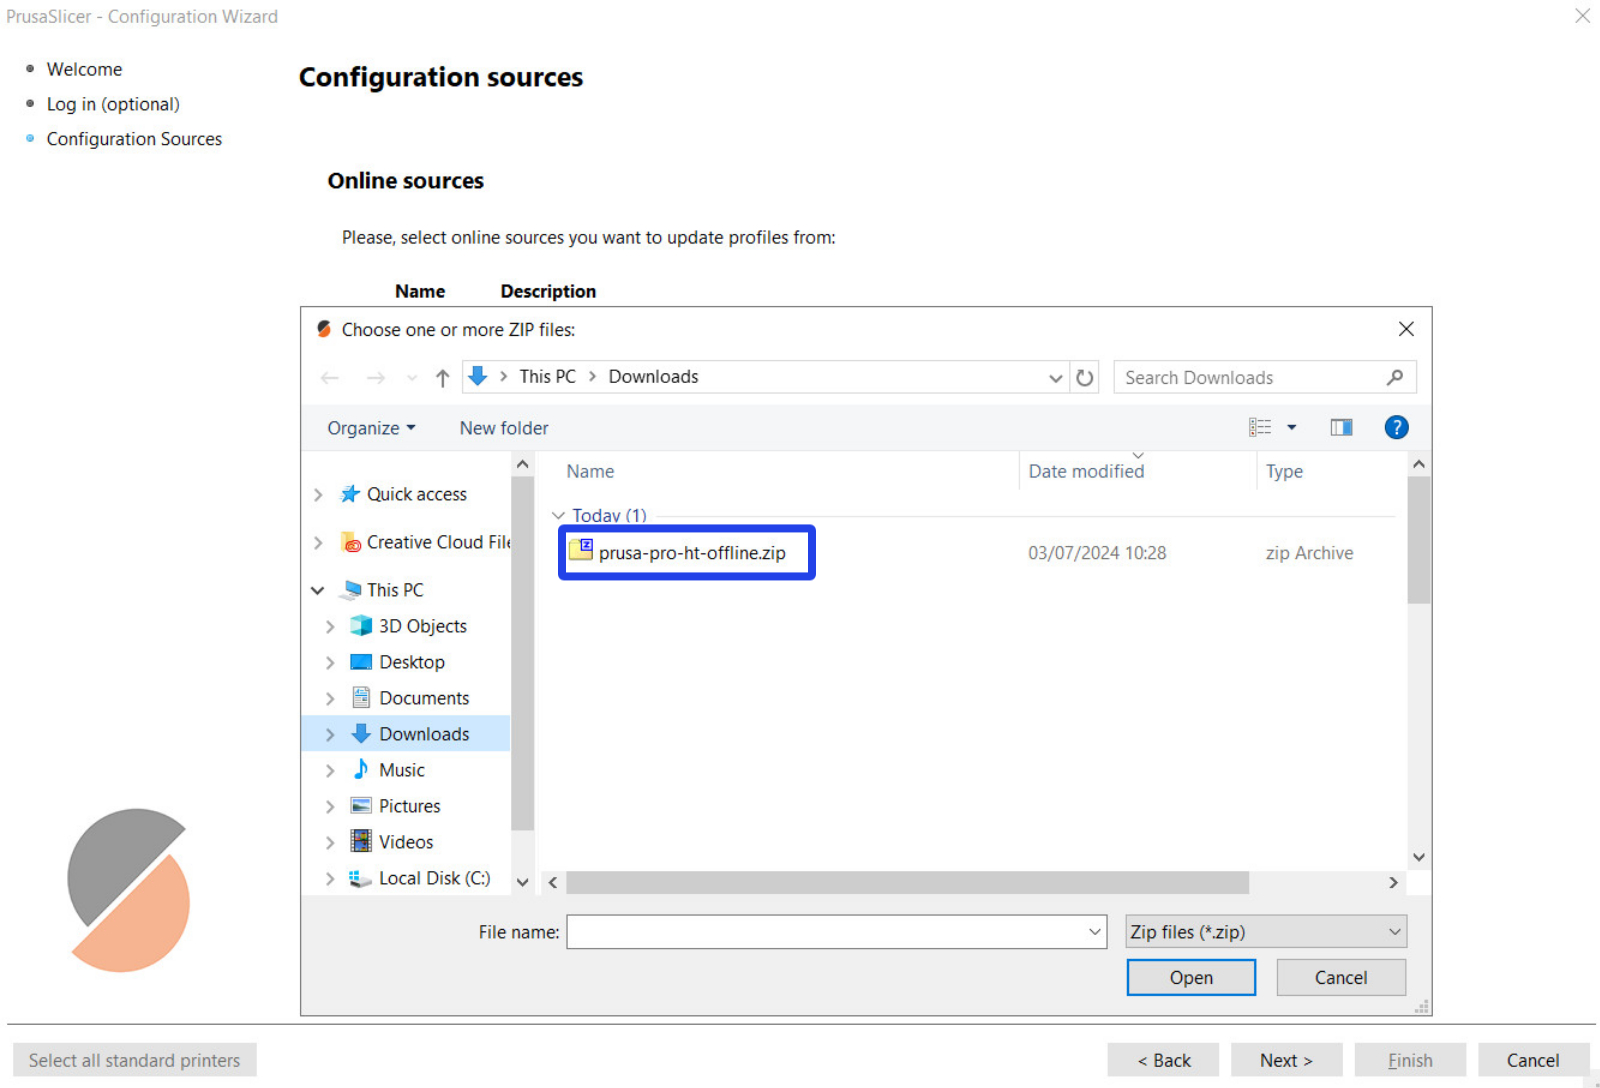
- Select the .zip file with the presets. Do not unzip the file.
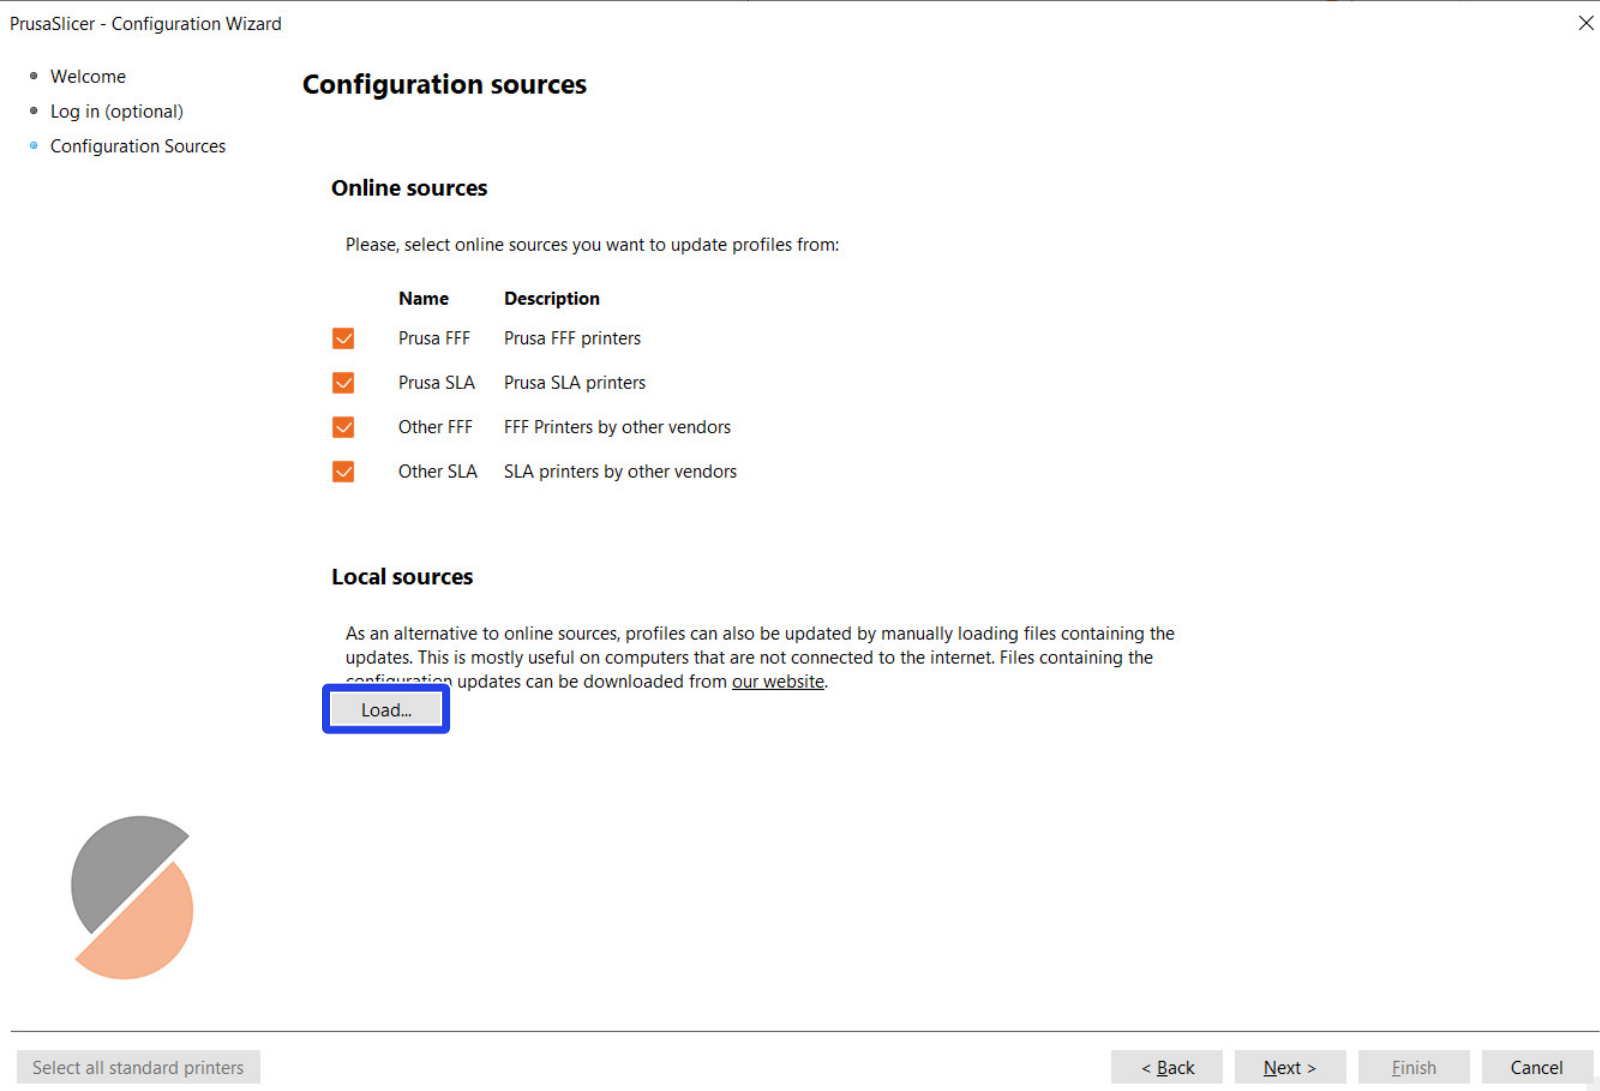
- Click "Next", and the configurations will be shown.
- Find the Prusa Pro HT on the right side menu in the Configuration Wizard.
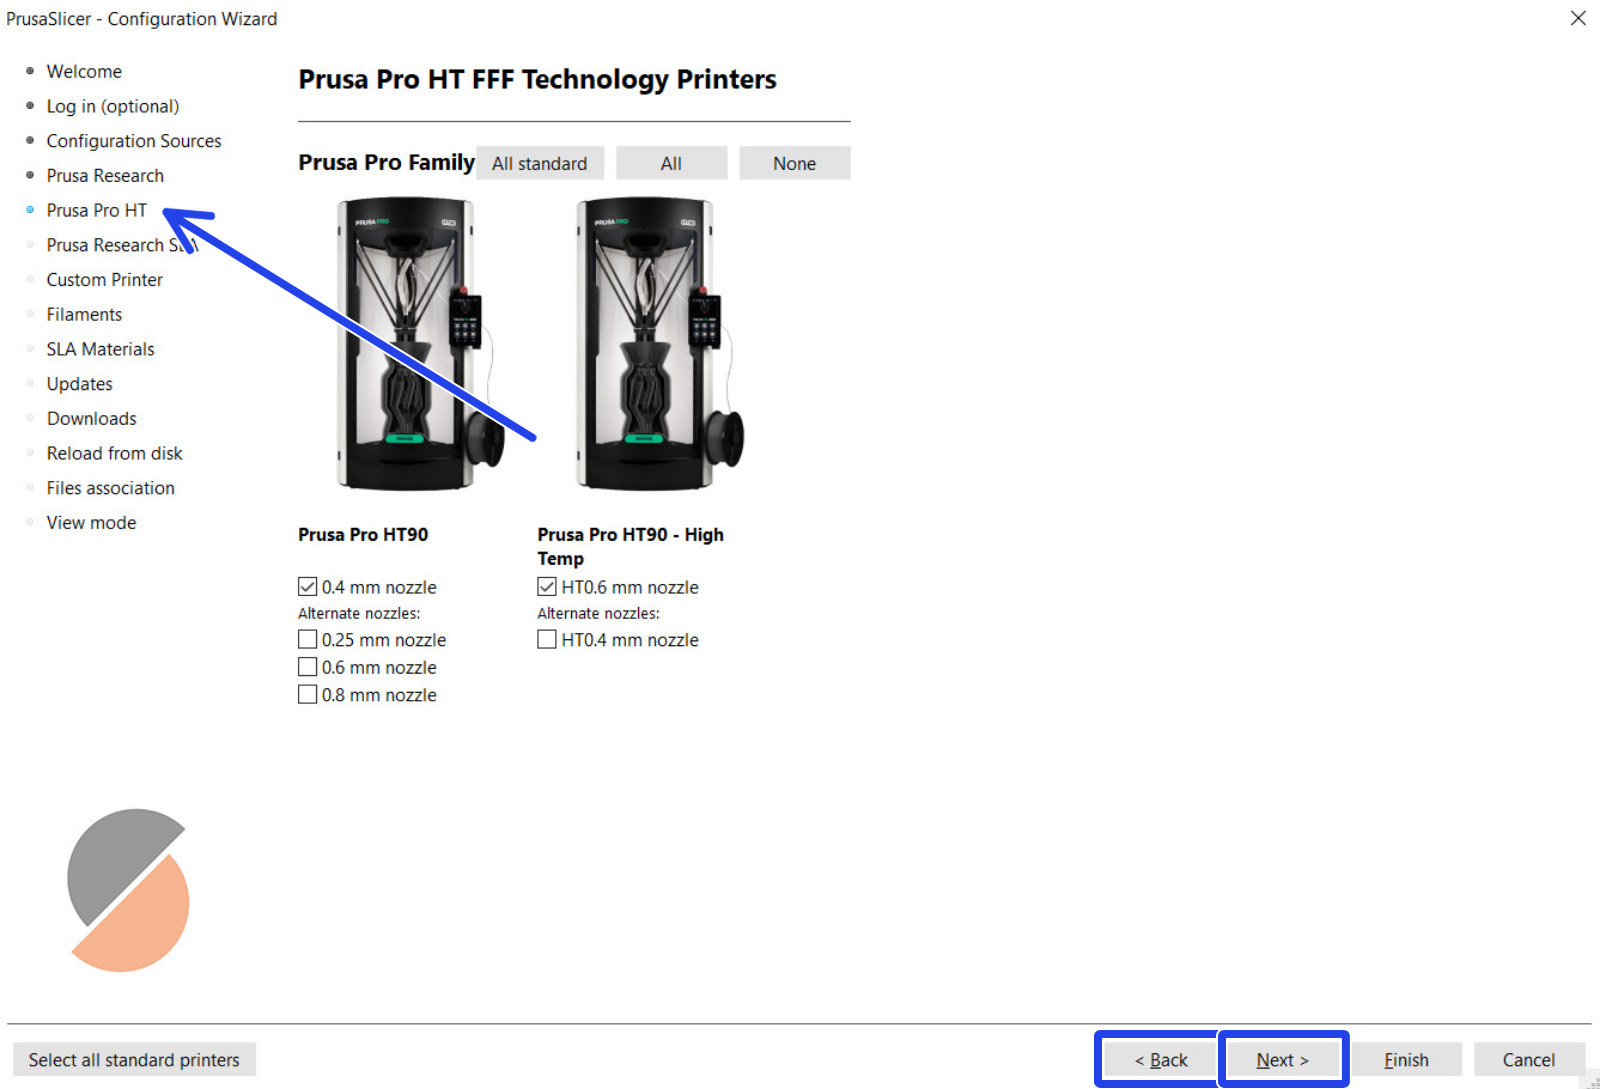
- Select all that apply, click "Next" to continue the configuration, or click "Finish" to return to the main Plater.


