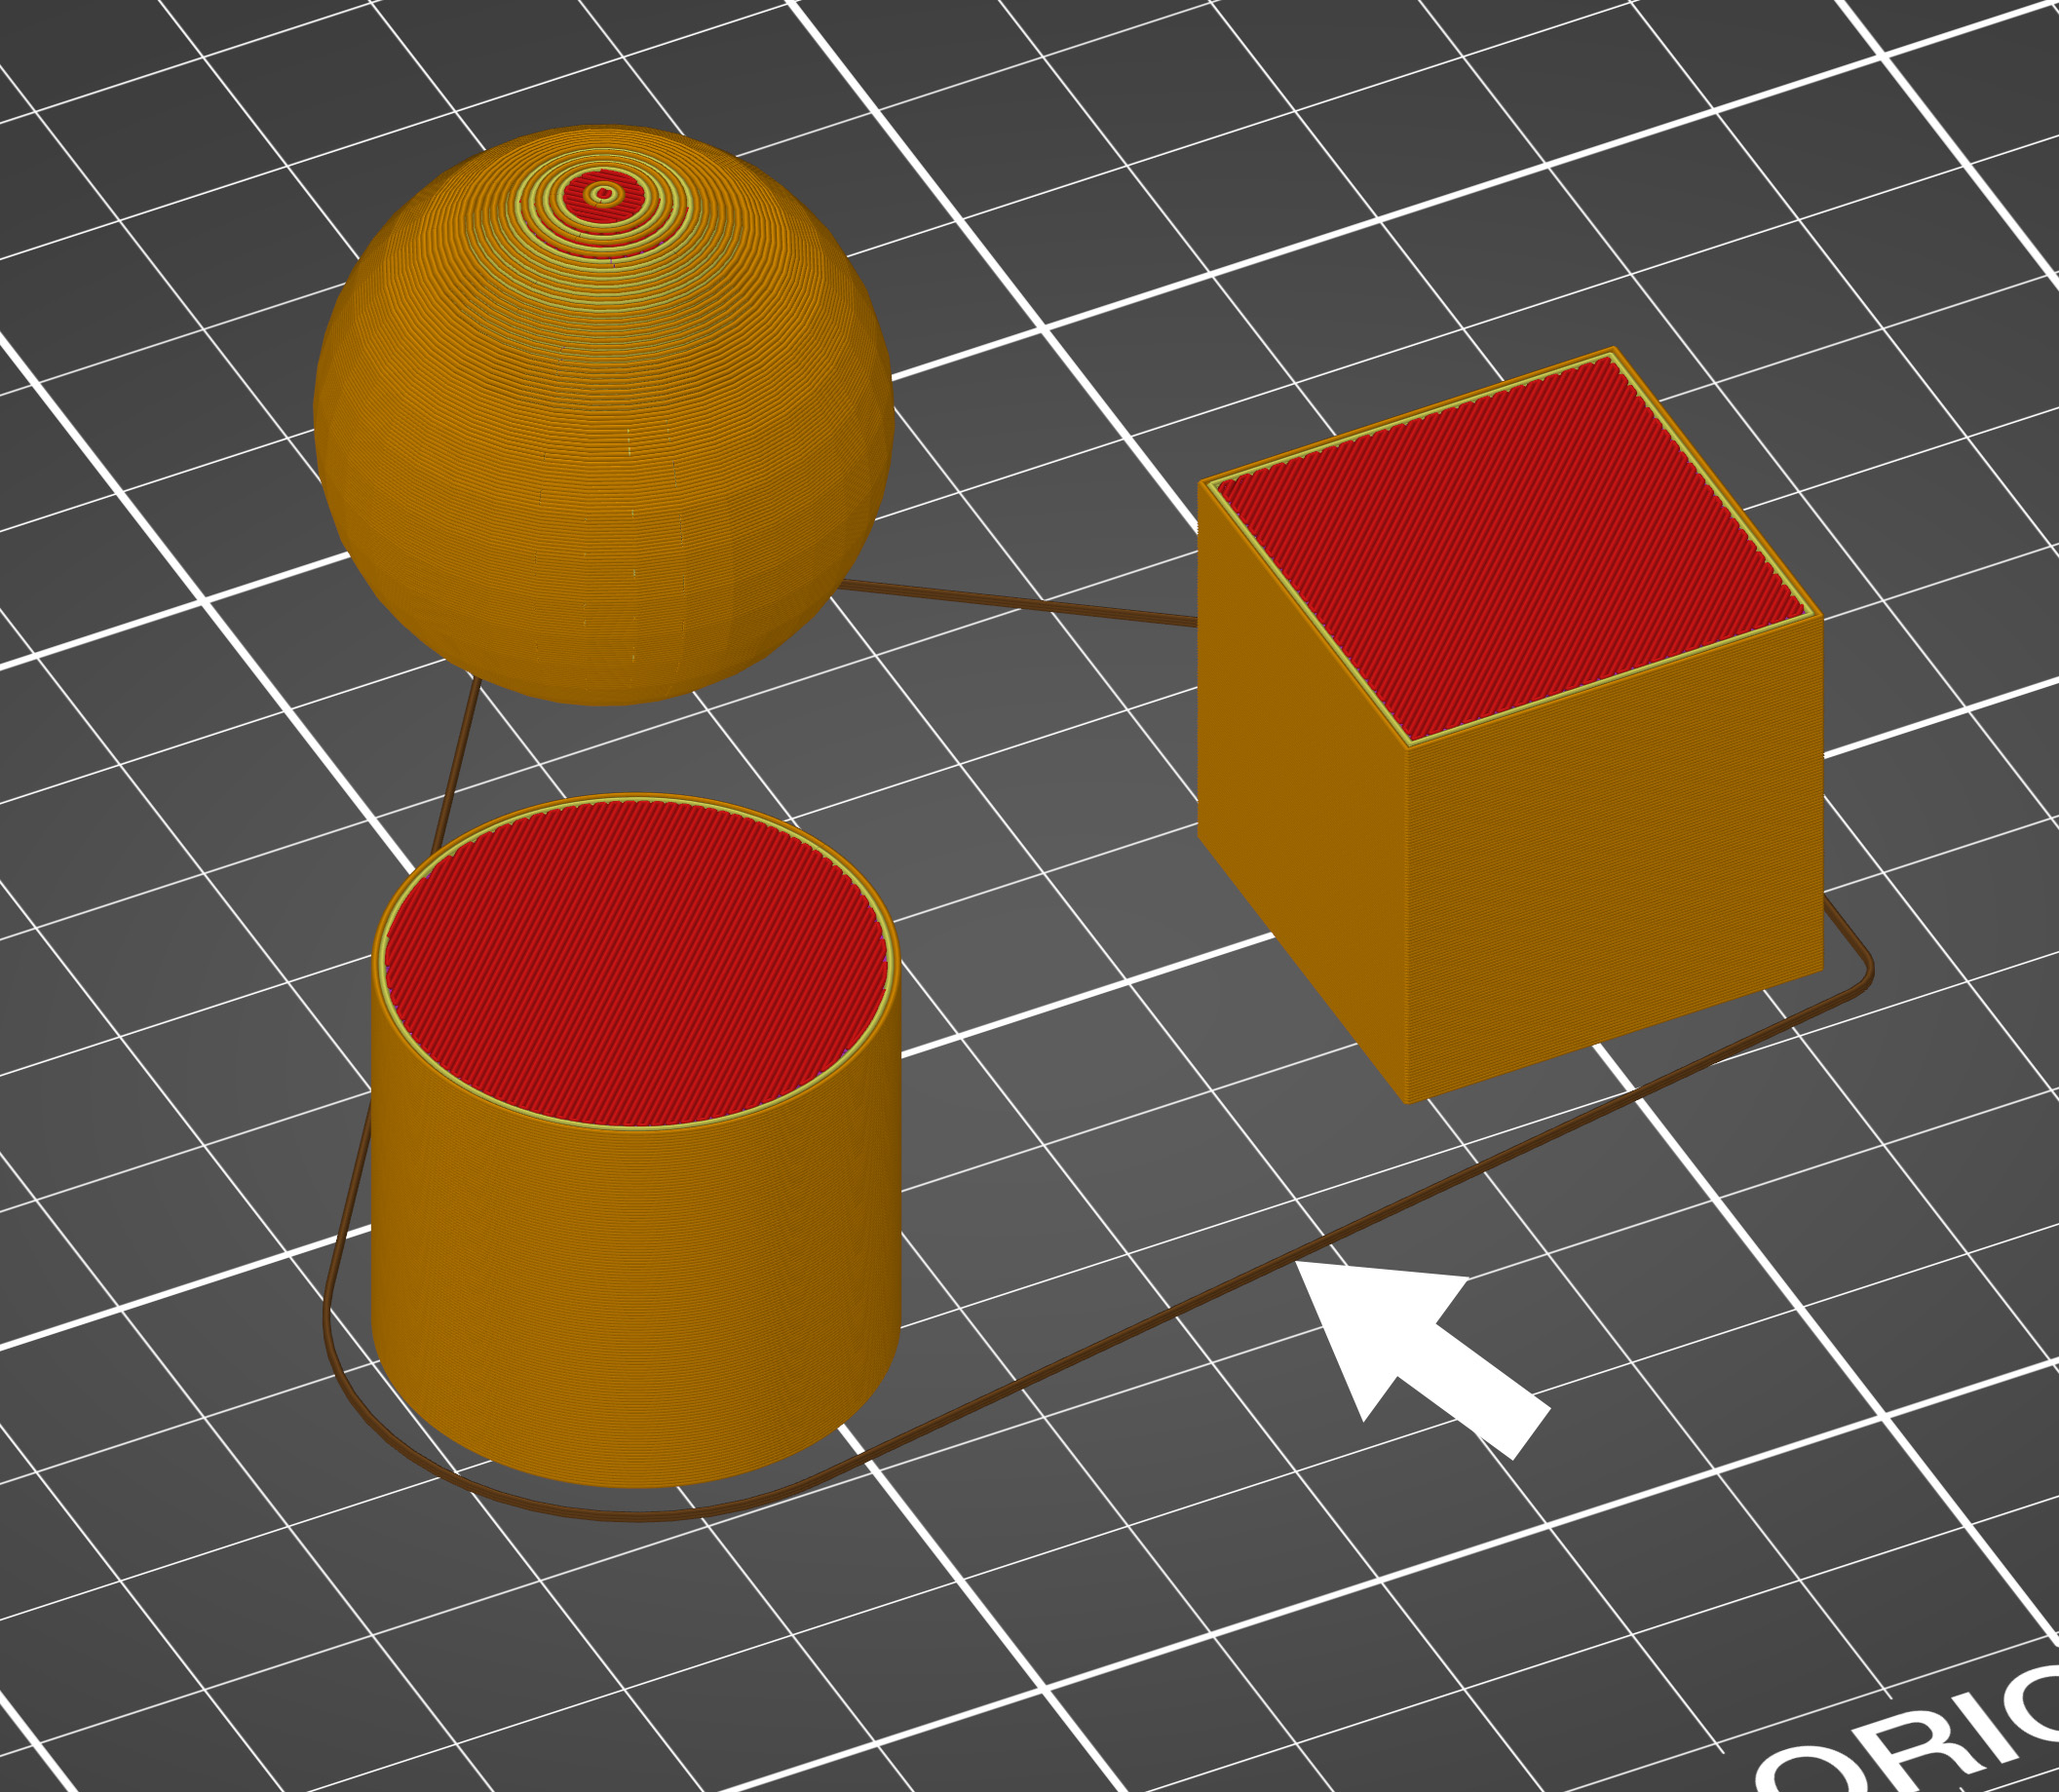
Skirt
The skirt is a printed outline of all of the models on the print bed. It's printed before any of the models and its purpose is mainly to stabilize the flow of the filament through the nozzle.
The skirt is also useful to verify the adhesion of the first layer to the print bed. Since it's printed before the models, you can quickly change the Live Z adjust if you see the first layer not sticking properly or being too squished by the nozzle.
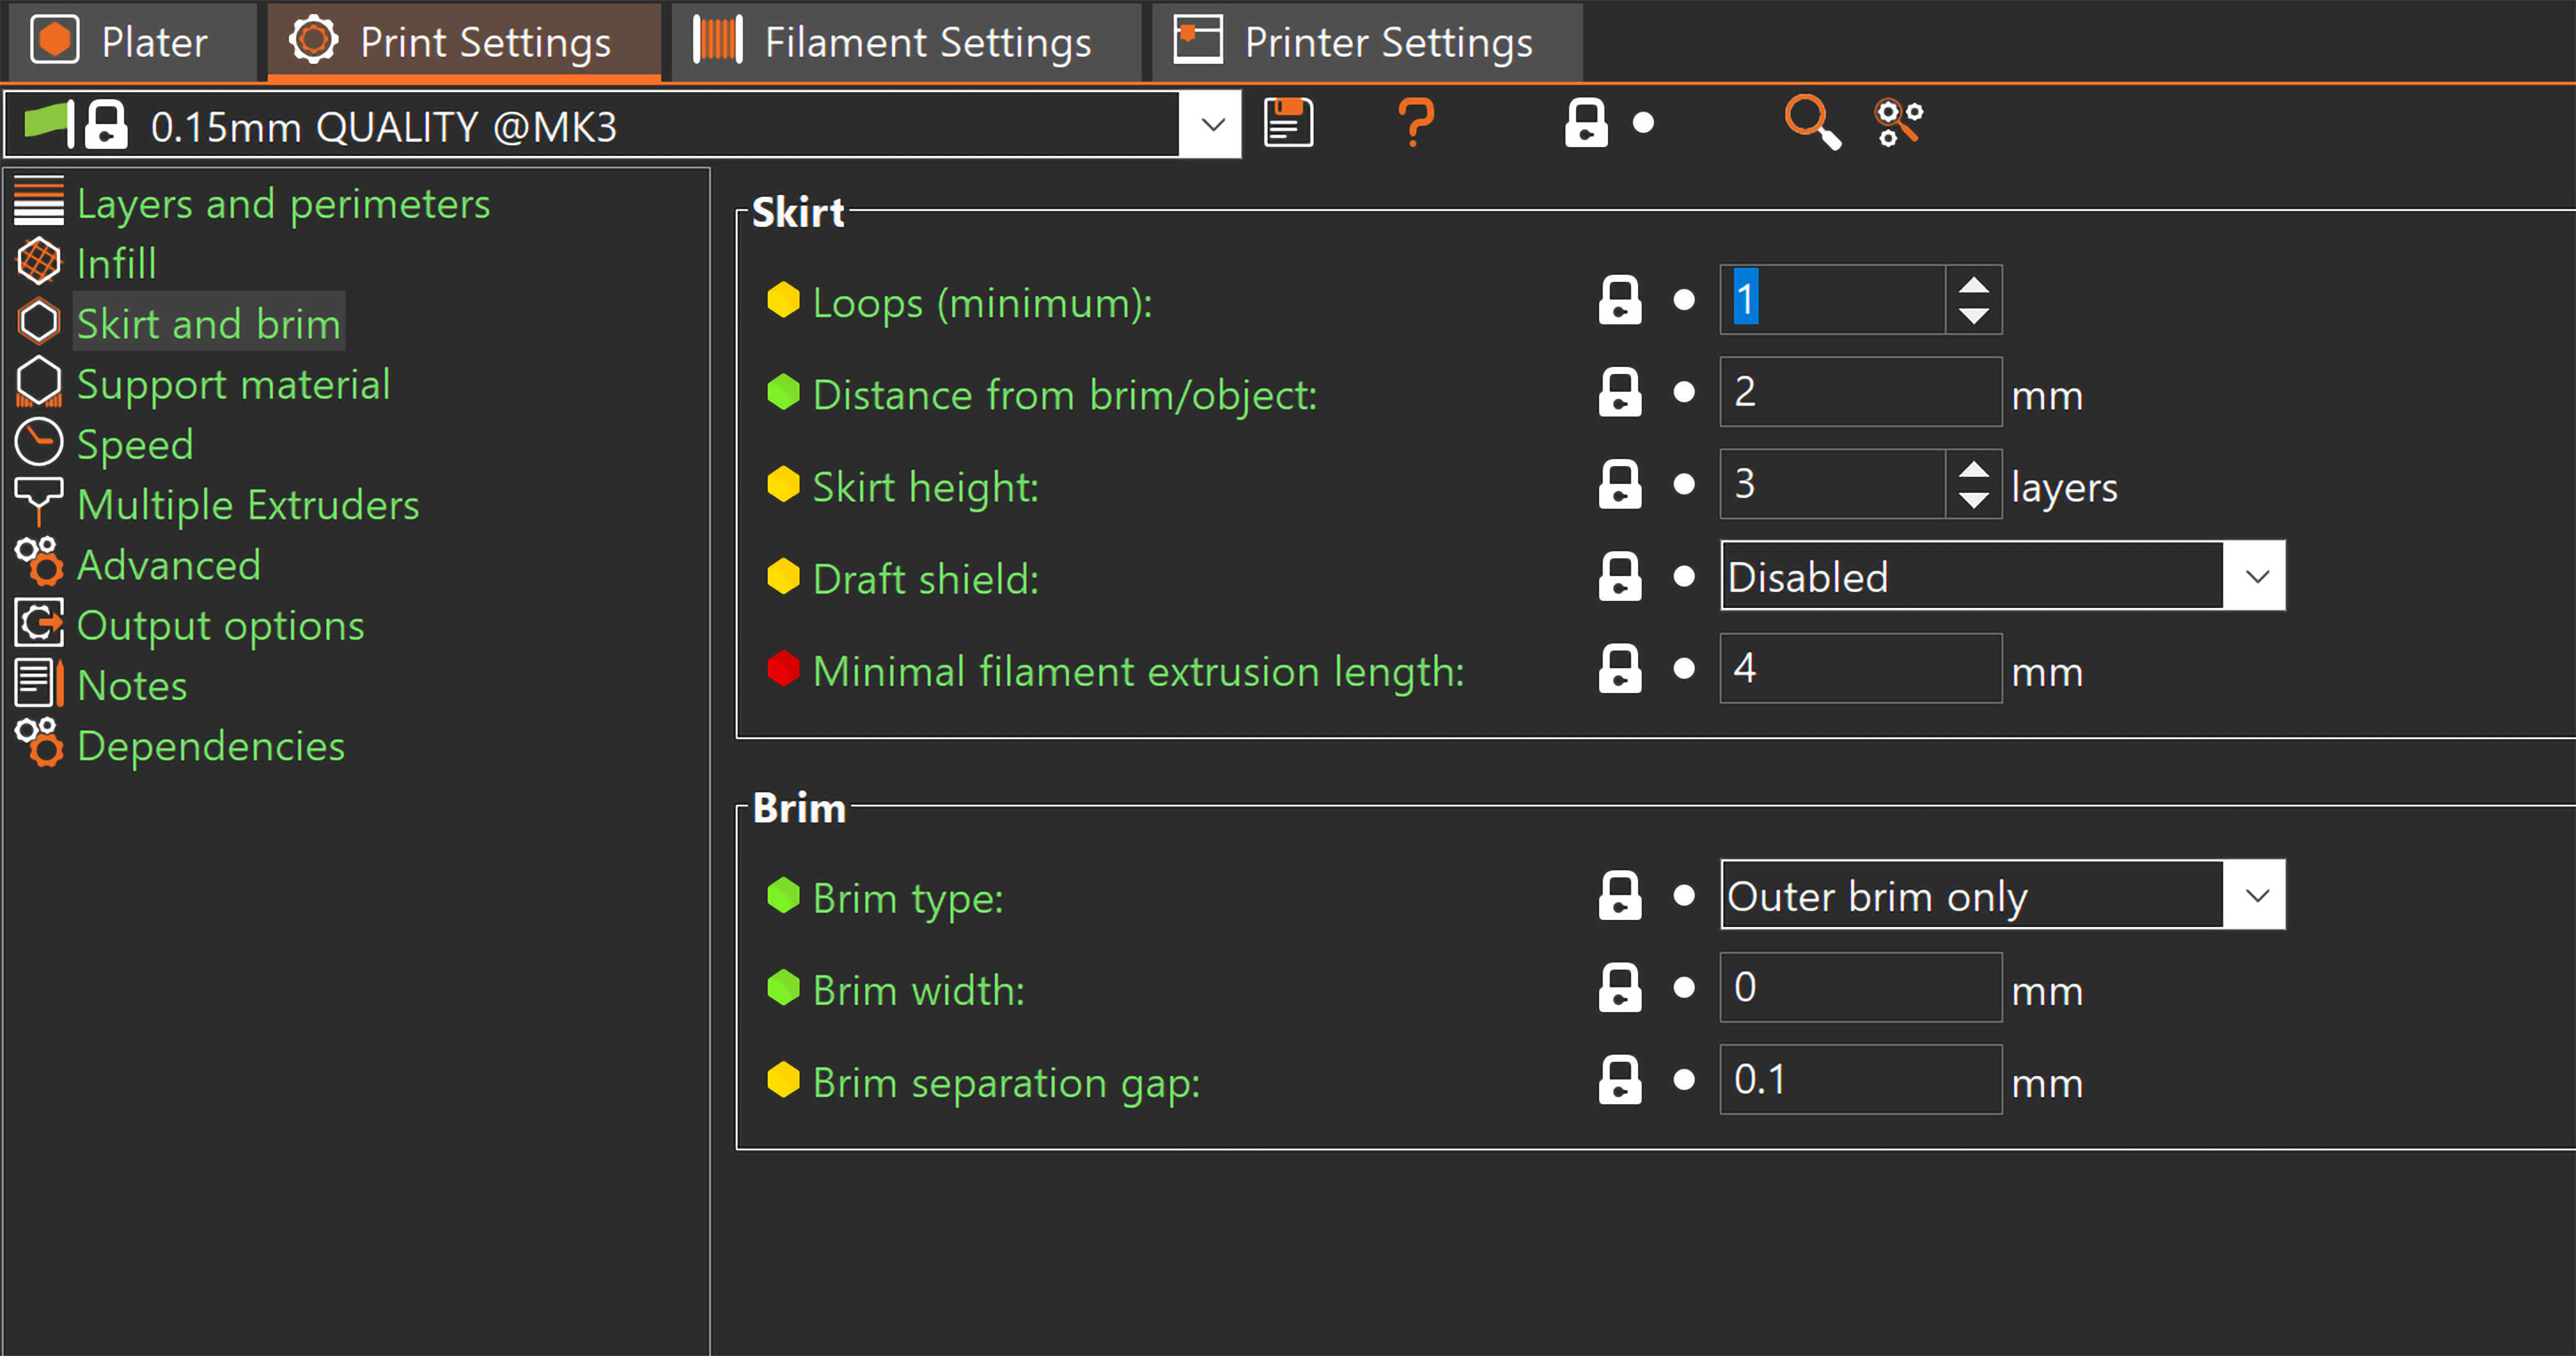
Loops (minimum)
The number of loops of the skirt. If the Minimal filament extrusion length parameter is set, the number of loops may be higher than the one configured here.
Set to 0 to disable the skirt completely.
Distance from object
Distance between the skirt and object(s).
Skirt height
The number of skirt layers to be printed.
Draft shield
If enabled it creates a skirt as tall as the tallest object in the scene. This can be used to protect ABS, ASA, and other materials from warping by creating a micro-climate around the printed part and protecting the print from draft/wind.
Minimal filament extrusion length
Forces more skirt loops when necessary to ensure the minimum amount of filament set here is extruded before the skirt is finished. For multi extruder machines, this minimum applies to each extruder.
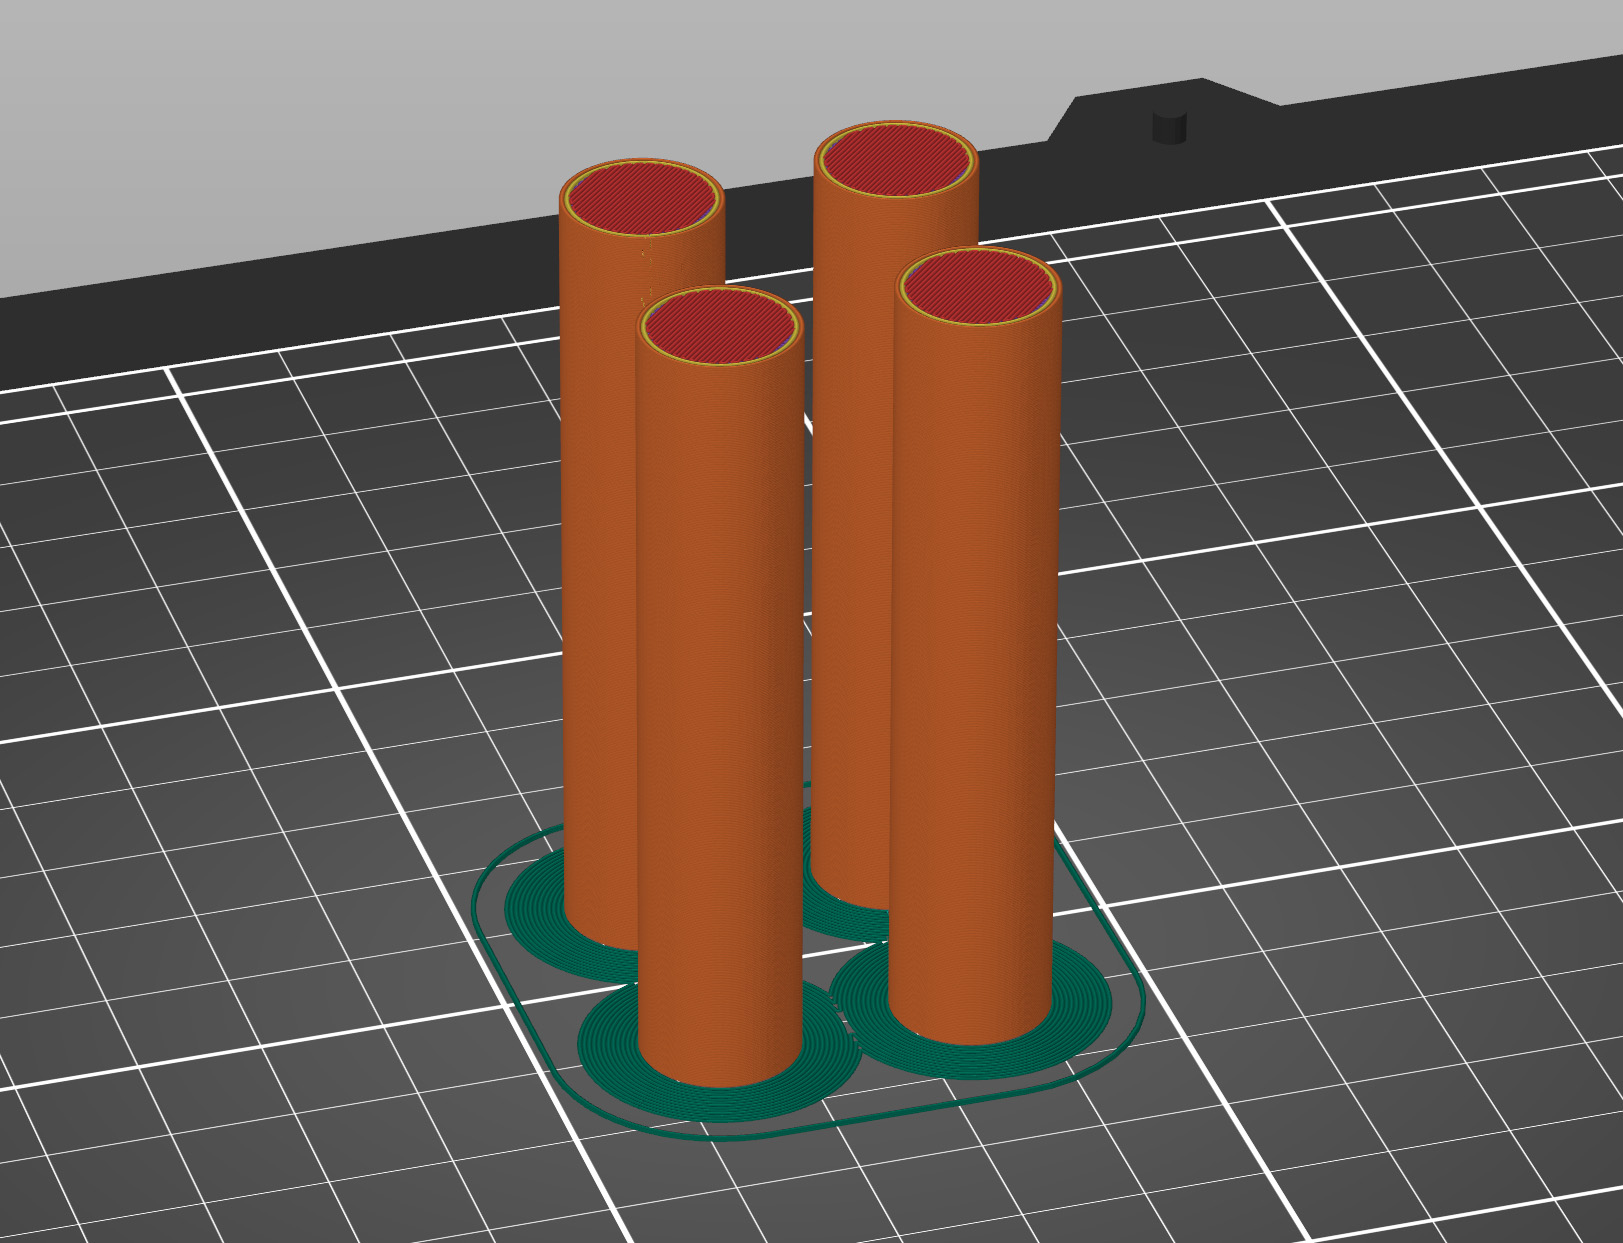
Brim
Before you consider applying extra adhesion materials onto the bed, consider using the Brim option in PrusaSlicer which increases the surface area of the first layer. You can set the brim size manually in PrusaSlicer by going into Print settings - Skirt and brim - Brim.
You should consider using the brim option when printing:
- Tall objects with a small base
- Multiple small objects at once
Brim type
You can select to print Outer brim only, Inner brim only or both Outer and inner brim.
Brim width
The horizontal width of the brim that will be printed around each object on the first layer. Generally, it is advised to use at least a 3 mm brim to increase the adhesion.
Brim separation gap
The offset of brim from the printed object for easier brim removal. The offset is applied after the Elephant foot compensation.
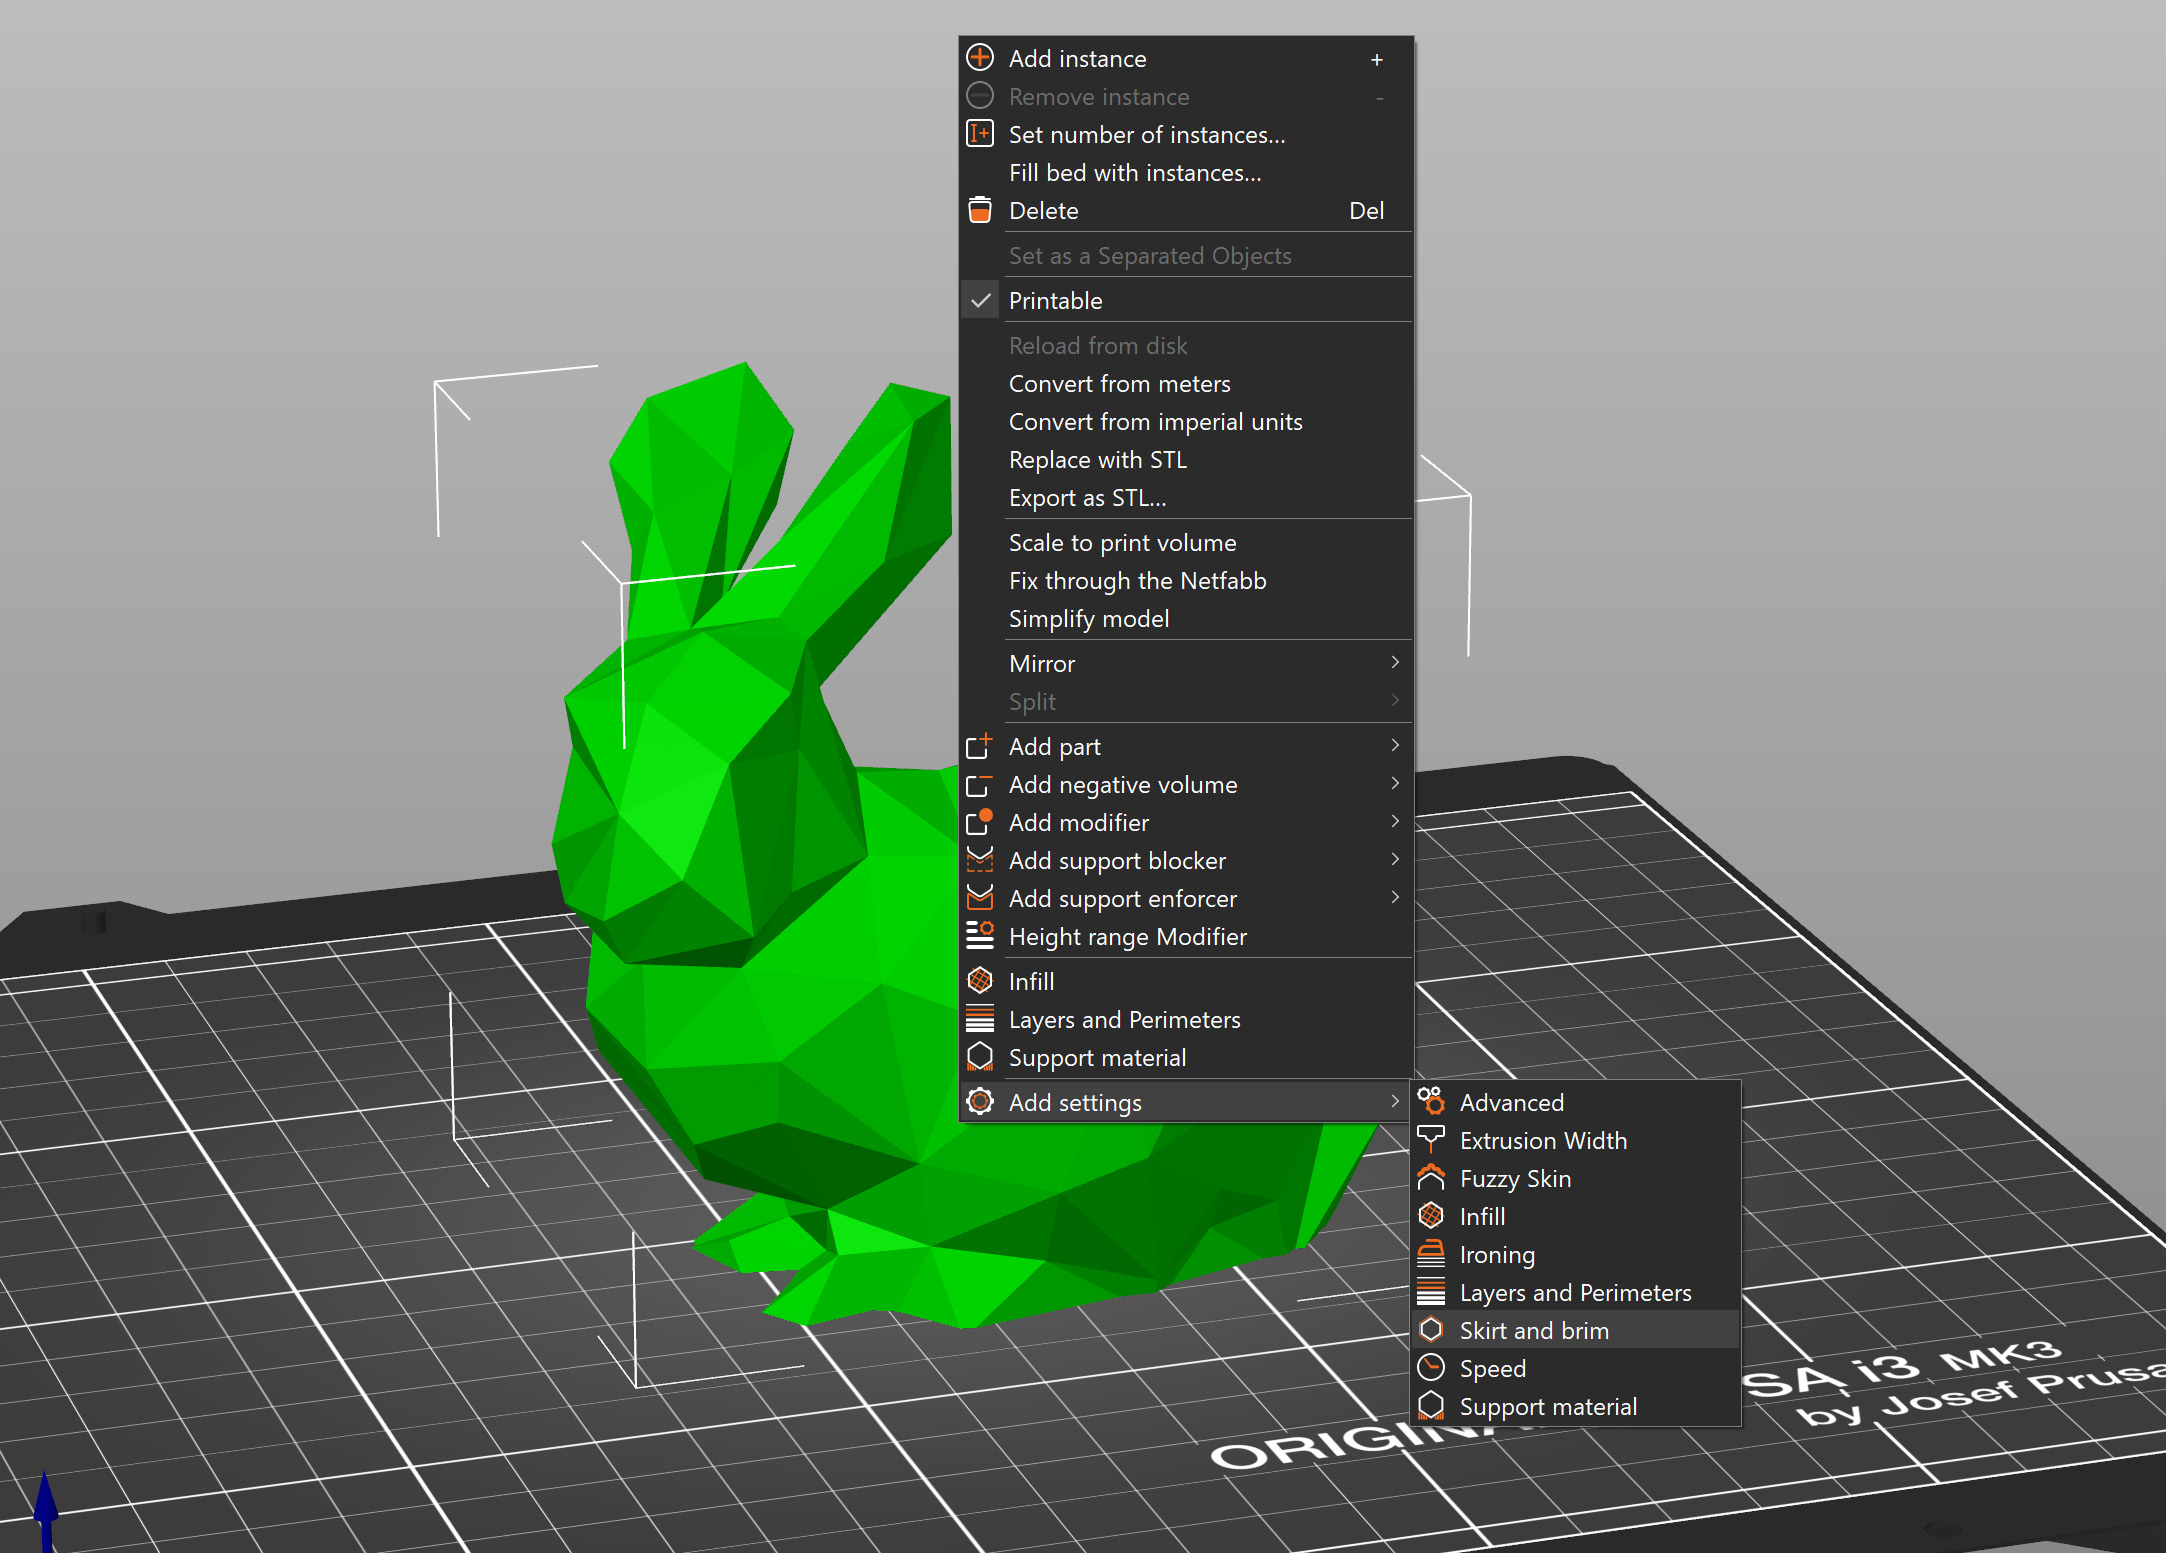
Brim for individual objects
You can turn on brim just for some of the objects and customize brim settings for each object separately. This feature is only available in the Advanced and Expert modes.
Right-click on a model and select Add settings - Skirt and brim. You can then pick which brim settings you wish to adjust for the selected model. These settings will appear in the right panel and override the global brim settings.
17 comments
This works perfectly in Bambu Studio though, it gives a Brim to parts inside a model too