The Prusa CORE One/+ and Prusa CORE One L are enclosed printers with a door. It is necessary for the door to be closed for printing.
The closed door improves the print quality, but also ensures your safety, concerning possible injuries from the moving components.
Procedure
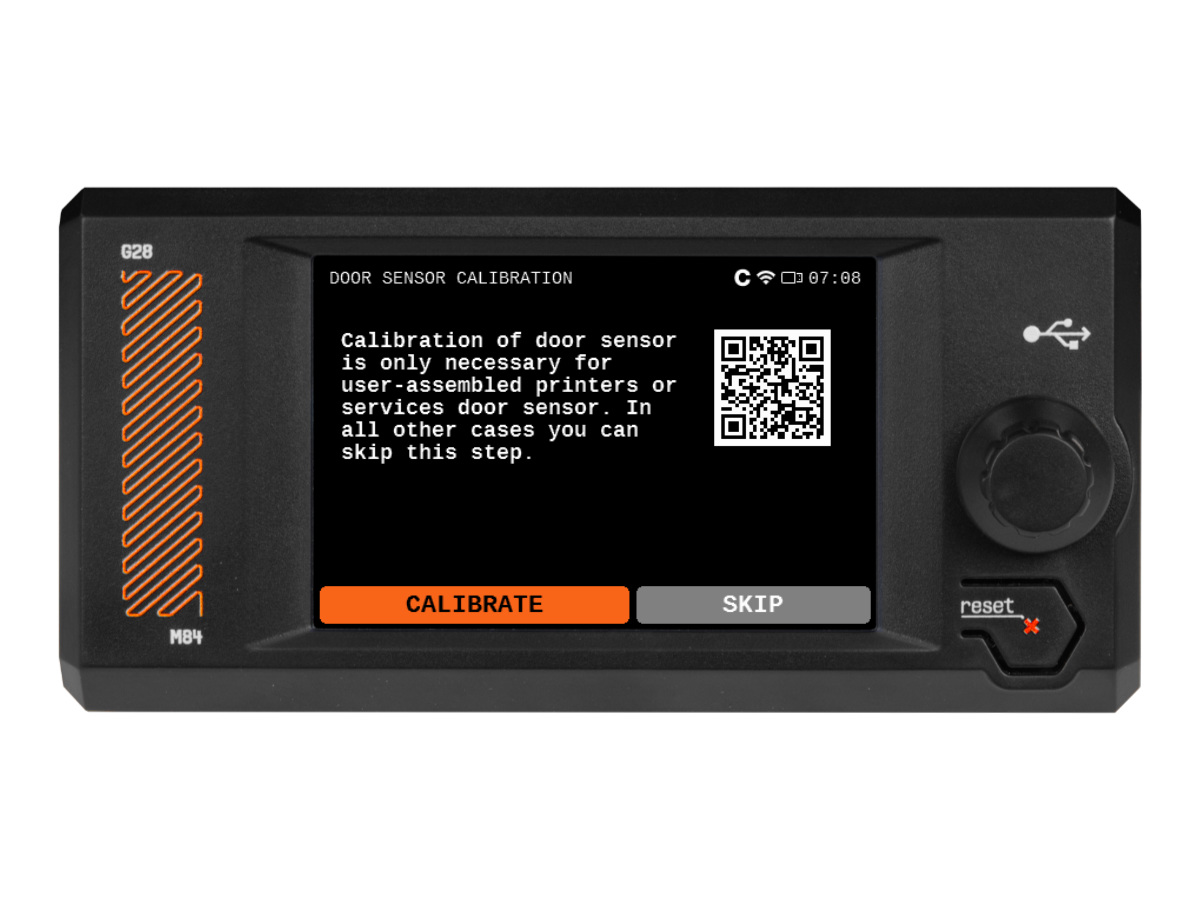
To calibrate the door sensor position, navigate to LCD Menu -> Control -> Calibrations & Tests -> Door sensor calibration. An introductory message is shown on the screen, select Calibrate.
The printer prompts to first close the door. Once the door is closed, press Continue.
Then, the printer prompts to open the door, and gradually tighten the sensor tension screw. Tighten the tension bolt by half-turn for each iteration. After each adjustment, observe the door sensor switch emerging from the front profile hole.

Once tightened, press Continue. Follow the in-screen instructions, the printer can instruct to further tighten the tension screw, to loosen it, or to continue to a successive step.
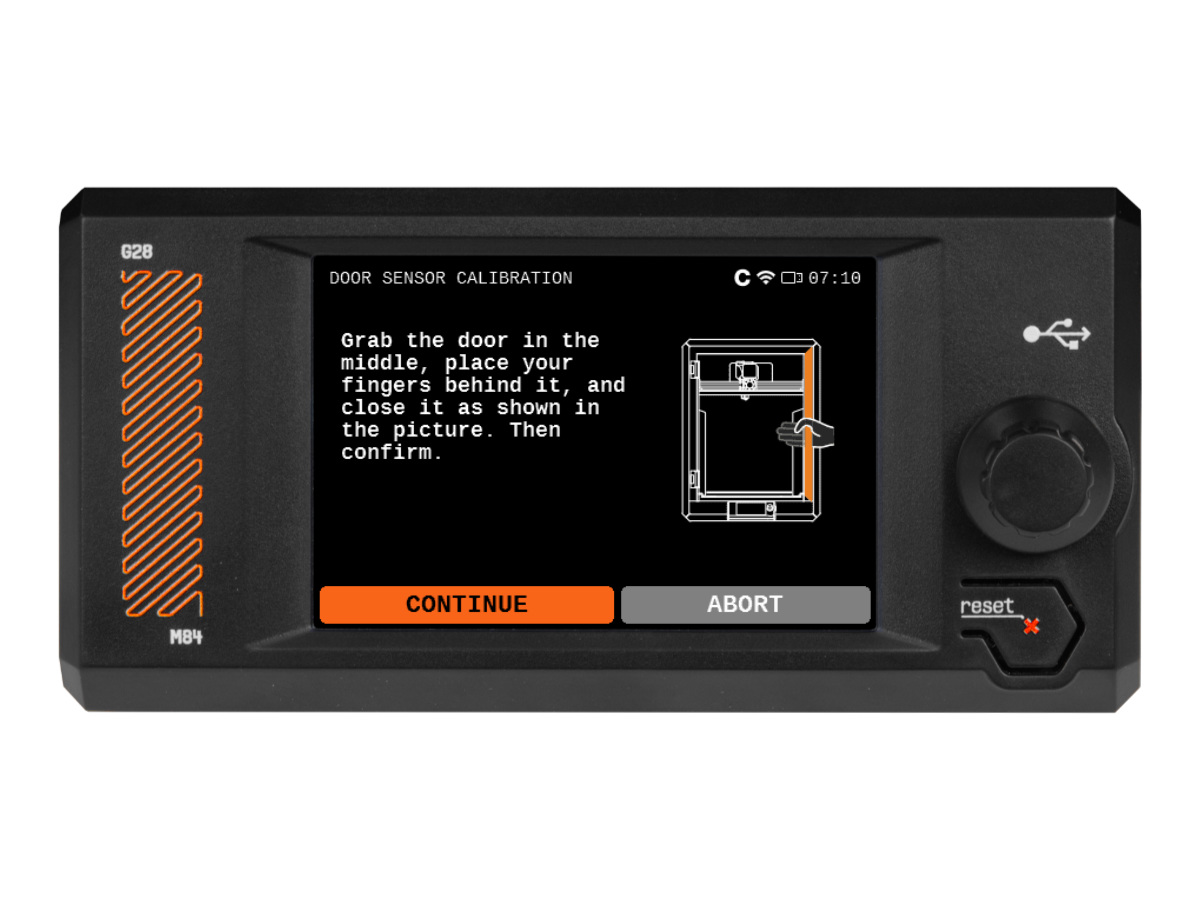
When the printer prompts you, place your hand as shown in the screen picture below.
 Once the sensor is calibrated, you should hear an audible click from the door sensor area when regularly opening and closing the door.
After the calibration, the status can be checked in LCD Menu -> Info -> Sensor Info -> Door Sensor.
Safety feature
By default, the printer has a safety feature that pauses printing if the door is open during a print.
 In-screen message shown when a door is open during a print.
This feature can be accessed and toggled on or off by navigating in LCD Menu -> Settings -> Door sensor.
4 comments
Personally, I think the tension screw is too short. In my case I couldn't make it push the switch forward enough.
If the issue persists, contact our technical support.
I had the same issue. It turned out that the sensor had been stuck too far forward, so that loosening the screw was not backing it into the printer.
I loosened the screw right back, and pushed/rotated the sensor backwards through the hole until it sat against the adjuster body (it is mounted by a screw that is left slightly loose, so it should be possible to move it).
Then I tightened the screw again until the sensor emerged through the hole. At that point the calibration went smoothly.
JA