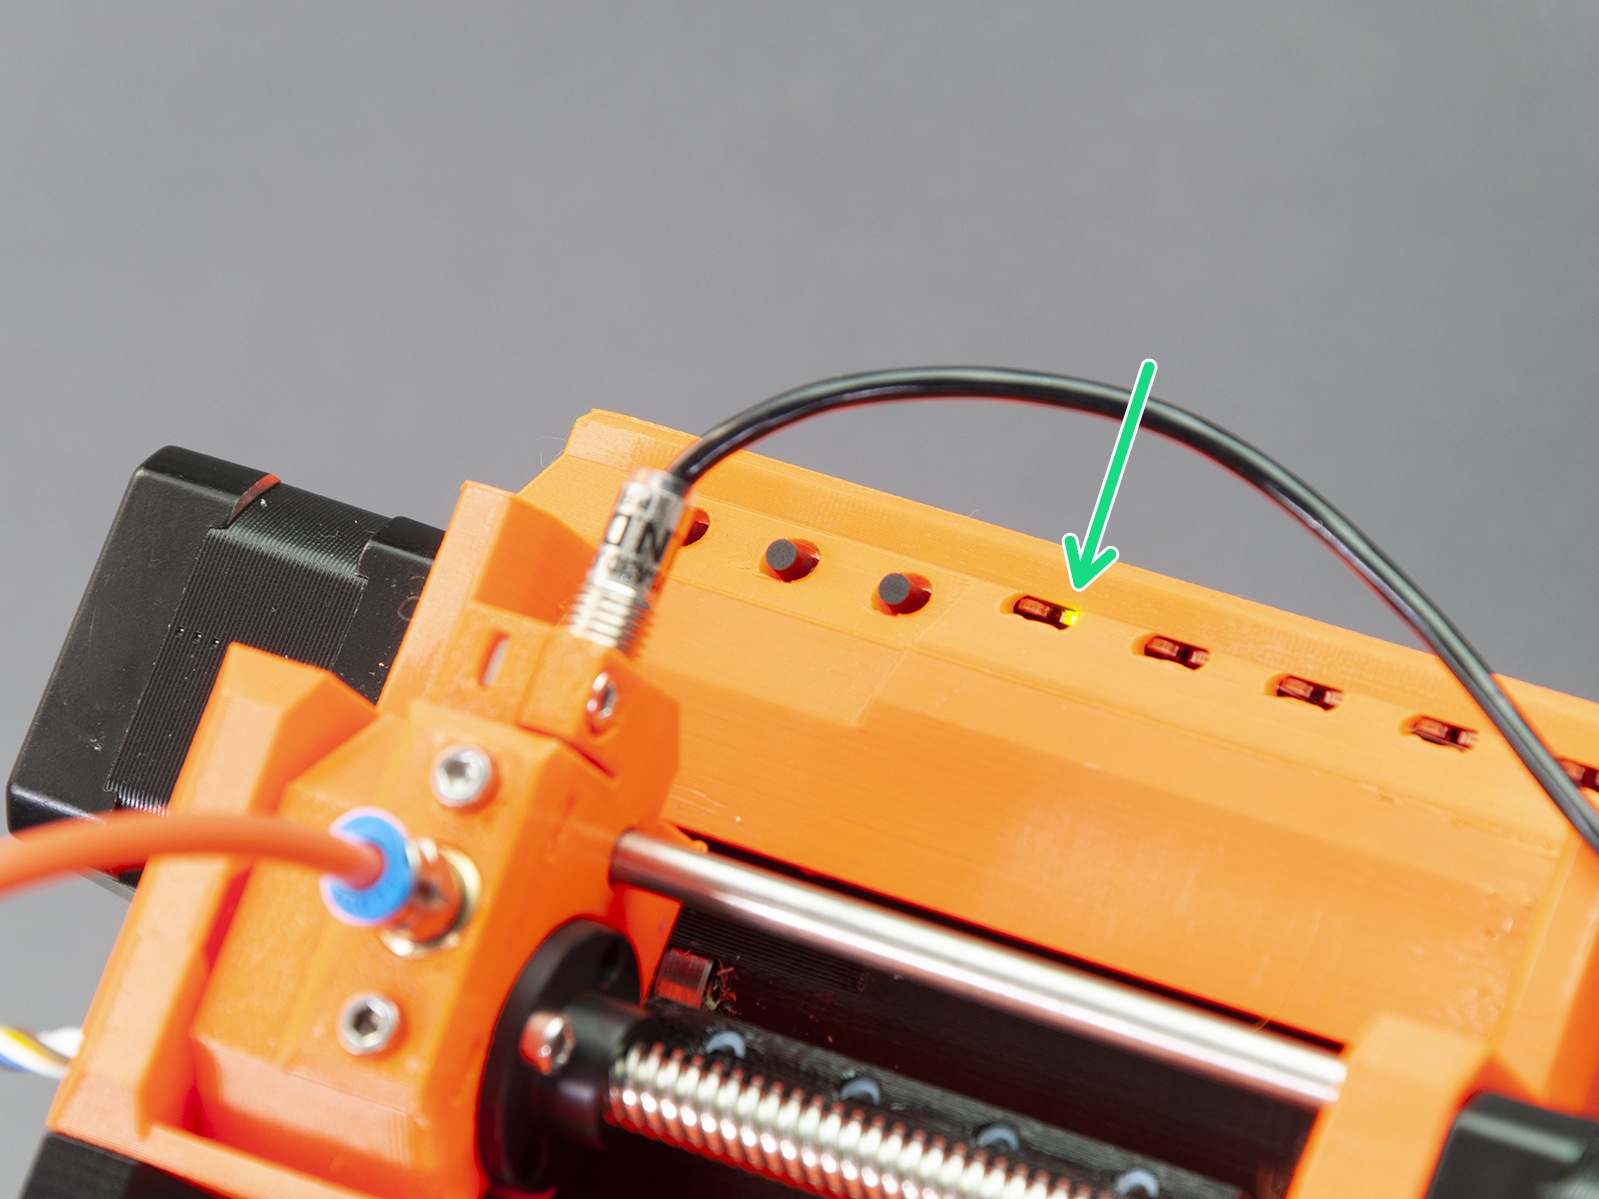
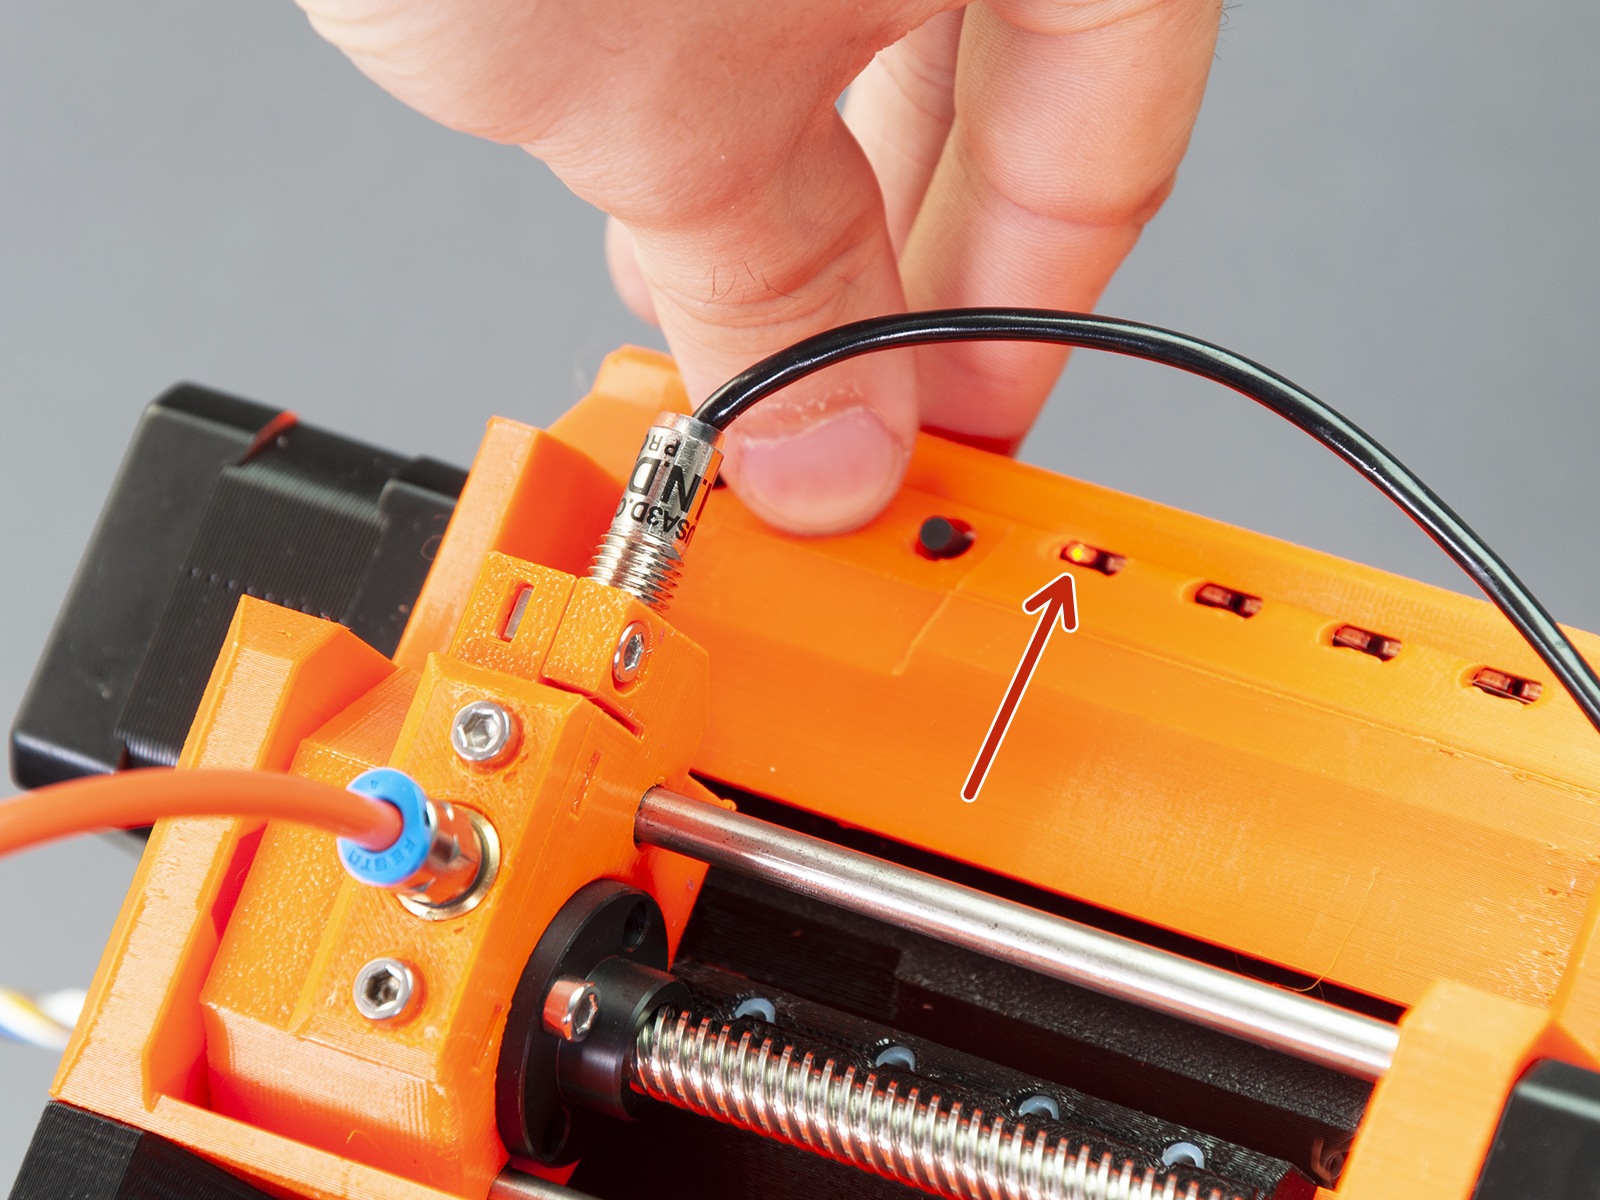
As you can see, there are five main LEDs on the MMU2 unit. Their arrangement corresponds to the arrangement of the 5 PTFE tubes and 5 filament channels. Each LED consists of two sub LEDs: Red status LED Green status LED.
Green light
As you would guess, the green light means that everything works as it should.
- Stable green light (not flashing) - selector moved to the current position and ready.
- Stable green light after loading - filament successfully loaded.
- Rapid green flashing light (after pressing the middle button) - The filament loading sequence.
This sequence won't stop until FINDA senses the filament flowing through or the user cancels the operation pressing the middle button.
Red light
As for the red light, its meaning also depends on the context:
Stable red light (not flashing)
Wait until the printer finishes the current activity (there is not necessarily a problem).
Slow flashing during print
An error occurred during the filament load.
- Pull the problematic filament out from the PTFE tube and cut the end to create a sharp tip
- Insert the filament back into the white PTFE tube
- Press the middle button to start the loading sequence
- Push the filament until it’s caught by the drive gear
- If the LED turns red and green, press the right button for 1-2 seconds to continue the print
- If the LED turns red, repeat the process.
Rapid flashing during print
An error occurred during filament unload.
- Remove the orange/white PTFE tube by unscrewing the silver fittings from MMU2 body
- Check whether there’s a filament string stuck in the MMU2’s selector
- Pull the filament out from the orange/white PTFE tube:
- If you’re unable to remove the filament from the tube, proceed to the other end of the tube
- Release the Festo fitting on the extruder and if needed open the extruder idler
- Then pull the filament out from the extruder body
- Using your fingers move the filament back in the MMU unit and leave about 1 cm sticking out.
- If the filament is stuck inside the selector and you’re unable to move it, press the left button - this will start load/unload:
- If the printer failed at the loading stage the button works in loading mode
- If the printer failed at the unloading stage, the button is in unloading mode
- The middle button will be used now. Press it once and wait for the printer to finish the auto-check procedure.
- If the procedure finishes correctly, the LED above the affected filament will turn to red-green flashing, if the procedure fails it will remain red.
- To continue after fixing the issue, press the right button.
All five LEDs blinking red after power on
If the filament is present in the selector during power-up, it’s detected by the FINDA and the standard booting move sequence is interrupted, as it would bend or break the filament. Remove the filament manually first so the boot can continue. No need to press any button. As soon as you take the filament out, the printer will continue by itself.
- Try to pull the problematic filament out from the back.
- If you’re unable to pull the filament out, try powering the printer off and try again.
- You can unscrew the FESTO coupling from the MMU2 selector and instead pull the filament out from this side. If you’re able to pull the filament out in this direction, cut it near the spot where the filament enters the white PTFE tube.
- As a last resort, remove the selector motor by unscrewing the 3 screws holding it and push the smooth rods out with an Allen key. You can then easily remove any debris stuck in the selector.
All five red and green LEDs blinking
Resetting the MMU2S using the reset button on the side of the unit is usually enough. However, if all the LEDs keep on flashing simultaneously, then it may be a power issue:
- Inspect the signal cable and MMU2S power cable for damages and check if they are properly connected to the MMU2S control board and to the printer's Einsy board.
- Verify the proper connection of the filament sensor to the Einsy board.
- Try flashing the firmware of the MMU2S unit again, even if you are on the most current version.
15 comments
Hi!
This really might be happening due to faulty data / power cables or a faulty electronics control board. Please, try contacting Support again.
This problem might be solved by the MMU2S to MMU3 upgrade kit once it is available.
This problem "MIGHT" be solved is not good enough for me, do you have assurance that this WILL solve the problem?
i want to buy MMU3 to solve this problem, but i don't want this to become another problem that i will not be able to refund if this failed. will there be another MMU3S to fix the issue?
no offense, but i thought MMU2 "S" should work as intended and should fix the previous problem before (MMU2), but no, happend again.
sorry i was just frustated by the lack of meaning behind "All five red and green LEDs blinking", seems like every other error, just put it in the "5 LED", then reset is the only option.
Certainly not every prusa MMU owner experiences the issue, but many do.It really does happen, and the above two fixes really do fix it. The first one is regarded as "interim" or temporary, the 2nd one as a more permanent solution.
The electronics error is not an only possible cause of ALL LEDs blinking by the way. Also, the 5V VCC supply goes through the data connector, not the power connector. Ground is used from the power connector.
(Wrote this in another place, but thought it might be helpful here as well)
Later, I found: Its also possible to get the same symptoms with a fault not on the finda itself, but on the connector going onto the Marlin MCU board. What happens is that the wiring vibrates when the printer is busy printing. This causes the MMU wiring to jiggle. The connectors leading to stepper motors and finda also vibrate. This can cause poor connection inside the connector. The "solution" is to apply Deoxit contact cleaner to the female pins inside the connector, which are made from Tin. Deoxit Gold conact protector can help maintain the connection to be more reliable, but ultimately it might become necessary to replace pins in the connector.