On the Original Prusa XL, adjusting the belt to the optimal tension is crucial to achieving good quality on the prints. A loose belt can cause Layer shifting, Ghosting, or other print abnormalities, like getting an irregular shape instead of a perfect circle. An over-tightened belt can cause an irregular movement in the X and Y axes.
The Original Prusa XL geometry is CoreXY: it has two belts for the XY-axes.
Alignment
It is crucial to have perfect alignment between the right and left sides. The X-axis should reach both sides of the front printed parts at the same time.
For the procedure, ensure the stepper motors are disabled. This can be done by switching the printer off, or through the LCD Menu -> Control -> Disable Motors.
By hand, move the toolchanger or Nextruder to the frontmost Y-axis position, and to the center of the X-axis.
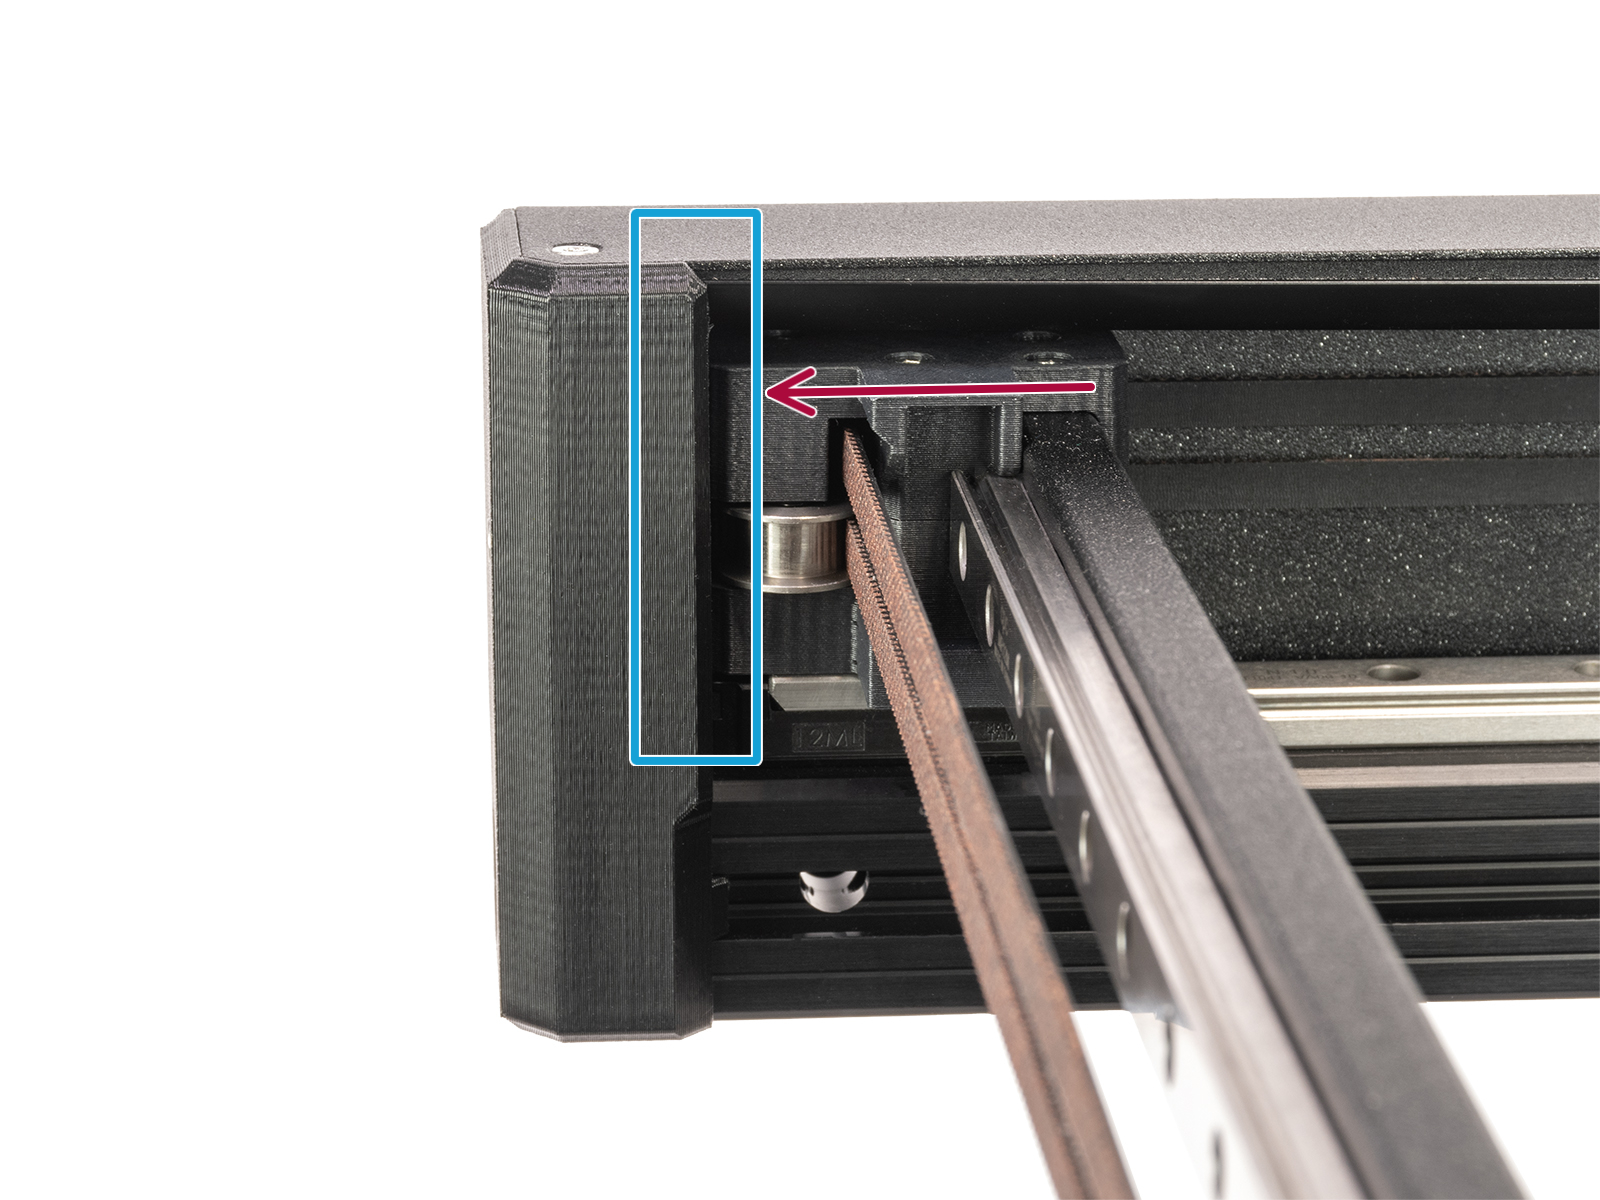
Test the alignment by squeezing the CoreXY gantry and the corner printed part, first on one side and then on the other. There should be no play between the parts. With perfect alignment, the squeezing test on both sides feels like pressing two solid objects together.
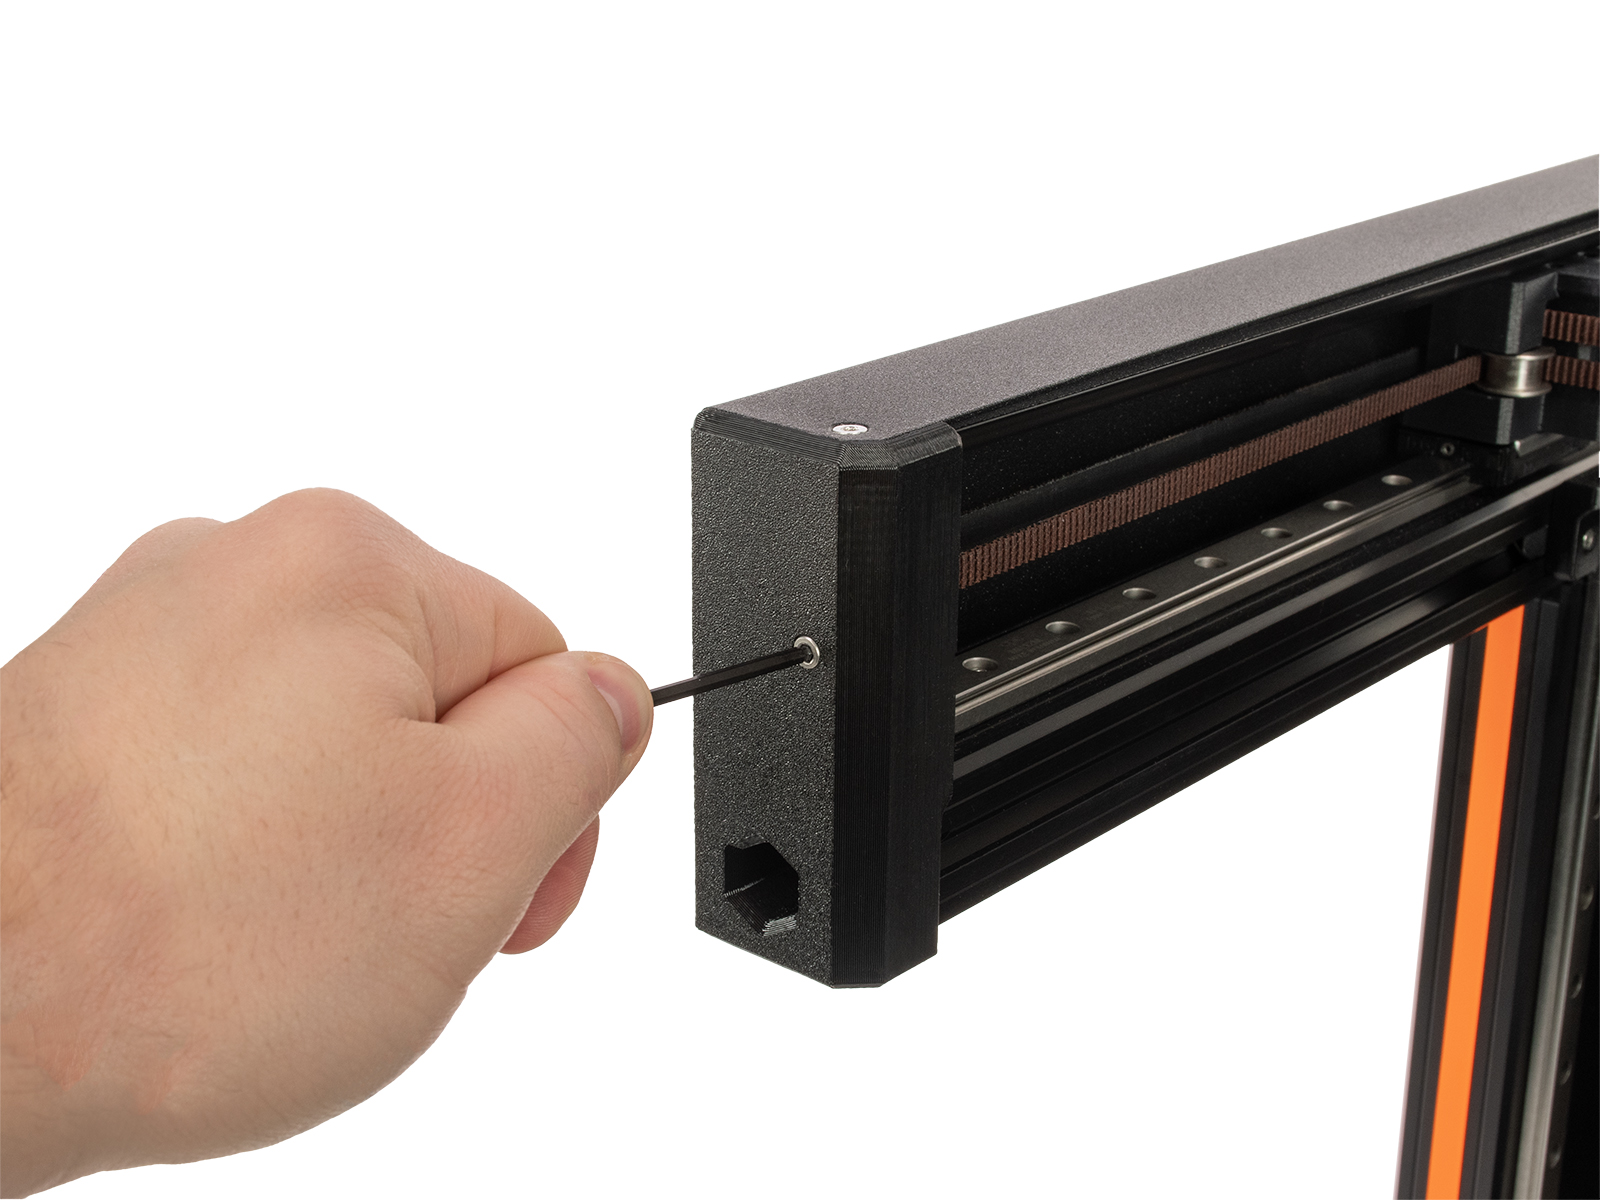
If there is misalignment, then the squeezing test reveals play in the front corner. In that case, loosen the belt on both sides slightly until the gantry is aligned. Loosen the tensioning screw of the corner with more play less than the other.
Repeat the procedure and squeezing tests until perfect alignment is achieved.
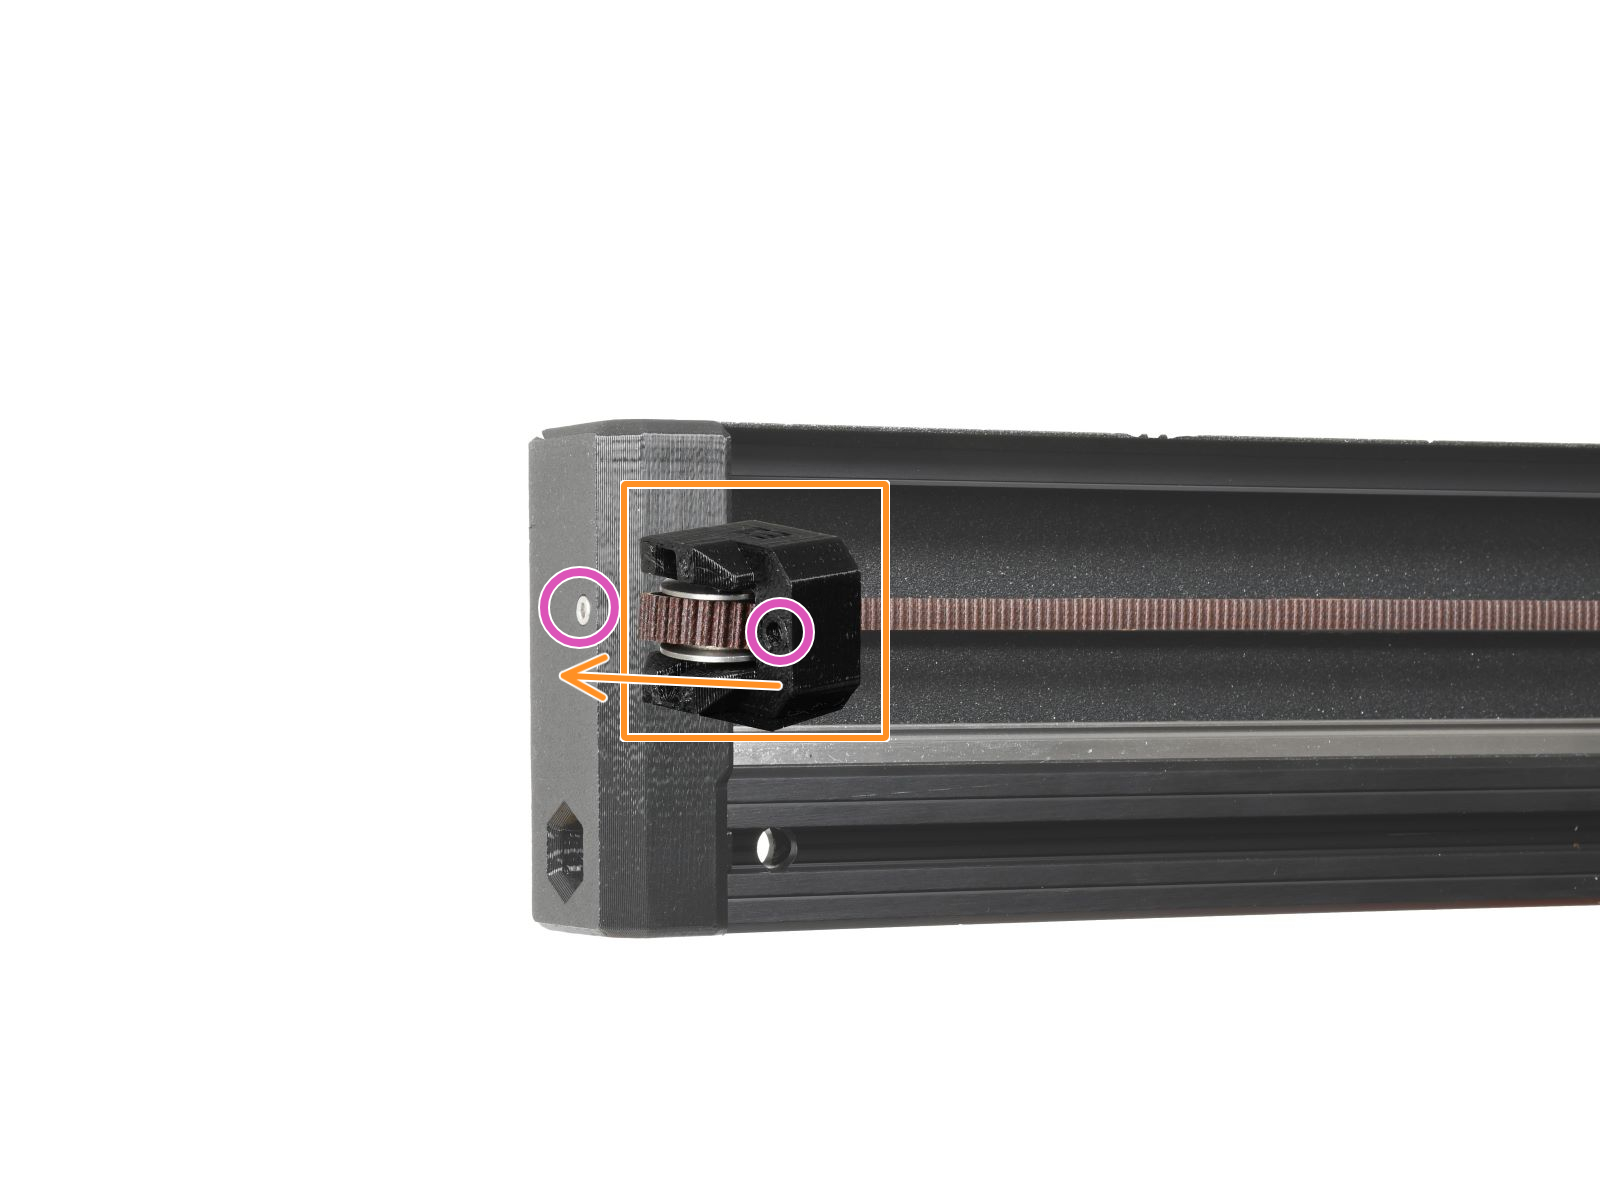
The right side image shows the mechanism behind the tensioning screw. Tightening the screw pulls the tensioner towards the front, resulting in a more tensioned belt on that side.
 |  |
Belt tuner
We have our own belt tuner. The application determines the belt tension by measuring the frequency of the vibration generated by strumming it. Follow the instructions in the video below to adjust the belt.
Homing tower
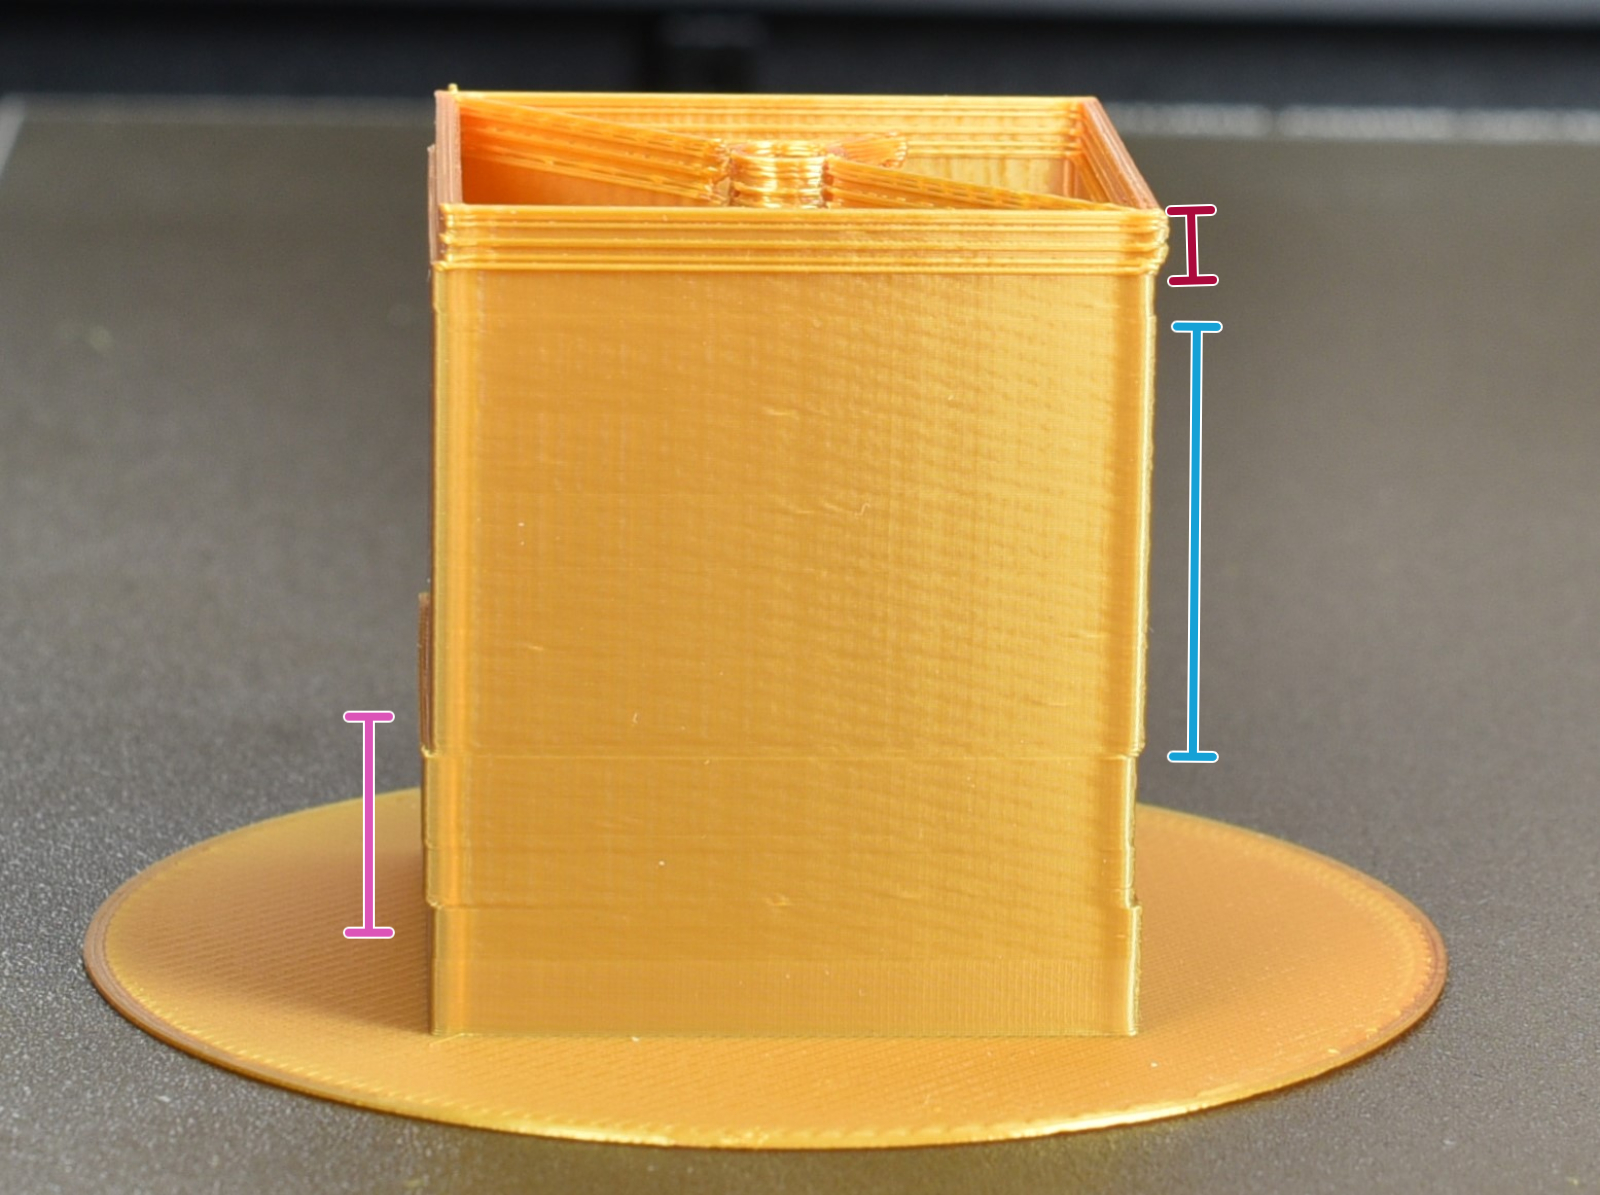
We prepared a specific homing tower, to visualize possible issues with the belt tension and have the possibility to correct them on the spot.

In case the belt is loose, the tower will have an inconsistent finish, with scattered material on the walls instead of a smooth finish. Without interrupting the print, tighten the screws on both Y-axis rails by half turn.
If the print finish does not fully improve, repeat the procedure once again, until the homing tower has a smooth, consistent finish.
An over-tightened belt can result in layer shifting.
Once the tower has a smooth finish, loosen the same screws very slightly, and observe if this further improves the tower. Repeat the procedure until the tower has an ideal finish.

38 comments
Also advice to use a glossy PLA would be a helpful tip to start. I shouldn't have to dig through comments to figure these things out.
I don't know if it is possible to post more pictures about what could go wrong. I'm doing a lot of hit-or-miss experimentation to see what happens. It's pretty random. It would be helpful if there was more explanation about how tight and loose belts could produce different results and what "optimal" should be.
Any advice? Core One, prebuilt.
I kept getting constant readings of 120 Hz and telling me to loosen the belt. Well in order for the tuning to work appropriately the belt needs to be decently tightened before it will actually register appropriately. Once I got it to that point making adjustments to the appropriate frequency was much easier and consistently sounds much better.
Running a homing tower now to see if everything looks good.
Turn heating off for a few minutes and worked like a charm :)
All this to say, if it reads high/too tight, and the mic is confirmed on, it's picking up something. find what it is.