The M.I.N.D.A./SuperPINDA sensor height is set during the production. You can check its proper position by following this step.
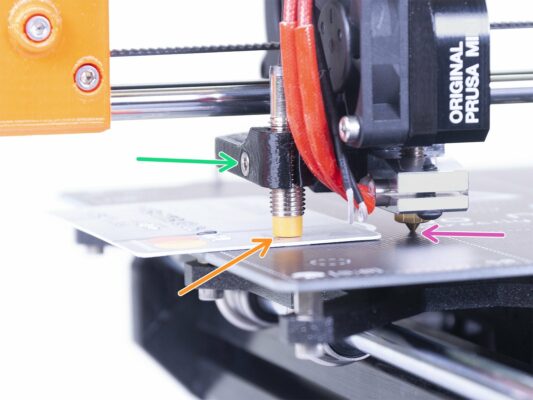
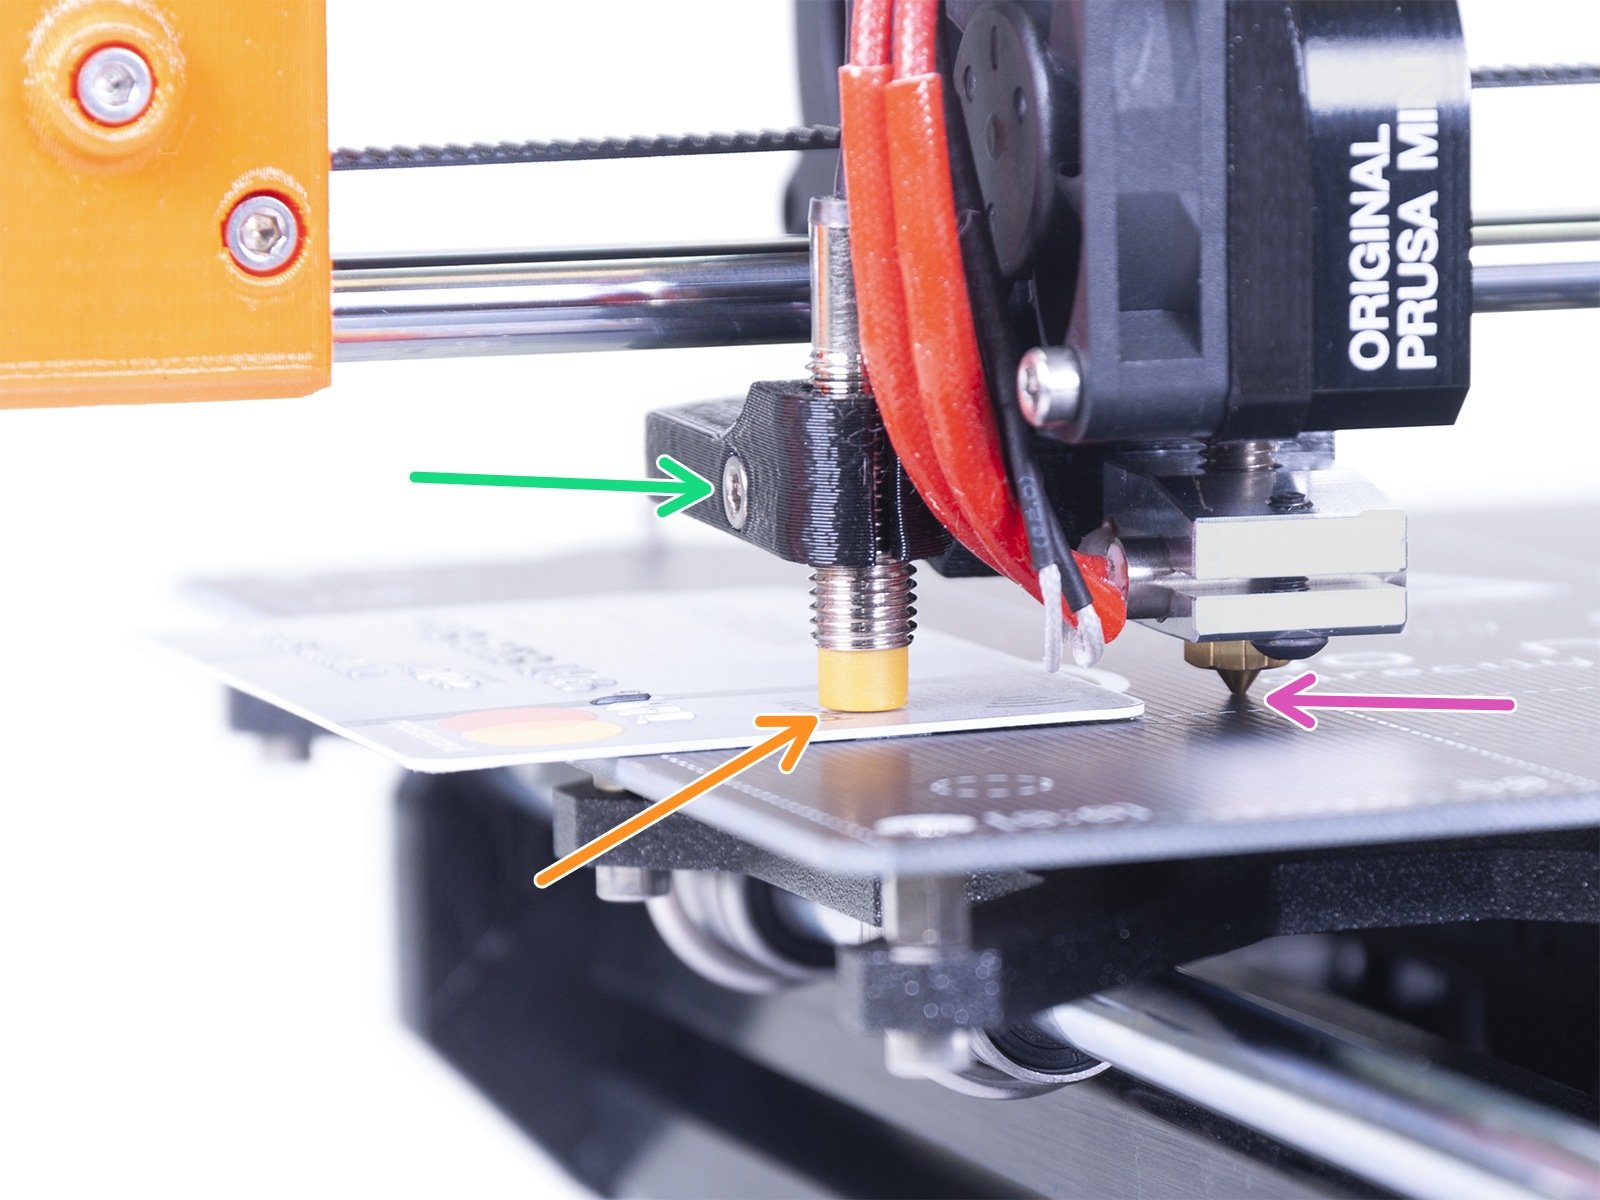
⬢Correct height between nozzle's tip and the sensor is 0.8-1.0 mm.
⬢Carefully lower down the entire X-axis by rotating the lead screw. Until the tip of the nozzle touches the surface of the heatbed. Avoid bending the heatbed!
⬢Release the screw so you are able to adjust the sensor.
⬢Use your old credit card (new might be demagnetised), or the tip of the zip tie to set the correct height.
⬢Tighten the screw. Then carefully move the axis around 5 mm up, before you turn the printer on.
In case you have an embossed card, avoid using the area with symbols, as this part is thicker.
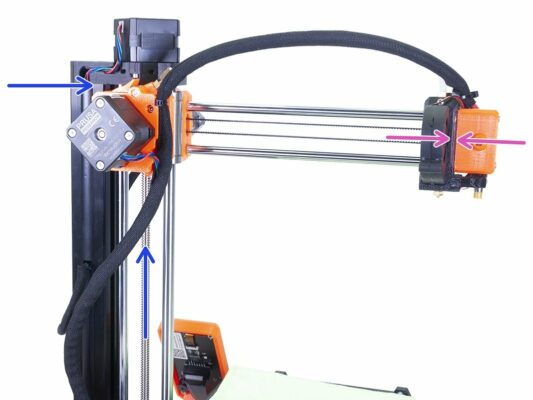
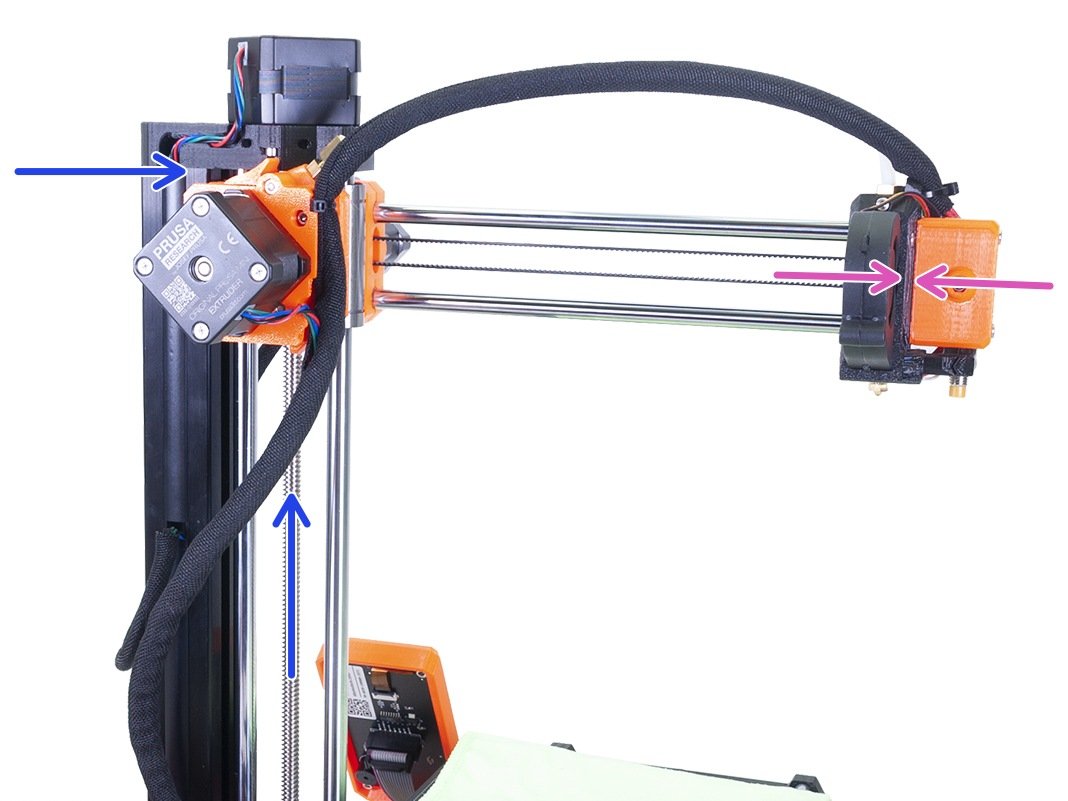
In rare scenarios, it might happen that the length of the cable bundle is not distributed properly and some wires are being pulled, when the print head is in its maximum range. Let's fix that :)
⬢First, before you disassemble anything, let's do a final check. Rotate the lead screw until the X-axis is all the way up.
⬢Move the print head all the way to the right and ensure it is touching the printed part.
The print head must stay in this position on its own. If not, then the entire cable bundle above the X-axis is too short.
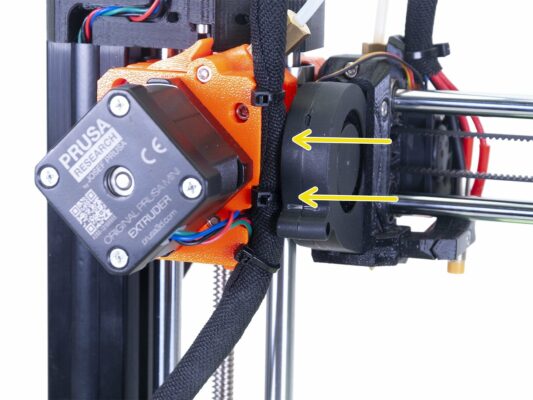
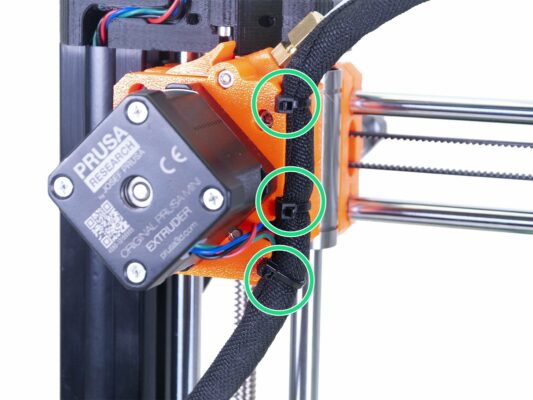
⬢To fix the cable redistribution, cut all three marked zip ties. Make an adjustment, so the print head can touch the end of the axis freely. Don't be too generous with the length of the cables above the axis, as you might overstretch the cables leading from the electronics box.
⬢When satisfied, reapply the zip ties and ensure the heads aren't in collision with the fan's casing.
If you have a question about something that isn't covered here, check out our additional resources. And if that doesn't do the trick, you can send an inquiry to [email protected] or through the button below.