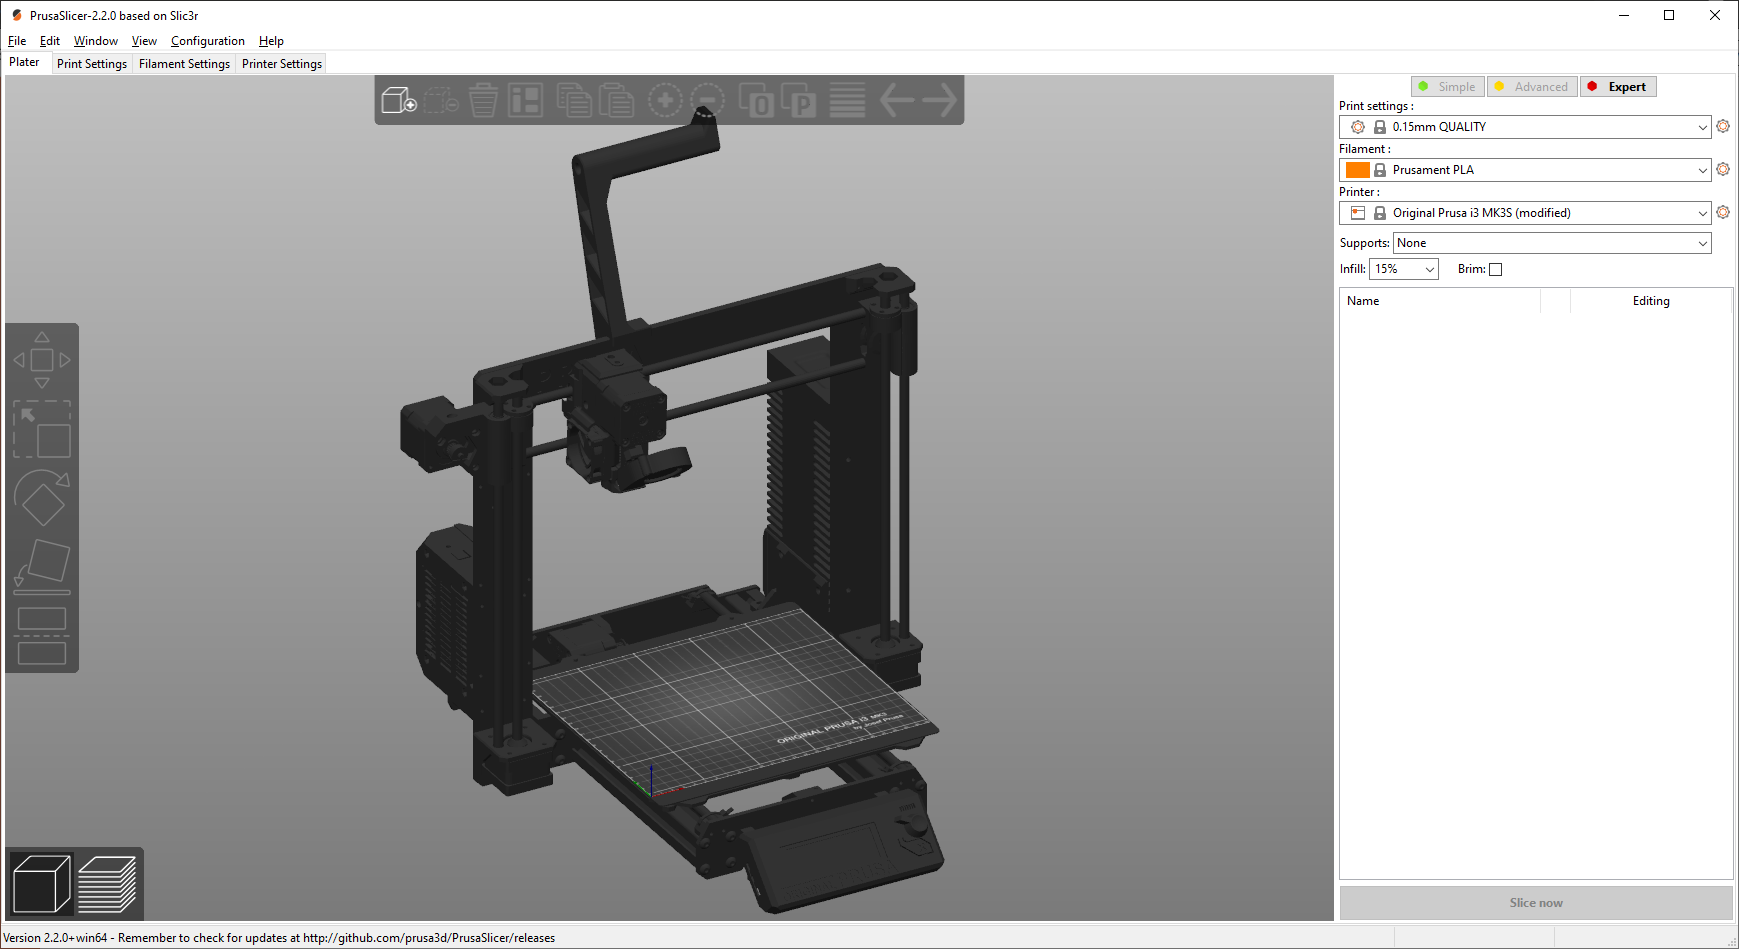
PrusaSlicer lets you choose a custom STL and use it as the bed model.
You can assign it by selecting Prints tab -> General -> Bed shape -> Set and using Load... in the Model section.
If you save the Printer preset, this custom model will be loaded automatically every time you select it.
The origin position
The position of the model origin (point with coordinates x:0, y:0, z:0) needs to be in the middle of the print bed area. If you load a custom model and it appears misaligned, the origin is not set properly.
To edit the origin position, you can use most 3D programs, such as Blender. Place the 3D cursor in the desired origin position, for example, by selecting two vertices in the opposite corner and using (F3) Snap cursor to selected. Then right-click the model and pick Set Origin - Origin to 3D Cursor.
Then move the cursor back to world origin (F3) Snap Cursor to World Origin. And lastly, pick (F3) Snap Selection to Cursor with the print bed model selected.
You can now export the STL (File-Export-STL-Tick "Selection only").
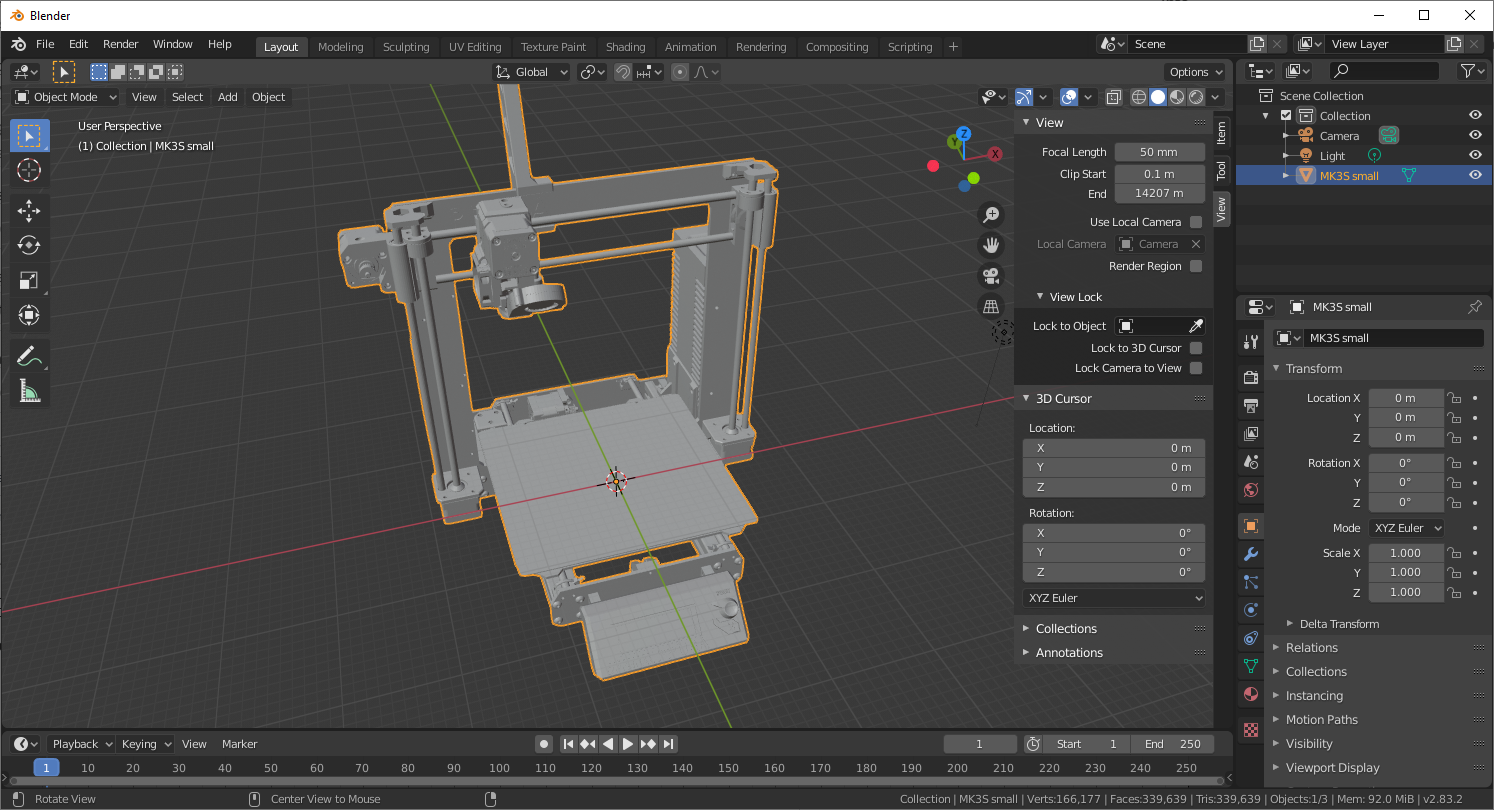 A custom bed model opened in Blender, note the position of the model origin in the middle of the print bed. Also, note the unnecessarily high polygon count
Polygon count
Try to keep the polygon count as low as possible. The print bed model is visible almost at all times and having a high polygon count will add unnecessary load to your device.
An example size of a small model:
50 kB, 1500 vertices, 3500 faces
3 comments