Relevant for


The Extrusion Multiplier allows the fine-tuning of the extrusion flow rate - simply described as how much filament comes out of the nozzle. In other words, the Extrusion Multiplier setting in PrusaSlicer and the Flow rate setting in printer firmware are two ways to adjust the same thing, however, adjusting one of those two settings will not influence the value of the other.
This procedure is not necessary with a new printer coming from the factory, but rather applies for specific applications and filaments. The ideal value is different for every type of material and every color. It can even differ from spool to spool. Bear this in mind if you change type and brand of filament often or use cheap no-name brands.
This calibration is used to fix two common problems:
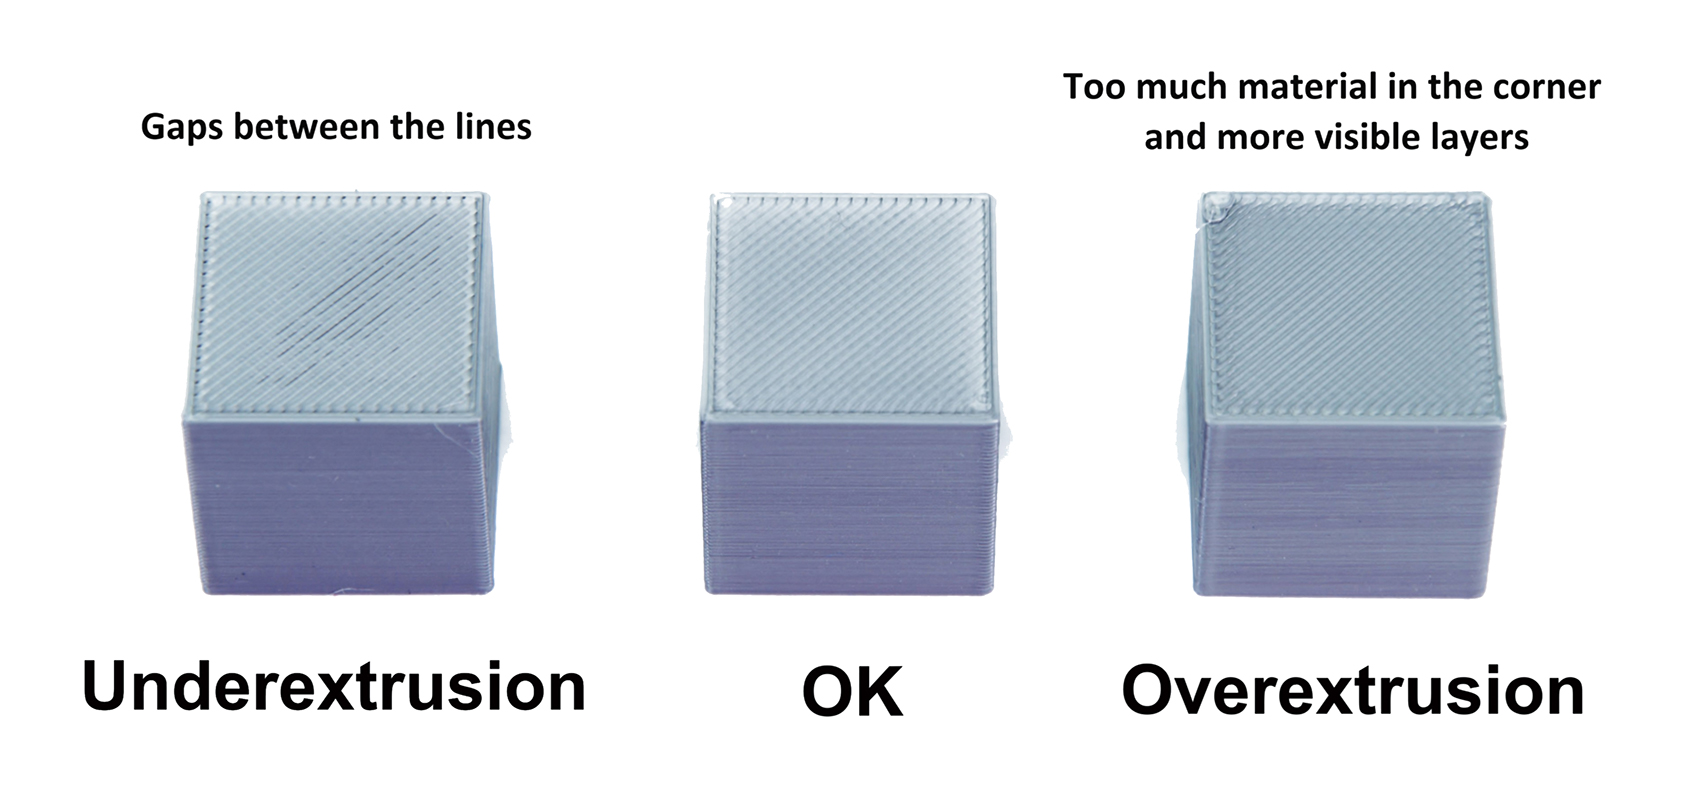
Overextrusion is a common problem with many filament brands. It's especially problematic when you're trying to glue two parts of the model. If the top layer is over extruded, you'll end up with an uneven surface that will prevent a seamless connection between the two pieces.
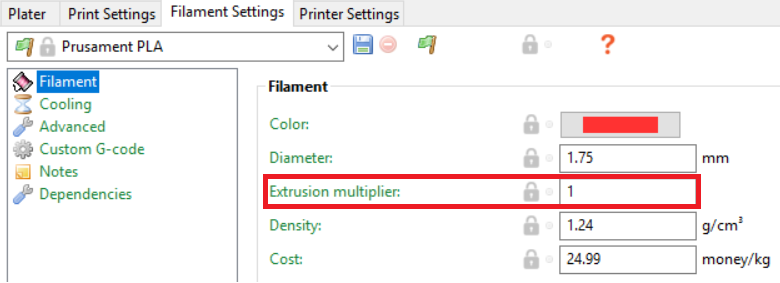
In PrusaSlicer, navigate to Filament Settings and look for Extrusion Multiplier. The default setting (for PLA) is 1, this value represents a percentage, 1 = 100%, 0.95 = 95% etc. Usually, the adjusted values can be between 0.9 and 1.1. To adjust it, simply rewrite the value.
In the printer menu, during a print, go to the Tune menu and then choose Flow. Again, the usual values can range between 90 and 110, although that does not mean you can't go above or below that.
There are two methods you can use to calibrate the Extrusion Multiplier, and we'll cover both of them in this article:
The choice of the method depends entirely on your preferences; in the end, both yield similar results. Even the visual method will enable you to have perfectly fitting parts with smooth & flat top layers.
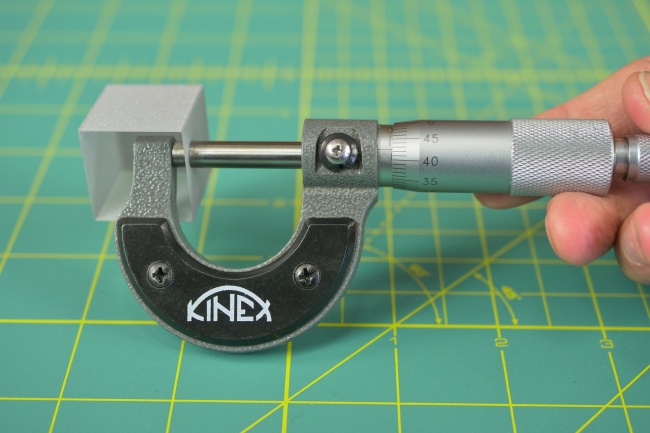
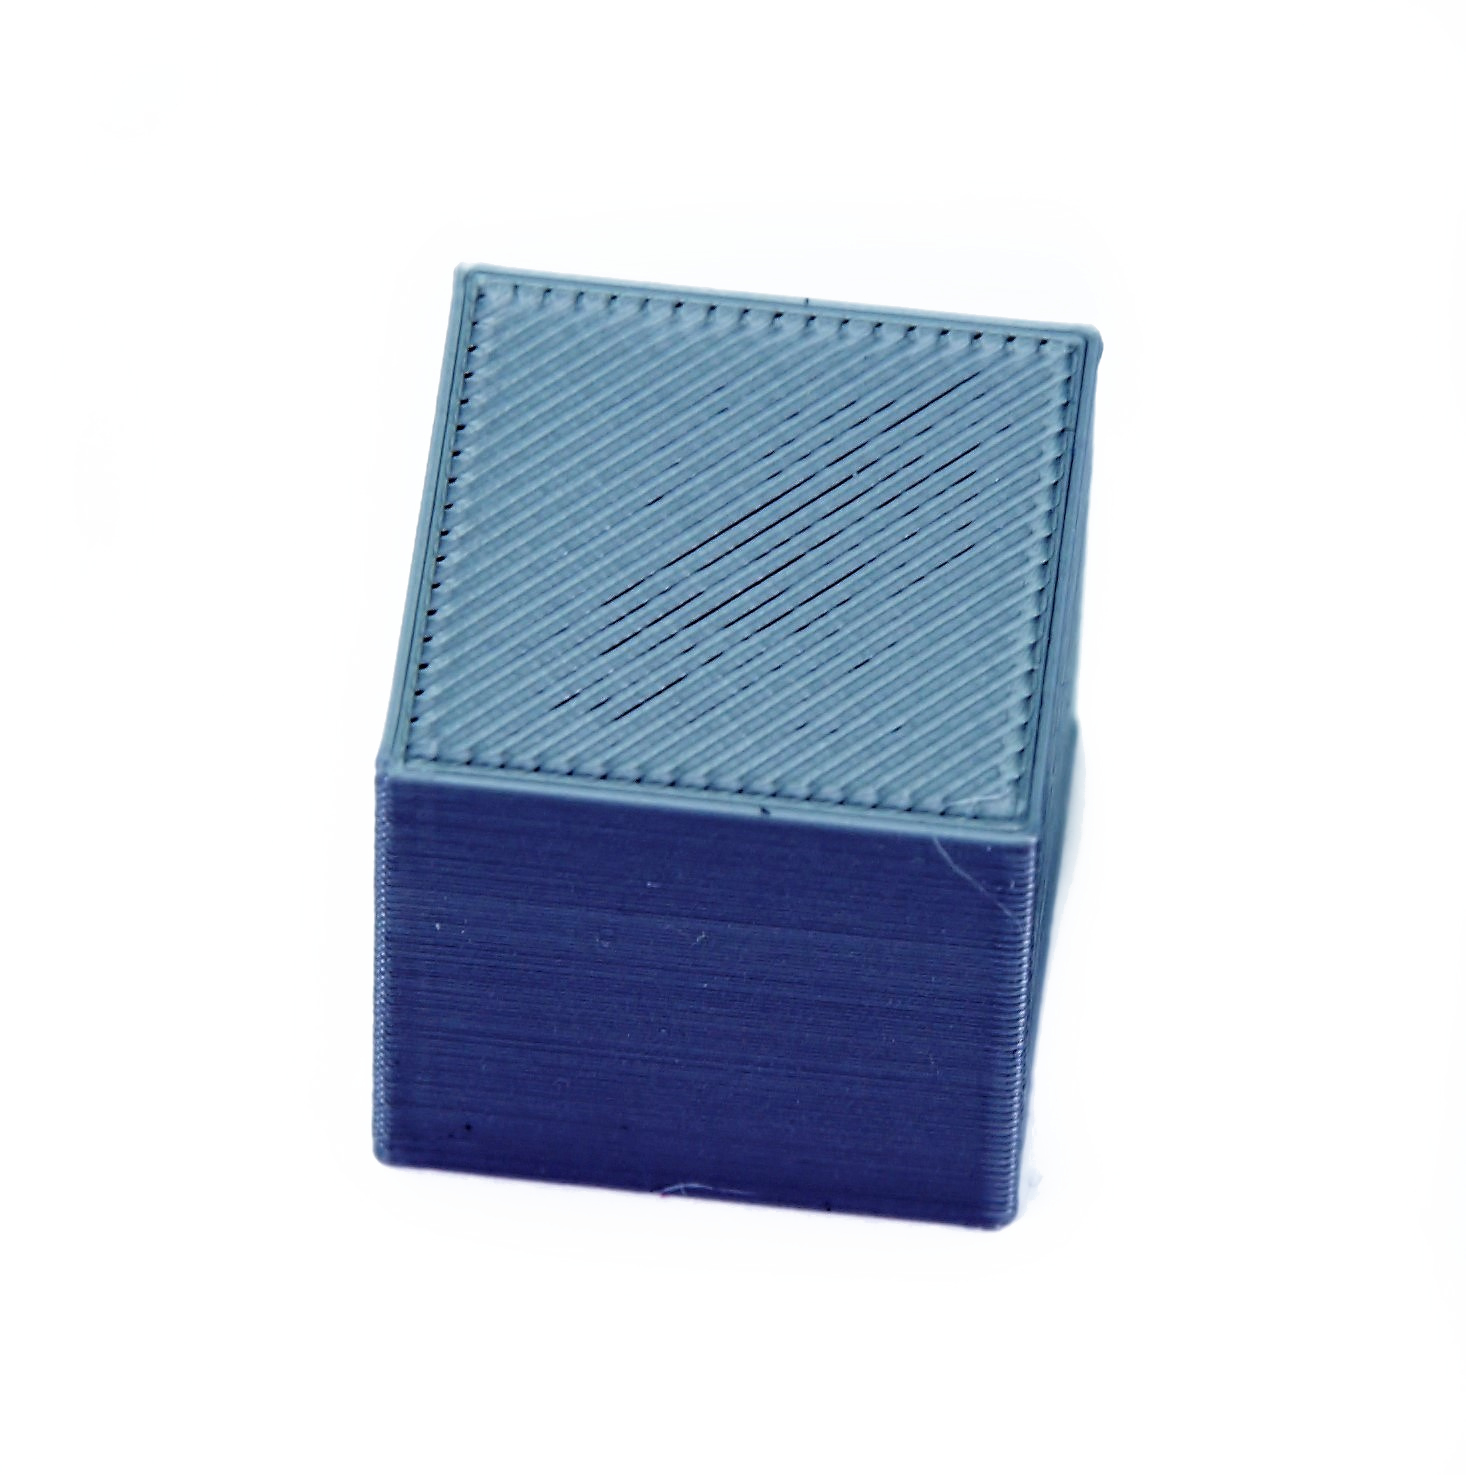
This method does not require any tools, only your sight. The point is to make sure your top layers are smooth, shiny, and without scarring or filament buildup near the perimeters.
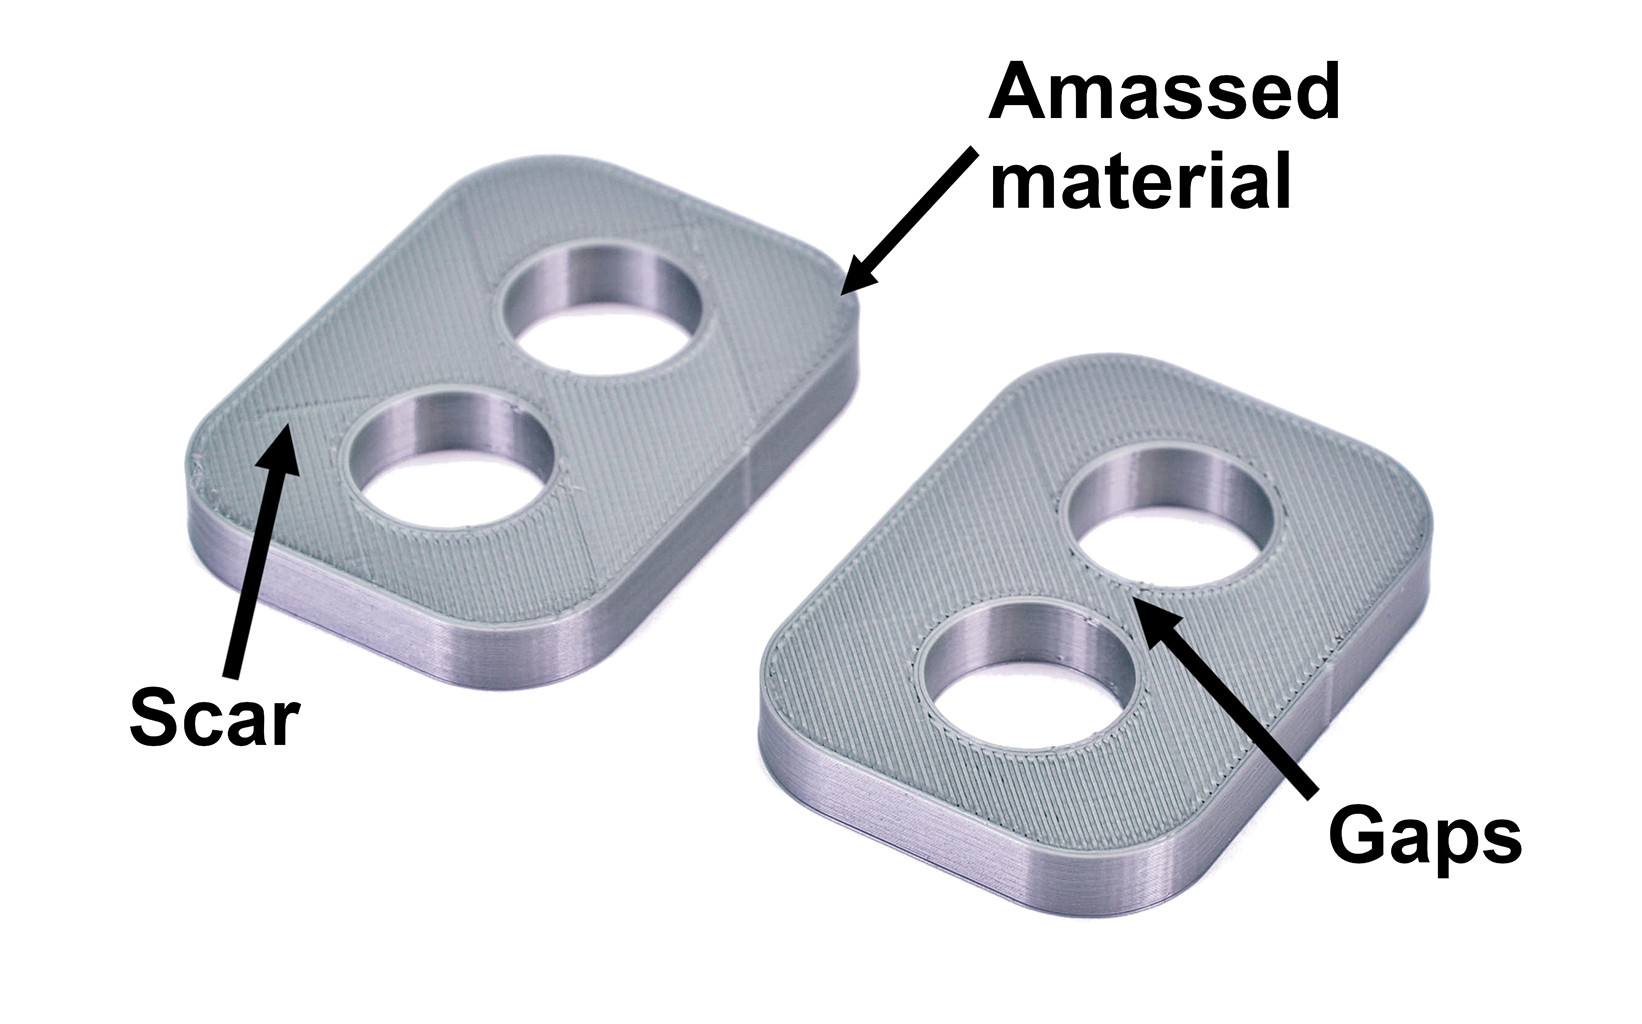
If there is too much material near the perimeters, decrease the Extrusion Multiplier value.
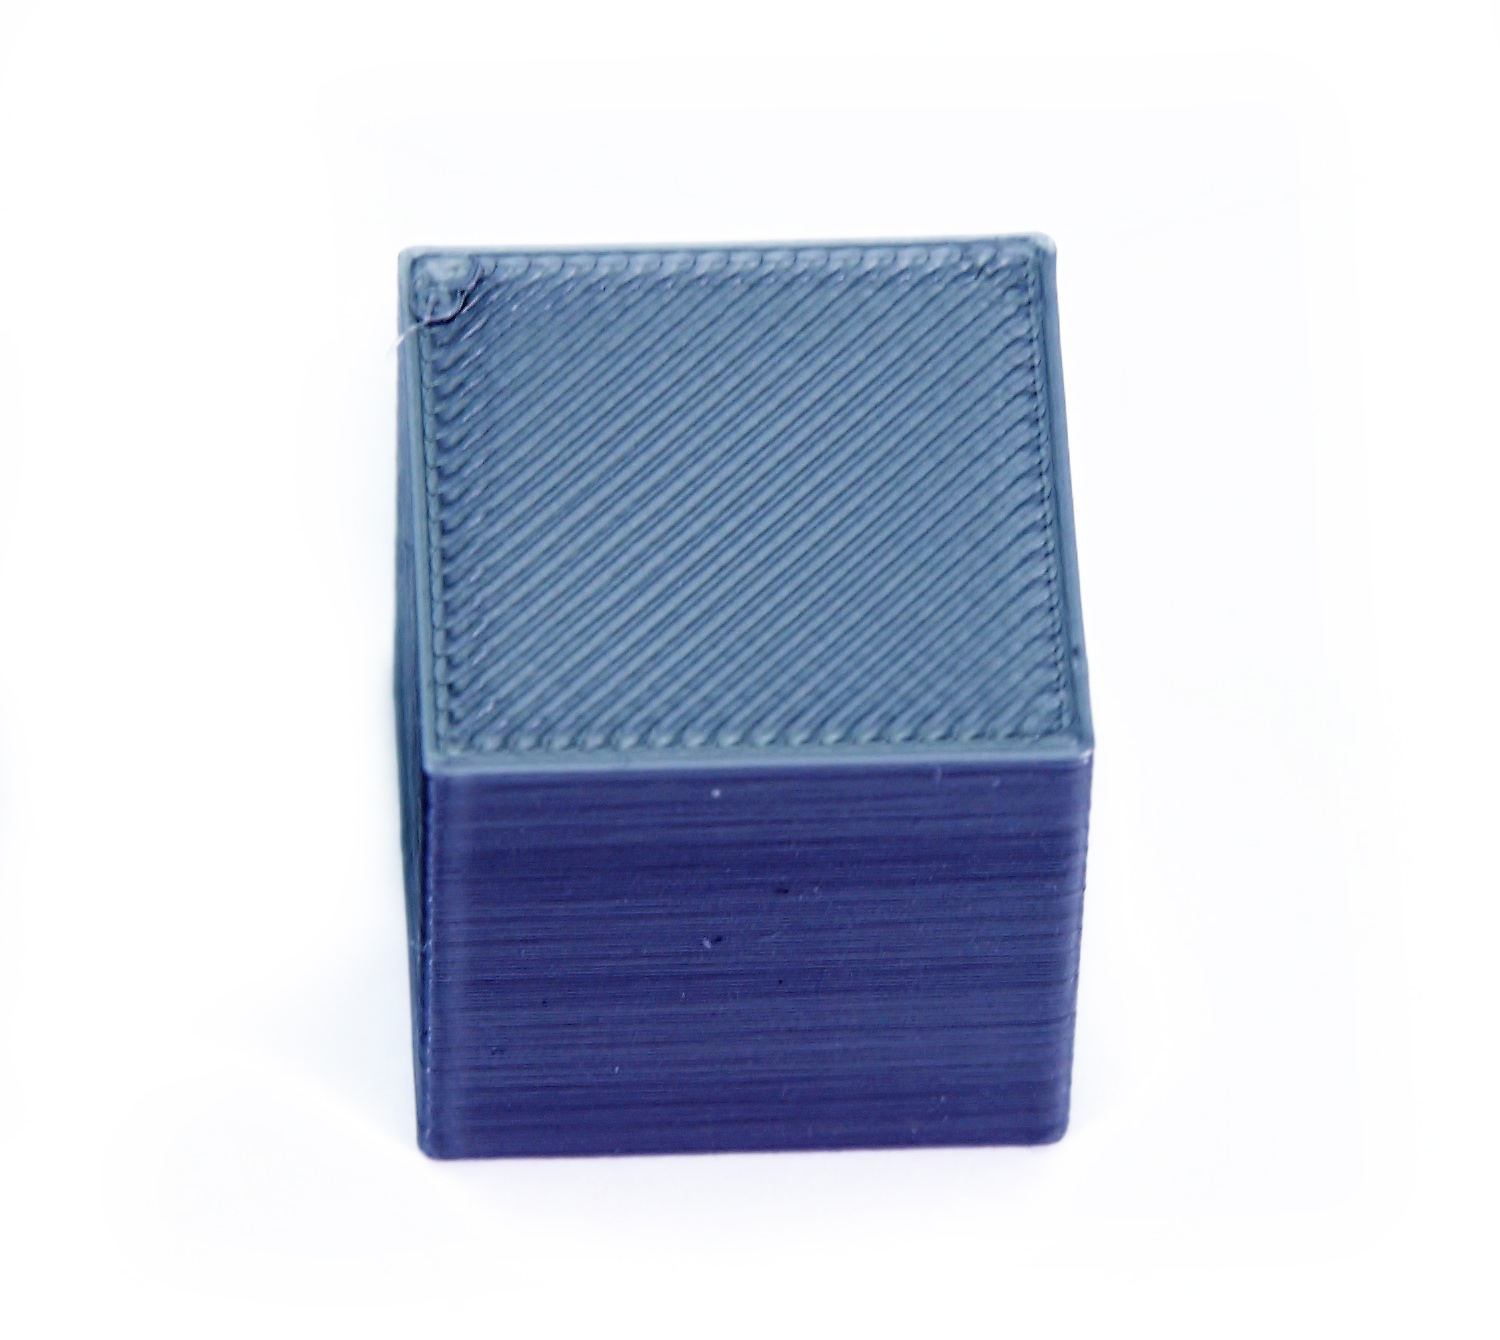
If there are visible gaps between layer lines, increase the Extrusion Multiplier value. (Microscopic gaps near the perimeters are OK.)
51 comments
And yet you are use a $30 micrometer. Funny. I challenge someone to find a cheaper set.
Link to the model is dead, you should change the article to tell people to add shape, box, define it to be 40m cubed and then print in SPIRAL vase mode. It's not just called, 'vase mode' in the menus and new users will get confused.
And most people should know that you better determine if your nozzle needs to be replaced before you do this if you are looking to fix and issue and think that the printer is over/under extruding. Because dialing in the extrusion multiplier will not correct for a worn nozzle.
How? Prusa sells 5 different sizes of nozzles, so the guide should cover those scenarios.
I'm assuming the "extrusion width" field is the right value to replace 0.45 with. But I don't know how to account for different layer heights.
In the current example, the virtual thickness assigned in Prusa Slicer (external perimeters width) is 0.45 mm, so the formula is [0.45mm/real-average-thickness].
If you use a different nozzle (stock printer profile for the nozzle) the assigned stock external perimeter width will be different so, simply check in 'advanced > extrusion width > external perimeters'.
Lucas
I note that it's not on the list of relevant printers..
The note in prusa slicer suggests calibrating firmware esteps but that doesn't seem to be a thing prusa encourages for their printers.
I can see how this could get irritating having to calibrate each filament to each head. Am I looking in the wrong place?