Článek Tento článek je také dostupný v následujících jazycích:
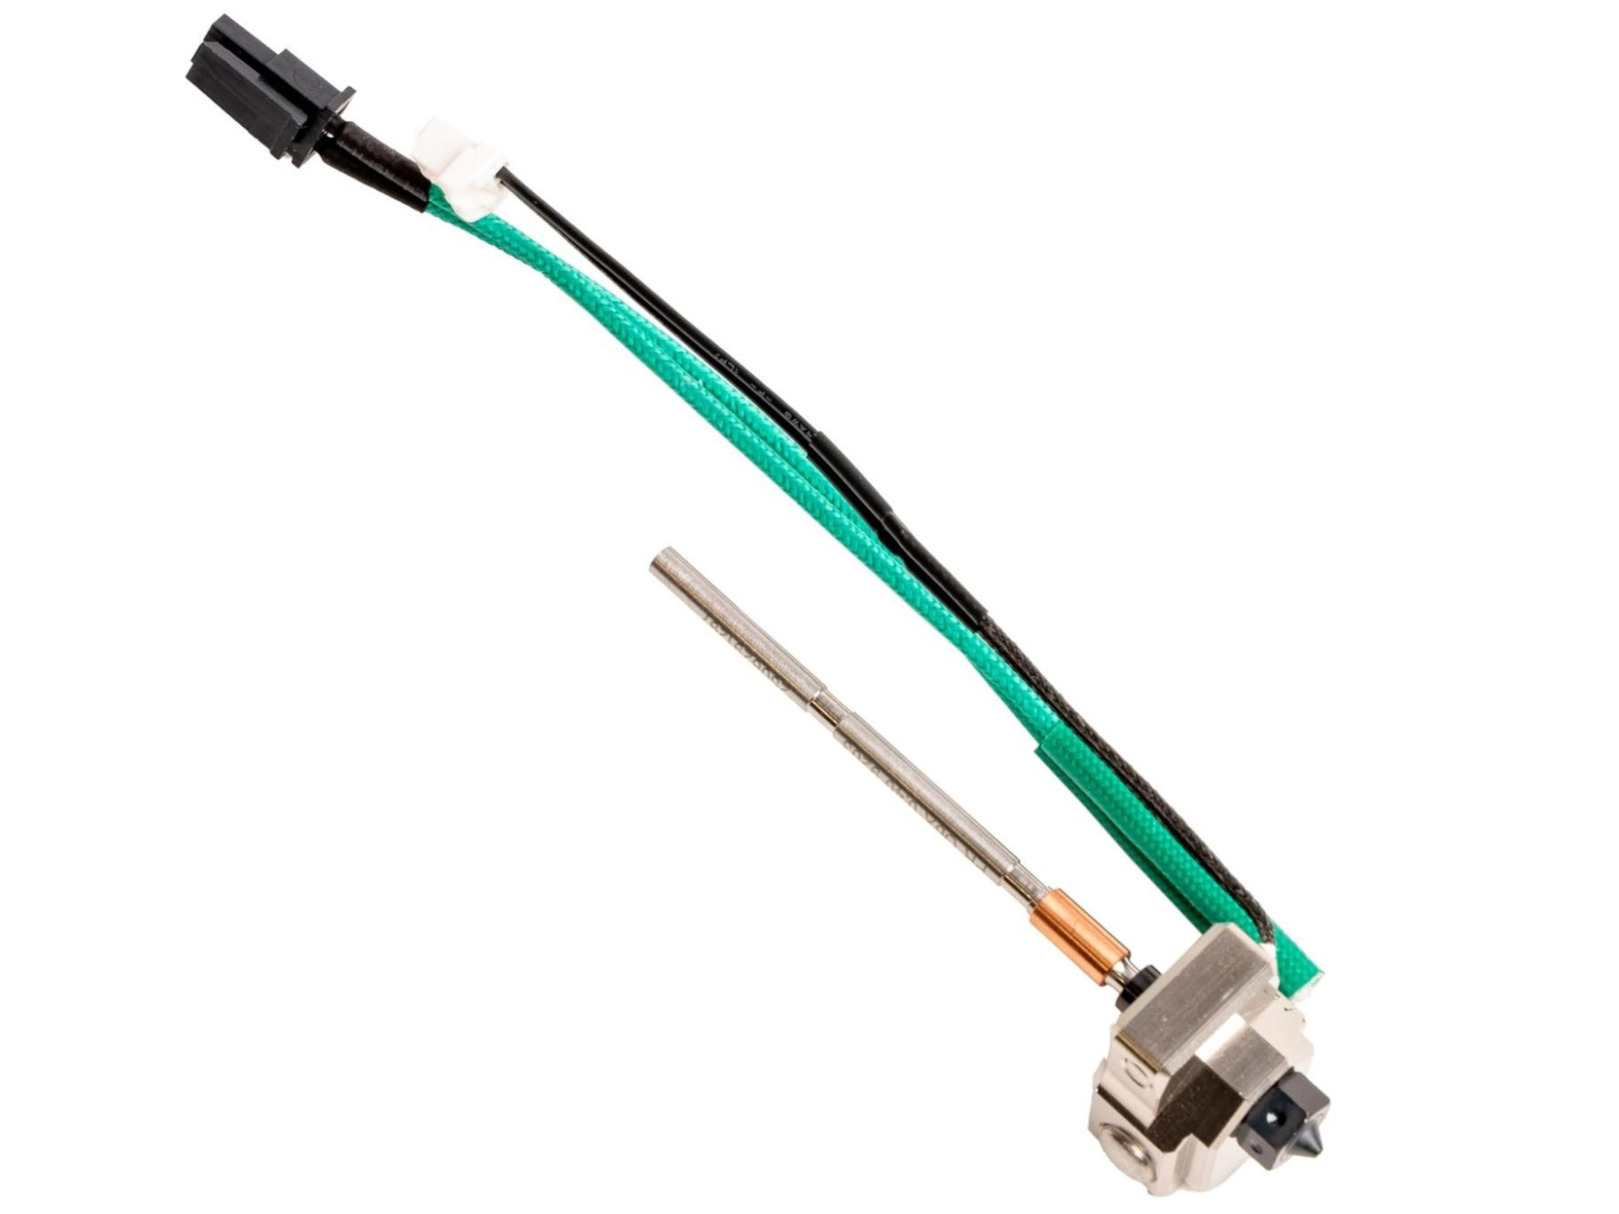
HT Hotend je vysokoteplotní hotend. Jeho hlavní výhodou je, že umožňuje dosáhnout teploty trysky až 400 °C a nabízí širší kompatibilitu s materiály než standardní konfigurace hotendu.
Upozorňujeme, že MMU není kompatibilní s HT hotendem.
Je kompatibilní s následujícími tiskárnami:
CORE One
CORE One+
CORE One+ (Gen 2)
CORE One L
CORE One L+
Nepoužívejte HT hotend s tryskami nebo tiskárnami, jejichž kompatibilita není v tomto článku výslovně uvedena. Takové použití by mohlo vést k poškození trysky a tiskárny a nebude se na něj vztahovat záruka.
Obecná doporučení pro používání
HT Hotend nelze použít se standardní tryskou Prusa, tryskami s vysokým průtokem (high-flow) ani se standardními tryskami Obxidian. Používejte jej pouze s kompatibilními tryskami E3D ObXidian Standard Flow 500 o průměru 0,4 mm nebo 0,6 mm.
Nepřekračujte 30 % výkonu chladicího ventilátoru tiskárny, pokud konkrétní ověřený profil materiálu výslovně nepovoluje vyšší nastavení.
U vysokoteplotních polymerů začněte s parametry doporučenými výrobcem filamentu a upravujte je pouze podle potřeby, a to po malých krocích.
Tiskárnu vždy provozujte v dobře větraném prostoru a používejte filamenty vhodné pro dané použití.
Vyhněte se kontaktu holé kůže s topným blokem. Přirozený kožní maz ulpívá na bloku a při vysokých teplotách se na něm zapéká, čímž se zhoršuje výkon topného bloku. Pokud se bloku náhodou dotknete, když je studený, před zahřátím jej důkladně očistěte suchým papírovým ubrouskem.
Zahájení postupu
Po instalaci HT hotendu tiskárna na krátkou dobu zahřeje trysku, aby zjistila, zda se jedná o běžný hotend nebo o HT hotend.
V programu PrusaSlicer vyberte správný profil tiskárny a odpovídající průměr trysky (0,4 mm nebo 0,6 mm).
Vždy používejte profil filamentu, který je specificky přizpůsoben HT Hotendu a použitému materiálu.
Hygroskopické filamenty (například z řady PA/nylon) před použitím řádně vysušte a uskladněte podle doporučení výrobce.
Proveďte Zarovnání převodovky, které tiskárna vyžaduje, a při prvním spuštění potvrďte výzvu v nabídce pro upgrade hotendu.
Pečlivě sledujte počáteční extruzi a první vrstvy výtisku, abyste se ujistili, že dochází k plynulému tavení a stabilní regulaci teploty.
Idler a hotend pro každý materiál
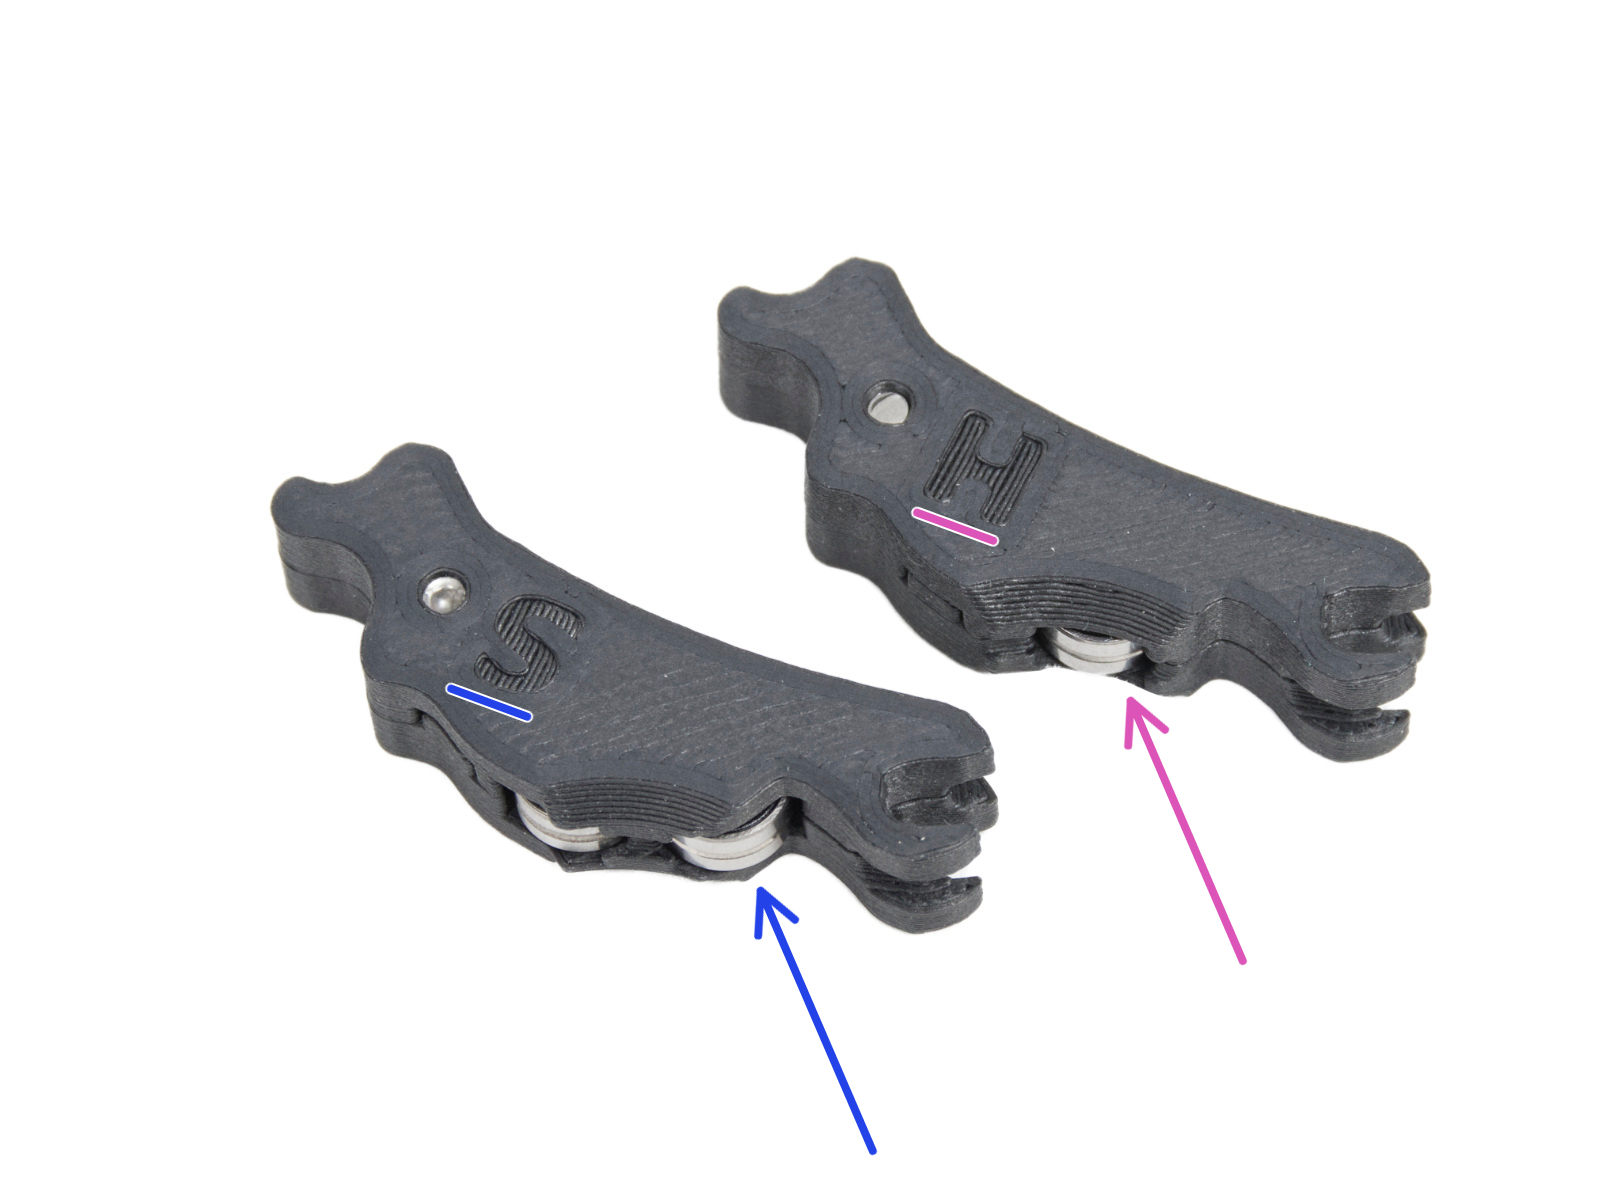
Sada pro upgrade HT Hotendu obsahuje také novou sadu idlerů. Každý z nich je určen pro jiný typ materiálu.
Označení S: standardní idler, má dvě ložiska.
Označení H: upravený idler pro náročnější materiály, vybavený jedním ložiskem.
Pro dosažení nejlepších výsledků doporučujeme před každým tiskem nainstalovat příslušný idler podle níže uvedené tabulky.
Materiál
Požadovaný Idler
Požadovaný hotend
PLA
Standardní idler (S)
Standard
PETG
Standardní idler (S)
Standard
TPU/Flex
Standardní idler (S)
Standard
PVB
Standardní idler (S)
Standard
ASA
Standardní idler (S)
Standard/HT
PA11-CF
Standardní idler (S)
Standard/HT
PC
Standardní idler (S)
Standard/HT
PCCF
Standardní idler (S)
Standard/HT
PPS-CF
Upravený idler (H)
HT hotend
PPS-GF
Upravený idler (H)
HT hotend
PPA-GF
Upravený idler (H)
HT hotend
PEKK-CF
Upravený idler (H)
HT hotend
PPCF
Upravený idler (H)
HT hotend
PPSU
Upravený idler (H)
HT hotend
PEEK
Upravený idler (H)
HT hotend
Montáž idleru
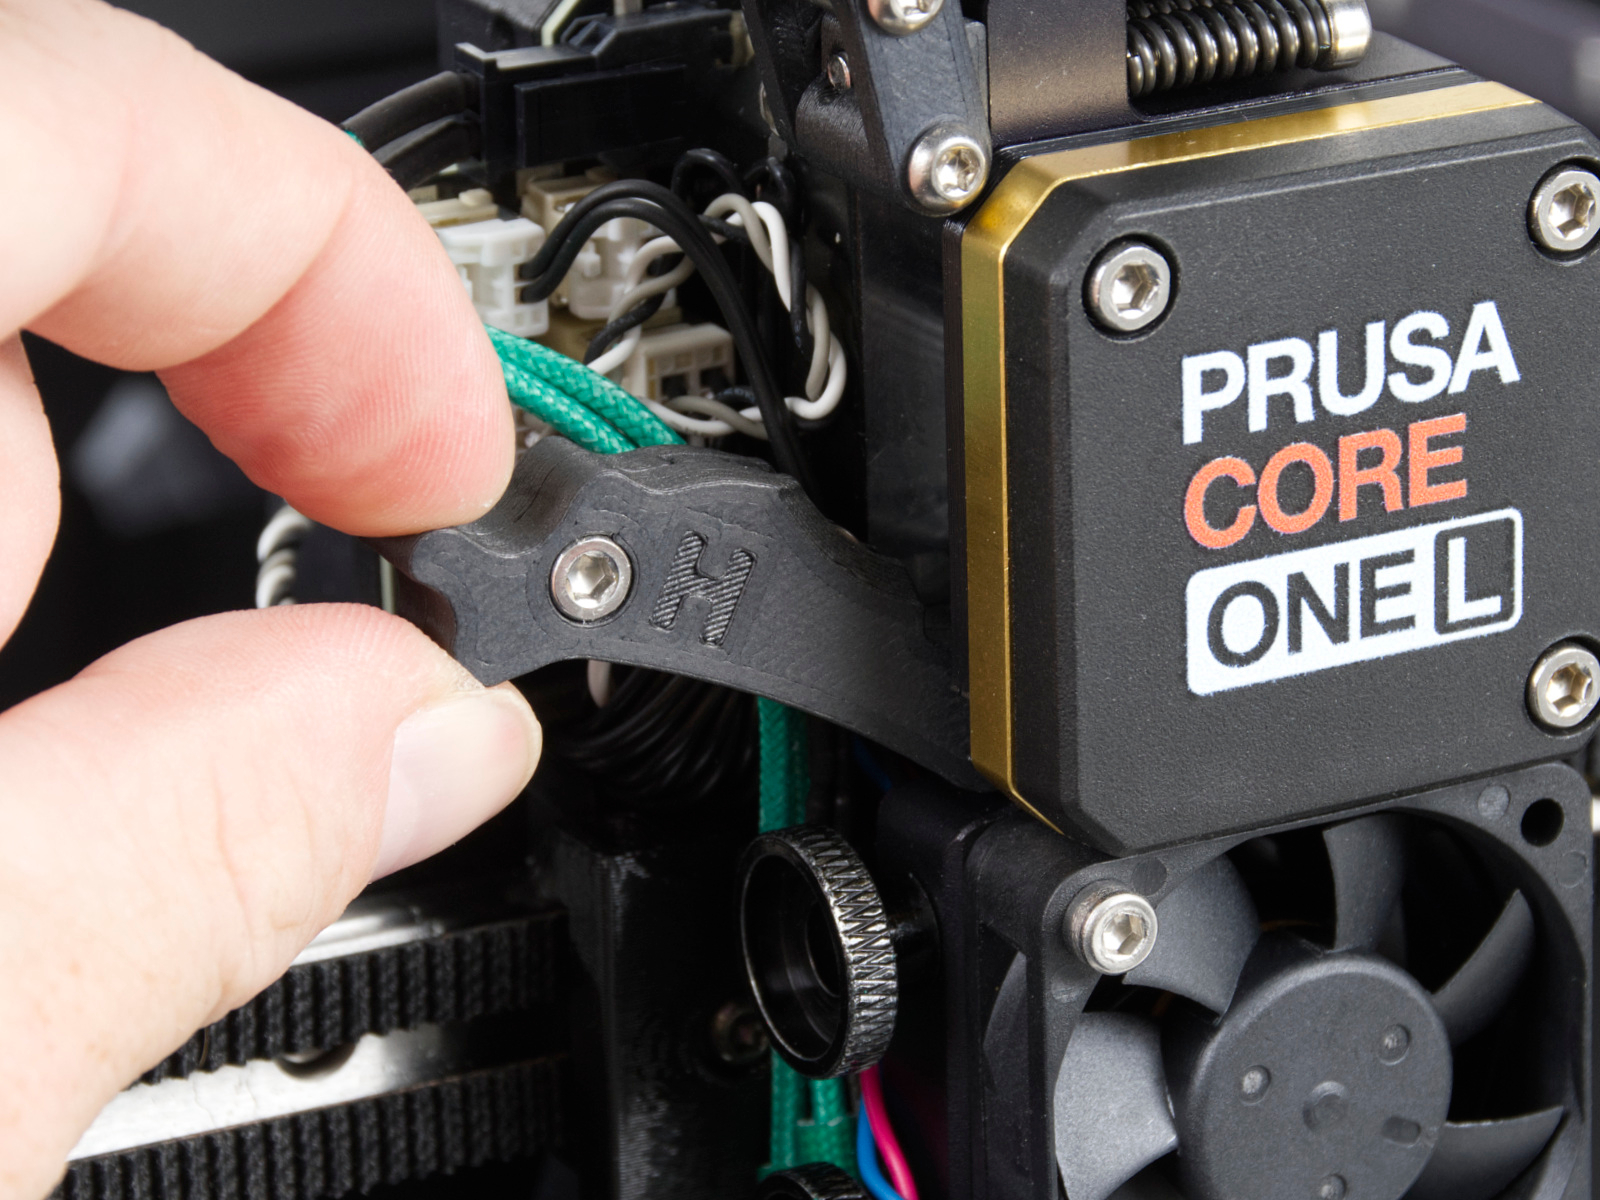
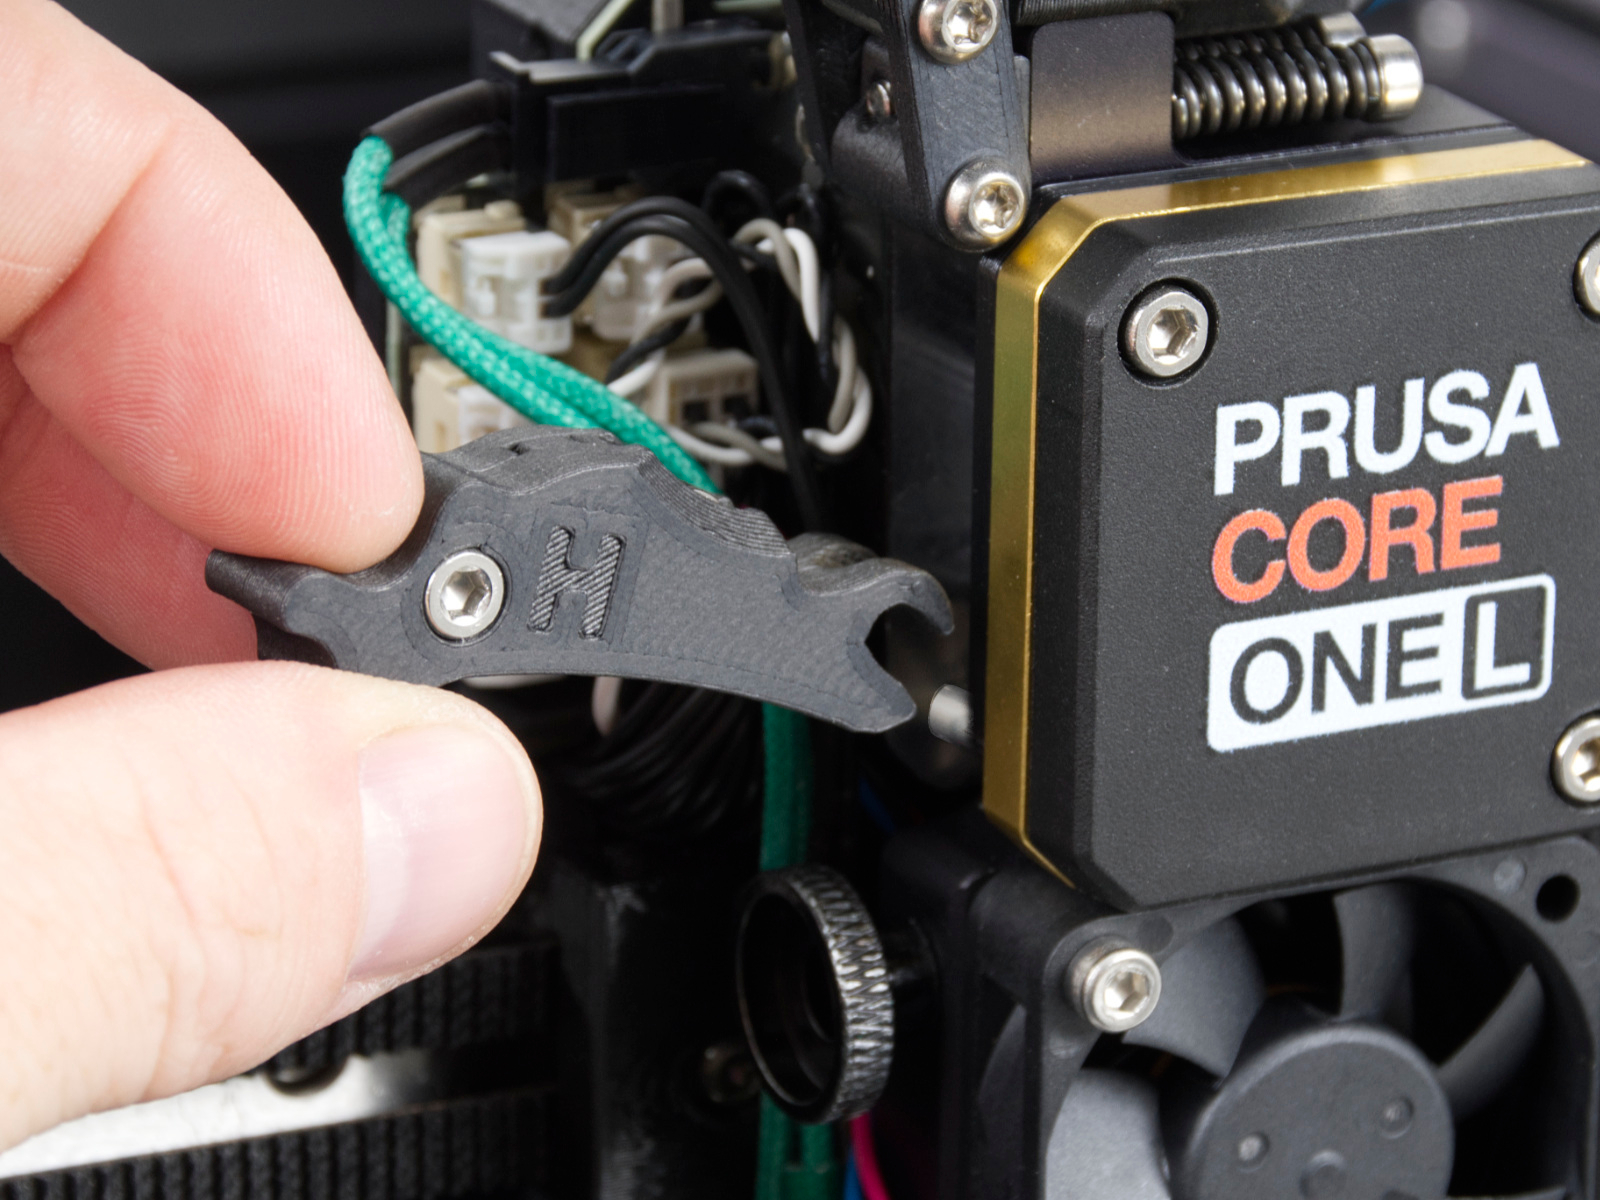
Po instalaci HT hotendu podle montážního návodu bude možné přecházet mezi idlery bez nutnosti demontáže extruderu. Stačí k tomu otevřít idler a odpojit ho od distančního válečku.
Upozorňujeme, že hlava šroubu musí směřovat k přední části Nextruderu.
Byl tento článek užitečný?
Tato akce je dostupná pouze registrovaným uživatelům. Prosím přihlaste se.


 Je kompatibilní s následujícími tiskárnami: