


MK/MINI404 are simulators of the RAMBO/Einsy Rambo/Buddy platforms. It is developed on and runs natively under Linux. It is possible to build it under Windows using Cygwin, but here we will go the Linux way.
We at Prusa Research use his tool for testing firmware in development and beautiful crisp screenshots for Github changelogs and our Knowledgebase. There is a range of options for automation through scripts, and is a great way to test your own custom builds of the firmware or how community translations format, act and read on our various printer's displays. Or perhaps you simply want to see the printer in action and explore the menu layout and solution we have come up with, should you be considering an Original Prusa printer.

This is a project that is still work-in-progress. Some of the bugs or less streamlined procedures mentioned here may have been fixed by this time and new functionality may have been added. This guide has a goal to be a layman's approach to install and get started playing with this wonderful tool, as well as a shoutout to the creator known as VintagePC.
Prerequisites:
A distribution of Linux must be installed. Can be installed on a VM, but we will not cover the installation and setup of that here. Note that big graphics issues have been experienced under VirtualBox on Windows 10.
Here, we are running it on Linux Mint (lightweight Xfce version), simply because the writer prefers it. It is actually developed under OpenSUSE, but dependencies and commands outlined here are based and tested on Linux Mint,. However, this guide should cover most Debian/Ubuntu-based distros. Any distro will probably do, but necessary dependencies may differ between distros. If you are unfamiliar with Linux we recommend getting a Debian-based distro as Debian is well documented and is what this guide will cover dependencies for.
One negative of this distro is the rather large install size, so be sure the VM has:
-
-
-
- At least 15-20GB of HDD.
- Access to at least 2 CPU cores
- Enabled Graphics acceleration
- Shared clipboard
- Has a shared folder with the host machine (optional)
-
-
Which printer?
All of them! Or, in this article, we will cover the 8-bit i3 series, and we recommend doing this before moving on to the 32-bit Buddy platform. We will install the MK404 simulator, and cover some basic use. The MK404 is a little easier to get running and the sim can generate some files used in MINI404, which MINI404 can not generate on its own (or at least not as easily).
Updating and installing dependencies
Be ready to become a super hacker as we enter... The TERMINAL! We will assume you have a fresh install of Linux here, but the procedure shouldn’t matter if you run Linux already. You may just have some of the needed packages already.
Open Konsole or whatever terminal you find (hotkey: ctrl + alt + T) and start updating the system by running:
This may take some time. Let the lines scroll until you get the command line again. There are probably more surgical ways of doing this, but for the sake of simplicity, this is how we roll. How we go crazy from bugs.
We will install:
- Git
- Cmake
- Python
- Dependencies (deps).
The command below should install everything you need to run the simulator.
Compile the compiler (or something like that):
Reboot the machine.
Installing MK404
Back into the terminal we go. Just make yourself comfortable. This is mostly where we will stay from now on. We won’t go into what each command does that much, but it is mostly self-evident.
Installing MINI404 is a little different/harder of the two, so we will start with MK404. MINI404 also does not have the built-in tool to create image files to use as a USB/SD card, while MK404 has a single command.
You should be in the home/bottom directory of the user. If in doubt you can always use cd to go to the bottom of the directory tree. cd ../ will bring you one folder back. cd ../../ two folders back, etc.. You can see folders and files in a location with ls. You are now a {linux} wizard, Harry..
Enter the folder
Loading dependencies-ish things (submodules)
These last two commands can be executed as one:
git submodule update --init
Configure then build the program using cmake. It will default to a debug build (cmake ./), but the release build is snappier.
Now the simulator is built and can be set up and launched!
Initial setup and start MK404
Make sure you are still within the MK404 directory. Terminal should say "~/MK404$" after you the name of the computer. First, we will create an image (Acts as the SD card. We are calling it "FAT32.img" and giving it 1 GB). You can use this file as a “USB stick” for the MINI404 sim also.
Download a G-code to put on the "SD card". I use wget [link] from a link in Prusaprinters, i.e:
Put gcode (batman_02mm_pla_mk3_23m.gcode) in the image file (FAT32.img) image using "mtools".
Now you can start the sim with the line below. It will not have the latest firmware so we will download and use that in a later step. Let's just see if it works for now. When launched, some new windows will pop up. It can take a moment for it to load. If you are now getting a message saying something like “..No such file or directory..”, you probably forgot to make it. Go back and do it again.
Further configuration
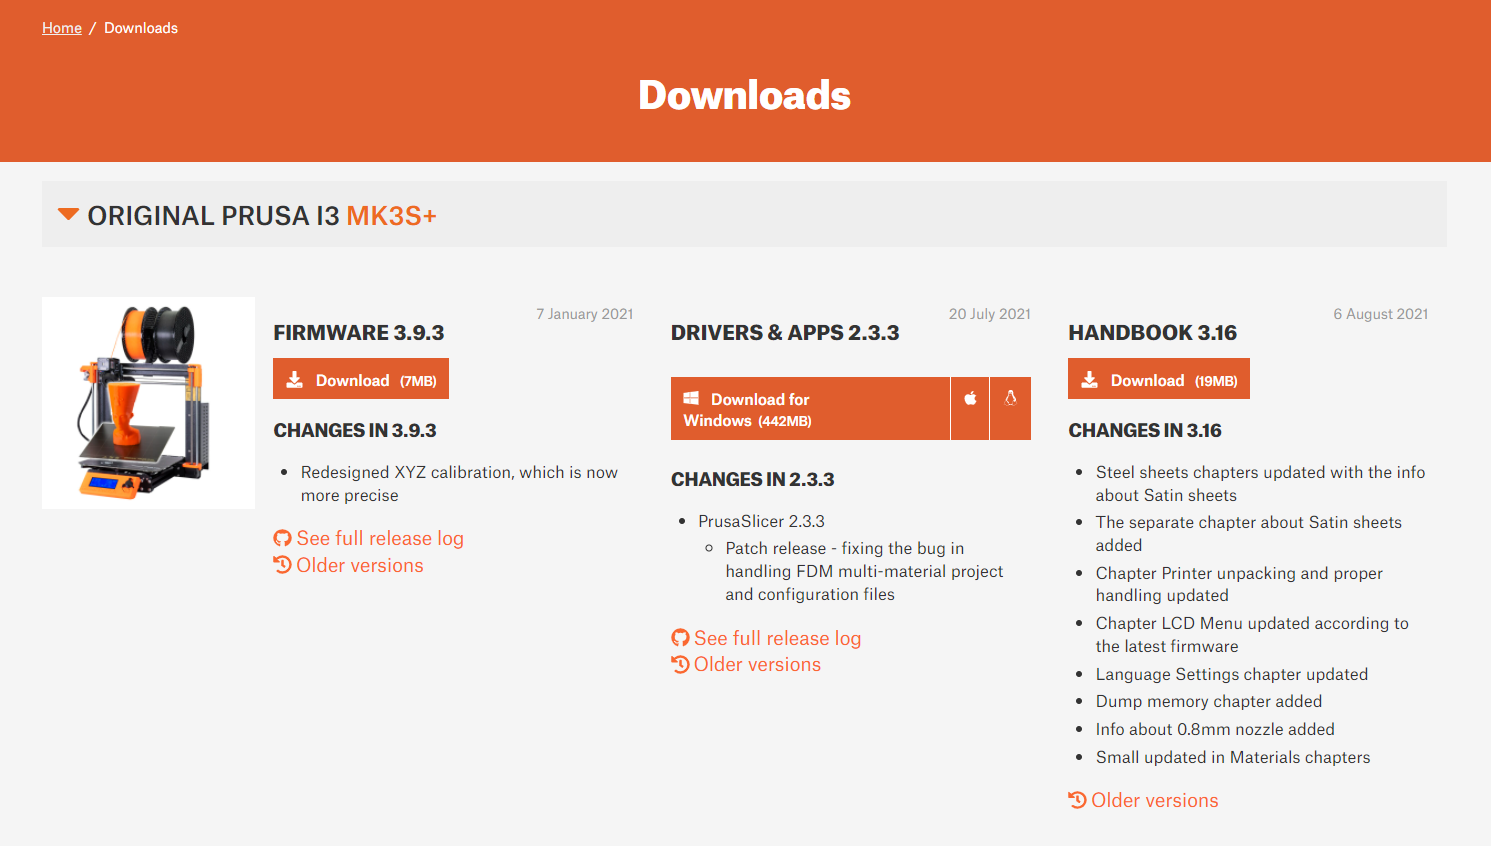
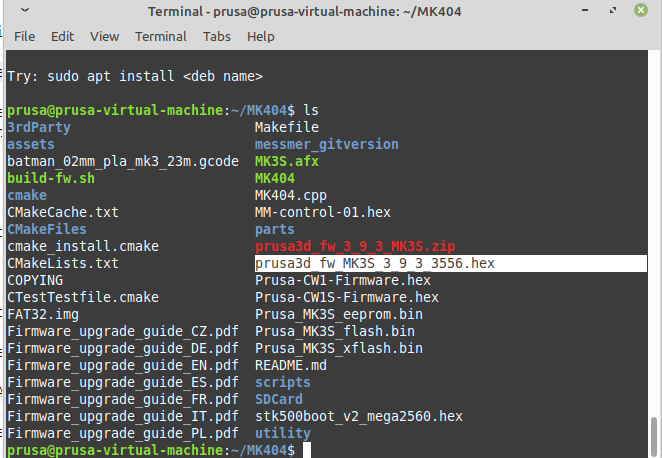
Using MK404
Remember keyboard/mouse shortcuts. For instance, before XYZ calibrating you must remove the sheet (Y) for it to not fail. Many key controls are also present in the menu explained below.
https://github.com/vintagepc/MK404/wiki/Key-Controls-Prusa_MK3S
The third mouse-button (mouse-wheel press) on the LCD display window will bring up a menu where you can toggle different scripts, like taking a snapshot, disconnecting/shorting connectors of components like thermistors and fans. You will also find other functions, among them, those covered by key controls.
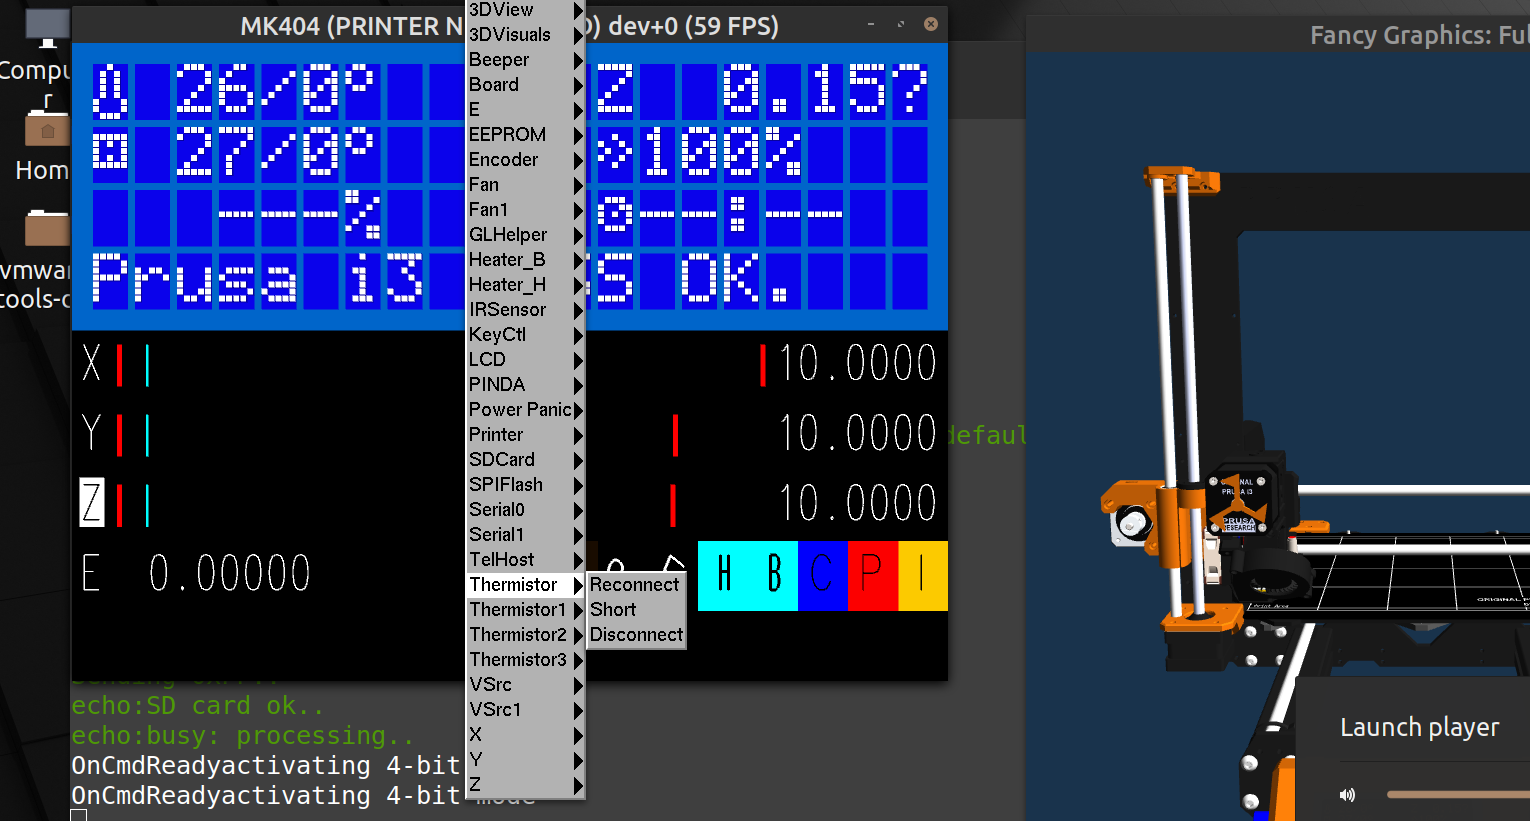
Console within a terminal..
However, not every command is implemented into this menu, specifically those that require some input, like a variable. You must therefore use the embedded console (terminal) for certain commands/functions. Copy/Paste does not work here, but you can use the Tab key you autocomplete what you start typing. It will suggest how to complete it with slightly darker text.
https://github.com/vintagepc/MK404/wiki/Scripting will give you a list of all printers supported. You will find the scripting commands for MK3S at https://github.com/vintagepc/MK404/wiki/Scripting-Prusa_MK3S. As an example, GLHelper::Snapshot(filename.png), will make a screenshot like see below and save the file as "filename.png" in the MK404 directory.
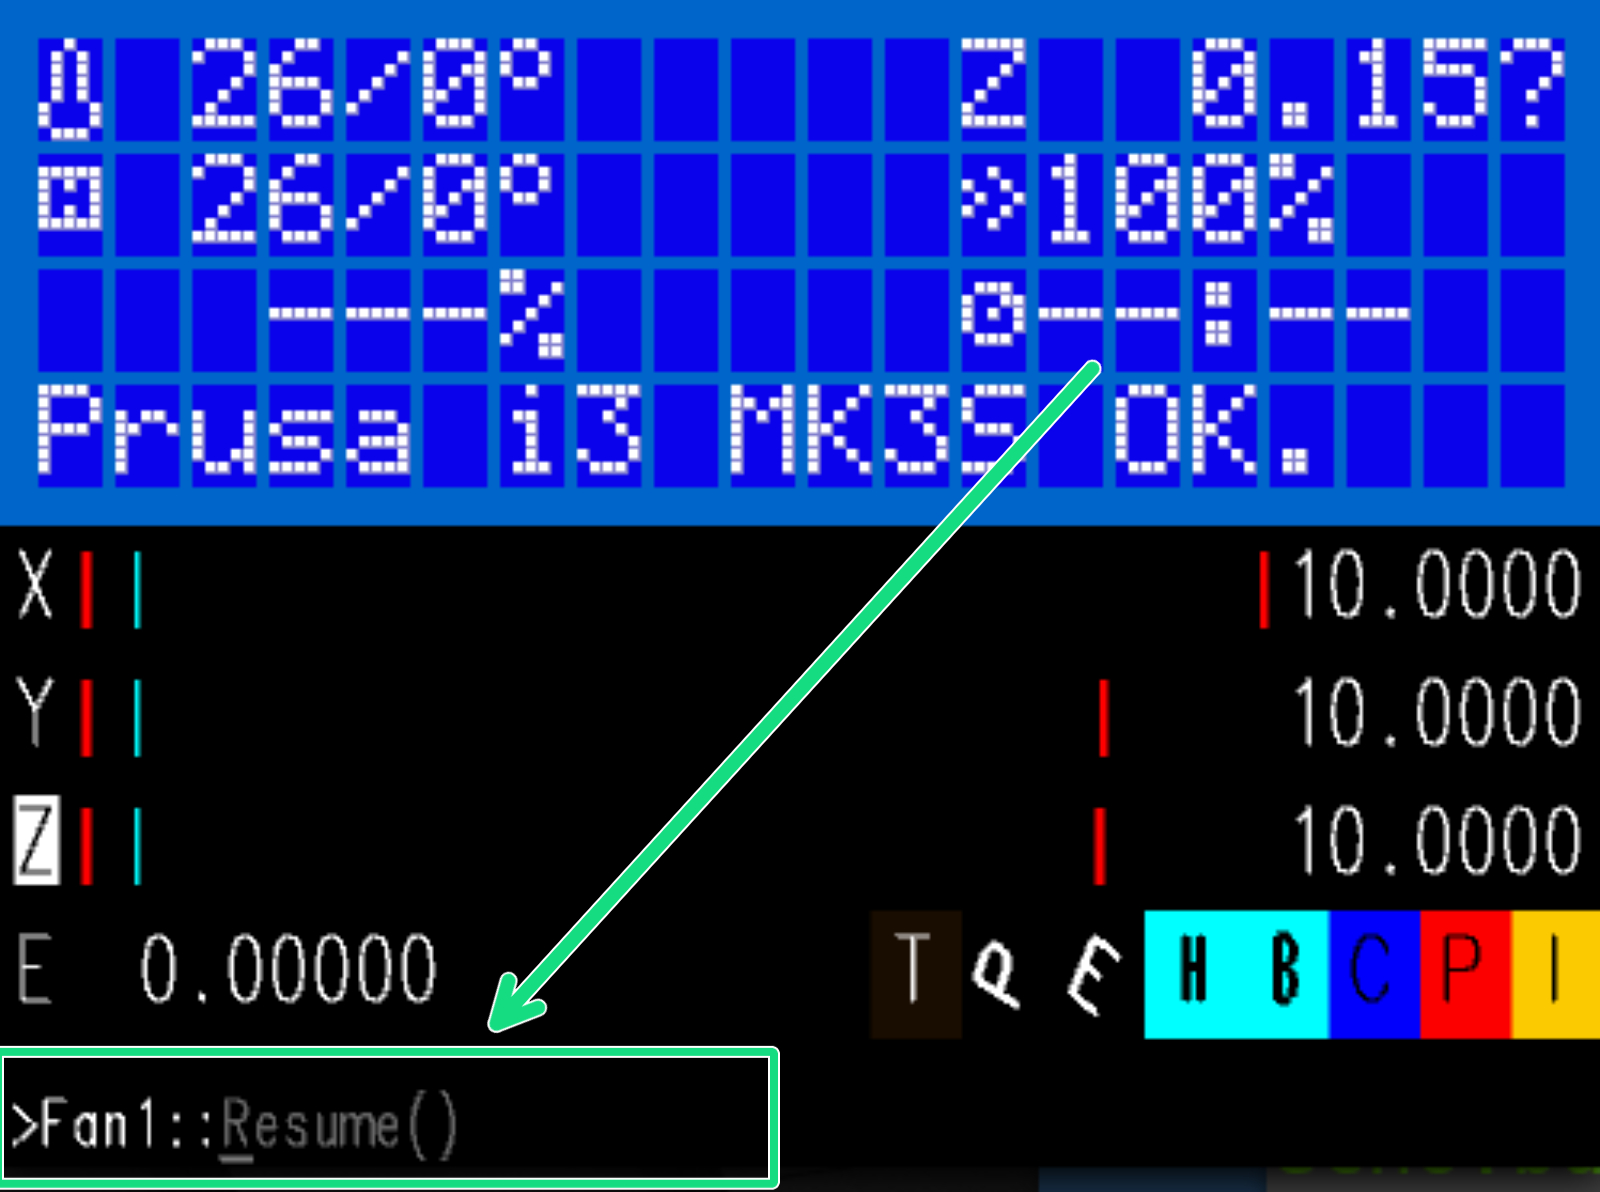
MK404 screenshots
Display color scheme
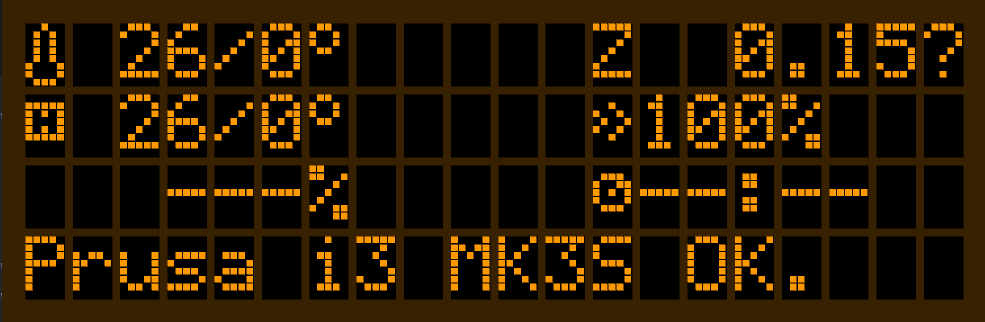 | 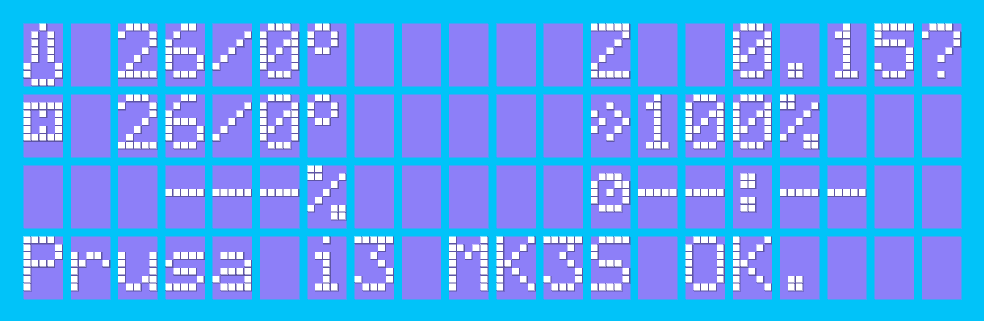 |
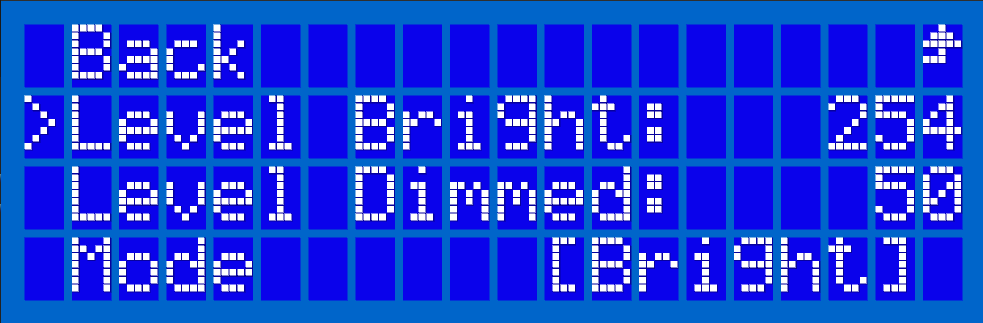
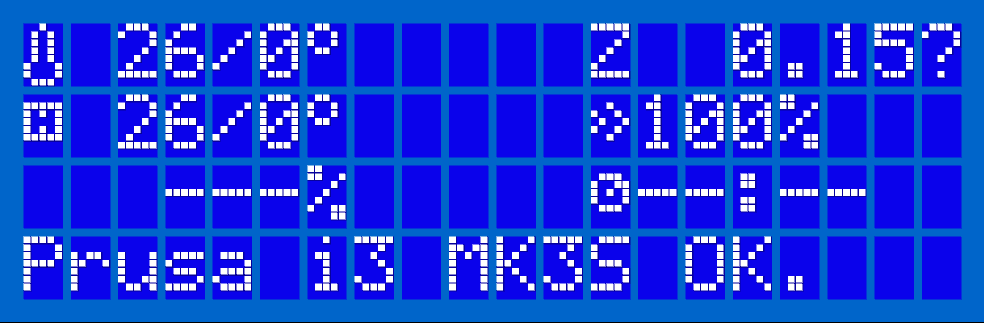 Screenshot color scheme we use.
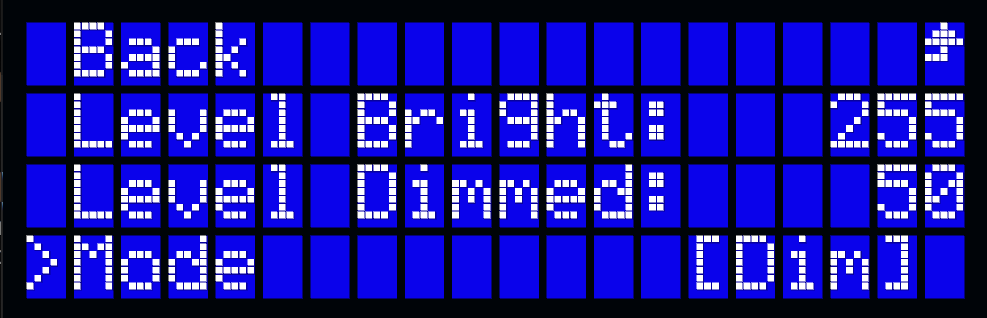 |  |
Making a screenshot
We recommend dragging/scaling the LCD window bigger, then using Windows print-screen to make a snippet (shift+win+S). This allows you a larger resolution than using the built-in MK404 capture function. You may want to change the DPI size using Photoshop or GIMP after saving the screenshot.
Final notes
There is a lot more you can do with this simulator. We only installed the MK3S, but you can also run it with MMU2S, connect PrusaLink or Octoprint, even the CW1! You are now up and running so check out the Github Wiki for more options, features, and fun.
About the creator
VintagePC is a volunteer community contributor with great insight into hardware and firmware architecture. If you want to help make the OpenGL stack more modern and performant, port this to other systems (Win binaries exist but require Cygwin to run and mac has worked once someone claimed, but is not the creator's daily driver), or contribute to this project in any way, contact the man through his Github https://github.com/vintagepc/.