AA

Productos destacados

    Categorías populares

      Búsquedas populares

        Artículos

          Blog

            Productos

              Categorías

                Búsquedas sugeridas

                  Buscando…
                  Sin resultados
                  Algo salió mal.
                  ↑↓ Seleccionar↵ AbrirEsc Cerrar búsqueda
                  • English
                  • Čeština
                  • Deutsch
                  • Español
                  • Français
                  • Italiano
                  • Polski
                  • 日本語
                  • Pedidos
                  • Dirección
                  • Alertas de Stock
                  • Cursos
                  • Subscripción
                  • Editar Cuenta
                  • Impresoras 3D9+▾

                    Impresoras 3Dnueva

                    nuevaPrusa CORE One L+Conoce más
                    nuevaPrusa CORE One+ (Gen 2)Conoce más
                    nuevaPrusa CORE One L+ INDX 8-ToolnuevaPrusa CORE One+ (Gen 2) INDX 8 HerramientasPrusa CORE One L+: Critical InfrastructureOriginal Prusa MK4SnuevaOriginal Prusa XL+Original Prusa XL+: Critical Infrastructure

                    Actualizaciones de impresoras

                    nuevaKit de Conversión CORE One/+ INDXnuevaActualizació Prusa CORE One L a CORE One L+nuevaPrusa CORE One+ a Prusa CORE One+ (Gen 2)nuevaActualización Prusa XL a Prusa XL+
                    Programa de Recompensas PrusaComparte. Recomienda. Gana.
                    ¿Cómo Elegir Una Impresora 3D?Te guiaremos paso a paso por los aspectos básicos para que encuentres la máquina ideal para tu espacio, presupuesto e ideas.
                    Libro electrónico gratuitoDescarga gratis el libro electrónico Fundamentos de la Impresión 3D con Josef Prusa y da tus primeros pasos en el mundo de la impresión 3D
                    Piezas Imprimibles Original PrusaColecciones de piezas de repuesto imprimibles para impresoras 3D Original Prusa y mejoras.
                    Información de envíoInformación actualizada periódicamente sobre la capacidad de fabricación actual y los plazos de entrega de nuestras impresoras.
                    Impresión 3D PersonalizadaImpresión 3D personalizada profesional con diversos materiales según sus requisitos.
                  • Materiales▾

                    Filamentos

                    PrusamentPLAPETGASA / ABSPC BlendPA (Nylon)FlexCompositesEspecialLiquidación de materiales

                    Resinas

                    ResinaLimpiador Resina
                    Guía de FilamentoComprobar Mi Bobina Prusament
                    Prusament.com
                  • Piezas y Accesorios▾

                    Accesorios

                    EnclosureBoquillasLáminas de ImpresiónAccesorios EsencialesCámaras y ComplementosHerramientas y ManualidadesAdhesivos

                    Piezas de recambio

                    Merchandising

                    Piezas de recambio - Todas las ImpresorasCORE OneMK4/S y MK3.9/SMK3/MK3S/MK3S+XL
                    Merch
                  • Para Empresas▾
                    Prusa Pro HT90Prusa Pro SLXPrusa Pro AFSPrusa Pro Medical OneOriginal Prusa XLOriginal Prusa XL: Critical Infrastructure
                    Prusa CORE One+Conoce más
                    Prusa CORE One LConoce más
                    Prusa CORE One L: Critical Infrastructure Edition

                    Impresión 3D para

                    Fabricación e I+DIndustria AutomotrizSanidadEducación e Investigación AcadémicaArquitectos y DiseñadoresIndustria del CineInfraestructuras Críticas

                    Stories de Impresión 3D

                    • Cómo comenzó la impresión 3D: Sobre Rep-rap y el código abierto con Adrian Bowyer
                    • La enseñanza de las matemáticas redefinida con la impresión 3D en JKU Linz
                    • La historia detrás del destornillador de LTT
                    • Victoria Hand Project: Cambiando la Atención Protésica con la Impresión 3D
                    Distribuidores Oficiales de Prusa
                    Sostenibilidad
                    Prusa Education
                    Contactar y Consultar
                    Impresión 3D personalizada
                    Certificado ISO
                  • Software▾
                    PrusaSlicer

                    PrusaSlicerPrusaSlicer

                    PrusaSlicer es una herramienta de código abierto, con numerosas funciones y que se actualiza con frecuencia, que incluye todo lo necesario para exportar los archivos de impresión perfectos para tu impresora 3D.

                    WindowsMacOSLinux
                    Prusa Connect

                    Prusa Connect

                    Prusa Connect es un servicio en la nube que permite controlar y supervisar de forma remota tus impresoras 3D, y que ofrece un tratamiento seguro de los datos, una configuración sencilla y la posibilidad de gestionar varias impresoras desde cualquier lugar.

                    Inicia Sesión en Connect
                    Prusa.app

                    Prusa.app

                    Controla tu(s) impresora(s) de forma remota desde cualquier lugar gracias a la tecnología Prusa Connect. Prusa.app ofrece una experiencia totalmente nueva con las impresoras Prusa en teléfonos Android e iOS.

                    ¡Pruébalo ya!
                    Controladores y firmwareDescarga el firmware y los controladores más recientes para tu impresora 3D.
                    Soporte para PrusaSlicer
                    Soporte para Prusa Connect
                  • Modelos 3D▾
                    Impresoras 3DArte y DiseñoHobby y MakersHogarMiniaturas de EscritorioJuguetes y JuegosTienda de Printables

                    Modelos 3D populares

                    • Top tether hook
                    • SQUATCHEE-SPIN
                    • The Over-engineered Backpack Wall Mount V2
                    • Black Hole Lamp
                    • Strong garden hose holder
                    • Prusa Spool Bot

                    Concursos de Diseño

                    • Framework Laptop 12 Mainboard Re-Use1/9/2026 – 30/9/2026
                    • 🏆 Designer Challenge: Magic tricks!1/9/2026 – 22/9/2026
                    • Makeup Organizers4/9/2026 – 20/9/2026
                  • Comunidad▾

                    Próximos eventos

                    • 3D Printopia 202626/9/2026 – 27/9/2026 · Pennsylvania, United States · Prusa Team
                    • Maker Faire Bay Area25/9/2026 – 27/9/2026 · Kalifornie, United States · Prusa Team
                    • Hobby Messe2/10/2026 – 4/10/2026 · Sachsen, Germany · Prusa Team
                    • Mezinárodní strojírenský veletrh6/10/2026 – 9/10/2026 · Jihomoravský kraj, Czechia · Prusa Team

                    Prusa Forum

                    • Perfil para prusaslicer de MK4 con MMU3 y boquilla de 0,25 para cuando?
                    • Casi convencido de pulsar sobre comprar... convenceme
                    • Core One+: Fallo en calibración del sensor de filamento (Valores ADC fuera de rango / Error 2147483647)
                    Mapamundi de PrusaMapamundi de PrusaEncuentra usuarios de impresión 3D de tu zona y descubre la comunidad que te rodea.
                  • Ayuda▾
                    Guías y TutorialesPrusaSlicerPrusa ConnectMateriales

                    Modelo de Impresora

                    CORE One INDXCORE One LCORE One+CORE One

                    Resolución de Problemas de Hardware

                    • Fallo Selftest (CORE One/+)
                    • Hotend atascado (MK4)
                    • Ajustando la tensión de la correa (CORE One L, CORE One)
                    • Prusa Connect y PrusaLink explicado

                    Drivers & Firmware

                    Familia INDXFamilia CORE OneFamilia MK4Familia XLFamilia MMUFamilia PRO
                  • Cursos▾

                    Conviértete en un experto en impresión 3D

                    Prusa Academy ofrece cursos en línea sobre diversos temas relacionados con la impresión 3D. Cada curso incluye: textos fáciles de leer con numerosas imágenes y vídeos breves; enlaces para inspirarse y profundizar en el tema; cuestionarios para poner a prueba tus conocimientos a lo largo del curso; y un certificado de finalización.

                    Ver todos los cursosMi biblioteca de cursos
                    • Modelado 3D en Autodesk Fusion
                    • Masterclass de PrusaSlicer – De Principiante a Experto
                    • Complete Guide to 3D Print Postprocessing, Painting, and Detailing
                    • Beginners' Guide to Blender for 3D Printing: Edit and Remix STLs
                  • Blog▾
                    • Prusament PLA ColorMix: Imprime 45 tonos de color con solo cinco bobinas de filamento (y más)
                    • ¡Las Ofertas de la Vuelta al Cole 2026 Han Llegado!
                    • Preview de PrusaSlicer 3.0 – Diseñado para el Futuro de la Impresión 3D
                    E-Book: Fundamentos de la impresión 3D
                  • Empresa▾

                    Sobre Prusa Research

                    Somos el mayor fabricante de impresoras 3D de Europa y Estados Unidos. La empresa fue fundada en 2012 como una startup unipersonal por Josef Prusa, un aficionado, creador e inventor checo. En solo 15 años, hemos crecido hasta convertirnos en una empresa con más de 1.200 empleados. Cada mes, diseñamos, fabricamos y enviamos más de 10000 impresoras 3D innovadoras y seguras desde nuestras sedes de Praga (República Checa) y Delaware (EE. UU.) a usuarios de más de 160 países. ¡Mira el vídeo y descubre cómo nació Prusa Research y lo que hemos logrado en tan solo 10 años!

                    Sobre NosotrosLínea temporalSostenibilidadOpen-source
                    Sobre nosotros
                    Contacta con Nosotros
                    Logo e Imágenes
                    Certificado ISO
                  1. Soporte
                  2. Mantenimiento de la impresora
                  3. Mantenimiento regular de la impresora (Signature Oak)
                   

                  Contenidos

                  • Printer maintenance
                  • Useful tools
                  • Frequent maintenance
                  • Sporadic maintenance
                  • Annual maintenance
                  • Wooden parts care
                  • Environment and Natural Wood Properties
                  • Regular Cleaning Instructions
                  • Oiled Surface Maintenance

                  Blog

                  • Prusament PLA ColorMix: Imprime 45 tonos de color con solo cinco bobinas de filamento (y más)
                  • ¡Las Ofertas de la Vuelta al Cole 2026 Han Llegado!
                  • Preview de PrusaSlicer 3.0 – Diseñado para el Futuro de la Impresión 3D

                  Newsletter

                  Regístrate y obtén nuestro dosier mensual de información útil sobre nuevos firmwares, nuevas versiones de PrusaSlicer y consejos generales para proyectos de impresión 3D.

                  Al hacer clic, aceptas recibir nuestra newsletter.

                  Este sitio está protegido por reCAPTCHA Enterprise y se aplican la Política de Privacidad y los Condiciones del servicio de Google.

                  Top tether hook
                  Tienda
                  • Impresoras 3D
                  • Mejoras de Impresoras
                  • Filamentos
                  • Accesorios
                  • Merchandising Prusa

                  © Prusa Research a.s.

                  Printables
                  • Modelos 3D
                  • Store
                  • Clubs
                  • Concursos de Diseño 3D
                  • Brands
                  Comunidad
                  • Mapa Mundial
                  • Foro
                  • Grupos de Usuarios
                  • Eventos
                  Ayuda
                  • Ayuda Prusa
                  • Prusa Academy
                  • Calculadoras de Impresión 3D
                  Software
                  • PrusaSlicer
                  • Prusa.app
                  • Prusa Connect
                  • Drivers y Software
                  Empresa
                  • Sobre nosotros
                  • Blog
                  • Distribuidores Oficiales de Prusa
                  • Contacto
                  • Certificado conforme a las normas ISO 9001, ISO 14001 e ISO 45001
                  • Términos y Condiciones generales
                  • Términos Generales y Condiciones de Uso de los sitios Web PRUSA
                  • Política de privacidad
                  • Información sobre las cookies
                  • Política de Reclamaciones de los Clientes
                  • Página de Estado de los Sitios Web
                  • Configuración de las cookies
                  • Términos y Condiciones generales
                  • Términos Generales y Condiciones de Uso de los sitios Web PRUSA
                  • Política de privacidad
                  • Información sobre las cookies
                  • Política de Reclamaciones de los Clientes
                  • Página de Estado de los Sitios Web
                  • Configuración de las cookies

                  © Prusa Research a.s.

                  JOSEF PRUSA®, PRUSA RESEARCH®, PRUSA POLYMERS®, PRUSA ORANGE®, PRUSA 3D ® Y PRUSAMENT® son marcas registradas de Prusa Development a.s. utilizadas por Prusa Research a.s. bajo licencia de Prusa Development a.s.

                  Mantenimiento regular de la impresora

                  (Signature Oak)

                  Relevante para

                  Signature Oak
                  Artículo está también disponible en los siguientes idiomas
                  English
                  Čeština
                  Polski
                  Deutsch
                  Français
                  Español
                  Italiano
                  日本語

                  The Prusa Signature Oak was designed from the beginning as a true print "workhorse". Despite its high reliability, it is still a device with mechanical components that require maintenance.  

                  Printer maintenance

                  Useful tools

                  Besides the usual tools, such as Allen keys, needle-nose pliers, and IPA (Isopropyl Alcohol) + paper towels, you might need:

                  • Compressed air: also known as canned air. Be sure not to hold it upside down while spraying, otherwise you could damage any electronic components while trying to clean them.
                  • Brass Nozzle Brush: useful for cleaning the heaterblock. If you don't have a brass brush, any brush with hard bristles will do the job.
                  • Prusa Lubricant:  used to lubricate the smooth rods with linear bearings, and to lubricate the Z-axis leadscrews. DO NOT use Prusa Lubricant on the linear rail! 
                  • Linear rail lubrication set: a set that includes Microlube GL 261, Dosing needle SSS15 2, Cartridge with manual piston 2/2,5mm, and two nitrile gloves. 
                  • Alcohol-free cleaner: used to clean the printer panels. DO NOT use alcohol products, including IPA, to clean the panels. 

                  Frequent maintenance 

                  The following points should be checked before every print. 

                  Keeping the printer clean 

                  After several hours of printing, various kinds of debris may start to accumulate around the printer parts or under the heatbed - pieces of filament, dust, scraps, broken supports, etc. Always make sure that the parts of the printer are clean. You can use a brush, a small broom, or a vacuum to remove debris. 

                  Do not clean the transparent panels with alcohol-based cleaning solutions. This can damage the transparent panels, resulting in cracked surfaces. 

                  Hotend cleaning 

                  CAUTION: Heated parts can cause severe burns!

                  It is fundamental for the hotend to be clean. Debris on the nozzle or heaterblock can cause printer failures, for example, with the residue falling onto the printed model while the print is in progress.

                  To clean the nozzle and heaterblock, heat the nozzle for three to five minutes at 250 °C, as the remains of the filament must be warmed up slightly so that they can be removed more easily.

                  Use a small brass brush to clear away any old plastic stuck on the nozzle and heaterblock.

                  Avoid contact of the brush with the hotend cables, as this could cause a short circuit.

                  Caution: the printer is still at a hot temperature! Wait until the hot parts are cooled down to ambient temperature. It takes approximately 10 minutes. Do not touch it! Always check the values on the display.

                  Flexible print sheet

                  Acetone should be used sparingly for cleaning, and only be used on the Smooth print sheet! Never use acetone on the Textured or Satin print sheet, as the surface will be permanently damaged.

                  Never clean the special PA Nylon sheet with acetone, IPA (isopropyl alcohol), or other alcohol-based solvents (window cleaners, Windex, etc.)! This will damage the surface. 

                  All flexible print sheets should be cleaned regularly to ensure adhesion, but the exact methods and washing solutions can differ depending on the print sheet type. 

                  You can find more information on how to take care of your flexible print sheet in this article.

                  Sporadic maintenance

                  The following checks should be done every 200 hours of printing time. 

                  Axes check - Linear Rail (X-axis)

                  Ensure that there is no debris or dust on the (X-axis) linear rail. If there is, clean it using a clean paper tissue or a clean cloth with NO de-greaser and with no chemicals, as these might damage the rubber in the carriage. 

                  We recommend lubricating the linear rail every 3-6 months, using the dedicated linear rails lubrication set. 

                  On linear rails, DO NOT use Prusa Lubricant or other products that are not part of the linear rails lubrication set. 

                  Axes check - Smooth Rods and Linear Bearings (Y-axis)

                  Clean the (Y-axis) smooth rods with a clean paper towel, and lubricate them using a small amount of Prusa Lubricant.

                  Only in case you feel the axis is not running smoothly anymore even after recently cleaning and lubricating the smooth rods, bearings can be taken out, cleaned with alcohol, and greased on the inside, still using a small amount of Prusa Lubricant. 

                  Axes check - Belt

                  Over a long printing time, the belt can slightly loosen, causing issues such as layer shifting, or bad printing quality. The easiest way to check the belt tension is to print a circular object. If the result is not perfectly round, a belt adjustment is needed. 

                  Fans

                  The RPM (revolutions per minute) of both fans is constantly measured. This means that the printer will report an error if the fan suddenly slows down, for example, due to a piece of filament stuck in it.

                  In such a case, check and remove any dirt from the relevant fan. Do not try to bypass the RPM check, as this could damage the printer!

                  Both fans should be checked and cleaned after every few hundred hours of printing. Dust can be removed with compressed air in a spray can, small plastic threads can be removed with tweezers. 

                  CAUTION: Do not blow compressed air on the running fan. 

                  Nextruder

                  Do not open the gearbox unless you have the PG-assembly-adapter. Doing this can result in misaligning the gearbox, causing print failures. 

                  PG assembly adapter e-shop
                  PG assembly adapter printable part, included in the Nextruder Assembly folder. 

                  The primary gear and the bearings attached to the Idler Shaft in the extruder do not need any lubricant. Over time, a deposit of filament debris can form in the grooves of the primary gear, which then causes insufficient filament extrusion. Access the extruder by lifting the Idler Nut, and then moving the Idler Shaft. You can blow away the dirt with compressed air, or use a brass brush or an ordinary toothpick. Use the access hole on the side of the extruder. 
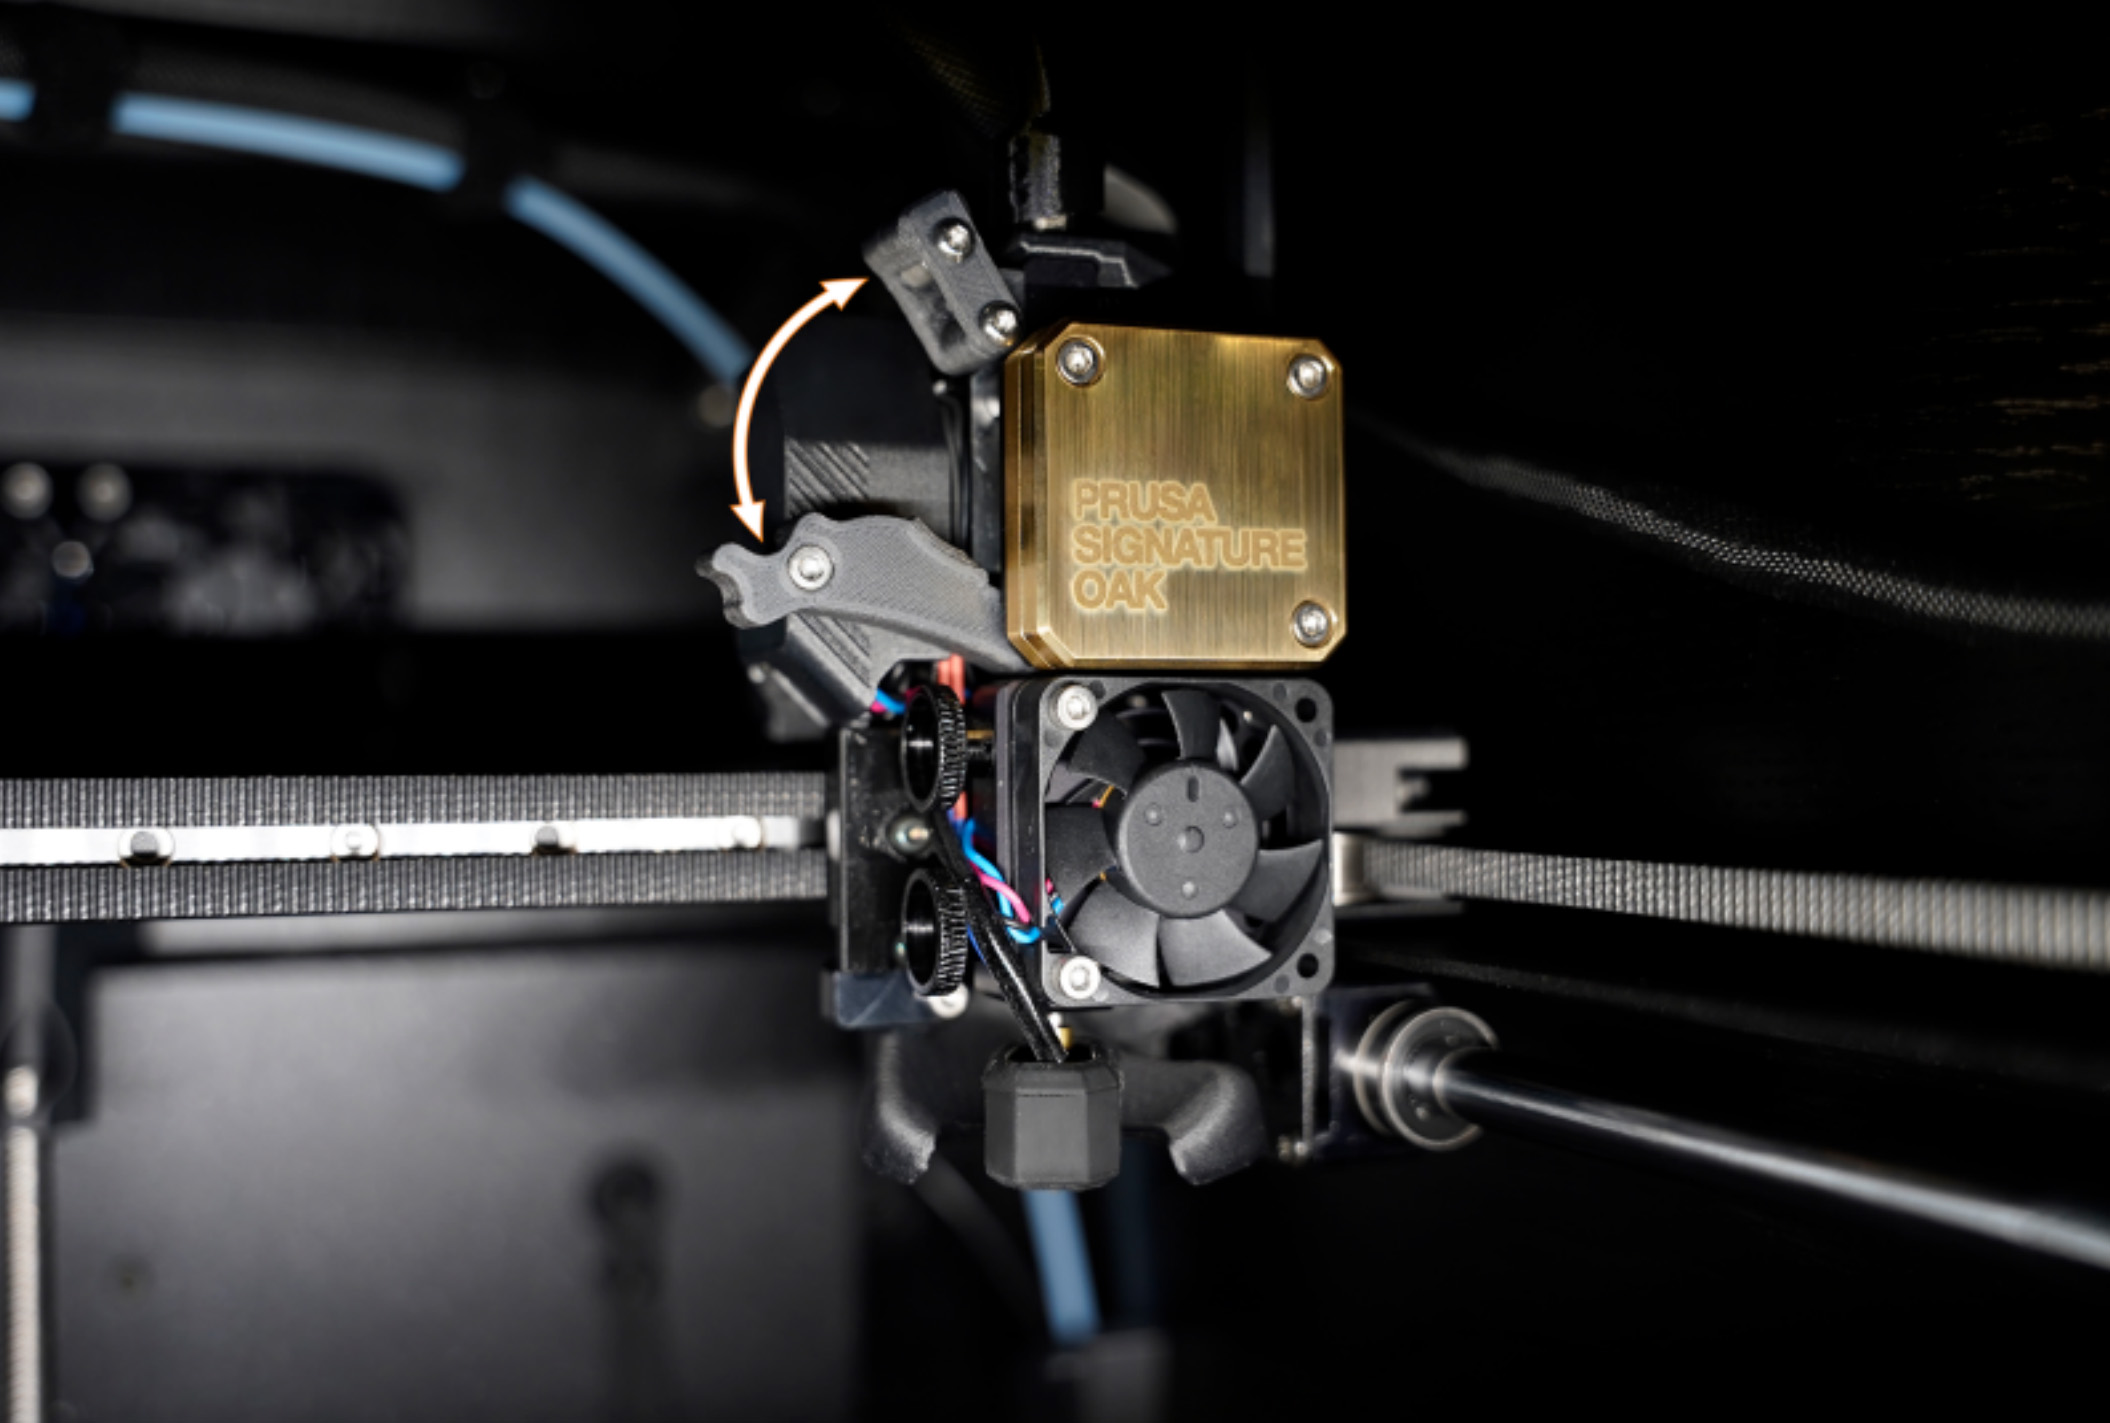
                  Nextruder filament sensor

                  If you encounter problems with the Nextruder filament sensor, such as incorrect or random readings, make sure that everything in the Nextruder is correctly wired and that there is no debris in the filament path inside the extruder, either using tweezers or a can of compressed air. 

                  To access the right side of the LoveBoard, loosen two M3x6 bolts, and remove the cover. 

                  To clean the Nextruder filament sensor, follow the dedicated article. 

                  Panels cleaning 

                  Use an alcohol-free cleaner or soapy water to clean the printer panels. 

                  DO NOT use products that contain alcohol, including IPA. Repeat exposure will weaken the panels, causing them to become brittle over time. 

                  Annual maintenance

                  Electronics

                  Before touching the electrical connections, please make sure that the printer is off, and unplugged from the main power source.

                  It is a good practice to check and optionally reconnect the electrical connectors on the xBuddy board, Loveboard, heatbed, PSU, and xLCD every 600-800 hours of printing. 

                  In particular, ensure that the screw-attached connectors are fully tightened, and the Molex-attached connectors properly connected. 

                  CAUTION: for Molex-attached connectors, it is necessary to press the latch before disconnecting. Otherwise, the connector may get damaged. 

                  Wooden parts care

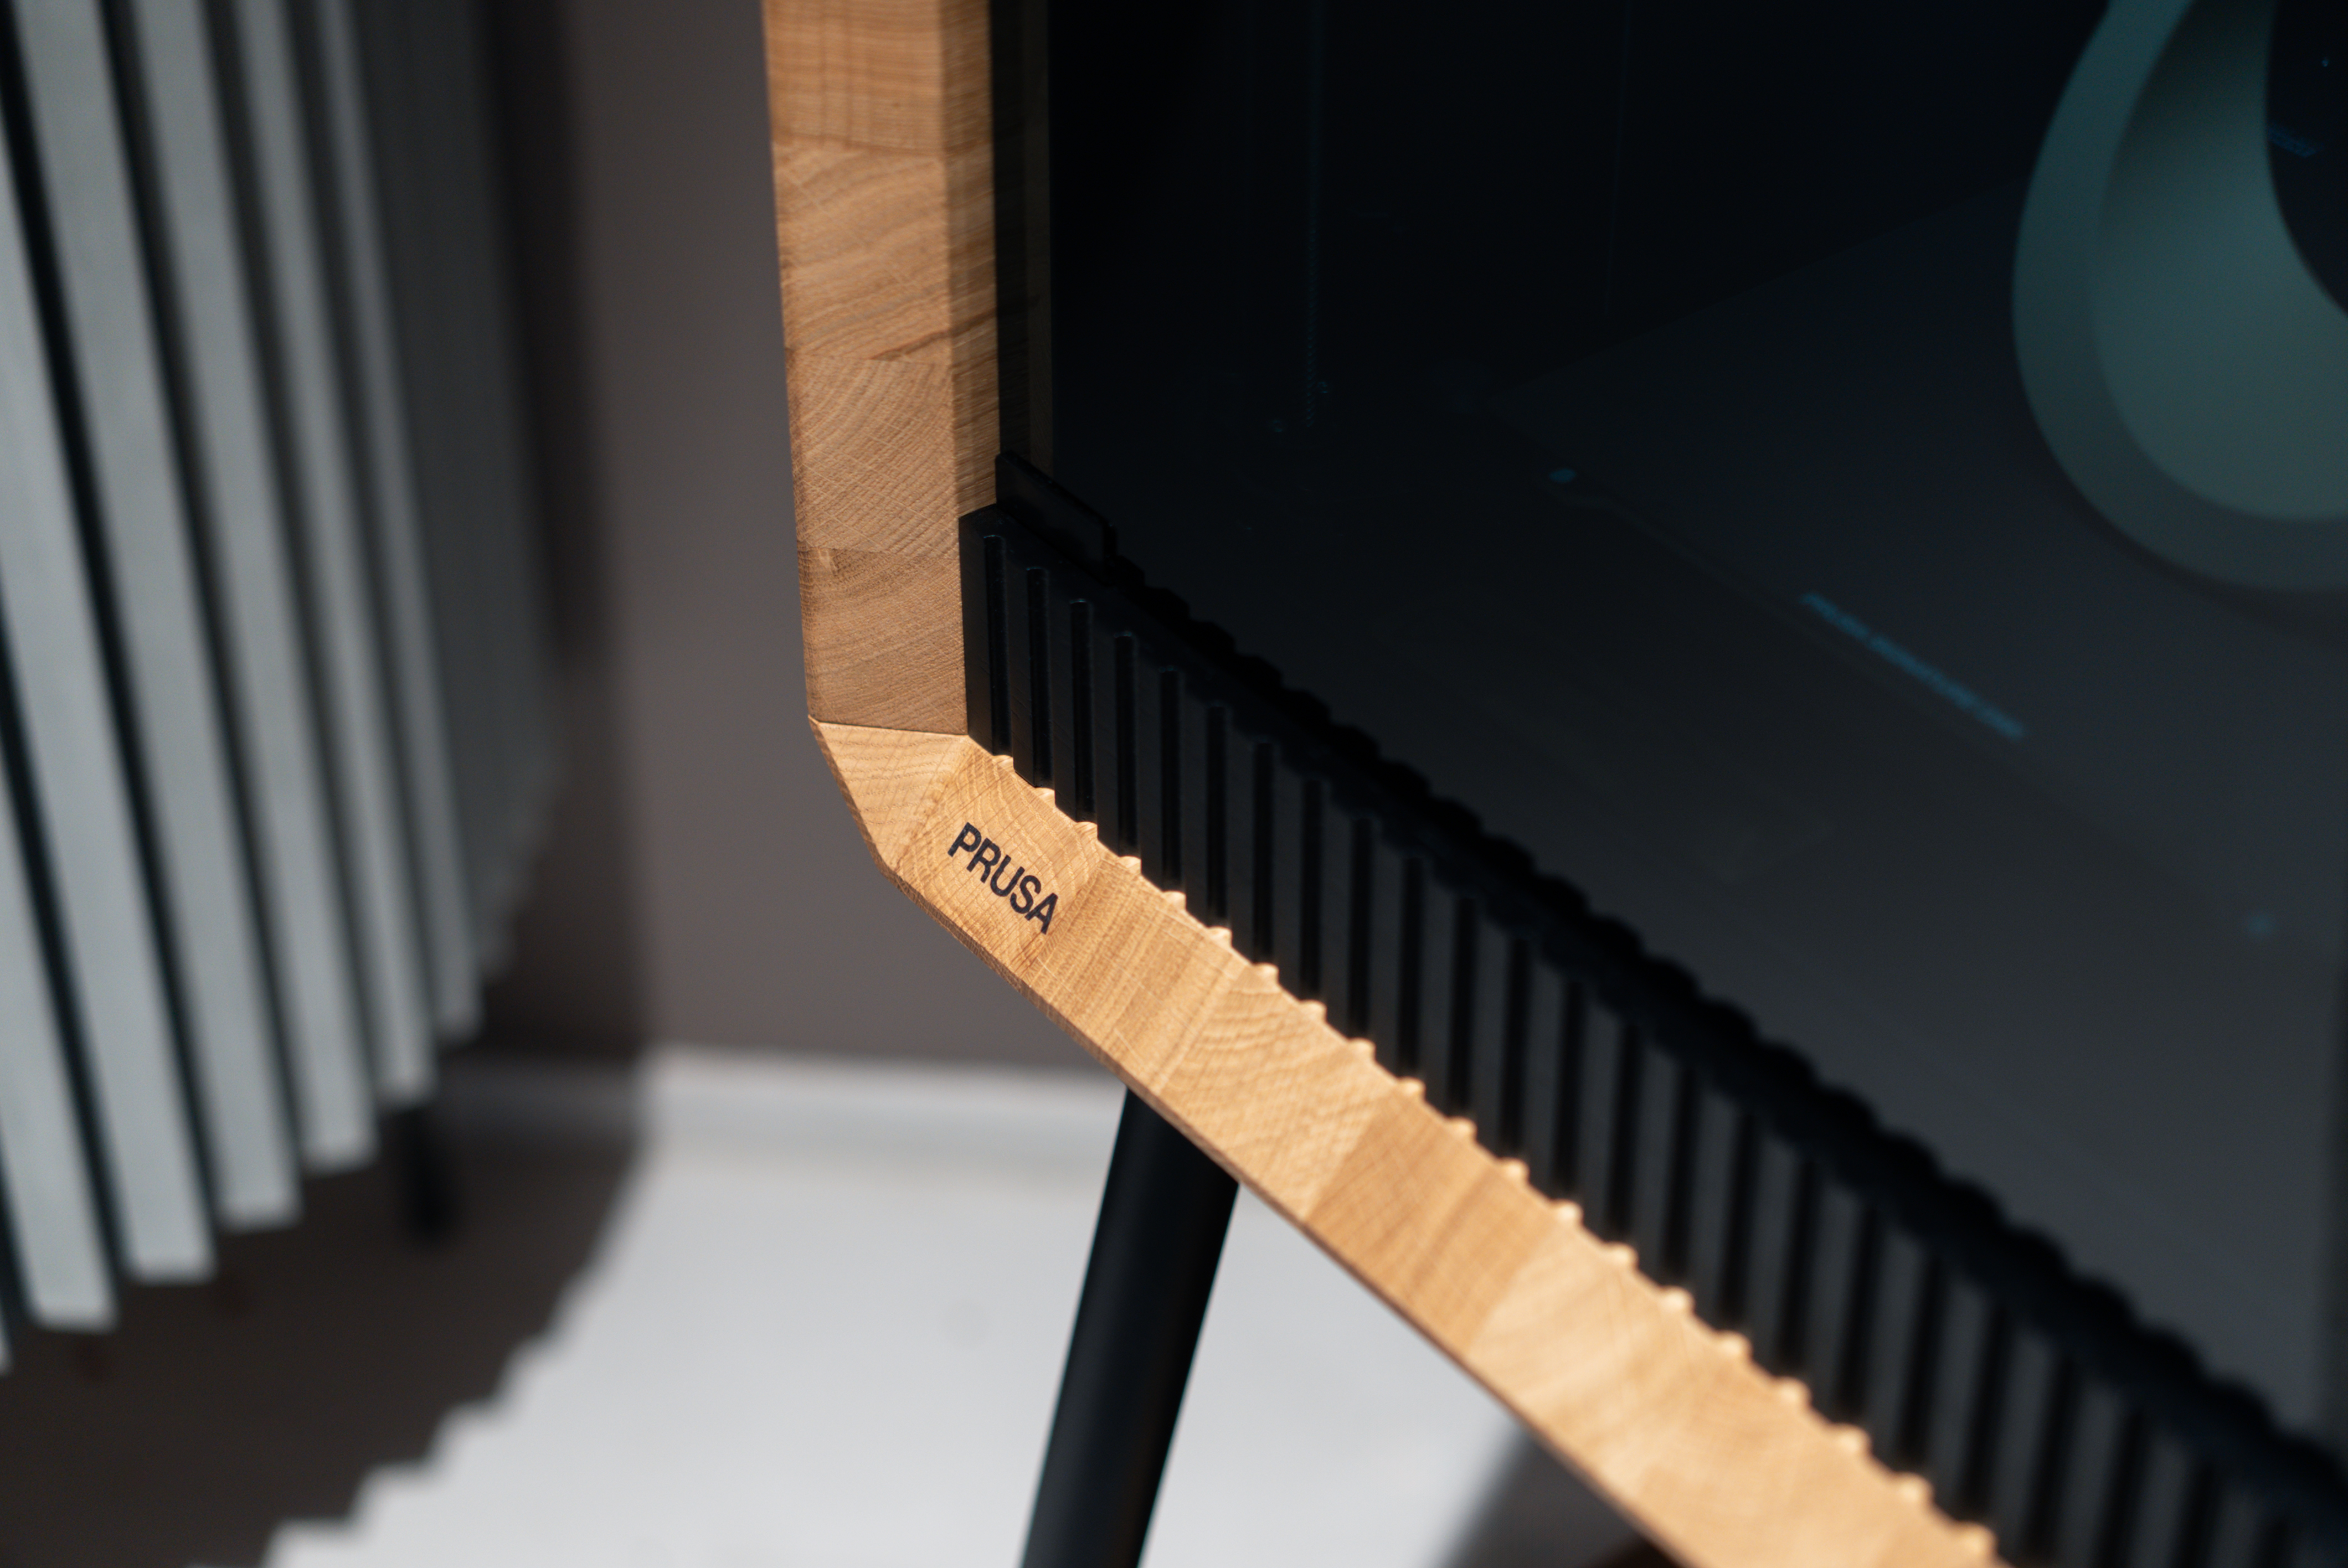
                  The Prusa Signature Oak is a unique 3D printer, featuring structural components made from solid oak. As a living, natural material, wood is sensitive to environmental conditions and external factors, such as humidity, temperature changes, and physical damage. While the wooden parts of the 3D printer come with a protective finish, regular and proper maintenance is crucial to preserve their beauty and function.

                  Below is a summary of the most important procedures, with the full details available on the dedicated article Cuidado y mantenimiento de las piezas de madera (Prusa Signature Oak).
                  Environment and Natural Wood Properties

                  Every piece of wood is unique in its grain and tone. Knots or medullary rays are natural growth features of this living material. Exposure to sunlight can cause slight color changes and oxidation over time. Wood constantly "breathes" and reacts to its environment, which may lead to fine microcracks in the finish or a slight raising of the wood grain. These characteristics are normal for natural materials and are not considered defects.

                  Regular Cleaning Instructions

                  Dusting: Remove dust and dirt using a soft, dry, lint-free cloth (e.g., microfiber or cotton).
                  Spills: If liquid is spilled on the printer, wipe it dry immediately with a paper towel or soft cloth.
                  Do not place items containing liquids, such as plant pots, on the wooden surfaces.
                  Stains: To remove stains or sticky residue, gently wipe the surface with a slightly damp cloth, then immediately dry the area. Never leave the surface wet.
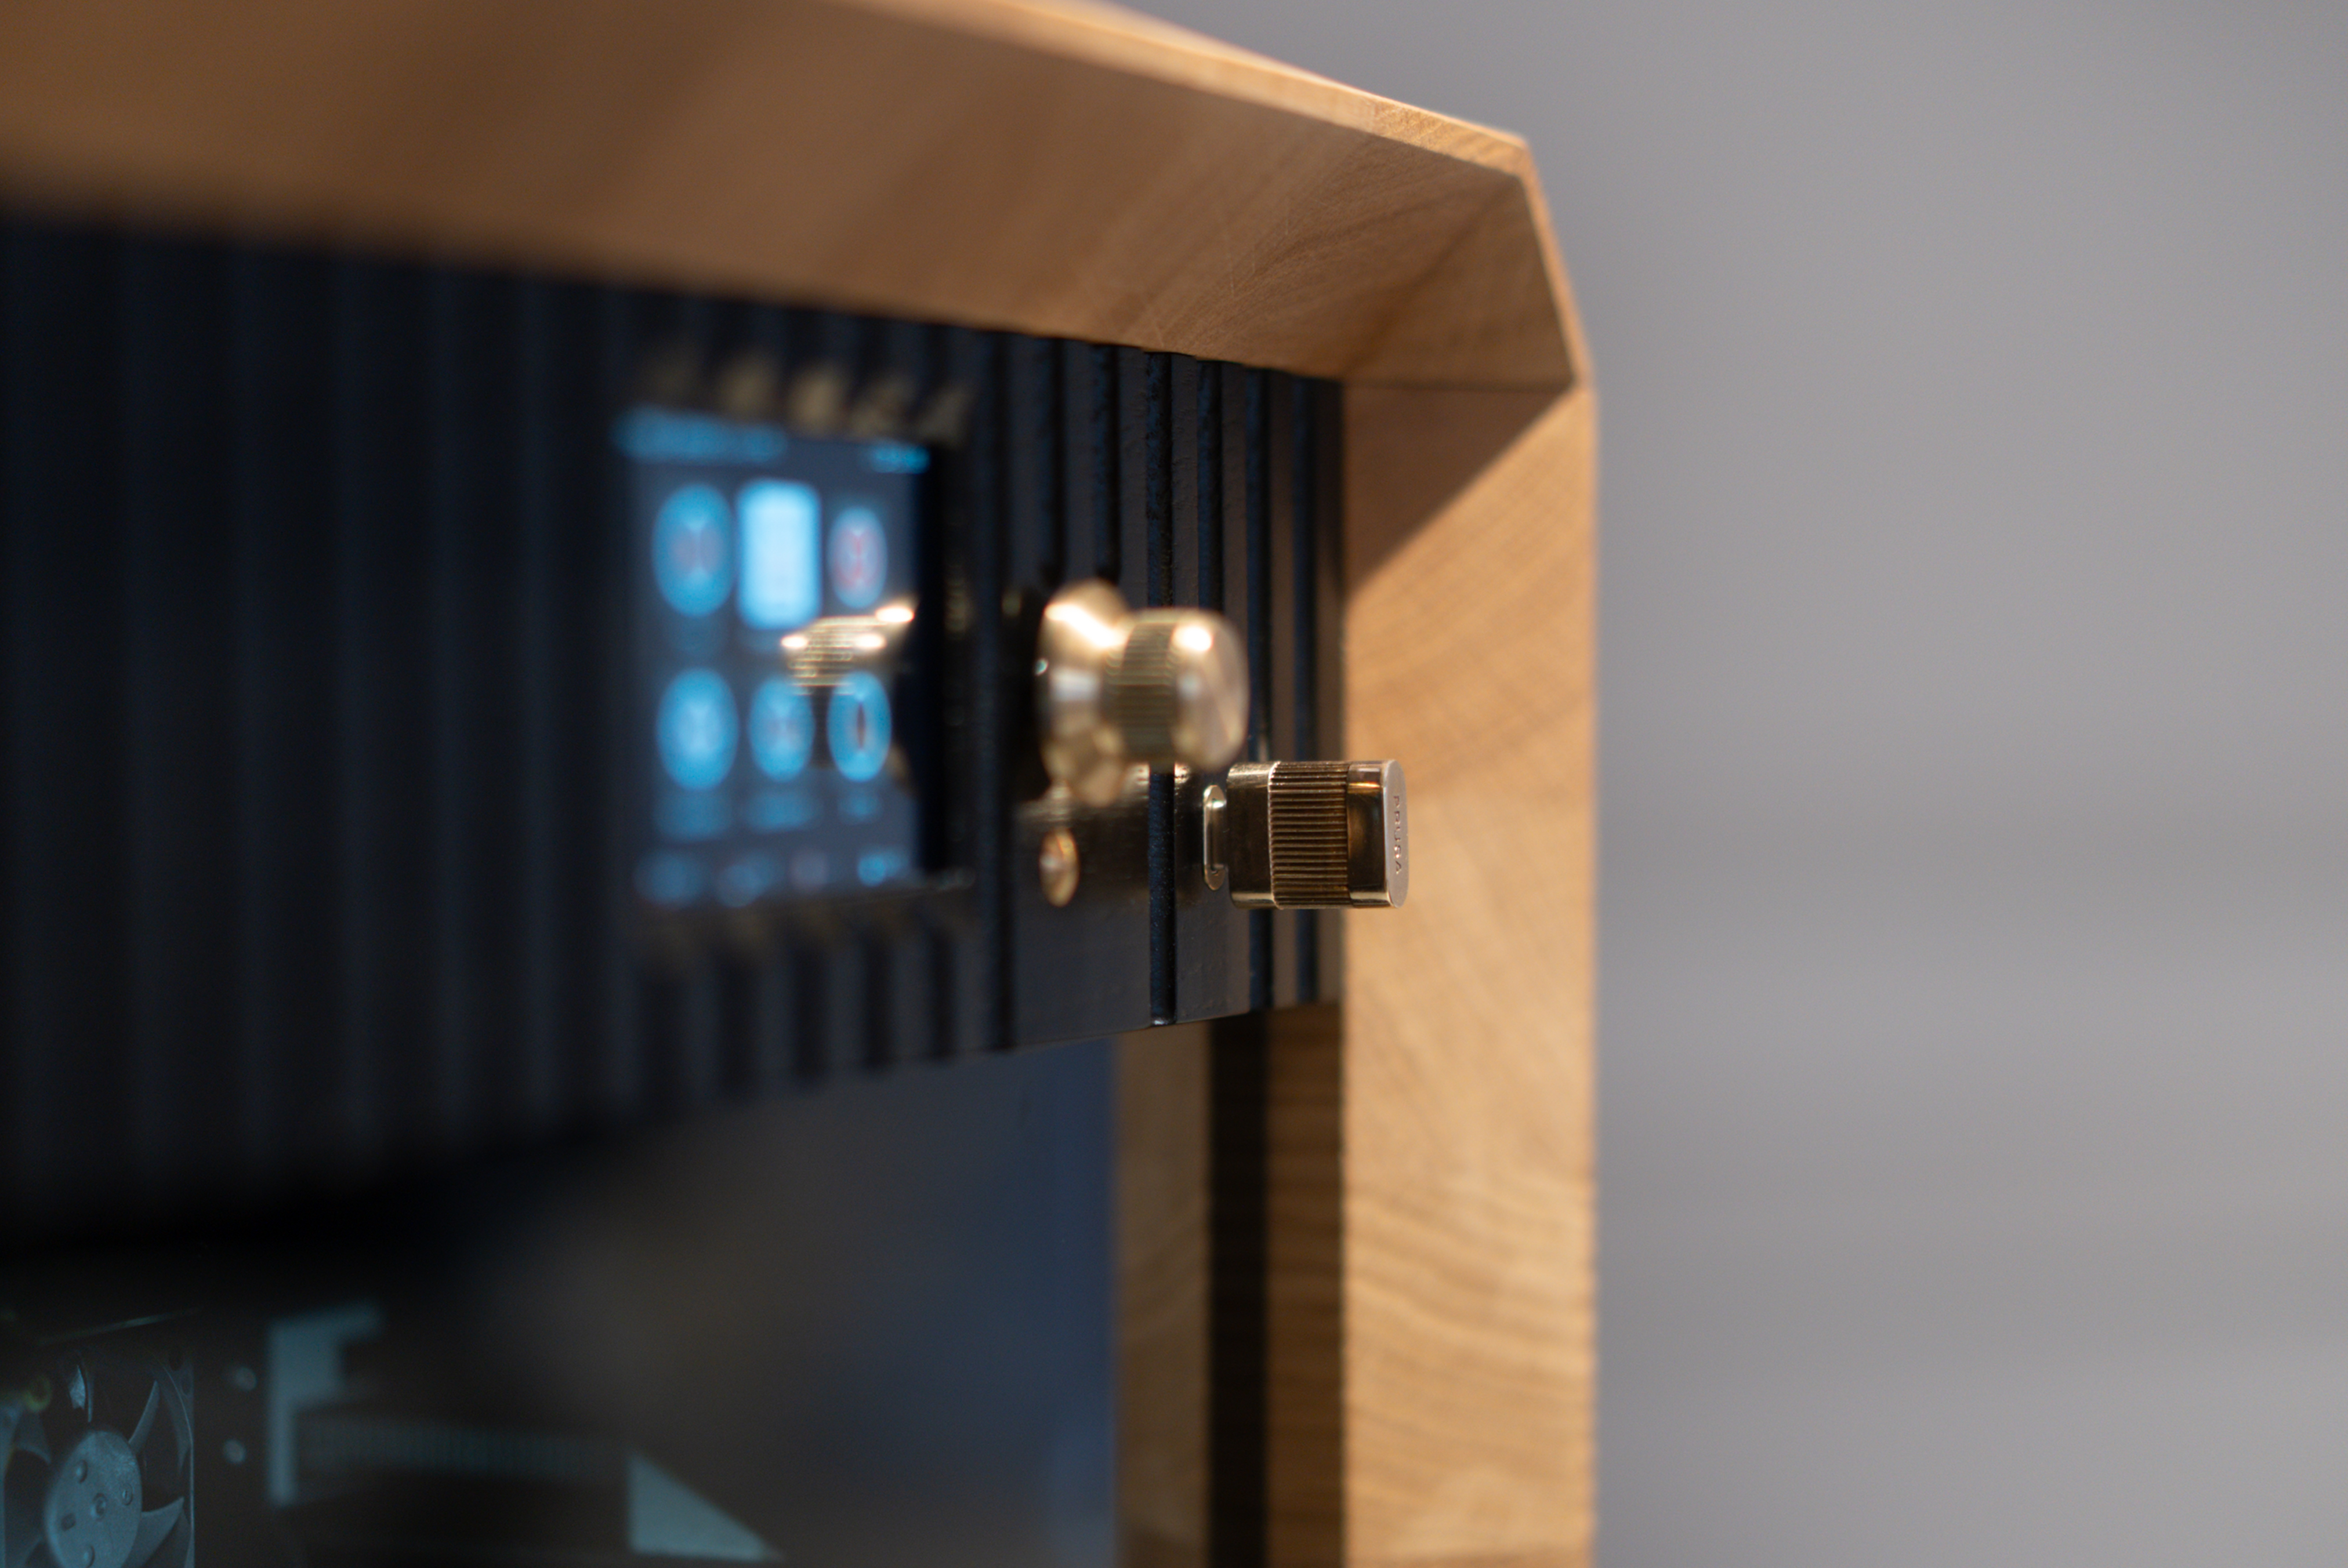
                  Signed Plaque: The front of the printing chamber features a numbered plaque with Josef Prusa's signature. Although the signature is sealed with a protective coating, clean the surface using only a dry, soft cloth. Do not use cleaning agents or excessive pressure, as these could damage the finish and erase the signature.

                  Never use abrasive cleaning agents, polishing pastes, aggressive chemicals, or solvents. Avoid contact with acetone and isopropyl alcohol (IPA), as these will permanently damage the oiled surface.

                  Oiled Surface Maintenance

                  The solid oak components of the Prusa Signature Oak are treated with a premium protective oil finish that requires regular maintenance. Over time, the oil will dry out or be absorbed by the wood. This can lead to rough spots, dull areas, or a patchy appearance.

                  To preserve a consistent look, apply a fresh coat of wood care oil regularly. The standard reapplication interval is once every three years. However, high-contact areas (e.g., the top cover) may require more frequent treatment.

                  To make this maintenance easier, a specialized Wood Maintenance Kit is included with your printer. This includes:
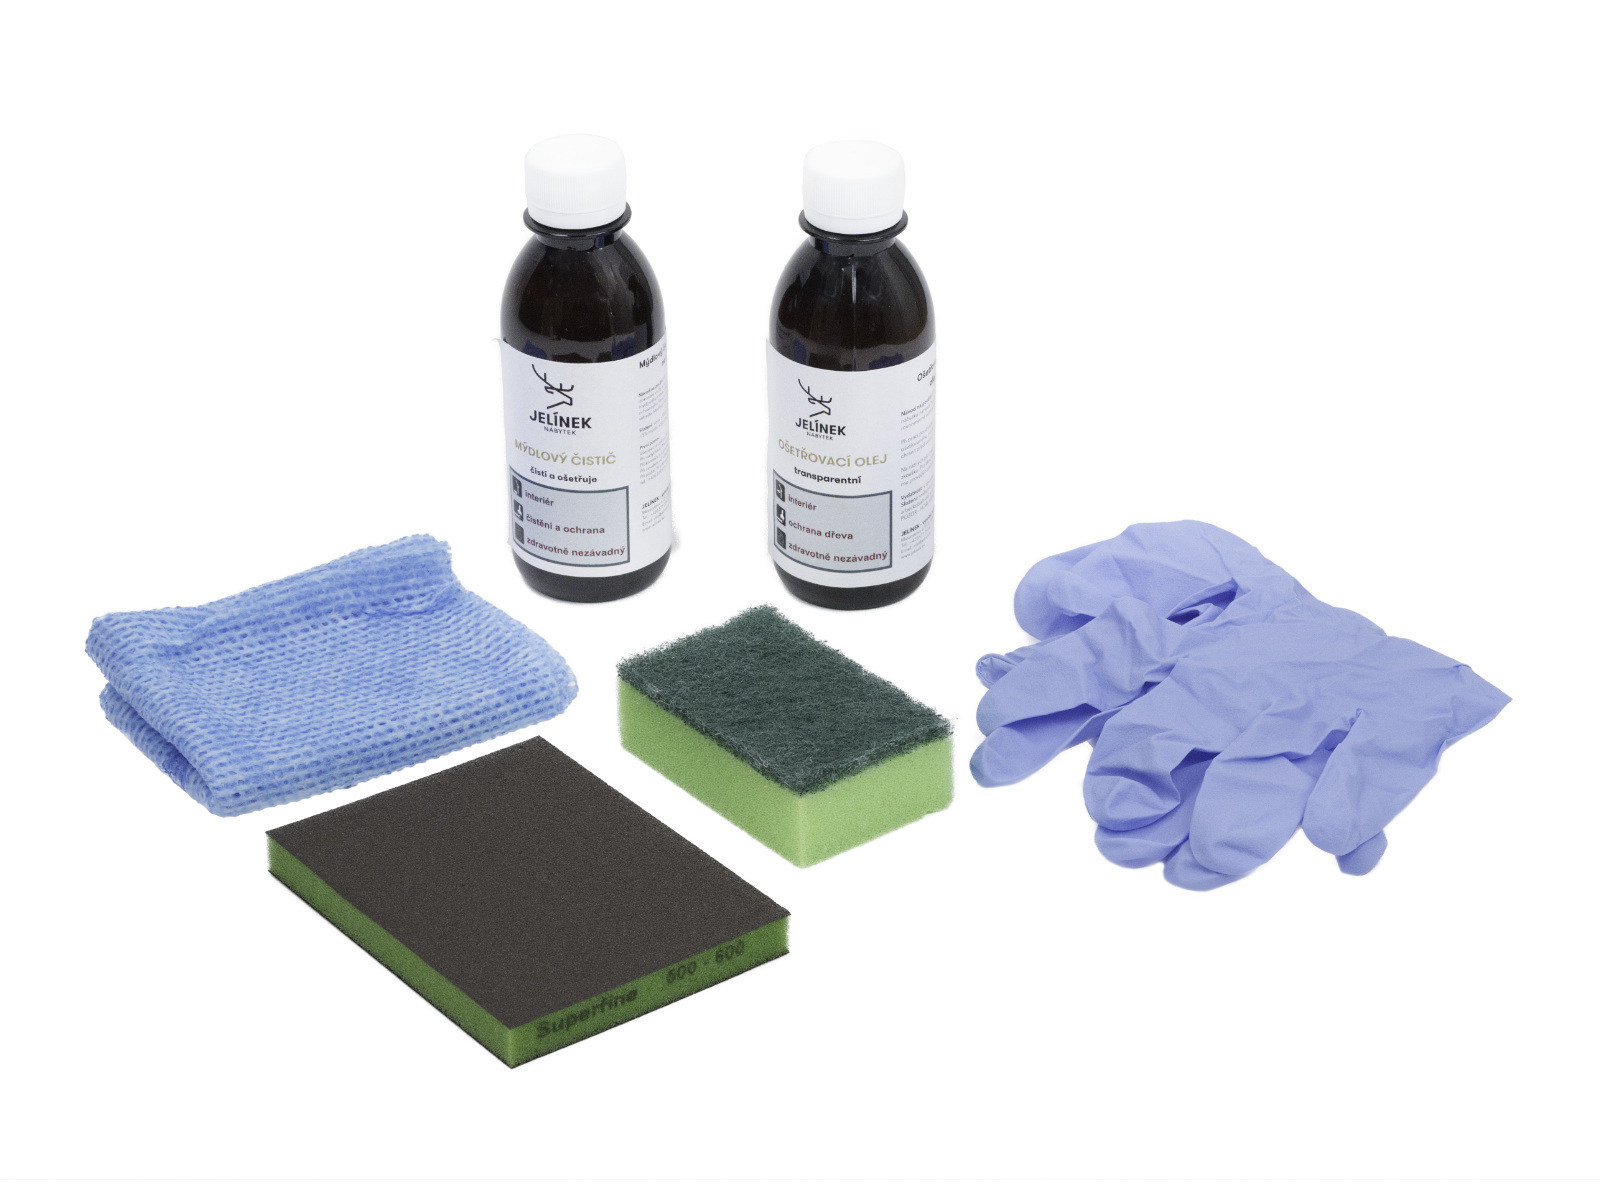
                  • Wood Cleaner (200 ml) - Soap-based cleaner
                  • Wood Care Oil (200 ml) - Universal clear oil
                  • Sanding sponge
                  • Application sponge
                  • Cloth (for wiping dry
                  • Protective gloves

                  Surface Cleaning (Deep Clean)

                  Use the soap-based cleaner only for heavily soiled surfaces. For routine maintenance, dusting is sufficient.

                  1. Mix a solution of 5 ml of cleaner with 200 ml of water.
                  2. Apply the solution evenly using a well-wrung damp cloth or sponge.
                  3. Do not rinse with clean water, as this would remove the protective film.
                  4. Allow the surface to dry completely before applying oil.

                  Repairing Minor Damage (Optional)

                  Minor damage, such as scuffs, fine scratches, or stubborn stains, can be repaired by sanding.

                  1. Lightly sand the damaged area with the provided sanding sponge. Always sand in the direction of the wood grain. When sanding the wooden parts, wear protective gear, as oak wood dust can irritate your respiratory system.
                  2. Thoroughly remove all sanding dust.
                  3. Proceed to apply the oil.

                  Applying Wood Care Oil

                  Ensure the surface is clean and perfectly dry.

                  1. Shake the oil bottle well before use.
                  2. Apply a thin layer of oil using the application sponge or a cloth.
                  3. Spread it evenly and let it sit for 3 to 5 minutes.
                  4. Wipe off any excess oil completely with a dry cloth. The surface should not feel wet to the touch.

                  Curing Time

                  The treated surface will cure within 24 hours. During this time, protect the surface from water and humidity, and do not place any objects on it.

                  For extensive damage or structural issues, please contact our technical support.

                  Oil-soaked cloths and sponges carry a risk of spontaneous combustion and can self-ignite if not handled properly. Immediately after use, soak all used cloths and sponges in water. Then place them in a sealed metal container or let them dry outdoors, fully unfolded, before disposal.

                  Dispose of empty containers and maintenance waste in accordance with local regulations.

                  ¿Te resultó útil este artículo?
                  Esta acción está disponible solo para usuarios registrados. Por favor inicia sesión.
                  Inicia sesión  para publicar un comentario
                  Sin comentarios

                  Temas

                  • Usando la impresora
                    • Mantenimiento de la impresora
                      • Mantenimiento regular de la impresora (Signature Oak)
                      • Changing or replacing the Prusa Nozzle
                      • Installing or changing the Nextruder V6 Nozzle Adapter
                      • Cómo flashear el firmware (MK4/S, MK3.9/S, MK3.5, XL)
                      • How to downgrade firmware (CORE One/+, MK4/S, MK3.9/S, MK3.5/S, XL)
                      • Changing or replacing the Nextruder Hotend
                      • Cómo reemplazar la boquilla Prusa (CORE One)
                      • Cuidado y mantenimiento de las piezas de madera (Prusa Signature Oak)
                    • Modelos 3D
                    • Guía de materiales
                    • Laminando
                    • Prusa Connect y PrusaLink