Relevante para


It is possible to install a larger bin for the nozzle cleaning residues. Below are the instructions for self-install. It is necessary to have the printed parts and a drill with step bit 32mm. We recommend using safety glasses and gloves for the procedure.
Alternatively, it is possible to replace the side sheet metal to a new version, available on our e-shop.
Print the files using preset profile. The large wiper bin is set for vase mode, we recommend keeping the preset parameters in the 3mf file. The ideal material for the high volume waste bucket is PCCF, for the legs and large outer bin PETG.
All files are available on our CORE One INDX Printables page.
The other involved components used on the new nozzle cleaner, such as silicone, locker, adjuster, and related fasteners, remain the same as the ones previously used.
Drilling the metal sheet will produce metal dust and small metal particles.
Before drilling, we recommend placing tape around the drilling hole, and preparing one or more magnets to attach to the sheet metal, for easier collection of the metal dust.
Use the drill guide by placing it onto the pre-installed nuts, the remaining hole is the drill guide.
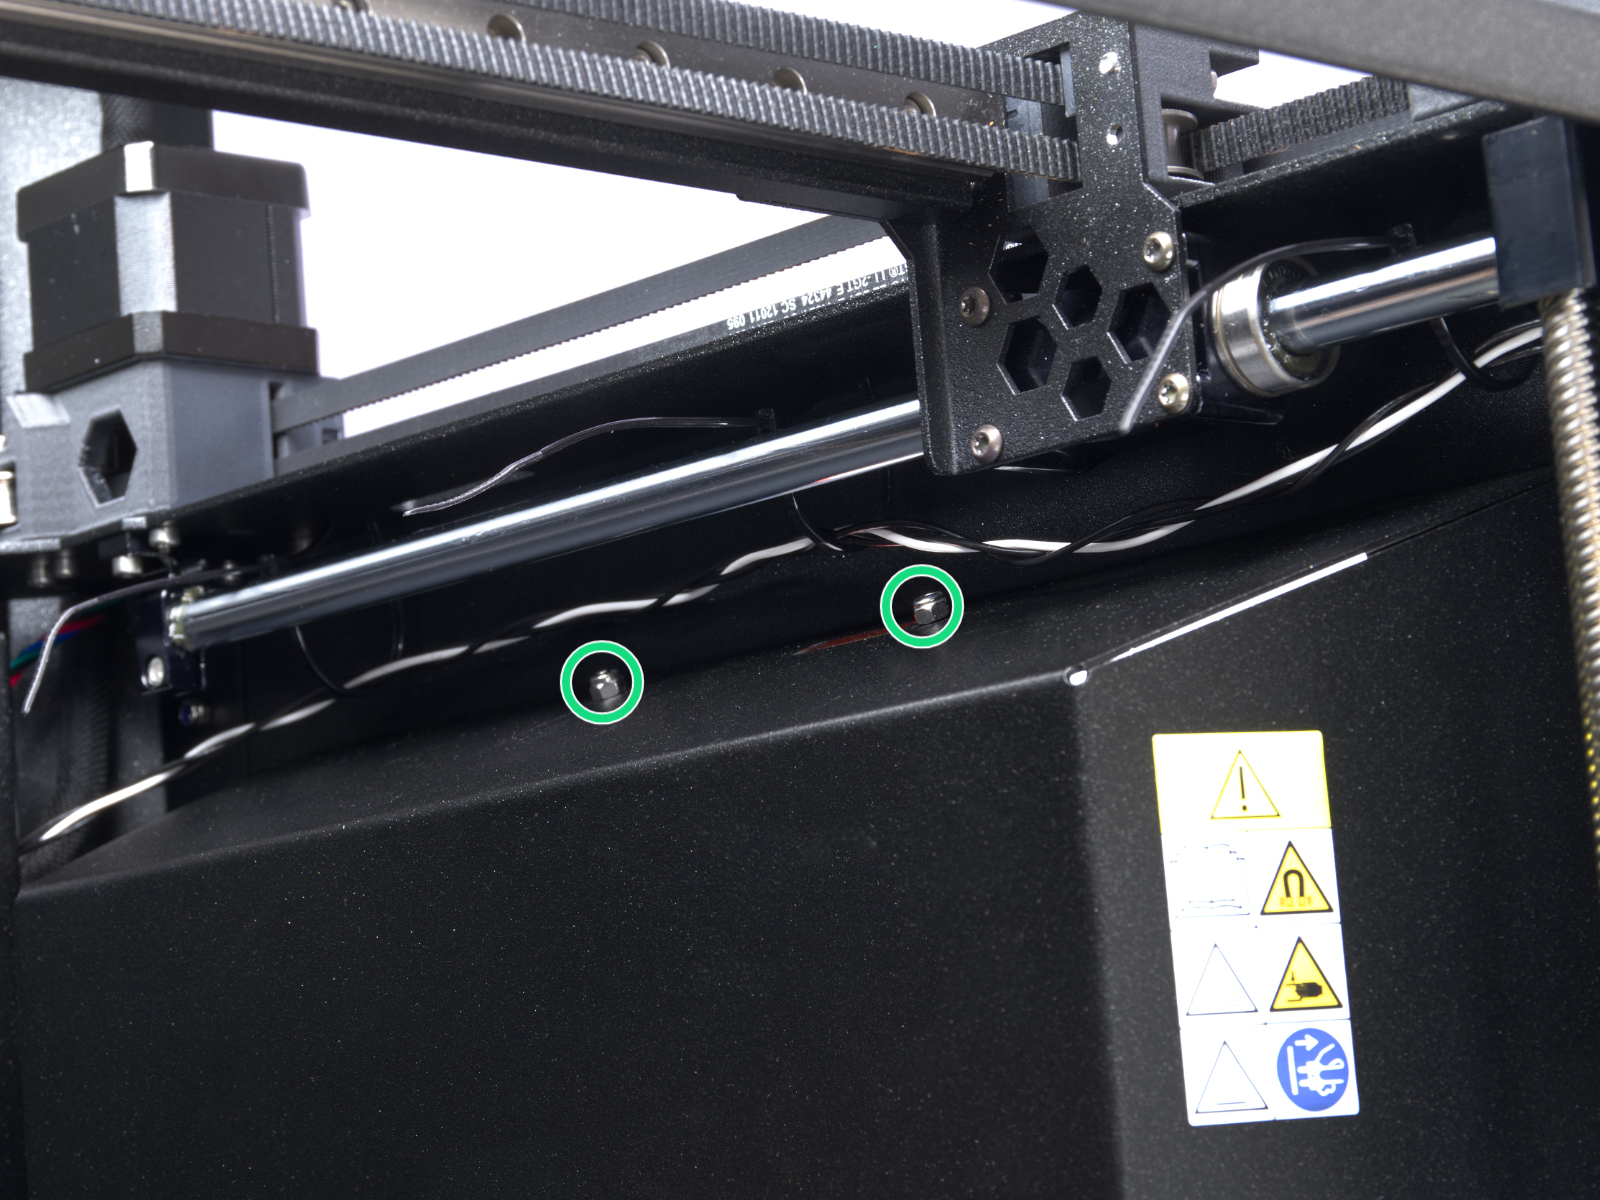 | 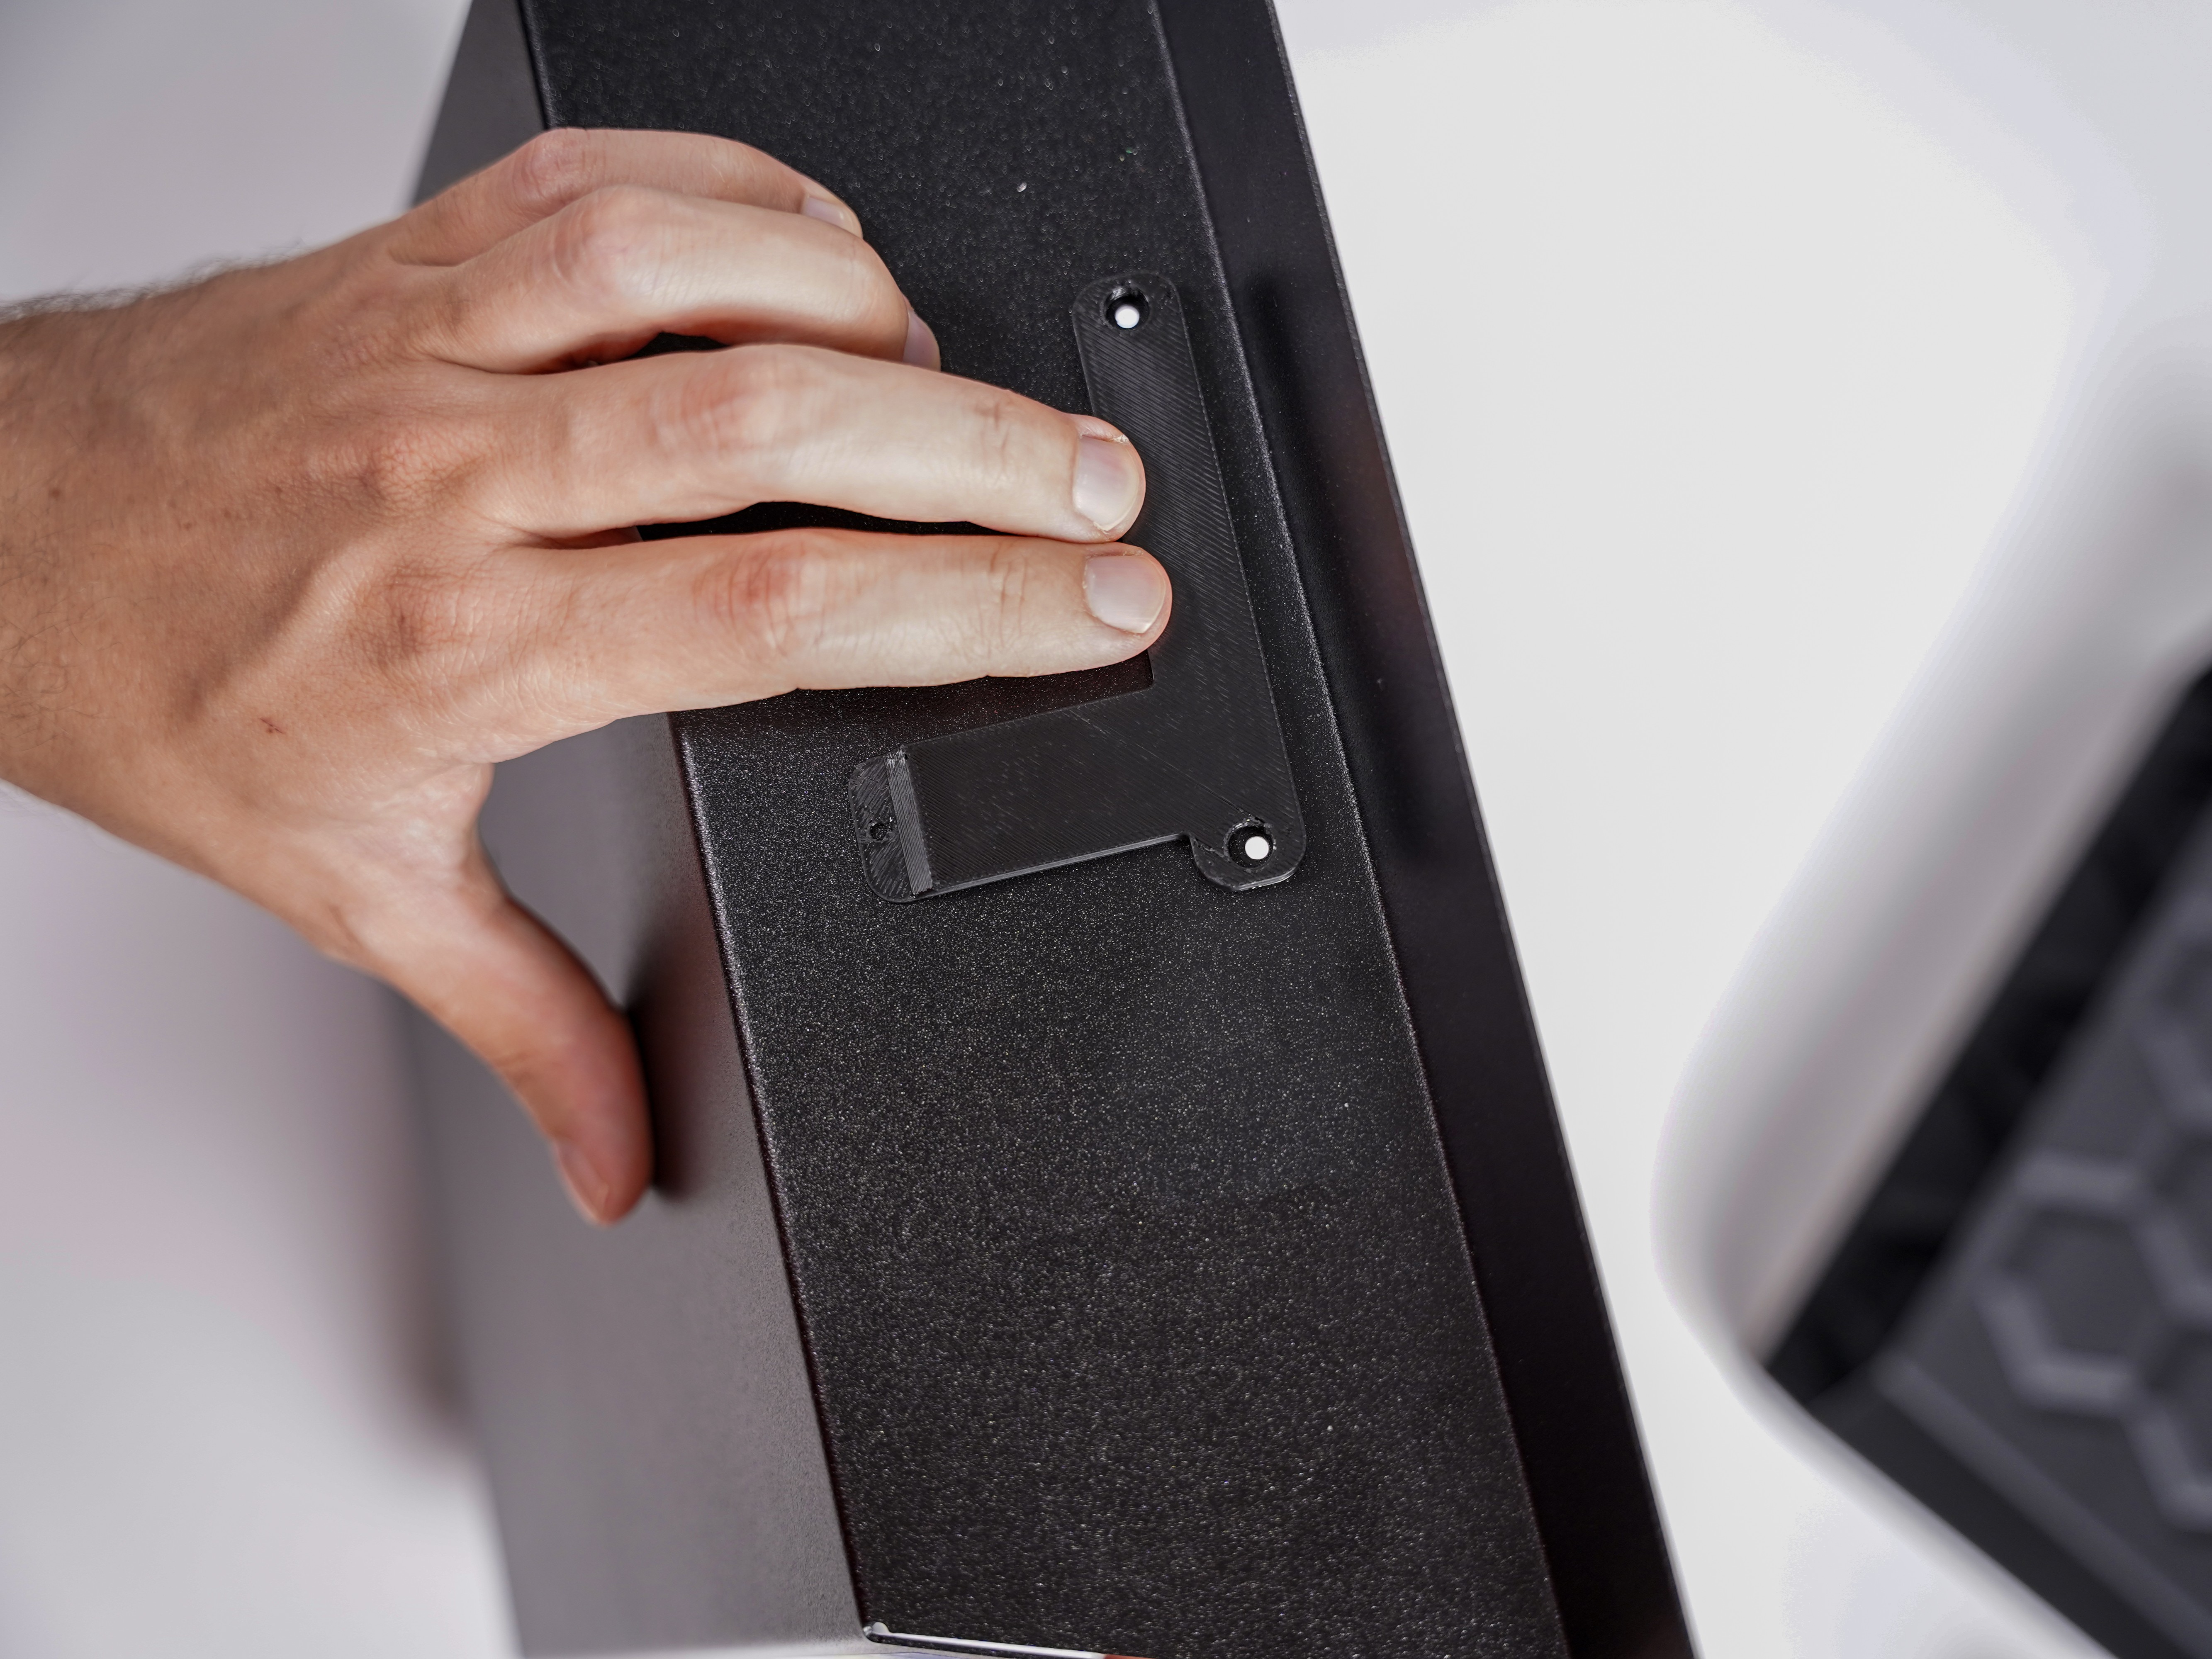 |
You can use the drill guide to mark the starting drilling point, and remove the drill guide before drilling. Alternatively, you can use the drill guide to start the first, smaller drill, and remove it for the successive drilling steps.
Drill the side sheet metal using a step drill 32.
The best method to collect the remaining metal dust is using a magnet to attract it as much as possible.
Install the nozzle cleaner assembly as in the below pictures.
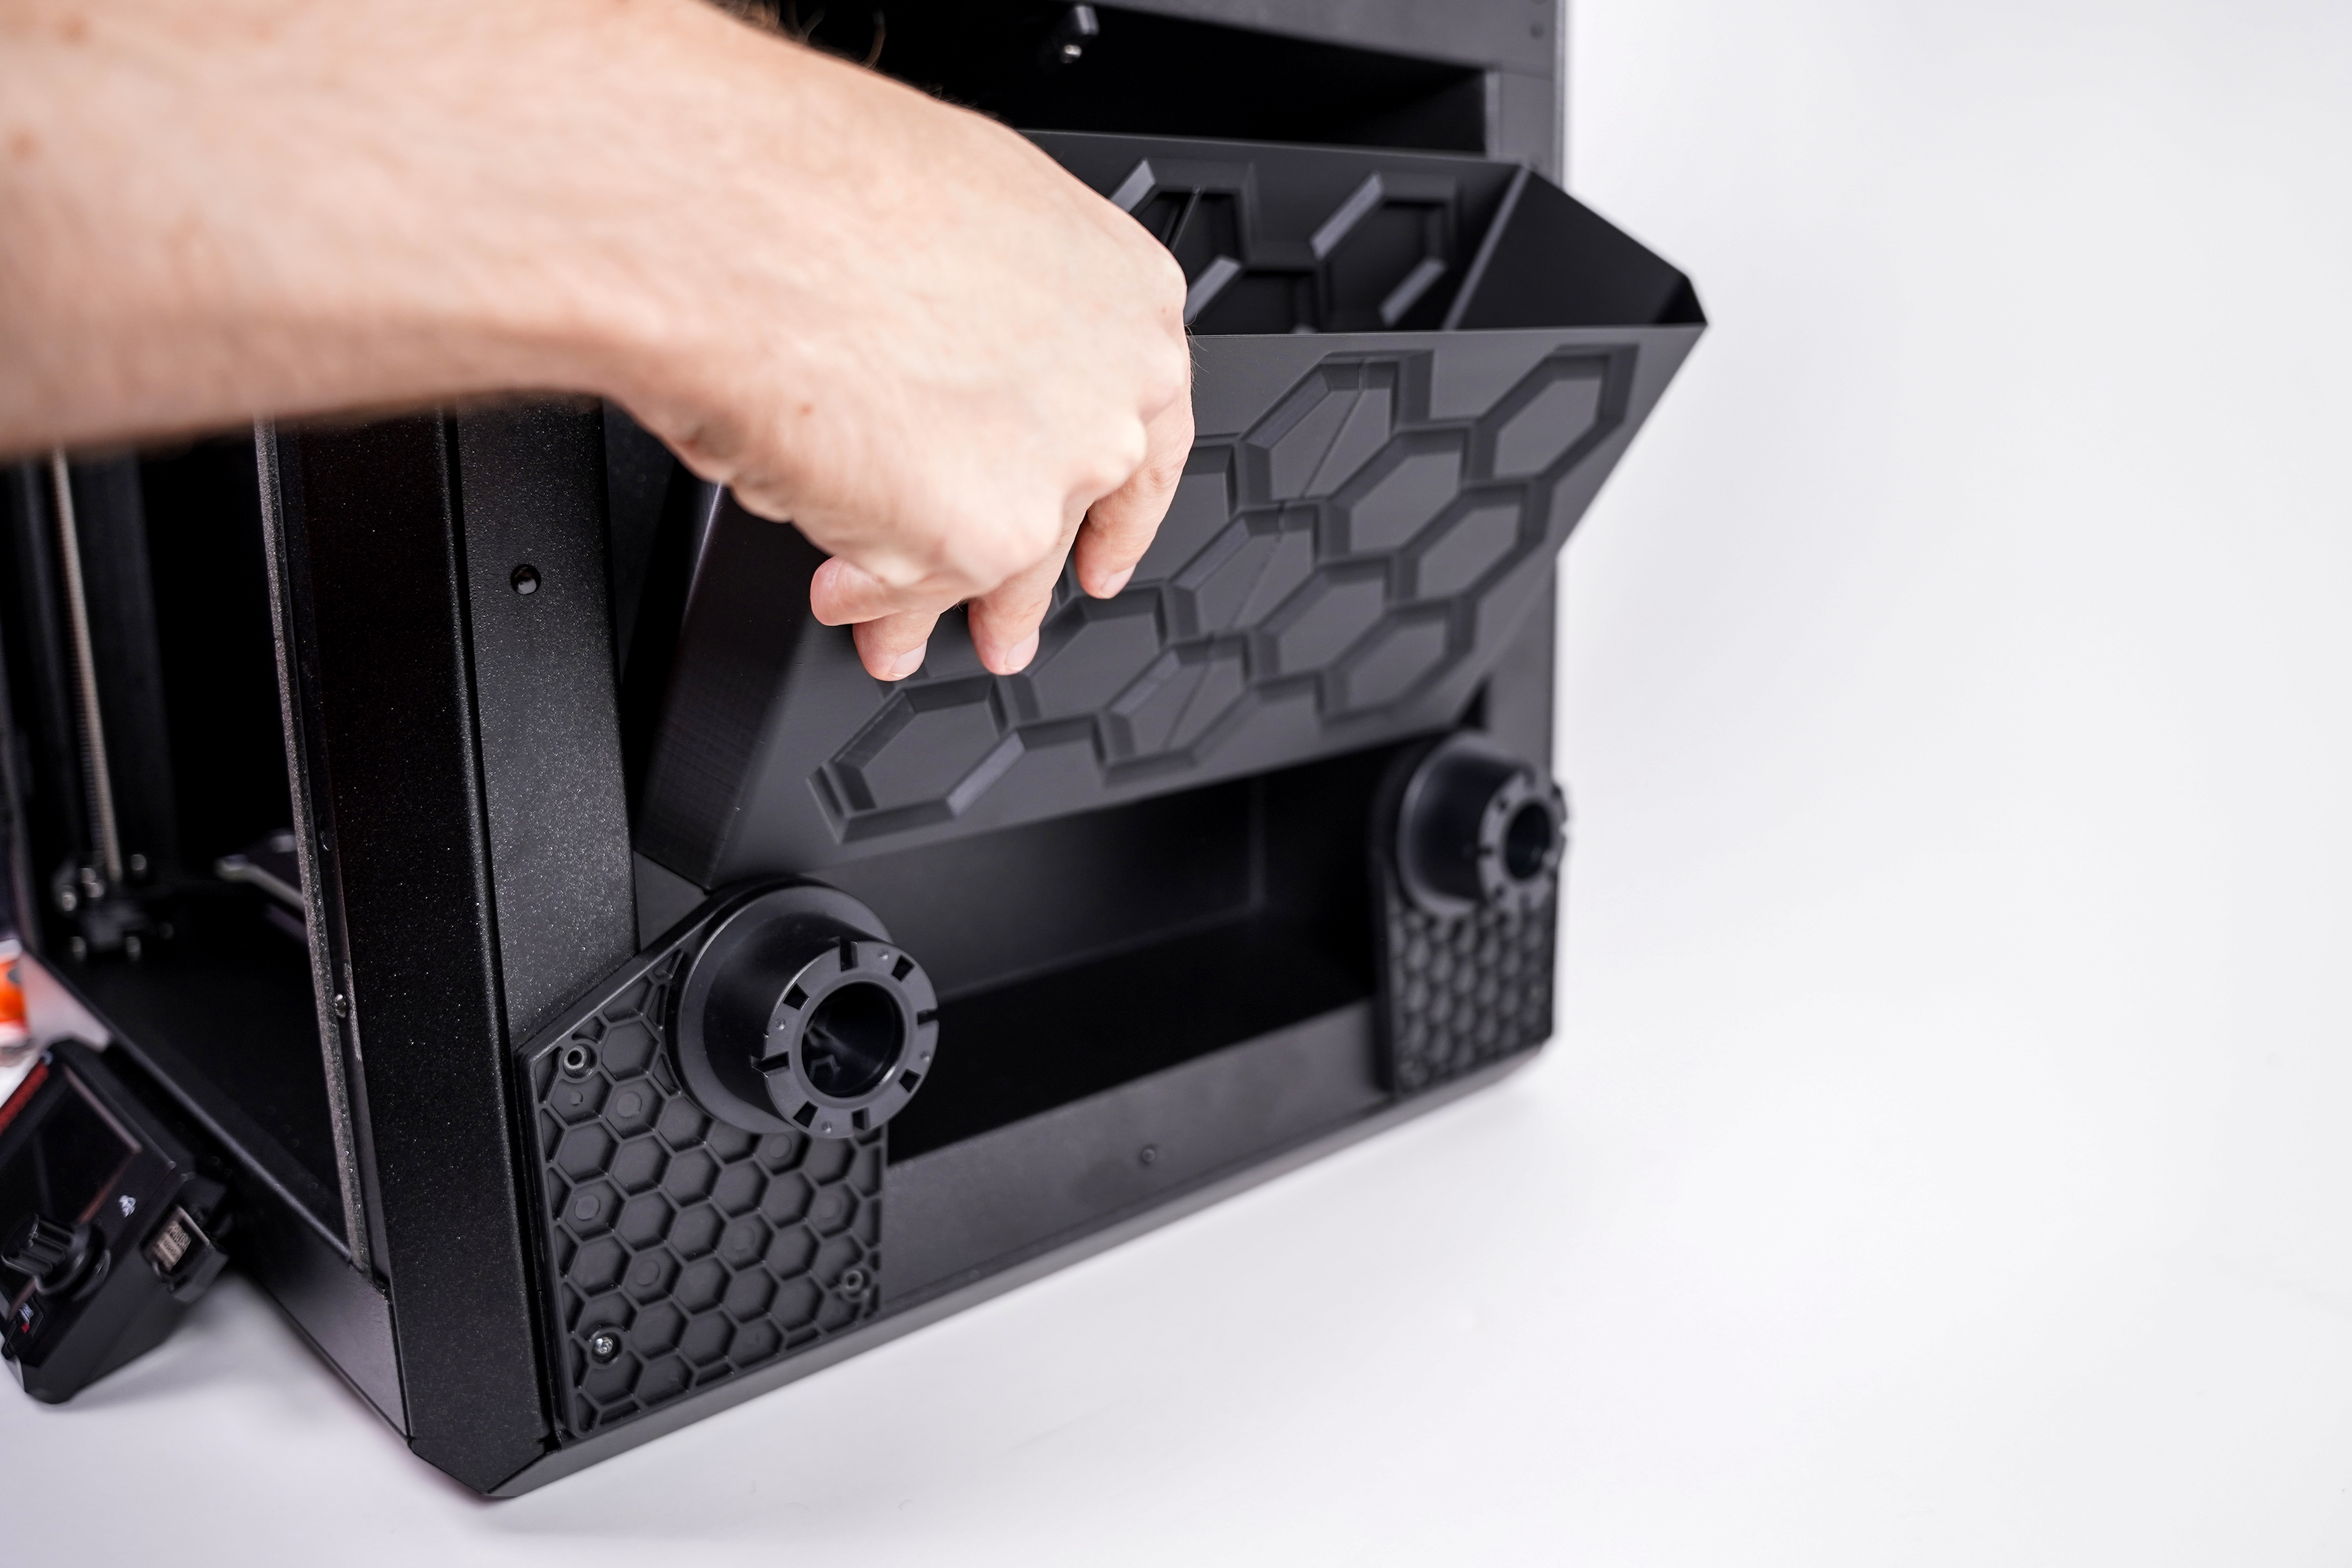
Then, install the large wiper bin, equipped with 3x legs, onto the side sheet metal.
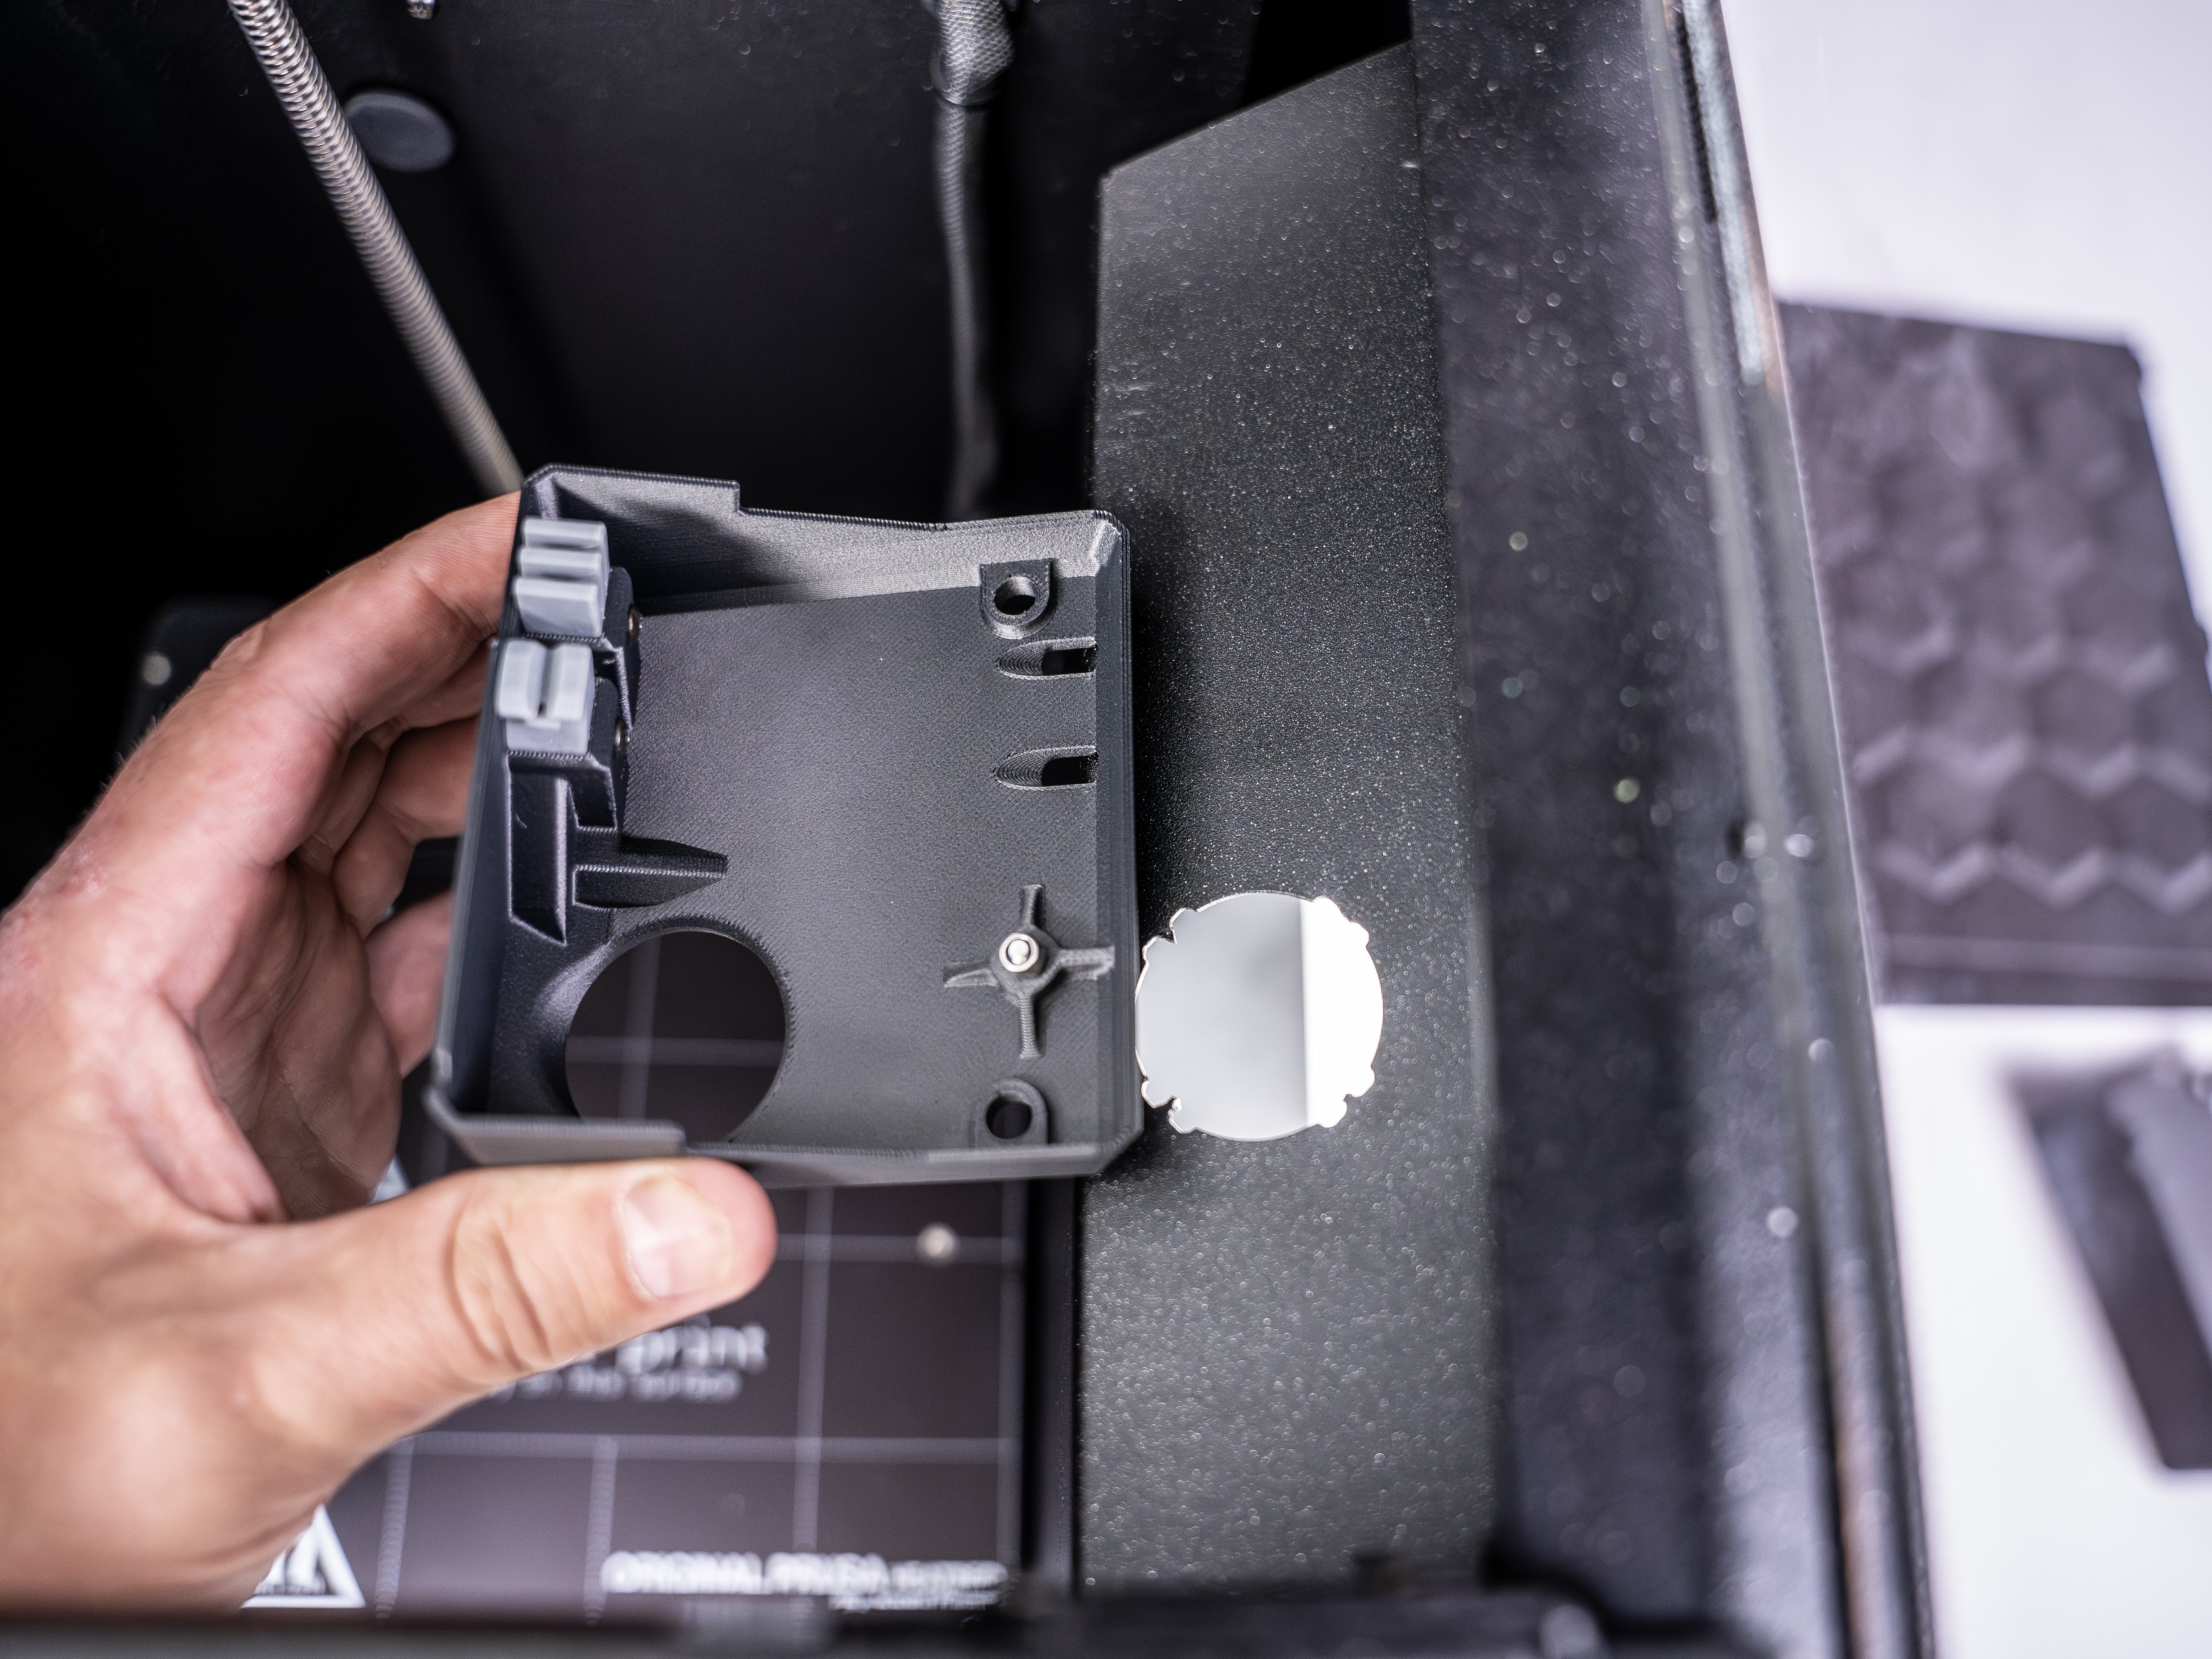 | 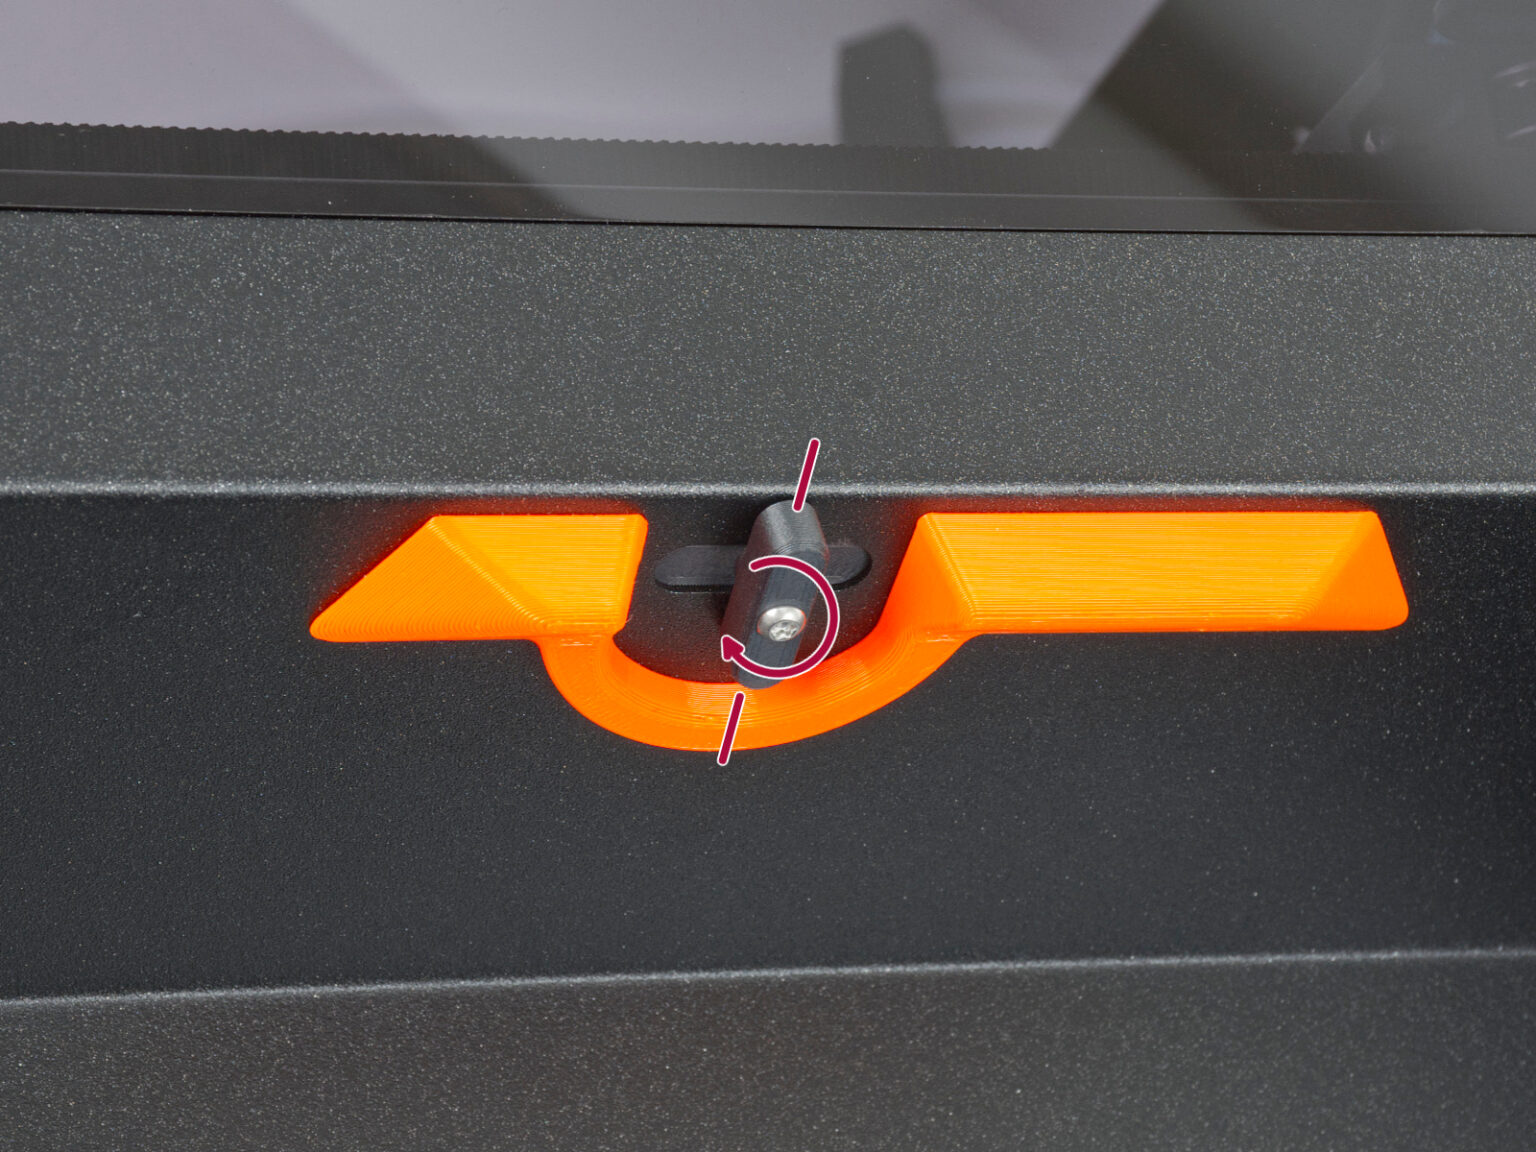 |
On the printer menu, navigate to >Settings >Nozzle Cleaner >Nozzle Cleaner Capacity, and set it to Extended.