EN
  • Čeština
  • Español
  • Italiano
  • Deutsch
  • Polski
  • Français
  • 日本語
Login

How to replace a print fan (MINI)

How to replace a print fan (MINI)

How to replace a print fan (MINI)
Relevant for:
Last updated 4 years ago
How to replace a print fan (MINI)
 Difficulty
Moderate
 Steps
13
 Available languages
CSPLESDEITFRJA
Introduction
Introduction
 

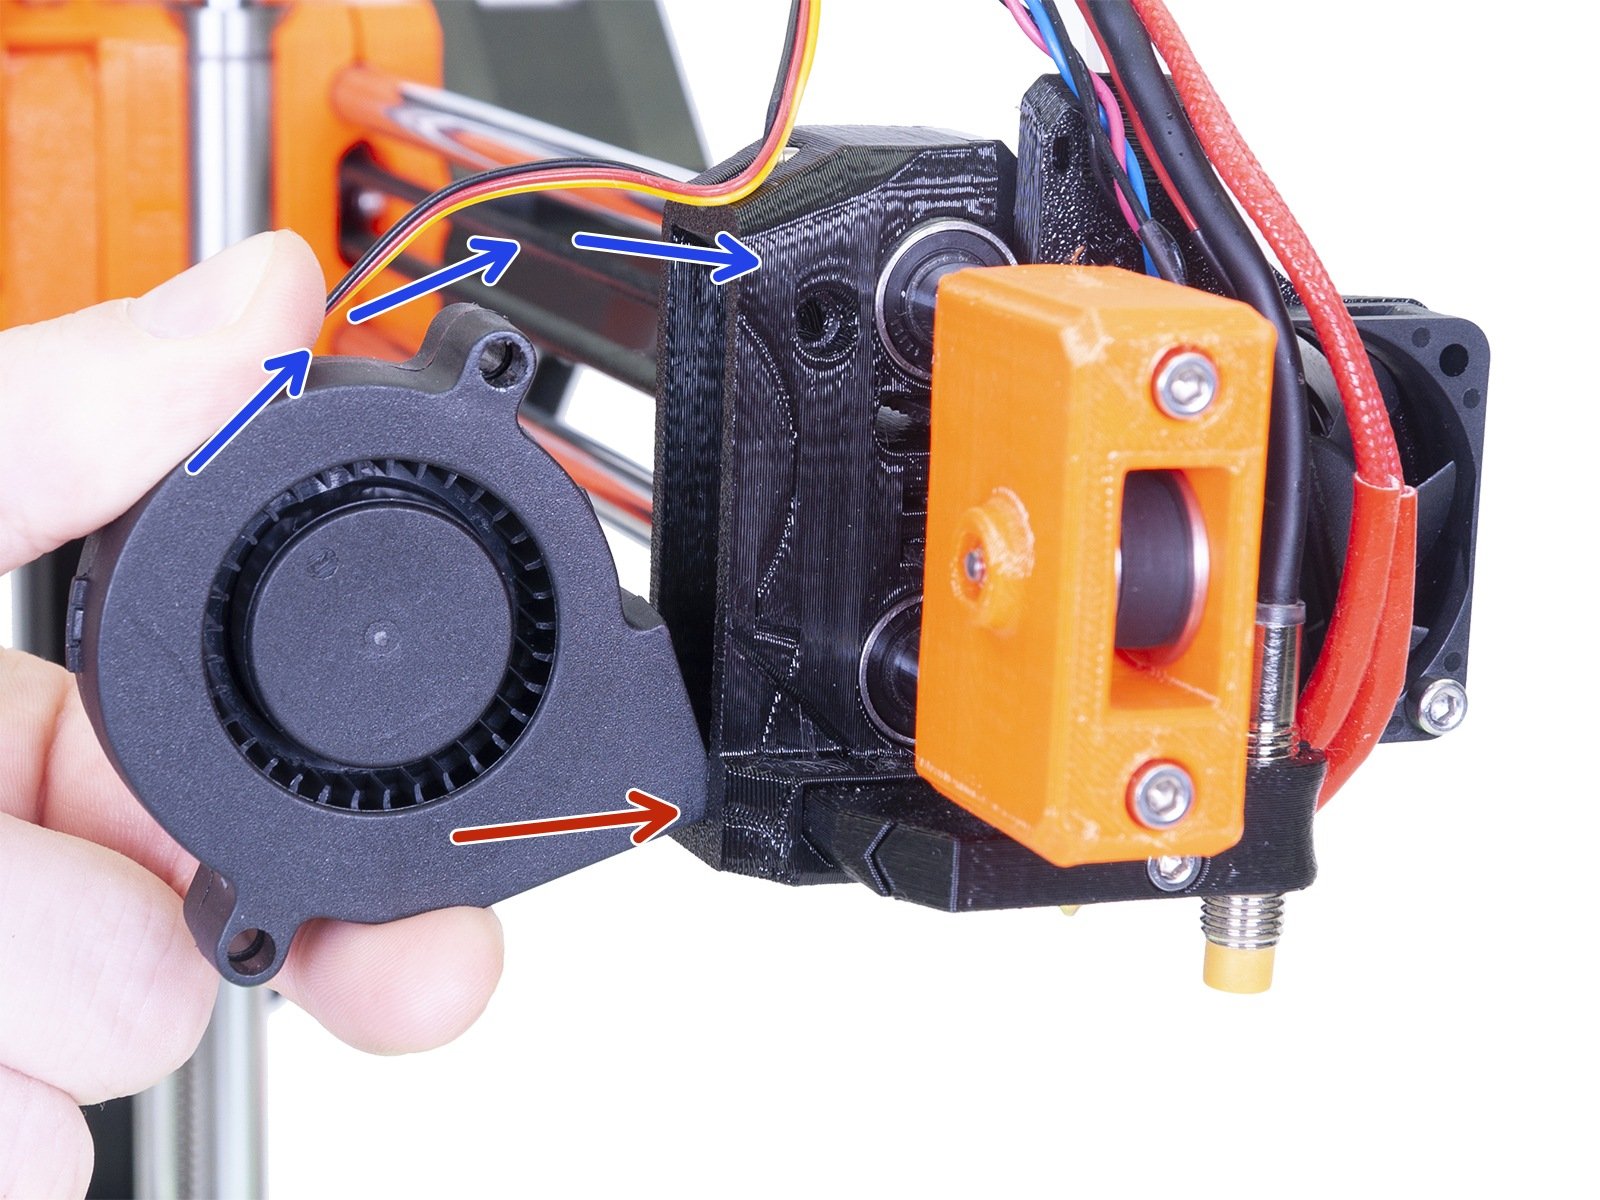
This guide will take you through the replacement of the hotend fan on the Original Prusa MINI.

All necessary parts are available in our eshop shop.prusa3d.com
Note that you have to be logged in to have access to the spare parts.
Tools and fasteners necessary for this guide

2.5mm Allen key (1x)

Needle-nose pliers for zip ties (1x)
Zip tie (4x) will be used later
Cloth or piece of fabric 15x15 cm (1x)
The cloth will be used to protect the heatbed. You can use any similar material.
Protecting the heatbed
Make sure the printer parts - print head and heatbed are cooled down at room temperature.
Turn the printer off and unplug it from the socket!
Before these steps, it is recommended to protect the heatbed!
Take off the flexible steel sheet.

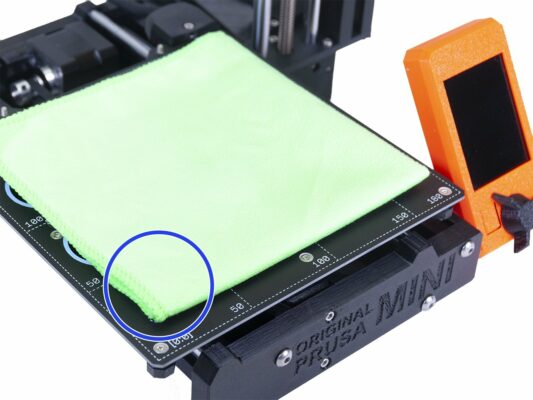
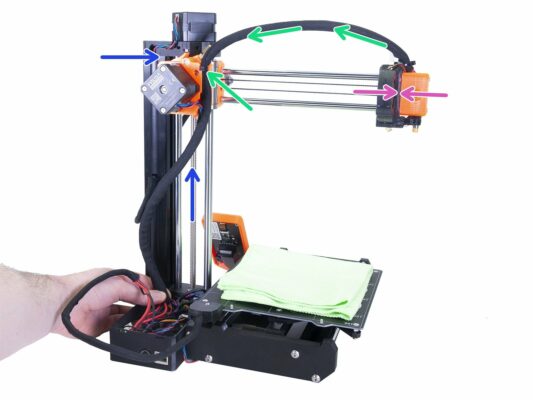
Use any cloth or piece of fabric, which is thick enough and cover the heatbed. This will ensure you won't damage (scratch) the surface during the disassembly.

Opening the box with the electronics

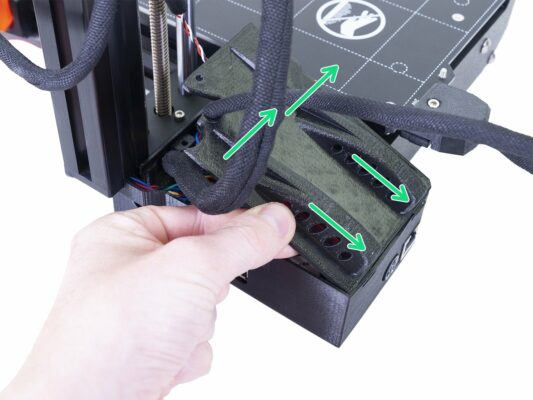
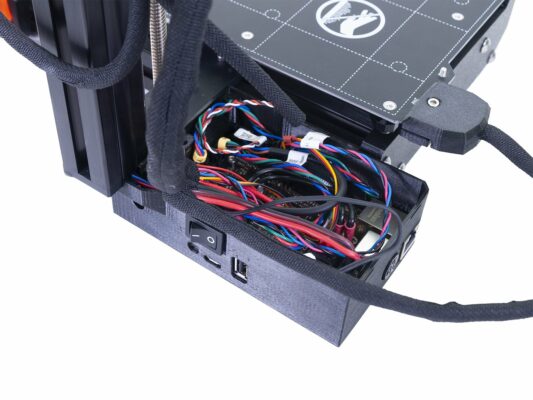
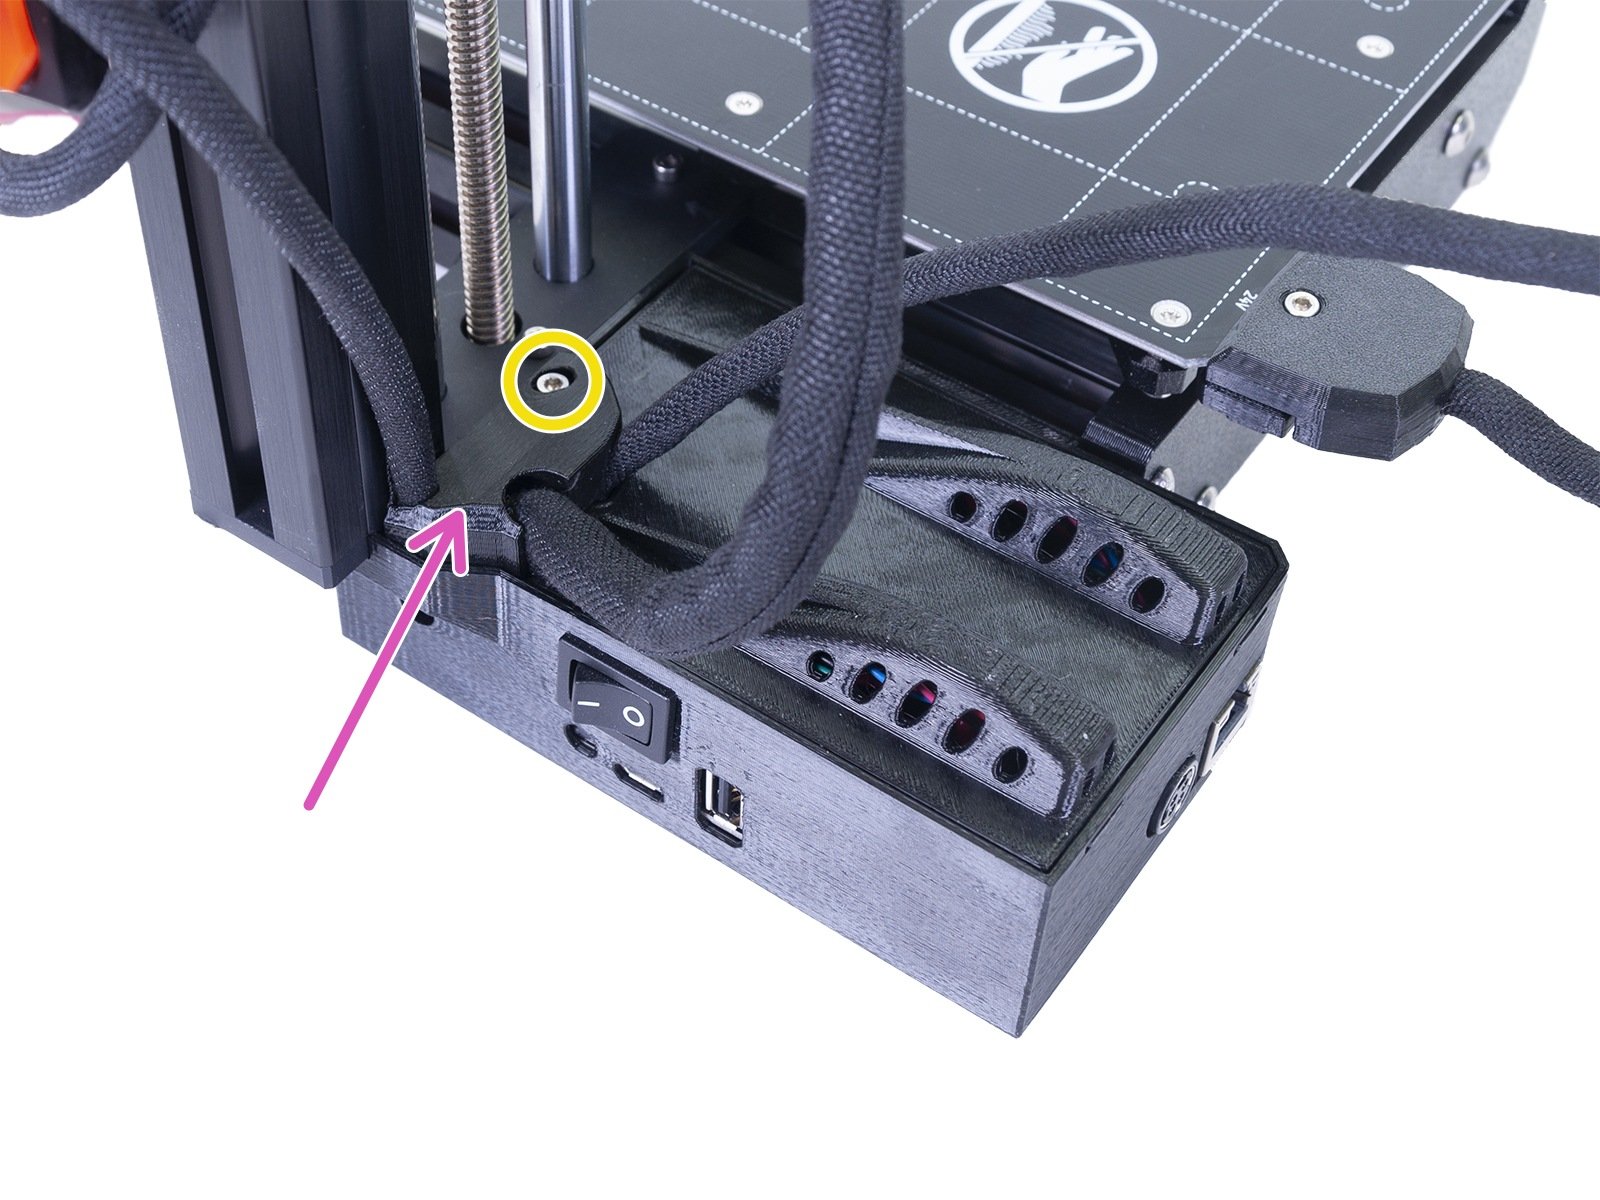
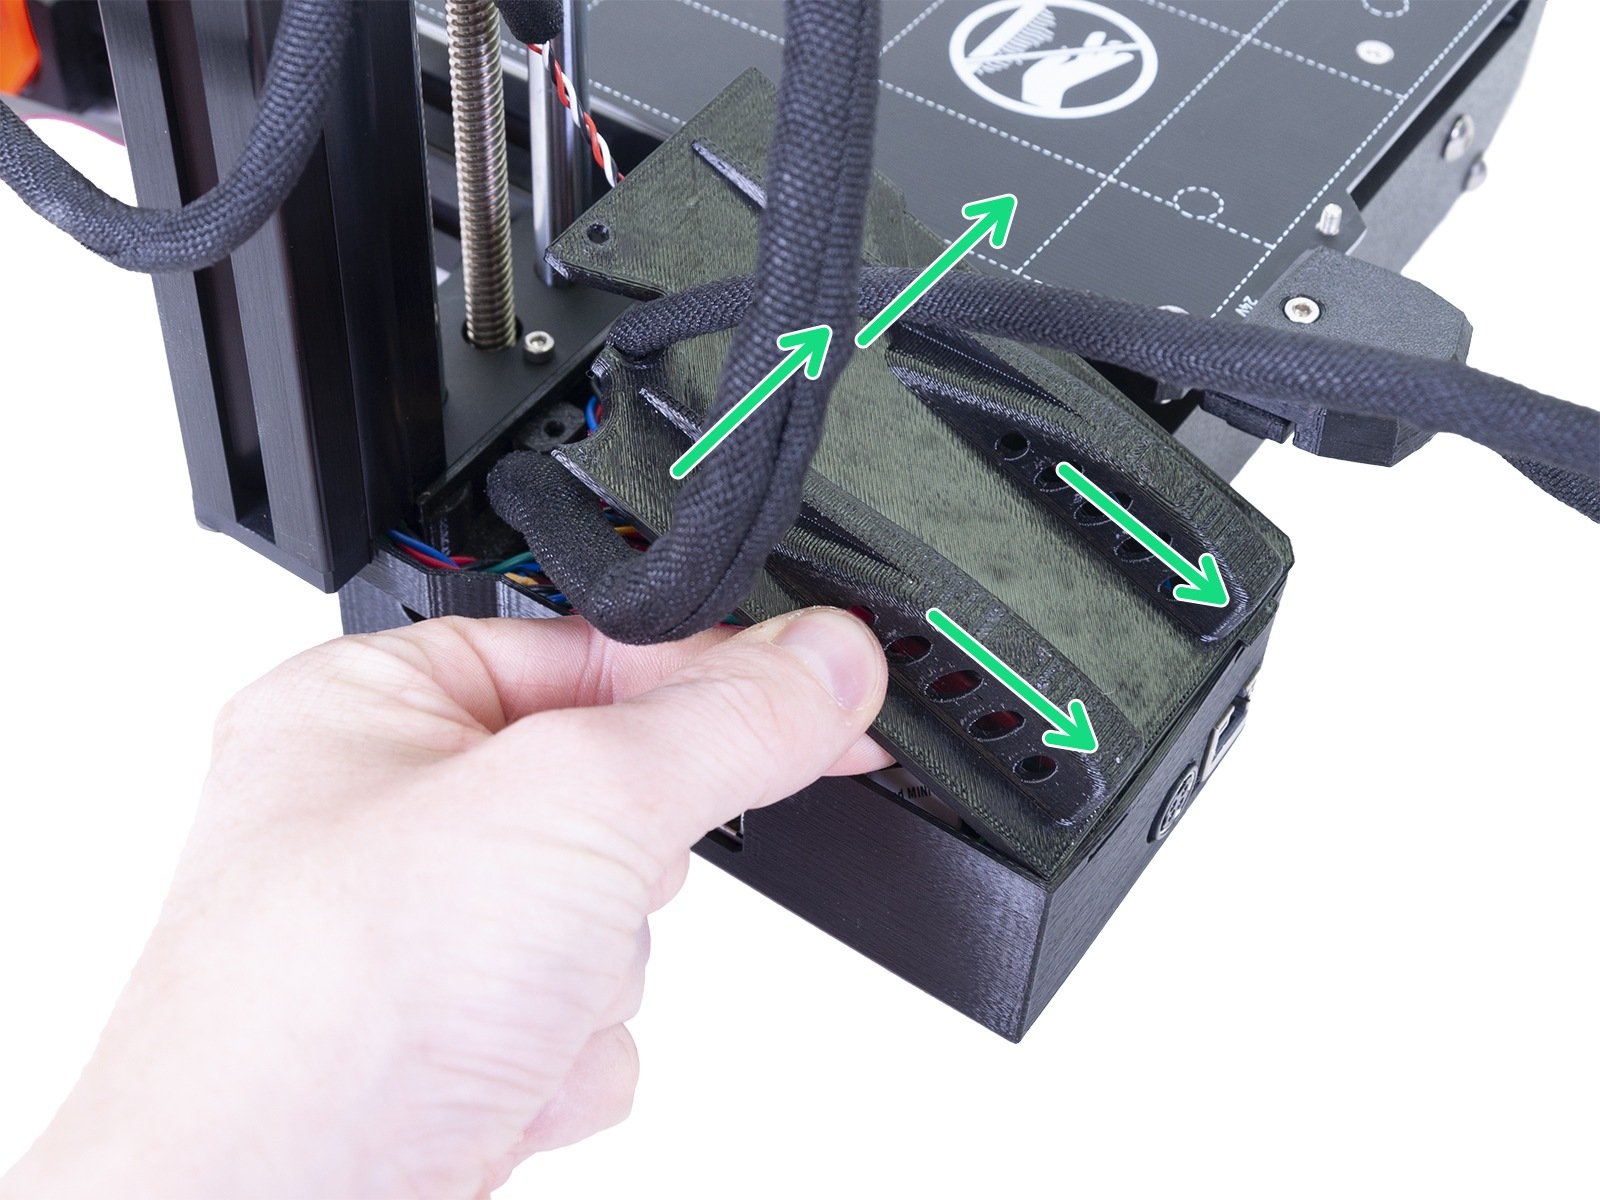
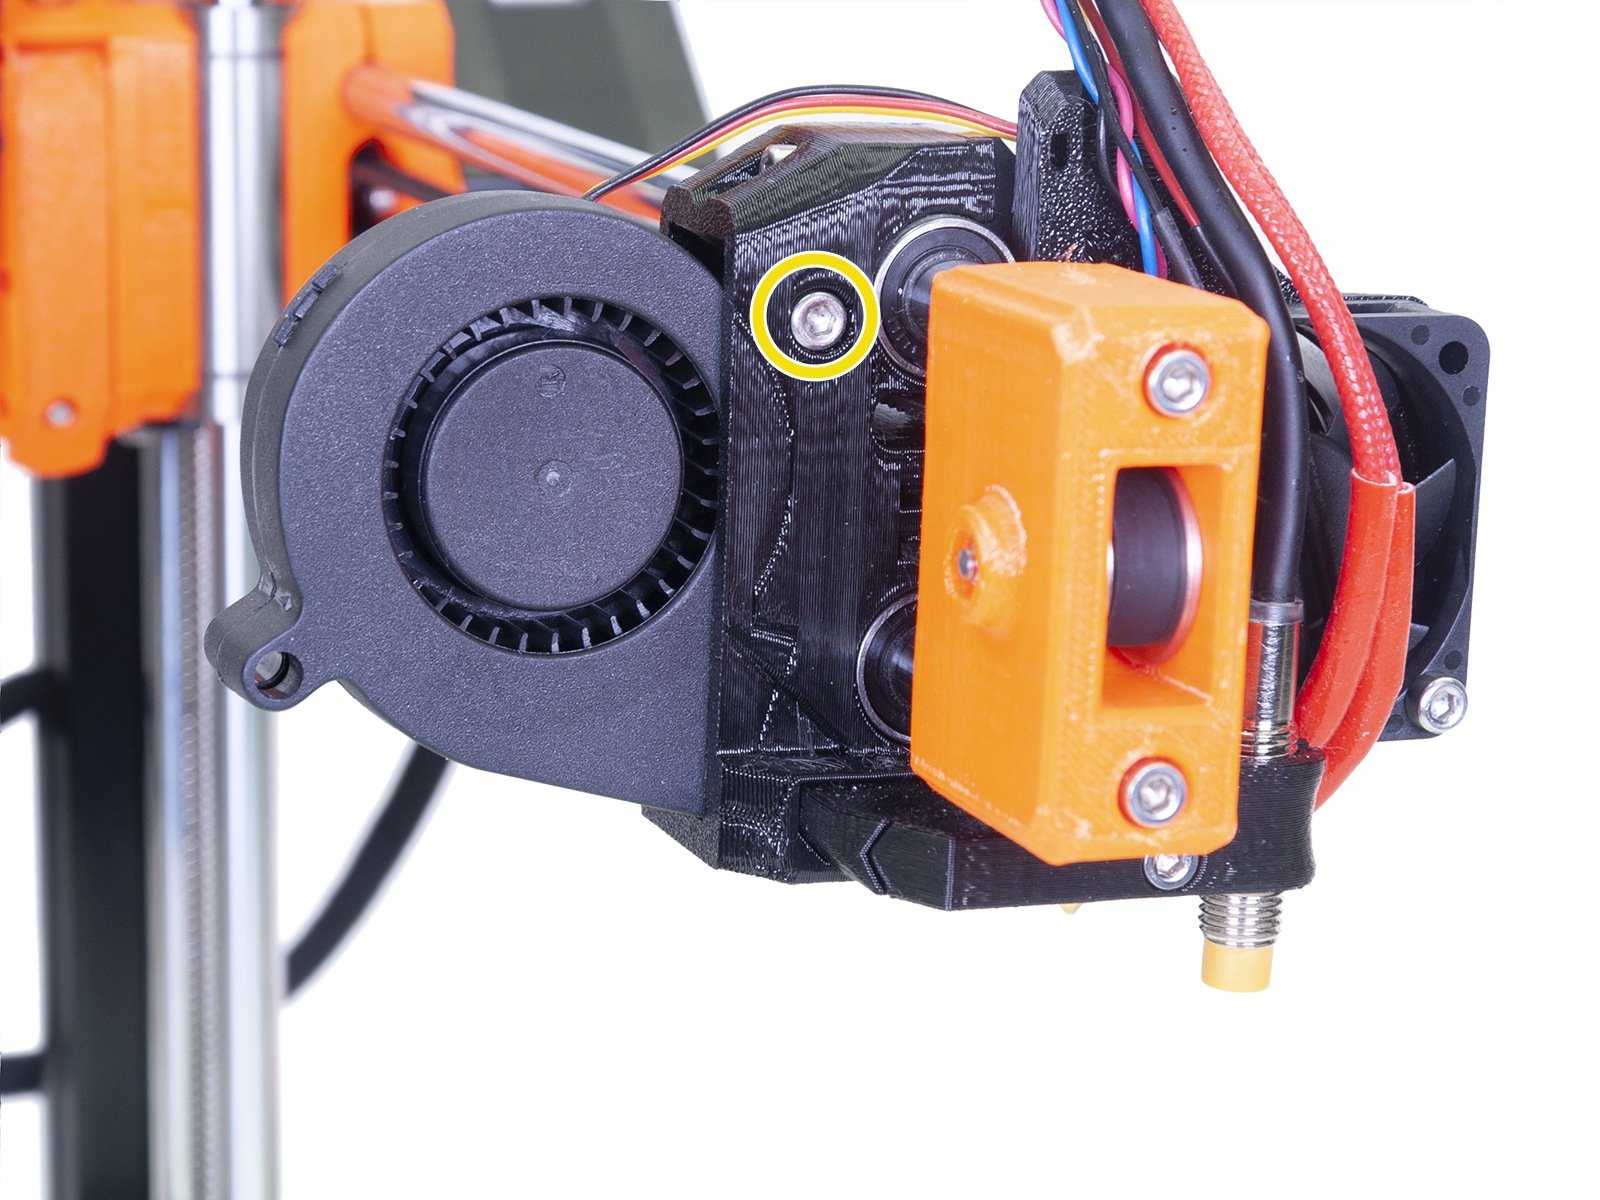
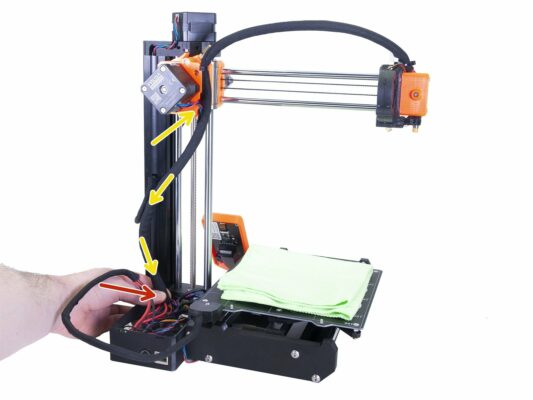
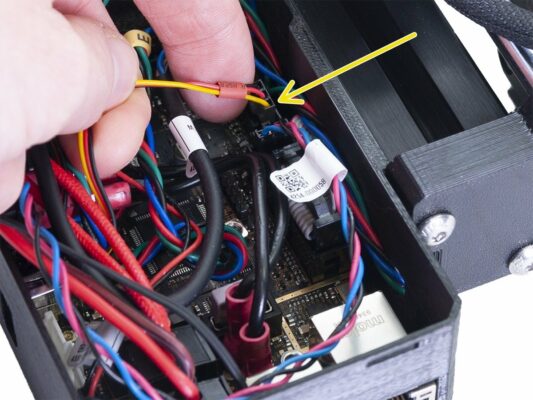
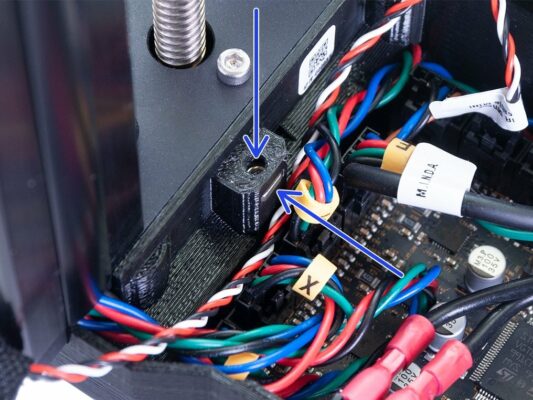
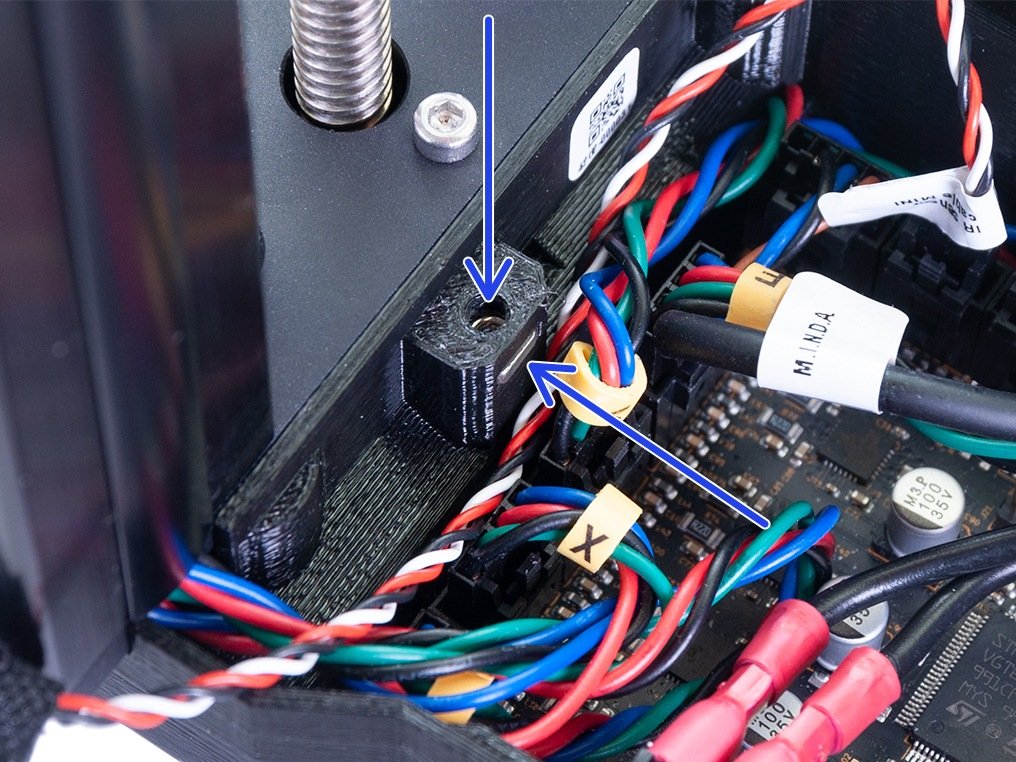
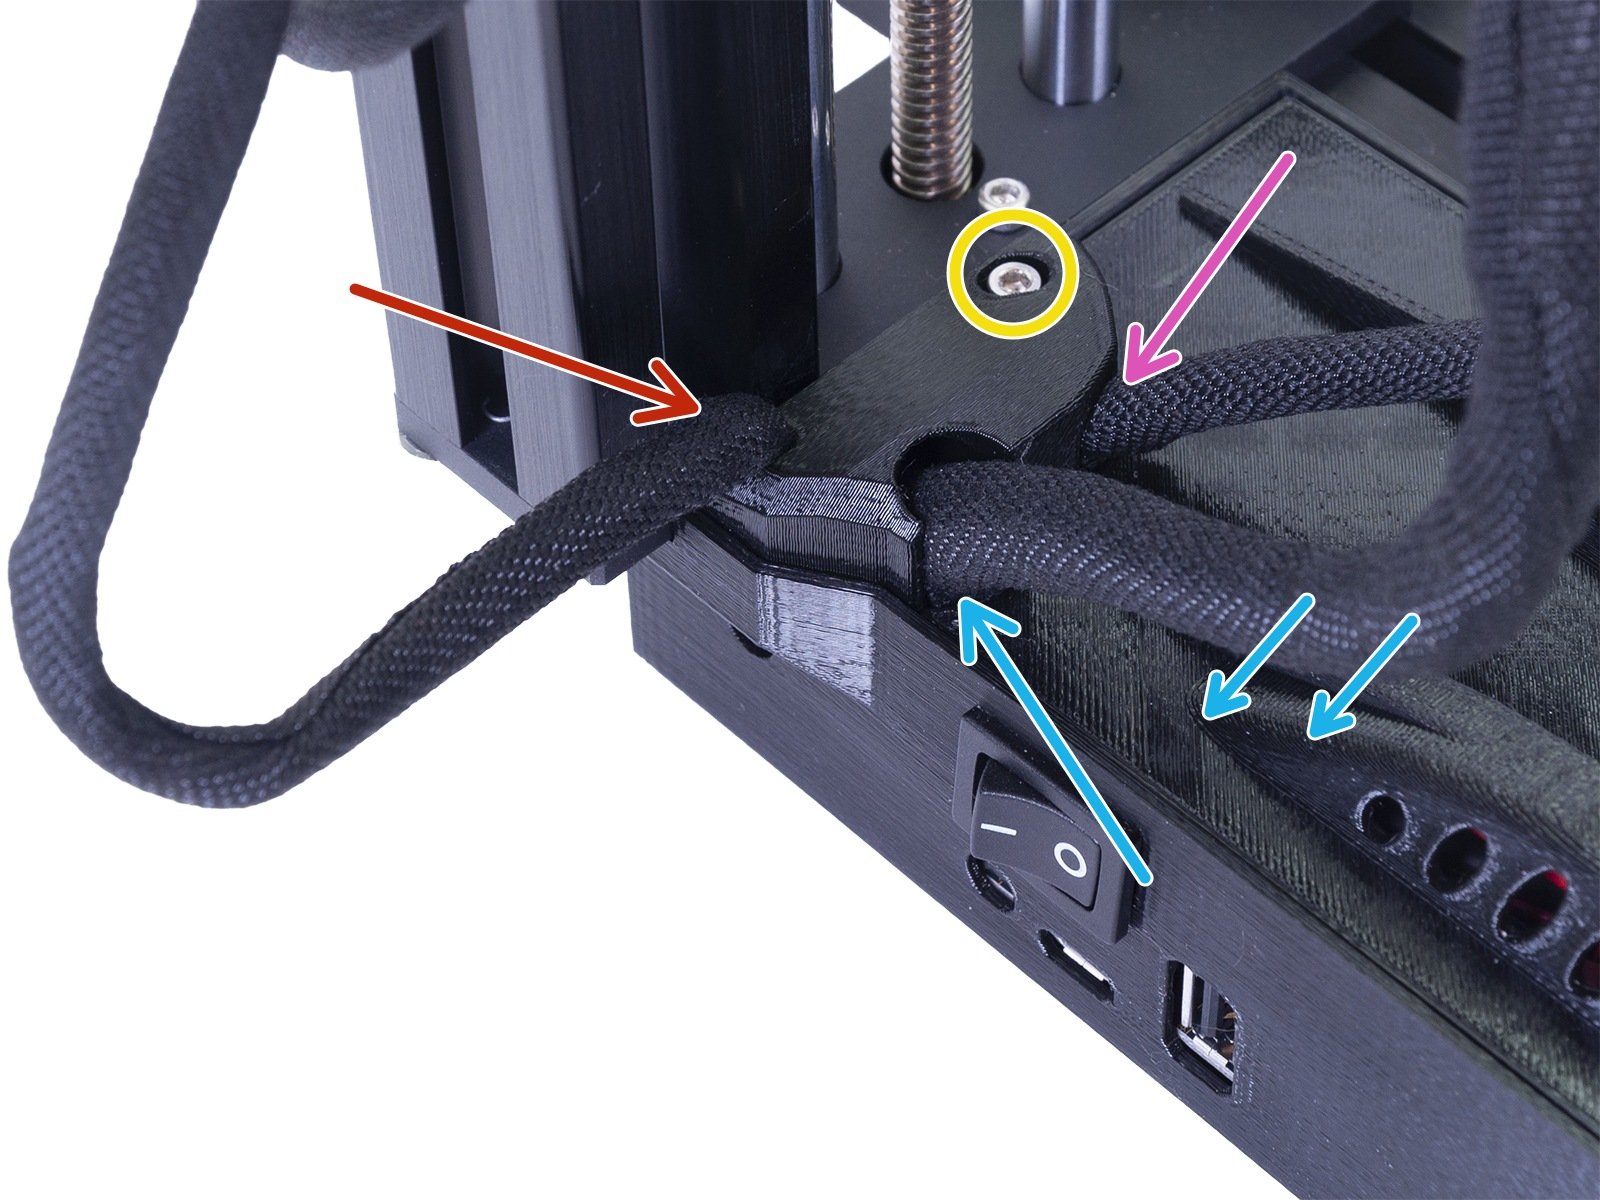
Release and remove the M3 screw on the box with the electronics.

Remove the printed cable cover.
Lift the second electronics cover slightly. Before you remove it completely, pull it first towards the aluminium extrusion to release both pins from the holes.
Removing of the sleeve
Cut off the first zip tie on the hotend. Avoid cutting the print fan cable!

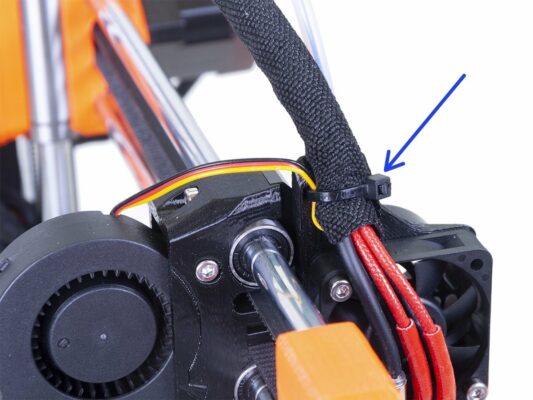
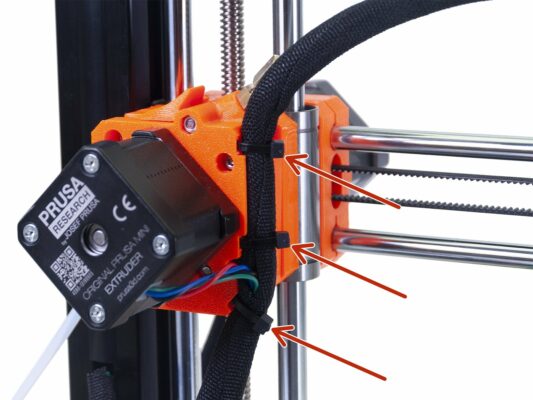
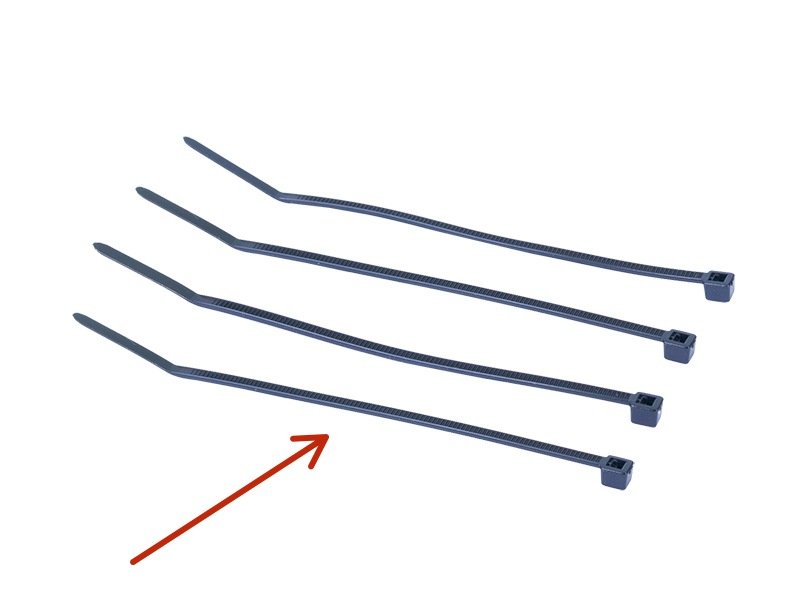
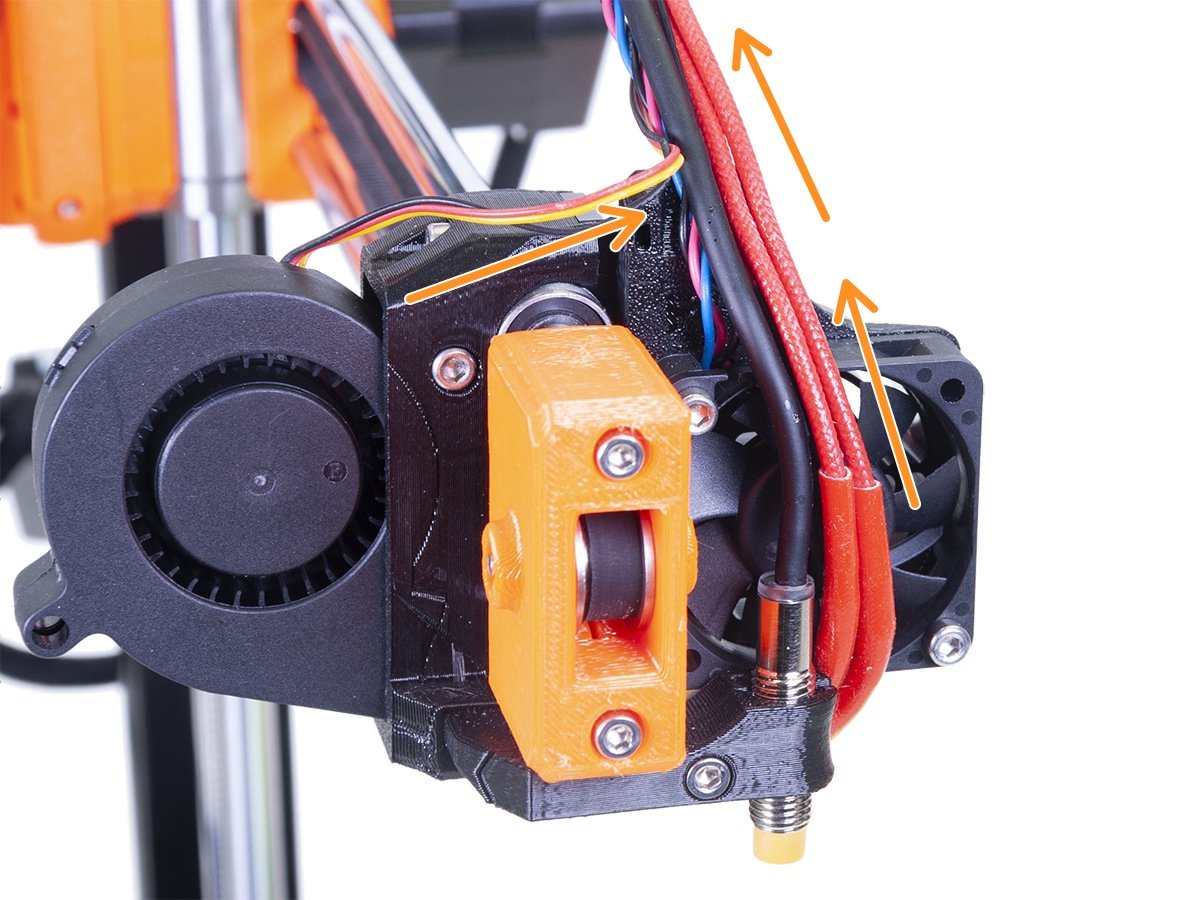
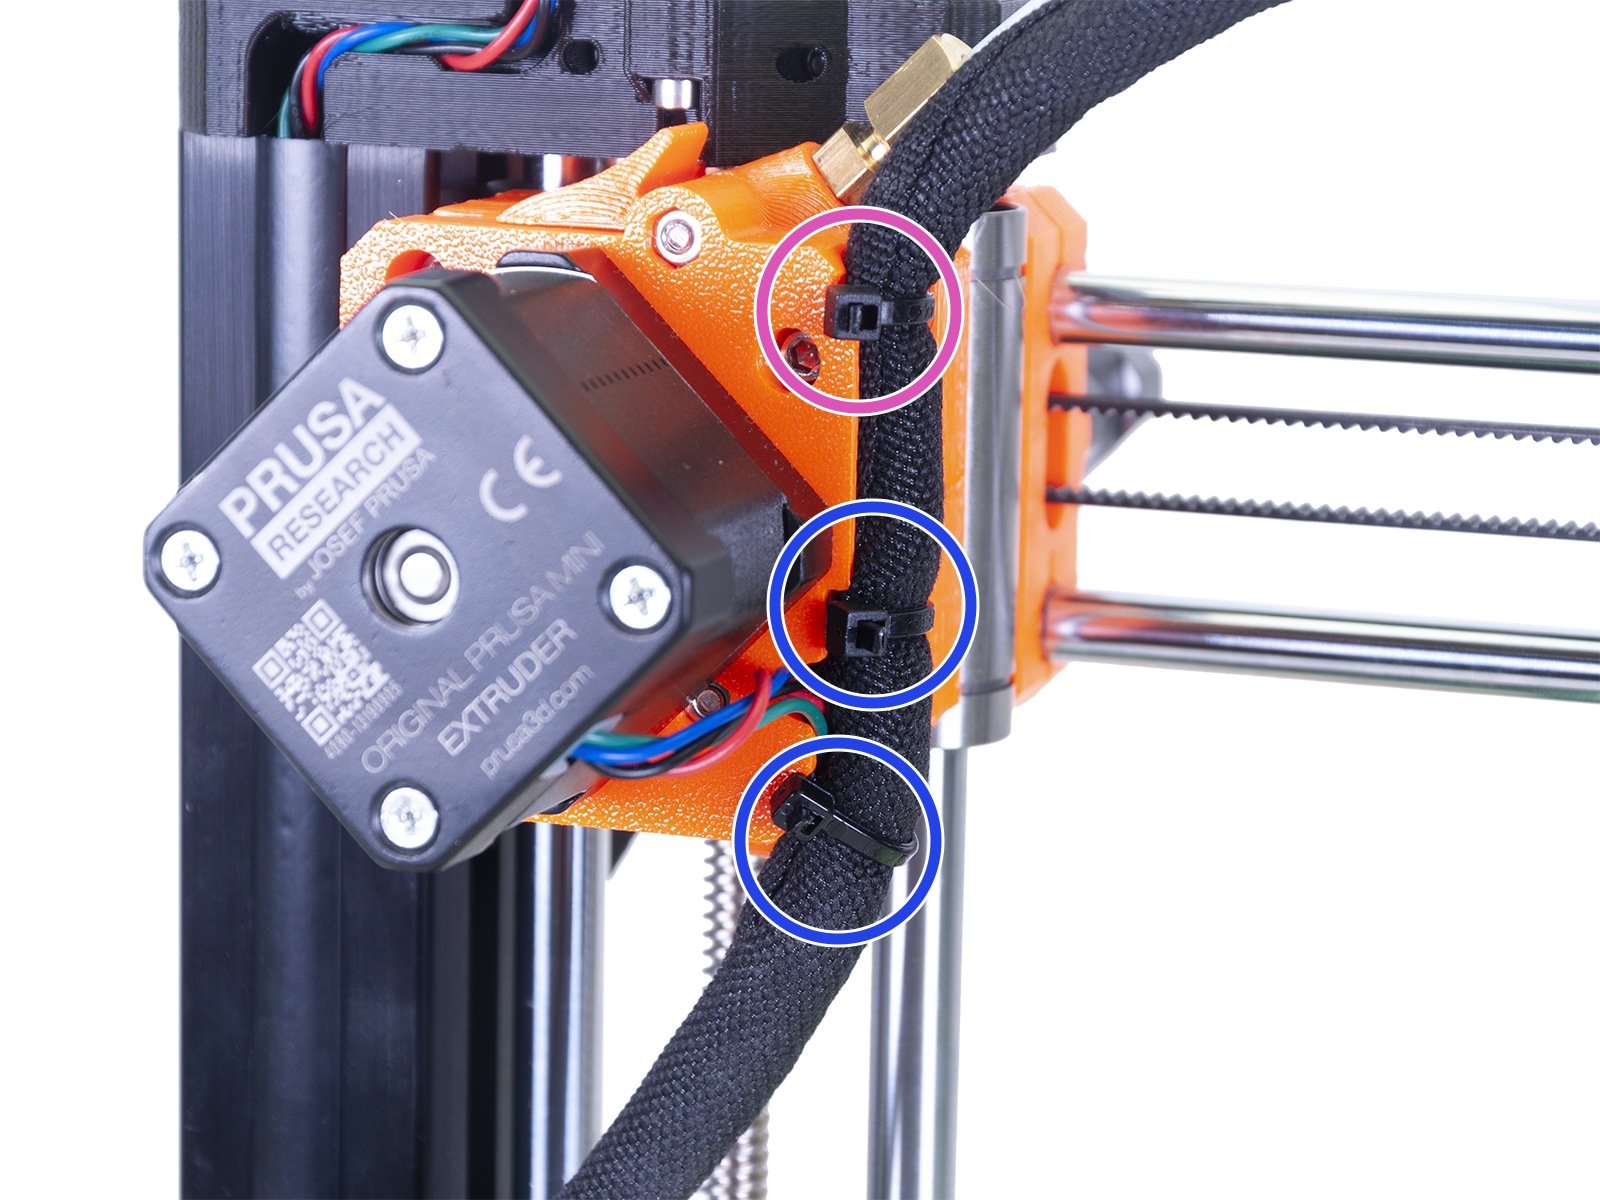
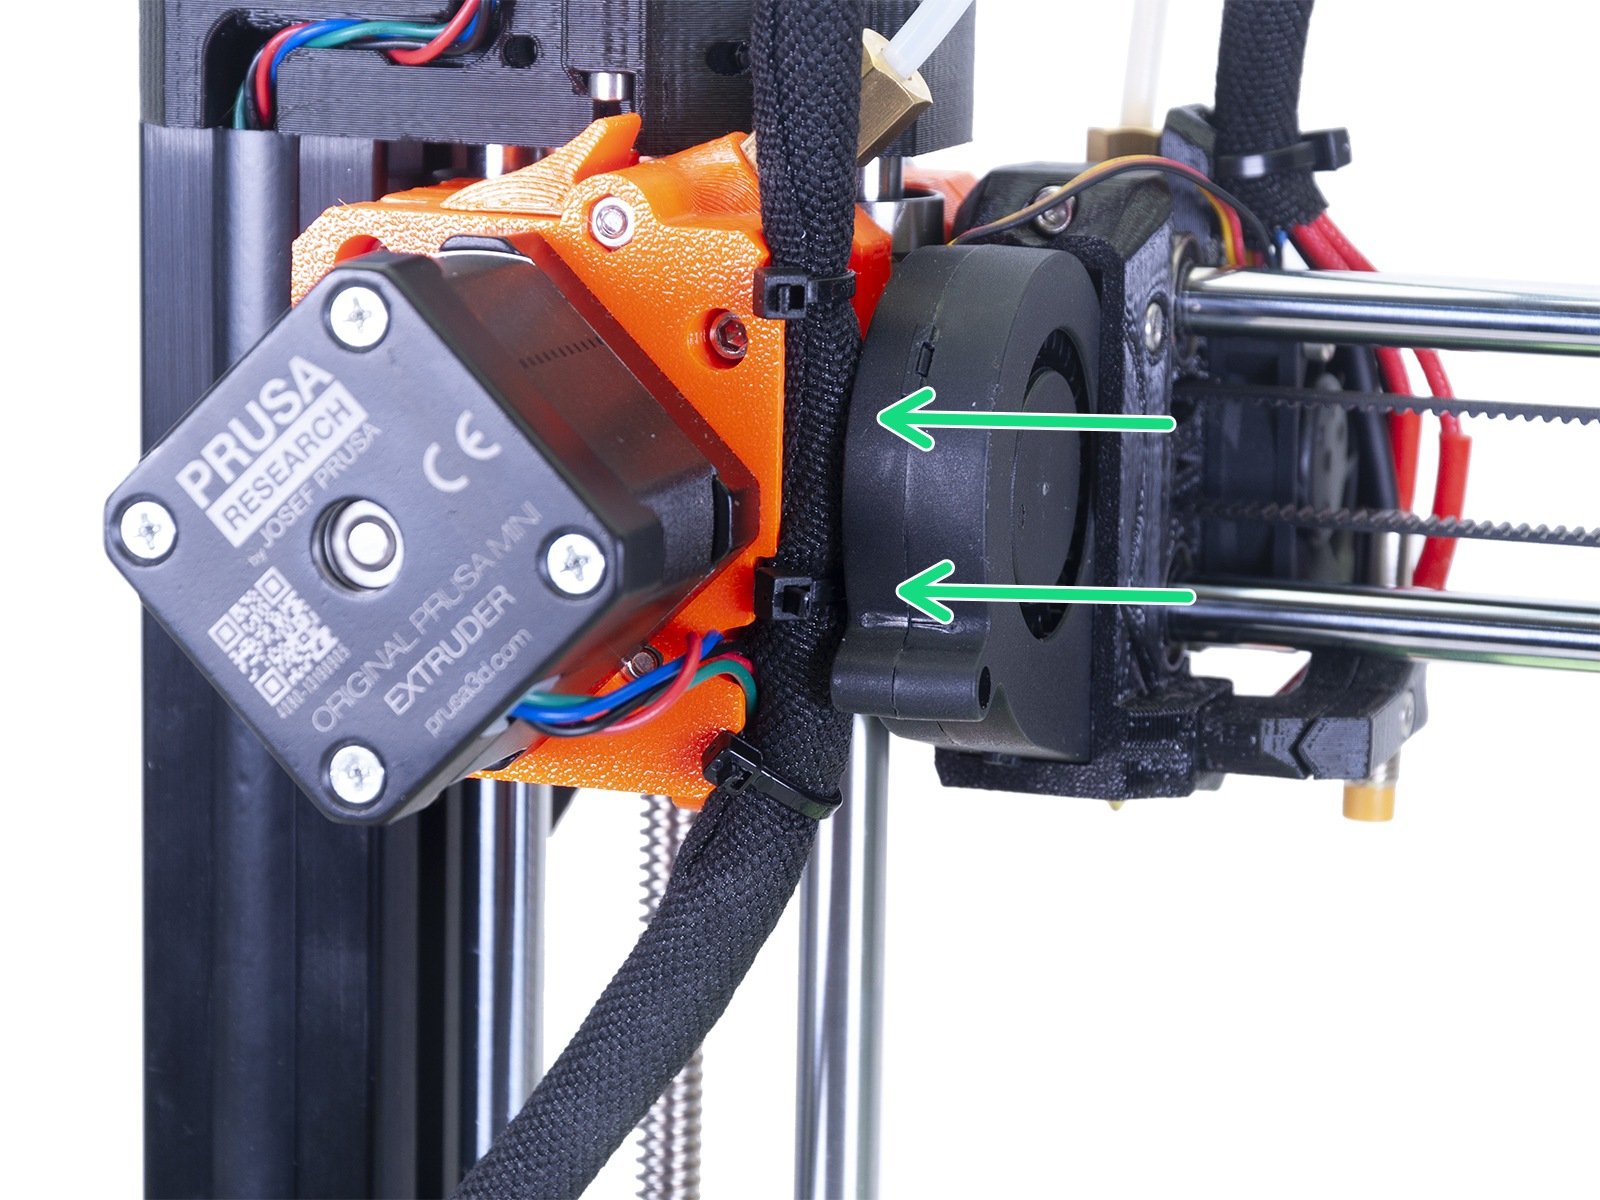
Cut the remaining 3 zip ties attached to the extruder.

Carefully remove the entire textile sleeve from the cable bundle. Avoid pulling the cables (e.g. you might accidentally change the position of the M.I.N.D.A. sensor)!
Press the safety pin on the connector and disconnect the print fan from the board. Do not pull out the connector without pressing the pin, it may damage the connector or the board.
Removing the print fan
Loosen and remove the screw.
Carefully pull the print fan from the x-carriage and remove it.
Print fan installation
Insert the edge of the fan on the bottom edge of the x-carriage hole.
Close the fan into the x-carriage.
Align the screw hole in the fan with the hole in the X-carriage.
Insert and tighten the screw.
Guiding the cable bundle
Merge all cables leading from the hotend together and guide them up. Don't pull the cables, leave some slack around the fan.
Carefully wrap the sleeve around the cable bundle.
WARNING: Read this first, don't overtighten the zip tie around cables, leave some slack or you might break some of them!
Secure with a zip tie to the fan-spacer.
Double-check all cables aren't stretched, if so, please cut the zip tie, make them slightly more loose and tighten the zip tie again.
Guiding the cable bundle
WARNING: Follow these instructions carefully! If you mount the cable bundle at an incorrect position, you will have issues while printing!
Start by rotating the threaded rod until the X-axis is all the way up.
Move the print head all the way to the right and ensure it is touching the printed part.
Bend the cable bundle slightly and use the upmost zip tie slot to partly tighten the entire bundle.
Add the EXTRUDER motor cable to the bundle and use the textile sleeve to cover the cables all the way down to the electronics.
Check whether the textile sleeve can reach the inner space of the electronics cover. If not, you left too much slack above the X-axis, readjust it.
Go back to the X-axis and check once again, that the print head can move all the way to the right without being pulled back by the cable bundle.
Guiding the cable bundle
Tighten the zip tie, you've installed in the previous step, but use a reasonable force or you might break the cables. Rotate the zip tie's head to the left.
Add a second and third zip tie. Again, tighten carefully and rotate the heads to the left.

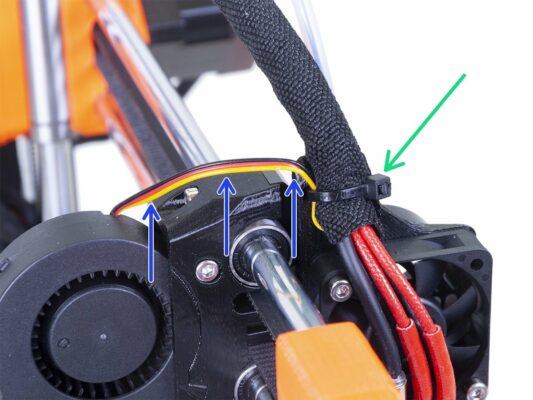
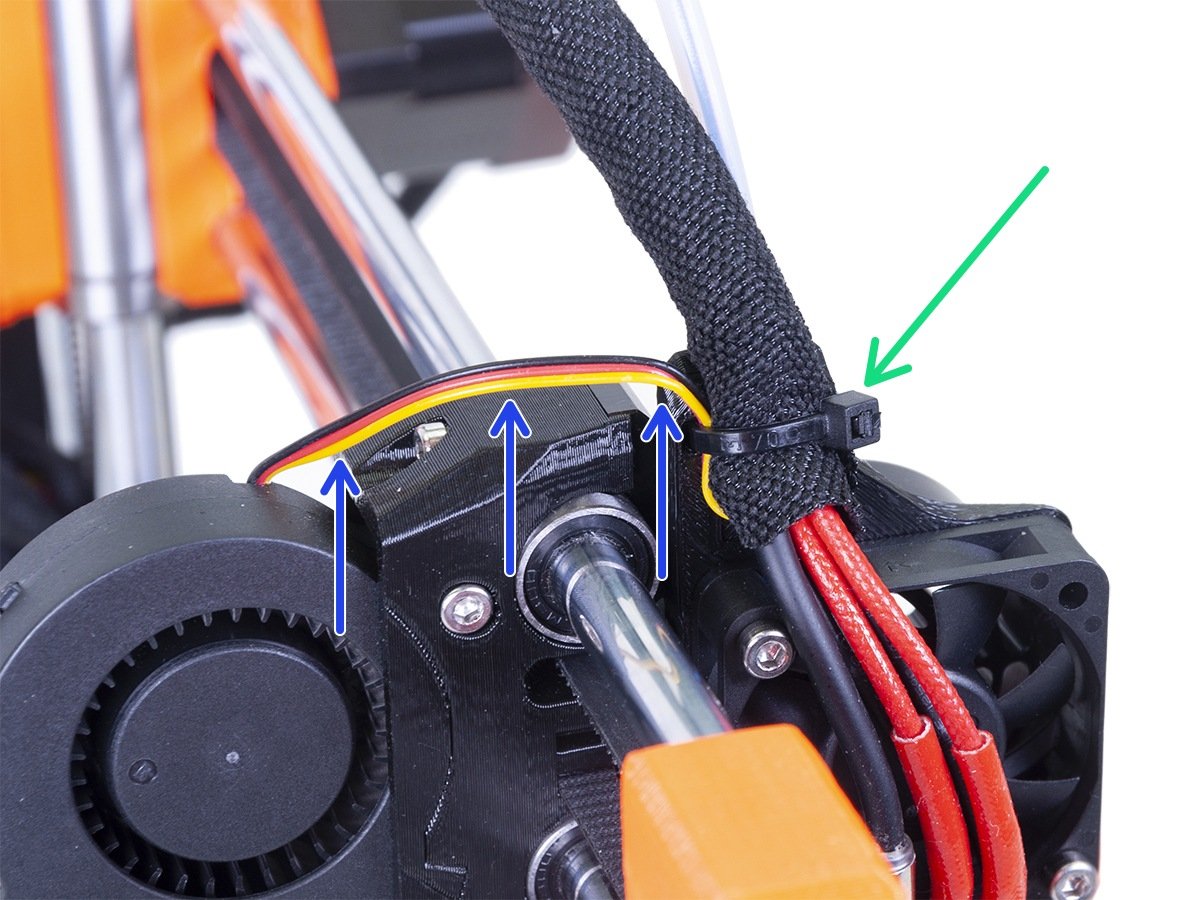
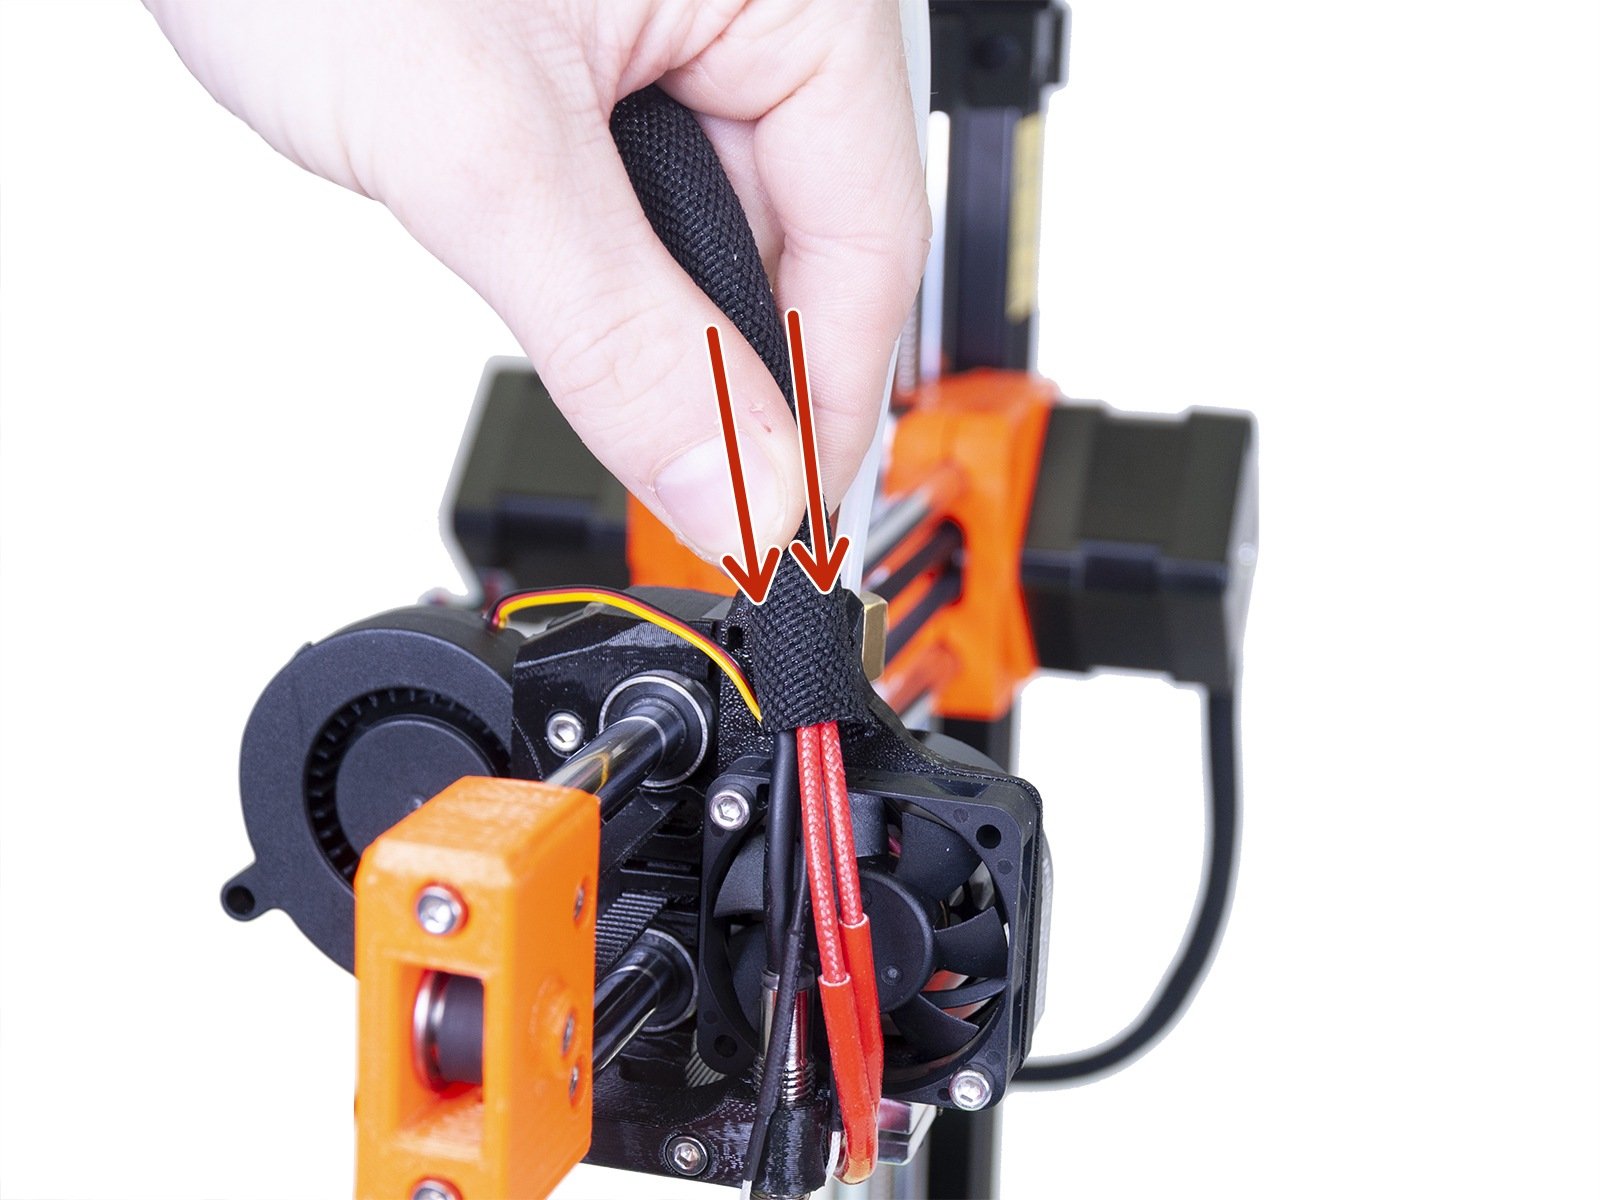
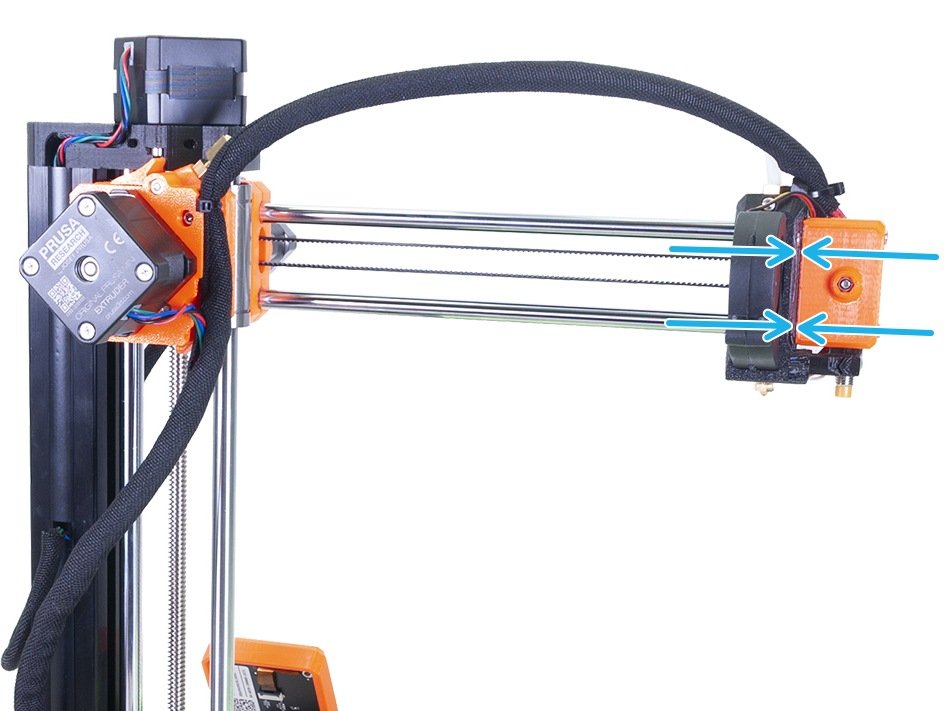
Move the print head all the way to the left to ensure there is no collision between the zip ties and the fan's casing.

Connecting the new print fan
Connect the fan connector to the appropriate socket. See the picture for more detail.
Gently push the cables inside the box.
Covering the electronics
Before covering the electronics, make sure the square nut is correctly positioned in the printed part. The nut must not fall out! This can cause fatal damage to the electronics.
Insert the cover back in, make sure it is properly seated in the holes.
Place the second cover on the top and arrange the cables:
Extruder bundle, ensure the textile sleeve is partially in. Also, it must be tilted away from the printer.
Heatbed bundle, ensure the textile sleeve is partially inside the box.
Filament sensor cable (optional), ensure that the textile sleeve wrapped around the cables is partially inside the box.
Now, tighten the second cover. Check that no cable is pinched.
...and it’s done! Enjoy your printer ;)
Was this guide helpful?

Comments

Still have questions?

Still have questions?

If you have a question about something that isn't covered here, check out our additional resources.
And if that doesn't do the trick, you can send an inquiry to [email protected] or through the button below.

Contact us