Relevantní pro


The ColorMix is as a feature in PrusaSlicer and EasyPrint. Using any multi-color printer, it allows you to create additional color tones from the loaded filaments. It works similarly to inkjet 2D printing. There, thanks to a method called Halftoning, all colors are printed from just Cyan, Magenta, Yellow, and Black (CMYK) ink in a varying pattern of dots.
In 3D printing, the colors alternate by layers. For example, a 50% cyan, 50% yellow combination creates green when viewed from a normal viewing distance.
This article explains how to set it up in PrusaSlicer and use it to color and print ColorMix models.
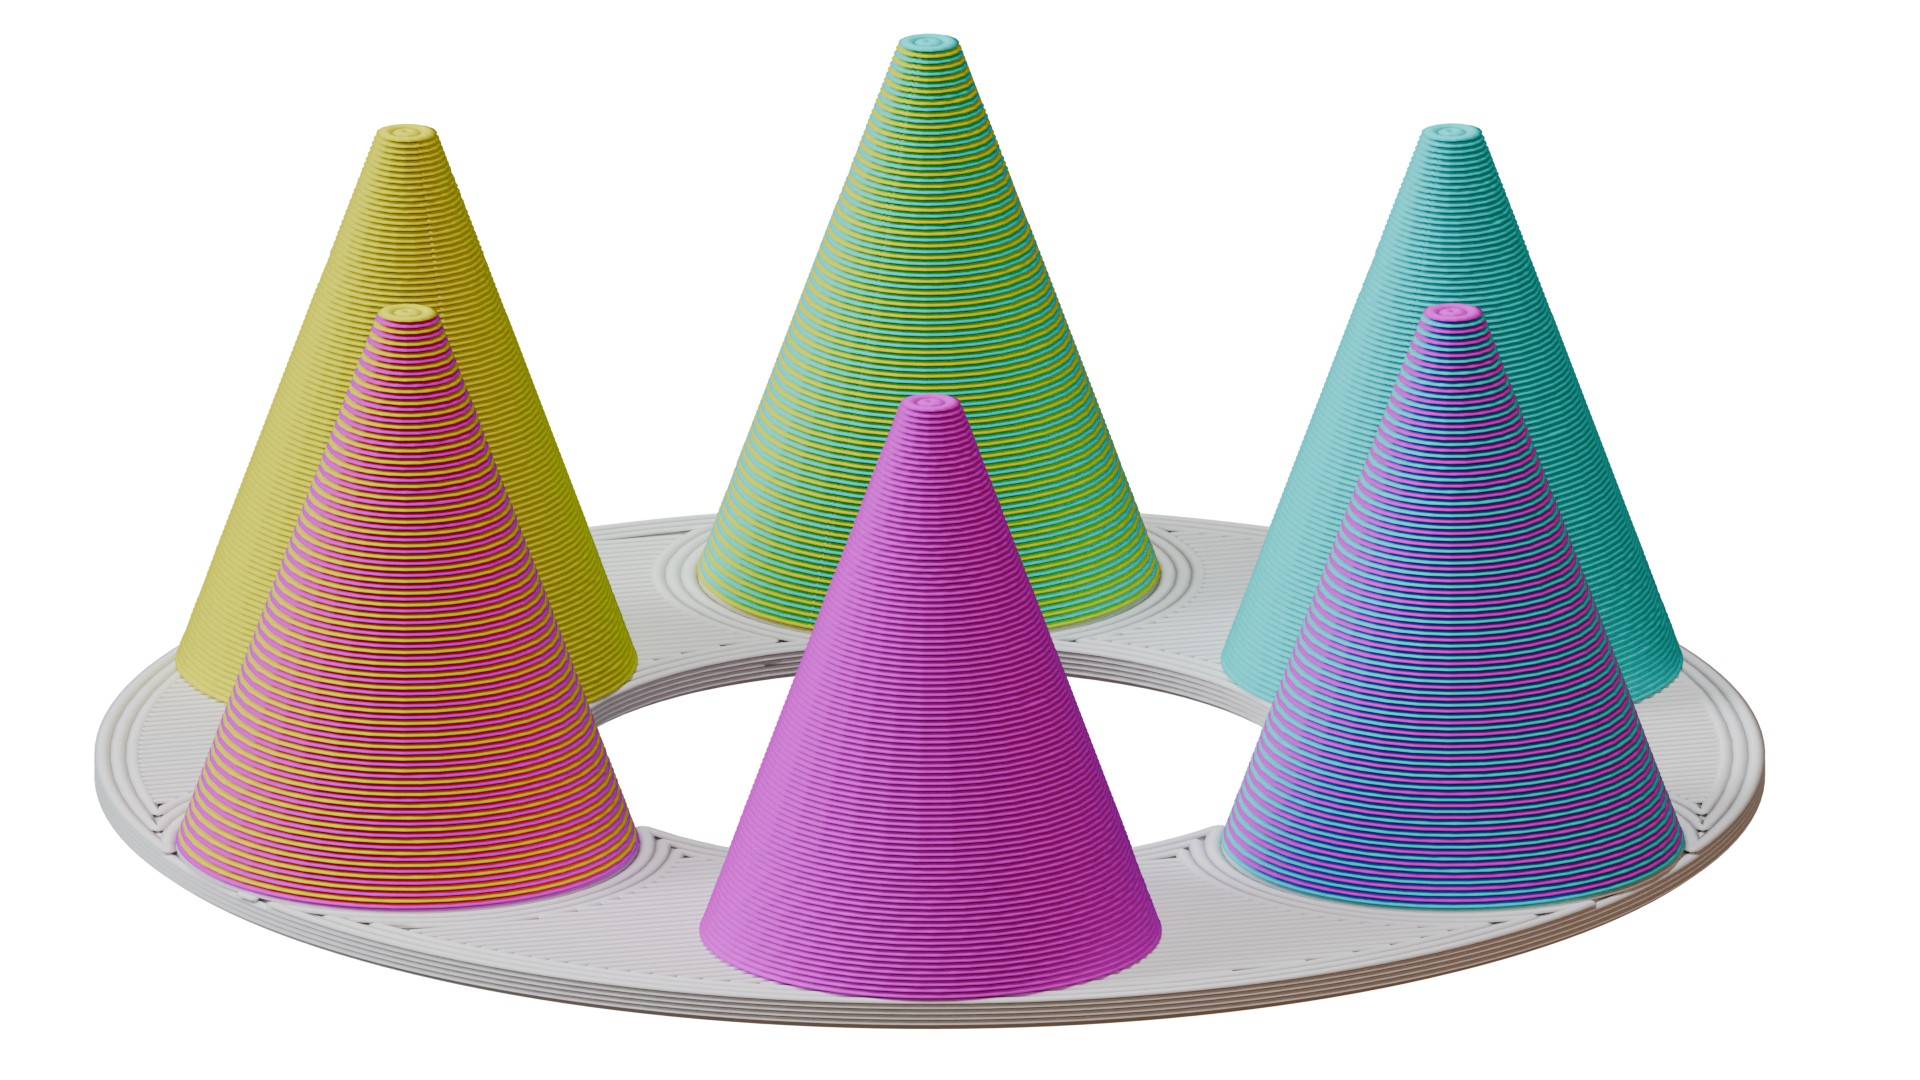
ColorMix printing is possible on any multi-color 3D printer: any printer equipped with the MMU, XL/+ in a 2T or 5T version, CORE One+/L with the INDX upgrade, or any other multi-filament system available on the market.
Because the mixed colors require many tool changes, these prints produce more waste than classical colored models. It is significantly more efficient to print them using the INDX toolchanger.
The slicer feature is available in EasyPrint and in PrusaSlicer from version 2.9.6.
We demonstrate the feature with the Prusament ColorMix PLA bundle, but it is not dependent on these colors nor on PLA as a material. Any colors of any material can be combined in this way, and even different materials can be combined if they are printable together.
Open PrusaSlicer and select your multi-color printer. Change the preview colors of the filaments to match your spools. You can change the color assigned to an extruder by clicking on the color box next to the profile name in the Filament profile selection.
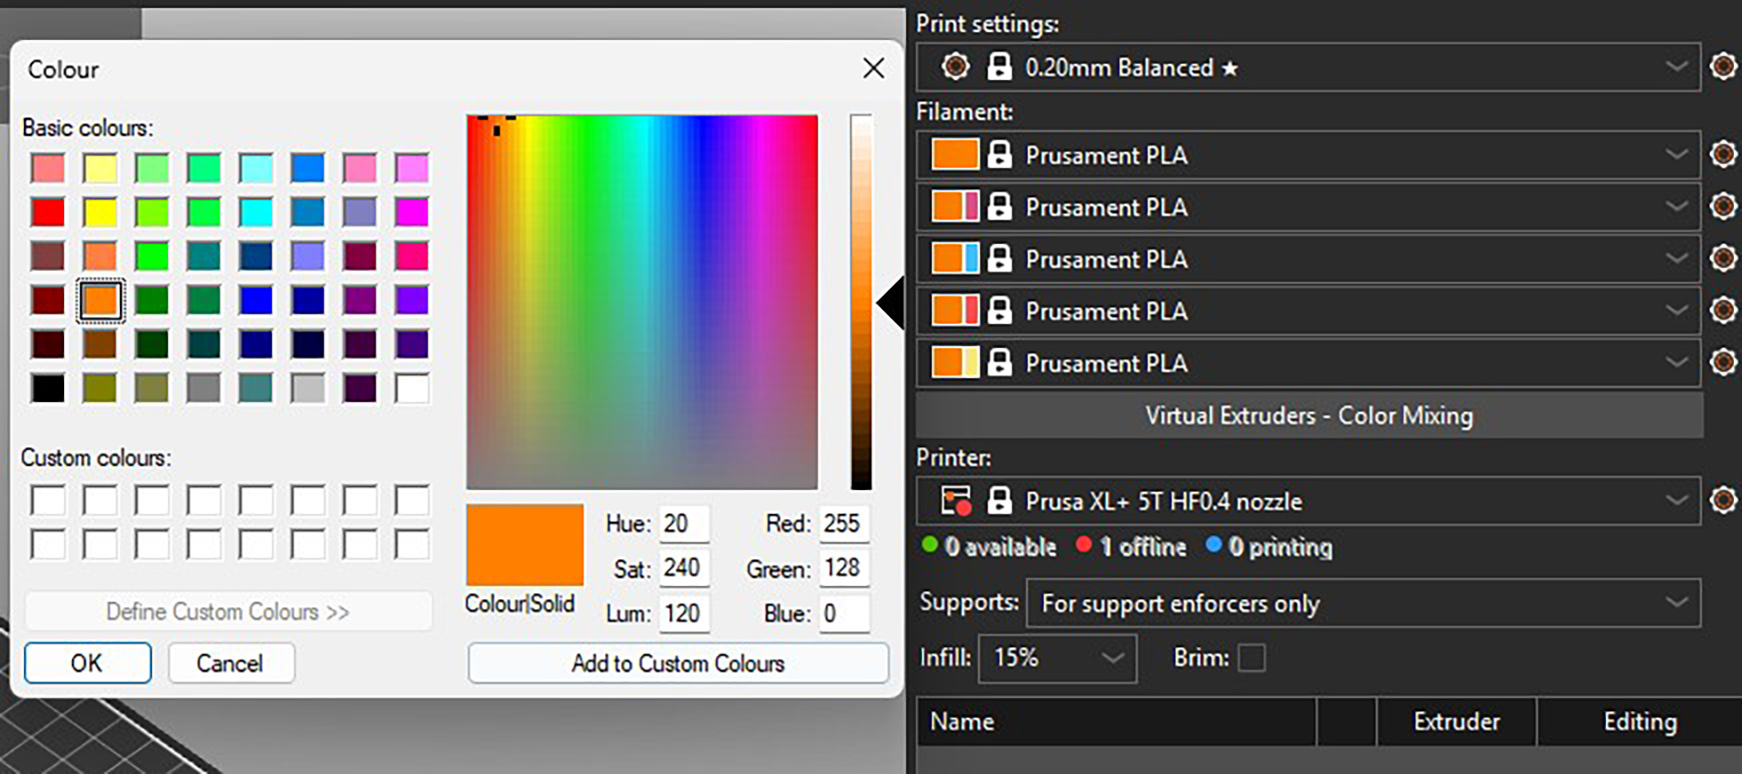
Recommended: All the models designed for the ColorMix filament that we share have them loaded in the following order: Cyan, Magenta, Yellow, White, Black, Gold, and Silver. The order is the same whether the printer has four, five, or eight tools. You can set this in PrusaSlicer and save it as a preset. Always sticking to the same order helps to avoid remapping the G-code extruders before every print.
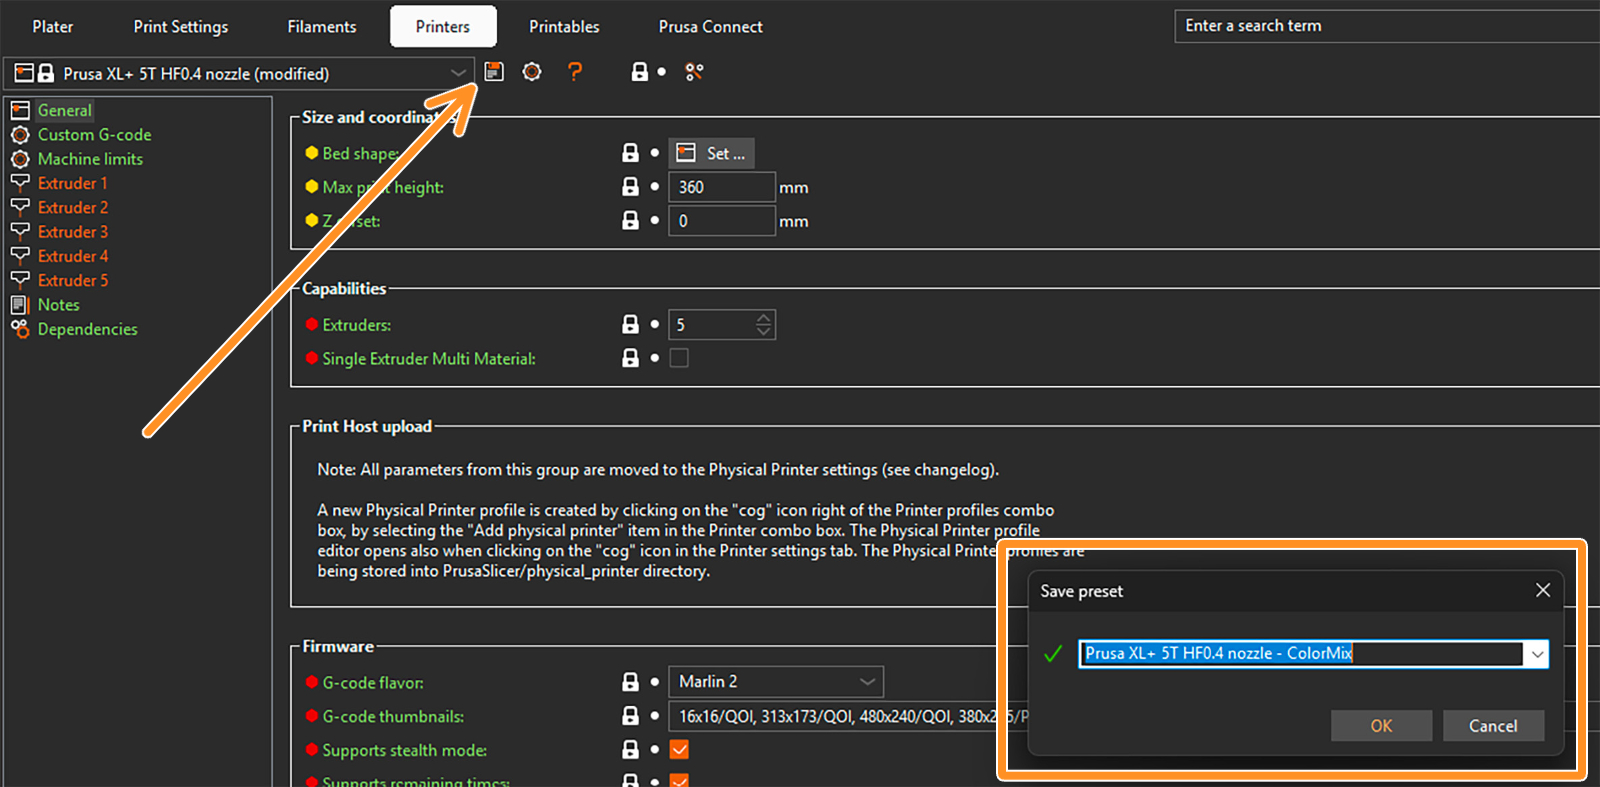
To save a preset, click on the gear next to the printer profile and select Edit preset. Then click on the Save preset icon (orange arrow), and in the pop-up window, save the preset with the word "ColorMix" in the name.
The ColorMix colors are represented by so-called virtual extruders. You can set them up under the filament profiles. The following window opens.
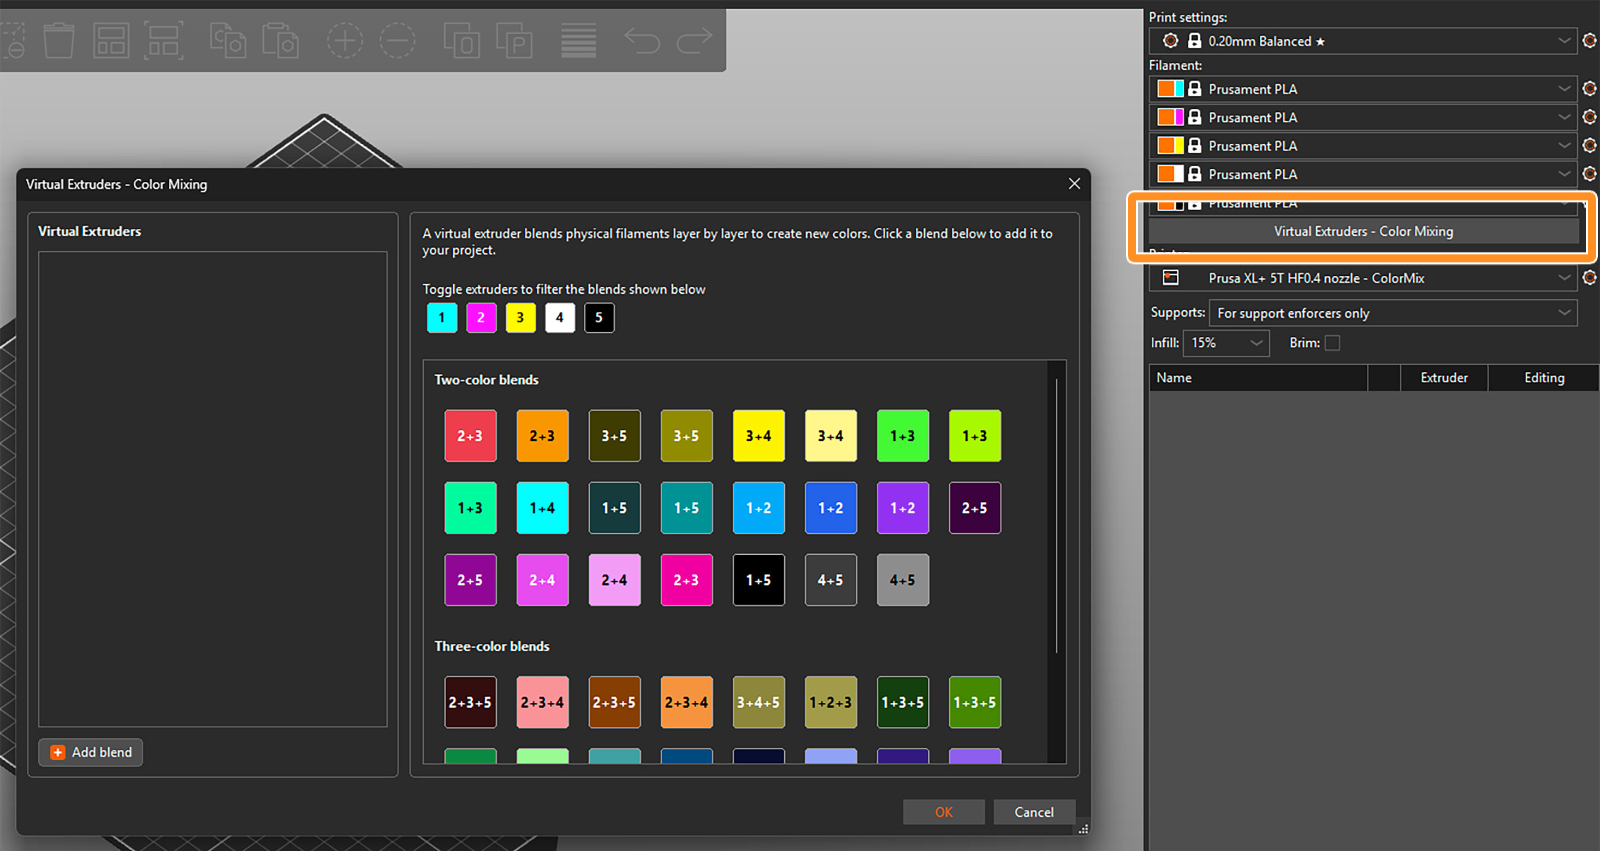
There are two ways to assign the virtual extruders. Firstly, you can select them from the blends available on the right side of the widow. The selected ones appear in the list of virtual extruders on the left side.
Toggle the available extruders and filter the blends shown in the section.
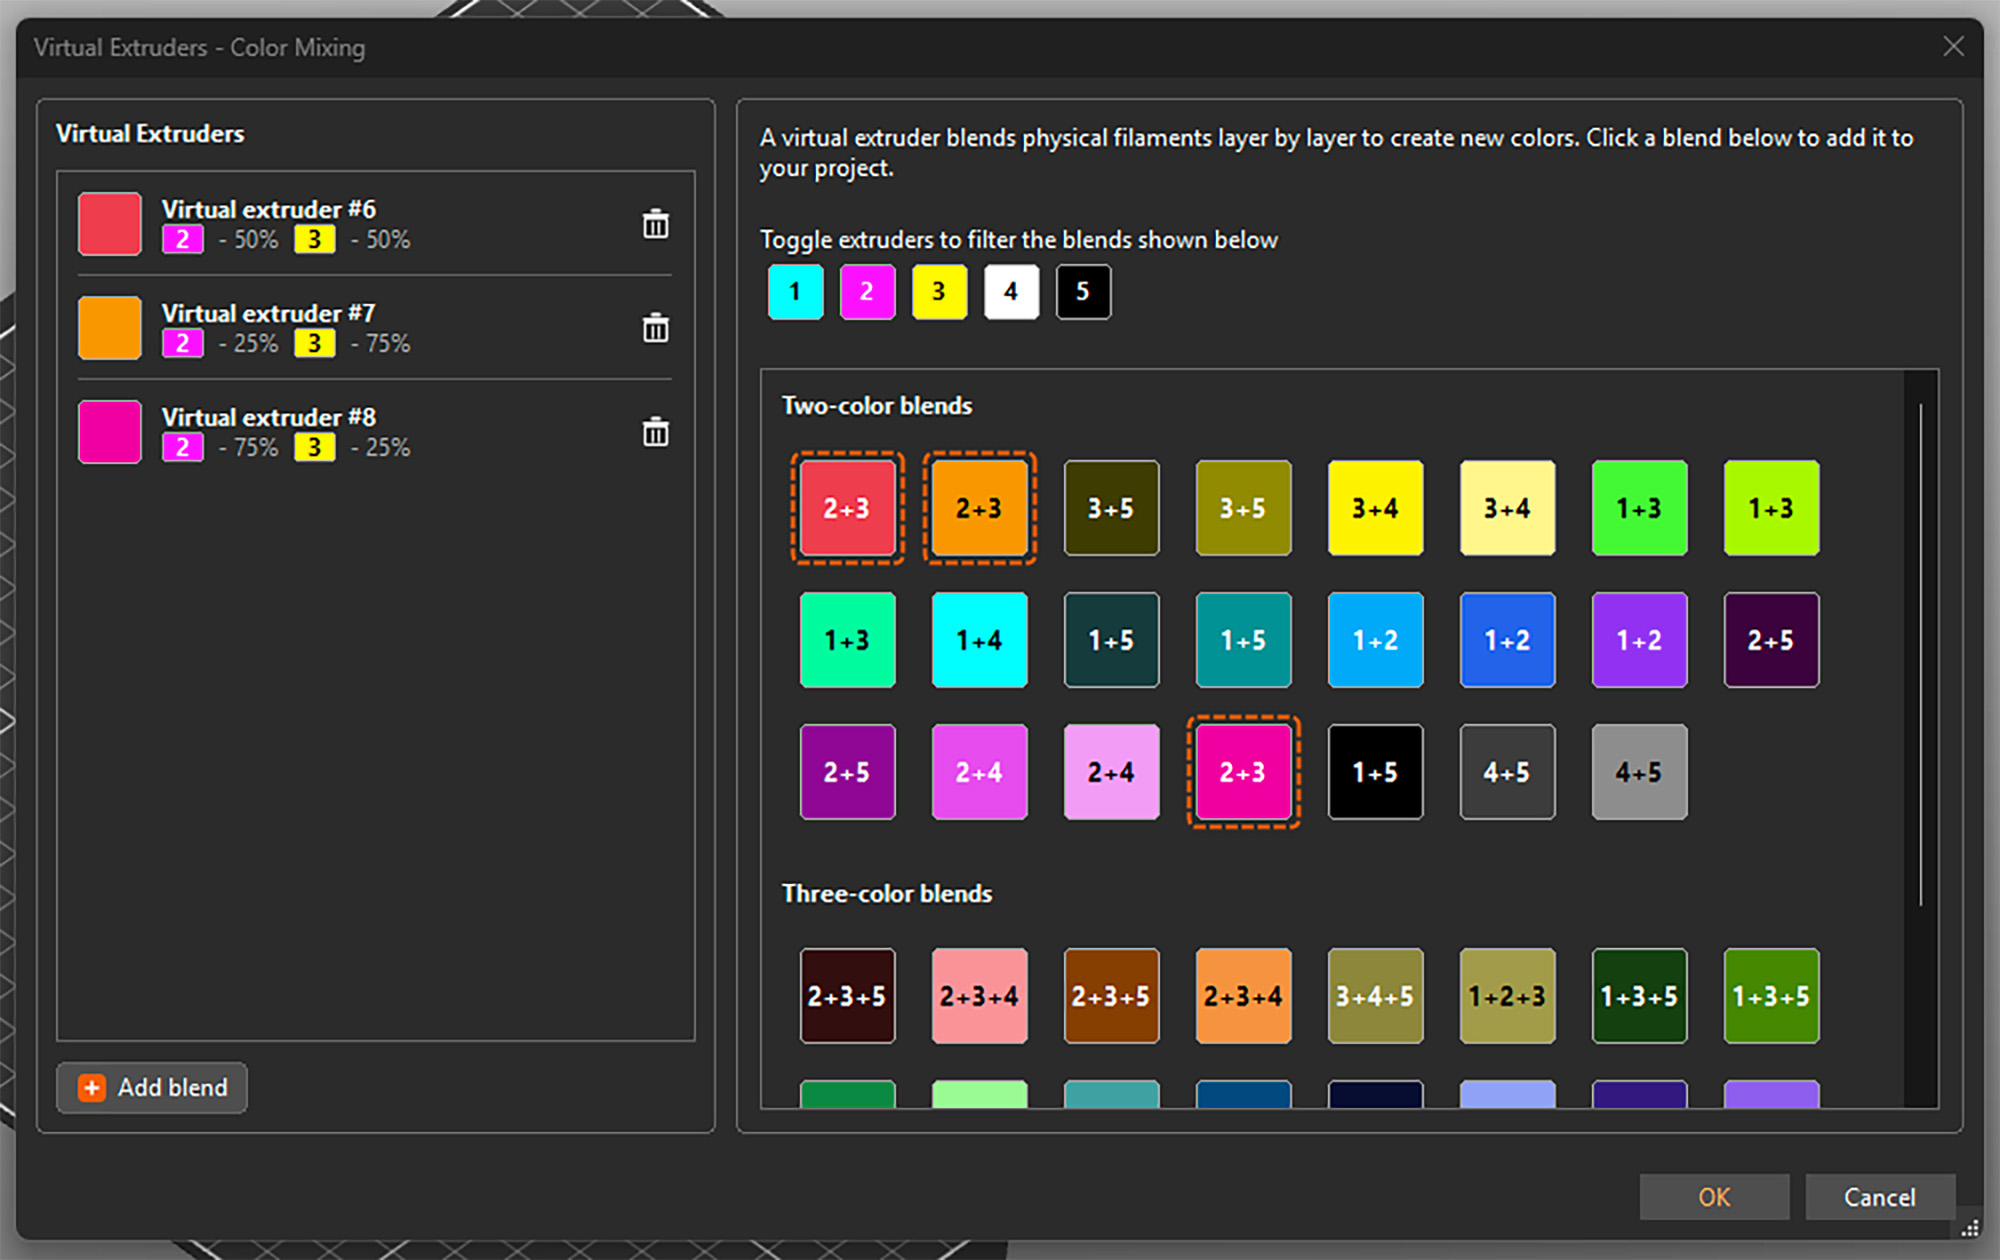
Alternatively, you can add them by clicking Add blend in the bottom left corner and manually setting up the ratio of the colors. This adds the virtual extruder to the list and also directly opens its settings on the right side.
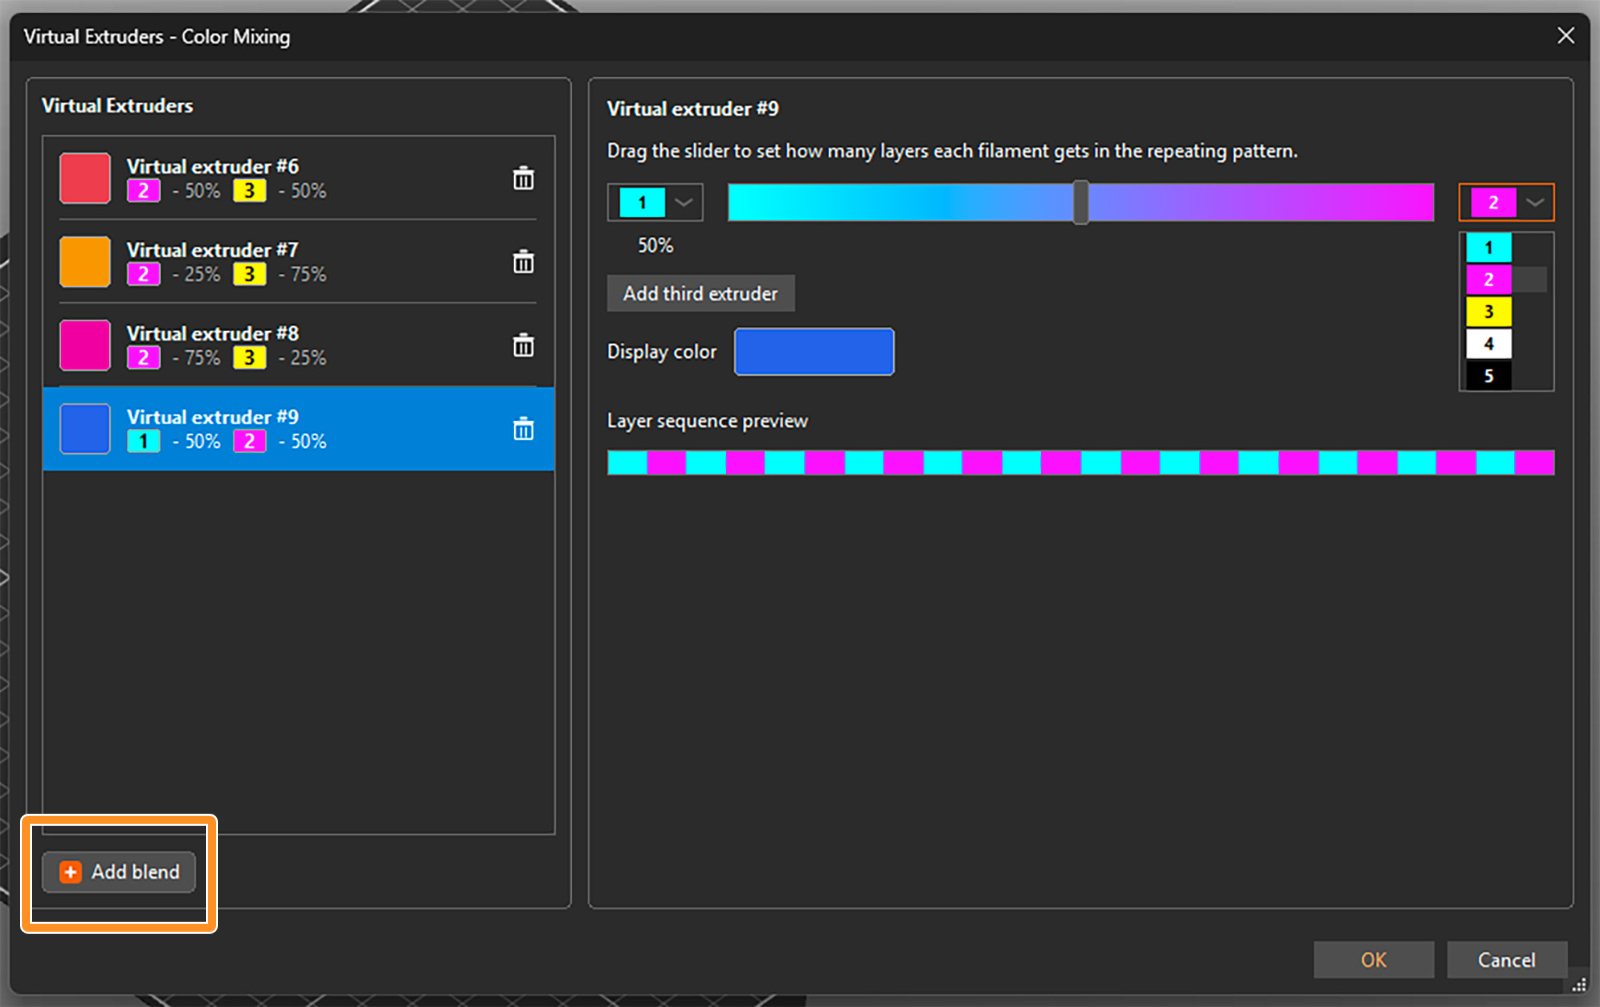
You can select the two filaments to be mixed from drop-down menus and set their ratio using a slider. An estimated display color is shown, but you can click on it and change it if you need. The layer sequence shows how the filaments are alternated to appear as the virtual color.
For a three-color blend, click on Add third extruder. Then you can again select the extruders from the drop-down menus and change their relative ratio by dragging the grey circle inside the color triangle.
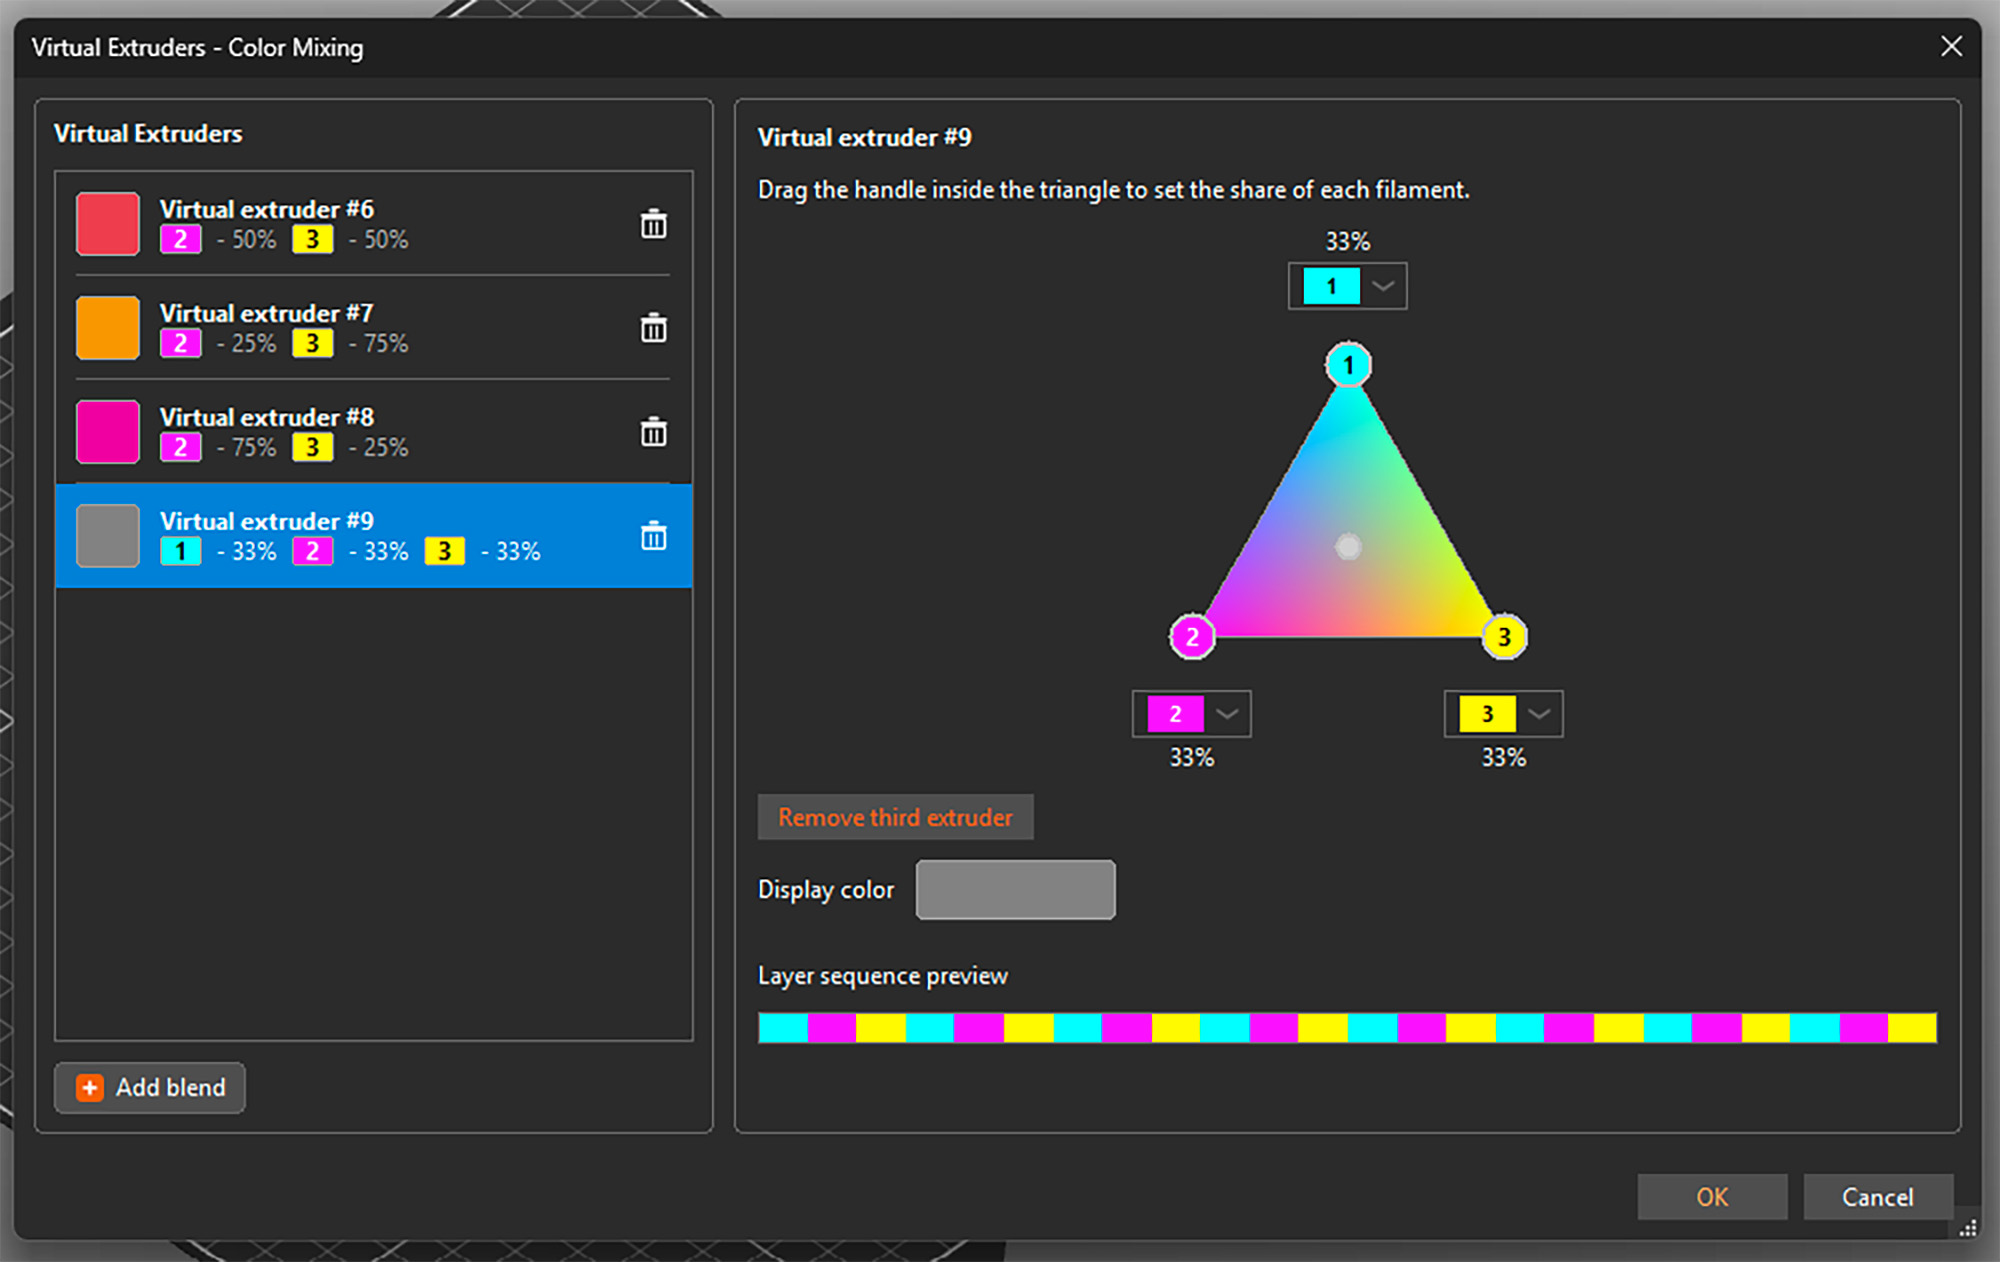
You can open the setting by selecting any virtual extruder on the left side and adjust its properties. You can also delete any of them by clicking the trashcan icon. See that besides a display color, each virtual extruder is assigned a number
Once you're all set, confirm all virtual extruders and close the window by clicking OK in the bottom right corner. You can reopen it and add or change extruders at any point, even if they are already used for painting the model.
Important: The tested and reasonable ratios for two-color blends are 25% : 75%, 50% : 50%, and 75% : 25%. For three-color blends, the optimal mix is 33% : 33% : 33%.
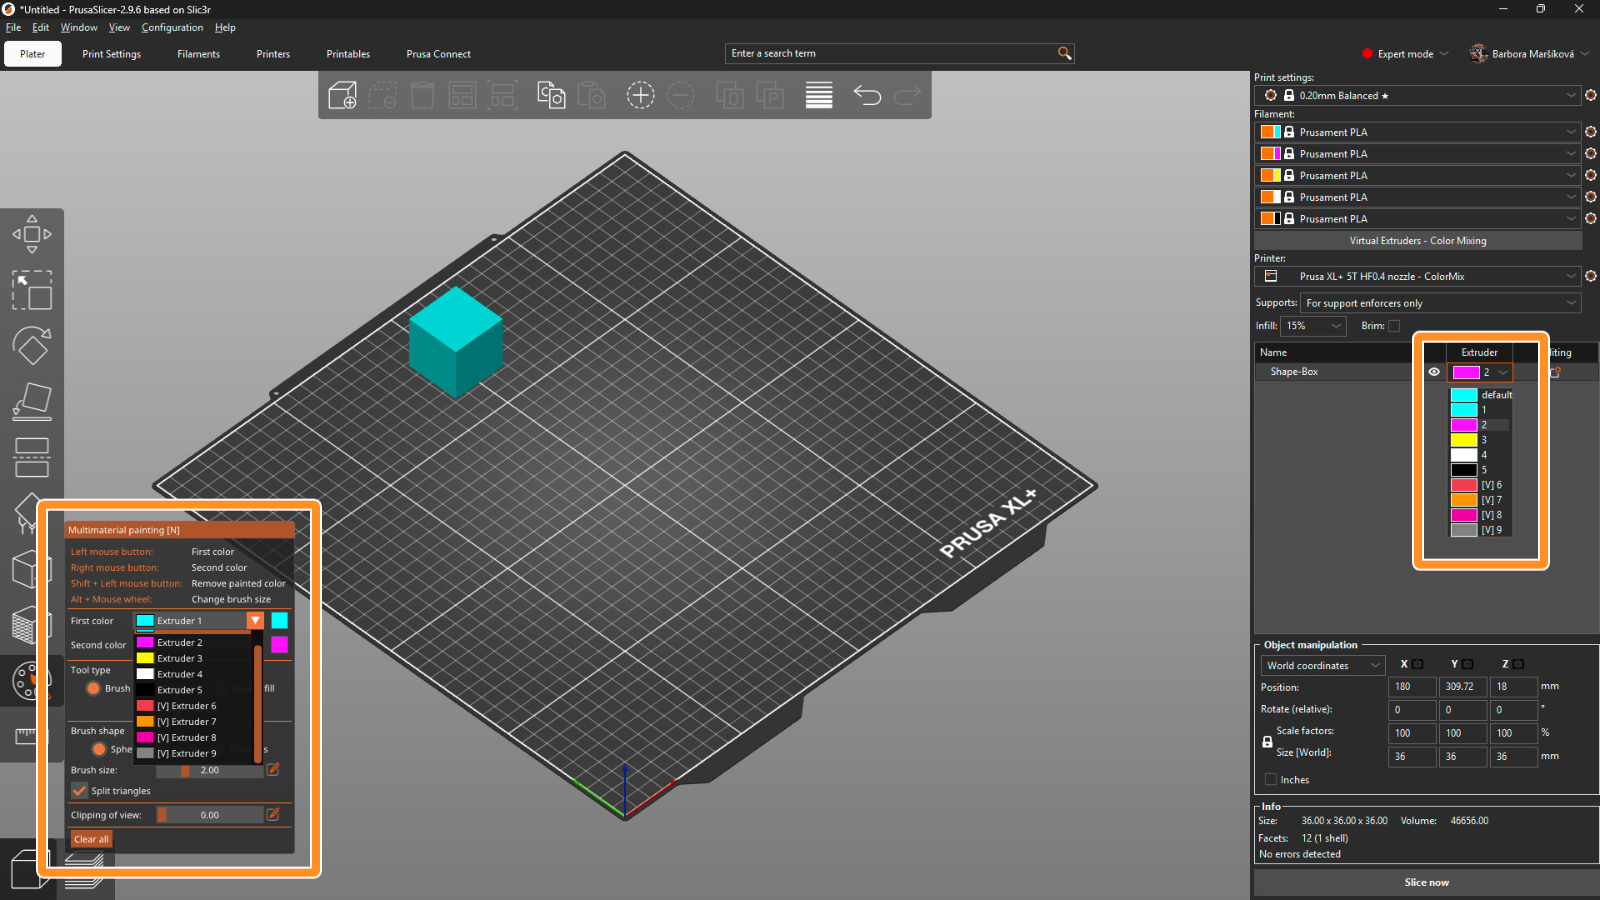
When the virtual extruders are set up as shown above, PrusaSlicer works with them just the same as with the physical ones. This means you can assign colors to different models and their parts and use all multi-material painting tools, such as brushes or Smart fill.
The only difference is that the virtual extruders appear with a [V] in the drop-down menus.
For optimal results, use a layer height of a maximum of 0.15 mm. For a perfect outcome, 0.1 mm layer height would be even better, but it adds a lot of printing time, and usually it’s not necessary.
The recommended infill type is gyroid with 5-10% density, depending on the model’s geometry. Because of the translucency, the infill might sometimes be visible, and this way the structure is uniform.
The mixing itself is done by PrusaSlicer automatically whenever you use a virtual extruder. Simply slice the model, upload the G-code to the printer, and make sure that the correct extruder colors are assigned with respect to the loaded filaments.
To open a model that was colored using the virtual extruders, always use File → Open Project (Ctrl + O). If you use Import, all virtual extruders will be merged into the last physical one.
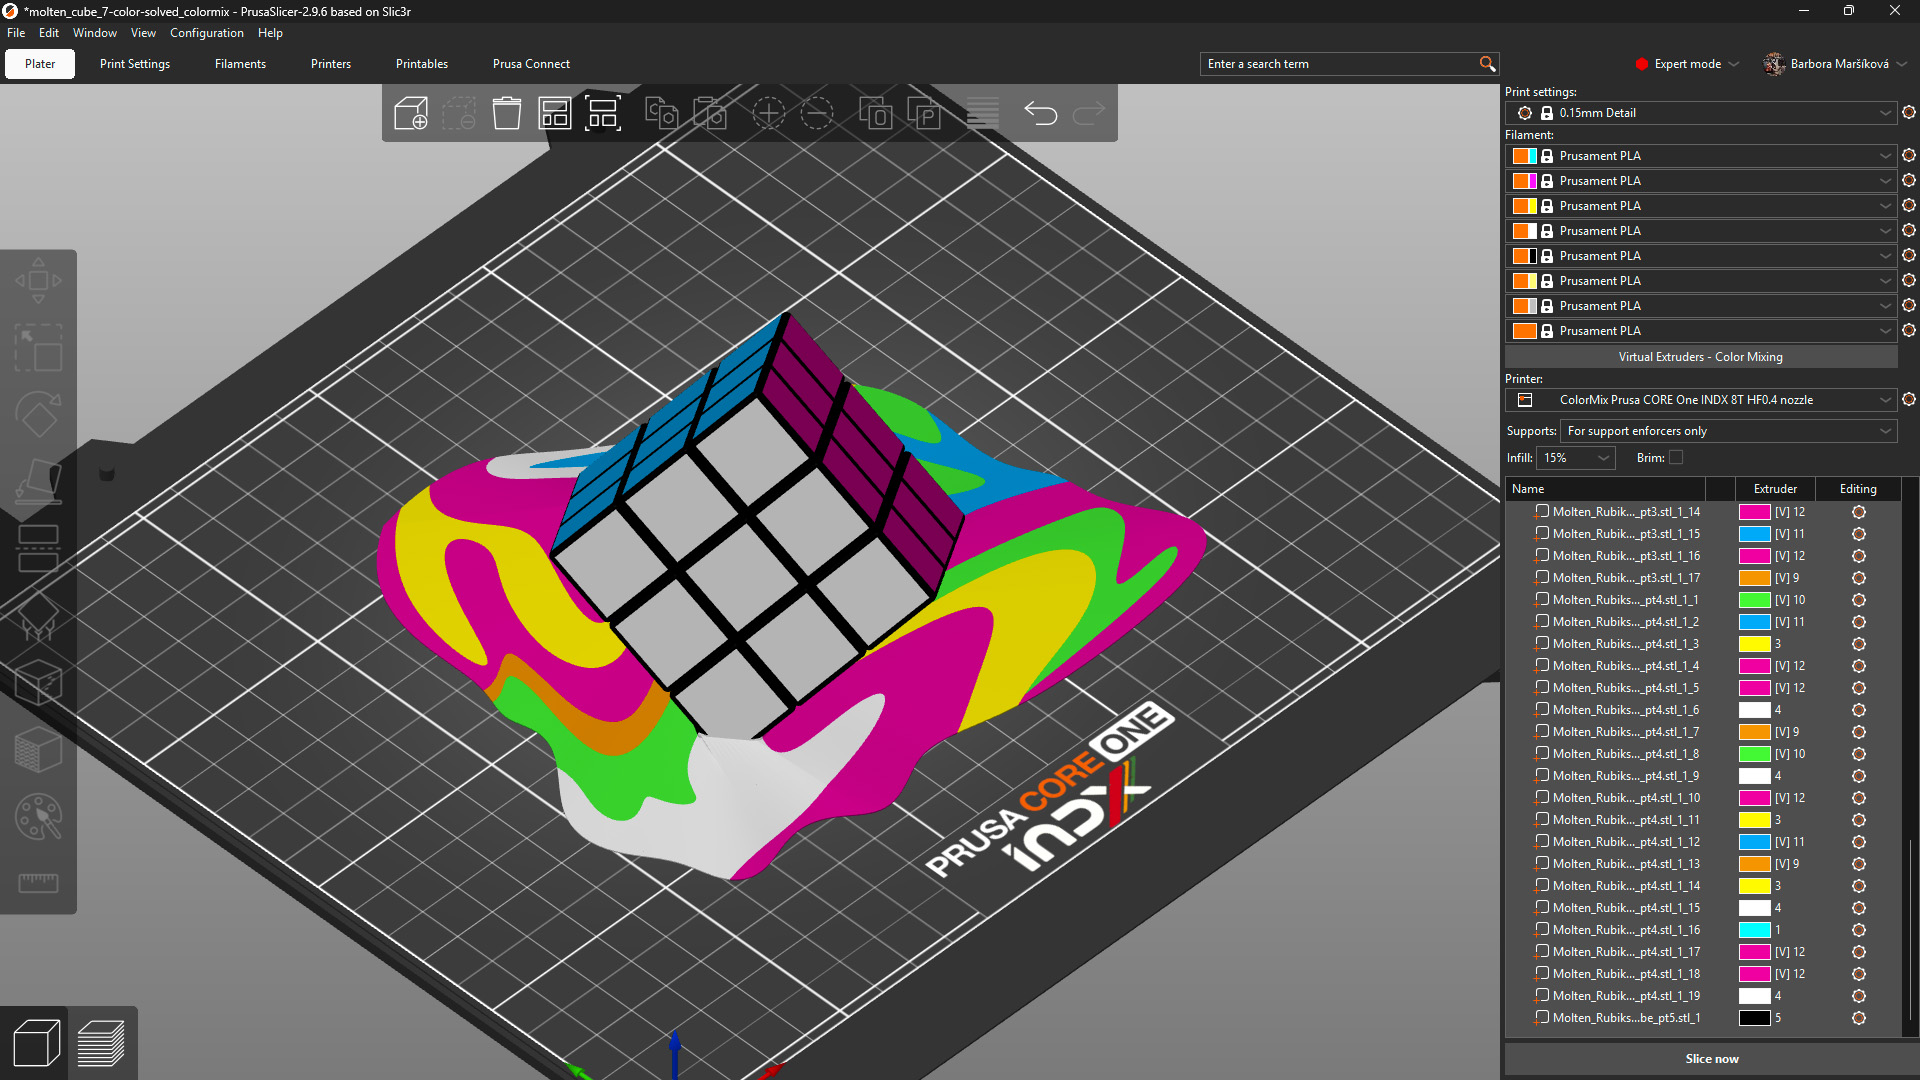
Model: Solved ColorMix Rubik's cube by MrFlippant.
Even with the semi-translucent Prusament PLA ColorMix, the mixing effect works the best on vertical and almost vertical surfaces.
See the printed molten cube below. The parts on the cube itself, which are printed under a steep angle, appear in a mixed color with only a slightly stripy pattern. The melting colors visibly show the different layers printed from different filaments.
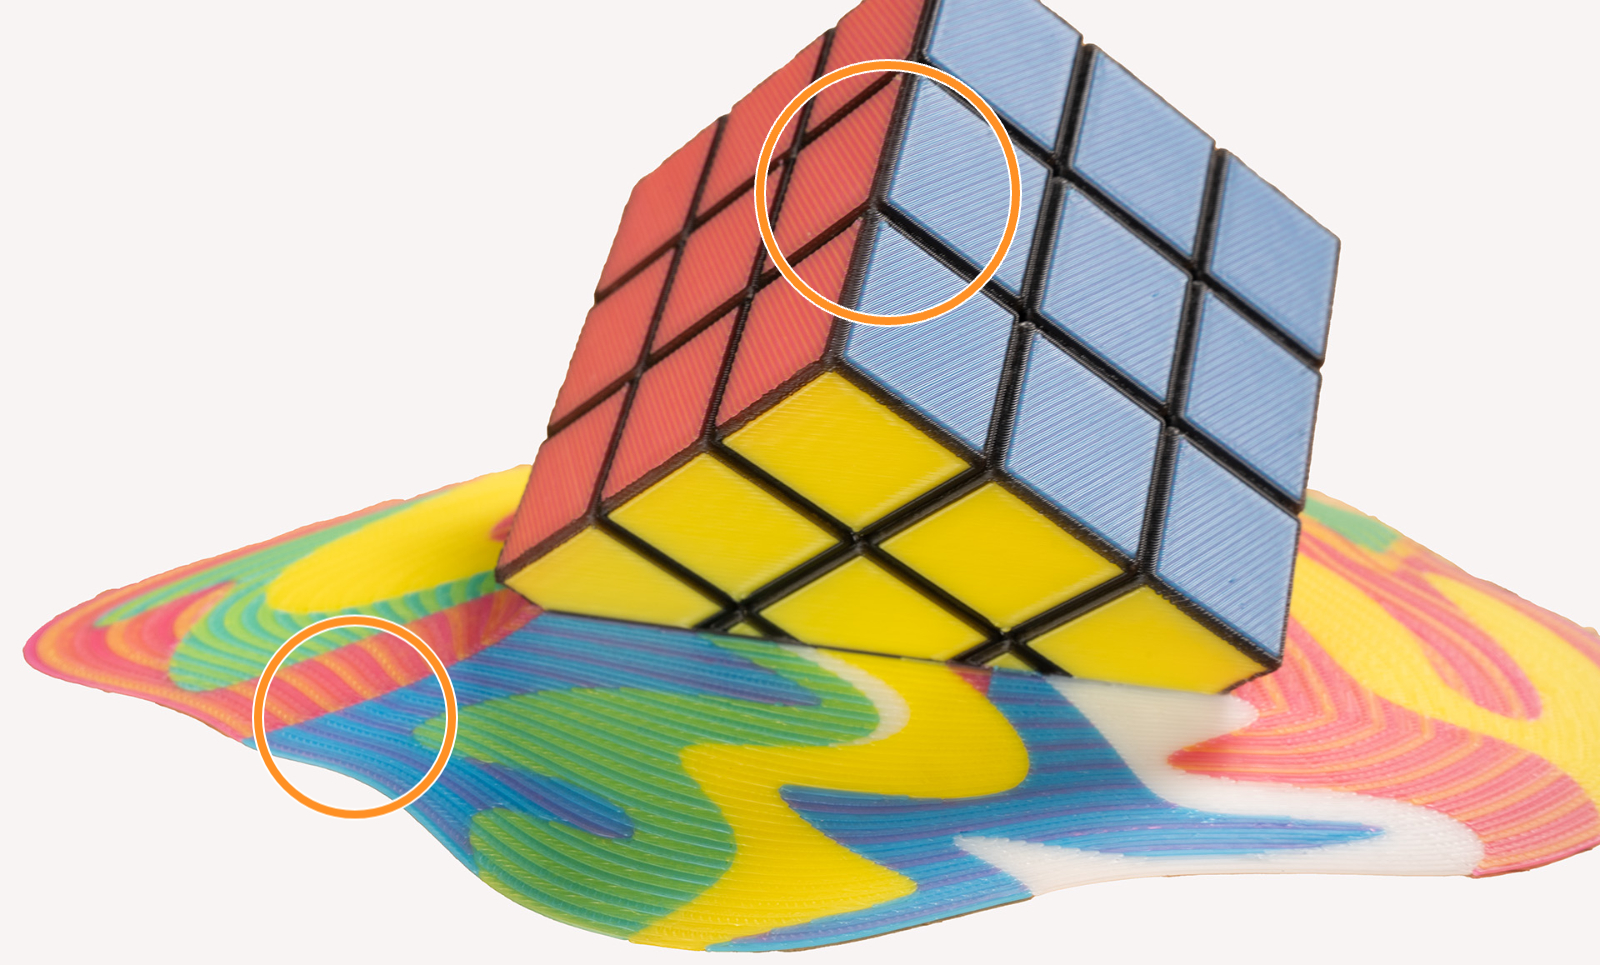
This effect is even more visible when using filament of highly saturated colors. It is a physical limitation of the method itself, not a printing error. Consider this when painting and printing your models.
To visualize the colors, you can print a test model such as the ColorMix Calibration Cones or this ColorMix Test palette.
 |  | 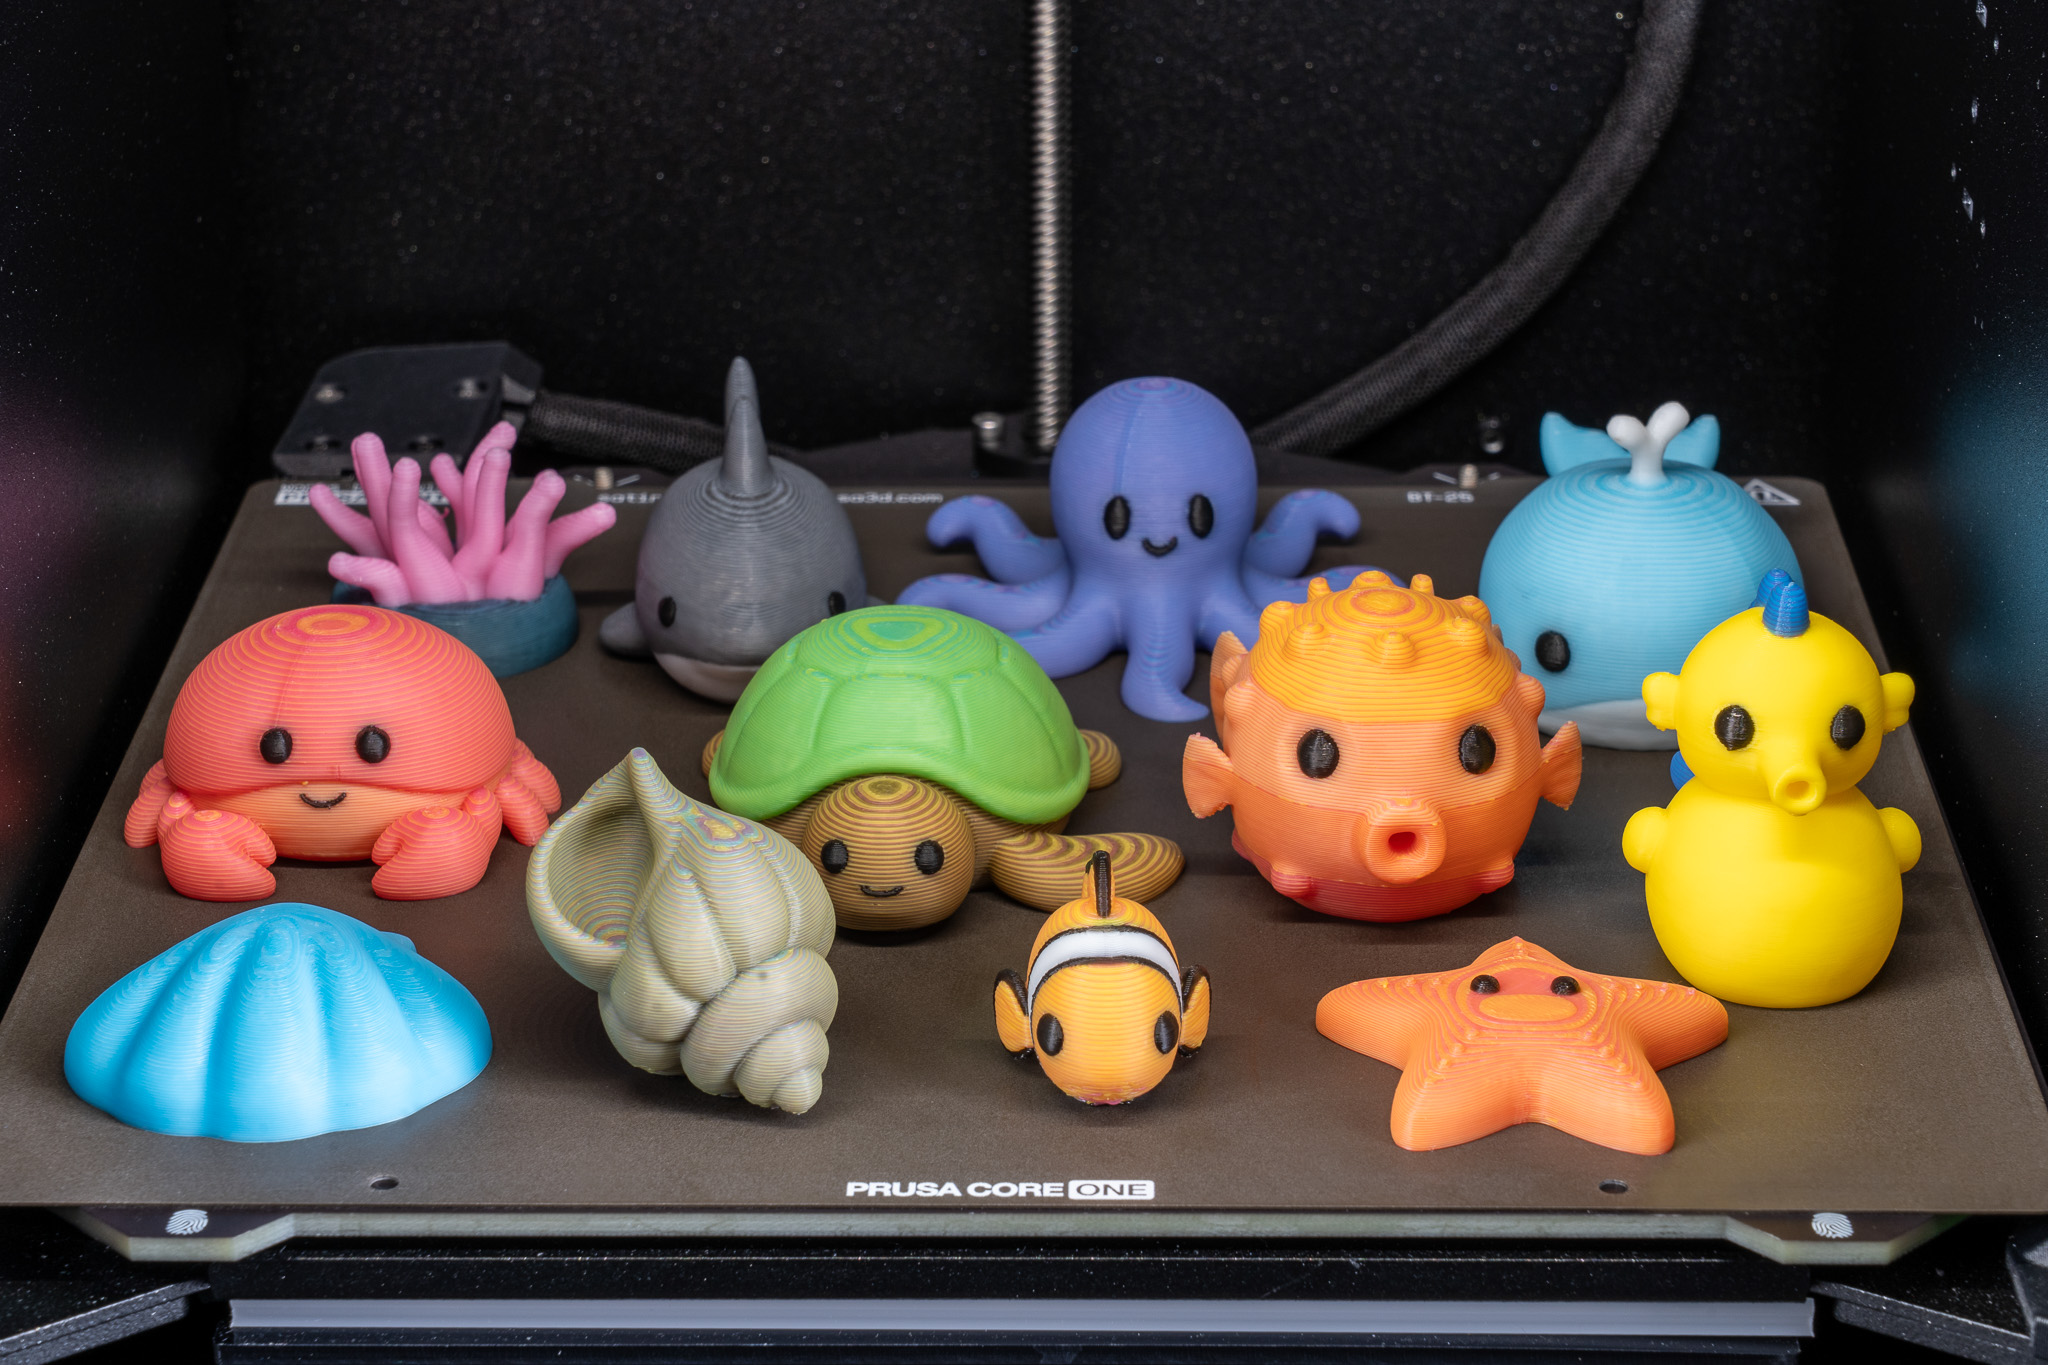 |
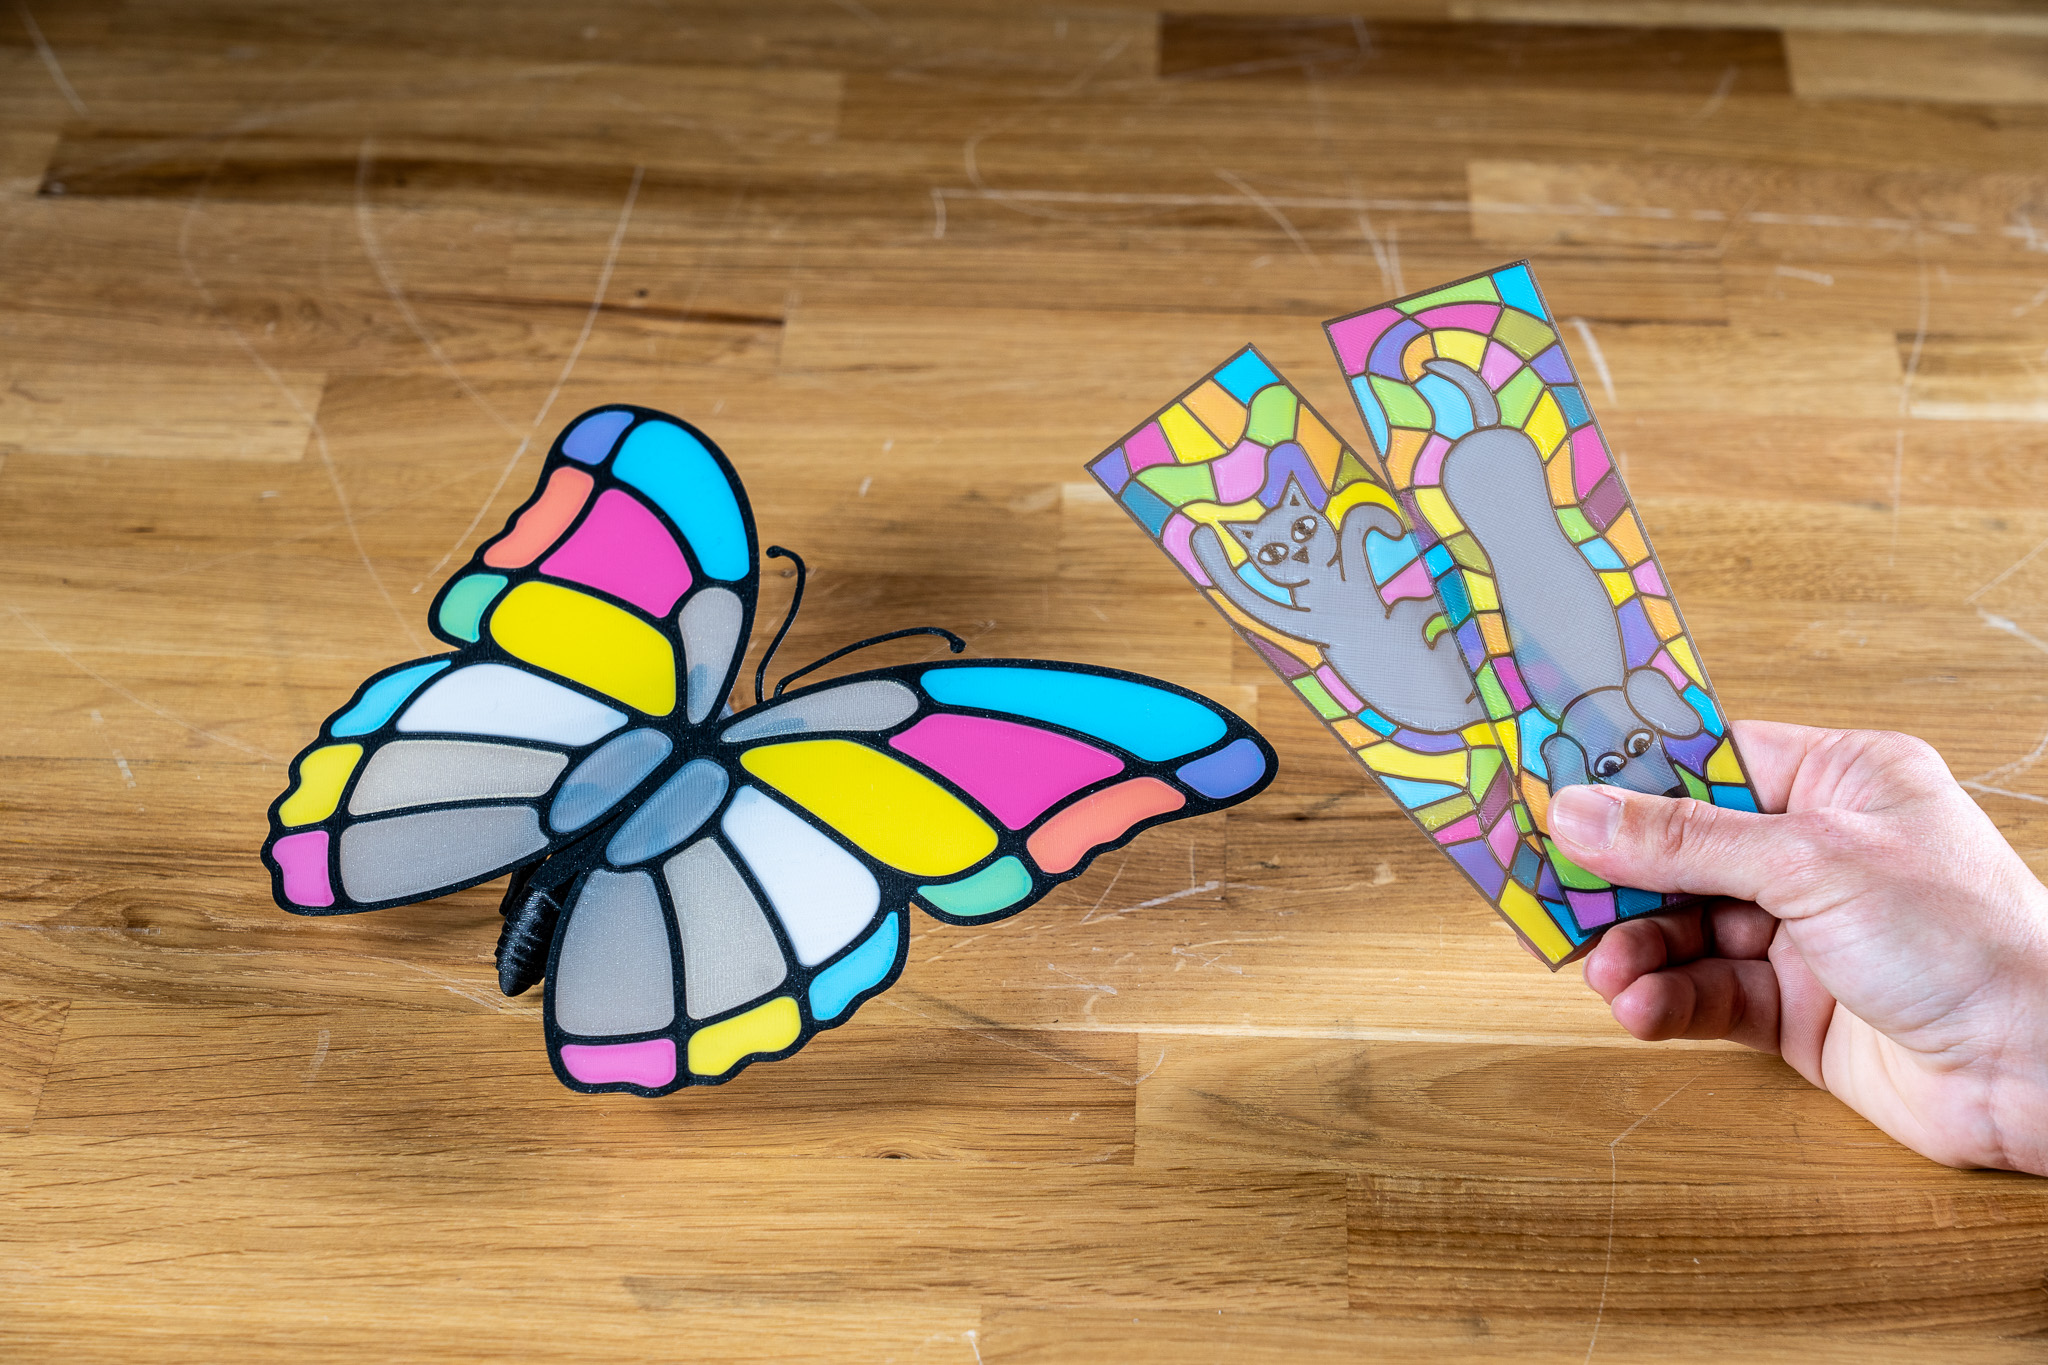 | 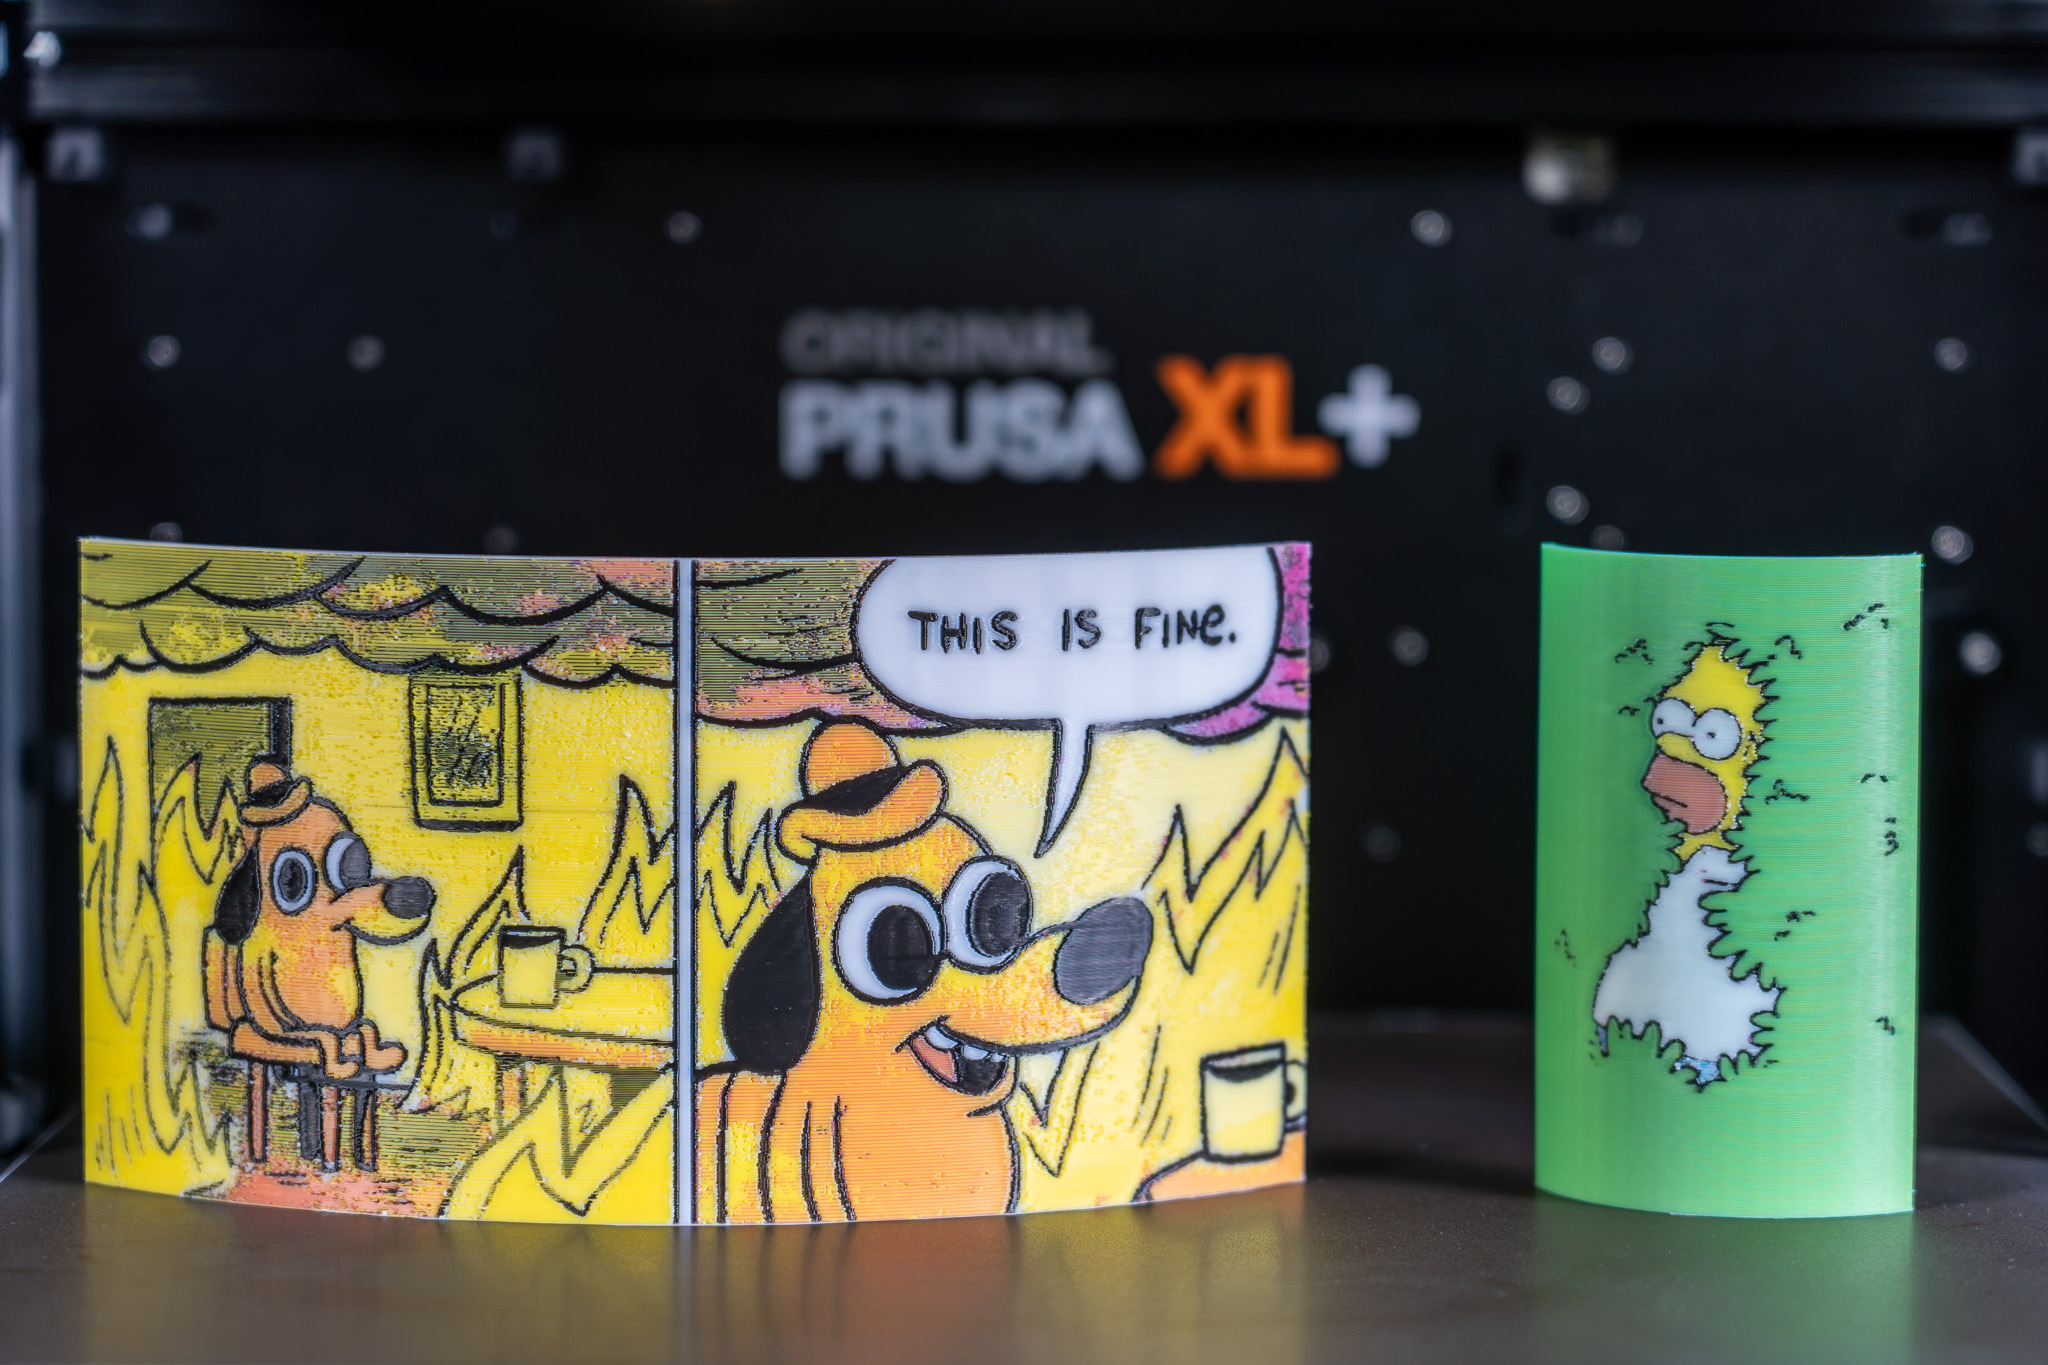 | 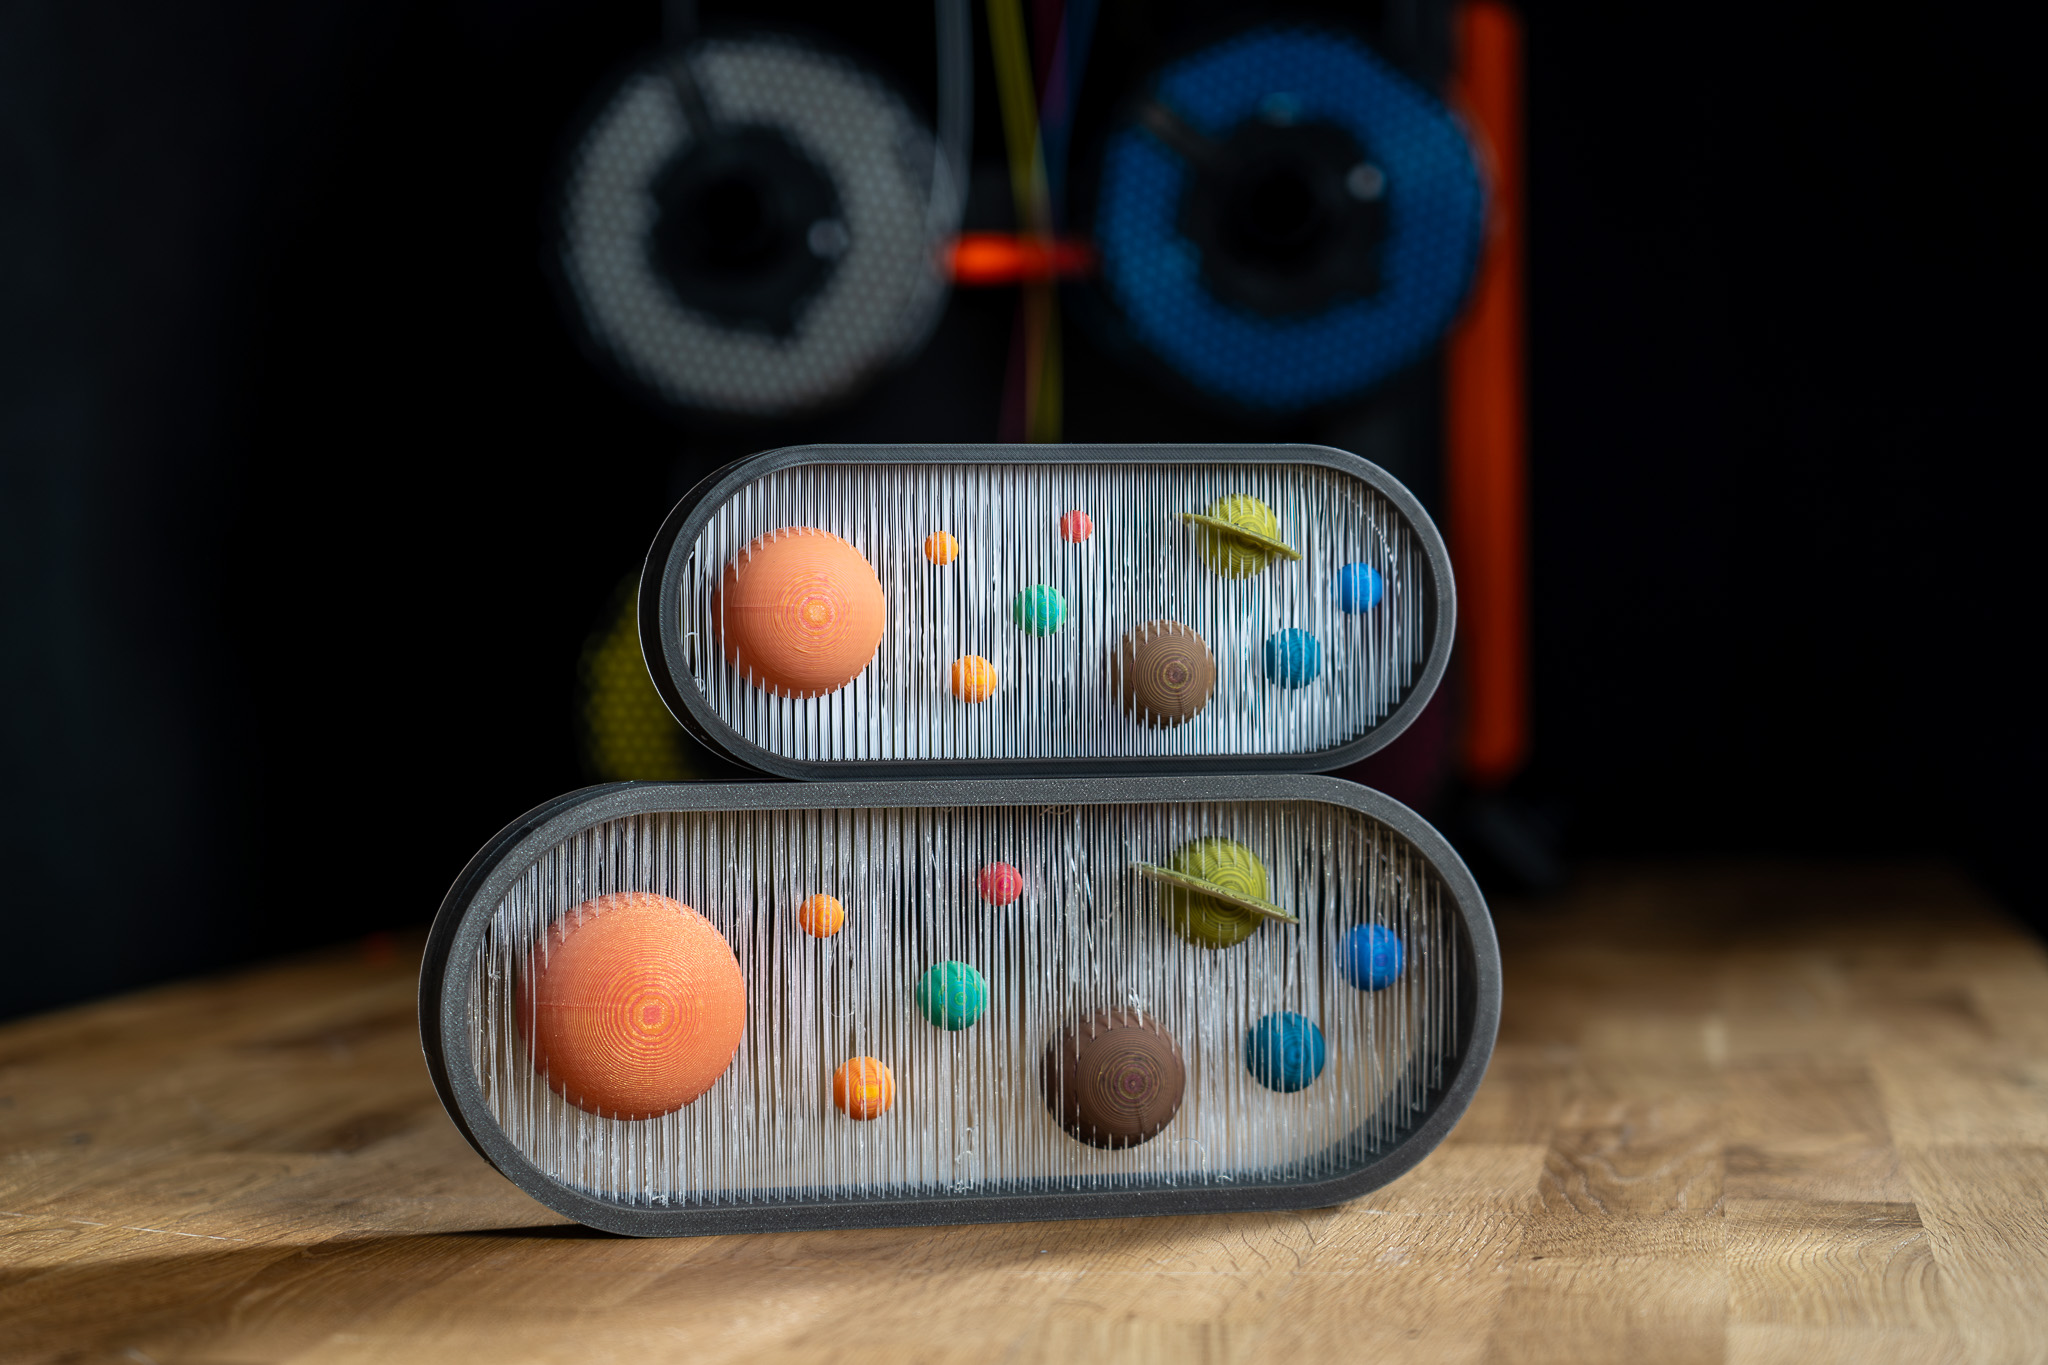 |
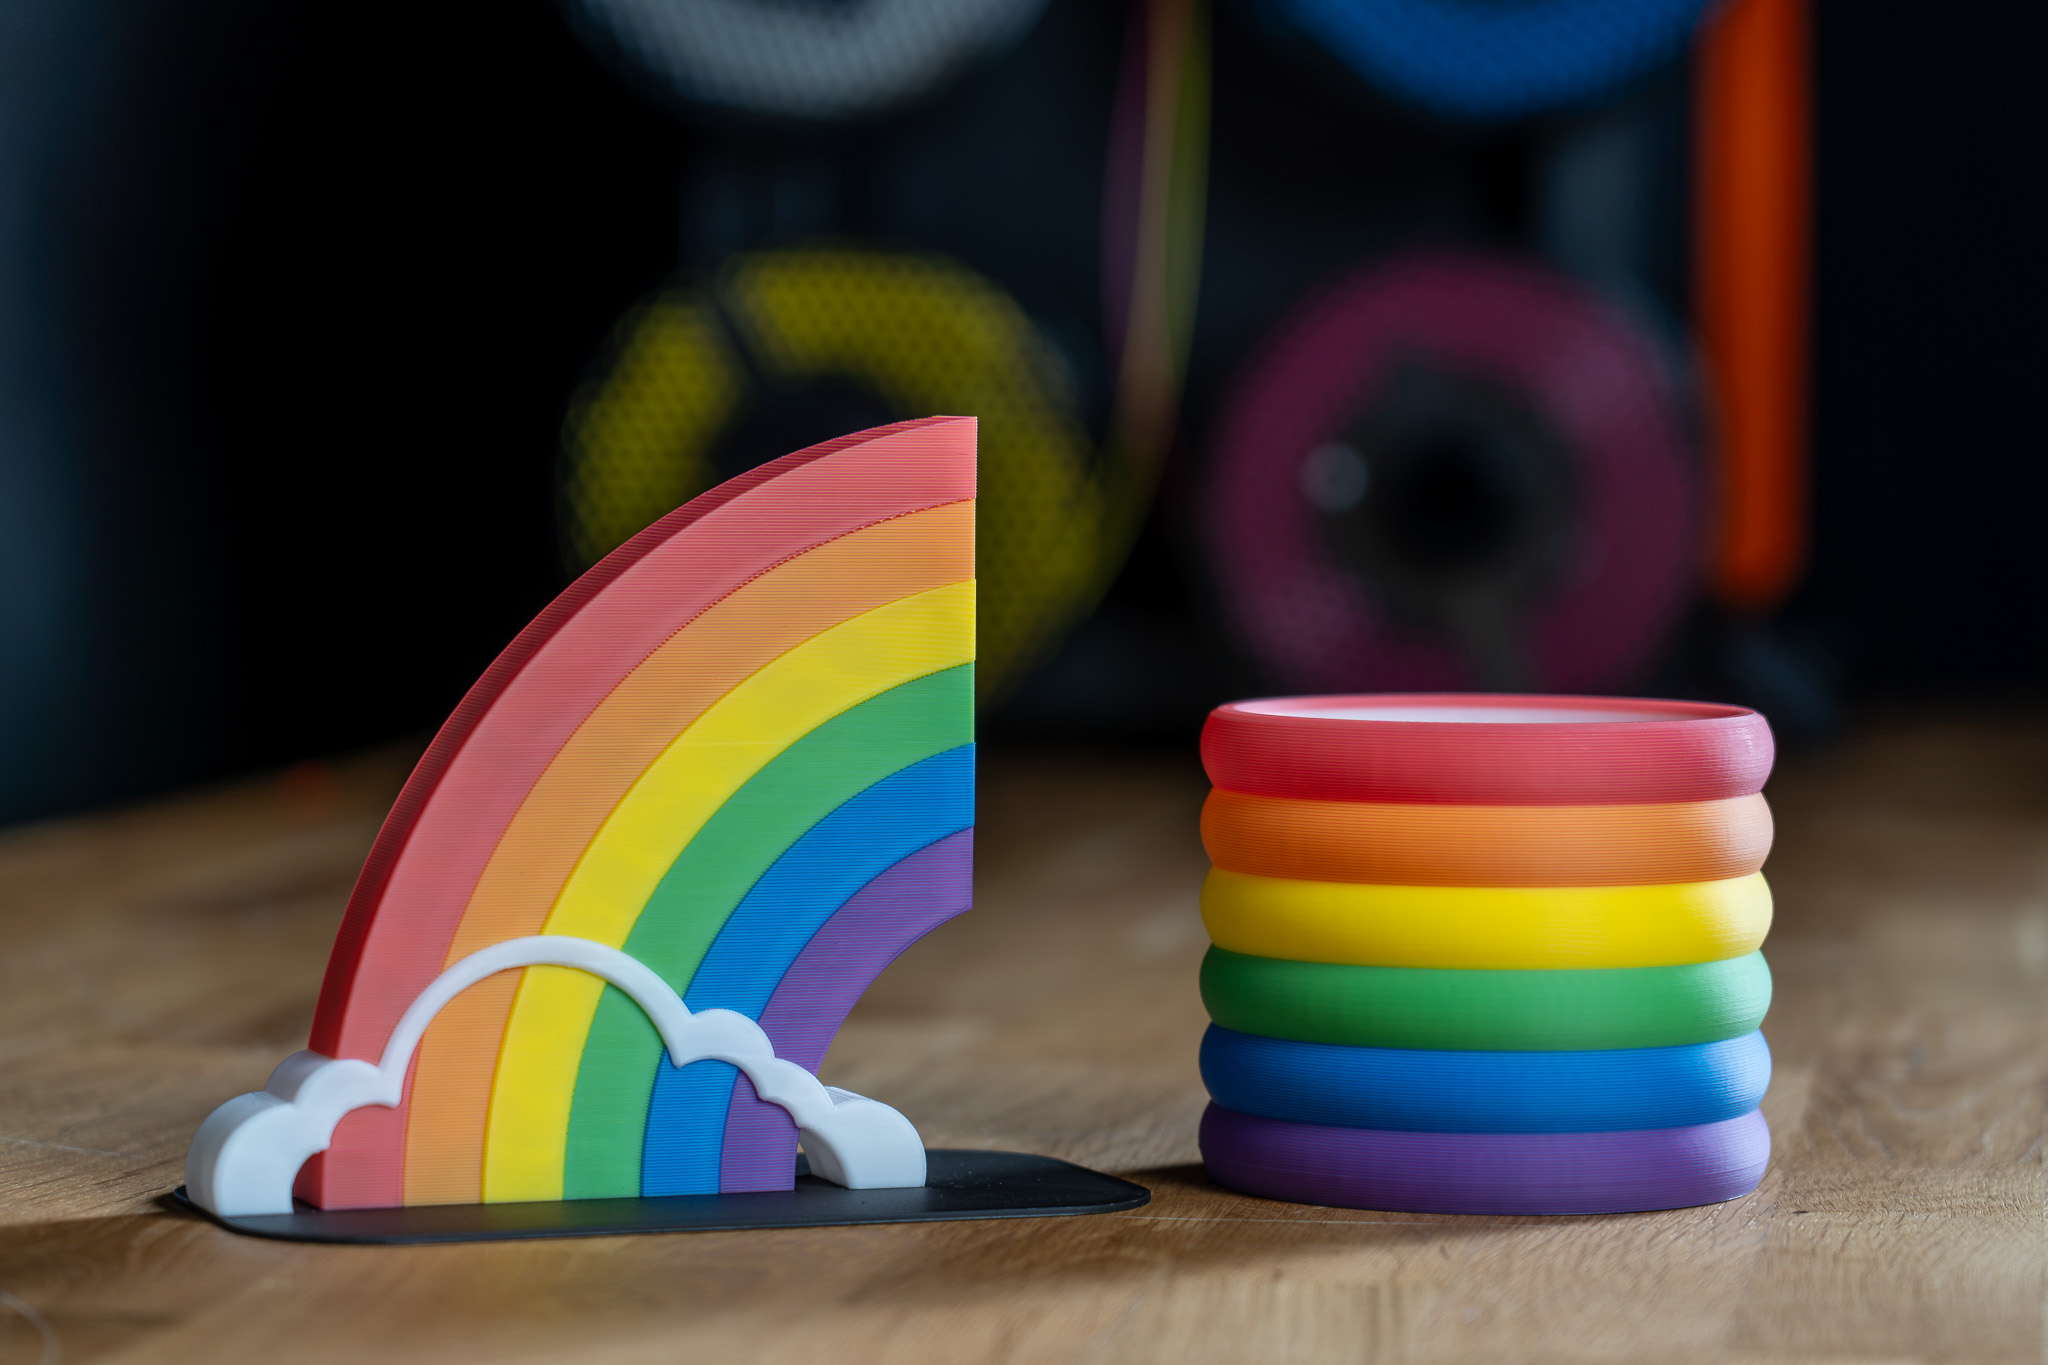
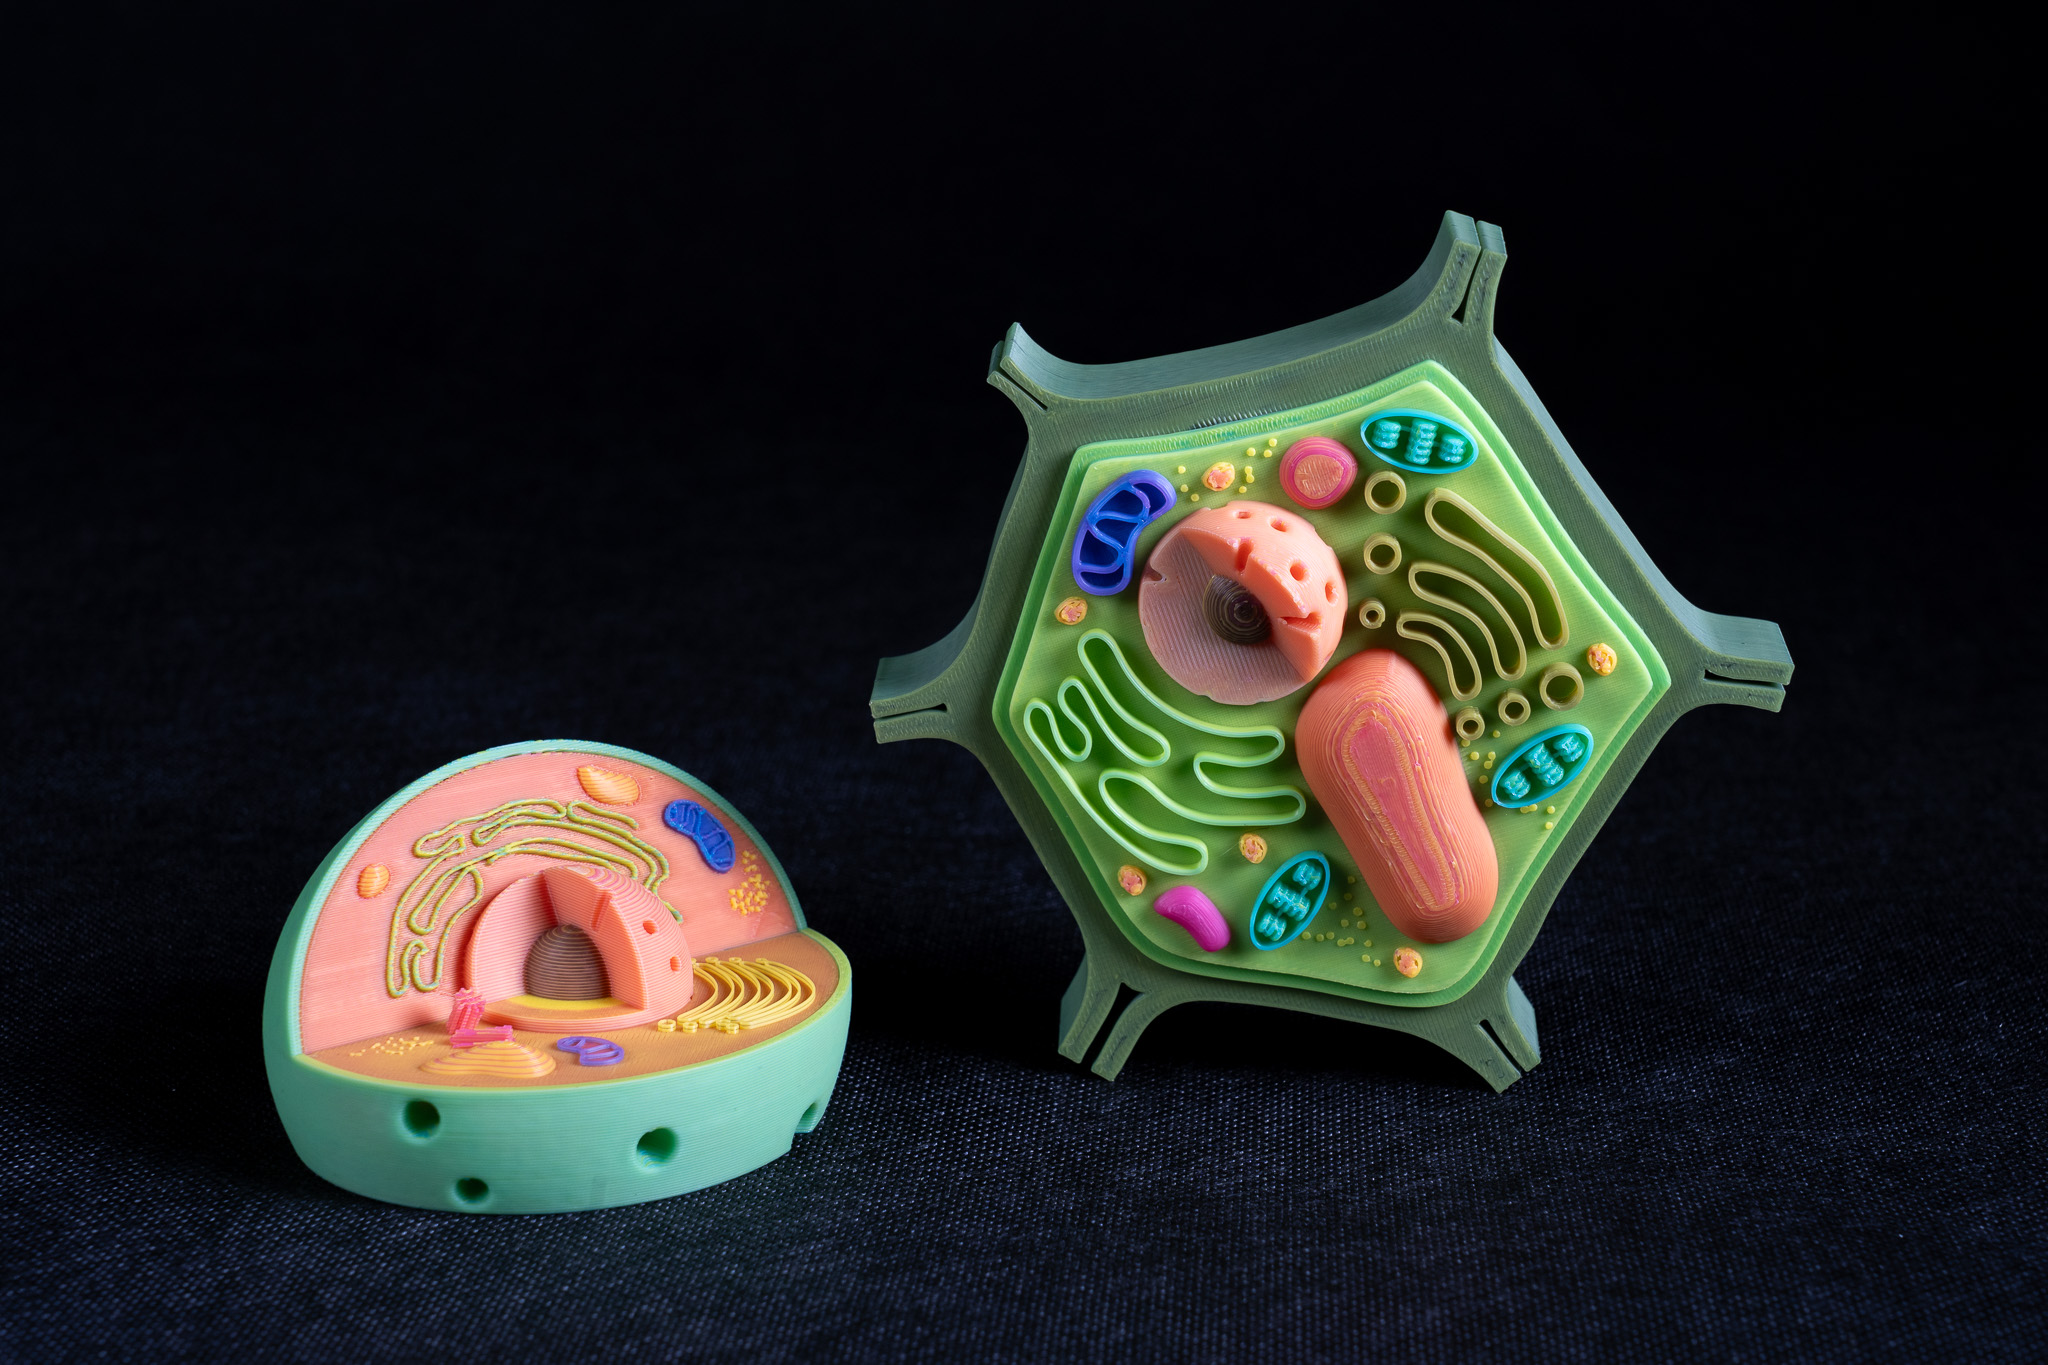
All displayed models are available on Printables and they were printed using the ColorMix filament bundle.
To learn more about the ColorMix and see more examples of printed models, see the release article and the filament announcement.
The ColorMix feature is based on the works of the 3D printing community. Ratdoux’s OrcaSlicer-FullSpectrum showed how virtual mixed-color filaments could be created by alternating thin layers of differently colored materials. Justin H. Rahb’s filament-mixer helped predict what those colors might look like, and projects like PeggyPalette made it easier to compare and share results.