The 'cold pull' technique allows you to clean your printer’s nozzle and hotend from any material that may be stuck or burnt inside. You can also use it to clean your hotend during your usual maintenance routine. Starting from firmware 6.0.0 on MK4/S and MK3.9/S, and from firmware 6.1.3 on XL, the printer will do the process automatically.
The cold pull should be done if your nozzle is only partially clogged, and some filament is still being extruded. If the nozzle is completely clogged, please check the clogged hotend article for MK4/MK3.9, or for XL.
Our testing has found that PLA works best for a cold pull, as other filaments do not retain the tip as PLA does and they will either tear or melt too much. However, there are filaments specifically made for cleaning hotends.
Automatic cold pull
Have at least 30cm of PLA available when making this procedure. On multi-tool XL, pick the desired tool. Navigate to LCD Menu -> Control -> Pick/Park Tool -> Pick Tool #.
Then, navigate to LCD Menu -> Control -> Cold Pull.
On MK4/S and MK3.9, you will see the options: unload the current filament (recommended in case you have any filament other than PLA loaded), Load PLA filament, and continue with the loaded filament (only use it if the filament loaded is PLA).
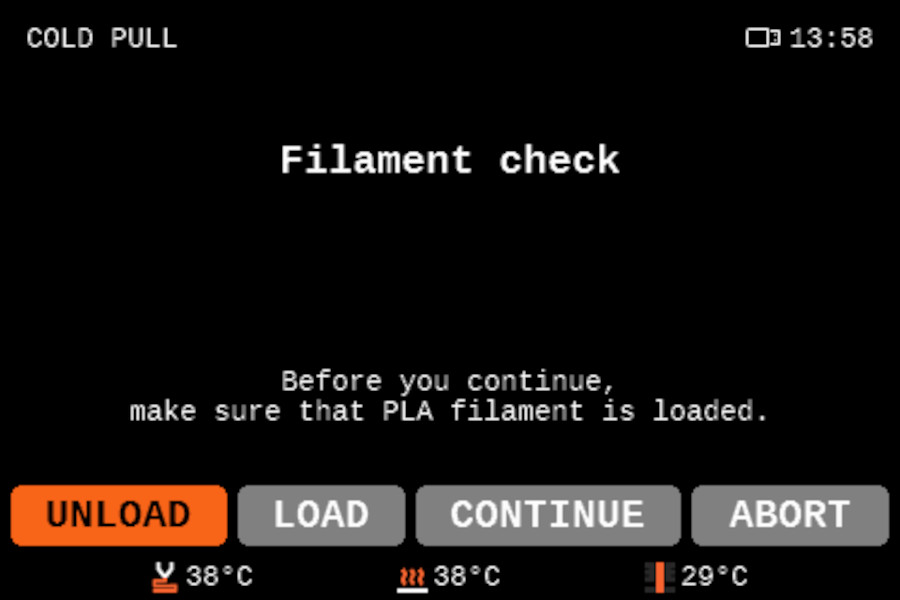 Display screenshot for MK4/S, MK3.9/S
On XL, it is necessary to load the filament directly into the Nextruder. For this reason, before you continue, unload the filament. Then press down the blue part on the fitting and pull the PTFE tube from the tool head. After this, load the PLA filament directly into the Nextruder.
 |  |
If the nozzle is heated, the printer will wait until it cools to 36 ºC. Then it will heat the printer to 80 ºC. After that, the printer will unload the filament automatically at that temperature.
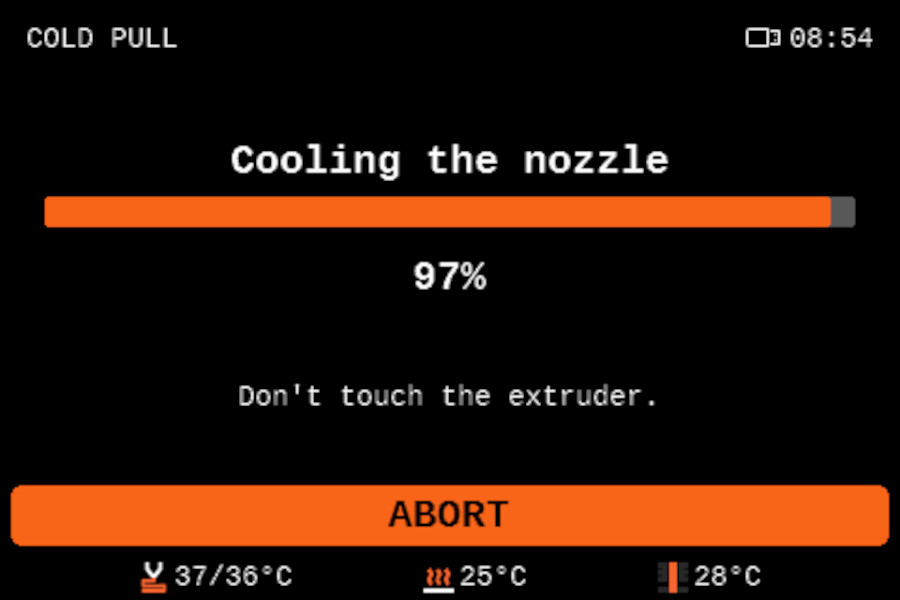 |  |
To finalize the procedure, remove the filament by hand, pulling it upwards. There might be a slight resistance, if the filament is stuck, open the idler lever.

Manual Cold pull (XL, MK4/MK3.9 pre-firmware 5.1.3)
Preliminary steps (XL)
- On multi-tool XL, pick the desired tool. Navigate to LCD Menu -> Control -> Pick/Park Tool -> Pick Tool #.
- Temporarily unscrew the fitting above the Nextruder.
Procedure (XL pre-firmware 6.1.3, MK4/MK3.9 pre-firmware 5.1.3)
- Load a piece of PLA filament in the extruder, inserting it from above the extruder. The printer will prompt a material selection: select PLA and complete the loading procedure.
- Open the Idler Swivel.
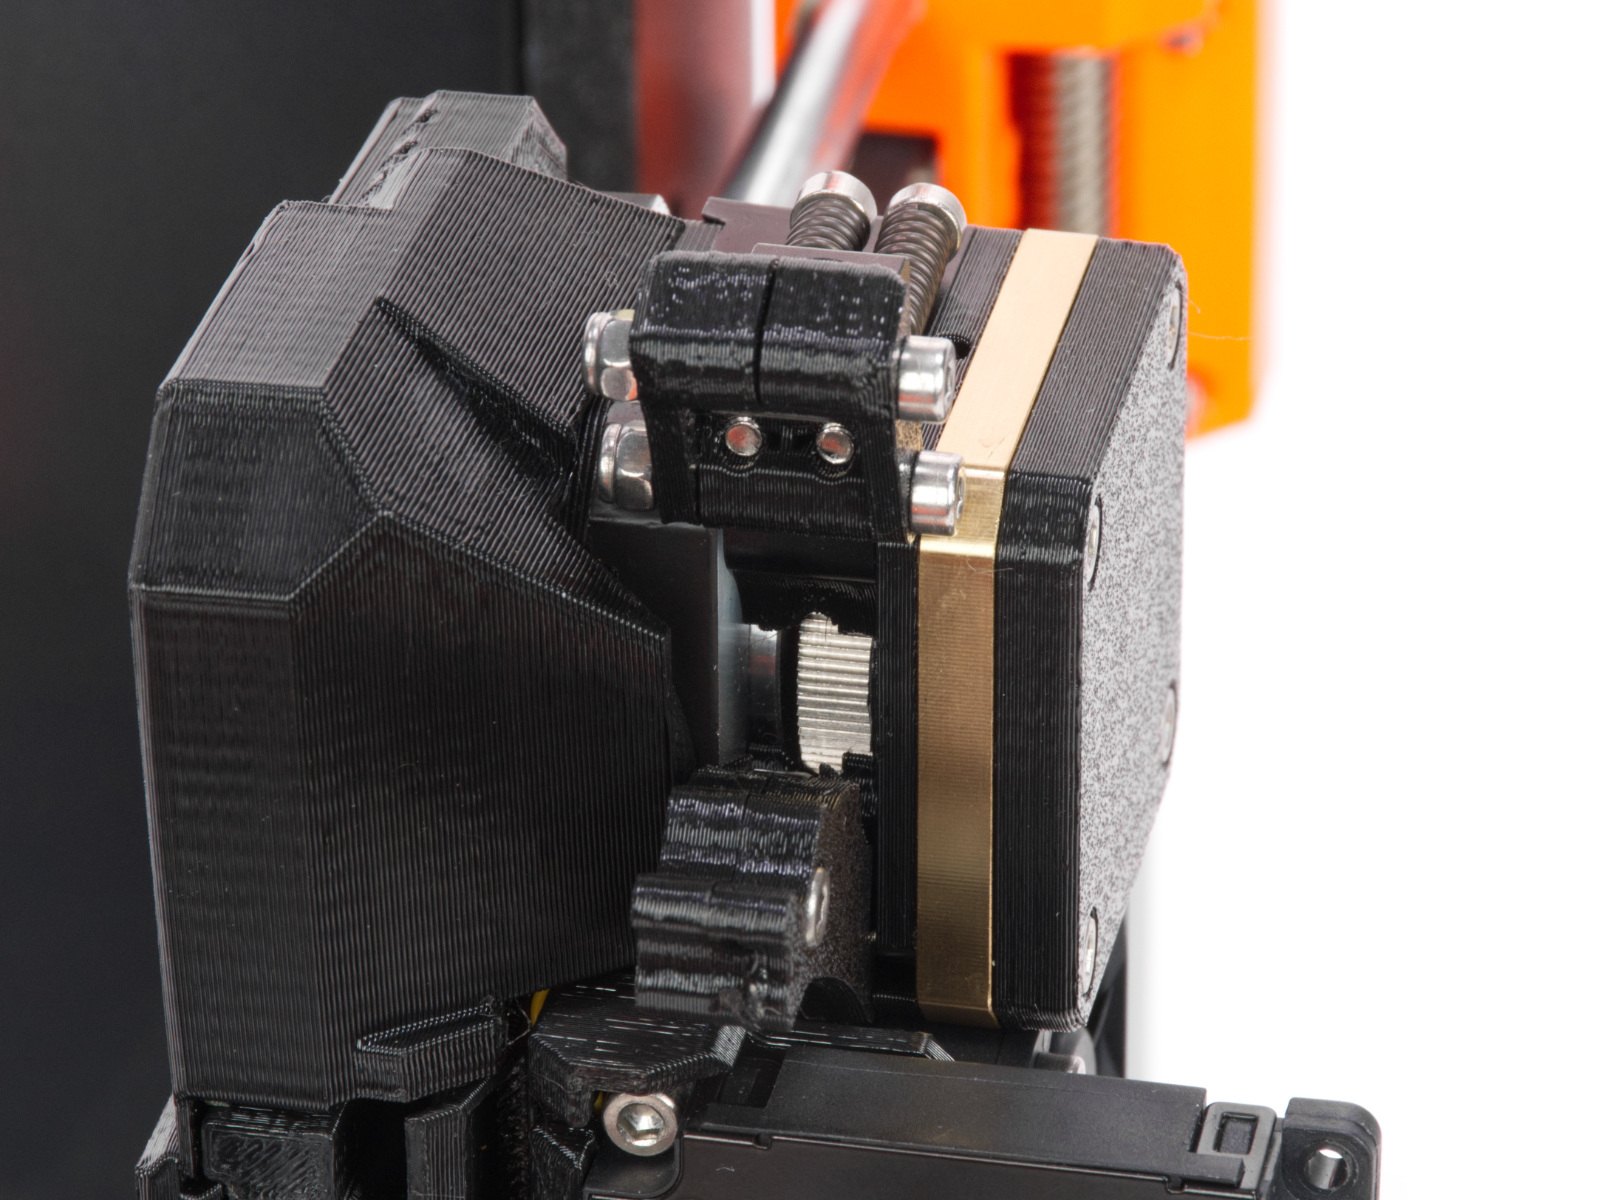
- Go to LCD Menu -> Control -> Temperature -> Nozzle Temperature and set the temperature to 270 °C.
- Once it has reached 270 °C push the PLA filament in until it starts pouring out of the nozzle.
- Stop heating by pressing Cooldown in the LCD Menu -> Control -> Temperature -> Cooldown, or by pressing the reset button.
- Continue manually pushing the filament down until the temperature is too low for it to melt and come out (around 170 °C for PLA). The nozzle has to be filled for the cold pull to be successful.
- Pick away any extruded material from the nozzle so nothing is obstructing the pull later on.
- Wait for the temperature to reach 100 °C. As soon as it reaches 100 °C, grab the filament with pliers and pull it slowly but steadily out of the extruder. Make sure to pull straight upwards, not sideways, or the filament can break inside. Hold the extruder with your other hand.
- Don't stop until the filament is completely pulled out from the extruder.
- Close the Idler and the Idler Swivel.
Results
On the tip of the filament that has been pulled out, you may see remnants of the previous material(s) you have been using or some burnt dirt that has settled in the nozzle (left picture). You might want to repeat this procedure several times until the filament comes out clean.
The right picture shows what a clean cold-pulled filament should look like. It is important to have the imprint of the nozzle on it, this way you are sure the nozzle was filled and nothing was left inside. Also, the color is not mixed with the one you have been using previously or has dark marks on it.
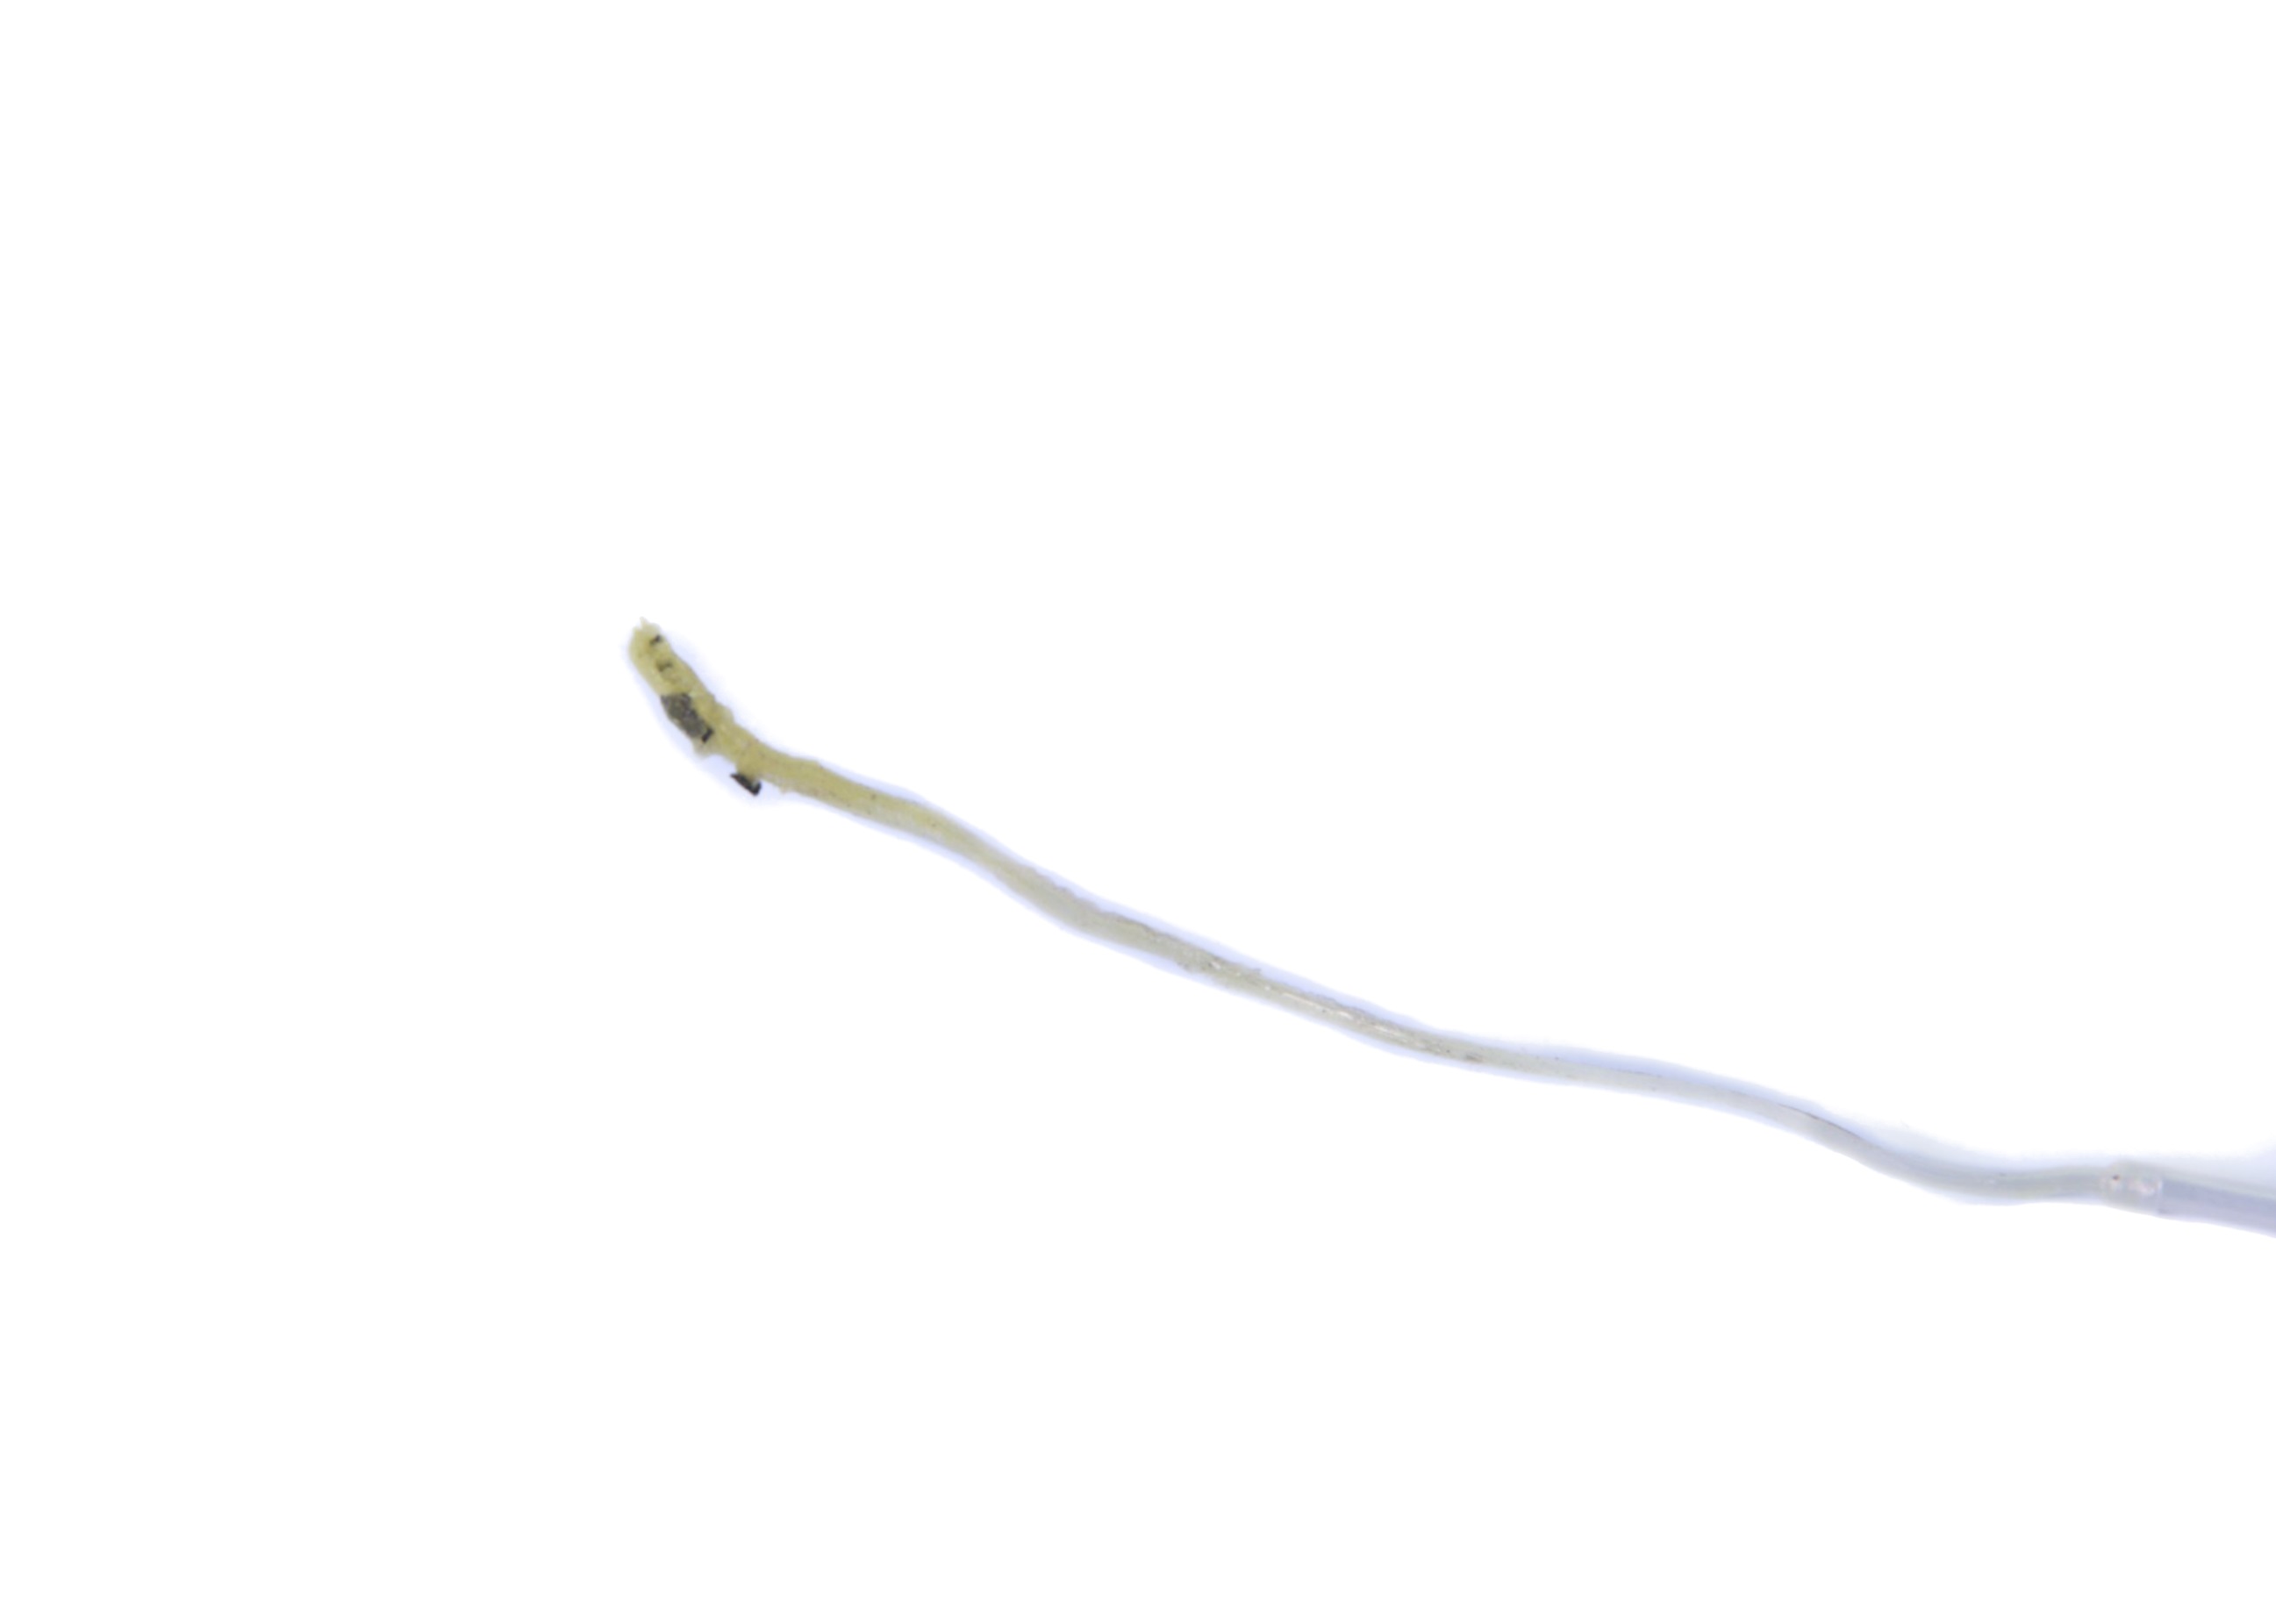 |  |
13 comments
Guess the corresponding knowledge article for CORE one will be soon update then: https://help.prusa3d.com/article/cold-pull-core-one_930551
- I used PLA as recommended
- I waited until the temperature dropped to 75 °C (100 °C didn’t work for me, as the material was still too soft)
- It required more force than with a standard nozzle
Note: The imprint of the HF nozzle looks a bit different than the picture provided above. You’ll see four smaller, separate strings, almost like small tentacles.
@Prusa - I also have a filament picture of the cold pull, which I’d be happy to provide for your documentation.
And any reason why the guided cold pull process is not visible in the CORE one menu?
And in the Preliminary steps (XL) the second mentioned item is to temporarily unscrew the fitting above the Nextruder. What is ment by this?
However the automatic cold pull said everything is ok, but it didn't help. The pulled fillament also looked like it was pulled in several smaller strings. So my guess is that even if the sonsors said that the extruder was cold, it was in fact still to hot.
So I tried again after the printer was realy cooled down over night, and the pulled filament looked much more compact.
And now the problem with the stuck filament seams to be gone. (at least the second small 14 min print finished without the error.)
Why PLA?