Drying filament before printing is a critical step when working with high-performance materials. The Memmert UF-series ovens offer precise temperature control, active ventilation, and adjustable humidity exhaust, making them ideal for drying hygroscopic filaments before use. Unlike passive storage solutions, a drying oven actively removes moisture already present inside the filament.
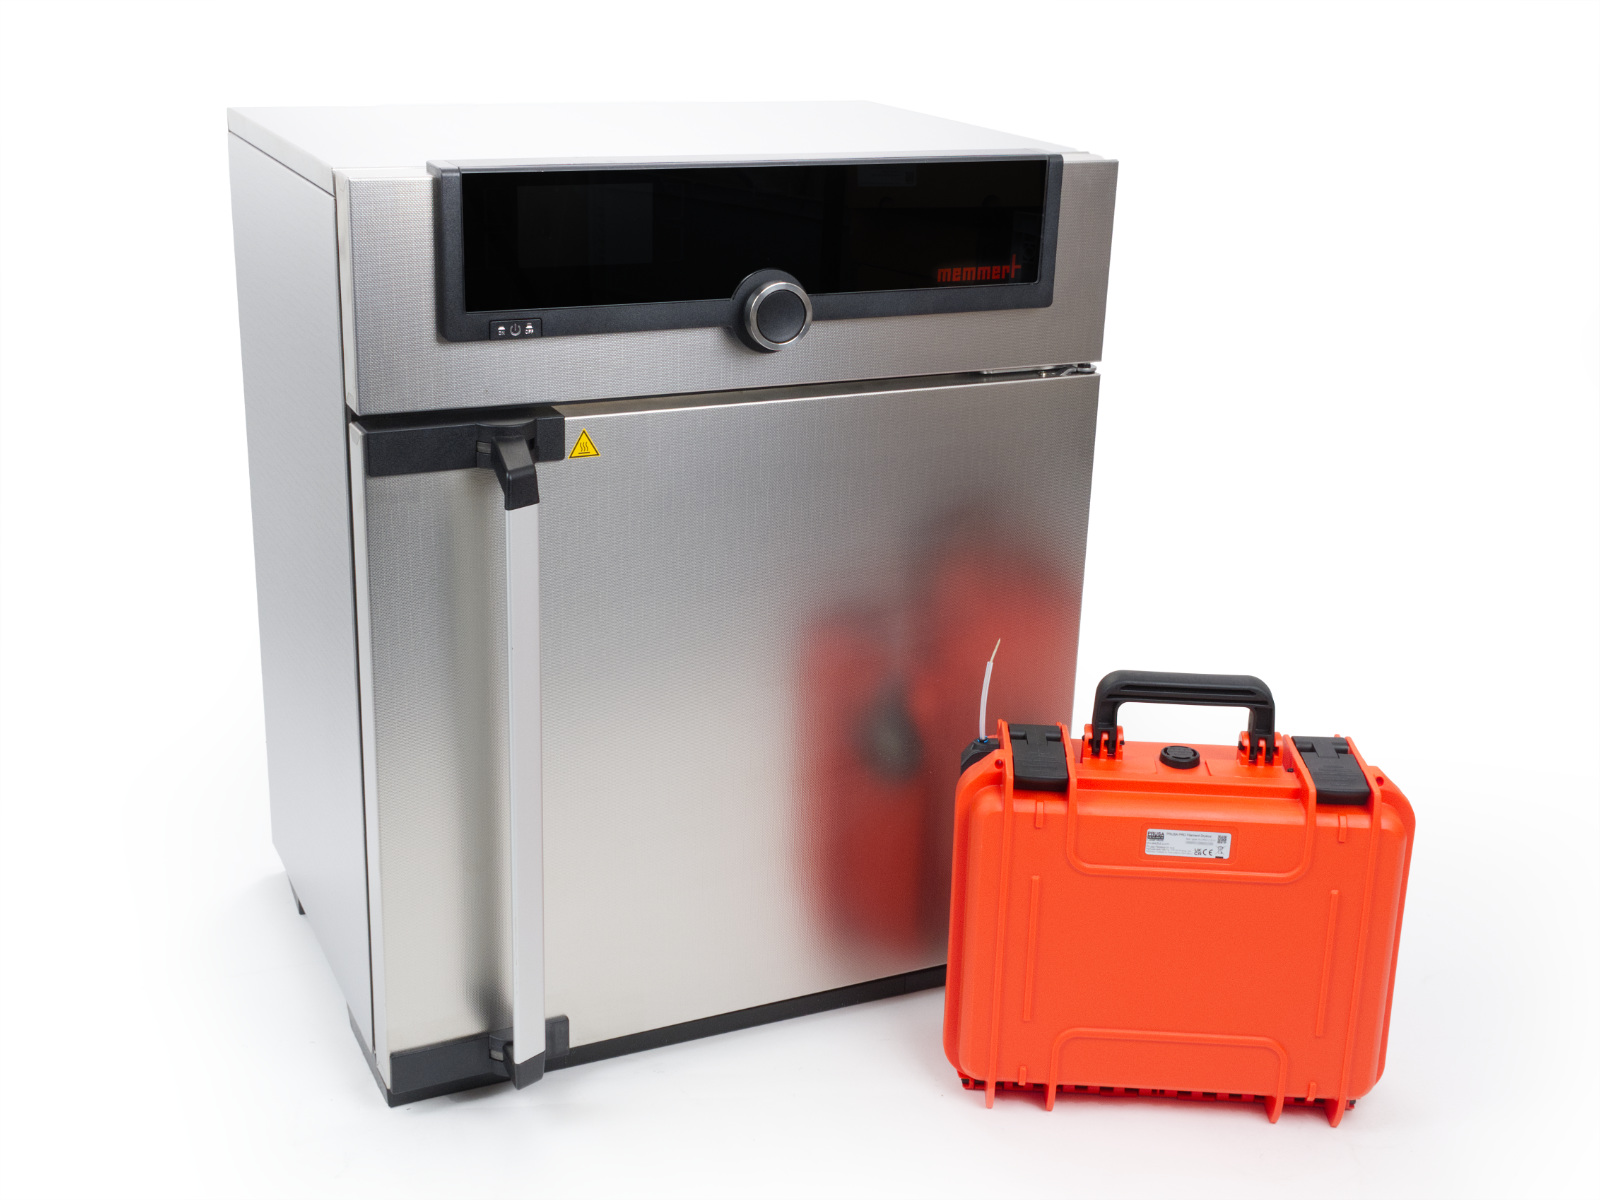
We offer two models: UF30 and UF55. Both provide identical functionality, with the only difference being internal volume. Both models are available on our eshop at prusa3d.com.
Product specifications
| Model | Internal volume | Max temperature | External dimensions (W x D x H) | Power |
| UF30 | 32 liters | 300 °C | 585 x 510 x 705 mm | 1.6 kW |
| UF55 | 53 liters | 300 °C | 745 x 584 x 864 mm | 2.1 kW |
Oven features:
- precise temperature control up to 300 °C
- adjustable exhaust flap for controlled humidity removal
- controllable fan speed for optimized airflow
Official Memmert user manuals and quick start guides
We recommend reviewing the official Memmert documentation before using the oven for drying filament. The manuals include safety information, installation, interface instructions, maintenance, and advanced configuration options. All the manuals are available on the official memmert.com.
Inserting filament
You can place up to four Prusament spools upright inside the oven for batch drying. Ensure there is space between spools and that they do not touch the heating surfaces (left, right, top, and bottom sides).
For drying a single spool, you may also lay it flat on the wire shelf. The shelf height can be adjusted to fit various spool sizes.
 |  |
Exhaust flap settings
The exhaust flap, located at the rear of the Memmert oven, regulates the exhaust airflow and influences how much moist air is removed from the chamber. Fresh air is drawn in passively through intake vents, preheated in a separate channel, and introduced into the chamber. The flap position determines the overall air exchange rate, which impacts both drying performance and temperature stability.
The flap can be adjusted from 0% (closed) to 100% (fully open) in 10% increments using the control display.
Flap positions
- 0% (closed): The exhaust flap is fully closed. Moist air is retained longer in the chamber, and fresh air intake is minimal. This setting favors stable internal temperature but reduces moisture removal.
- 50% (partially open): At 50%, the flap is partially open, angled at 45 degrees. This position allows for a balanced air exchange, introducing some fresh air while still maintaining a controlled environment. It is suitable for most drying processes.
- 100% (fully open): When the flap is fully open, the oven operates in fresh air mode. This position allows for maximum air exchange, introducing a significant amount of fresh air and removing exhaust air.
 |  |
Recommended settings for drying
A fan speed of 70 % and flap position of 30 % is a commonly used setting that balances airflow and temperature stability. These values are not mandatory but have worked well in our internal testing. Exact settings may vary depending on material and oven load.
For a comprehensive list of recommended drying temperatures and times for various filament types, consult our dedicated Drying filament article.
Material handling process
- Place filament spool(s) in the chamber as described and close the door.
- Select the Temperature on the control display and turning the knob to adjust the temperature to target value. Press the rotary knob to confirm.

 For details on how to operate the control display and its capacitive buttons, please refer to section 6.4 Operating the Appliance in the official Memmert User manual.
 - Set the Fan speed. Press the rotary knob to confirm.
- Set the Flap position. Press the rotary knob to confirm.
- Set the desired time on the Timer. The timer will start immediately after confirmation by pressing the knob.
Keep the timer set to start once the target temperature is reached (default setting). This ensures accurate drying time. For details, see section 8.3.5 Timer Mode in the official Memmert User manual.
- The oven will now begin the drying process.
- After drying, immediately transfer the filament spool into the filament dry box and close it to prevent reabsorption of moisture.
Note: The humidity display on the LCD will spike when the dry box is opened. It's critical for it to return to 10% after closing. If it doesn't, you'll need to replace the desiccant. To do this, refer to the How to replace the desiccant' guide for the Prusa Pro Filament Drybox.
- Connect the dry box to the printer and begin printing.