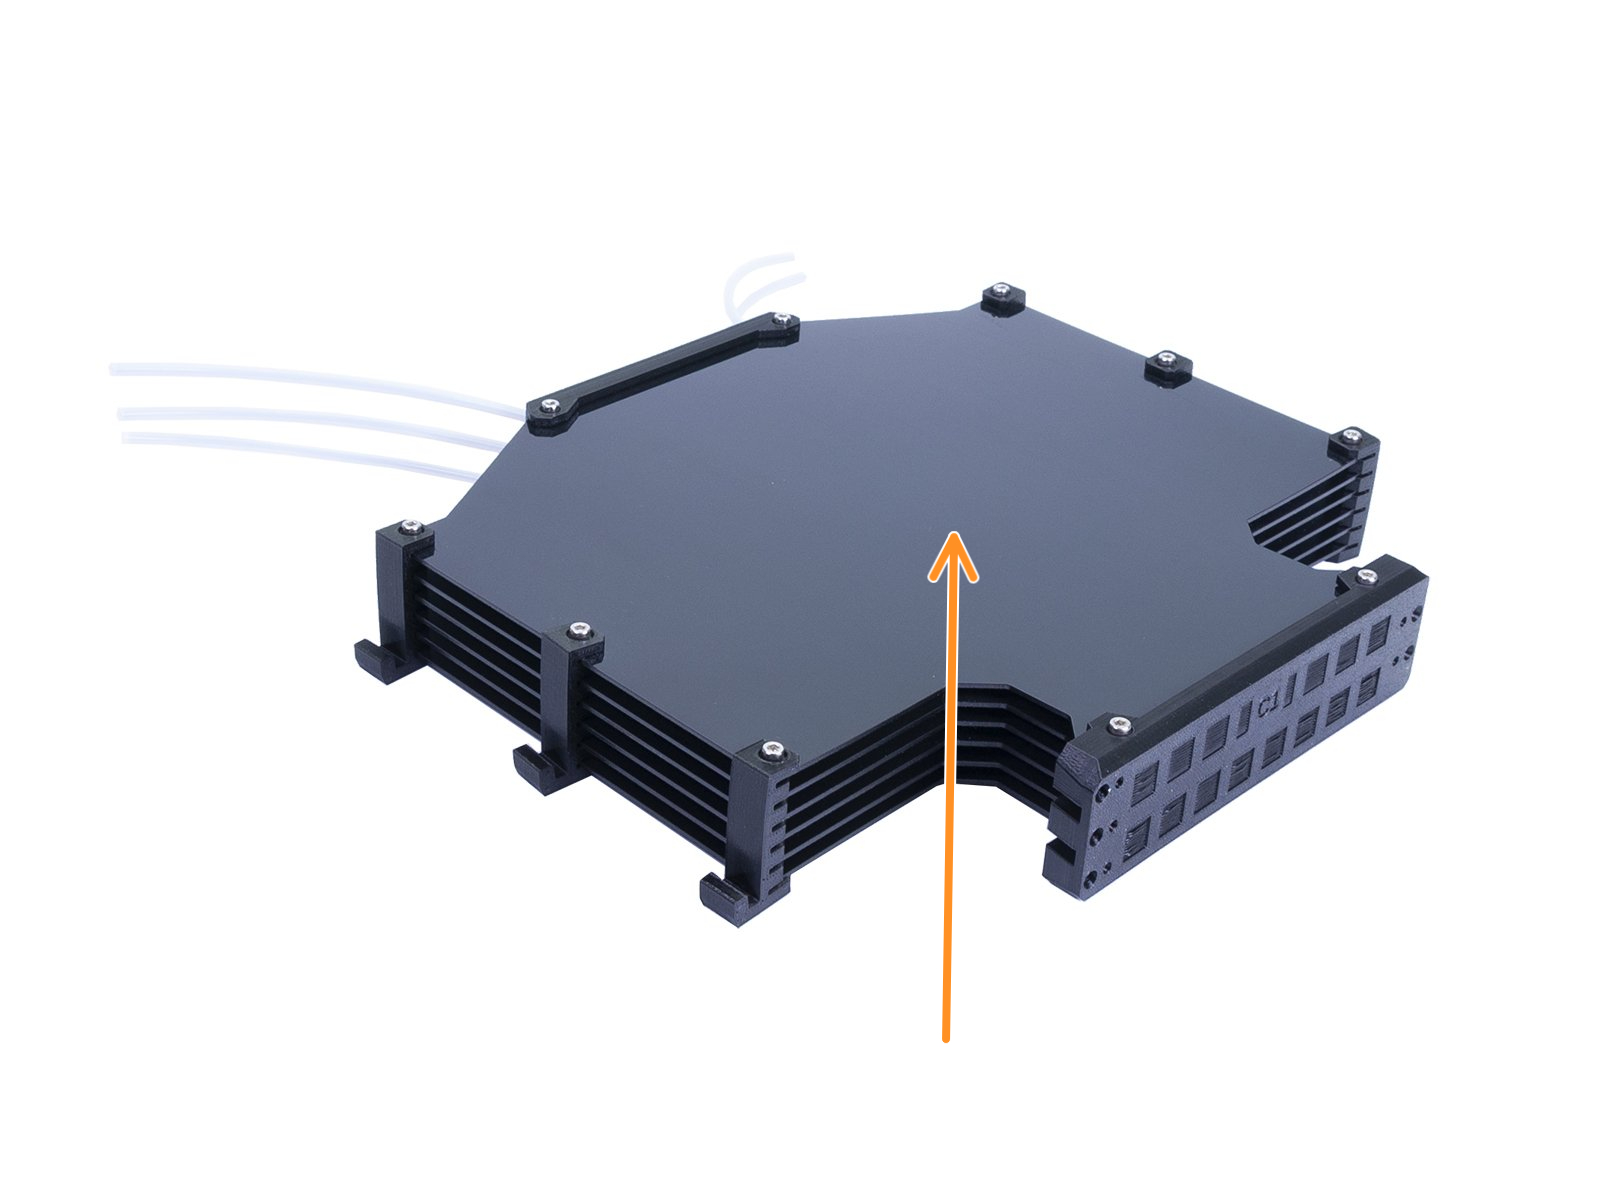
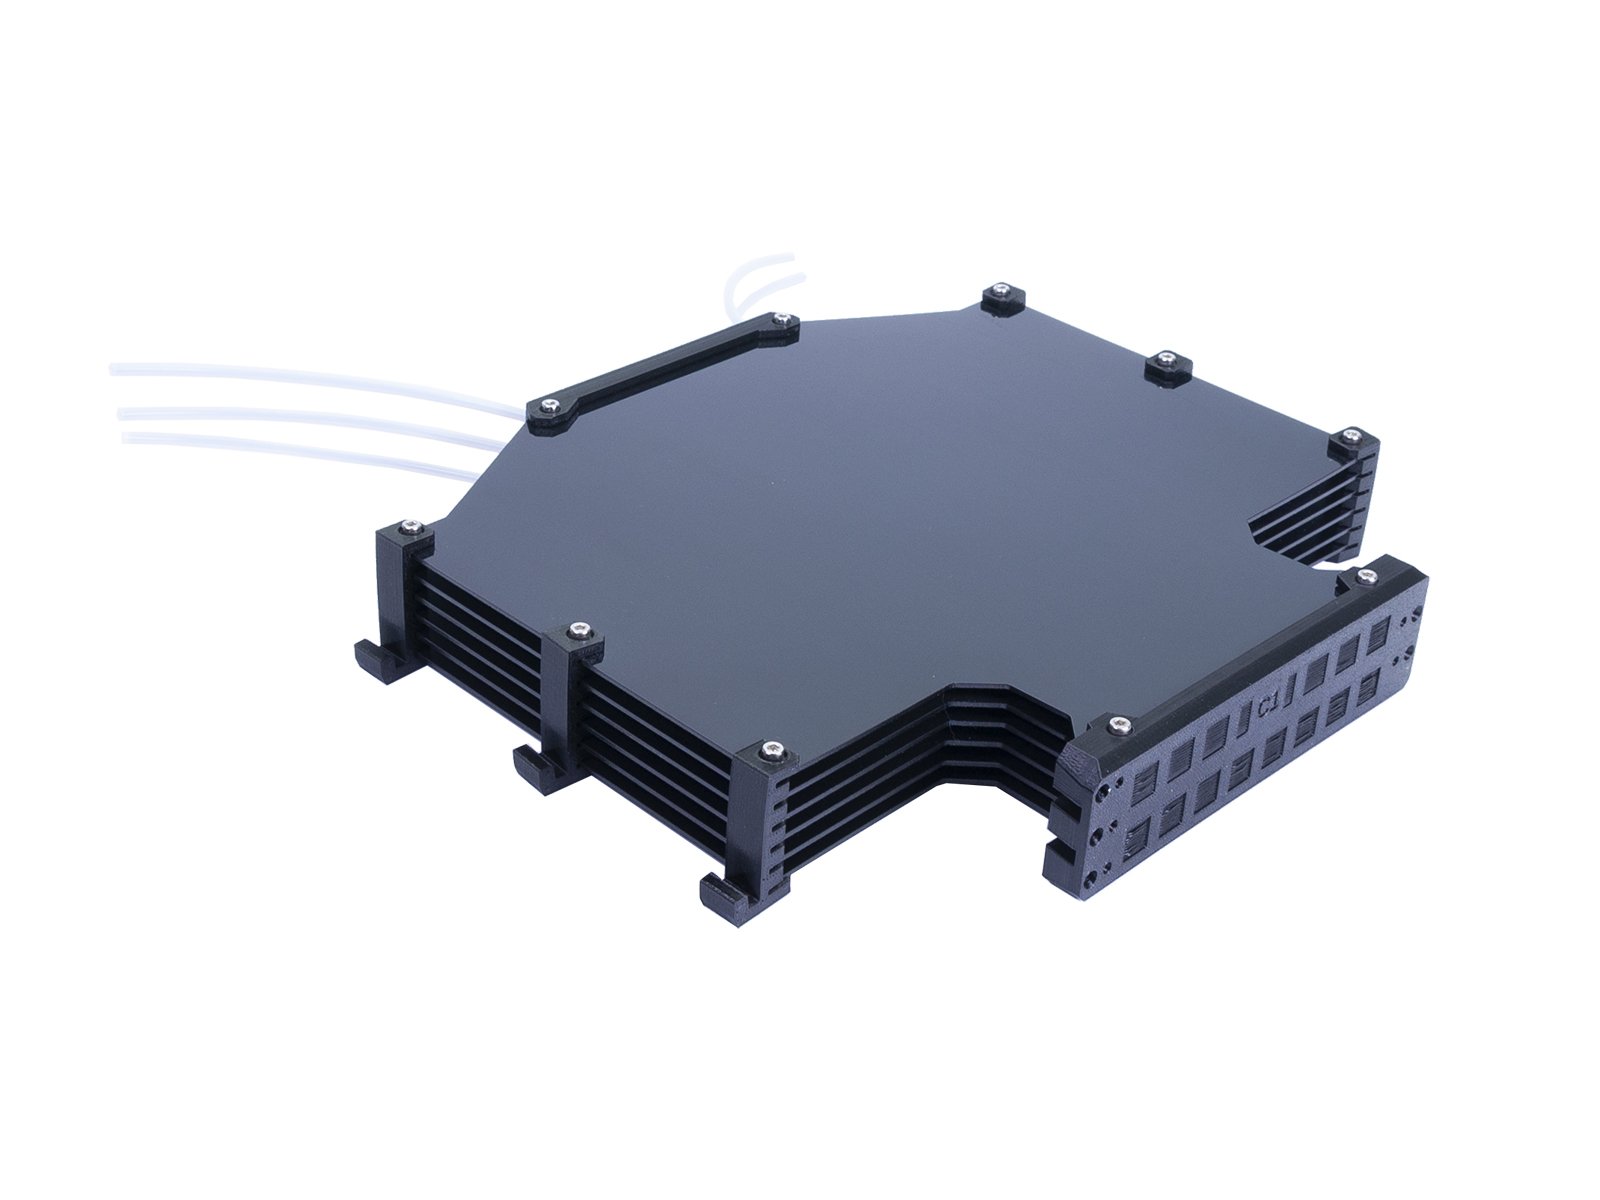
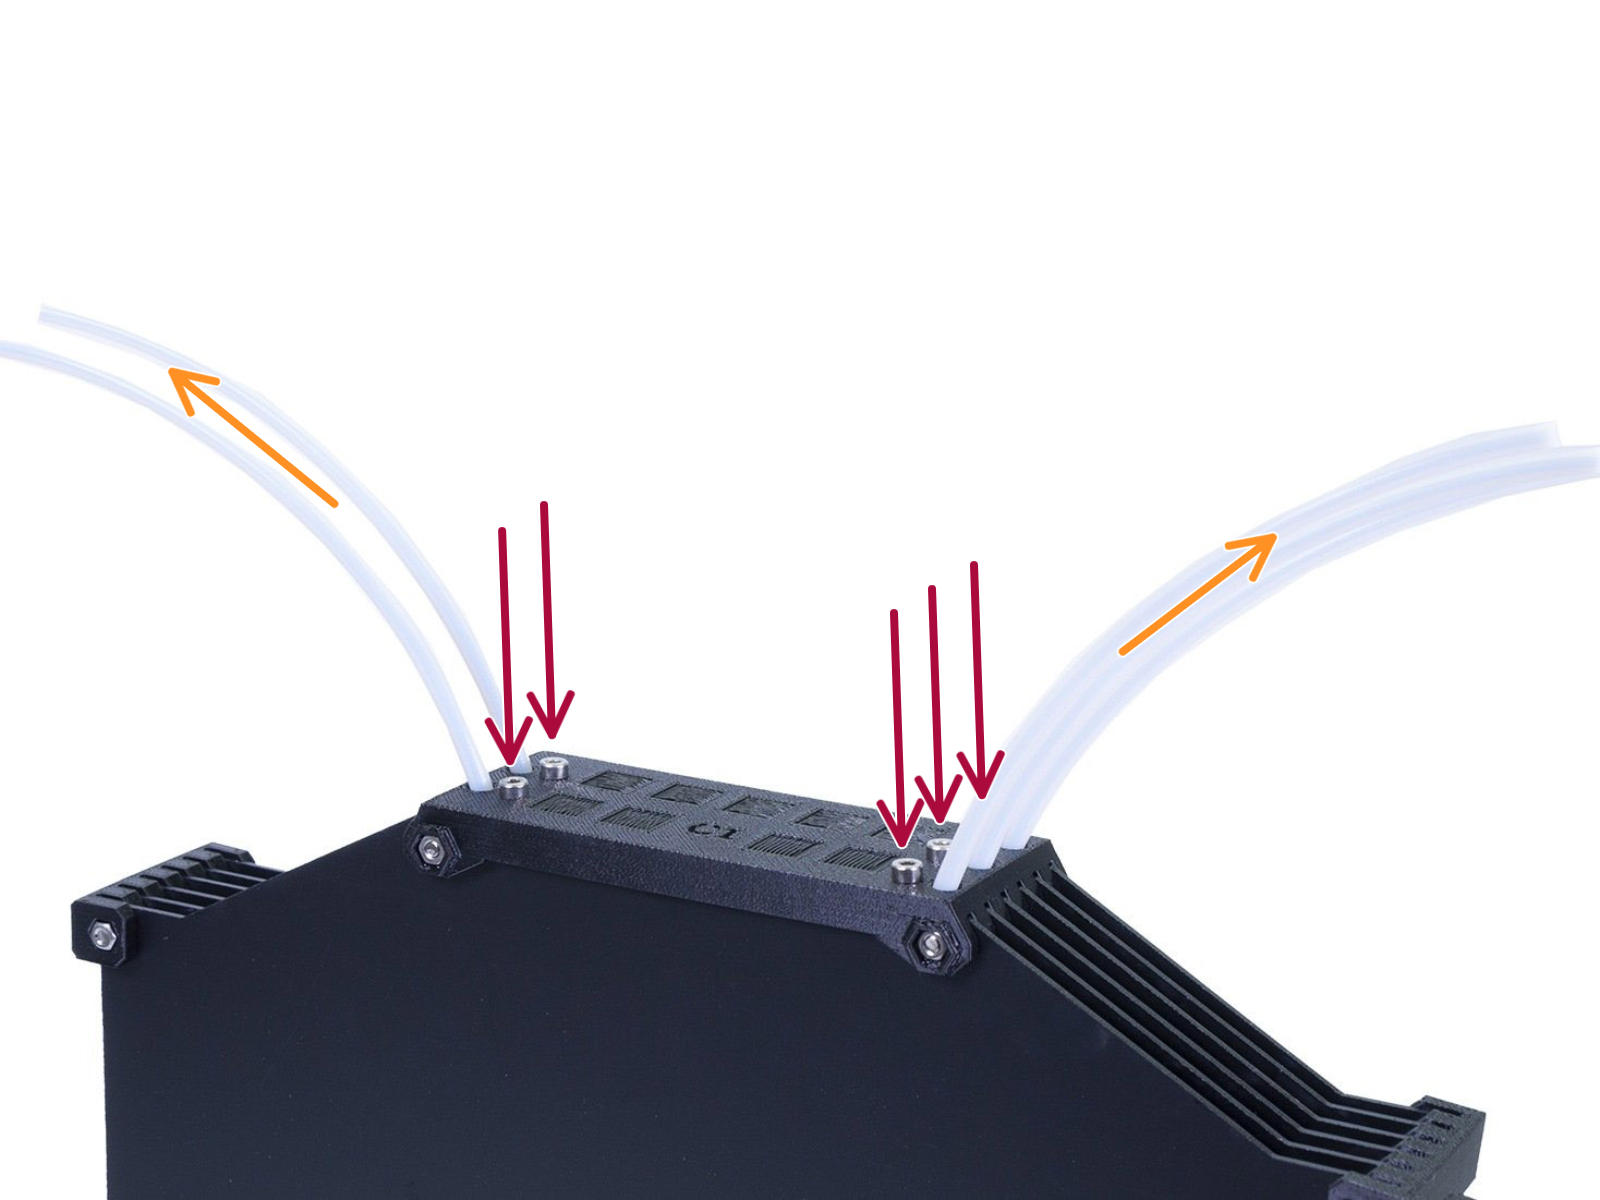
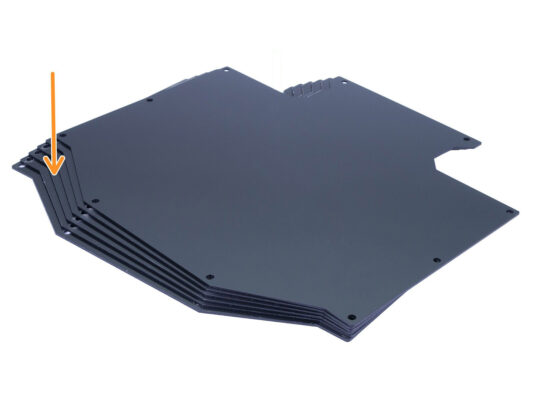
EN
  • Čeština
  • Español
  • Italiano
  • Deutsch
  • Polski
  • Français
Login

3. MMU2S Buffer Disassembly (UPG)

3. MMU2S Buffer Disassembly (UPG)

3. MMU2S Buffer Disassembly (UPG)
Relevant for:
Last updated 8 months ago
3. MMU2S Buffer Disassembly (UPG)
 Difficulty
Easy
 Steps
4
 Available languages
CSPLDEESITFR
Preparation
Preparation
In case you have the old version of the buffer in the assembled state, it is necessary to disassemble it first.
We will re-use only the six large plastic plates from it.
If you have the plastic sheets alone, please skip to the next chapter.
Disconnecting the PTFE tubes
Remove the five M3x10 screws holding the PTFE tubes in the buffer.
Pull all the PTFE tubes out.
Dispose of the tubes to prevent them from getting mixed up with the new ones in the future. These tubes will not be used again.
Buffer disassembly
Buffer disassembly
Remove the ten M3x40 screws.
Remove all the printed parts.
Set the printed parts aside so that they don't mix up with the new parts. These parts won’t be re-used.
Summary
Summary
That was simple, wasn't it?
From the disassembled buffer, please save the buffer plates for later use.
Was this guide helpful?

Comments

Still have questions?

Still have questions?

If you have a question about something that isn't covered here, check out our additional resources.
And if that doesn't do the trick, you can send an inquiry to [email protected] or through the button below.

Contact us