EN
  • Čeština
  • Español
  • Italiano
  • Deutsch
  • Polski
  • Français
Login

1. Introduction

1. Introduction
Relevant for:
Last updated 6 days ago
1. Introduction
 Difficulty
Very easy
 Steps
11
 Available languages
CSPLDEESITFR
MMU History and Printer Compatibility

Welcome to the MMU3 assembly guide! There were several generations of the Original Prusa Multi-Material printing solution. Verify you are looking at the correct guide for your MMU unit and your printer.

MMU1 for MK2 and MK2S printers (introduced in 2016-2018)

It used four separate extruders feeding one nozzle.

MMU2 for MK2.5 and MK3 (2018-2019) Five filaments feeding one direct-drive extruder.

MMU2S for MK2.5S, MK3S, MK3S+ (2019-2023)

Introduced a chimney on the extruder with the IR-filament sensor.

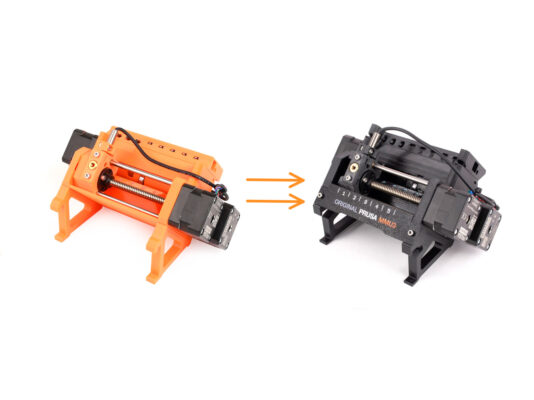
And finally, the current model:
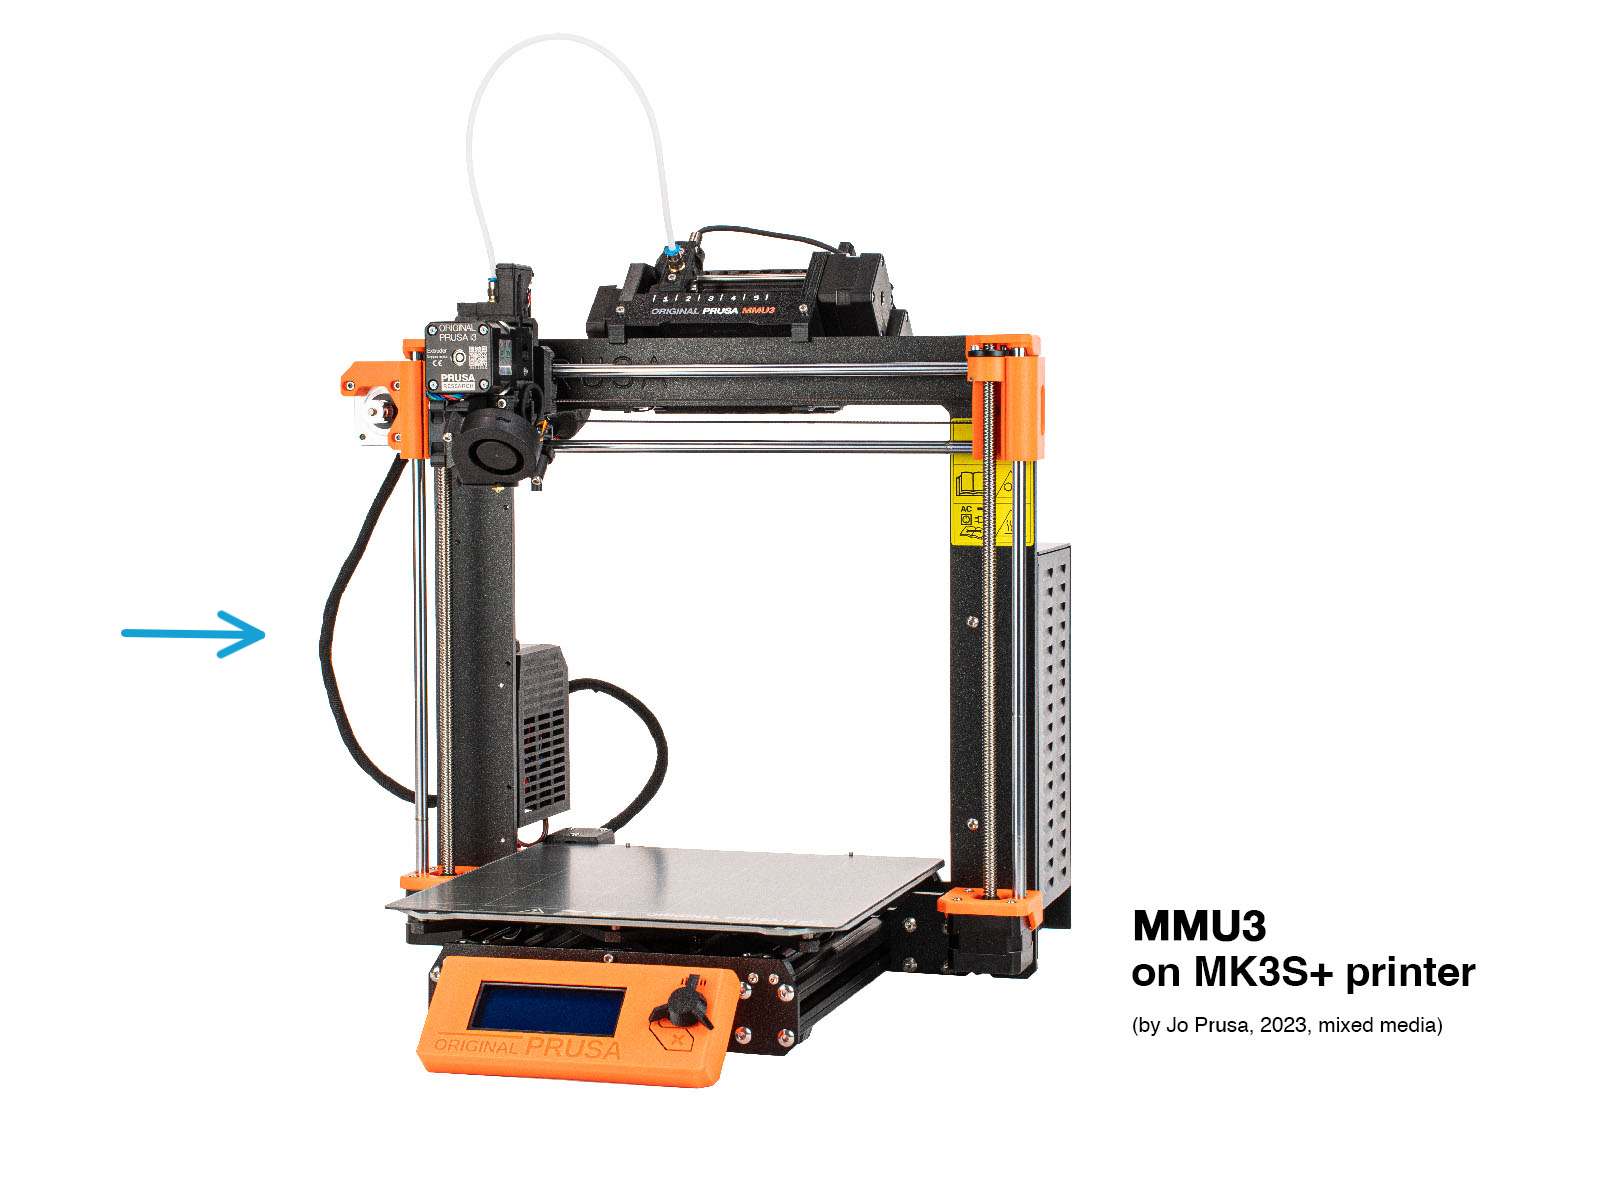
MMU3 for MK3S+, MK3.5, MK3.9 and MK4 (2023-now)

MMU3 is the one we will be dealing with in this guide.

Supported printers
Supported printers
Supported printers
Original Prusa Multi-Material MMU3 is currently officially supported only in combination with these printer models:
Original Prusa i3 MK3S+
Original Prusa MK3.5
Original Prusa MK4 / MK3.9

If you have an older machine like the MK3 or MK3S, it is recommended to upgrade it to MK3S+ first.

For more info on Printer compatibility, visit the MMU3 Compatibility article.

Disclaimer
Disclaimer
Disclaimer
Make sure your printer is fully assembled and works perfectly before you proceed to attach the MMU3 onto it. Make a few single material prints. If it has any issues, fix the issues first. Diagnosing printer issues can be harder with the MMU attached.
As you embark upon the assembly process, we cannot stress the importance of carefully following each and every step.
Tools required
Tools required
Tools required
Tools required
The required tools are available as an optional bundle:
Needle-nose pliers (1x)
Universal wrench (1x)
Philips PH2 screwdriver (1x)
Allen key 1.5mm (2x) the short and long one
Allen key 2mm (1x)
Allen key 2.5mm (1x) the short and ball-end long one.

For some chapters, as an extra, we advise considering:

- a measurement tool; a caliper or digital caliper would work the best. Or - you can print one.

- Flush cutters might come in handy during the assembly too.

View high resolution images
When you browse the guide on help.prusa3d.com, you can view the original images in high resolution for clarity.
Just hover your cursor over the image and click the Magnifier icon ("View original") in the top left corner.
Labels guide
Labels guide
Labels guide
Labels guide
All the boxes and bags containing the parts for the build are labeled.
Most of the part drawings on the labels are scaled 1:1 and can be used to identify a part.
You can download and 2D print a Prusa Cheatsheet with the 1:1 scaled fastener drawings. help.prusa3d.com/cheatsheet. Print it at 100 %, don't rescale it, otherwise, it won't work.
Pro tip: inserting the nuts

Some parts require you to use an Allen key at an angle to tighten a screw.

Even though the key is angled, make sure the screw is perfectly perpendicular to the thread while tightening it. If it is hard to turn, release the screw fully, re-align it, and start tightening it from the beginning to avoid cross-threading it!

For deep openings, use a long screw such as the M3x30 as a handle.

If a hex nut won't fit in: use a screw with a thread along its entire length (typically: M3x10, M3x18) and screw it from the opposite side of the opening to drive the nut in. 

Printed parts
Printed parts
If you ordered the MMU3 without plastic parts, you will need to print them using the pre-sliced G-codes before you can proceed with the assembly.

The parts must be printed perfectly in order for the MMU3 to work correctly: no warping or lifted corners, stringing or other irregularities.

If you can’t guarantee the parts being flawless, get the MMU3 kit with the factory-printed plastic parts instead.

In case some parts get broken during the assembly, you can reprint them. Please check all plastic parts before starting your build to make sure there are no issues.

The MMU3 printable parts are available at Prusa3D.com Printables profile

More info is available at: Prusa3D.com/prusa-i3-printable-parts/


Prepare your desk
Prepare your desk
Tidy up your desk! Tidying up decreases the probability of losing small parts.
Clear your workspace. Make sure you have enough room. A nice clear flat workbench will get you the results you are aiming for.
Let there be light! Make sure you are in a well-lit environment. Another lamp or even an extra flashlight will probably come in handy.
Prepare something to contain the plastic bags and the removed packing materials so you can recycle them afterwards. Make sure there are no important parts being discarded.
OK, we are ready. Let's start!
Was this guide helpful?

Comments

Still have questions?

Still have questions?

If you have a question about something that isn't covered here, check out our additional resources.
And if that doesn't do the trick, you can send an inquiry to [email protected] or through the button below.

Contact us