EN
  • Čeština
  • Español
  • Italiano
  • Deutsch
  • Polski
  • Français
Login

8. Preflight check

8. Preflight check
Relevant for:
Last updated 7 months ago
8. Preflight check
 Difficulty
Easy
 Steps
16
 Available languages
CSPLDEESITFR
Attaching the steel sheet
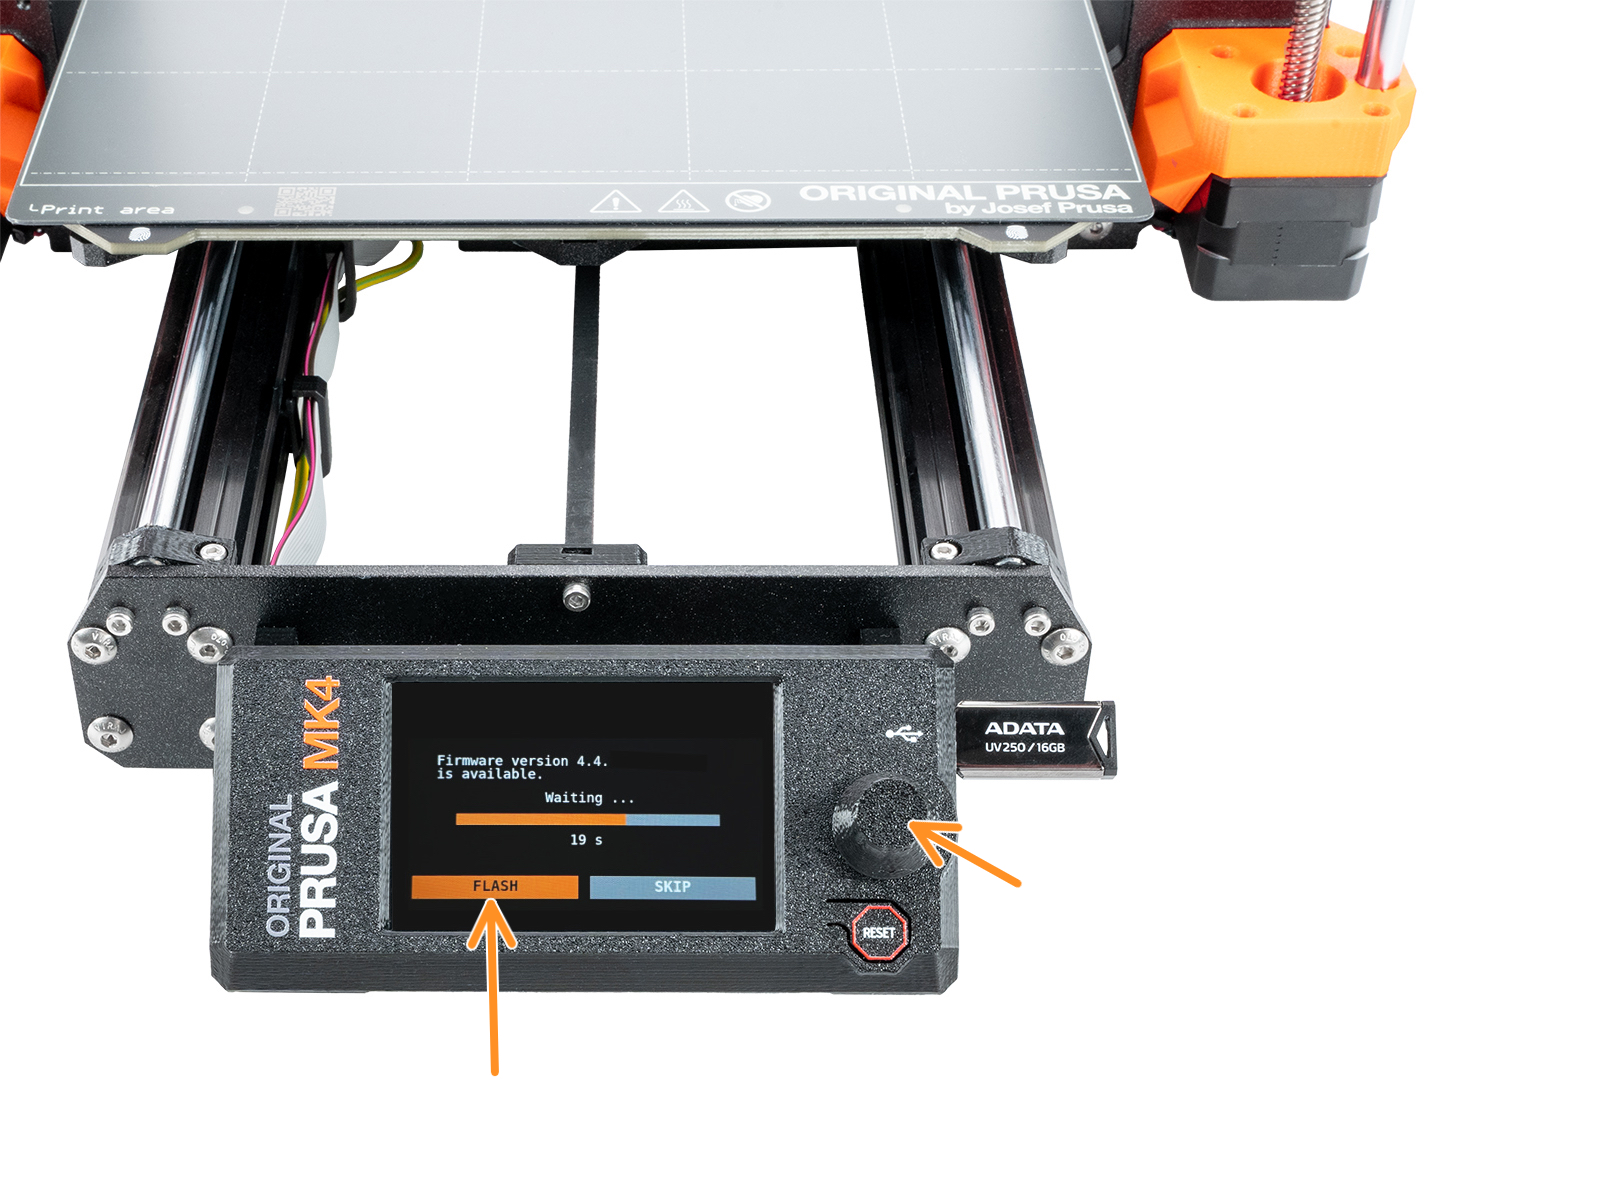
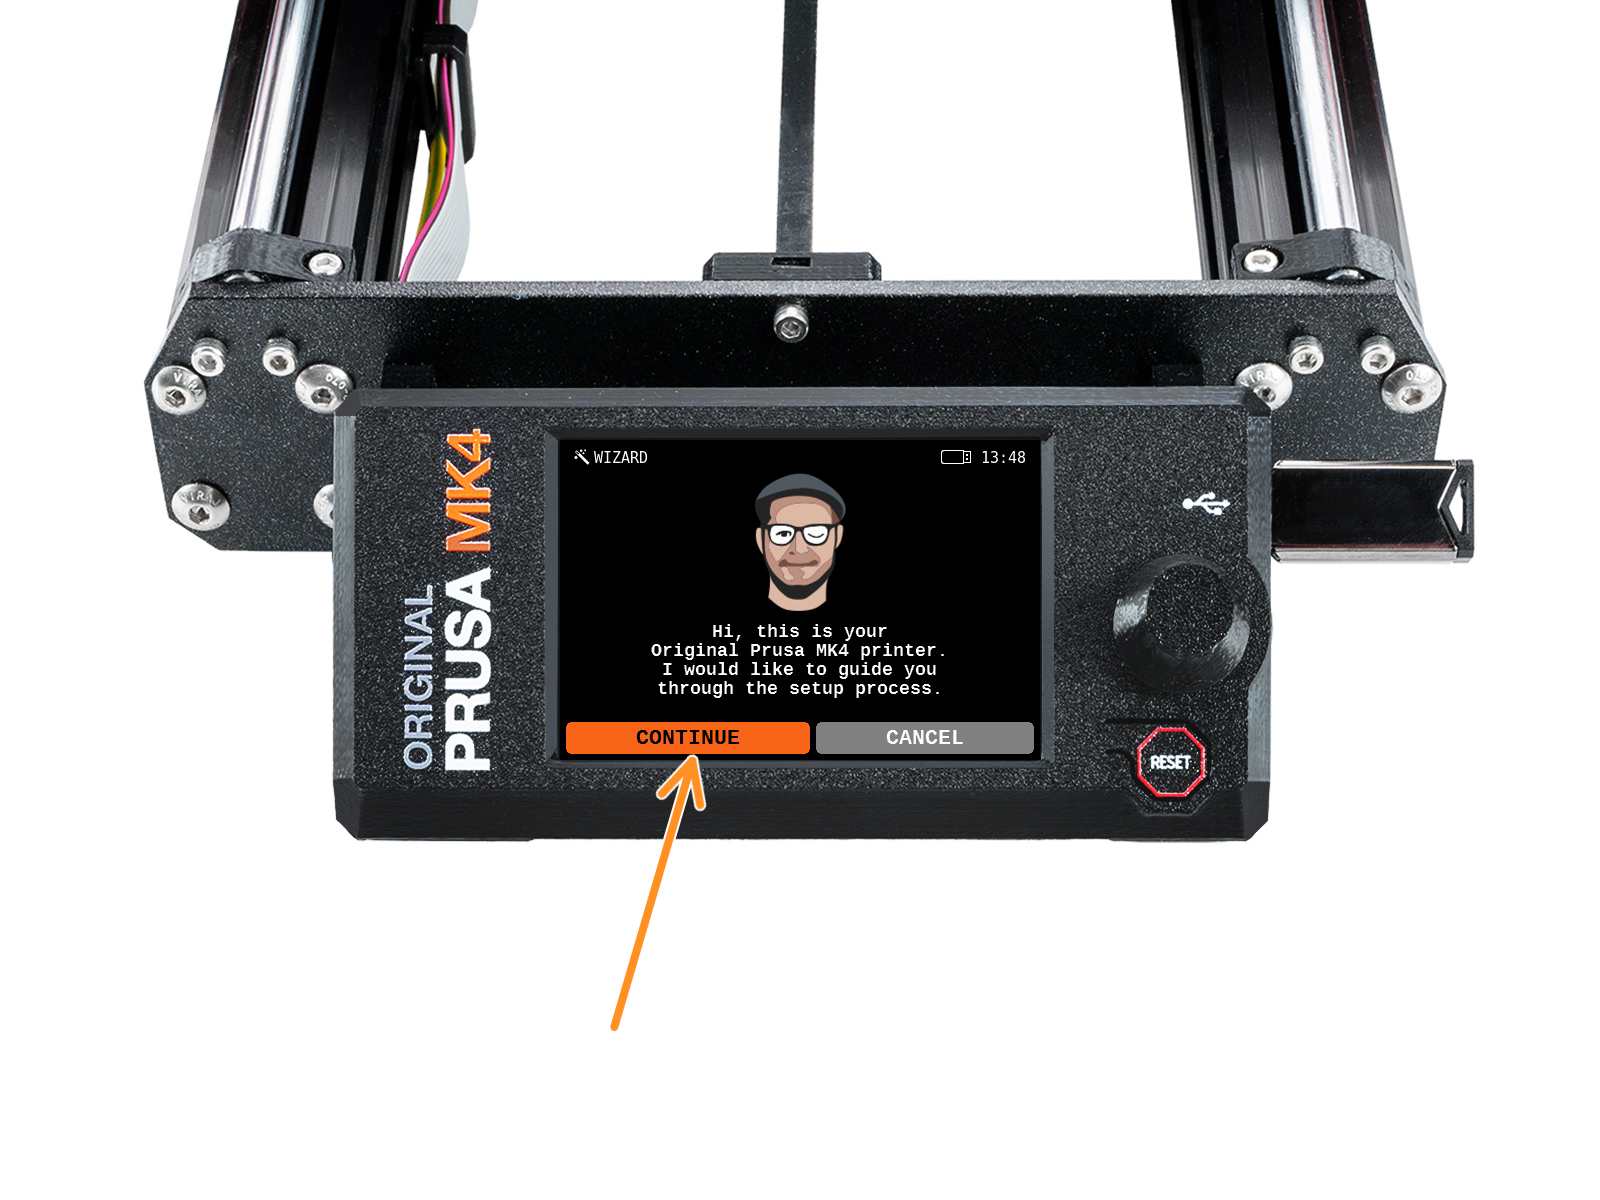
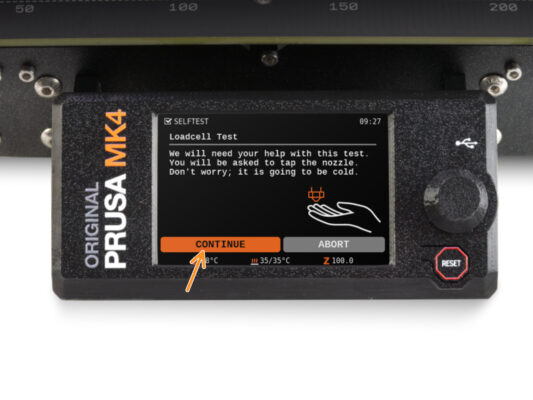
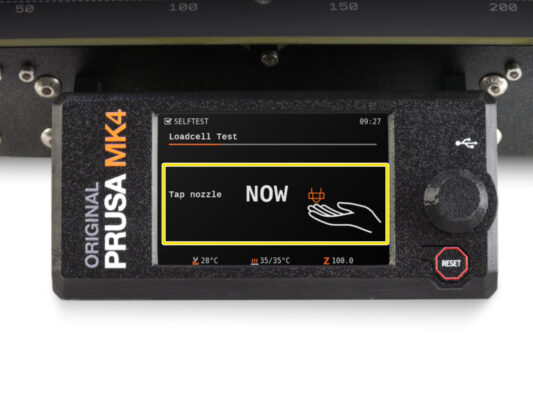
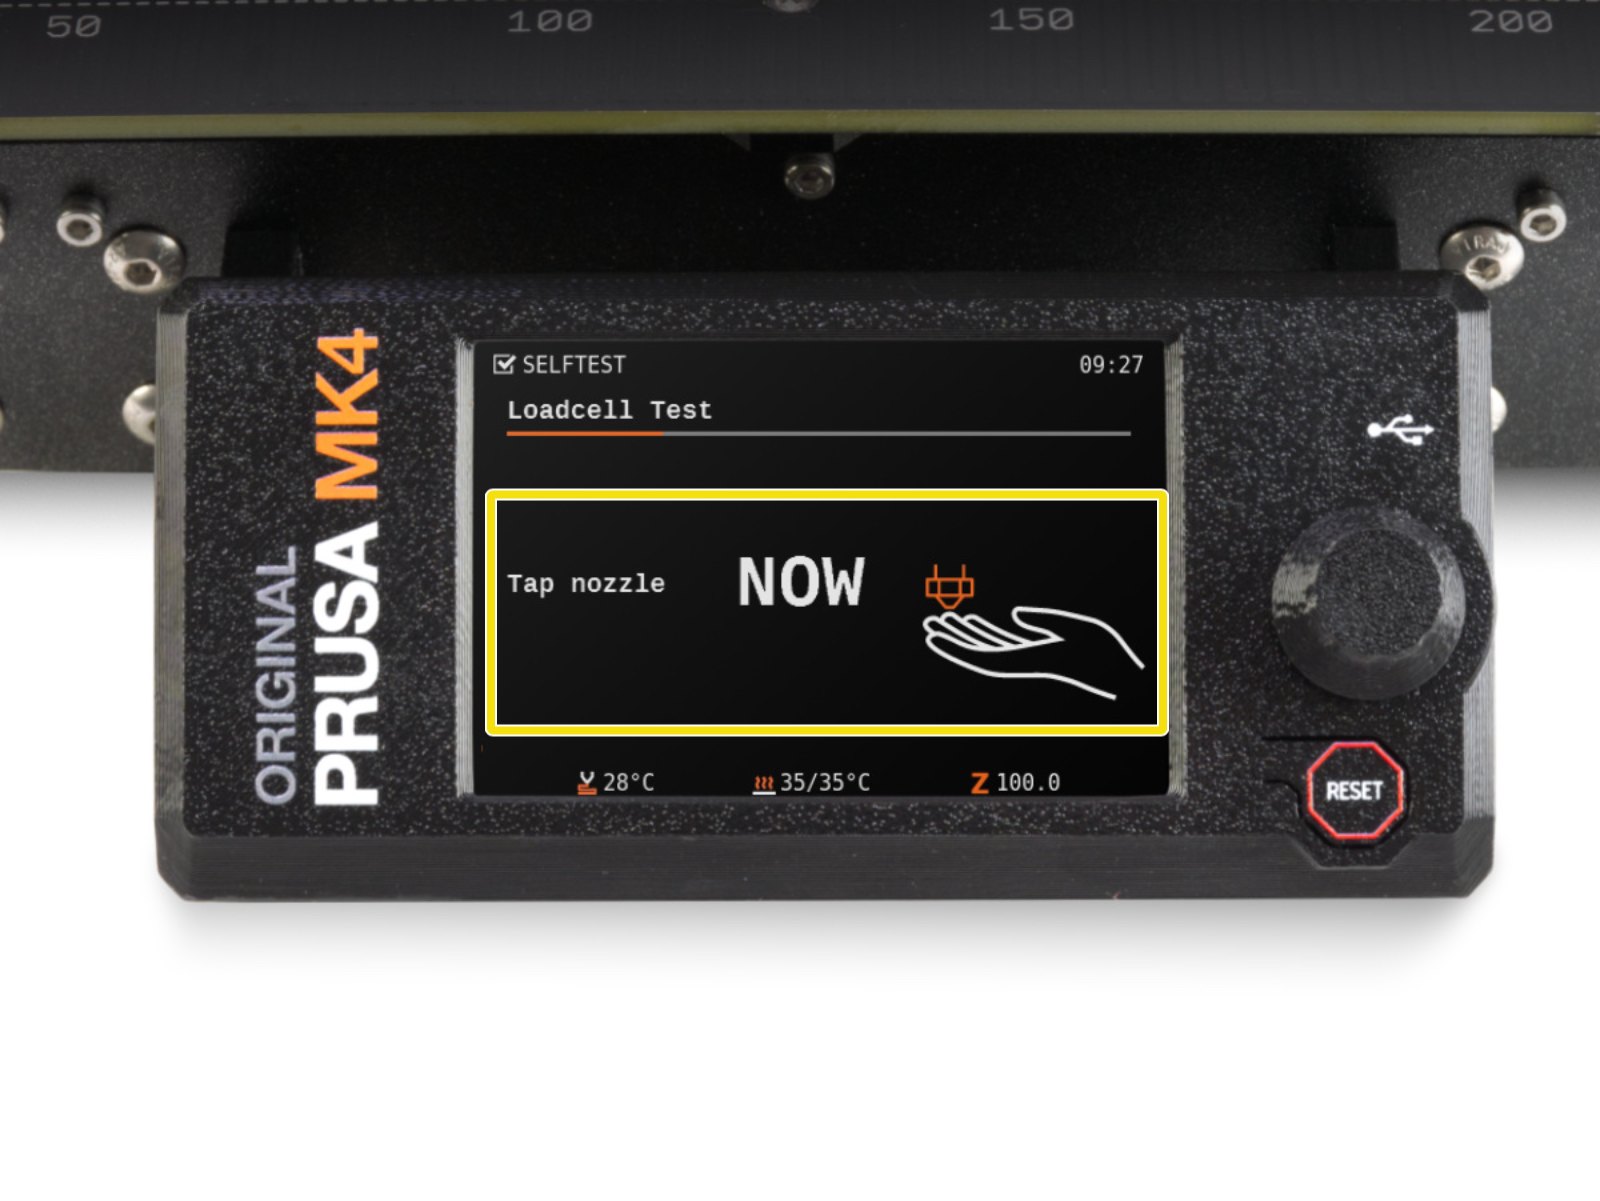
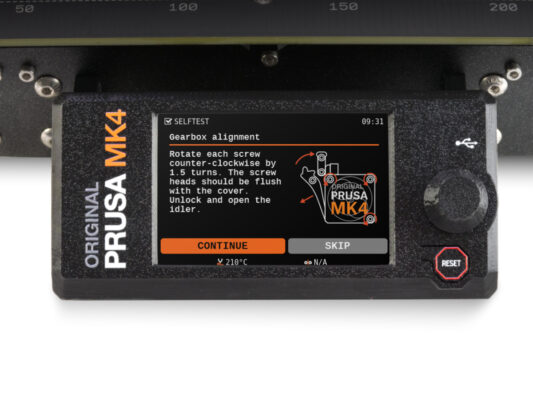
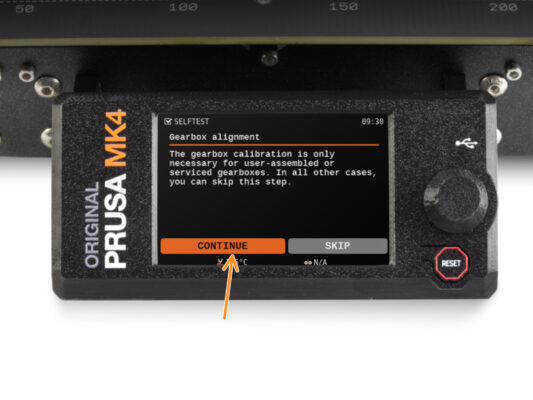
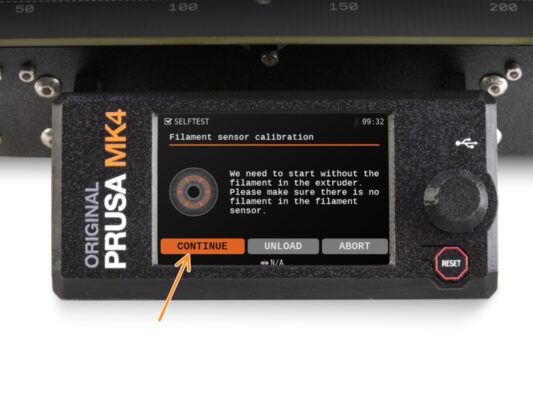
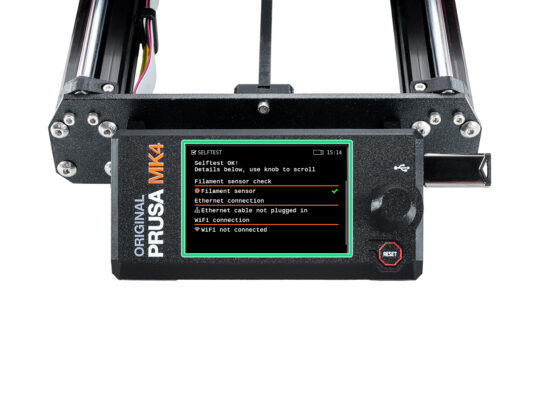
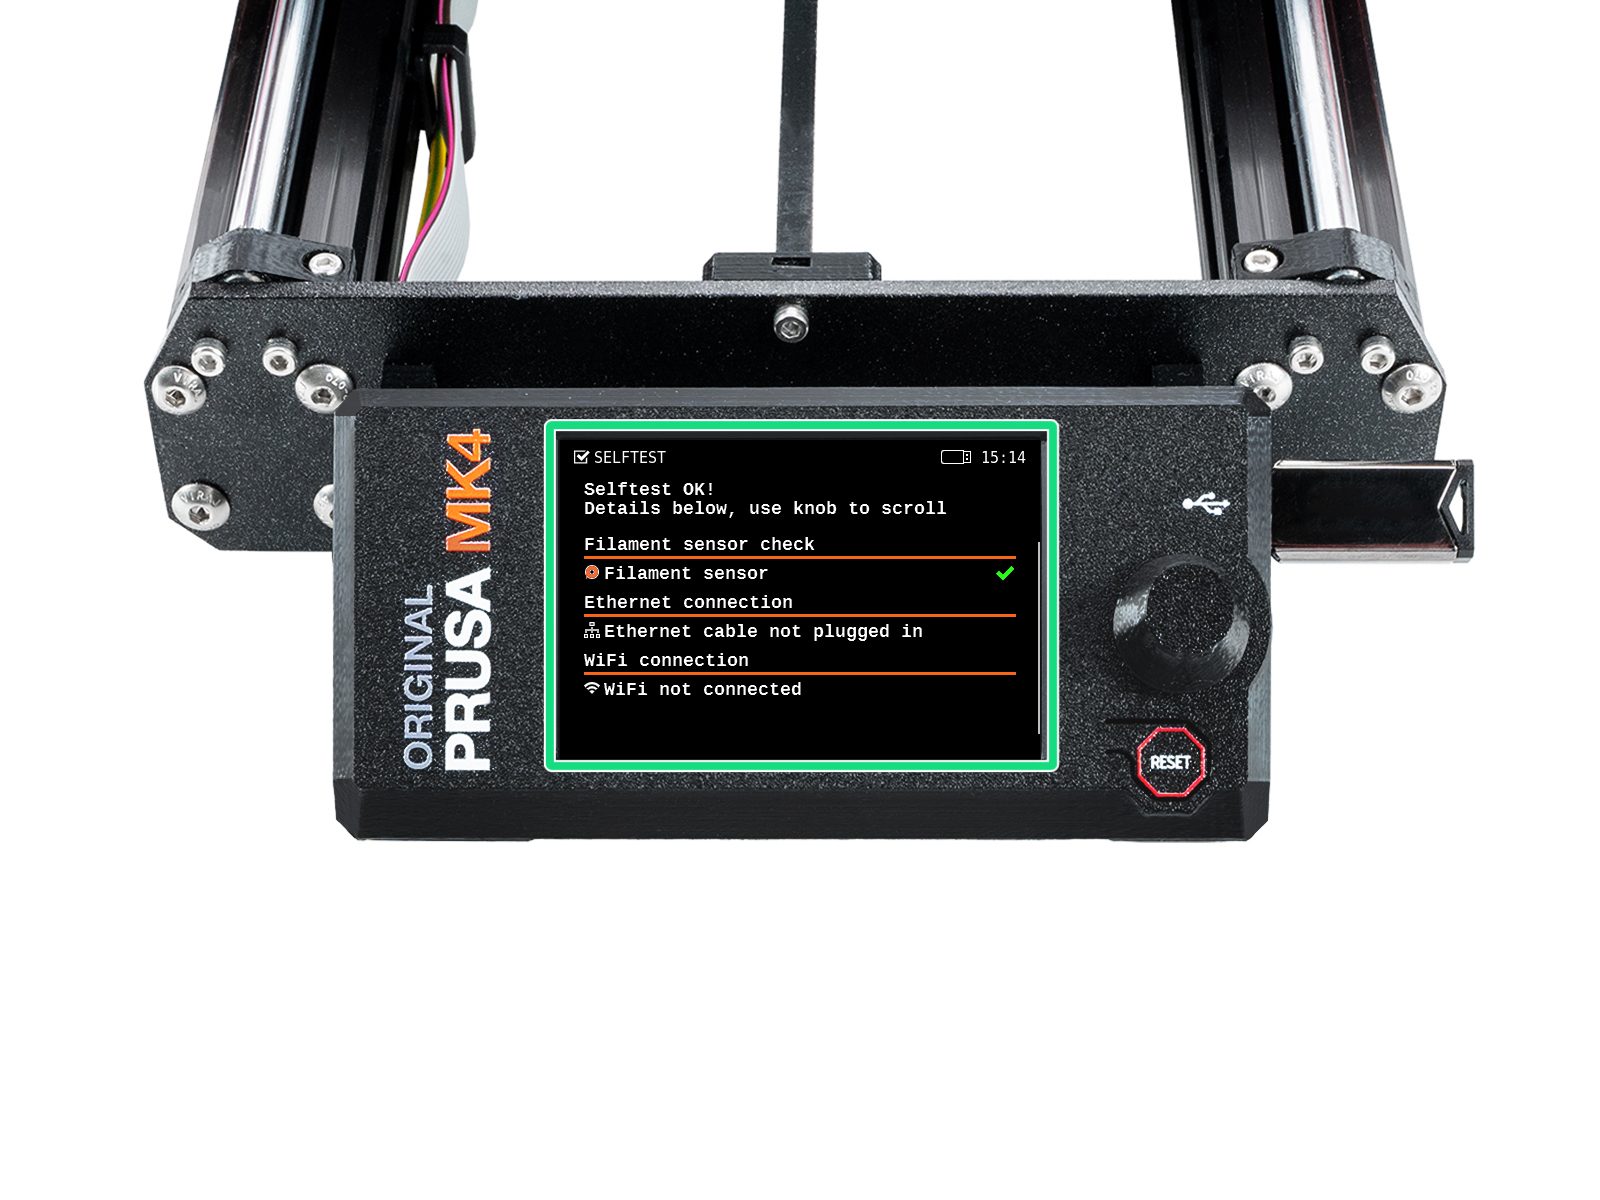
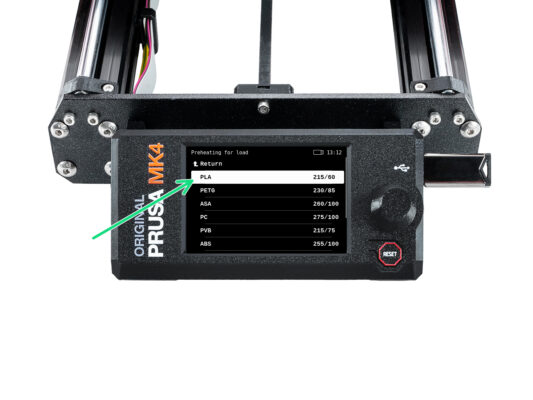
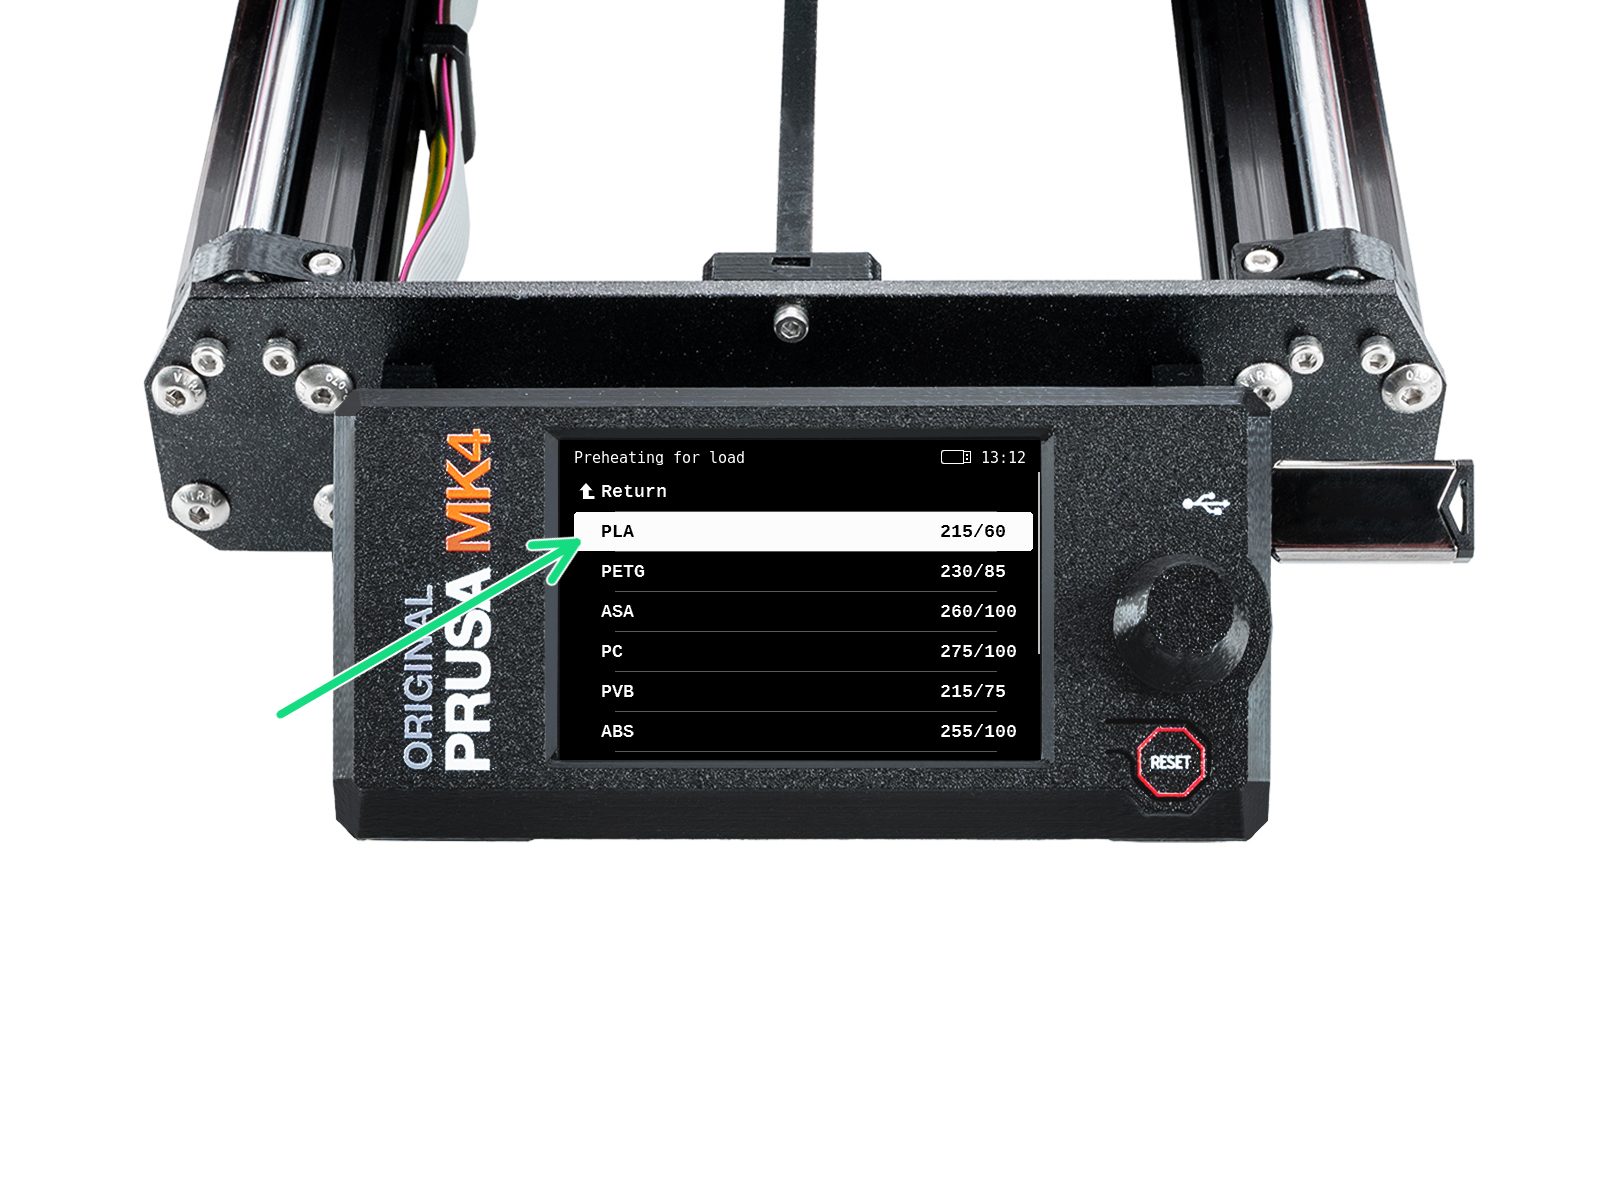
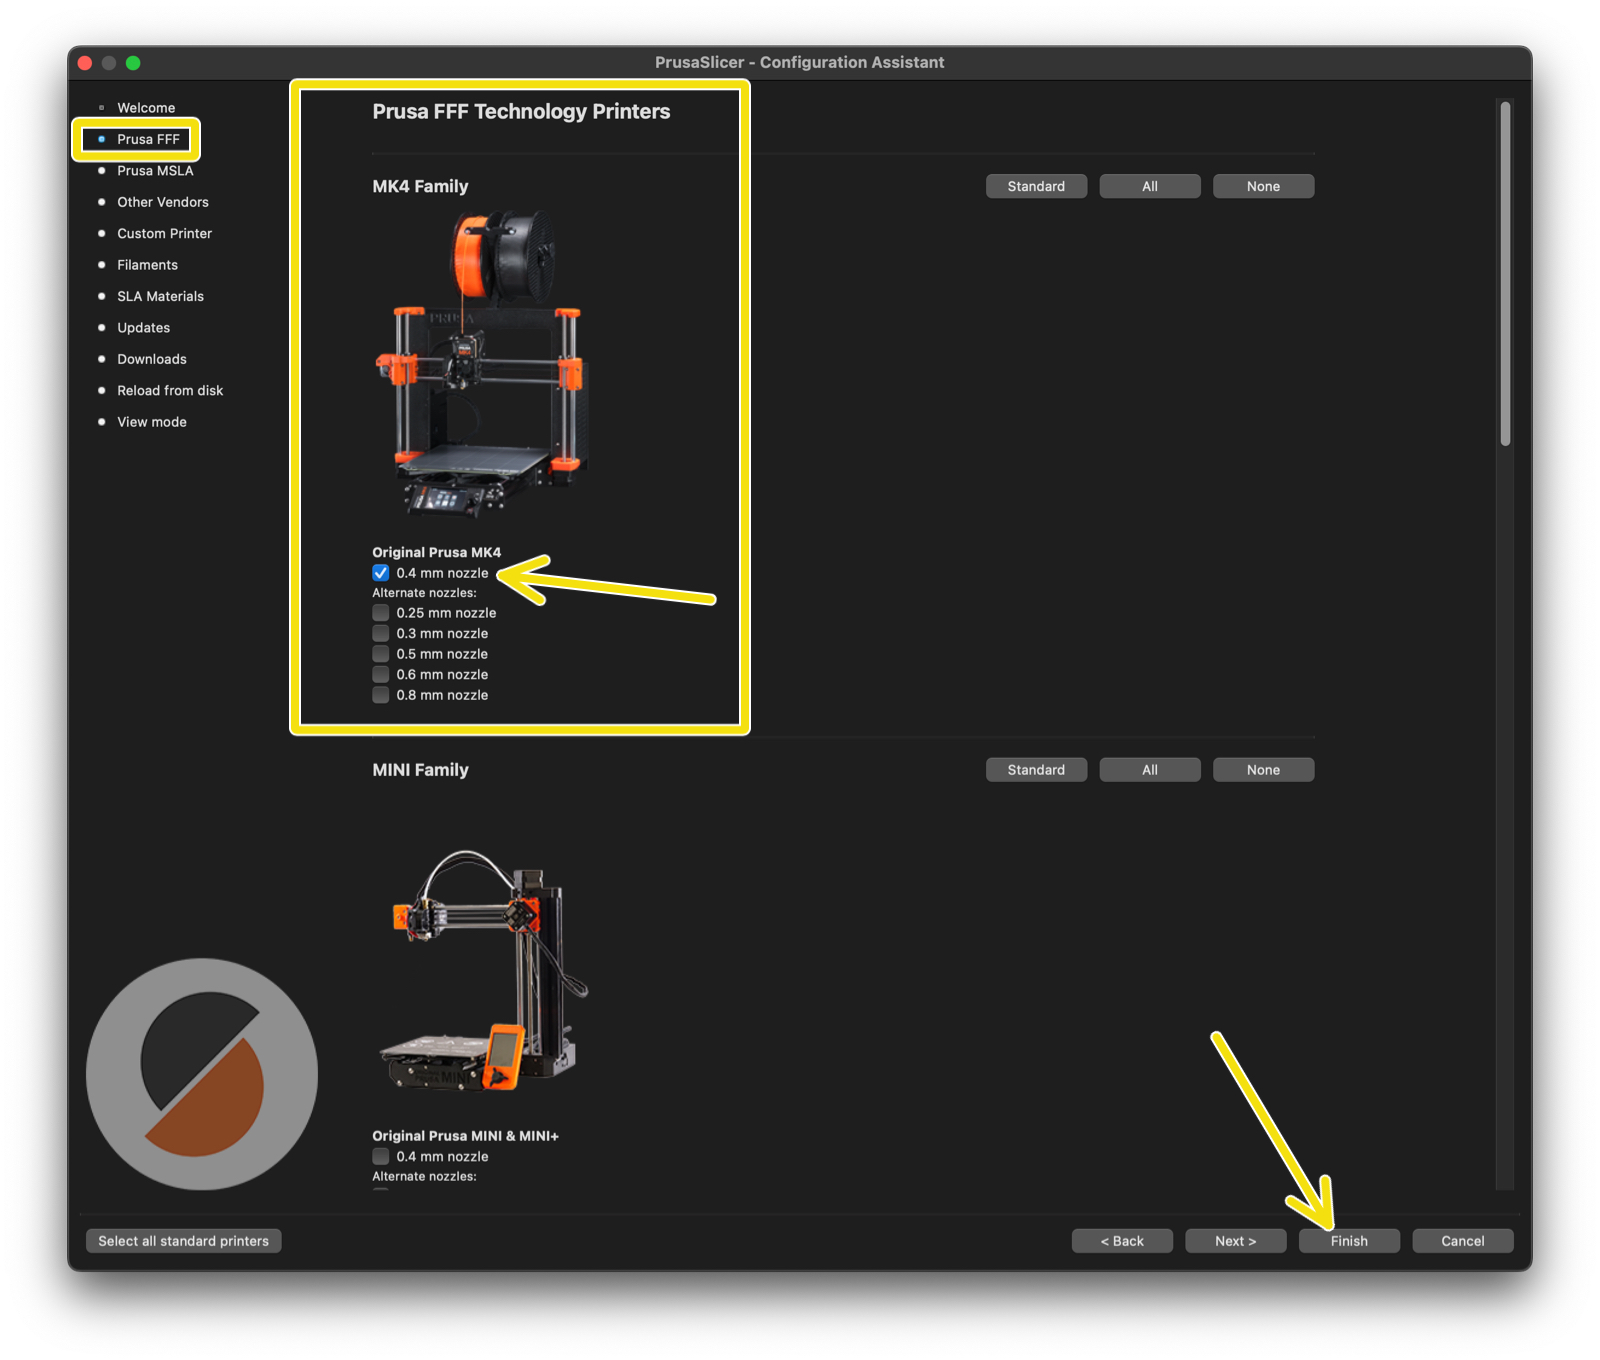
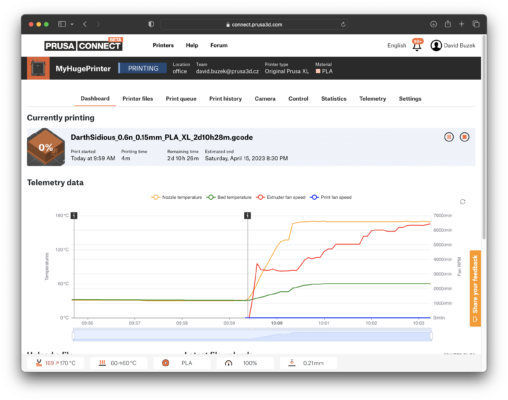
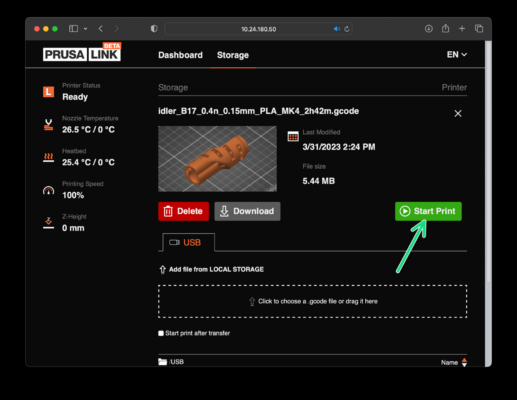
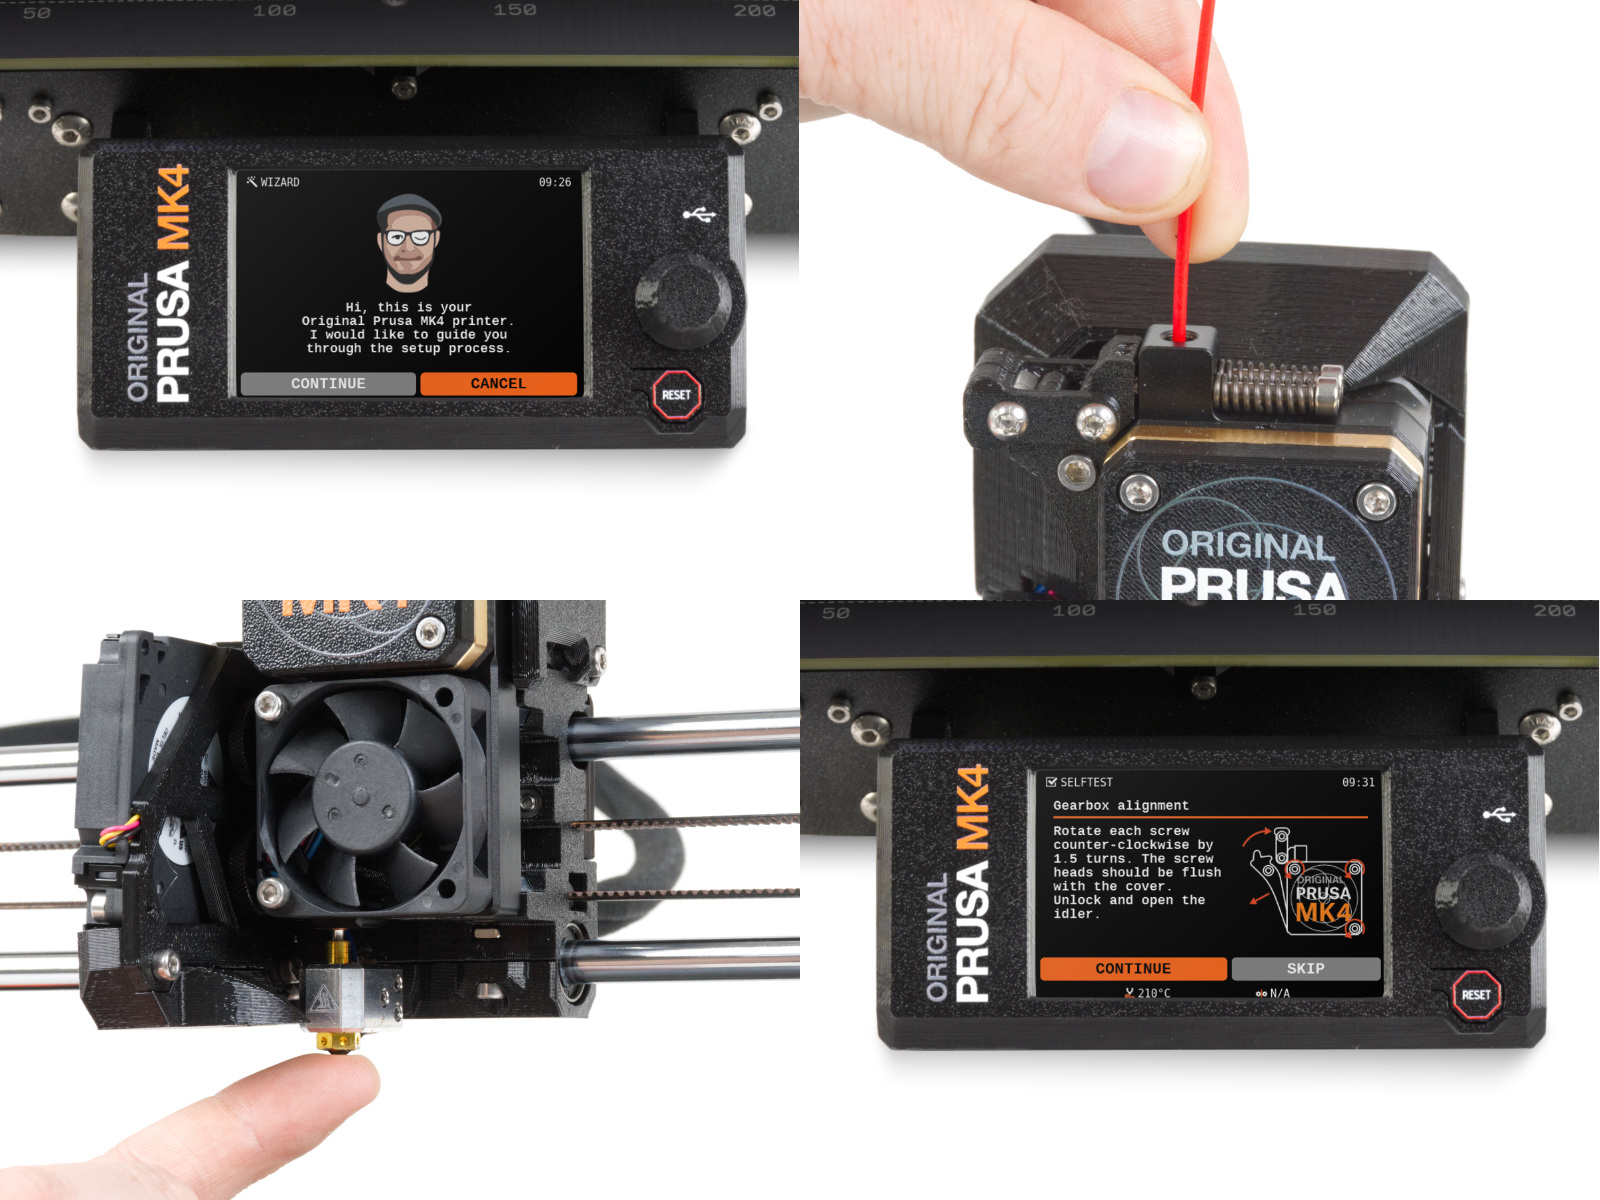
Note: In the following steps, you will see MK4 logos on the display. This is because these steps are the same as the ones in the MK4 assembly instructions, which we have reused. You don't need to be concerned about discrepancies.
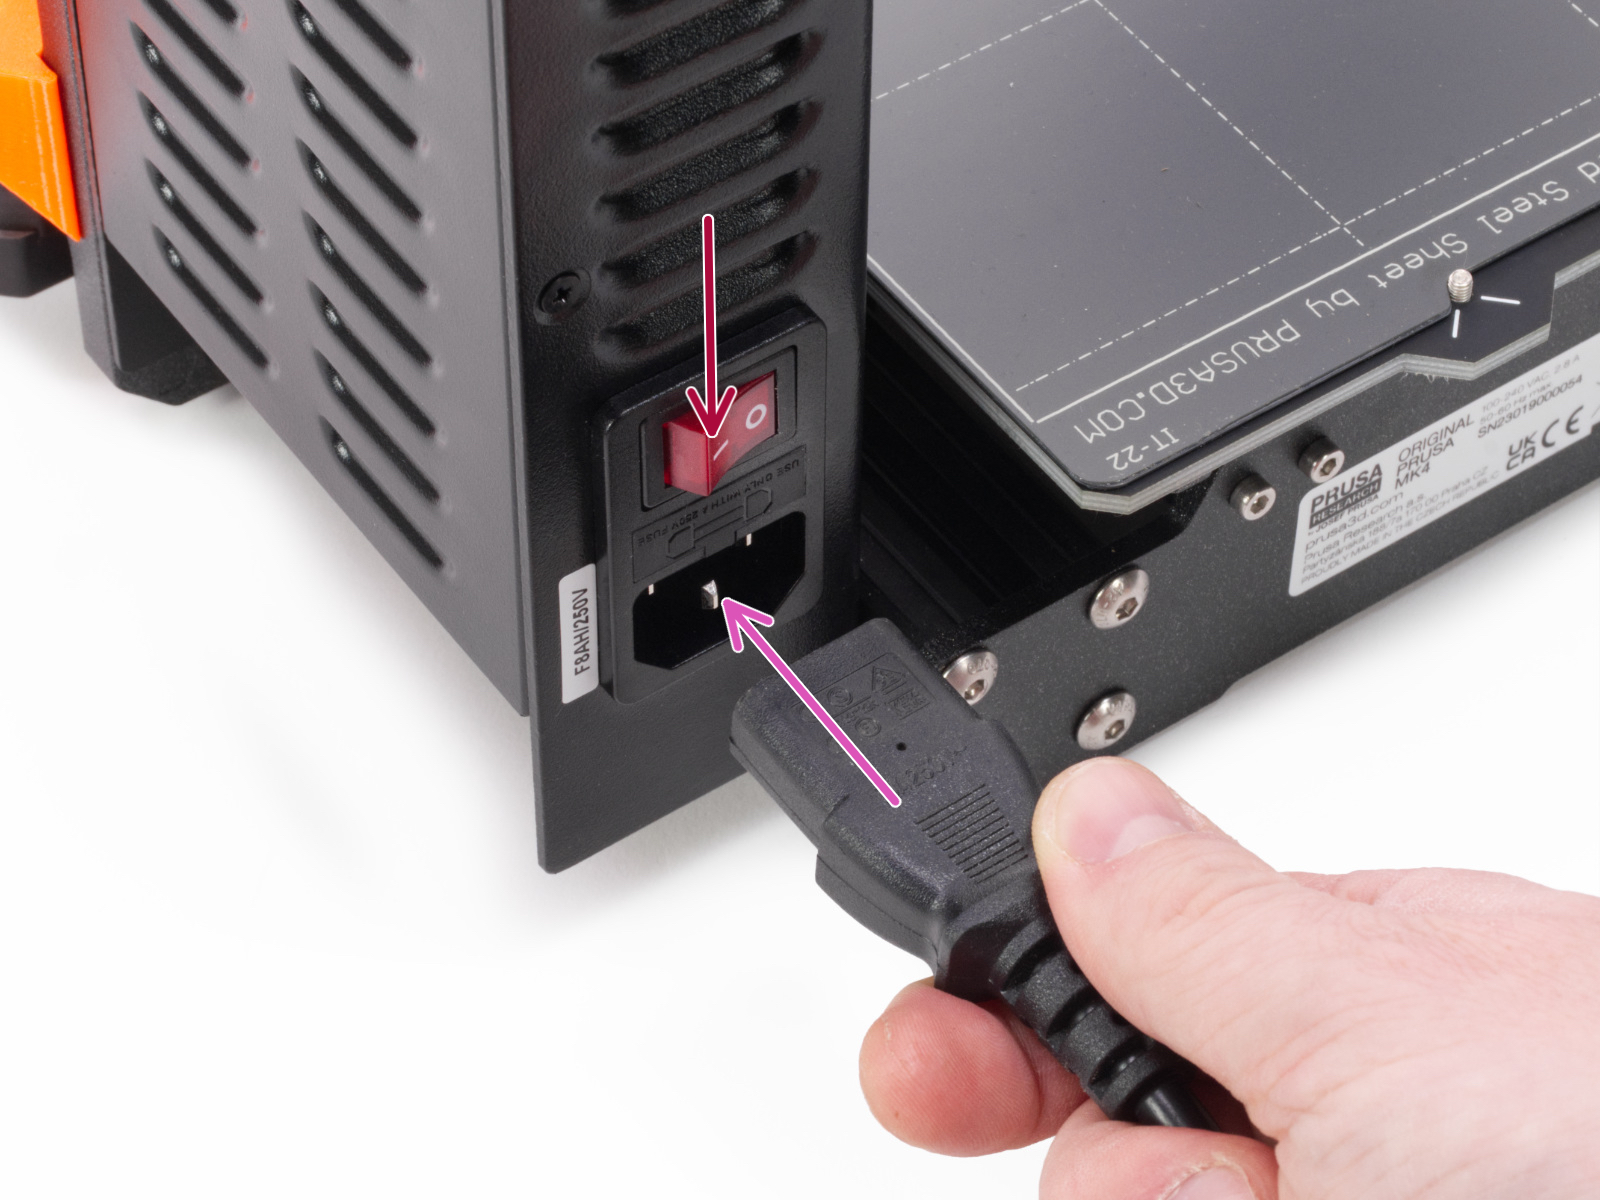
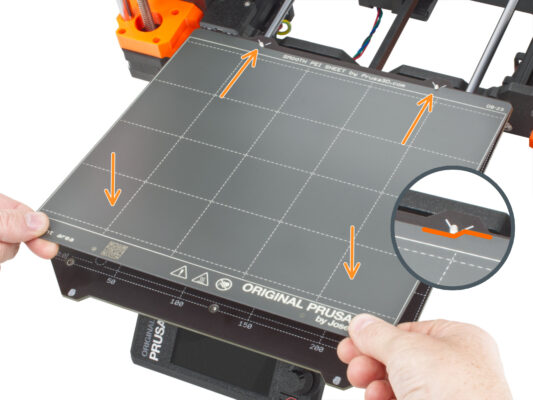
Make sure there is nothing on the heatbed. The heatbed must be clean. Any dirt can damage the surface of both the heatbed and the steel sheet.
Attach the sheet by first aligning the rear cutout with the locking pins on the back of the heated bed (marked in orange in the picture above). Hold the sheet by the front two corners and slowly lay it down onto the heated bed - watch your fingers!
Keep the steel sheet clean for optimum performance.
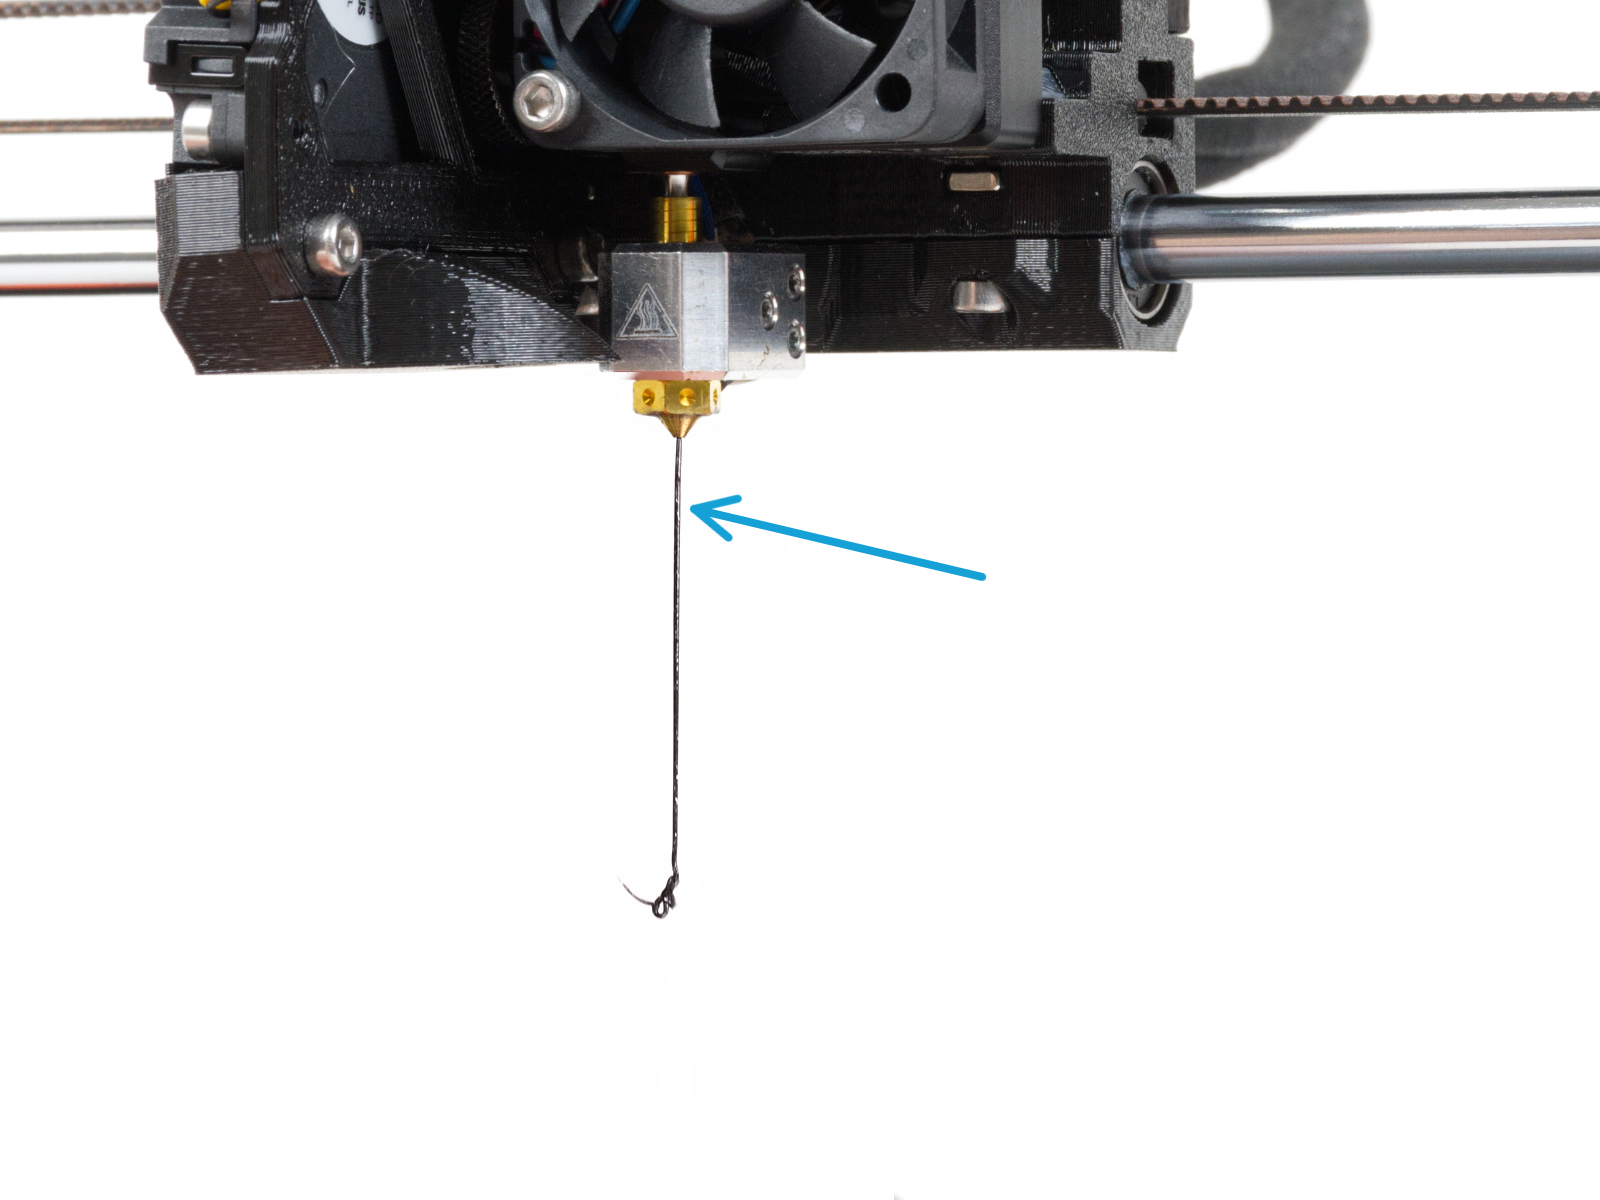
#1 cause of prints detaching from the print surface is a greasy steel sheet. Use IPA (Isopropyl alcohol) to degrease it if you have touched its surface before.
We are using a steel sheet with a smooth surface. However, the same procedure applies to other variants.
Firmware update (part 1)
All shipped kit units have the latest firmware version. However, it is recommended to check and possibly upgrade the firmware version.
Visit the help.prusa3D.com page.
Navigate to the Original Prusa MK3.9 page.
Save the firmware file (.bbf) onto the bundled USB drive.
MK3.9 is compatible with firmware release 5.0.0 or higher.
Firmware update (part 2)
Insert the USB drive with the latest firmware file into the printer.
Connect the power cable and connect the printer into a wall outlet.
Turn the printer on using the switch on the back.
If the "New firmware available" screen appears, hit FLASH by pressing the rotary knob to upgrade to the latest firmware.
If no such message appears, the printer is running the latest firmware already. Proceed to the next step.
Wizard - Selftest start

After the printer starts up, the setup wizard will show up - requiring a self-test. Select CONTINUE to start. 

The wizard will test all important components of the printer. The whole process takes a few minutes. Some parts of the wizard require direct user interaction. Follow the instruction on the screen.
NOTE: While testing the axes, make sure that there is nothing in the printer obstructing the axes movement.
WARNING: Do not touch the printer during the self-test unless prompted! Some parts of the printer may be HOT and moving at high speed.
The wizard starts with the fan check, Z-axis alignment and the X&Y axis test; all fully automatic.
Wizard - Loadcell Test
The next step of the wizard will prompt you to touch the nozzle to test and calibrate the Loadcell. During this procedure, the parts of the printer are not heated up so that you can touch them. Click Continue.
Do not touch the nozzle yet, wait until prompted by the Tap nozzle NOW message.
Tap the nozzle from below. In case the Loadcell does not detect the touch, you will be prompted to repeat the step. Otherwise, you will see Loadcell test passed OK when it succeeds.
Wizard - Gearbox Alignment
Once you get to the Gearbox Alignment part, select Continue and follow the on-screen instructions.
Undo the idler lock (swivel), then open the idler door.
Loosen the three screws on the front of the gearbox by 1.5 turns.
The printer will go through the automatic gearbox alignment. This process can’t be seen from the outside.
Once prompted, tighten the three screws in the pattern indicated on the screen.
Wizard - Filament Sensor Calibration
During the filament sensor calibration, you will need to use a short piece of filament. Prepare the filament and select Continue. There should be no filament inside the extruder before the start of the calibration process.
There should be no filament inside the extruder before the calibration process starts.
Once prompted to, insert the filament end into the opening on top of the extruder.
Remove the filament after the calibration finishes.
Wizard complete
Wizard complete
The printer is now fully calibrated. Follow this guide to the end to load a filament in and start a test print.
Once the Wizard finishes, the details screen will show up. Click the knob to continue.
Reward yourself!
Reward yourself!
It looks like you have successfully assembled and connected everything. No doubt ;). Congratulations! You deserve a big reward for that. Eat all the remaining gummy bears... and don't forget to share with those who supported you during the assembly.
Did you know that Haribo gummy bears are one of the most important parts of the Original Prusa printers assembly instructions.
Loading a filament
Loading a filament
Loading a filament
Loading a filament
Add a spool or a sample of your favourite filament onto either side of the spool holder.
Guide the filament end through the filament guide into the extruder. Using the filament guide prevents filament tangling.
Once a filament is detected, the printer will load it automatically. It is important to select the correct type of filament you are using on the screen. We recommend using PLA material for the first test print.
The printer will purge some of the material through the nozzle. Confirm its color is clear by selecting YES on the screen and remove the leftover plastic from below the nozzle.
Proceed carefully, the nozzle is now very HOT! Do not touch it with your bare hands!
PrusaSlicer for MK3.9
Ready to print your own models?
Visit help.prusa3d.com once again. Download and install the latest Drivers & Apps package onto your computer. This package includes the PrusaSlicer app.
Open the PrusaSlicer app. If you’re running it for the first time, Configuration Wizard will show up. Visit the Prusa FFF tab in the Wizard, select Original Prusa MK3.9 in the 0.4mm nozzle version (the default nozzle size) and hit Finish to start using the MK3.9 printer profile.
Make sure the Original Prusa MK3.9 is selected in the Printer menu on the right, when slicing for the MK3.9.
Import a model of your choice into PrusaSlicer, adjust the settings if needed, hit Slice and export the G-code file onto the USB drive to print it on your MK3.9.
Quick guide for your first prints
Please read the 3D Printing Handbook dedicated to your printer and follow the instructions to set up and use the printer properly. The latest version is always available at help.prusa3d.com
Read the Disclaimer and Safety instructions chapters.
Join Printables!
Join Printables!
Join Printables!
Join Printables!
Don't forget to join the biggest Prusa community! Download the latest models in STL or G-code tailored for your printer. Register at Printables.com
Looking for inspiration on new projects? Check our blog for weekly updates.
If you need help with the build, check out our forum with a great community :-)
All Prusa services share one user account.
Was this guide helpful?

Comments

Still have questions?

Still have questions?

If you have a question about something that isn't covered here, check out our additional resources.
And if that doesn't do the trick, you can send an inquiry to [email protected] or through the button below.

Contact us