The Prusa Signature Oak was designed from the beginning as a true print "workhorse". Despite its high reliability, it is still a device with mechanical components that require maintenance.
Printer maintenance
Useful tools
Besides the usual tools, such as Allen keys, needle-nose pliers, and IPA (Isopropyl Alcohol) + paper towels, you might need:
- Compressed air: also known as canned air. Be sure not to hold it upside down while spraying, otherwise you could damage any electronic components while trying to clean them.
- Brass Nozzle Brush: useful for cleaning the heaterblock. If you don't have a brass brush, any brush with hard bristles will do the job.
- Prusa Lubricant: used to lubricate the smooth rods with linear bearings, and to lubricate the Z-axis leadscrews. DO NOT use Prusa Lubricant on the linear rail!
- Linear rail lubrication set: a set that includes Microlube GL 261, Dosing needle SSS15 2, Cartridge with manual piston 2/2,5mm, and two nitrile gloves.
- Alcohol-free cleaner: used to clean the printer panels. DO NOT use alcohol products, including IPA, to clean the panels.
Frequent maintenance
The following points should be checked before every print.
Keeping the printer clean
After several hours of printing, various kinds of debris may start to accumulate around the printer parts or under the heatbed - pieces of filament, dust, scraps, broken supports, etc. Always make sure that the parts of the printer are clean. You can use a brush, a small broom, or a vacuum to remove debris.
Do not clean the transparent panels with alcohol-based cleaning solutions. This can damage the transparent panels, resulting in cracked surfaces.
Hotend cleaning
It is fundamental for the hotend to be clean. Debris on the nozzle or heaterblock can cause printer failures, for example, with the residue falling onto the printed model while the print is in progress.
To clean the nozzle and heaterblock, heat the nozzle for three to five minutes at 250 °C, as the remains of the filament must be warmed up slightly so that they can be removed more easily.
Use a small brass brush to clear away any old plastic stuck on the nozzle and heaterblock.
Avoid contact of the brush with the hotend cables, as this could cause a short circuit.
Caution: the printer is still at a hot temperature! Wait until the hot parts are cooled down to ambient temperature. It takes approximately 10 minutes. Do not touch it! Always check the values on the display.
Flexible print sheet
Never clean the special PA Nylon sheet with acetone, IPA (isopropyl alcohol), or other alcohol-based solvents (window cleaners, Windex, etc.)! This will damage the surface.
All flexible print sheets should be cleaned regularly to ensure adhesion, but the exact methods and washing solutions can differ depending on the print sheet type.
You can find more information on how to take care of your flexible print sheet in this article.
Sporadic maintenance
The following checks should be done every 200 hours of printing time.
Axes check - Linear Rail (X-axis)
Ensure that there is no debris or dust on the (X-axis) linear rail. If there is, clean it using a clean paper tissue or a clean cloth with NO de-greaser and with no chemicals, as these might damage the rubber in the carriage.
We recommend lubricating the linear rail every 3-6 months, using the dedicated linear rails lubrication set.
On linear rails, DO NOT use Prusa Lubricant or other products that are not part of the linear rails lubrication set.
Axes check - Smooth Rods and Linear Bearings (Y-axis)
Clean the (Y-axis) smooth rods with a clean paper towel, and lubricate them using a small amount of Prusa Lubricant.
Only in case you feel the axis is not running smoothly anymore even after recently cleaning and lubricating the smooth rods, bearings can be taken out, cleaned with alcohol, and greased on the inside, still using a small amount of Prusa Lubricant.
Axes check - Belt
Over a long printing time, the belt can slightly loosen, causing issues such as layer shifting, or bad printing quality. The easiest way to check the belt tension is to print a circular object. If the result is not perfectly round, a belt adjustment is needed.
Fans
The RPM (revolutions per minute) of both fans is constantly measured. This means that the printer will report an error if the fan suddenly slows down, for example, due to a piece of filament stuck in it.
In such a case, check and remove any dirt from the relevant fan. Do not try to bypass the RPM check, as this could damage the printer!
Both fans should be checked and cleaned after every few hundred hours of printing. Dust can be removed with compressed air in a spray can, small plastic threads can be removed with tweezers.
CAUTION: Do not blow compressed air on the running fan.
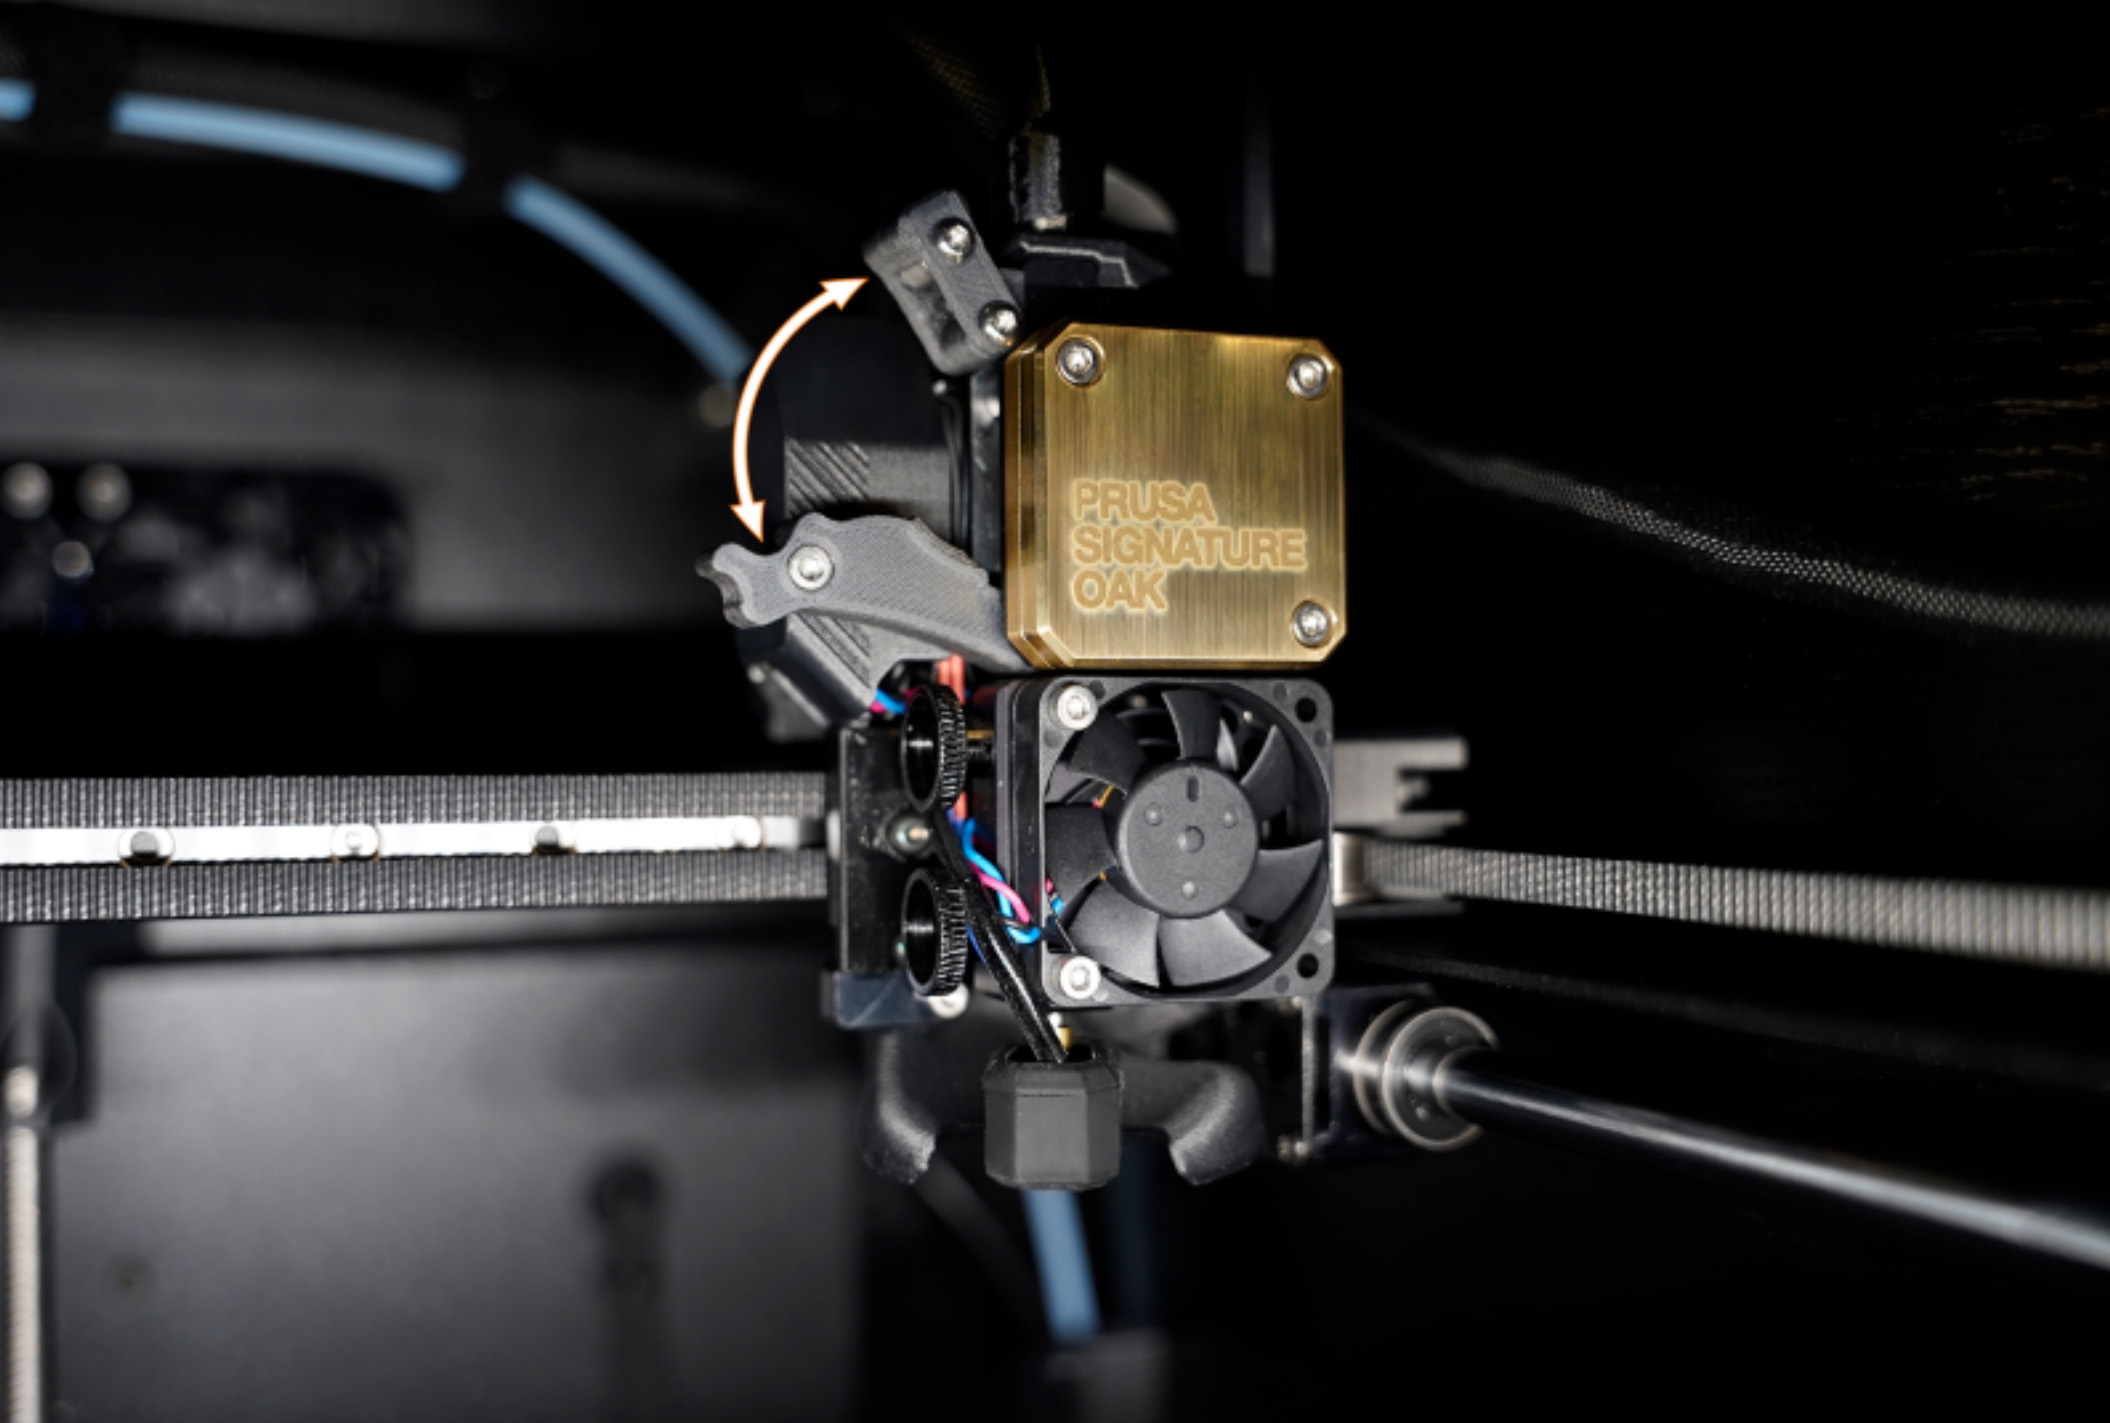
Nextruder
PG assembly adapter e-shop
PG assembly adapter printable part, included in the Nextruder Assembly folder.
The primary gear and the bearings attached to the Idler Shaft in the extruder do not need any lubricant. Over time, a deposit of filament debris can form in the grooves of the primary gear, which then causes insufficient filament extrusion. Access the extruder by lifting the Idler Nut, and then moving the Idler Shaft. You can blow away the dirt with compressed air, or use a brass brush or an ordinary toothpick. Use the access hole on the side of the extruder.
Nextruder filament sensor
If you encounter problems with the Nextruder filament sensor, such as incorrect or random readings, make sure that everything in the Nextruder is correctly wired and that there is no debris in the filament path inside the extruder, either using tweezers or a can of compressed air.
To access the right side of the LoveBoard, loosen two M3x6 bolts, and remove the cover.
To clean the Nextruder filament sensor, follow the dedicated article.
Panels cleaning
Use an alcohol-free cleaner or soapy water to clean the printer panels.
DO NOT use products that contain alcohol, including IPA. Repeat exposure will weaken the panels, causing them to become brittle over time.
Annual maintenance
Electronics
It is a good practice to check and optionally reconnect the electrical connectors on the xBuddy board, Loveboard, heatbed, PSU, and xLCD every 600-800 hours of printing.
In particular, ensure that the screw-attached connectors are fully tightened, and the Molex-attached connectors properly connected.
CAUTION: for Molex-attached connectors, it is necessary to press the latch before disconnecting. Otherwise, the connector may get damaged.
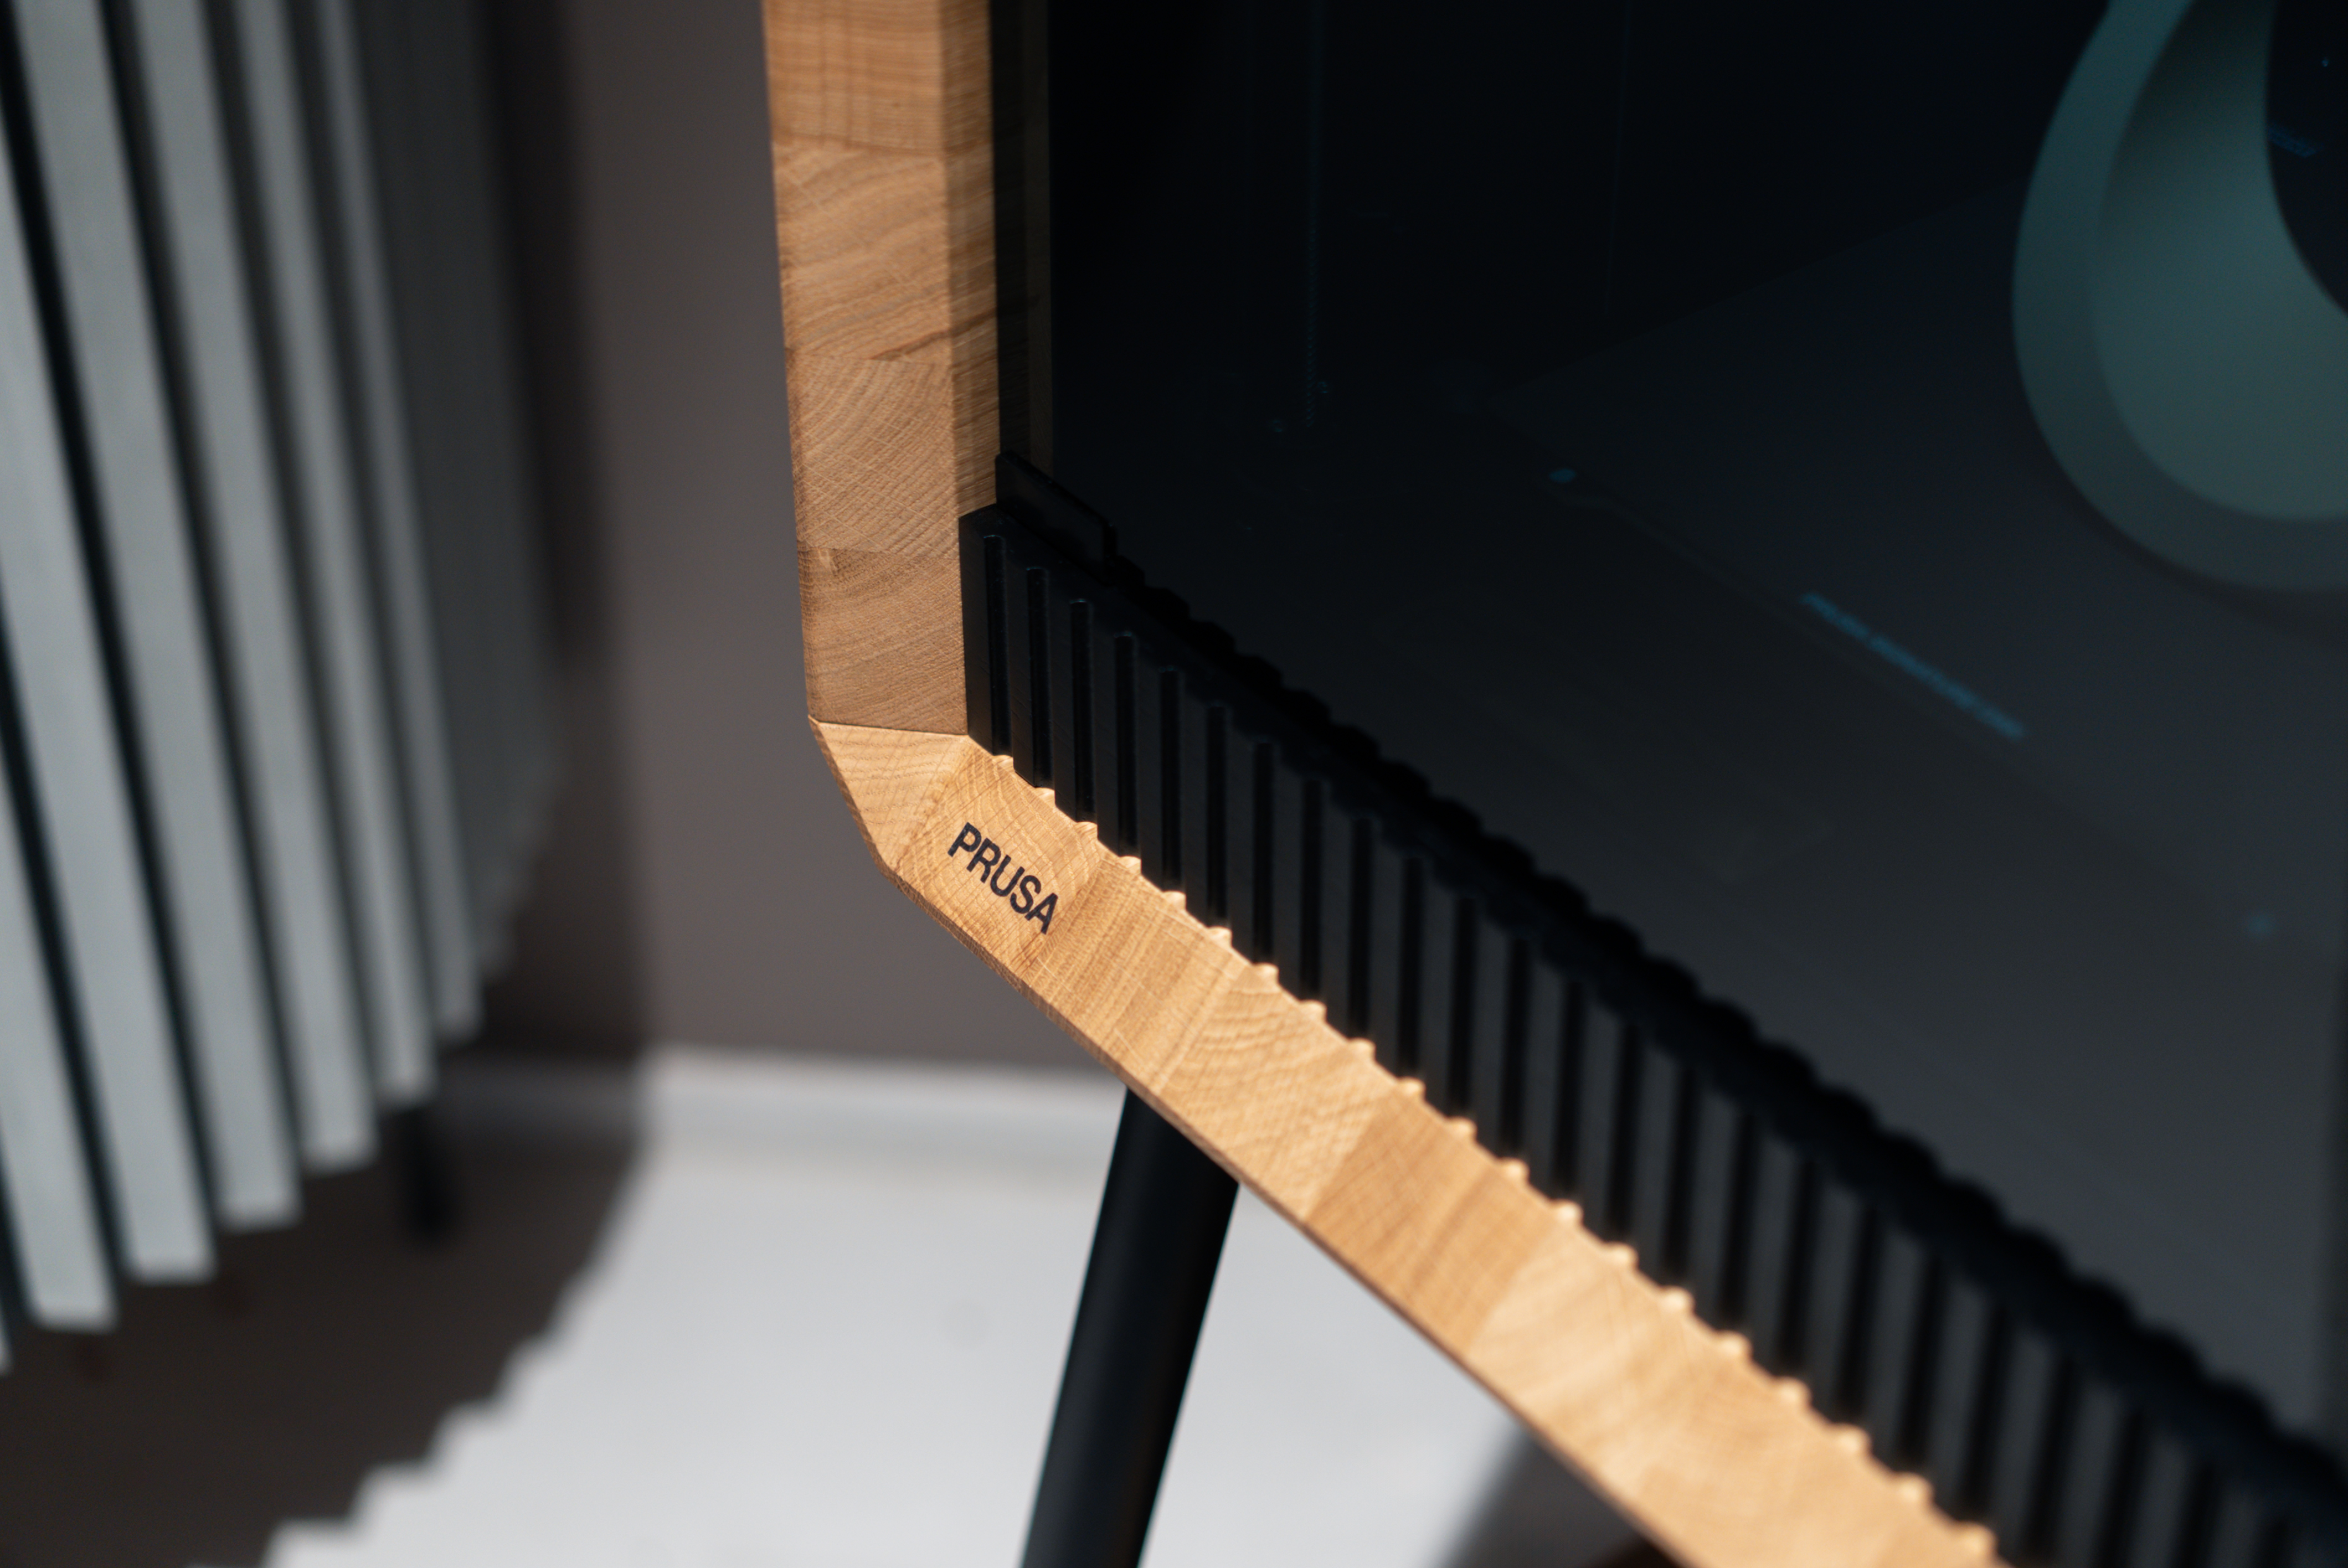
Wooden parts care
The Prusa Signature Oak is a unique 3D printer, featuring structural components made from solid oak. As a living, natural material, wood is sensitive to environmental conditions and external factors, such as humidity, temperature changes, and physical damage. While the wooden parts of the 3D printer come with a protective finish, regular and proper maintenance is crucial to preserve their beauty and function.
Below is a summary of the most important procedures, with the full details available on the dedicated article Cura e manutenzione delle parti in legno (Prusa Signature Oak).
 |  |
Environment and Natural Wood Properties
Every piece of wood is unique in its grain and tone. Knots or medullary rays are natural growth features of this living material. Exposure to sunlight can cause slight color changes and oxidation over time. Wood constantly "breathes" and reacts to its environment, which may lead to fine microcracks in the finish or a slight raising of the wood grain. These characteristics are normal for natural materials and are not considered defects.
Regular Cleaning Instructions
Dusting: Remove dust and dirt using a soft, dry, lint-free cloth (e.g., microfiber or cotton).
Spills: If liquid is spilled on the printer, wipe it dry immediately with a paper towel or soft cloth.
Do not place items containing liquids, such as plant pots, on the wooden surfaces.
Stains: To remove stains or sticky residue, gently wipe the surface with a slightly damp cloth, then immediately dry the area. Never leave the surface wet.
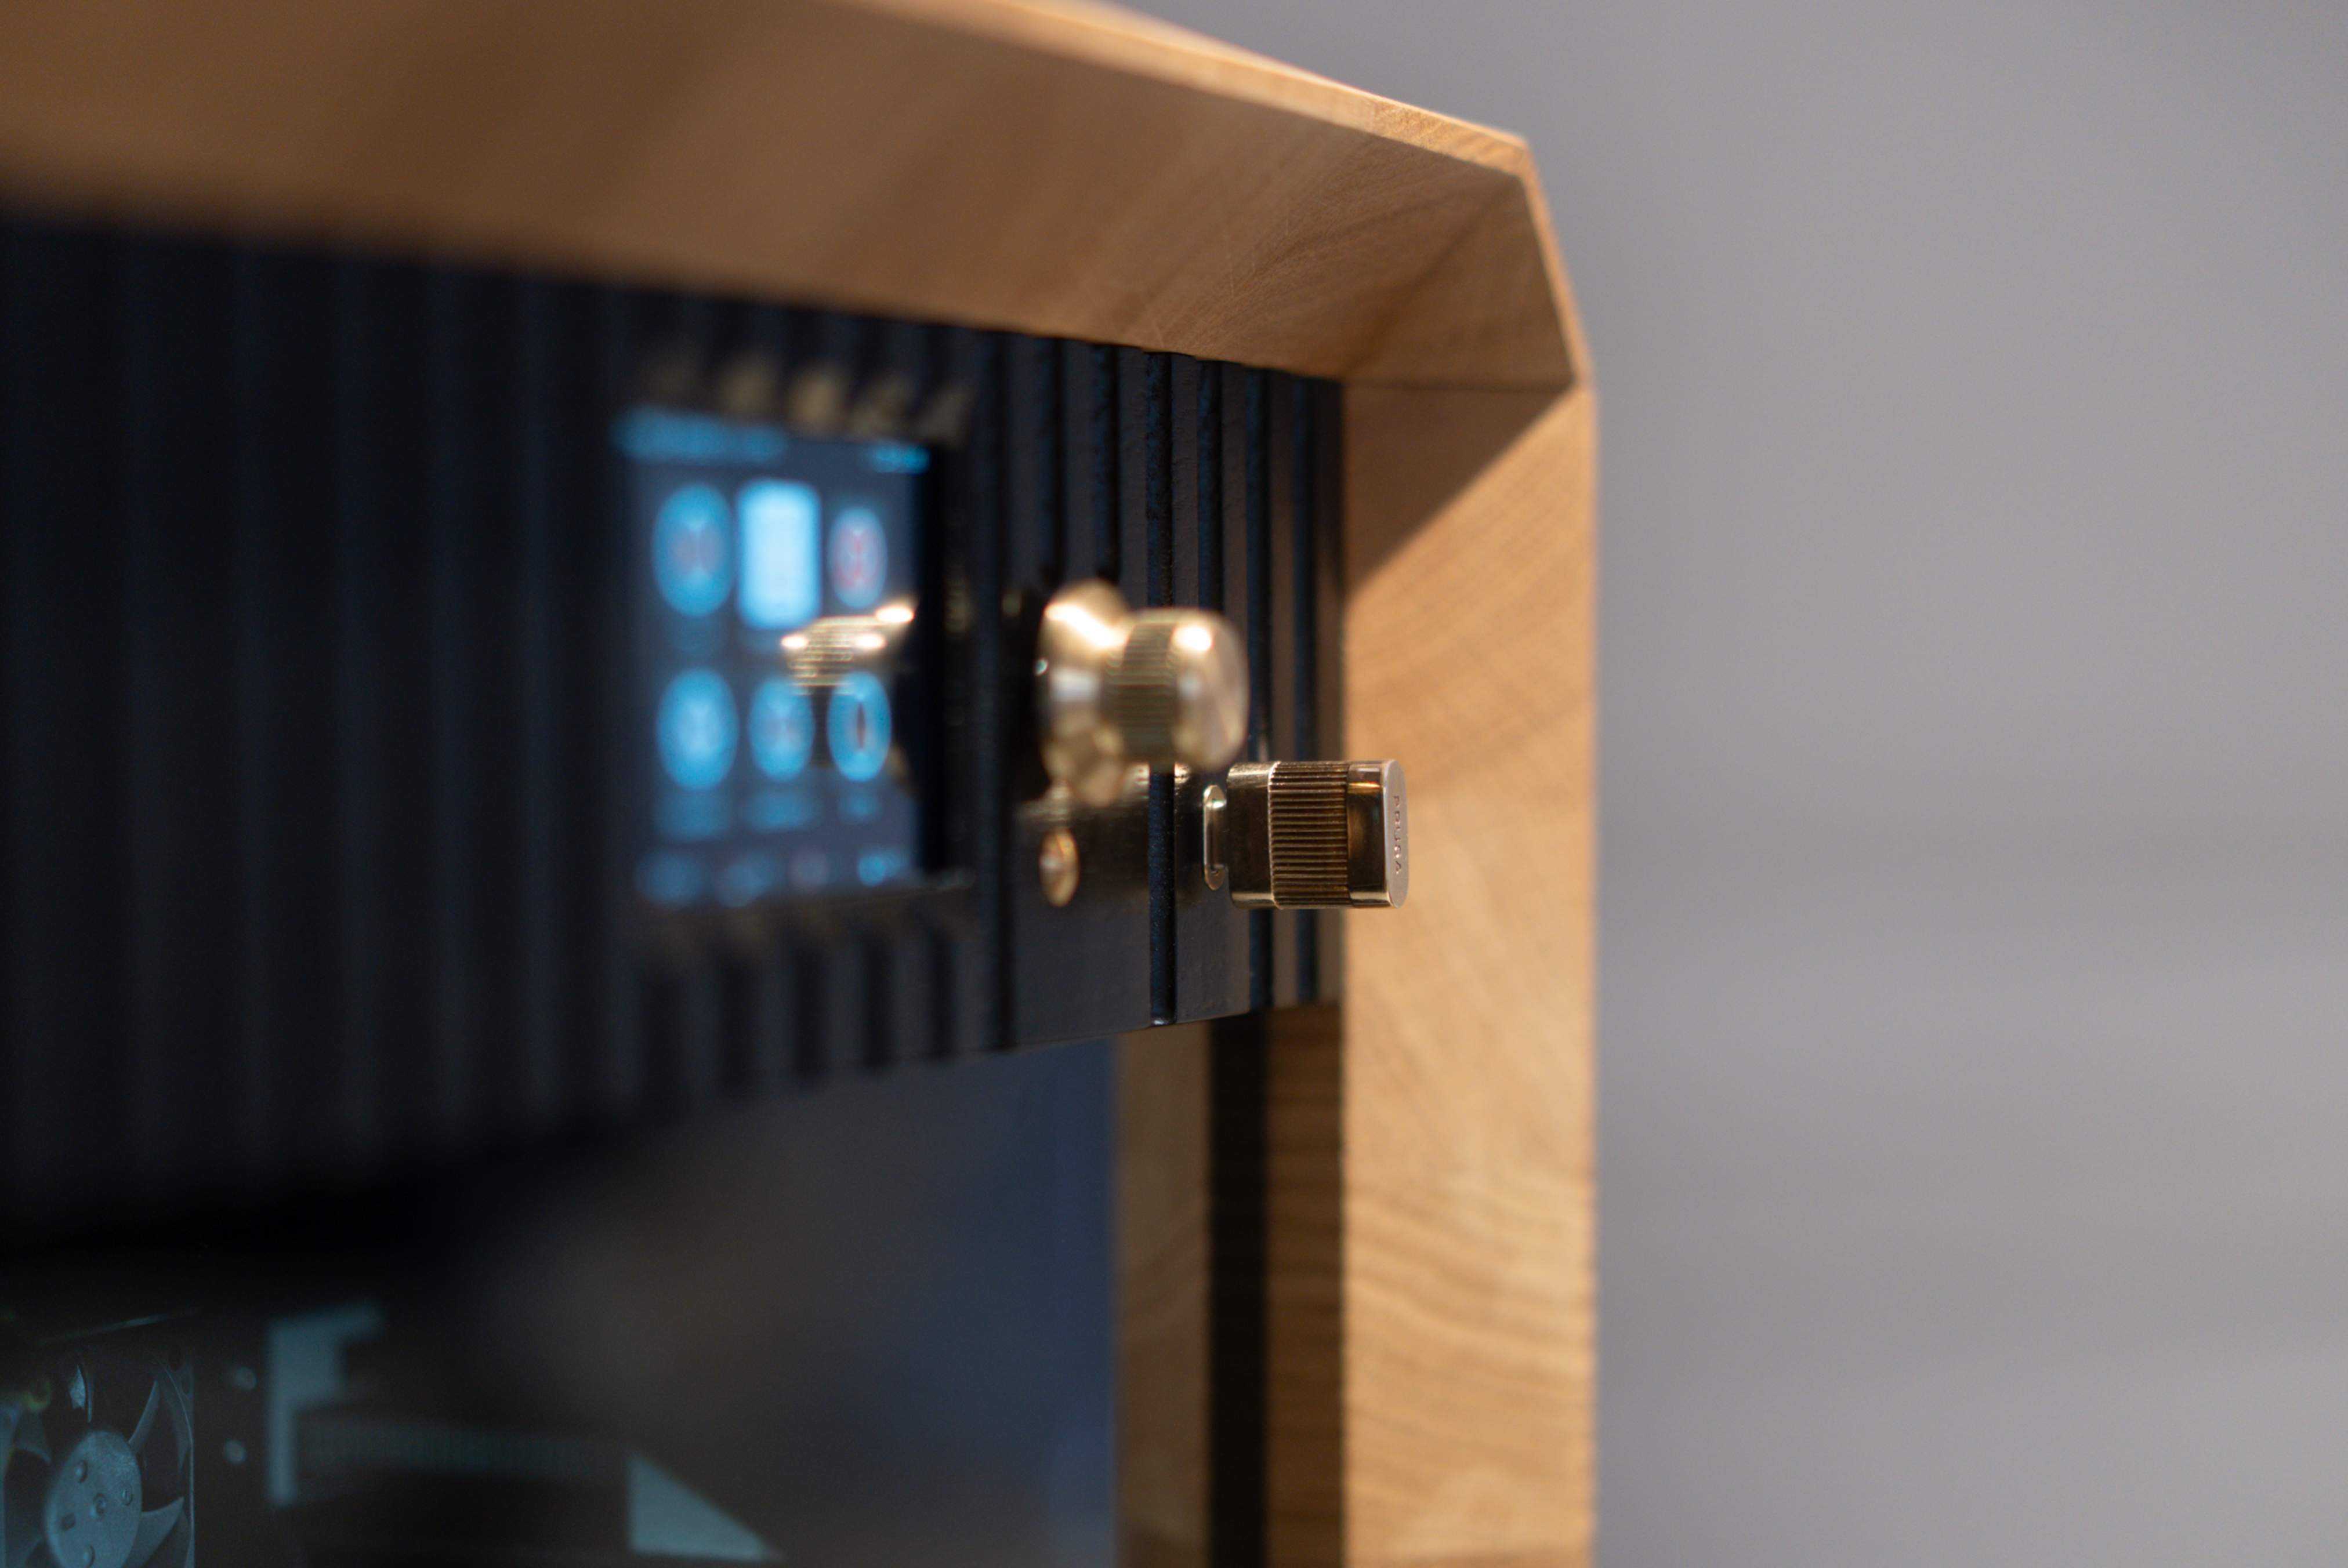
Signed Plaque: The front of the printing chamber features a numbered plaque with Josef Prusa's signature. Although the signature is sealed with a protective coating, clean the surface using only a dry, soft cloth. Do not use cleaning agents or excessive pressure, as these could damage the finish and erase the signature.
Never use abrasive cleaning agents, polishing pastes, aggressive chemicals, or solvents. Avoid contact with acetone and isopropyl alcohol (IPA), as these will permanently damage the oiled surface.
Oiled Surface Maintenance
The solid oak components of the Prusa Signature Oak are treated with a premium protective oil finish that requires regular maintenance. Over time, the oil will dry out or be absorbed by the wood. This can lead to rough spots, dull areas, or a patchy appearance.
To preserve a consistent look, apply a fresh coat of wood care oil regularly. The standard reapplication interval is once every three years. However, high-contact areas (e.g., the top cover) may require more frequent treatment.
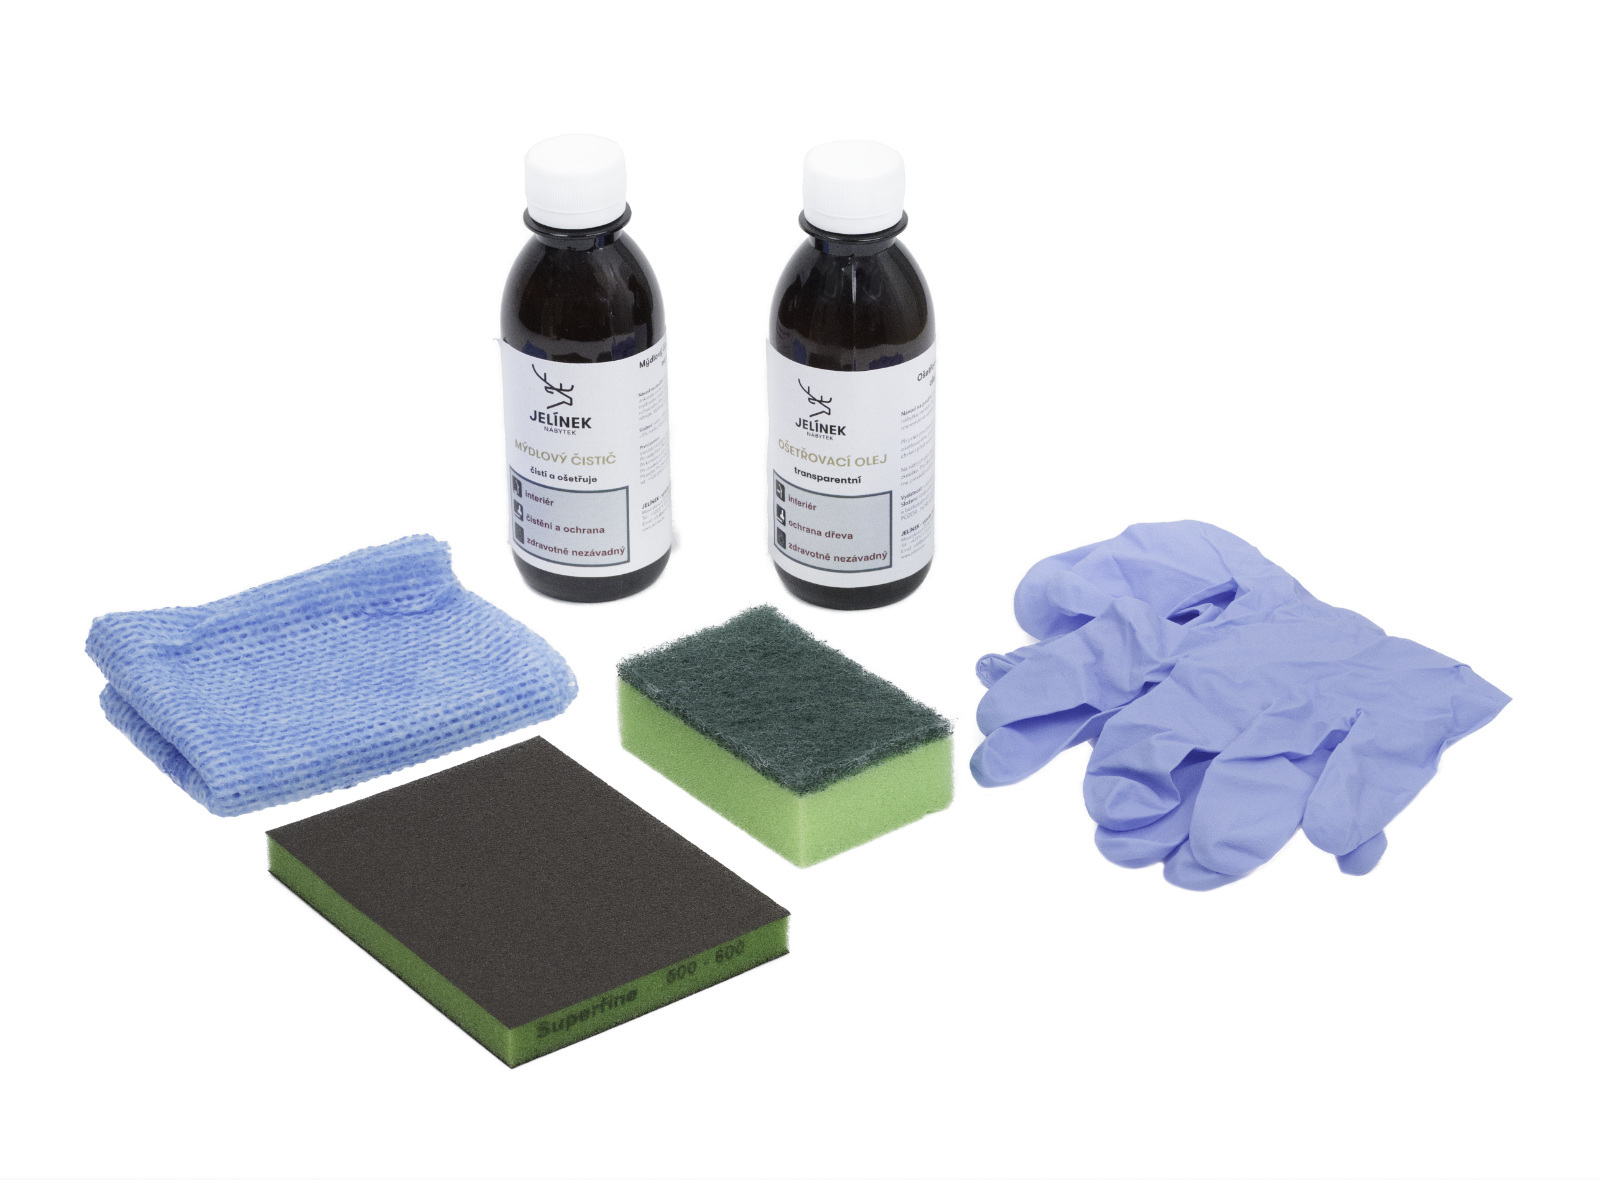
To make this maintenance easier, a specialized Wood Maintenance Kit is included with your printer. This includes:
- Wood Cleaner (200 ml) - Soap-based cleaner
- Wood Care Oil (200 ml) - Universal clear oil
- Sanding sponge
- Application sponge
- Cloth (for wiping dry
- Protective gloves
Surface Cleaning (Deep Clean)
Use the soap-based cleaner only for heavily soiled surfaces. For routine maintenance, dusting is sufficient.
1. Mix a solution of 5 ml of cleaner with 200 ml of water.
2. Apply the solution evenly using a well-wrung damp cloth or sponge.
3. Do not rinse with clean water, as this would remove the protective film.
4. Allow the surface to dry completely before applying oil.
Repairing Minor Damage (Optional)
Minor damage, such as scuffs, fine scratches, or stubborn stains, can be repaired by sanding.
1. Lightly sand the damaged area with the provided sanding sponge. Always sand in the direction of the wood grain. When sanding the wooden parts, wear protective gear, as oak wood dust can irritate your respiratory system.
2. Thoroughly remove all sanding dust.
3. Proceed to apply the oil.
Applying Wood Care Oil
Ensure the surface is clean and perfectly dry.
1. Shake the oil bottle well before use.
2. Apply a thin layer of oil using the application sponge or a cloth.
3. Spread it evenly and let it sit for 3 to 5 minutes.
4. Wipe off any excess oil completely with a dry cloth. The surface should not feel wet to the touch.
Curing Time
The treated surface will cure within 24 hours. During this time, protect the surface from water and humidity, and do not place any objects on it.
For extensive damage or structural issues, please contact our technical support.
Oil-soaked cloths and sponges carry a risk of spontaneous combustion and can self-ignite if not handled properly. Immediately after use, soak all used cloths and sponges in water. Then place them in a sealed metal container or let them dry outdoors, fully unfolded, before disposal.
Dispose of empty containers and maintenance waste in accordance with local regulations.