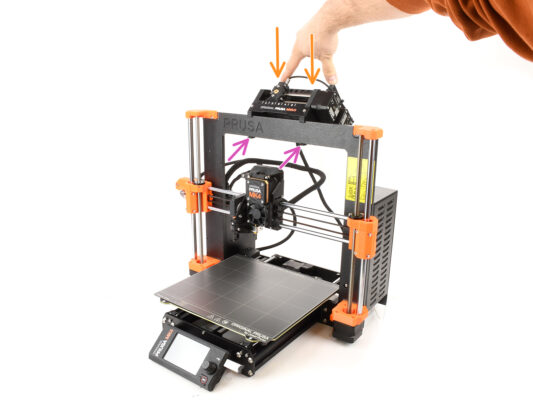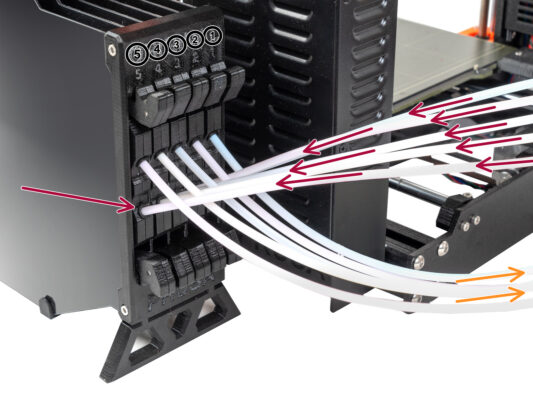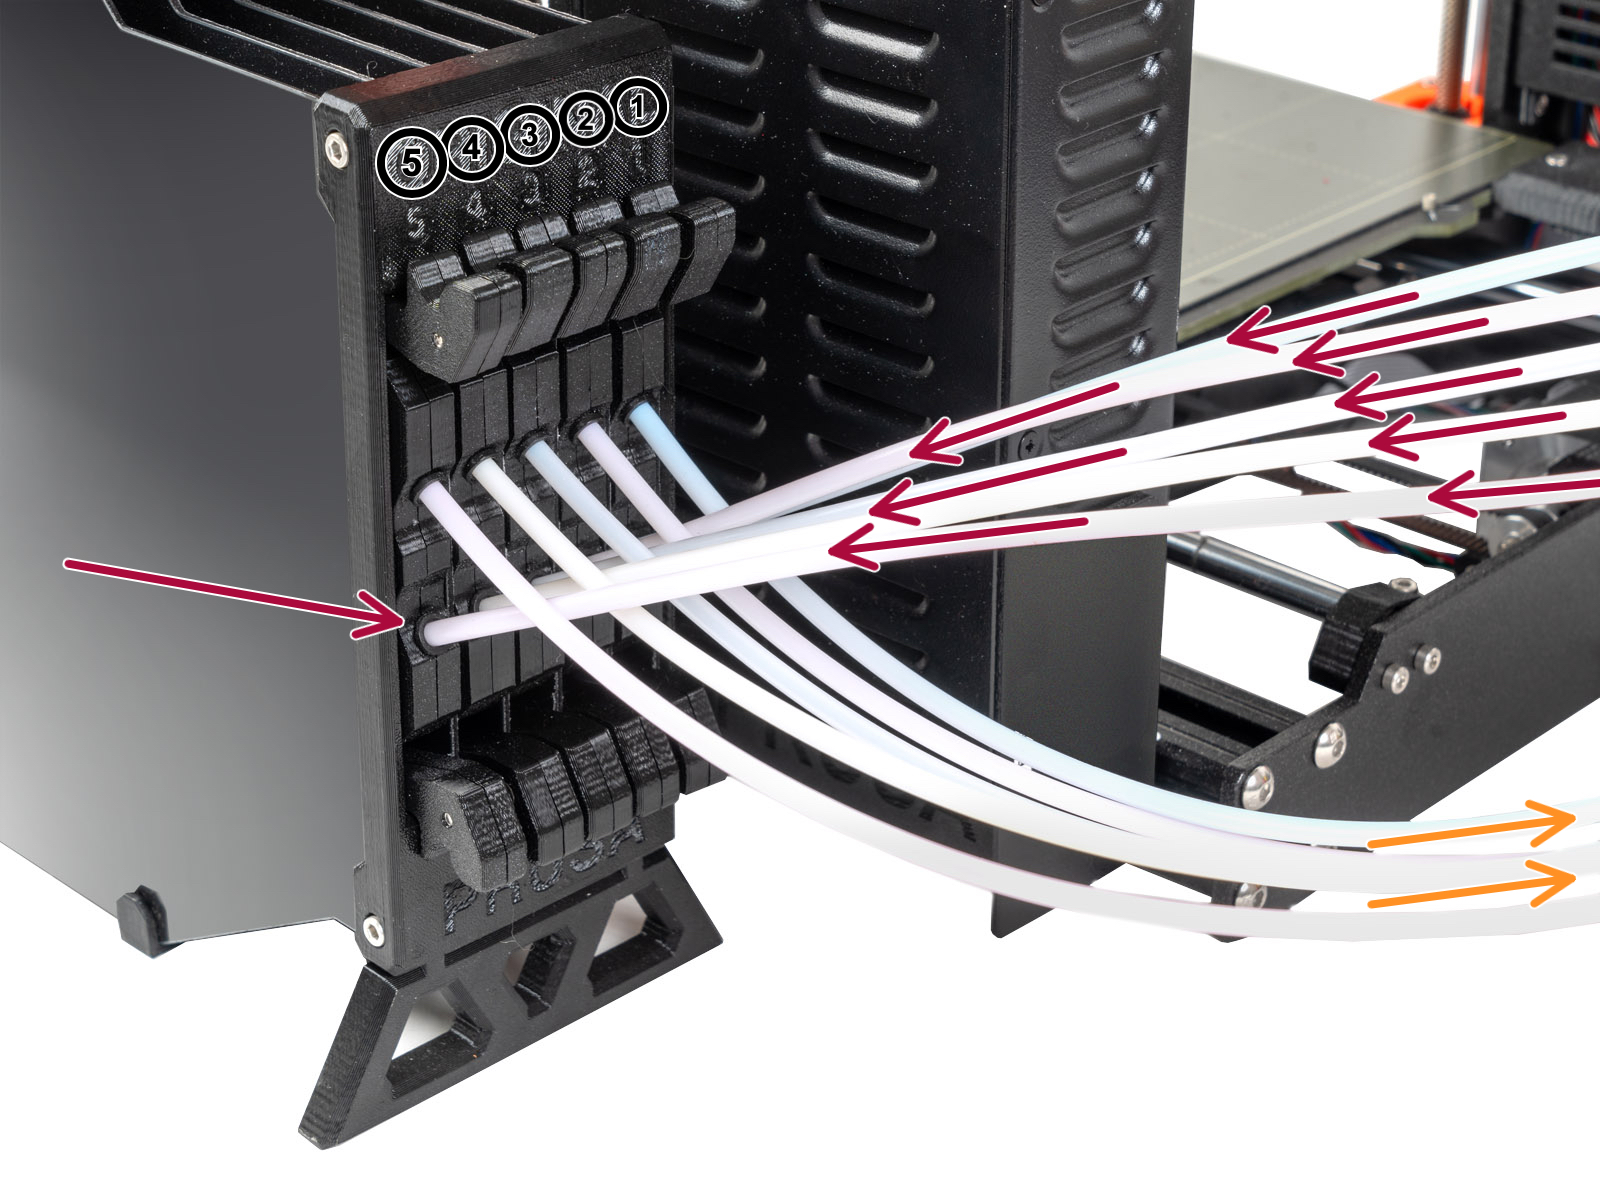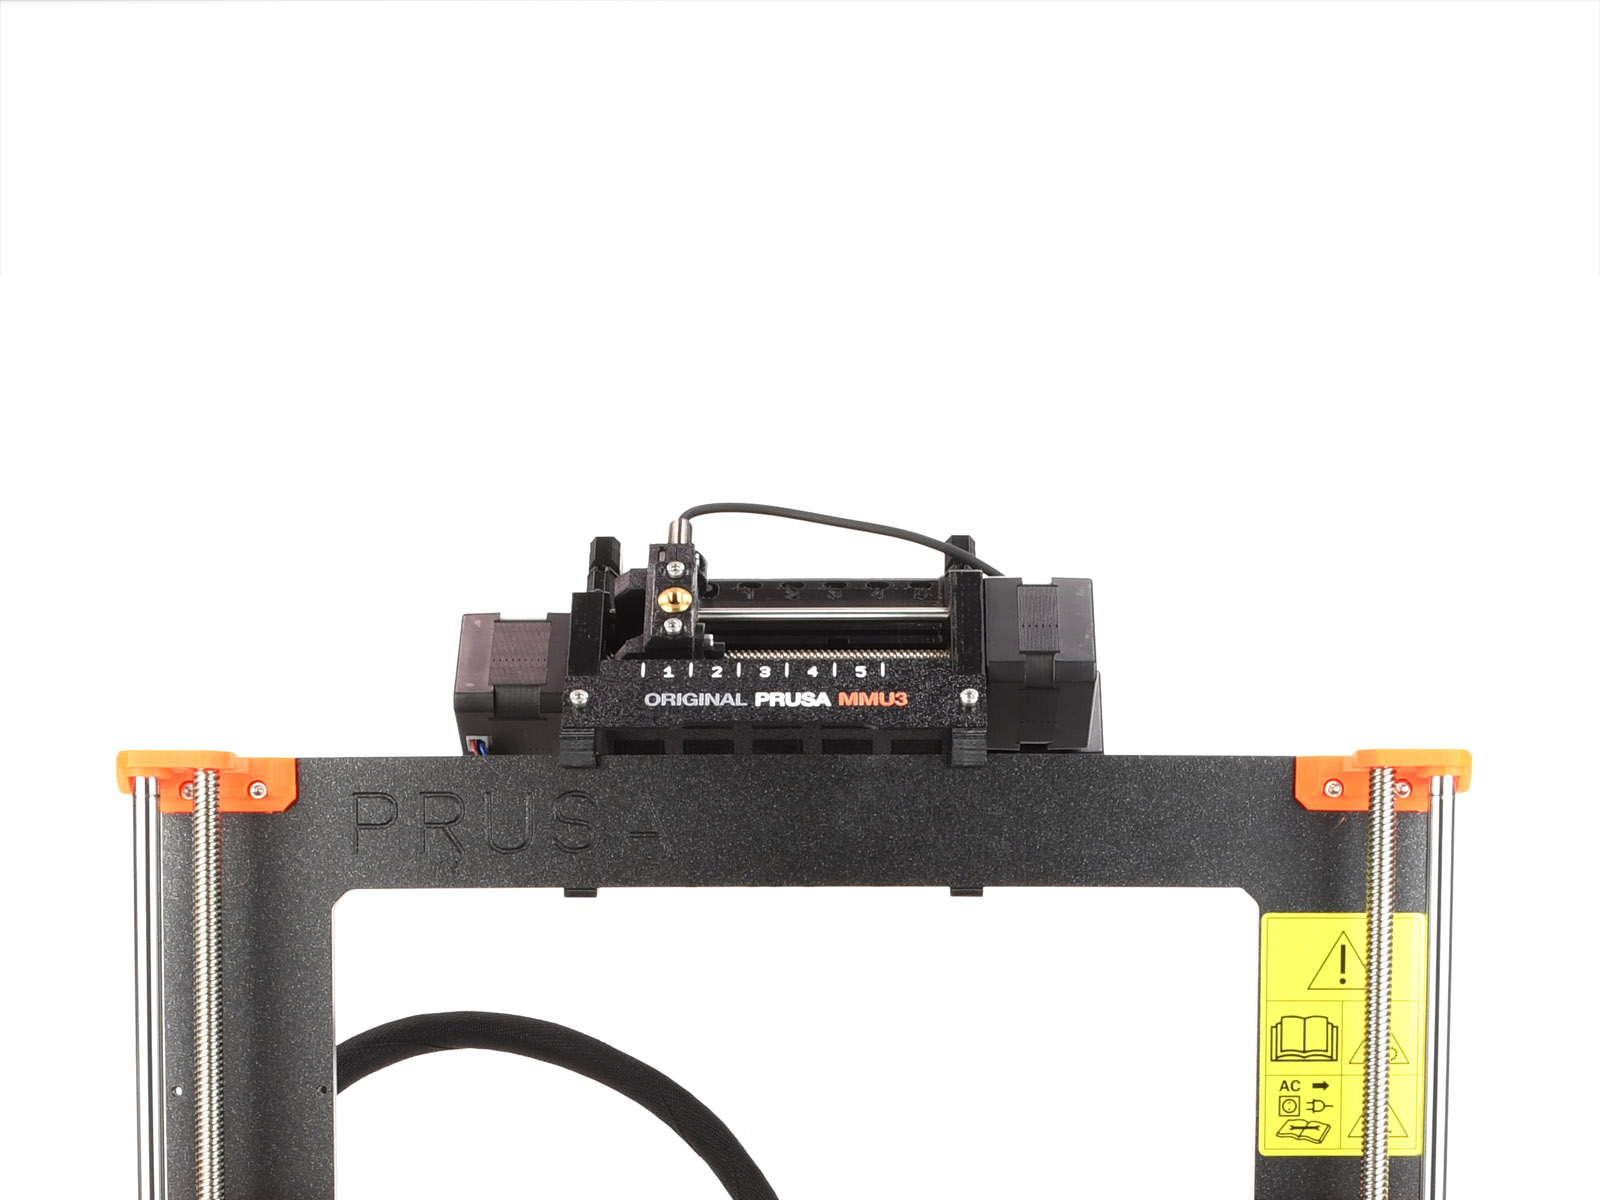
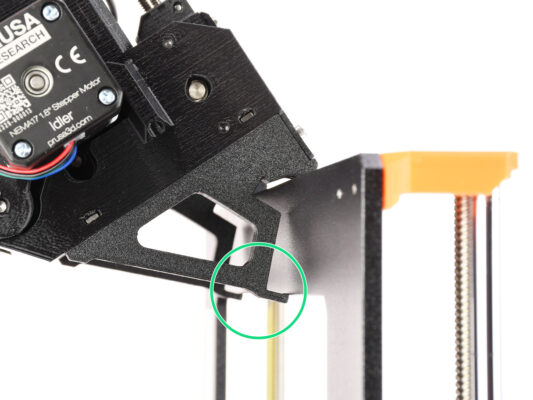
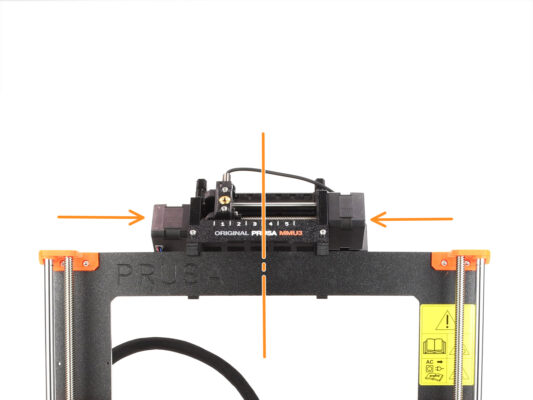
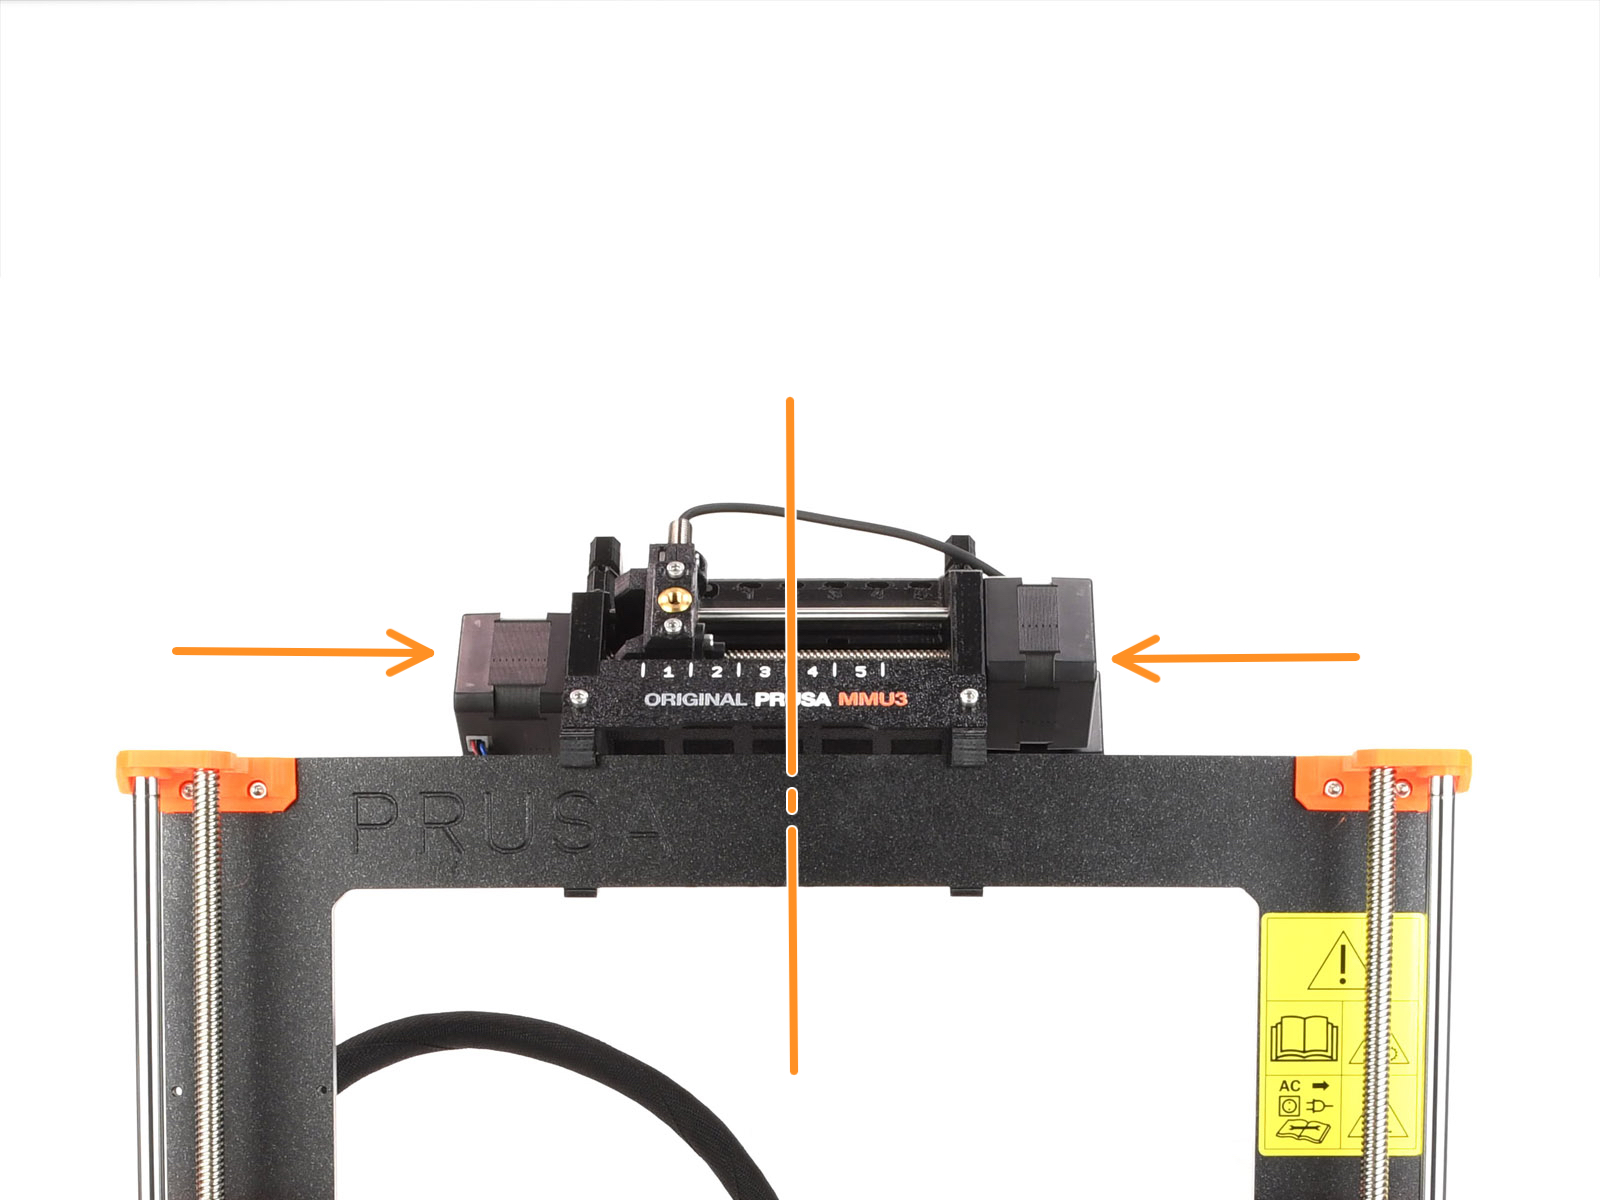

⬢The MMU3 unit should be placed onto the top part of the printer's frame.
⬢Place the MMU3 unit onto the frame.
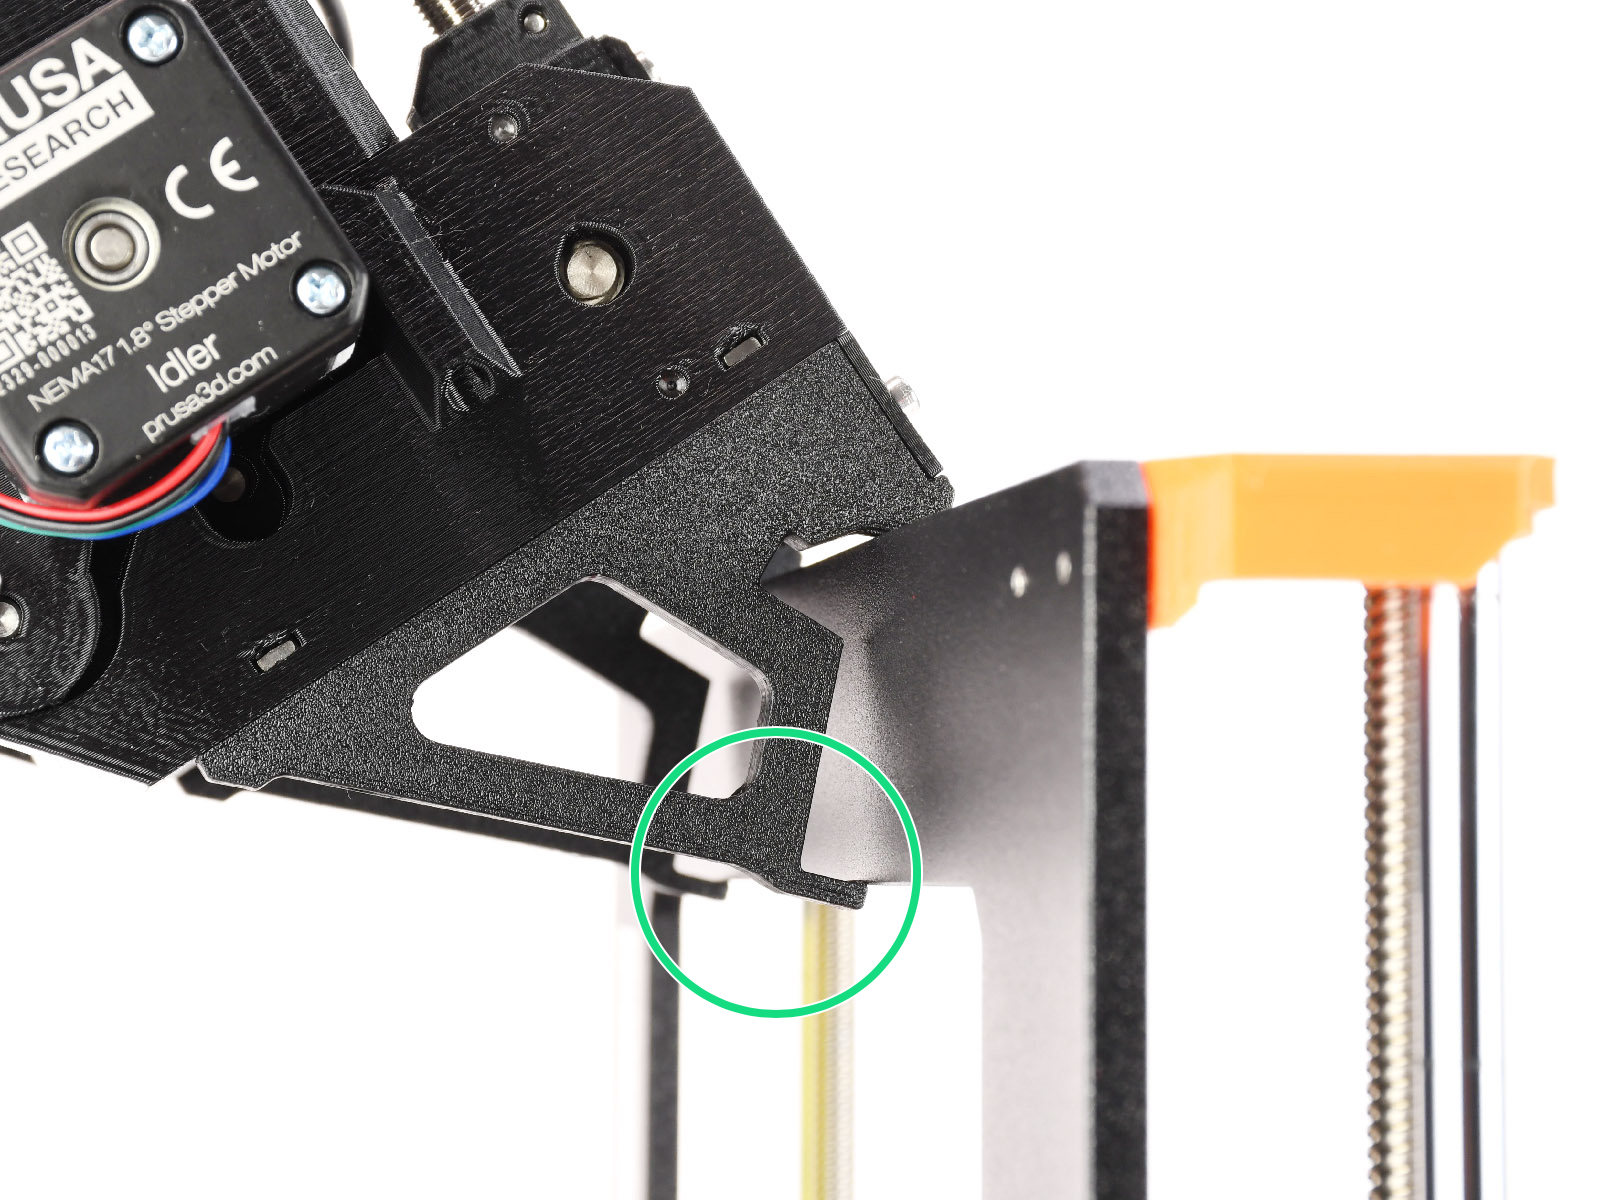
Attach it just by the top hooks.
Attach it just by the top hooks.
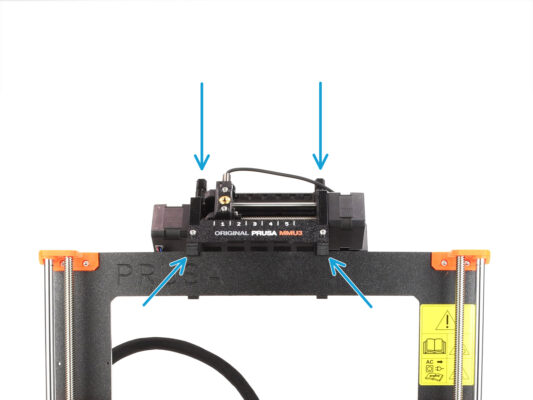
⬢Look from behind, there are "clamps", which will be used to lock the unit to the frame in the next step.