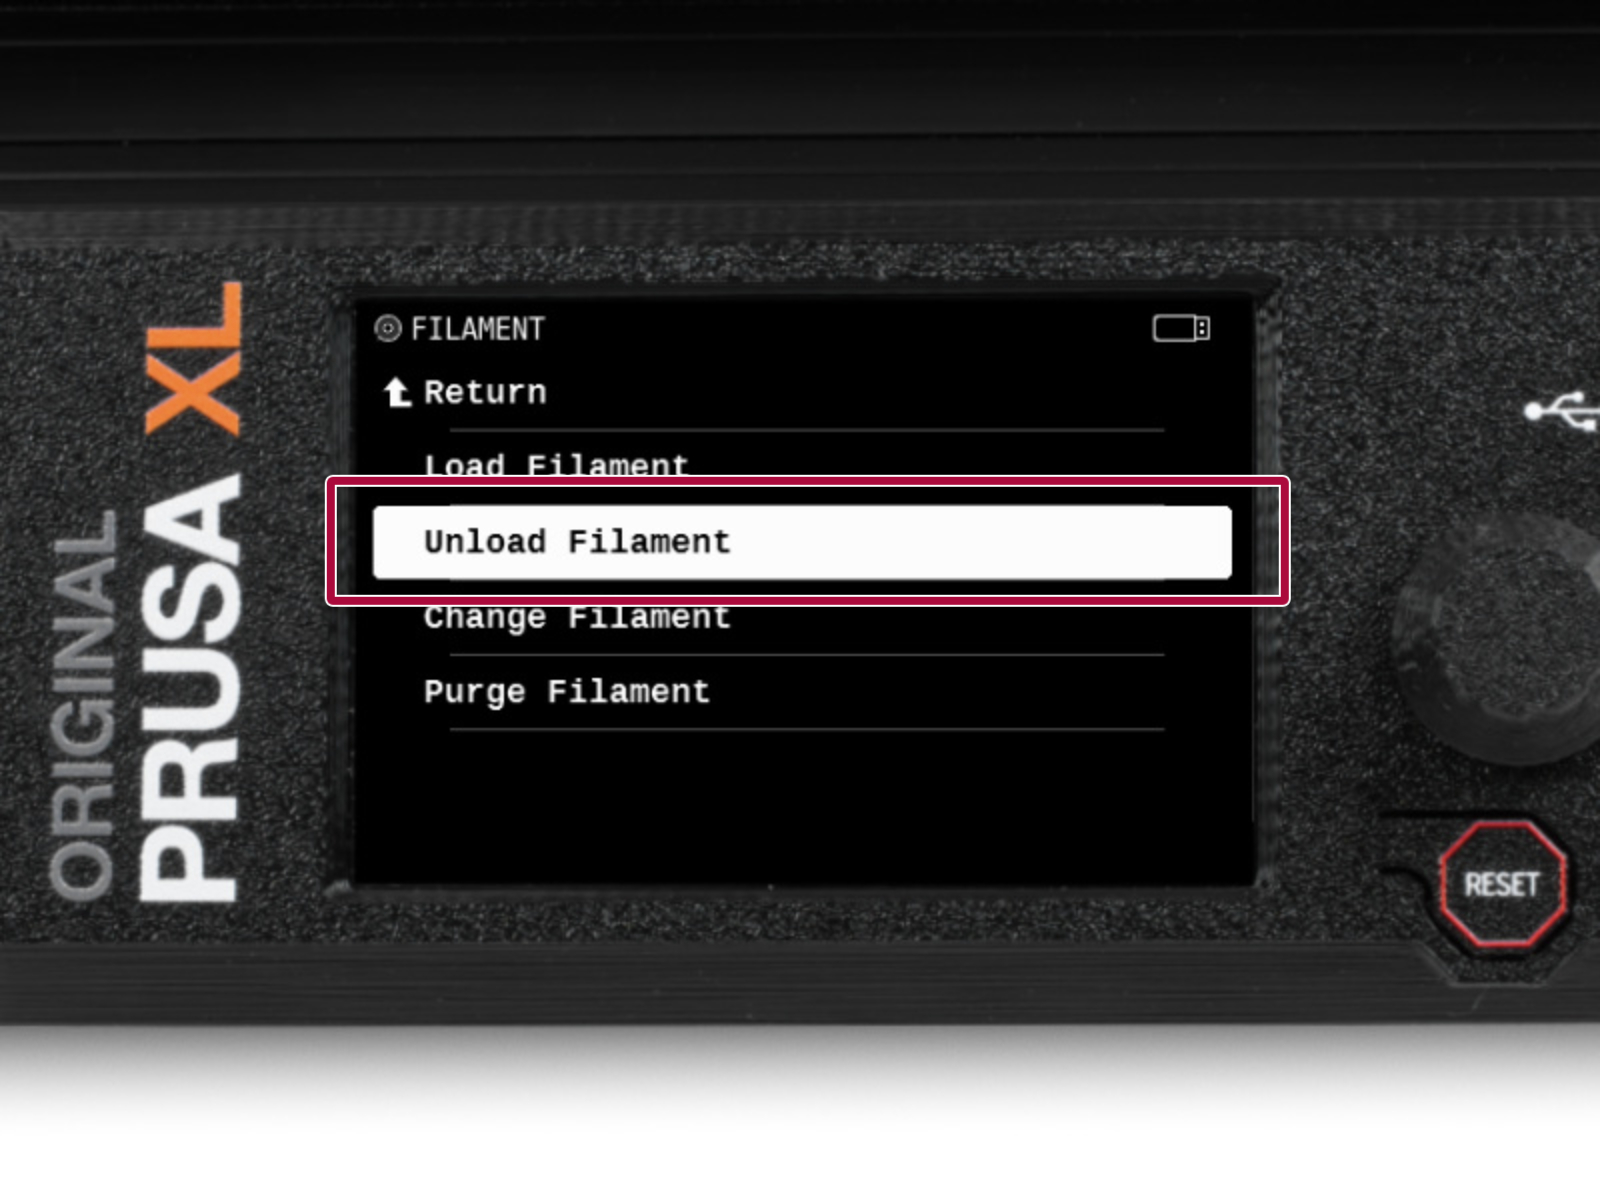
EN
  • Čeština
  • Español
  • Italiano
  • Deutsch
  • Polski
  • Français
Login

2. Printer preparing

2. Printer preparing
Relevant for:
Last updated 3 months ago
2. Printer preparing
 Difficulty
Easy
 Steps
6
 Available languages
CSPLDEESITFR
Preparing the printer
If you have loaded the filament, unload it from the hotend. On the screen, navigate to Filament -> Unload Filament.
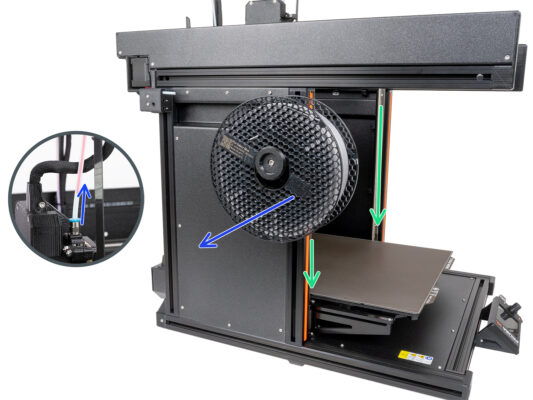
Remove the filament from the hotend. It is is necessary to completely remove it from the printer.
WARNING: The hotend and heatbed are very HOT. Do not touch these parts!!!
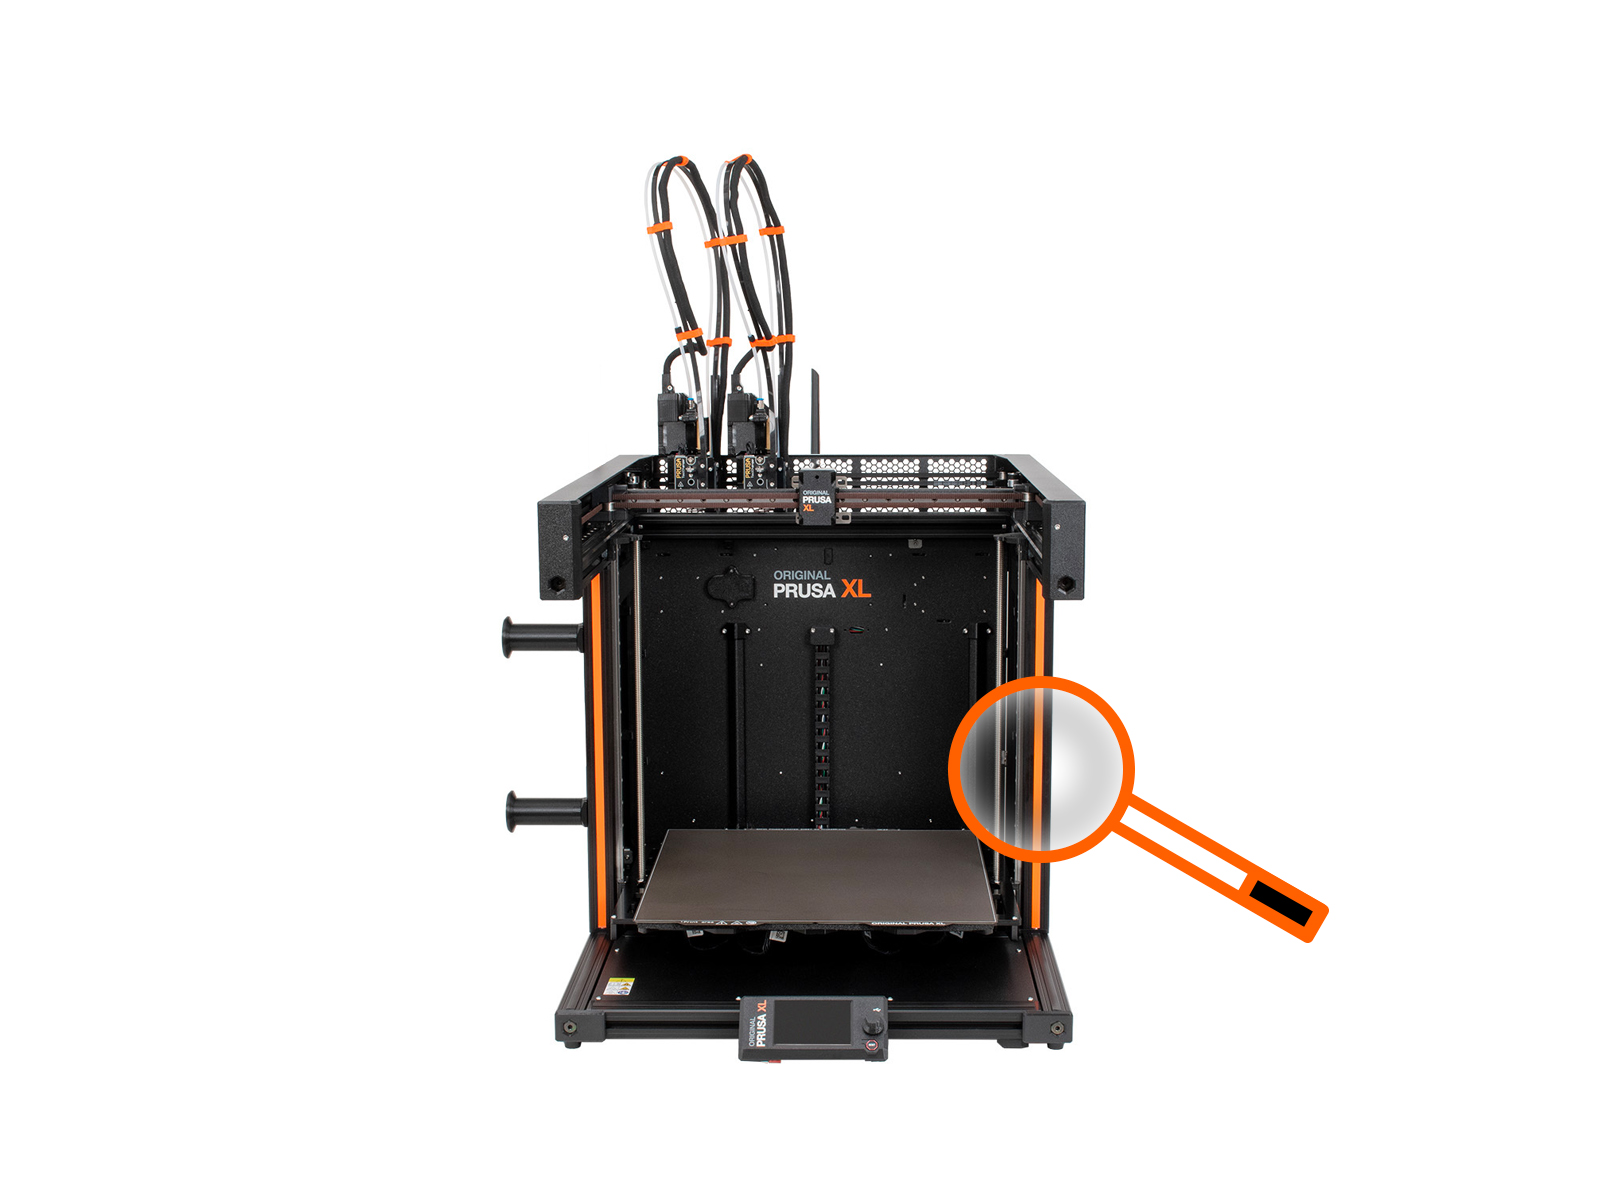
Move the Z-axis down. On the screen, navigate to Control -> Move axis -> Move Z.
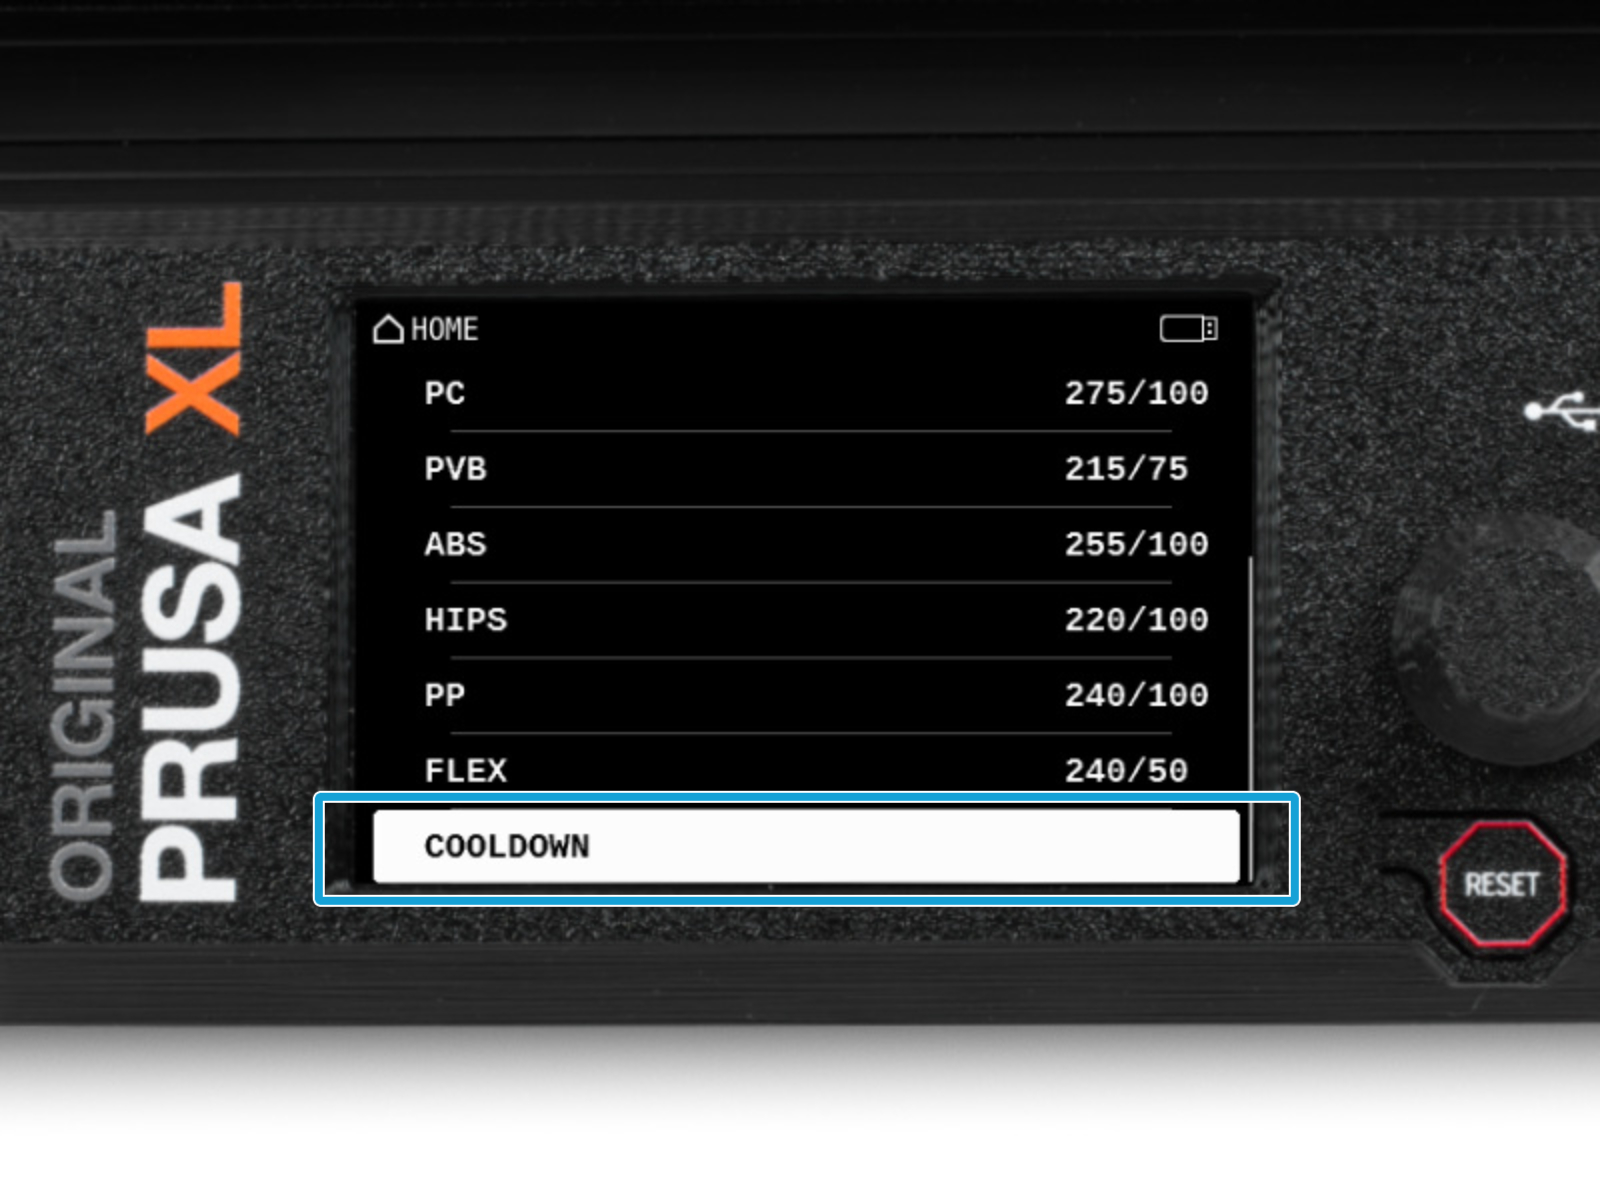
Cool down the printer. On the screen, navigate to Preheat -> Cooldown.
Wait until the hot parts are cooled down to ambient temperature. It takes approximately 10 minutes.
Protecting the heatbed
Before you proceed, it is recommended to protect the heatbed.
Make sure the heatbed is cooled down to ambient temperature. Place the empty cardboard box approximately to the front center part of the heatbed.
Printer unpluging
Printer unpluging
Turn the power switch OFF (symbol "O").
From the rear side of the printer, unplug the PSU cable.
Can I open the Haribo?
Keep the Haribo bag closed for now!
This dose of energy is primarily for printer assembly. Wait until you are prompted to open it.
Haribo
Haribo
Carefully and quietly open the bag with the Haribo sweets. High level of noise might attract nearby predators!
Spread the entire contents of the bag on a clean plate and arrange them according to the picture. The color doesn't matter that much.
The total number in your package may vary slightly. However, the exact number is important. If any gummy bears are missing, please go to your nearest candy store immediately.
Eat ten gummy bears.
Did you know that gummy bears were first created by a German candy maker named Hans Riegel in the 1920s.
Let's get started
Let's get started
Everything checked? So, let's start with disassembling the printer. Let's go to the next chapter: 3. Nextruder detaching
Was this guide helpful?

Comments

Still have questions?

Still have questions?

If you have a question about something that isn't covered here, check out our additional resources.
And if that doesn't do the trick, you can send an inquiry to [email protected] or through the button below.

Contact us