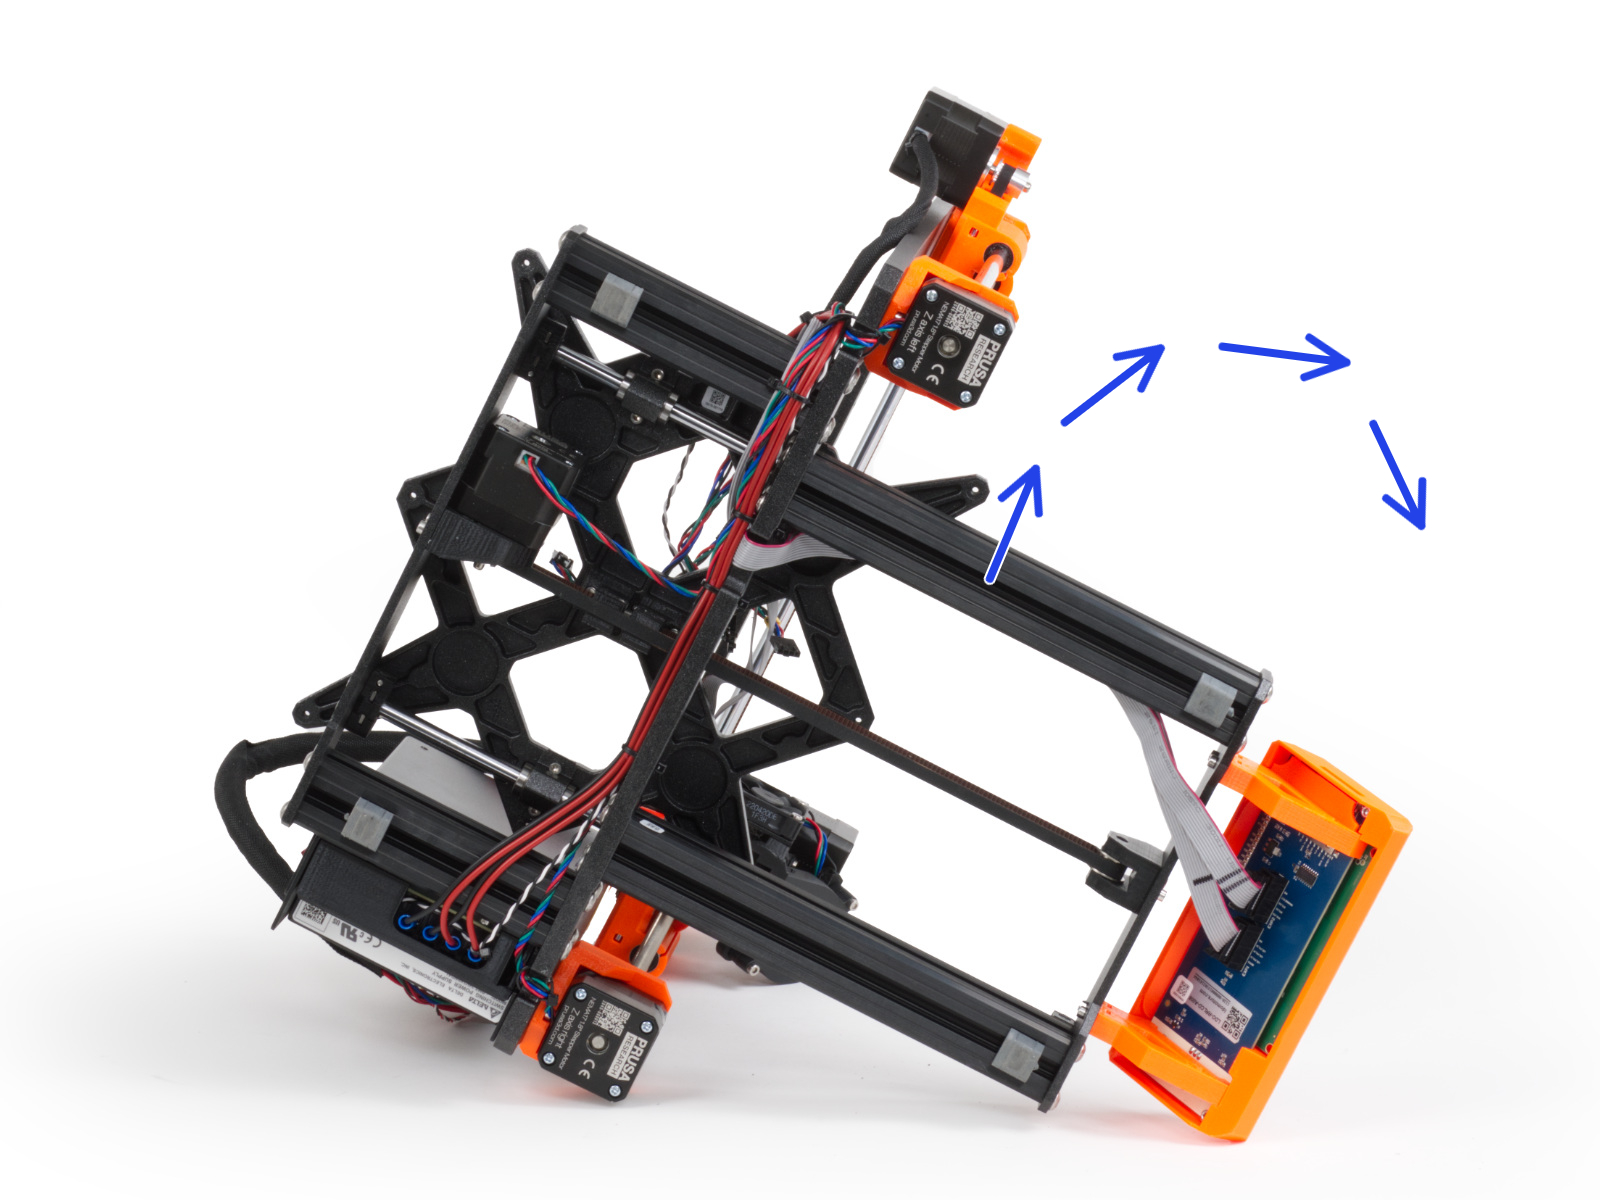


⬢Take a look from the back of the printer.
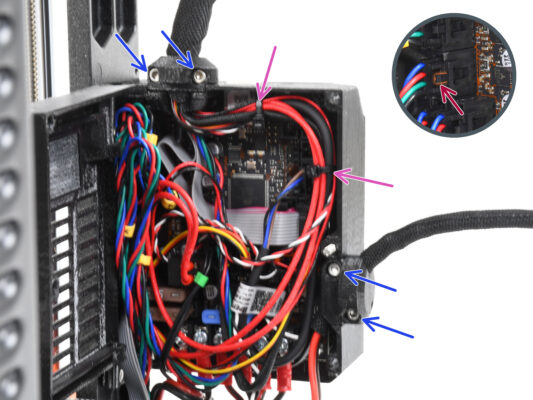
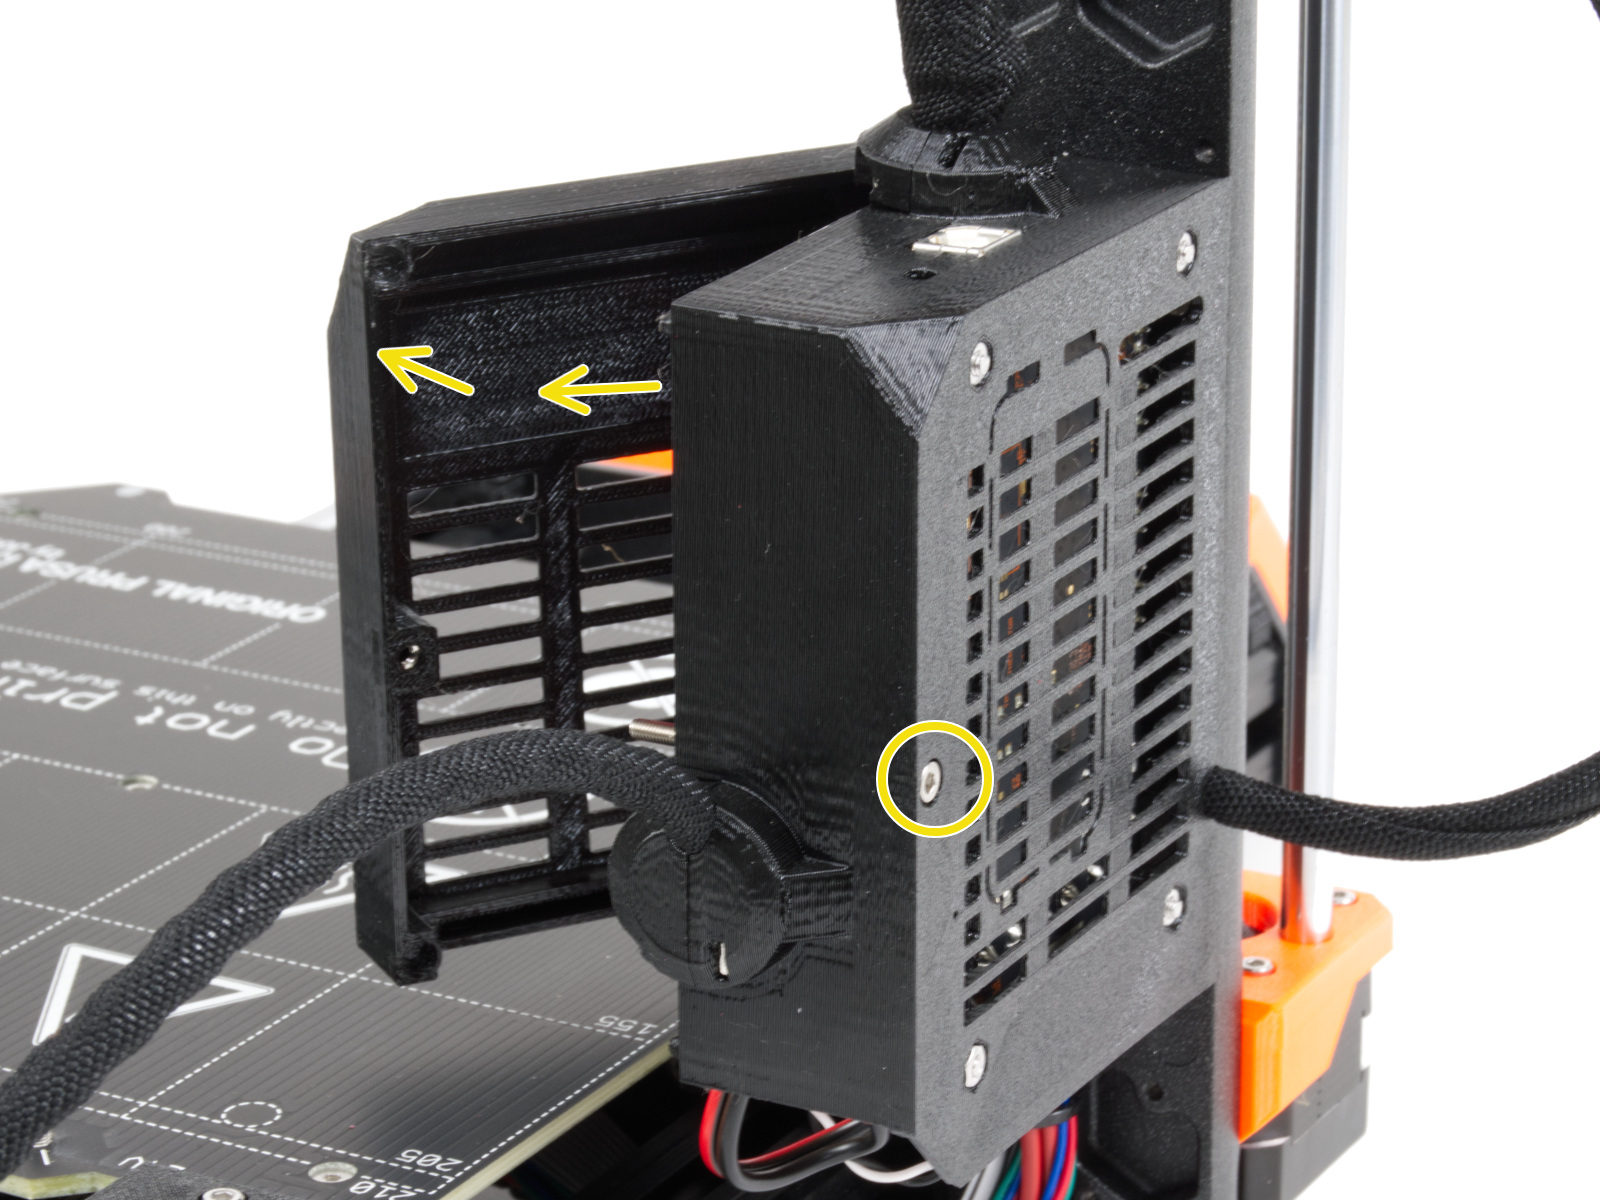
⬢On the electronics box (Einsy base), release the middle screw on the box to open the door.
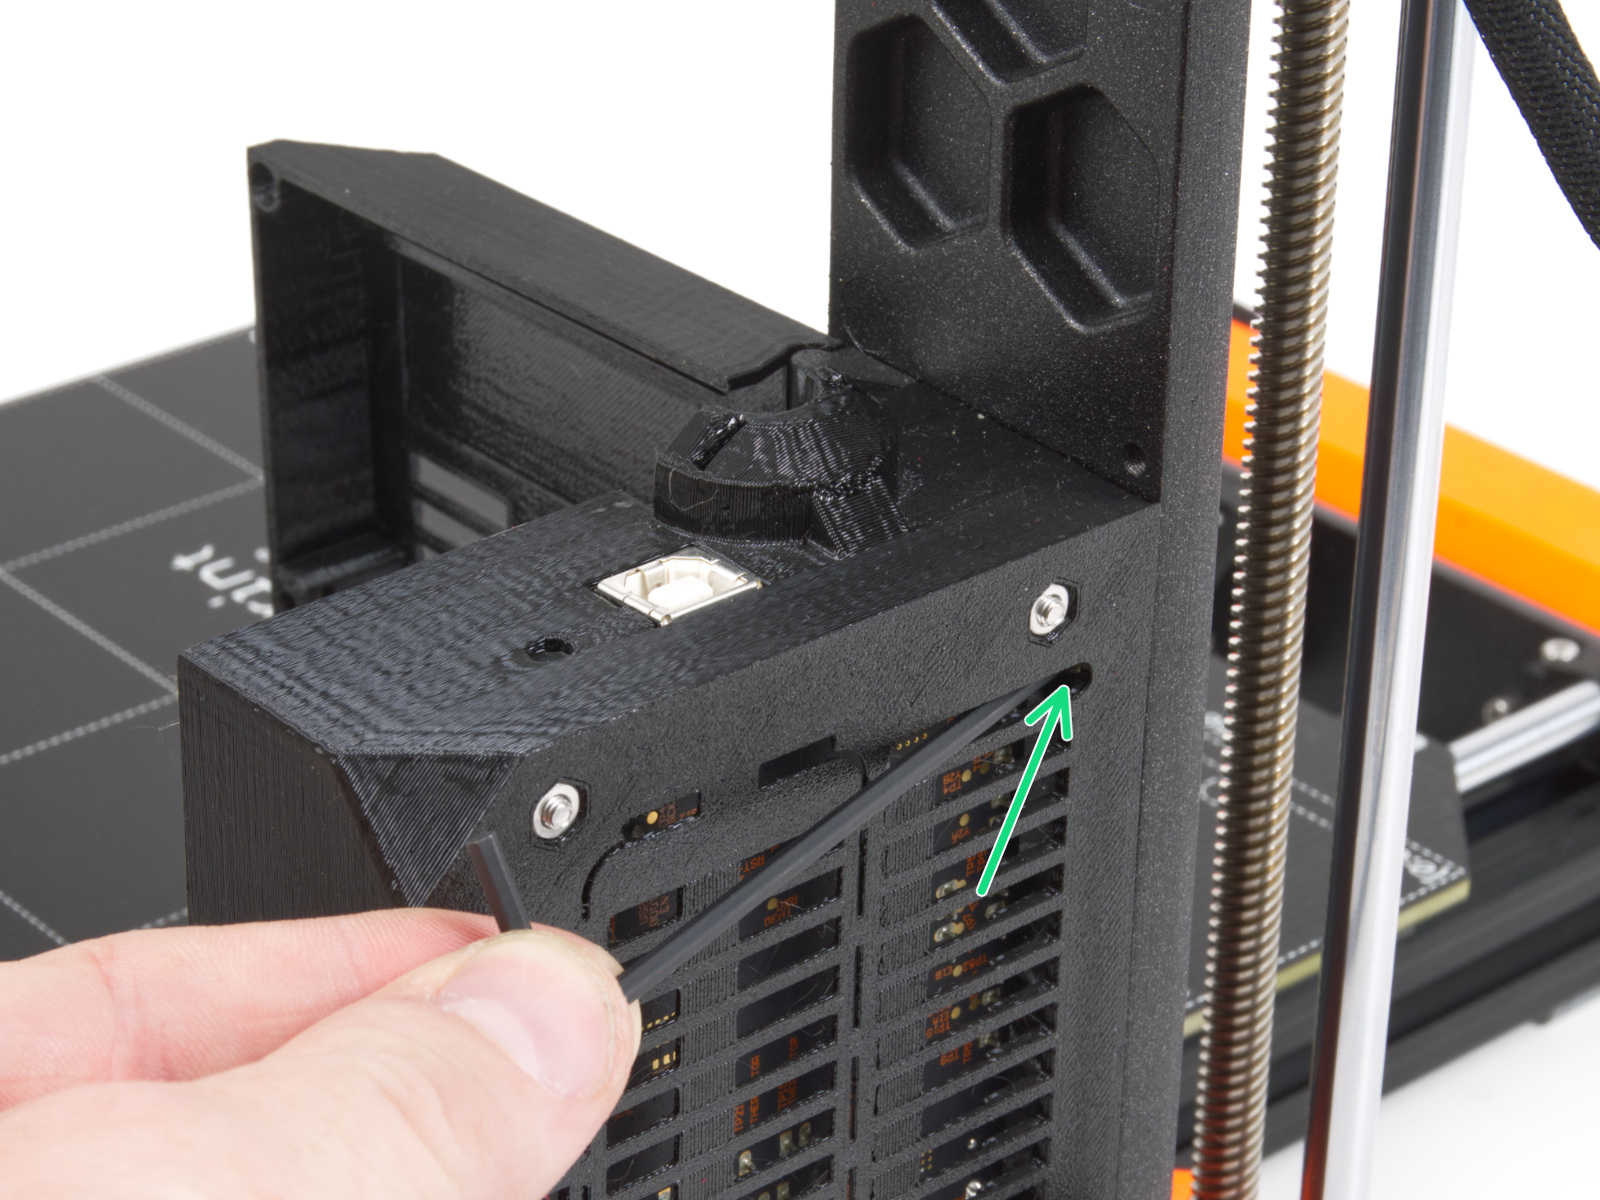
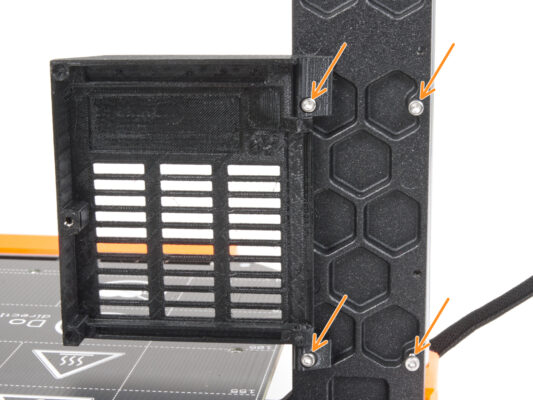
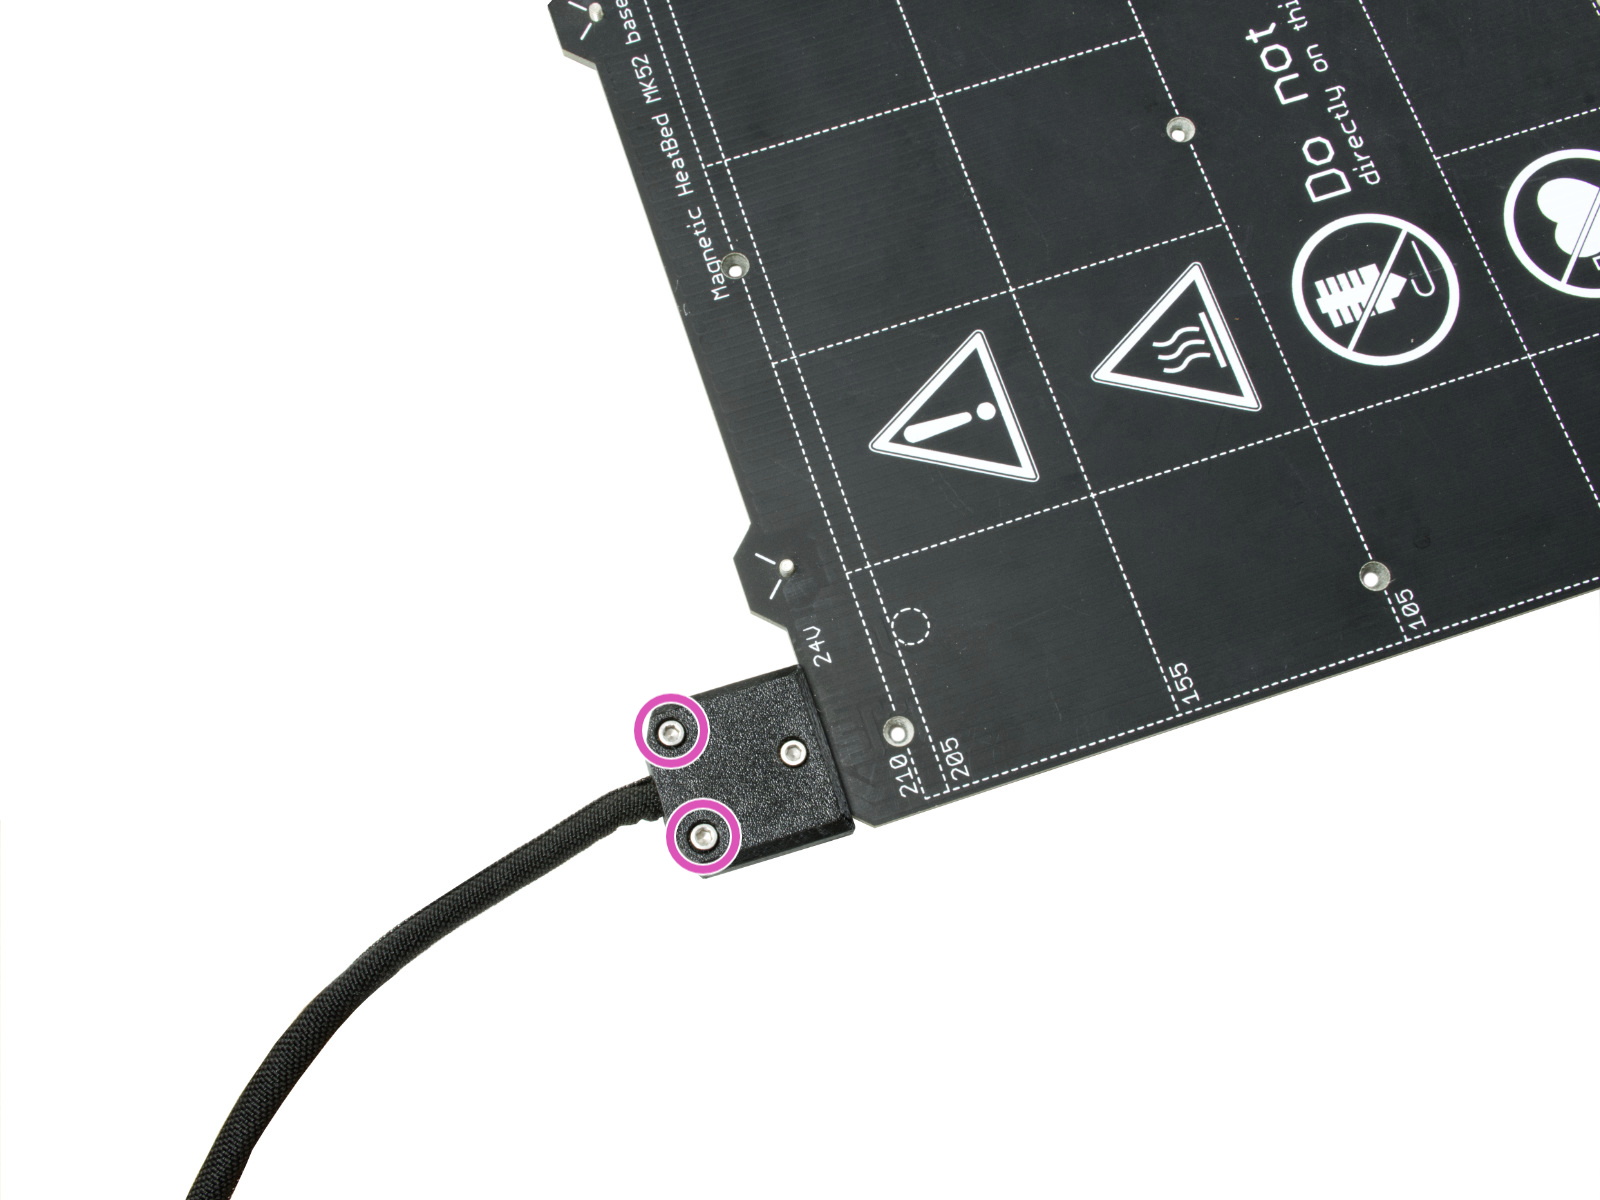
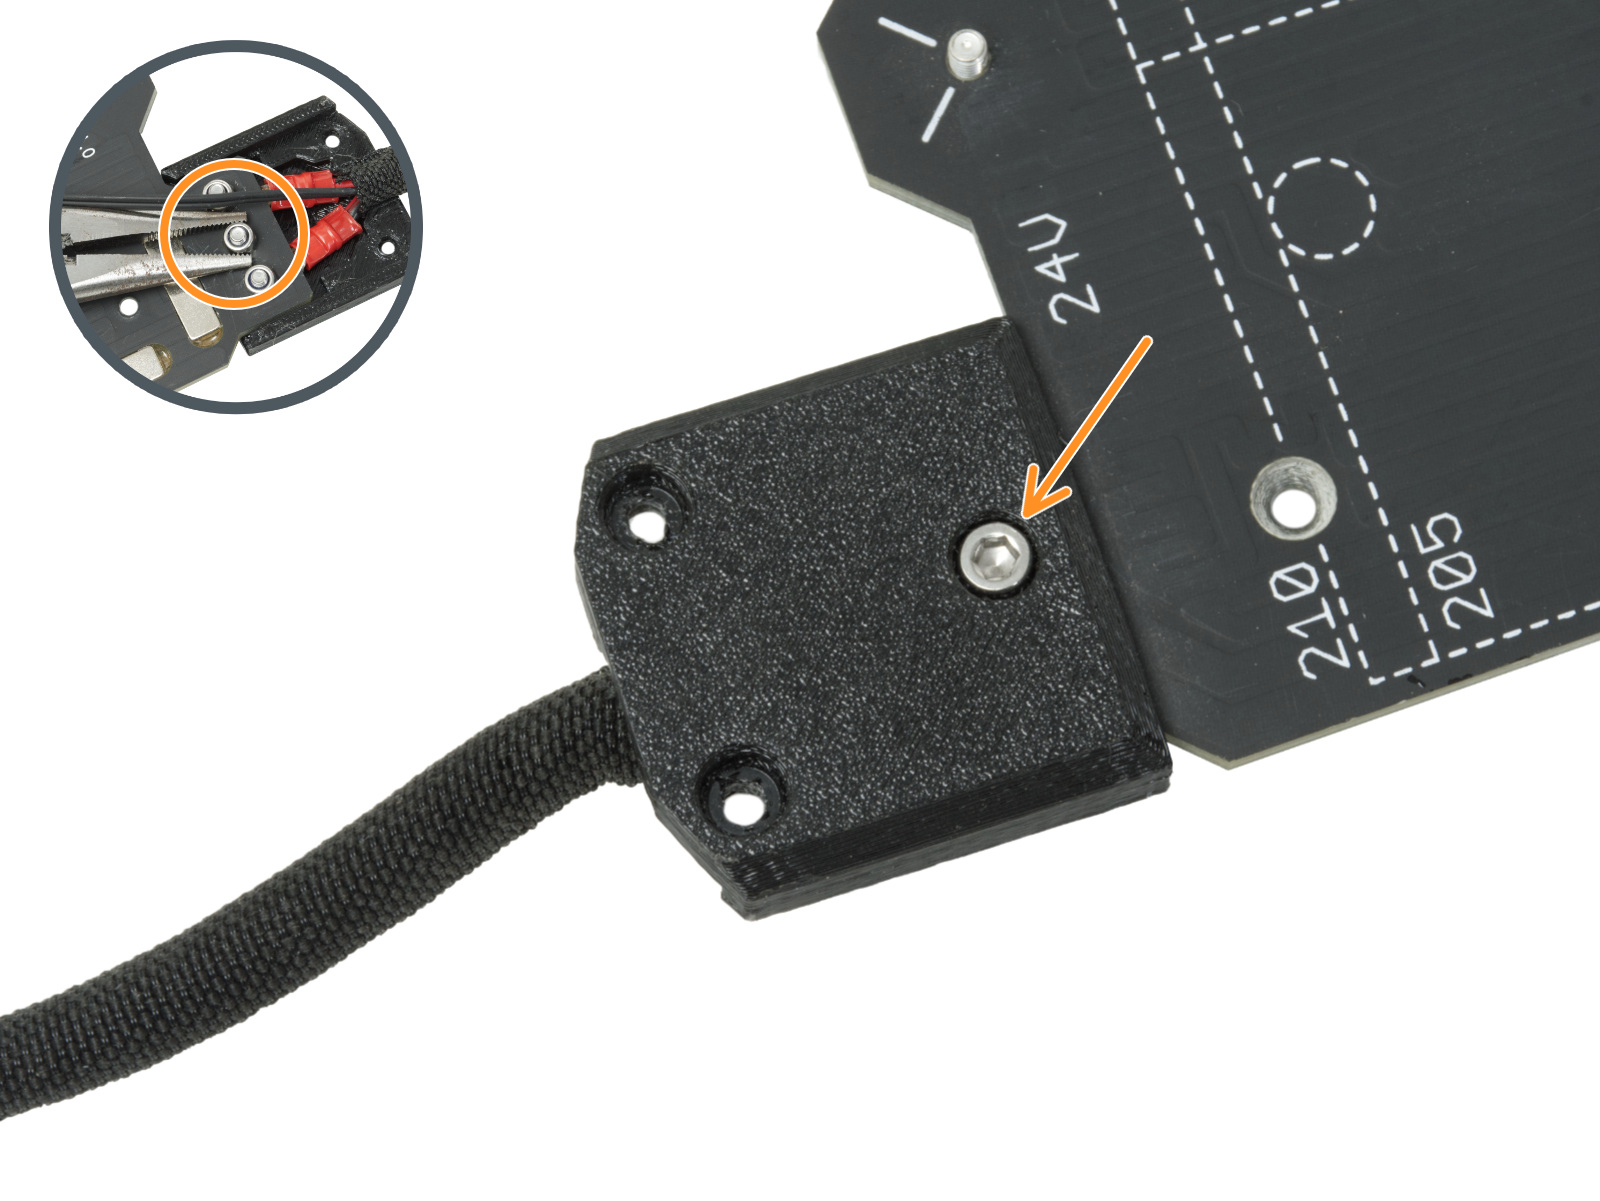
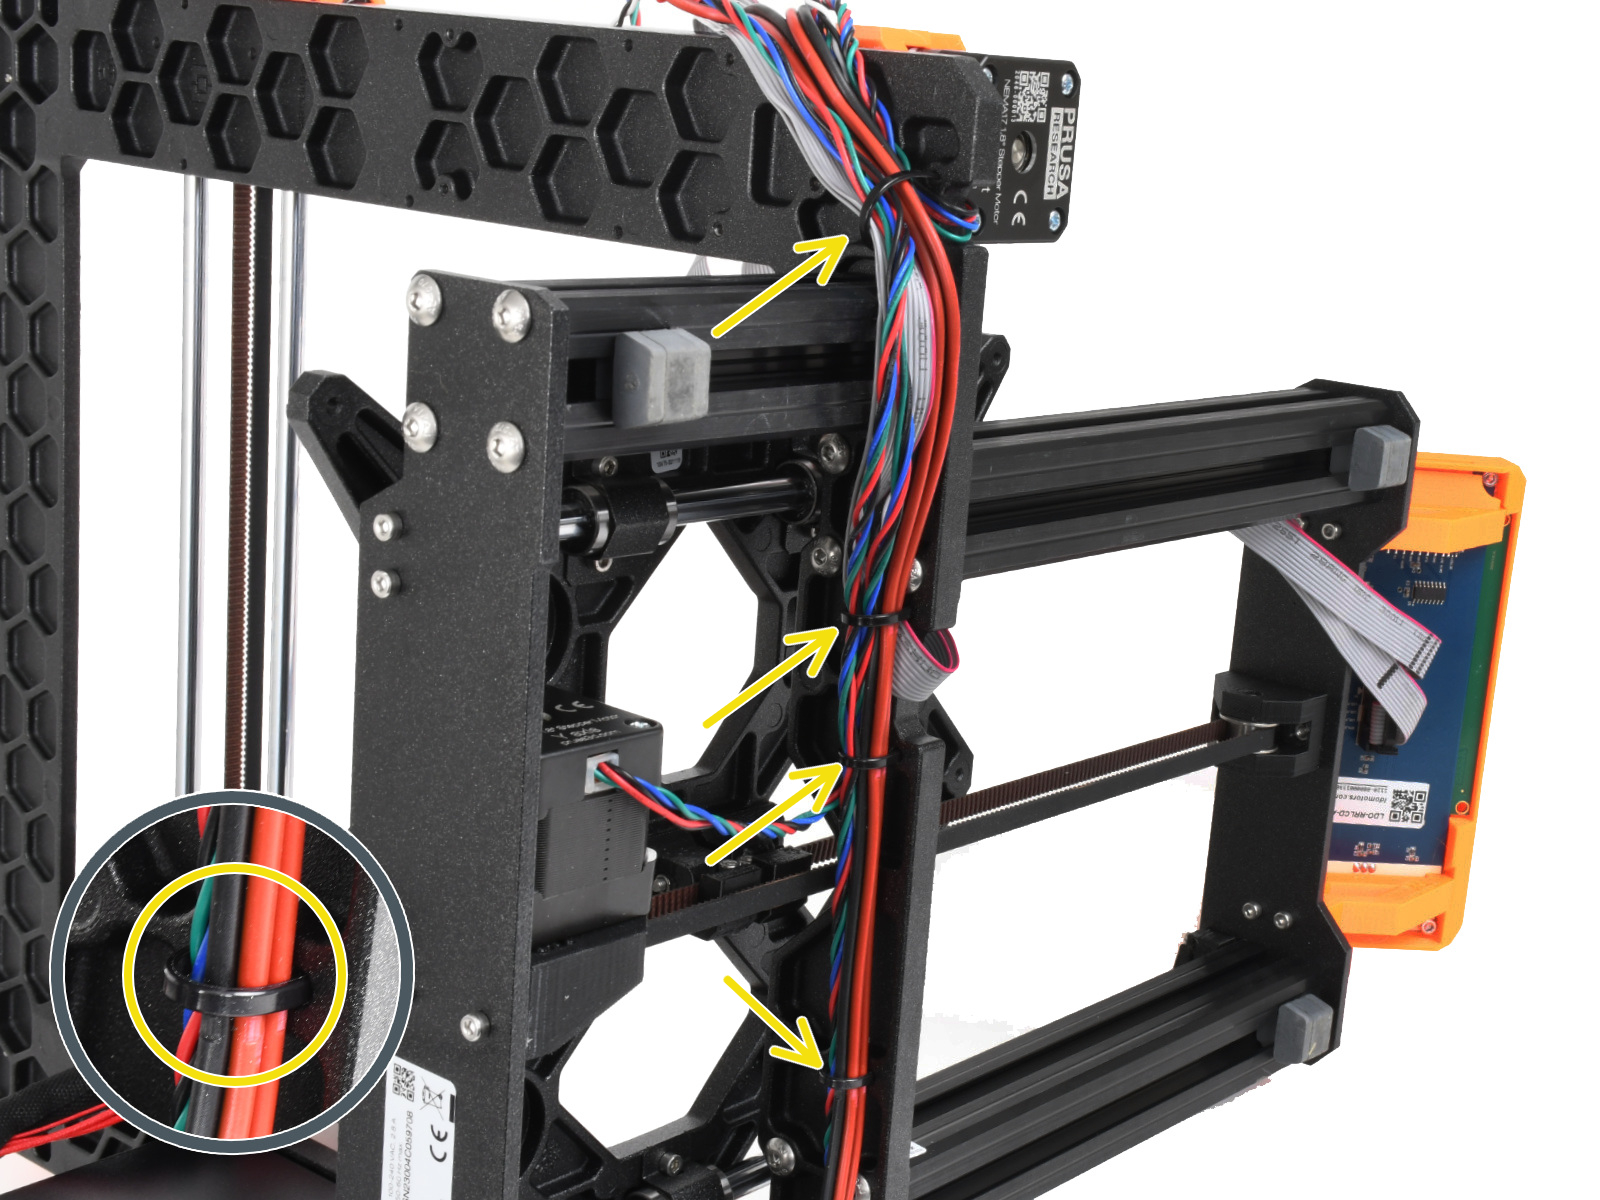
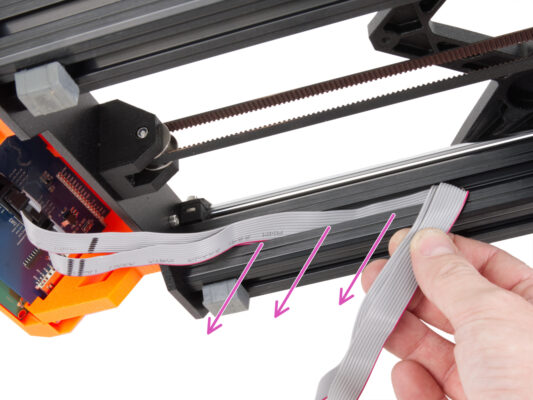
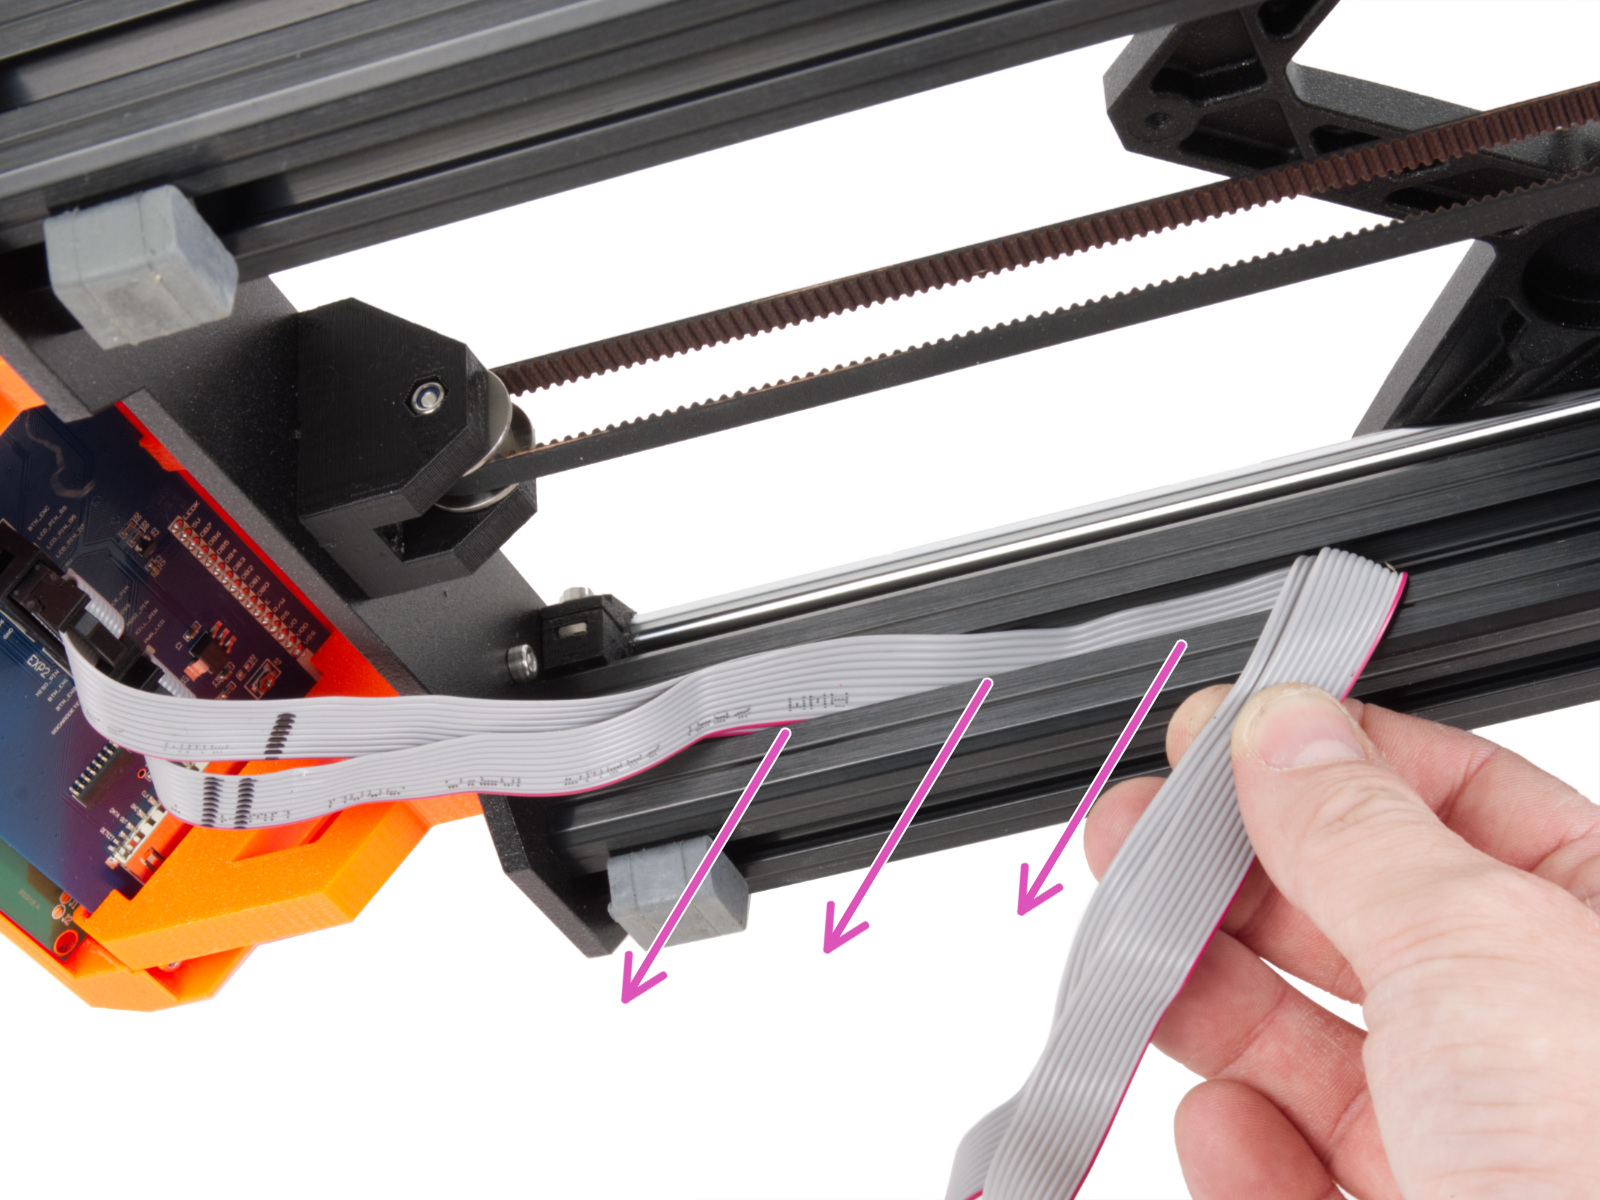
⬢Release all M3 screws on the cable holders on the box.
Avoid cutting the cables!!!
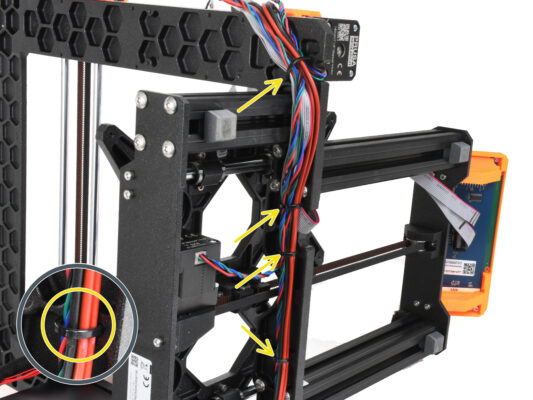
⬢If some of the cables are secure with zip ties, carefully cut the zip ties.
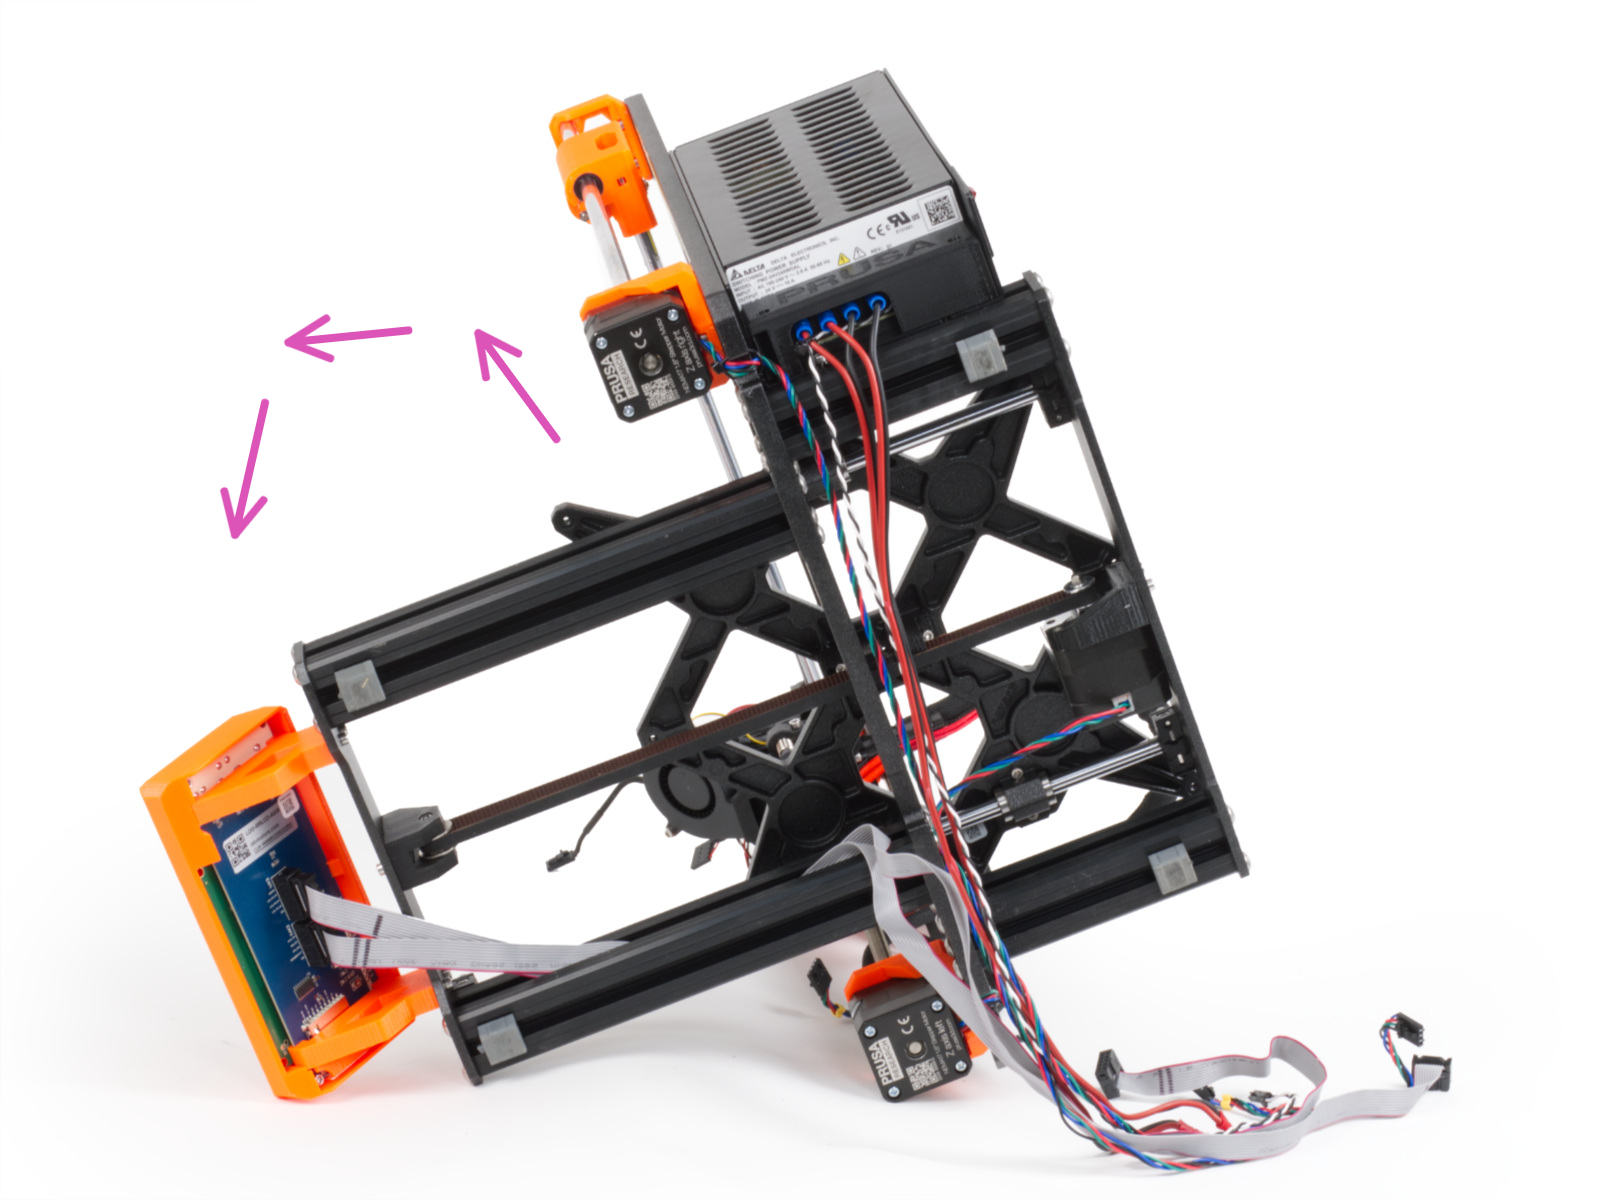
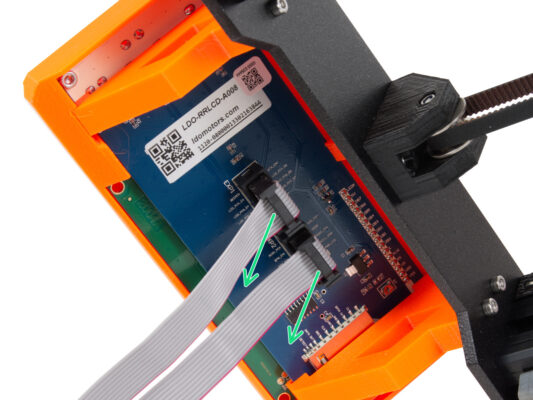
⬢Disconnect all cables from the EINSY electronics board.
⬢Some of the cables have a safety latch on the connector. Press the latch before disconnecting.
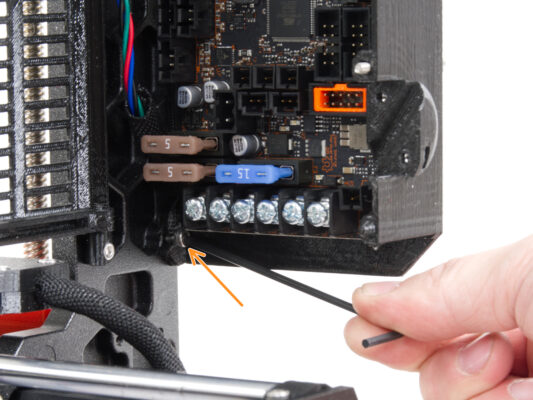
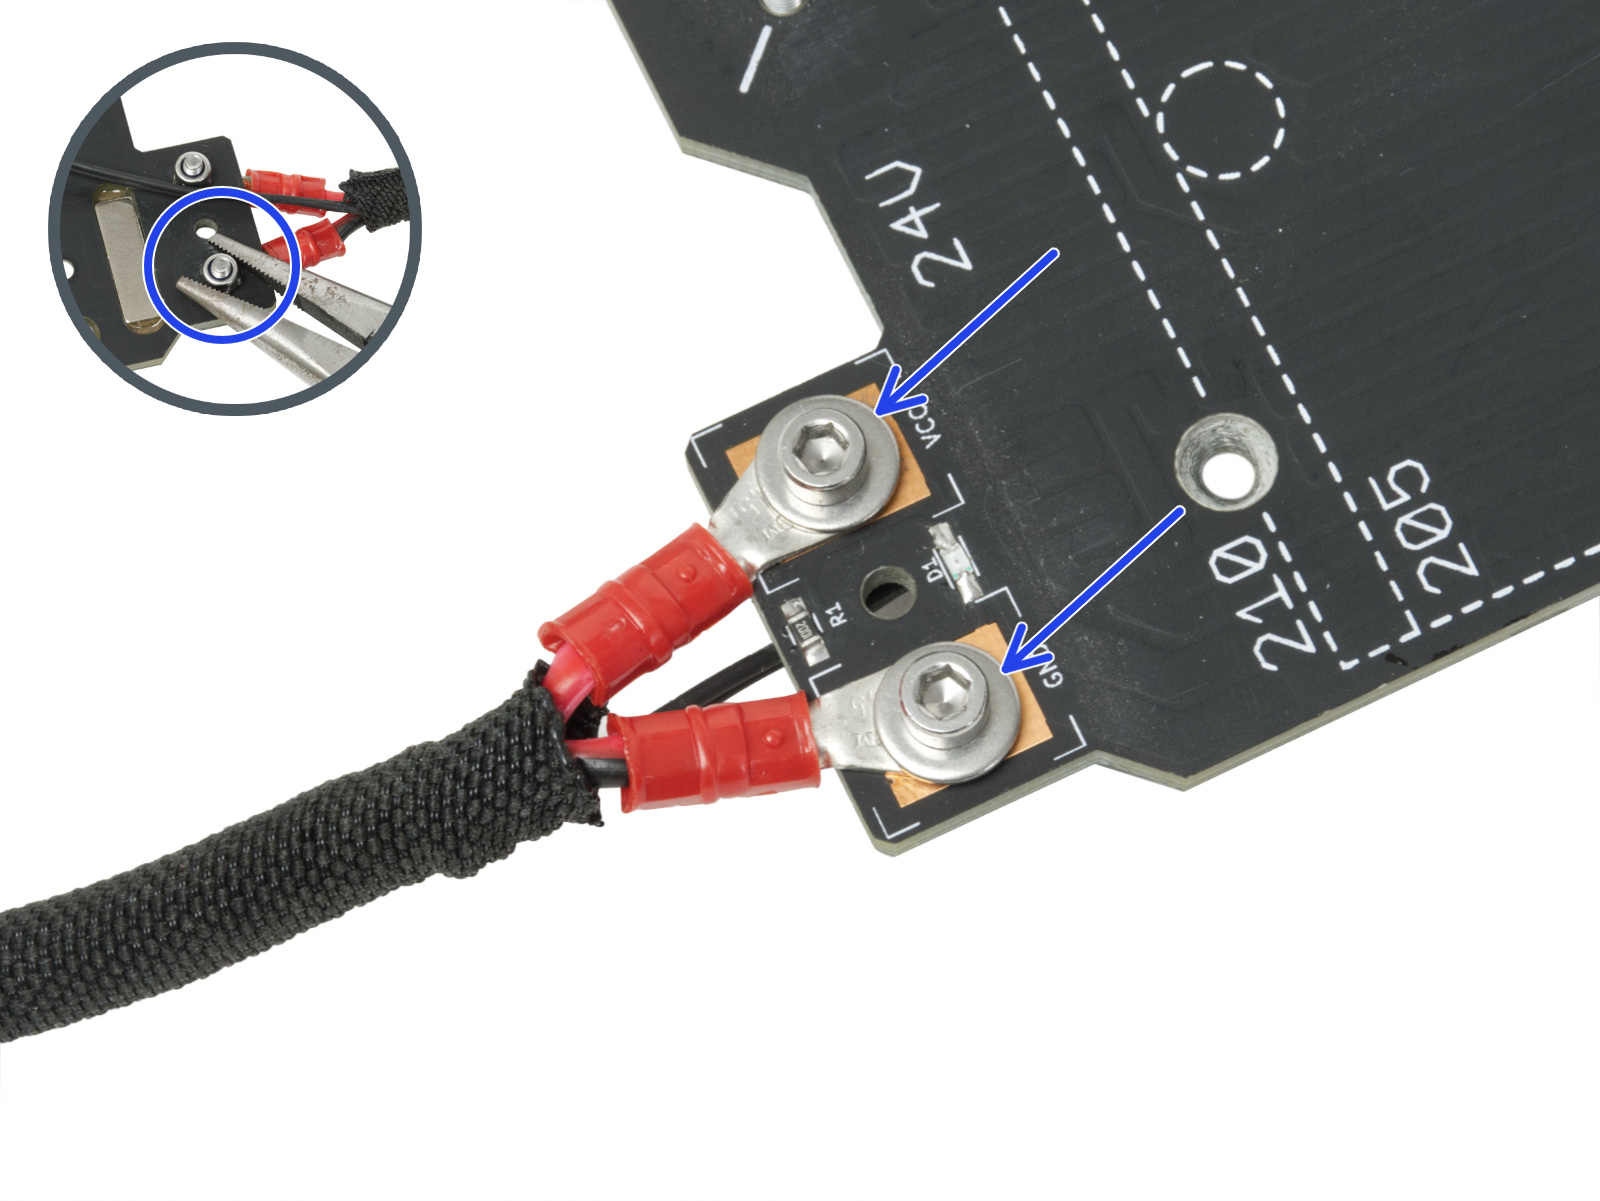
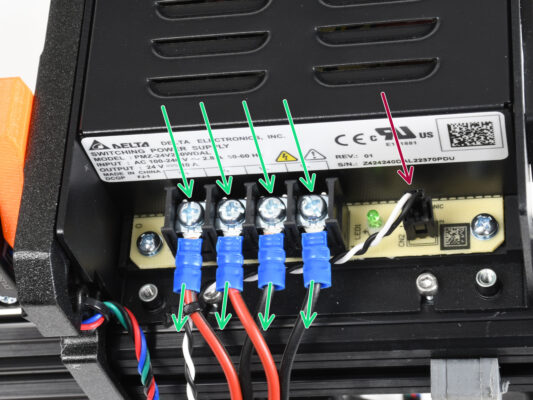
⬢Using the Philips screwdriver, loosen all the 6 power terminal screws and slide out all the power cables.