Polski
Login
Drukarki 3D
Materiały
Części i akcesoria
Dla biznesu
Oprogramowanie
Modele 3D
Społeczność
Pomoc
Kursy
Blog
Firma
Wsparcie
Prusa CORE One L
Konserwacja drukarki
How to replace the Buddy3D camera cable (CORE One L) | Rozpocznij montaż
1. Rozpocznij montaż
Krok 1 z 51 (Rozdział 7 z 17)
Spis treści
Komentarze
Poziom trudności
Trudny
Dostępne języki
Rozpocznij montaż
Spis treści
Konserwacja drukarki
Jak zamontować adapter dyszy Nextruder V6 (CORE One L)
Jak wymienić dyszę Prusa Nozzle (CORE One L)
Jak wymienić hotend (CORE One L)
Jak wymienić wentylator hotendu (CORE One L)
How to replace the side filament sensor (CORE One L)
How to install the advanced filtration (CORE One L)
How to replace the Buddy3D camera cable (CORE One L) [Tłumaczenie w toku]
Rozpocznij montaż
Introduction
Narzędzia niezbędne dla tej instrukcji
Preparing the printer
Disconnecting the camera
Demontaż panelu drzwi
Removing the plexiglass cover
Removing the metal side cover
Protecting the heatbed
Accessing the corner profile screw
Removing the corner profile (Part 1)
Removing the corner profile (Part 2)
Reattaching the LCD panel
Removing the LED panel
Accessing the cables (part 1)
Accessing the cables (part 2)
Removing the Wi-Fi module
Demontaż pokrywy elektroniki
Disconnecting the cables
Odłączenie przewodów zasilacza
Checking the cables
Removing the heatbed cables
Detaching the back panel
Removing the back panel (part 1)
Removing the back panel (part 2)
Removing the back panel (part 3)
Removing the cable clamps
Removing the USB-C cable
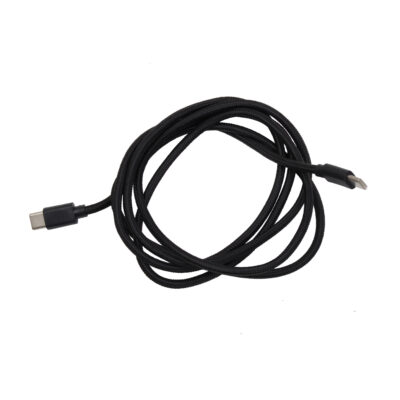
Parts preparation: Buddy3D camera USB-C cable
Attaching the new USB-C cable
Reattaching the back panel (part 1)
Reattaching the back panel (part 2)
Reattaching the back panel (part 3)
Reconnecting the xBuddy power cables
Reconnecting the main FE cable
Reattaching the heatbed cables
Reconnecting the cables (part 1)
Reconnecting the cables (part 2)
Checking the cable length
Covering the electronics
Reattaching the Wi-Fi module
Reattaching the cable clamps (part 1)
Reattaching the cable clamps (part 2)
Reattaching the LED and the door sensor
Reattaching the corner profile
Reattaching the LCD panel
Attaching the side panel
Montaż panelu drzwi
Reconnecting the camera
Testing the camera
Well done
How to replace a Hotend Heater (CORE One L)
How to replace a Hotend Thermistor (CORE One L)
How to replace Nextruder Filament Sensor (CORE One L)
How to replace the print fan (CORE One L)
How to replace the Accelerometer (CORE One L)
How to replace Hotend Heatsink (CORE One L)
How to reverse the door orientation (CORE One L)
How to replace Loveboard (CORE One L)
How to replace a Hotend Thermistor (CORE One L)
Jak wymienić białą taśmę LED (CORE One L)
Komentarze
Zaloguj się
, aby dodać komentarz
Brak komentarzy