日本語
Login
3Dプリンター
マテリアル
部品 & アクセサリー
ソフトウェア
3Dモデル
応用事例
コミュニティ
ヘルプ
アカデミー
ブログ
会社概要
サポート
Original Prusa MINI+
Original Prusa MINI Enclosure (1.0)
White LED strip (add-on) | Tools necessary for this chapter
1. Tools necessary for this chapter
Step 1 of 34 (Chapter 5 of 8)
フルスクリーンモード
内容
コメント
⬢
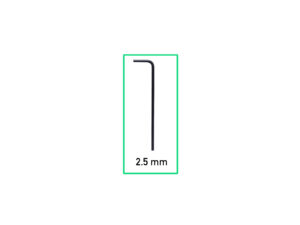
For this chapter, please prepare:
⬢
2.5mm Allen key
Loading...
次
内容
Original Prusa MINI Enclosure (1.0)
1. はじめに
2. Assembling the Enclosure
3. Installing the printer
Advanced filtration system (add-on)
White LED strip (add-on) [進行中の翻訳]
Tools necessary for this chapter
Additional tools
Optional parts
Removing the side arm
Disconnecting the cables
Uninstalling the printer
Delta PSU: parts preparation
Releasing the rear foot
Guiding the PSU cable
Securing the rear foot
Releasing the front foot
Securing the PSU cable
White LED strip: parts preparation
Assembling the LED strip
Assembling the LED strip
Mounting the LED strip
LED cable: parts preparation
Guiding the LED cable
Basic Board: parts preparation
Installing the Basic Board
Installing the Basic Board
Mounting the Basic Board
Connecting the Basic Board
PSU holder clarification (optional)
PSU holder: parts preparation (optional)
PSU holder nut preparation (optional)
PSU holder preparation (optional)
Attaching the PSU holder (optional)
Securing the PSUs (optional)
Installing the printer
Adjusting printer position
Connecting the cables
Mounting the side arm
That's it
Fire Suppression System (add-on)
Mechanical lock (add-on)
Manual changelog MINI Enclosure
コメント
ログイン
してコメントを投稿する
コメントなし