日本語
Login
3Dプリンター
マテリアル
部品 & アクセサリー
法人向け
ソフトウェア
3Dモデル
コミュニティ
ヘルプ
コース一覧
ブログ
会社概要
サポート
Original Prusa SL1
Original Prusa SL1キット組立て (v1.02)
1. Introduction | 必要な工具はすべて付属しています。
1. 必要な工具はすべて付属しています。
ステップ 1 / 10 (章 1 / 6)
内容
コメント
⬢
The assembly kit includes:
⬢
Cutting pliers
⬢
Wrench
⬢
Torx key
⬢
Allen keys
⬢
IPAクリーニングパッド
⬢
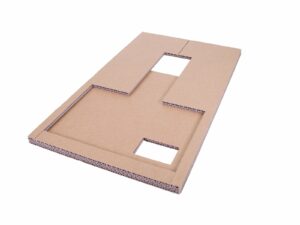
Cardboard
The cardboard will be used to make the assembly easier and protect some parts of the printer. Don't throw it away until the printer is fully built! Handle it carefully the edges might be sharp.
Loading...
次
内容
Original Prusa SL1キット組立て
1. はじめに
必要な工具はすべて付属しています。
Boxes and bags are labelled
ラベルを参照する
Spare bag
高解像度の画像を見る
サポートが必要な時はこちらから!
Unpacking the SL1 kit
Important: Electronics protection
Regular rewards are crucial!
正しく組み立てる方法
2. Base & Tower
3. Covers & Platform
4. Electronics & Lid
5. Preflight check
Manual changelog SL1
コメント
ログイン
してコメントを投稿する
コメントなし