Italiano
Login
Stampanti 3D
Materiali
Componenti e accessori
Per le aziende
Software
Modelli 3D
Community
Aiuto
Corsi
Blog
Azienda
Supporto
Prusa CORE One L
Manutenzione della stampante
How to install the Advanced Filtration (CORE One L) | Iniziare il montaggio
1. Iniziare il montaggio
Passo 1 di 15 (Capitolo 6 di 18)
Contenuti
Commenti
Difficoltà
Facile
Lingue disponibili
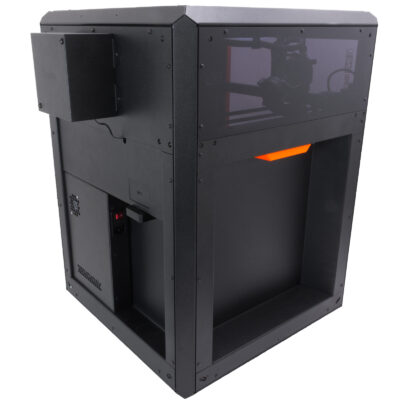
Iniziare il montaggio
Contenuti
Manutenzione della stampante
Come installare l'adattatore Ugello Nextruder V6 (CORE One L)
Come sostituire l'Ugello Prusa (CORE One L)
Come sostituire un gruppo hotend (CORE One L)
Come sostituire la ventola dell'hotend (CORE One L)
How to replace the side filament sensor (CORE One L)
Come installare il sistema di filtrazione avanzato (CORE One L)
Iniziare il montaggio
Introduzione
Attrezzi necessari per questa guida
Filtrazione avanzata: preparazione dei componenti
Installare il ventilatore
Installazione della schiuma sigillante
Inserimento del filtro HEPA
Montare il gruppo di filtrazione
Rimozione del modulo Wi-Fi
Rimozione delle coperture dell'elettronica
Collegare il cavo del ventilatore
Coprire l’elettronica
Collegamento del modulo Wi-Fi
INFO Firmware
Ben fatto!
How to replace the Buddy3D camera cable (CORE One L)
Come sostituire il riscaldatore dell'hotend (CORE One L)
Come sostituire il termistore dell'hotend (CORE One L)
Come sostituire il sensore di filamento Nextruder (CORE One L)
Come sostituire la ventola di stampa (CORE One L)
Come sostituire l'Accelerometro (CORE One L)
Come sostituire il Dissipatore dell'Hotend (CORE One L)
How to reverse the door orientation (CORE One L)
Come sostituire la LoveBoard (CORE One L)
Come sostituire il termistore dell'hotend (CORE One L)
How to replace the White LED strip (CORE One L)
Come confezionare la Prusa CORE One L per il reso
Commenti
Accedi
per inviare un commento
Nessun commento