English
Login
3D printers
Materials
Parts & Accessories
For Business
Software
3D Models
Community
Help
Courses
Blog
Company
Support
Original Prusa MK4
Printer maintenance
How to replace a Heatbed Thermistor (MK4/S, MK3.9/S, MK3.5/S) | Begin assembly
1. Begin assembly
Step 1 of 21 (Chapter 12 of 14)
Contents
Comments
Difficulty
Moderate
Available languages
Begin assembly
Contents
Printer maintenance
Filament Guide addon (MK4S/MK4)
How to install the Nextruder V6 Nozzle Adapter (MK4/MK3.9)
How to replace the Prusa Nozzle (MK4/MK3.9)
How to replace Loveboard (MK4S/MK4/MK3.9S/MK3.9)
How to replace the silver PSU with the black PSU
How to replace a hotend heater (MK4/MK3.9)
How to replace a hotend thermistor (MK4/MK3.9)
How to replace a hotend fan (MK4 / MK3.9)
How to replace the xBuddy board (MK4/MK3.9/MK3.5)
How to replace a print fan (MK4 / MK3.9)
How to replace a hotend assembly (MK4 / MK3.9)
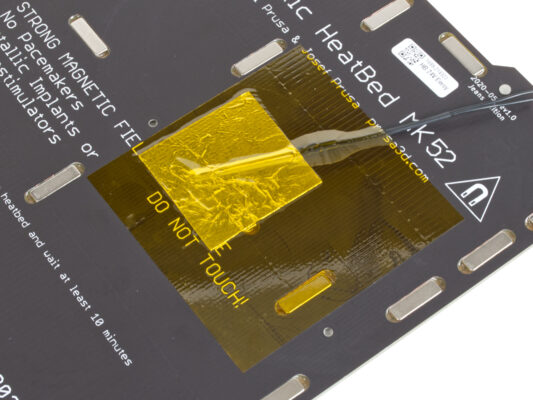
How to replace a Heatbed Thermistor (MK4/S, MK3.9/S, MK3.5/S)
Begin assembly
Introduction
Tools necessary for this chapter
Parts preparation
Removing the cables
Removing the heatbed
Cable bundle disassembly
Thermistor removal
New heatbed thermistor: parts preparation
Preparing the heatbed and thermistor
Covering the thermistor
Fixing the thermistor in place
Assembling the heatbed-cable-cover: nylon filament
Assembling the heatbed-cable-cover-bottom
Assembling the heatbed-cable-cover-top
Wraping the textile sleeve
Attaching the heatbed
Tightening the heatbed
Guiding the heatbed cables
Covering the heatbed cables
Final check
How to replace a hotend heatsink (MK4 / MK3.9)
How to replace xLCD (MK4/MK3.9/MK3.5)
Comments
Log in
to post a comment
No comments