Français
Login
Imprimantes 3D
Matériaux
Pièces & accessoires
Pour les Entreprises
Logiciel
Modèles 3D
Communauté
Aide
Cours
Blog
Entreprise
Support
Prusa CORE One L
Entretien de l'imprimante
How to replace the Buddy3D camera cable (CORE One L) | Commencer l'assemblage
1. Commencer l'assemblage
Étape 1 sur 51 (Chapitre 7 sur 17)
Contenu
Commentaires
Difficulté
Difficile
Langues disponibles
Commencer l'assemblage
Contenu
Entretien de l'imprimante
Comment installer l'adaptateur de buse Nextruder V6 (CORE One L)
Comment remplacer la Prusa Nozzle (CORE One L)
Comment remplacer un assemblage de hotend (CORE One L)
Comment remplacer le ventilateur de la hotend (CORE One L)
Comment remplacer le capteur de filament latéral (CORE One L)
Comment installer la filtration avancée (CORE One L)
How to replace the Buddy3D camera cable (CORE One L) [Traduction en cours]
Commencer l'assemblage
Introduction
Outils nécessaires pour ce guide
Preparing the printer
Disconnecting the camera
Retrait du panneau de porte
Removing the plexiglass cover
Removing the metal side cover
Protecting the heatbed
Accessing the corner profile screw
Removing the corner profile (Part 1)
Removing the corner profile (Part 2)
Reattaching the LCD panel
Removing the LED panel
Accessing the cables (part 1)
Accessing the cables (part 2)
Removing the Wi-Fi module
Removing the electronics covers
Disconnecting the cables
Disconnecting the PSU cables
Checking the cables
Removing the heatbed cables
Detaching the back panel
Removing the back panel (part 1)
Removing the back panel (part 2)
Removing the back panel (part 3)
Removing the cable clamps
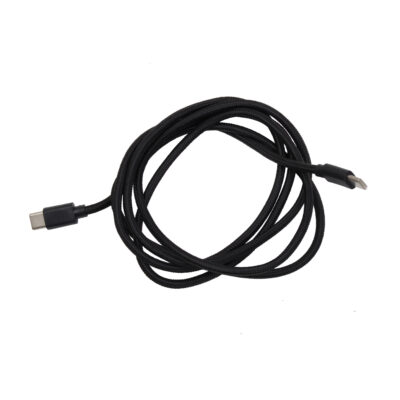
Removing the USB-C cable
Parts preparation: Buddy3D camera USB-C cable
Attaching the new USB-C cable
Reattaching the back panel (part 1)
Reattaching the back panel (part 2)
Reattaching the back panel (part 3)
Reconnecting the xBuddy power cables
Reconnecting the main FE cable
Reattaching the heatbed cables
Reconnecting the cables (part 1)
Reconnecting the cables (part 2)
Checking the cable length
Covering the electronics
Reattaching the Wi-Fi module
Reattaching the cable clamps (part 1)
Reattaching the cable clamps (part 2)
Reattaching the LED and the door sensor
Reattaching the corner profile
Reattaching the LCD panel
Attaching the side panel
Attaching the door panel
Reconnecting the camera
Testing the camera
Well done
Comment remplacer l'élément chauffant de la hotend (CORE One L)
Comment remplacer une thermistance de la hotend (CORE One L)
Comment remplacer le capteur de filament du Nextruder (CORE One L)
Comment remplacer le ventilateur d'impression (CORE One L)
Comment remplacer l'accéléromètre (CORE One L)
Comment remplacer le dissipateur thermique de la Hotend (CORE One L)
Comment inverser l'orientation de la porte (CORE One L)
Comment remplacer la Loveboard (CORE One L)
Comment remplacer une thermistance de la hotend (CORE One L)
How to replace the White LED strip (CORE One L)
Commentaires
Se connecter
pour poster un commentaire
Aucun commentaire