Español

1. Comenzar el montaje
Paso 1 de 12 (Capítulo 13 de 42)
Contenidos
Comentarios
Contenidos
Mantenimiento de la impresora
- How to replace the CoreXY plastic parts
- Cómo instalalar el Adaptador Nextruder a boquilla V6 (XL monocabezal)
- Como reemplazar la boquilla Prusa (XL monocabezal)
- Cómo sustituir el conjunto del Hotend (XL monocabezal)
- Embalaje de la impresora para devolución - Material de embalaje original (XL)
- Cómo reemplazar la boquilla Prusa (XL multicabezal)
- Cómo sustituir un motor del eje Z (XL)
- Embalaje de la XL Multicabezal para devolución - Material de embalaje original
- Cómo sustituir un azulejo de la base calefactable y un cable del azulejo (XL)
- Cómo reemplazar un ventilador de impresión (XL de un cabezal)
- How to fix Modular bed error (HW solution)
- Como reemplazar las tuercas trapezoidales (XL)
- Cómo limpiar el sensor de filamento lateral (XL)
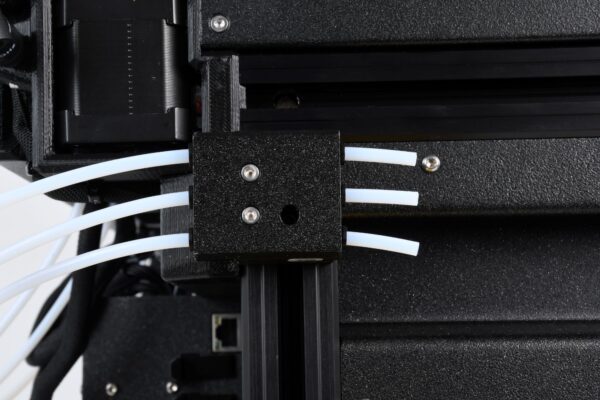
- Comenzar el montaje
- Introducción
- Herramientas necesarias
- Printer preparation
- Detaching the side filament sensor
- Disconnecting the filament sensor cable
- Disassembling the side filament sensor
- Accessing and cleaning the mechanism
- Reassembling the filament sensor side
- Reassembling side filament sensor
- Comprobación final
- ¡Ya está!
- Cómo cambiar el xLCD y el cable del xLCD (XL monocabezal)
- Cómo reemplazar la placa Dwarf (XL multicabezal)
- How to replace Nextruder heatsink (XL Multi-tool)
- Cómo reemplazar la placa Dwarf (XL monocabezal)
- Cómo sustituir el conjunto del Hotend (XL multicabezal)
- Como reemplazar un termistor del fusor (XL monocabezal)
- Cómo sustituir una guía lineal del eje Z (XL)
- Cómo reemplazar el inserto del perfil (XL)
- How to replace the hotend fan (XL Multi-tool)
- Cómo reemplazar una fuente de alimentación (XL)
- Como reemplazar un calentador del fusor (XL Mono Cabezal)
- Cómo lubricar los pasadores de acoplamiento de la Original Prusa XL (MultiCabezal)
- How to replace the tch-profile-insert (XL)
- Cómo reemplazar la Placa Sandwich (XL)
- Cómo reemplazar la goma elástcia en la Original Prusa (XL multicabezal)
- Como reemplazar la Cubierta Trasera CoreXY (Original Prusa XL)
- Cómo instalalar el Adaptador Nextruder a boquilla V6 (XL Multi Cabezal)
- How to replace a XY motor (XL)
- Packing the XL Enclosure for return - Original Packing material
- How to change the belt (XL)
- Cómo sustituir la cubierta del conector del cable principal (XL)
- How to replace the PDU splitter (XL)
- Cómo reemplazar un ventilador de impresión (XL multi cabezal)
- Como reemplazar las tuercas trapezoidales (XL)
- How to lubricate linear bearing rails (XL)
- How to change the xLCD (XL)
- How to set up a Buddy3D Cam
- How to replace Nextruder heatsink (XL Single-tool)
- Como reemplazar un Nextruder (XL de un cabezal)
Comentarios
Inicia sesión para publicar un comentario
Sin comentarios