In some cases, you might want to change some settings just for a specific section of your model. For example, you might want part of your model to have denser infill or more perimeters for increased rigidity. But you don’t want to adjust these settings globally, because that would waste a lot of material and increase the print time.
There are multiple ways to specify which section of the model should be affected by the custom settings. You can use a height range modifier, a simple modifier mesh primitive (e.g. cube), or a custom model modifier mesh.
Height range modifier
Right-click on a model and pick Height range modifier from the context menu.
A new menu will appear on the bottom right of the page called Height Ranges. Here you set intervals, between which you can apply different settings. When you set an interval, it will appear in the Object list above.
You can add or remove intervals with the orange plus and minus icons.
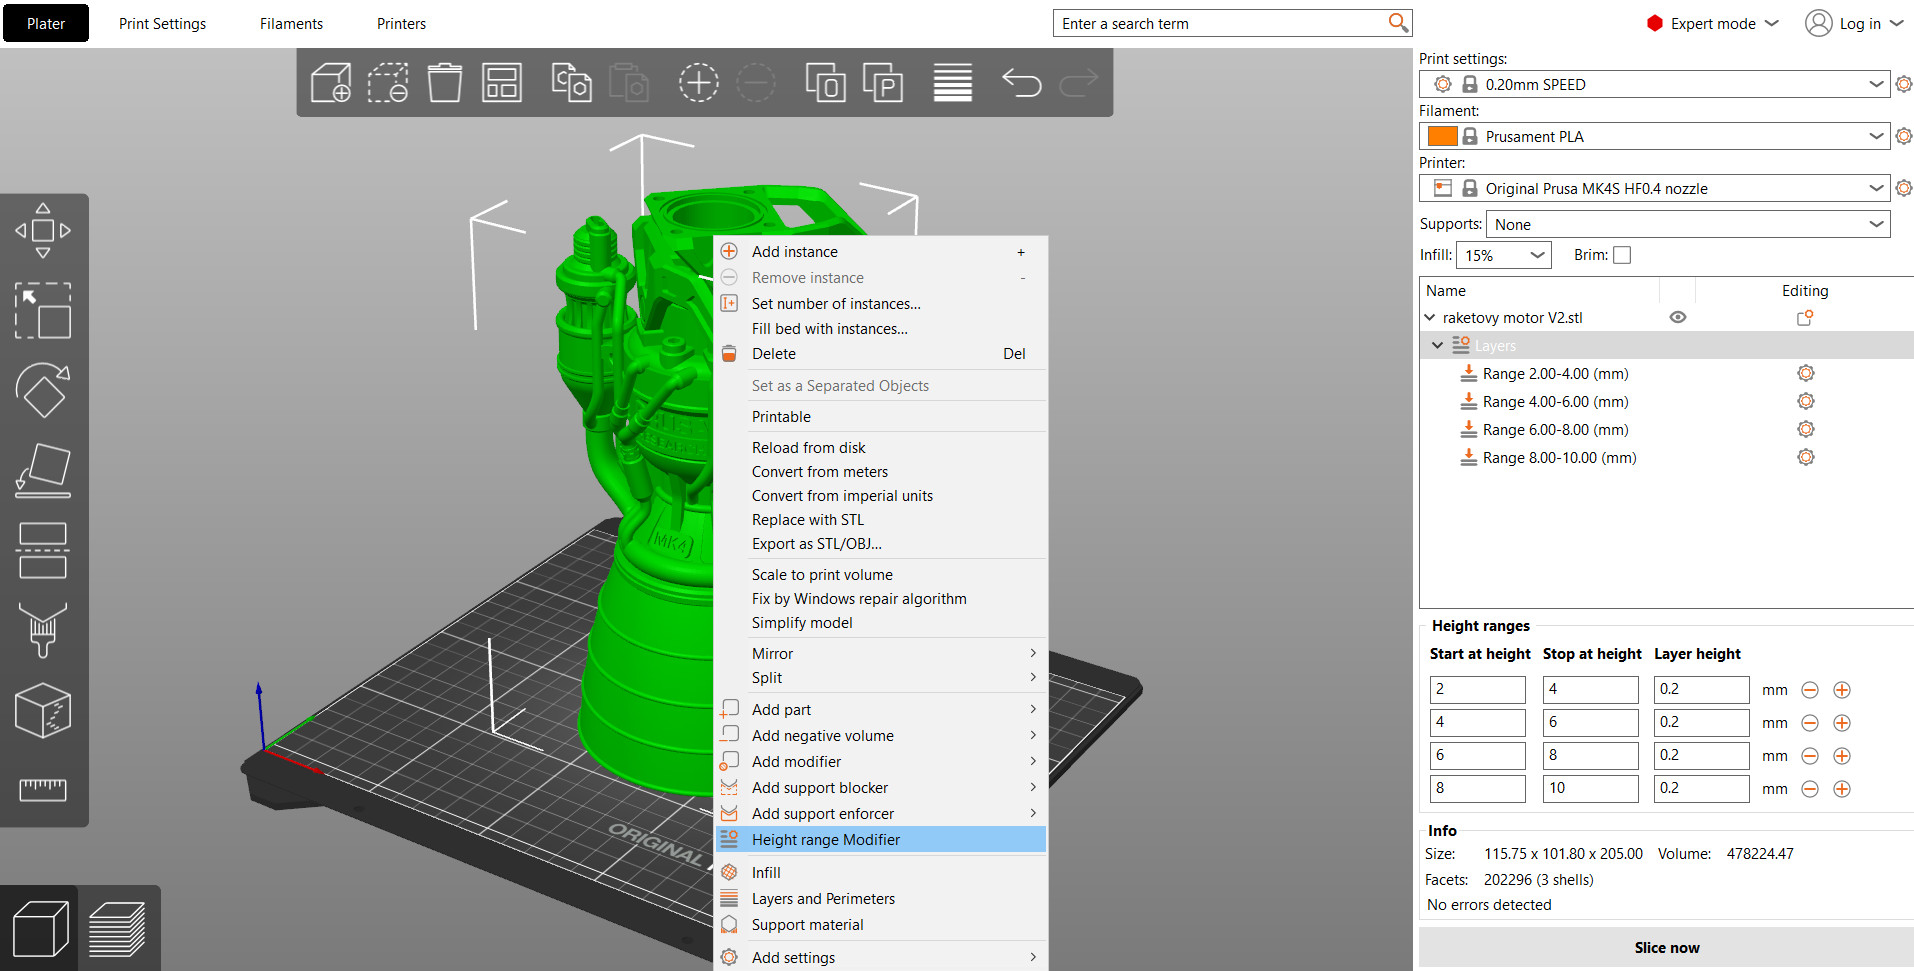
When you click on the gear icon next to the interval, you can choose to set up:
Normal mode - custom Infill and Layers and perimeters
Expert mode - custom Infill and Layers and perimeters, and in the Add settings it is also possible to choose Speed, Ironing, Fuzzy Skin, Extrusion Width, and Advanced
The interval setting also features a layer height input. By default, the global layer setting is used, but you can choose to slice the model at a different layer height and only the interval will be affected by this change. Keep in mind that if you set up a different layer height for the entire model, on the height interval it will be overridden by this value.
Modifier meshes
Modifier meshes apply custom settings to the intersection of the modifier mesh and the model.
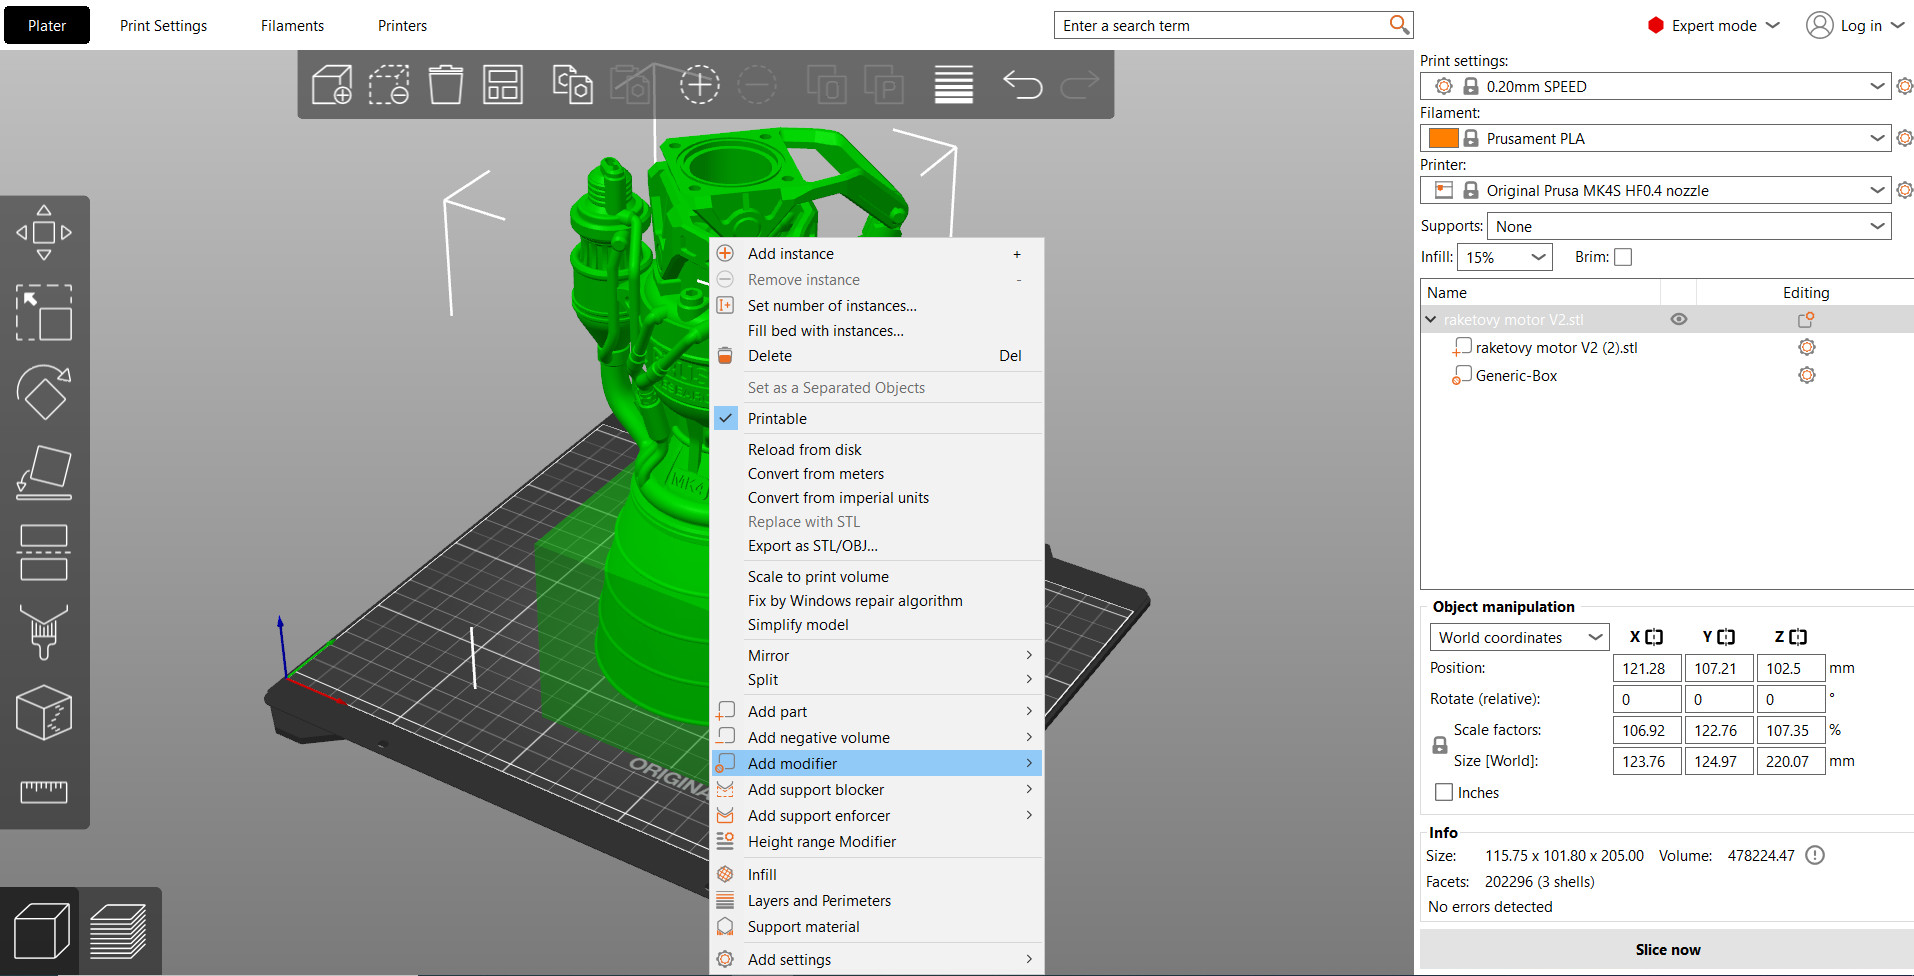
Right-click on a model and pick Add modifier - [Select modifier type]. Alternatively, you can right-click on the gear icon in the Object list panel. It is possible to choose four primitive shapes (box, cylinder, sphere, and slab), add text, add SVG, or add a modifier from the Program gallery. In expert mode, it is also possible to Select Load and add a custom shape as a modifier mesh.
When you pick the modifier shape (e.g. cube) it will appear in the 3D view and the Object list in the right panel. You can use the Move, Rotate, Scale tools to transform the modifier mesh.
Changing settings for the modifier mesh
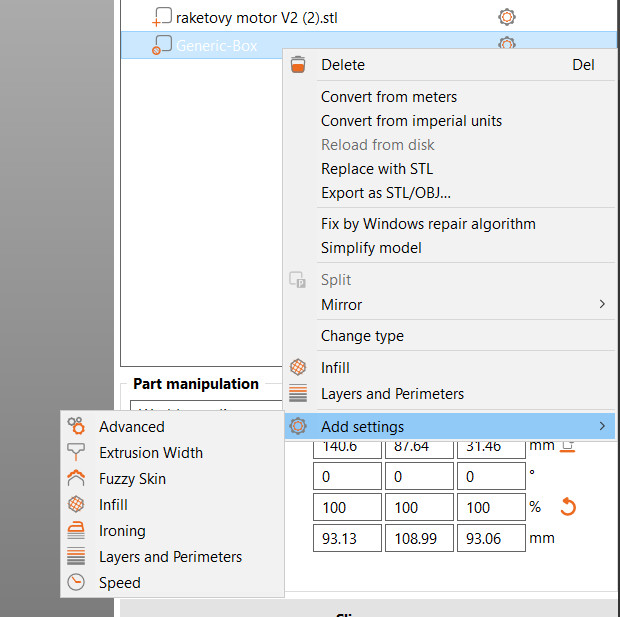
You can either right-click on the modifier in the 3D view or click on the gear icon in the Object list panel to select:
Normal mode - custom Infill and Layers and perimeters
Expert mode - custom Infill and Layers and perimeters, and in the Add settings it is also possible to choose Speed, Ironing, Fuzzy Skin, Extrusion Width, and Advanced
If you scale the model then both model and modifier-mesh will scale. Modifier-mesh will retain its size and position relative to the model. It is possible to reach many different looks for the same printer with the modifiers.
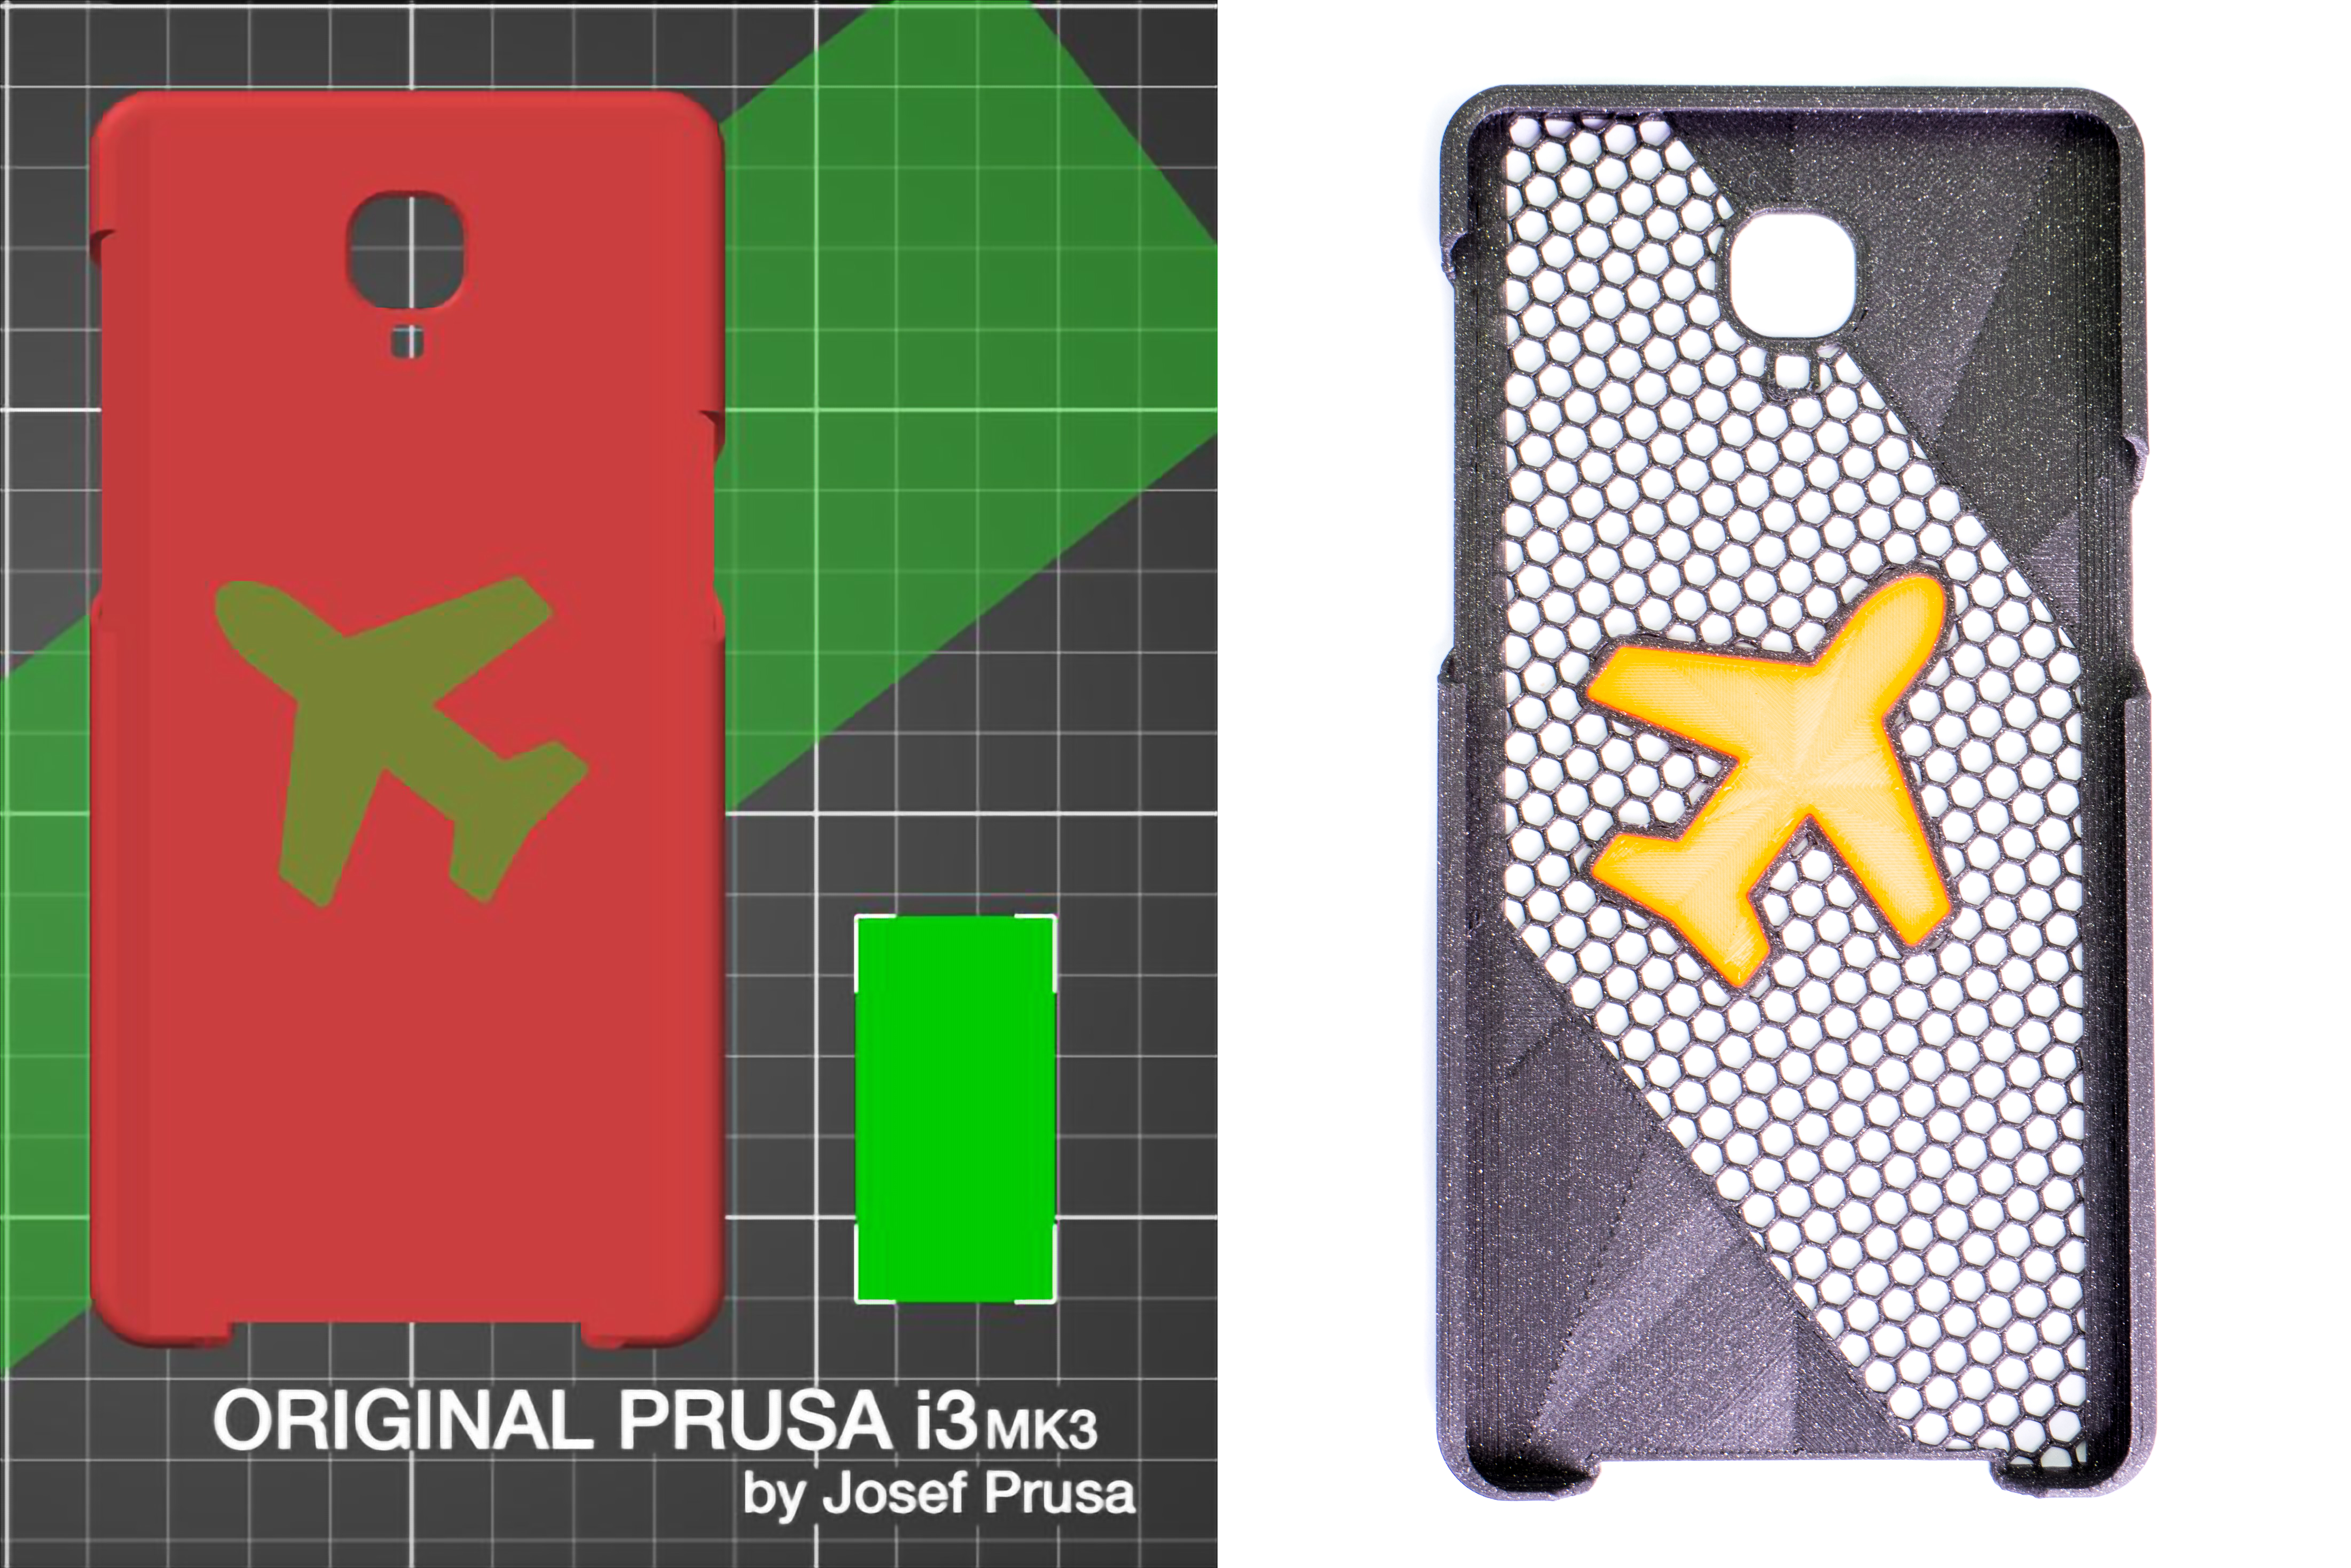 A modifier mesh in the shape of a rectangle that removes top and bottom solid layers and another one in the shape of a plane that turns them back on and changes the extruder to number 2 (printed with the MMU2S)
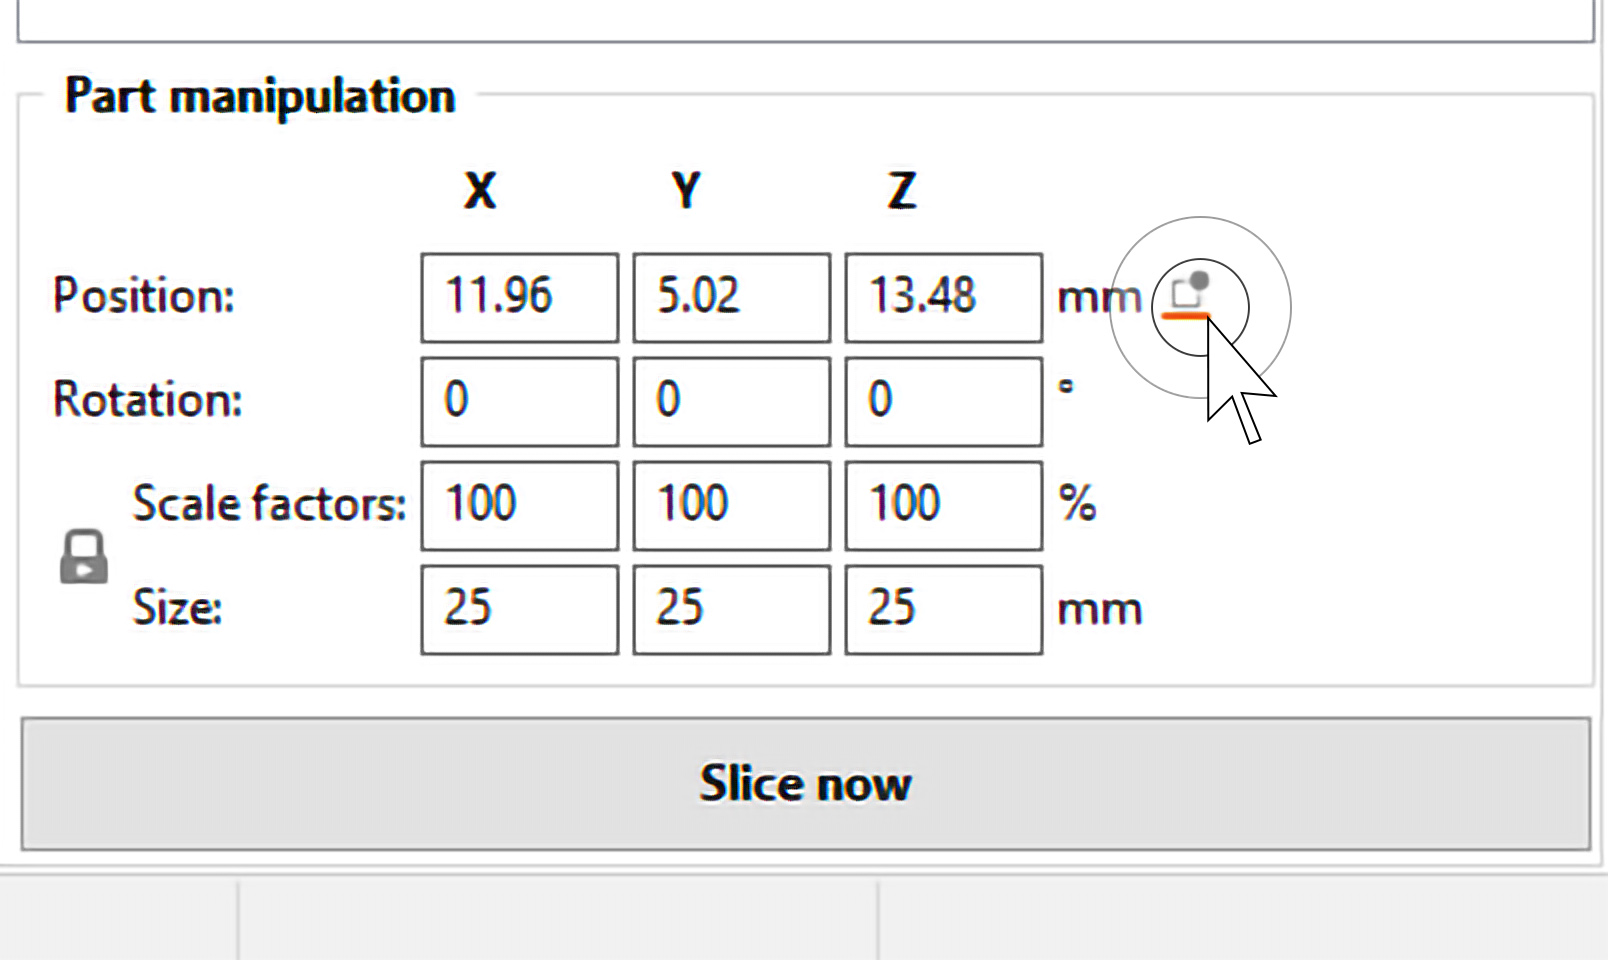
Place modifier on bed
If you moved a modifier above the print bed you can use the button in the Part manipulation panel to place it back down.
21 comments
https://all3dp.com/2/prusaslicer-temperature-tower/
When I slice the model, I do get 2 perimters on the inside wall of the tube as I wanted, but I also get 4 perimeters at the boundary of the modifier shape (the modifier cylinder).
Is this how modifiers are supposed to work? I expected that the modifier would only change perimeter count where there was already an existing perimeter. In my case, the modifier is adding a perimeter which happens to be inside the shape.
Please contact our technical support and send them the 3mf file of your project to check how to proceed.
The problem is: instead the modifier remove the perimeter wall (I put 0), it moves the wall to the shape of modifier cilinder and closes the hole. It's acting as a negative volume, instead of modifier.
"Additionally, in the expert mode, you can use a custom shape as a modifier mesh by selecting Load … in the mesh selection. This mesh is typically something you’ve modeled beforehand in a 3D modeling program."