Relevant for


The Maximum volumetric speed setting (MVS), sometimes referred to as AutoSpeed, is one of the most powerful features in PrusaSlicer. MVS is the maximum amount of plastic (mm³/s) your hotend can reliably melt. Think of it as a speed limiter: PrusaSlicer lets your requested speeds through when safe, and only reduces them when the hotend would be asked to melt more than it can handle.
With MVS set correctly, you don't need to manually calculate safe speeds for every nozzle/layer height combination. MVS never increases your speed, it can only reduce it.
This gives PrusaSlicer users a significant advantage. Instead of trying to calculate ranges of speeds for combinations of nozzle sizes, layer heights, or extrusion widths, you can specify the speeds and settings you desire, then let MVS regulate speeds at slice time when necessary.
During printing, each extrusion move checks multiple limits. The most restrictive one among those will be used:
It is possible to set the MVS in two places in PrusaSlicer: Print settings -> Speed -> Max volumetric speed and Filament settings -> Advanced -> Max volumetric speed. The value chosen will always be the lowest between the two. Setting either to 0 disables that limit and uses the other one.
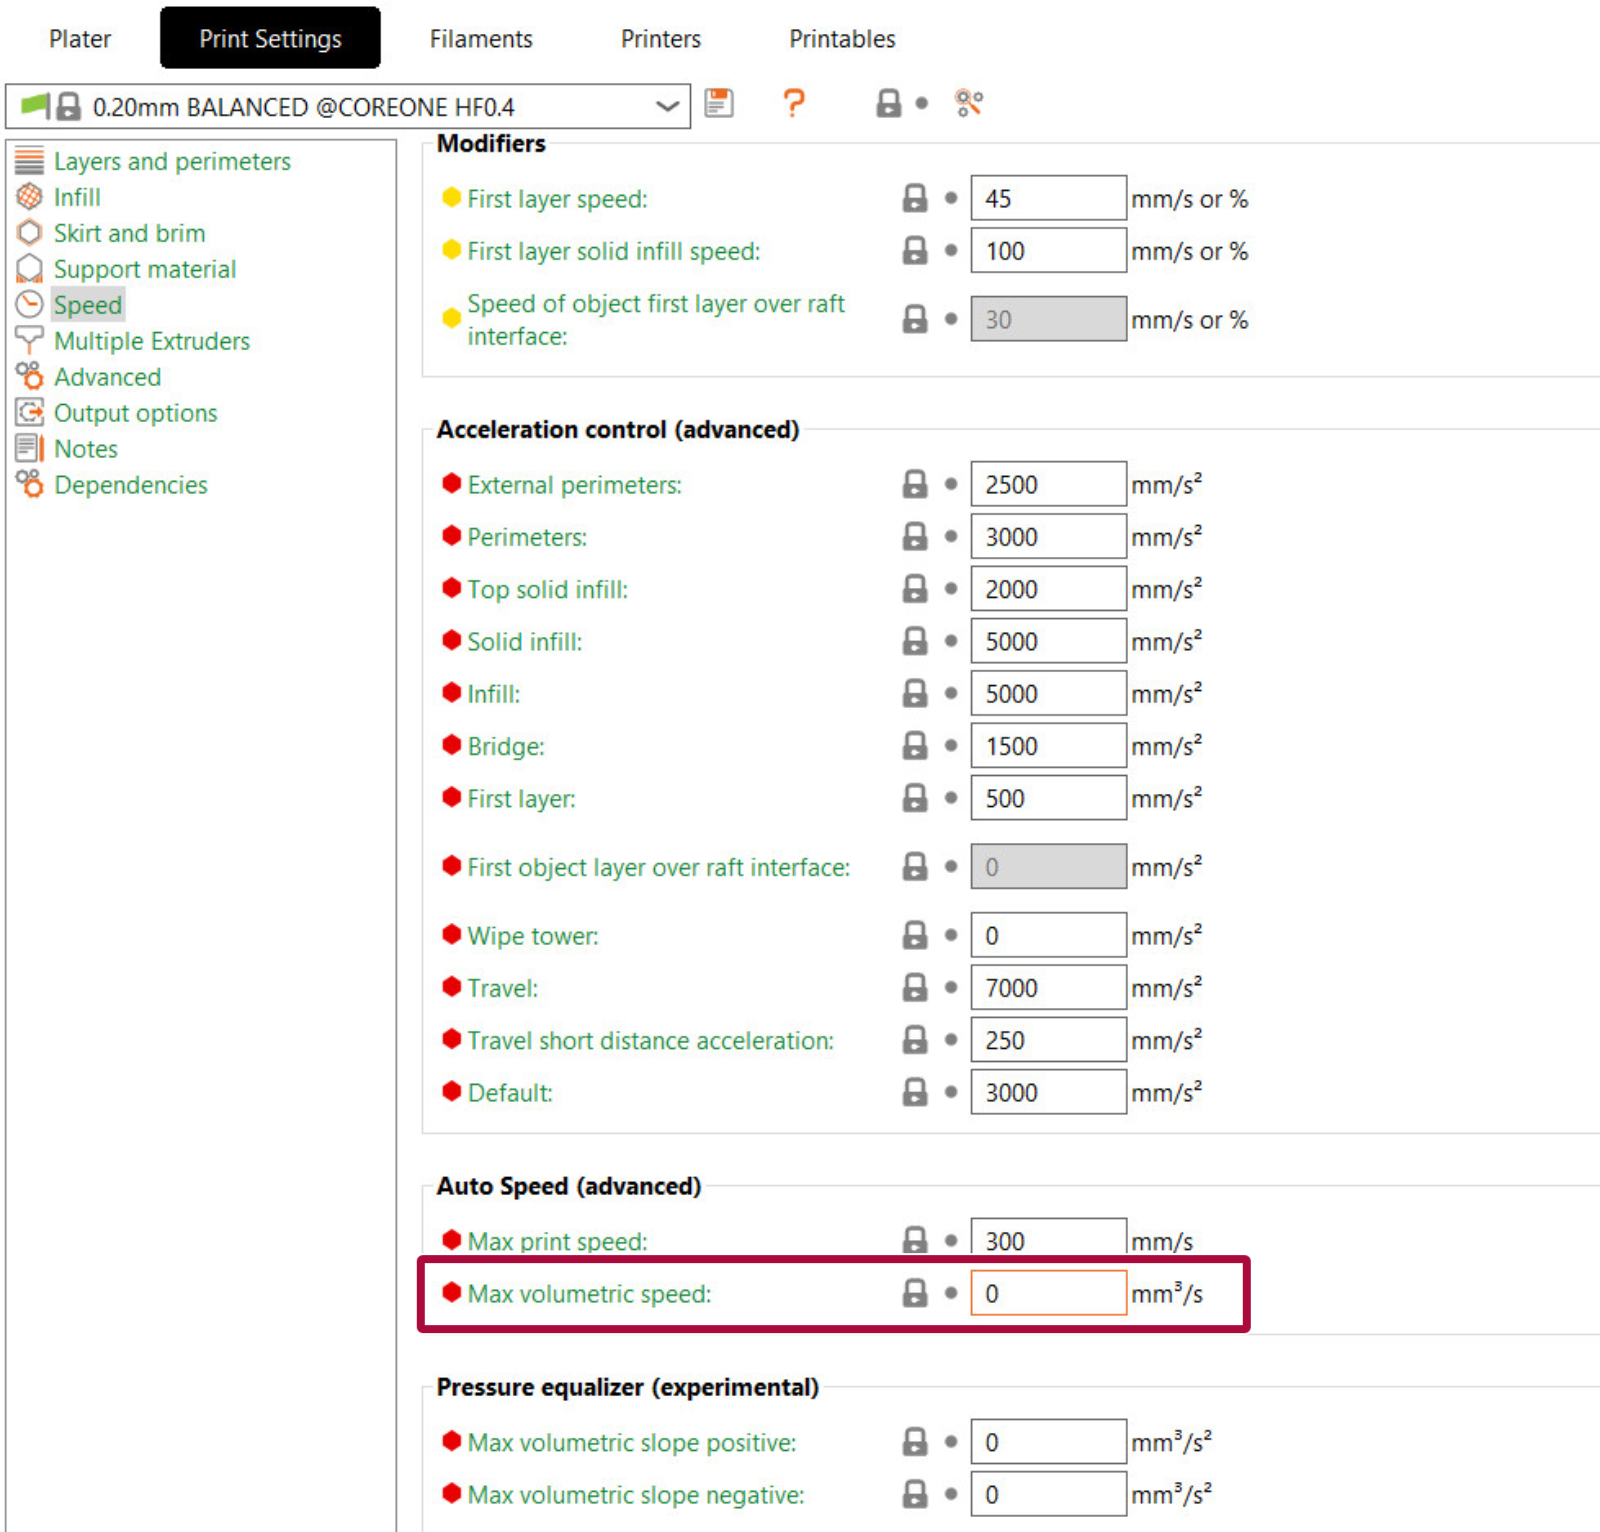 | 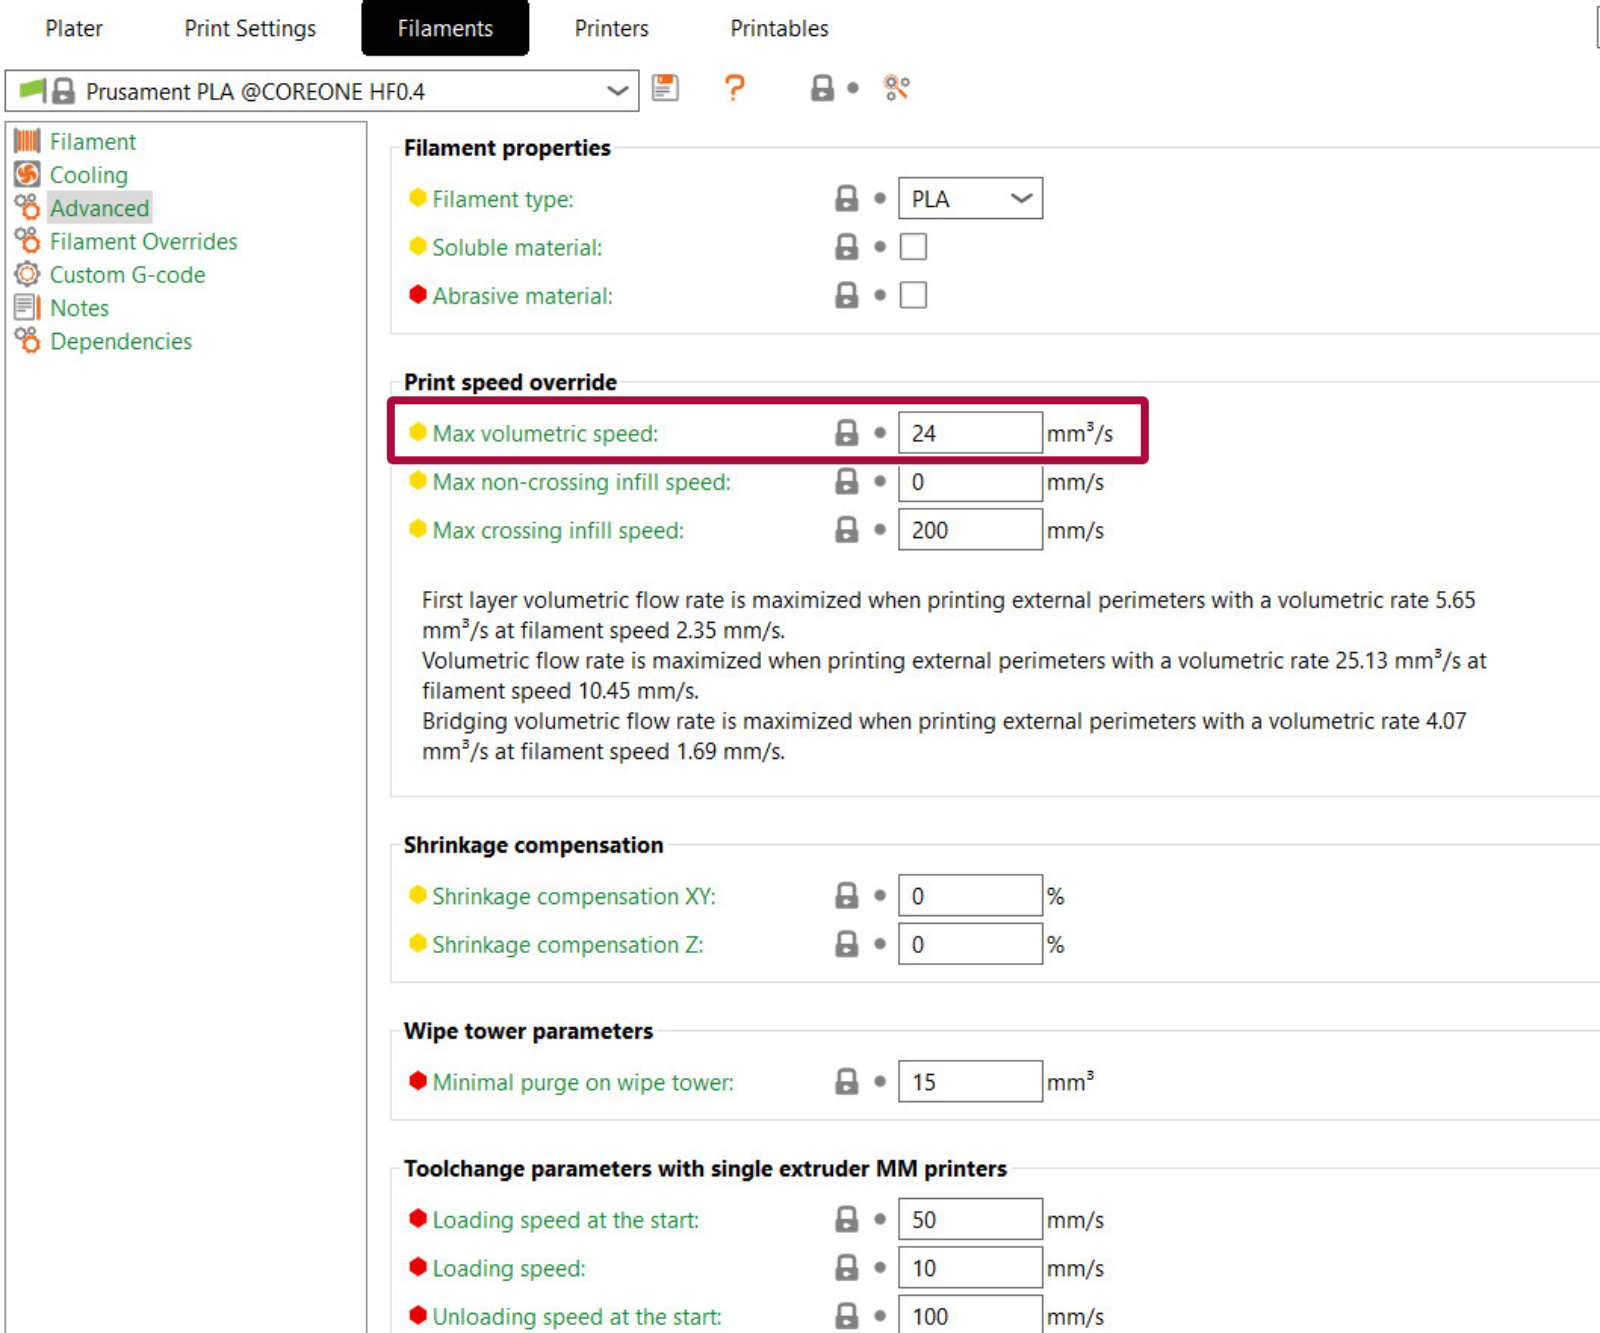 |
Setting any print speed setting (e.g., Perimeter speed, Infill speed) to 0 mm/s activates AutoSpeed for that extrusion type. MVS stops being just a brake and becomes the basis for calculating speed.
PrusaSlicer finds the smallest extrusion cross-section among all extrusion types with speed set to 0, multiplies it by Max Print Speed (found in Print Settings -> Speed -> Max print speed), and caps the result with MVS. Each extrusion then gets: "target volumetric speed / its cross-section". Thinner extrusions print faster, thicker ones slower. Note that Max Print Speed is used only in AutoSpeed mode, and it has no effect when speeds are non-zero.
AutoSpeed activates per extrusion type. For example, setting the Infill speed to 0 auto-calculates only infill, while perimeters still use their configured value.
Note that ironing extrusions are excluded from the calculation.
The correct MVS value depends on your hotend and the material you are printing with. Start conservative and increase gradually. Signs of MVS being too high: extruder clicking, under-extrusion at high speeds, poor layer adhesion.
The effective MVS is limited by the weaker link, either the hotend or the material. Set each in its respective profile, and PrusaSlicer will use the lowest value.
Different filament materials have different characteristics. Viscosity, stiffness, and other factors may greatly reduce effective throughput.
| Filament | Typical MVS Range | Notes |
|---|---|---|
| PLA | 12–20 mm³/s | Easy to melt, higher flow possible |
| PETG | 8–15 mm³/s | Slightly more viscous than PLA |
| ABS/ASA | 10–16 mm³/s | Similar to PETG |
| TPU | 2–5 mm³/s | Flexible filaments require very low flow |
| PC | 6–10 mm³/s | High viscosity, slow melting |
| PA (Nylon) | 8–12 mm³/s | Varies widely by blend |
| Hotend | Typical MVS Range |
|---|---|
| Standard all-metal (e.g., E3D V6, Prusa MK3 stock) | 8–12 mm³/s |
| Prusa Nextruder (MK4/XL) | 15–20 mm³/s |
| High-flow nozzles (CHT, Bondtech CHT) | 20–35 mm³/s |
| High-flow hotends (Revo High Flow, Rapido HF) | 25–40 mm³/s |
Intuitively, it may seem that the nozzle diameter shouldn't affect the maximum amount of plastic that the hotend can heat in a given amount of time. However, with bigger nozzles, you can slightly increase MVS due to lower mechanical resistance - basically, it's a bit easier for the filament to get pushed through the nozzle.
And vice versa, with smaller nozzles, you'll have to decrease MVS a bit.
This is an often-overlooked consequence of MVS. When you use a large diameter nozzle and a very tall layer height, e.g., a 0.8 mm nozzle and a 0.5 mm layer height, your print speed is indeed going to be capped by MVS. That is, unless you install a more powerful hotend on your printer. If you notice in the preview that your speed is limited by MVS, you can try increasing the nozzle temperature and raising MVS a bit. However, it may be time to simply lower the layer height. You'll get more detail without increasing the print time because the printer will be able to print faster.
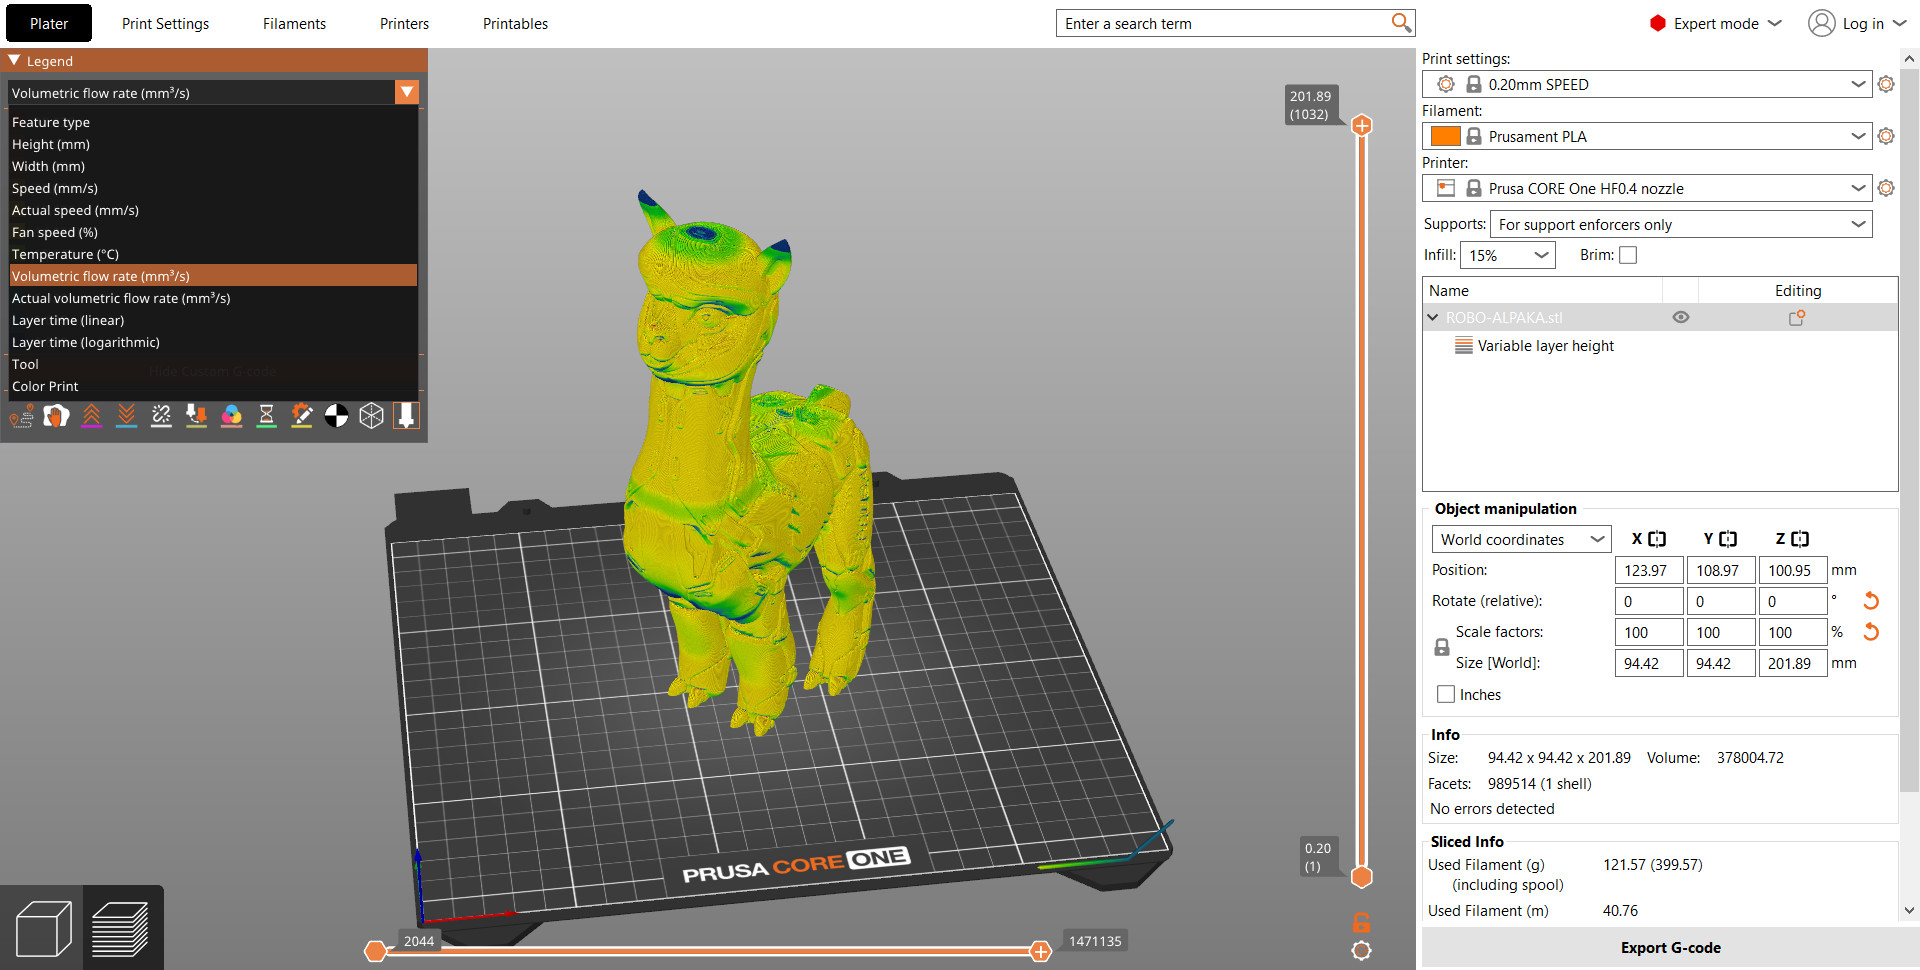
Once you slice your model, you can switch the preview mode to Volumetric flow rate using the select box on the top left corner.
On smaller models, you'll notice you're not being capped by MVS at all. Likewise, if you're printing with a small layer height, you're most likely not going to be capped by MVS.
On the other hand, when printing bigger models with tall layer heights, you may notice the speed being limited by MVS, especially when printing infill. If the majority of your model is being printed more slowly due to the MVS limit, consider lowering the layer height. You'll get more details "for free".
Big thanks to Bob George for his help on this article
14 comments
max speed - 300
flow rate - 24mm3/s on HF nozzles, and 15mm3/s on the regular (non-HF) nozzles --calculated for PLA example (so set these numbers as your max depending on if you use a high flow nozzle or regular nozzle and then use filaments settings to use a smaller number based on the filament type)
a Bondtech CHT nozzle that increases Volumetric Flow. The new nozzle pushes ordinary Prusament PLA out with a volumetric flow of 24mm³, which is a 50% increase from the MK4 standard of 16mm³
It would also be useful to know how Prusa Slicer arbitrates between Print Profile Autospeed settings (Max volumetric speed) and Filament Profile MVS.