The Bondtech gears have a lot of pulling force. They might seem secure, but unless properly tightened, on the flat side of the motor's shaft, they can come loose and remain stationary around the spinning shaft. This might only be intermittent at first, acting like under extrusion, but the gear will continue to loosen and/or slide out of alignment with the filament path.
Typical issue (false clog)
This might appear as a clog at first, but you can see the motor axle rotating fully, and there is no clicking sound, which is common during a hotend clog. The filament is not moving at all and when pulled out, it does not look like it has been ground by the gear, hence the name "false or ghost clog".
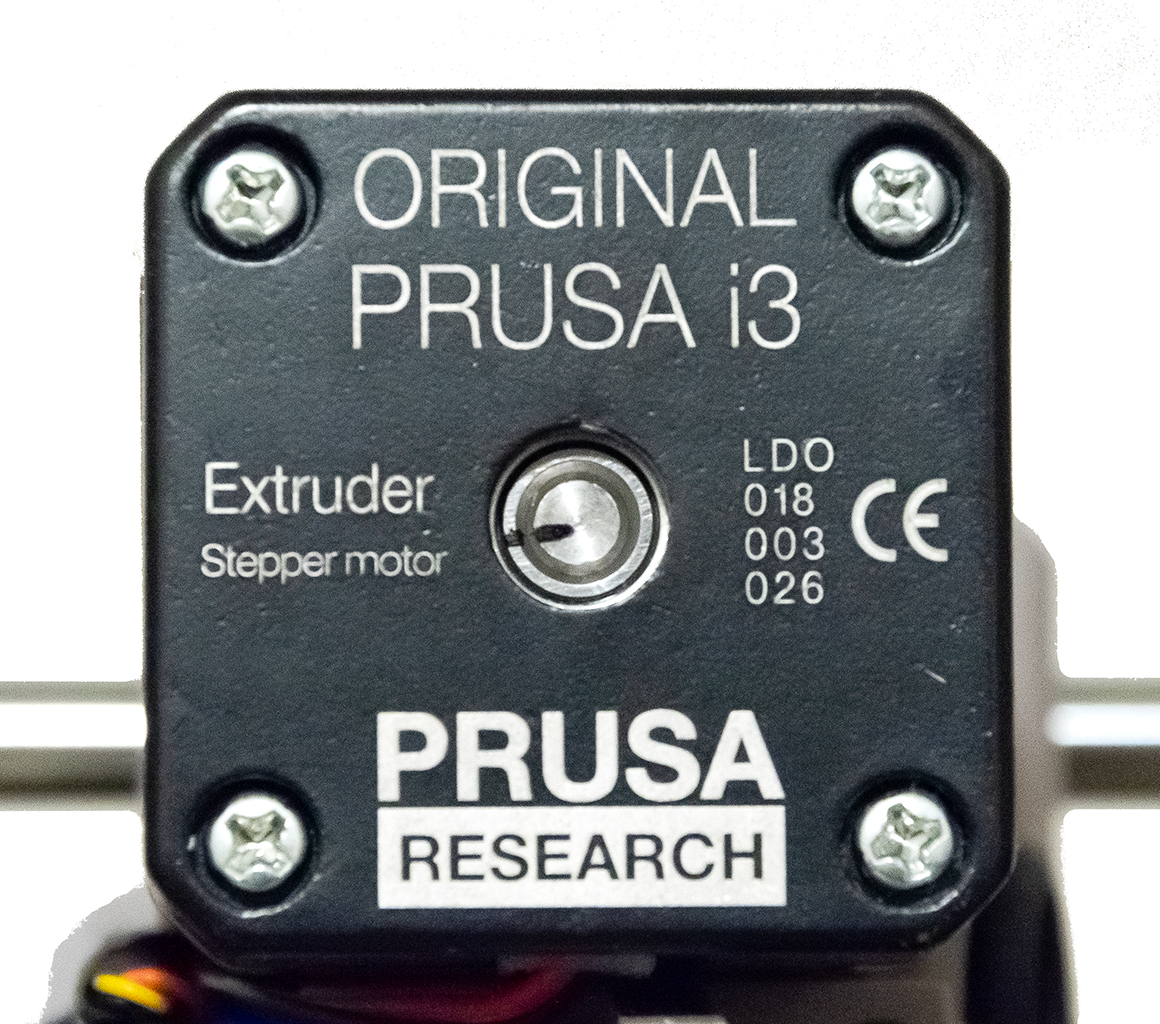
Accessing the Bondtech gear
Start by getting out your 1,5 mm and 2.5 mm Allen keys. Using the 2.5 mm Allen key, release the spring-tensioned idler-screw(s) completely and open the idler door. It is 1 on the Original Prusa MK3S & MK3S+ (left picture) and two on the Original Prusa MK3 (right picture). The MMU2S extruder has one screw, but some additional parts.
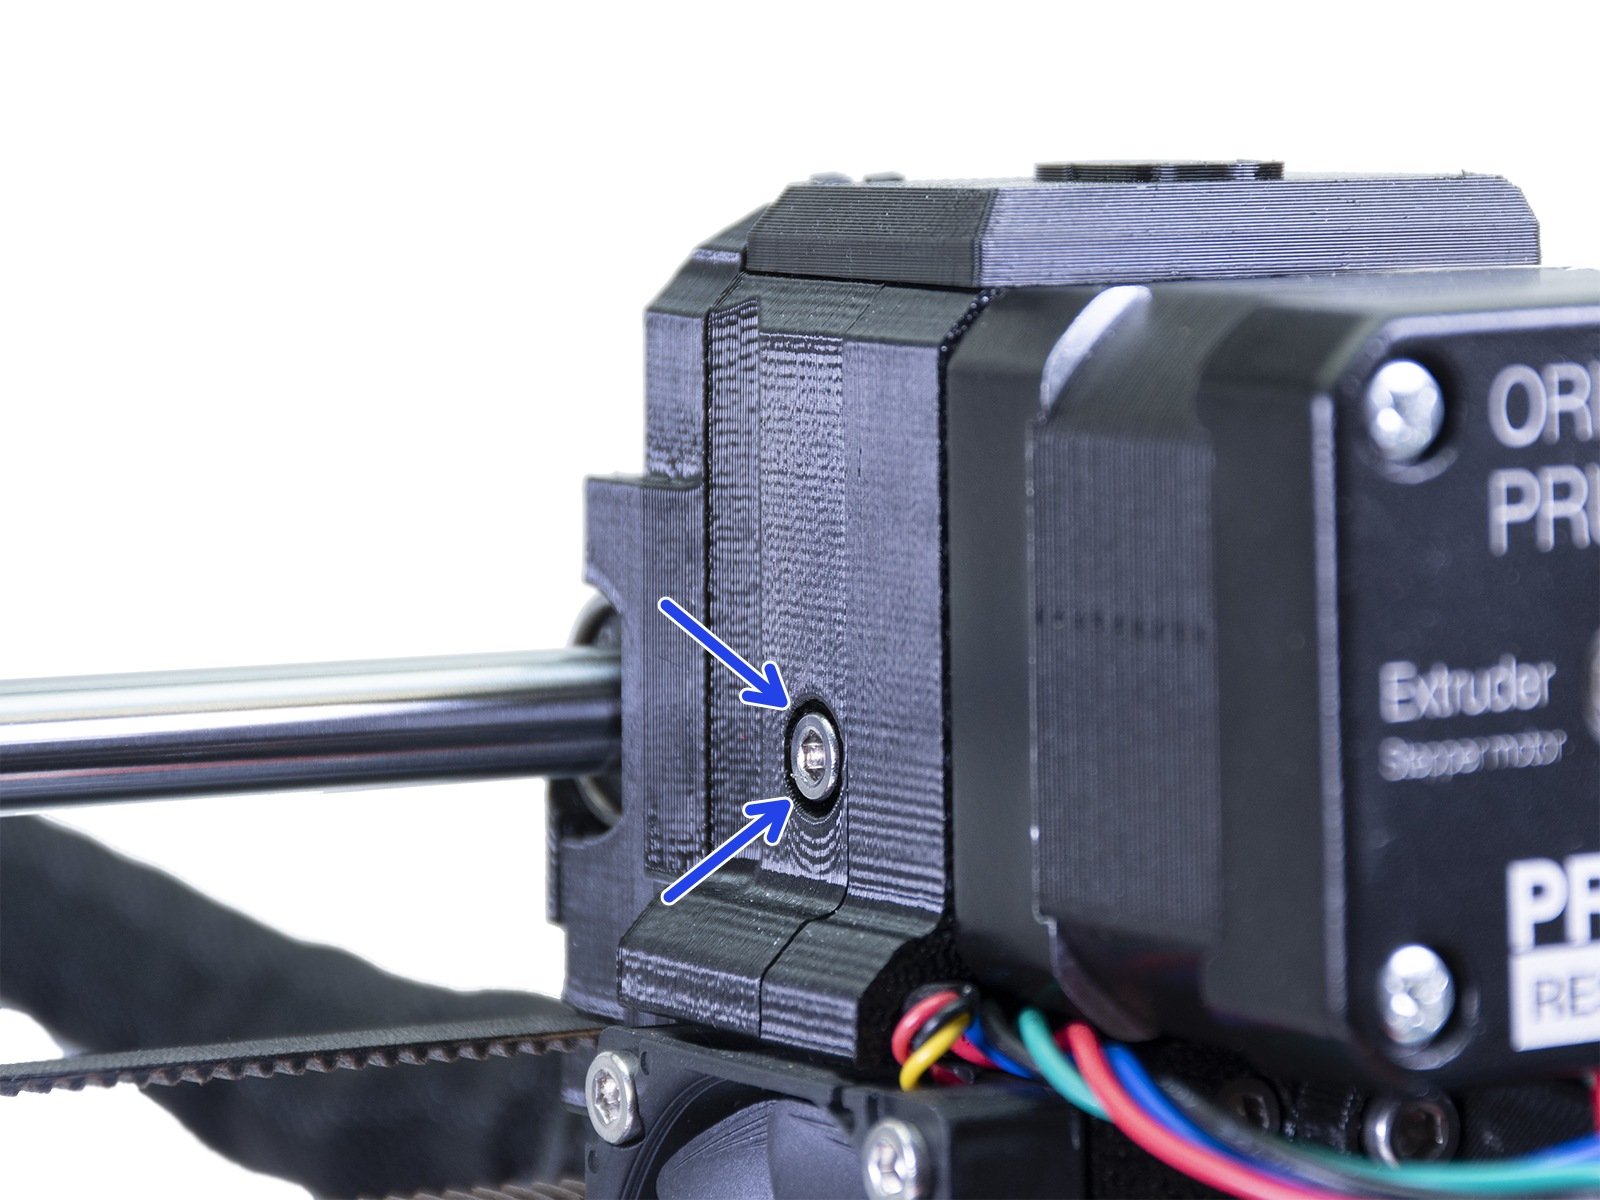 | 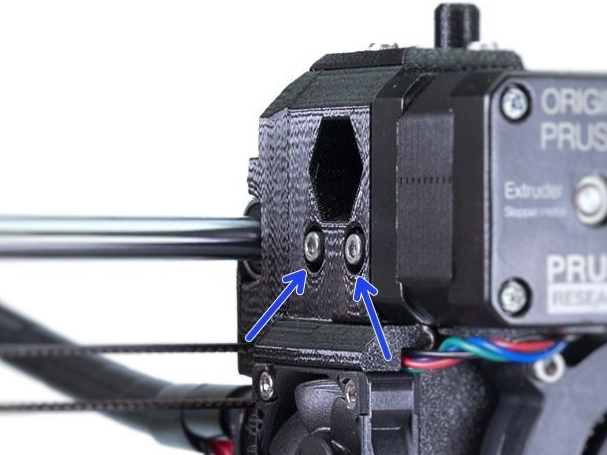 |
| Original Prusa MK3S & MK3S+ / MK3.5 | Original Prusa MK3 (Non S/+-upgrade) |
 |
|
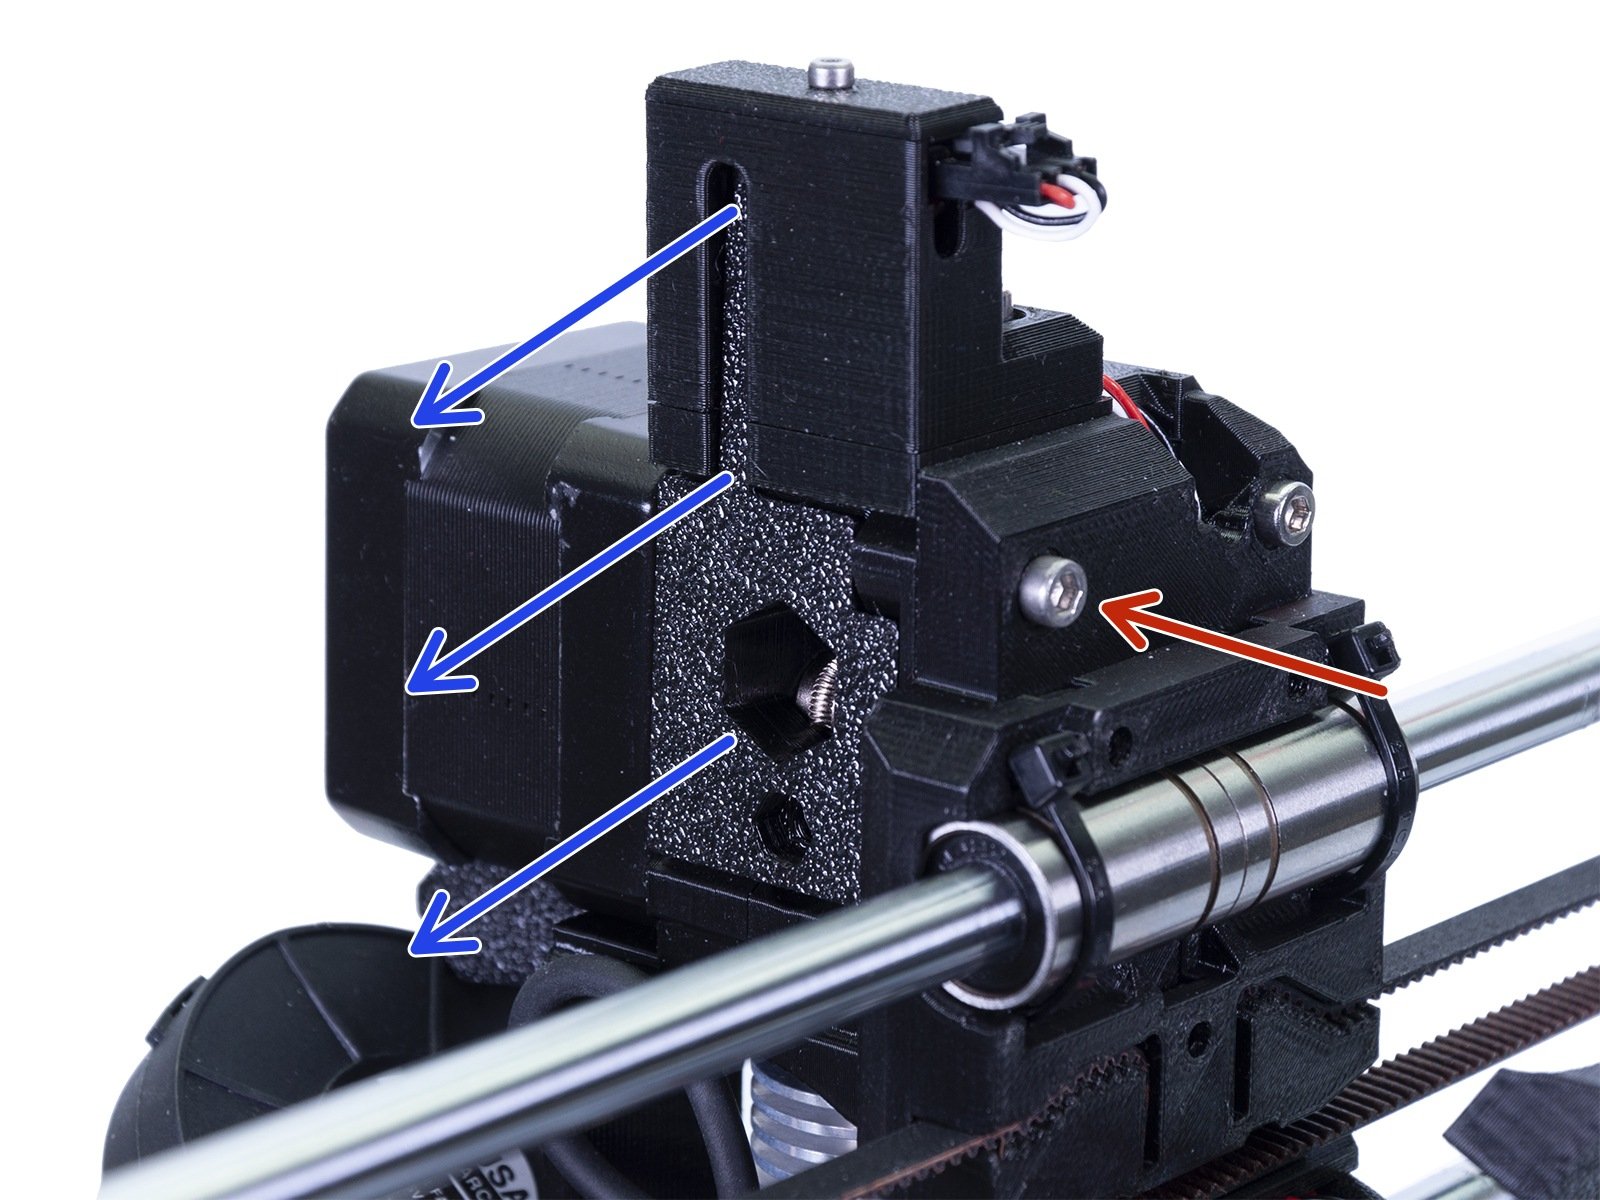
On the Original Prusa MMU2S / MMU3, you must remove the whole idler door (blue arrows), by removing the screw acting as its hinge (red arrow). |
Rotating the motor's shaft
You will now have access to the Bondtech gears. With the idler door open, we will check if the Bondtech gear is secured on the flat side of the motor shaft and if the gear is out of alignment with the filament path. We do not recommend moving the motor shaft by hand. The best is to start rotation from the LCD menu:
- Preheat the nozzle from the LCD-menu -> Setting -> Temperatures -> Nozzle -> 180 °C. The firmware will not let you manually move the extruder motor unless heated to at least 175 °C.
- Navigate the LCD menu to Settings -> Move axis -> Extruder, and you can now spin the extruder motor, with the knob on the LCD panel.
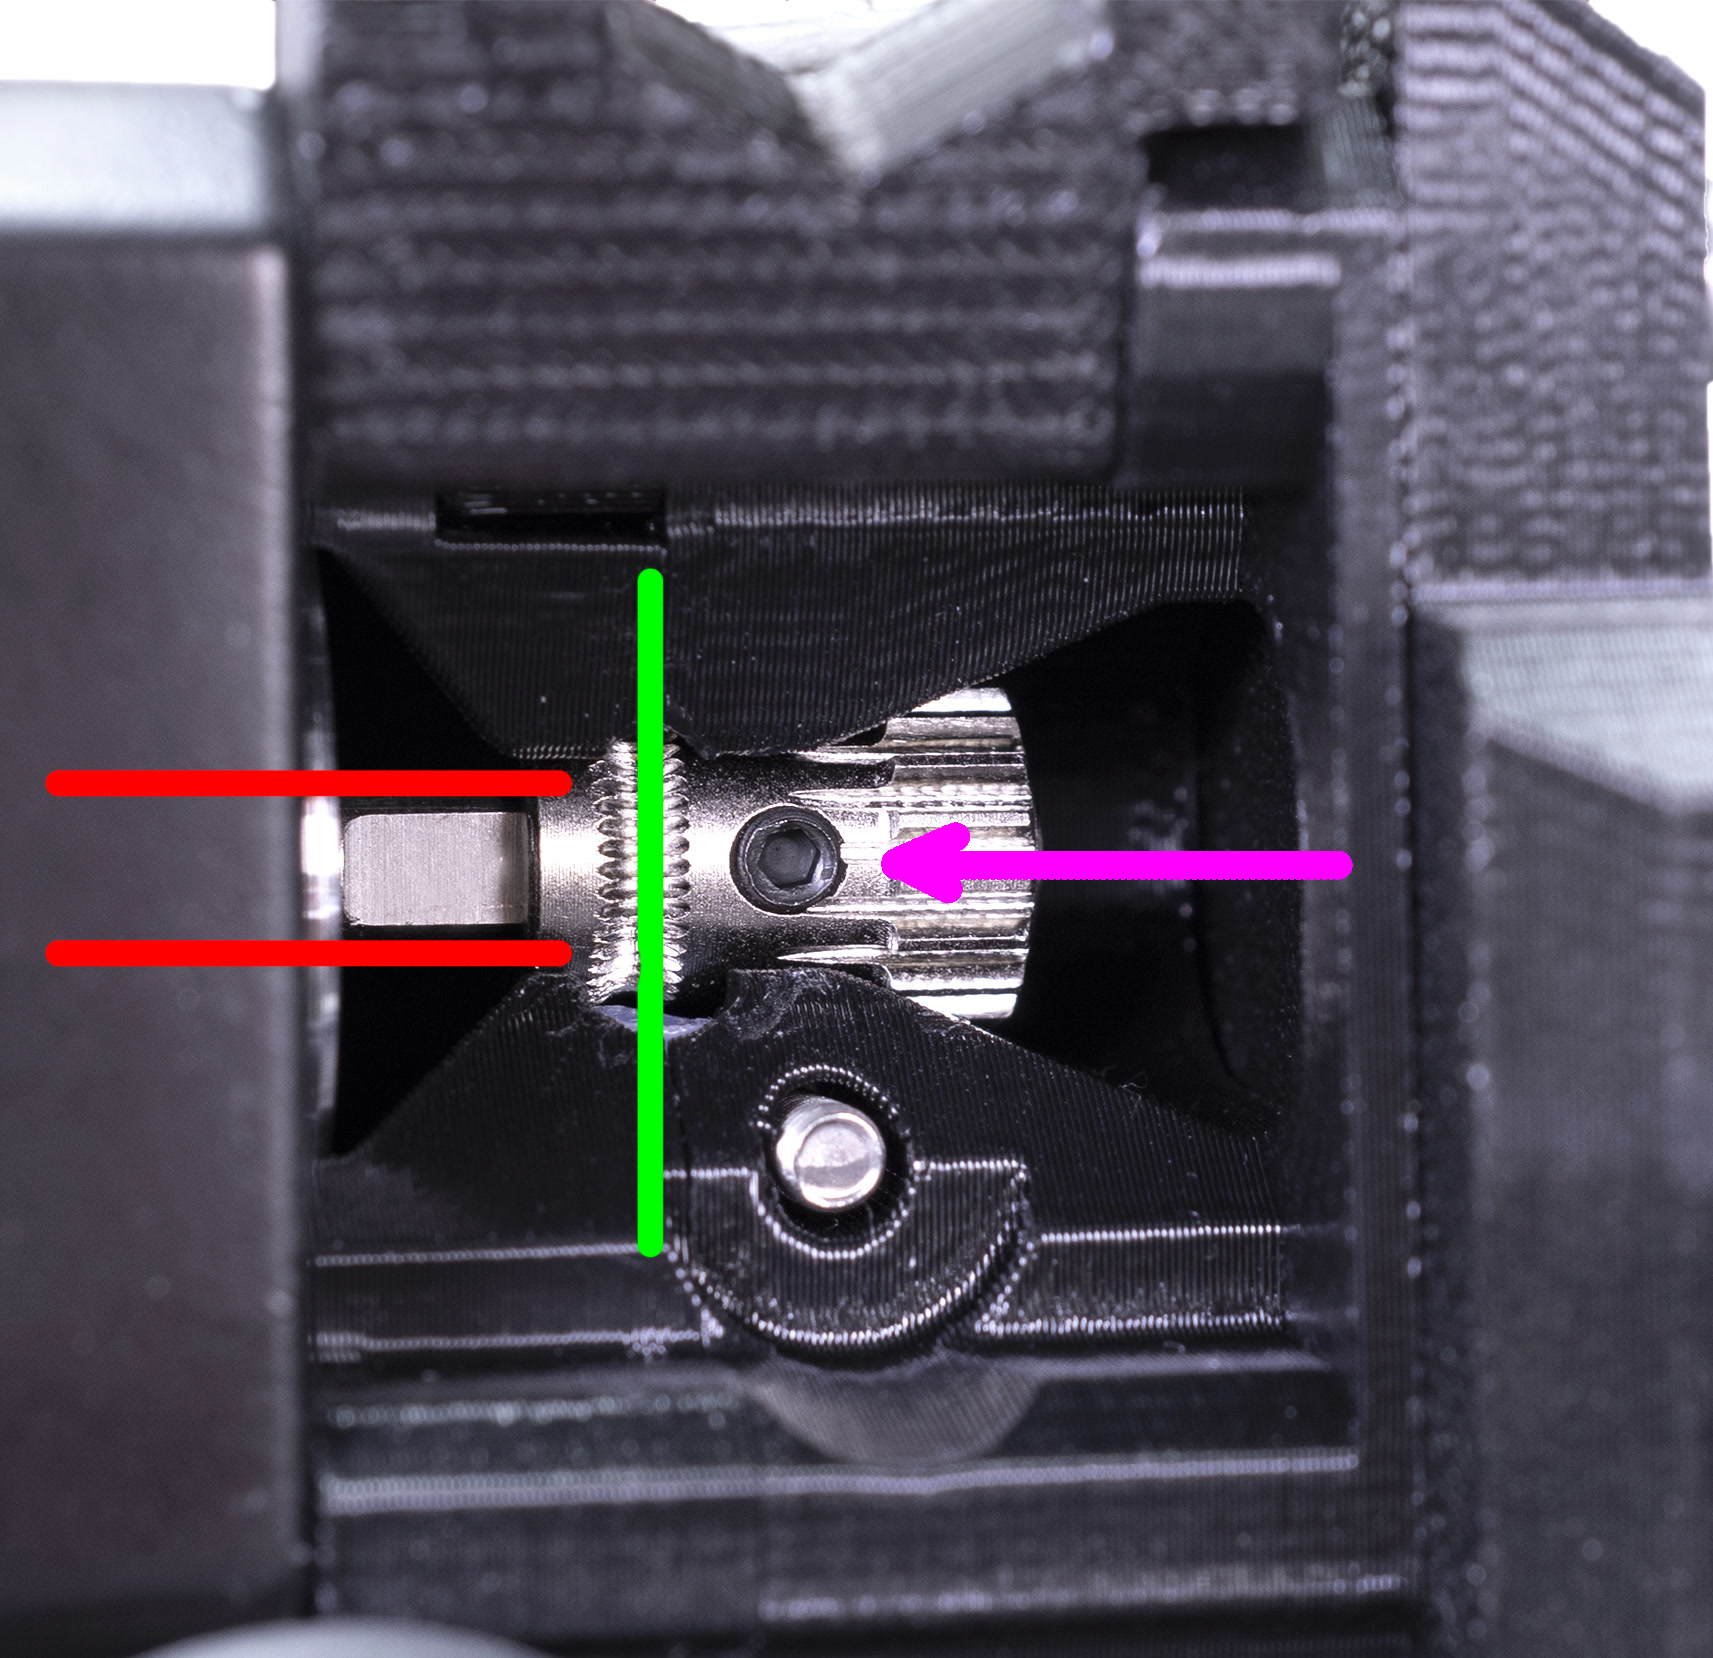
Make sure the flat side of the motor shaft is visible (red lines), aligned with the black set-screw on the pulley (purple arrow), and that pulley grooves are aligned with the filament (green line).
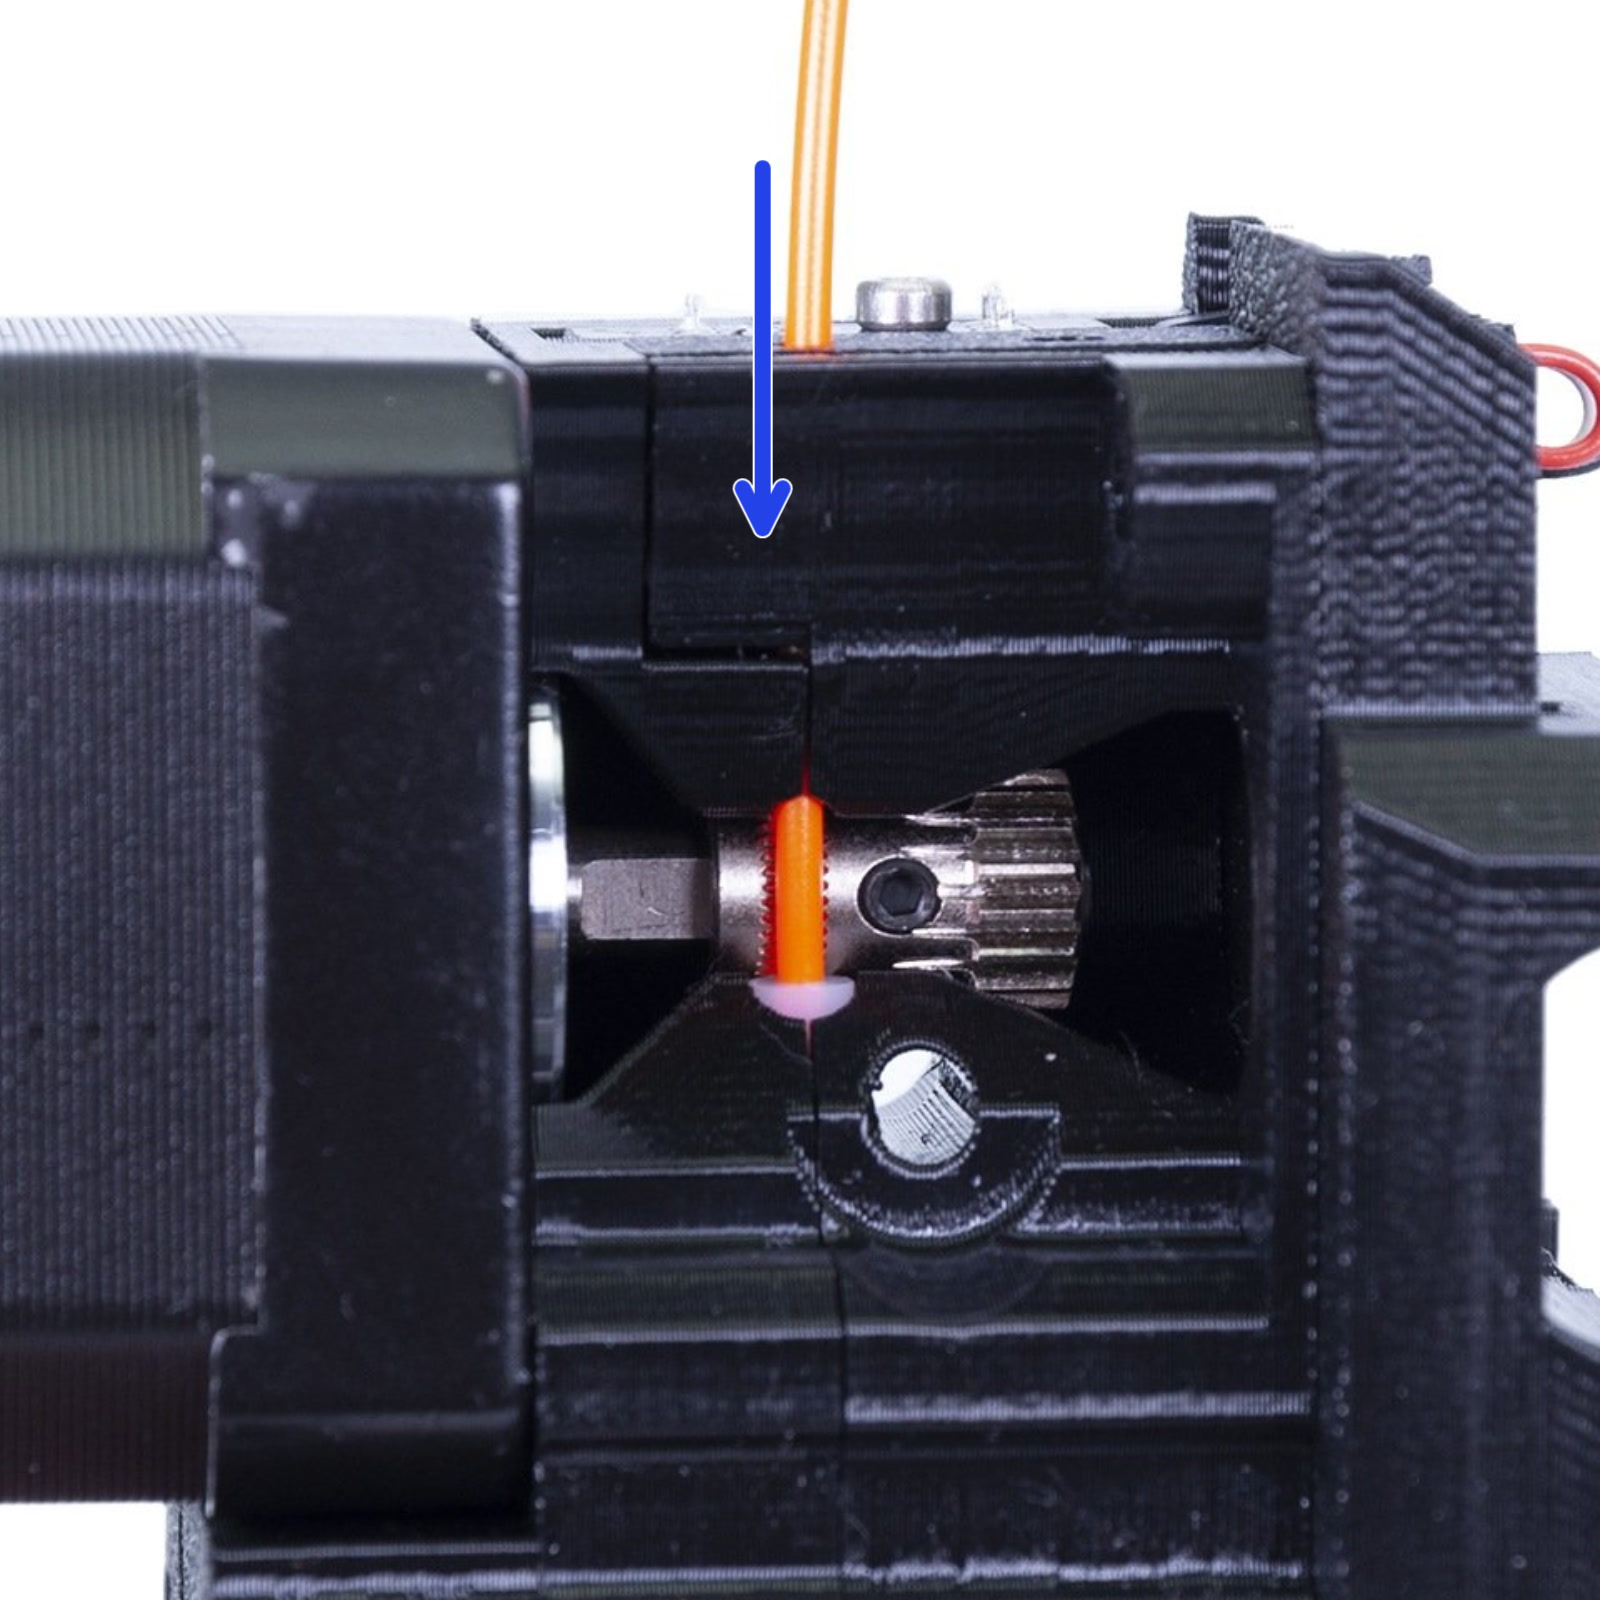
You can use a piece of filament, inserted from the top (blue arrow), to check alignment. Then use the 1.5 mm Allen wrench or your nail to move the Bondtech gear into position, before securing the set screw.
Clean Bondtech gear
Open the Extruder idler. You can see how to do it in our assembly manuals, section Extruder idler parts preparation, in the E-axis assembly chapter. Clear any left-over filament, rust, or dust with a brush and inspect both gears.
It is recommended to use a Prusa Lubricant or a PTFE-based grease. However, be careful not to overuse it, as it tends to accumulate dust particles over time. This procedure should be done roughly every 3-6 months, depending on how often you are using the printer.
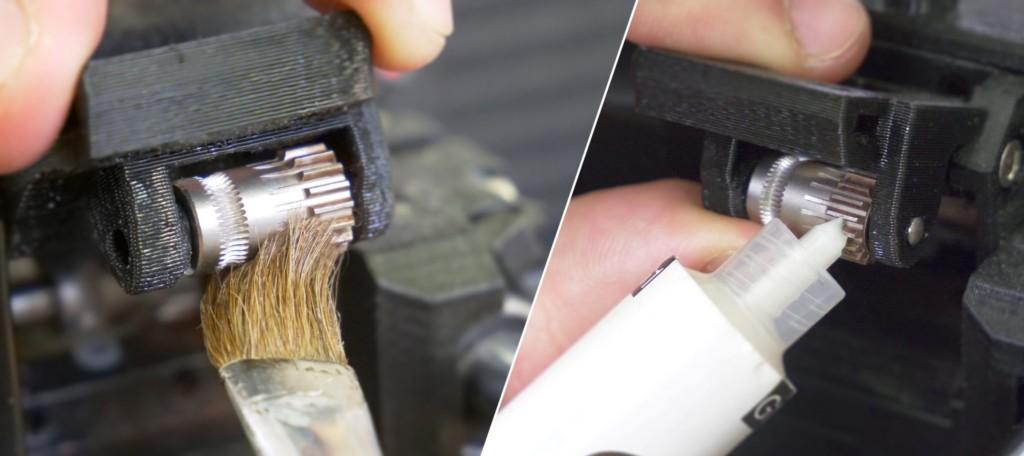
Put the lubricant on the Bondtech extruder gear teeth. Apply it only to the toothed part as seen in the right photo above. If you apply it to the whole gear, it will be unable to grab filament properly!
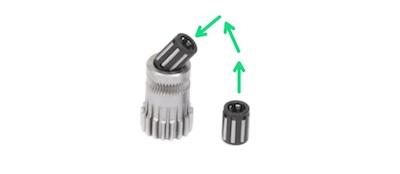
You can also inspect the needle bearings that are inside and clean them with a brush. However, these do not need any special care, just make sure that both of them are properly inserted.
7 comments