When are you publishing a guide for the MK3S? In the mean time can you tell us how this procedure would be different? I have some filament stuck in the PTFE tube and I just put my MK3S together this week so I’m not super confident in taking it apart without a guide yet.
It’s almost the same - but in addition to removing the front cover, you also need to release 2 screws from the rear (near the idler & sensor) to remove the motor assembly.

Or am I supposed to buy the “Original Prusa i3 MK3 to MK3S upgrade kit” for 20 € just to use the PTFE tube from there?
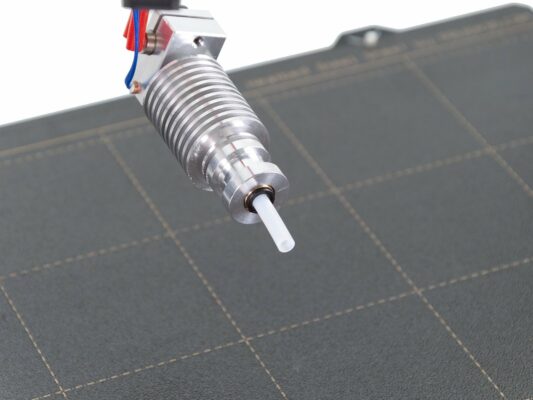
MK3: https://shop.prusa3d.com/en/spare-parts/736-PTFE-mk3-mk25-mk2s-mmu2-hotend.html
MK3S: https://shop.prusa3d.com/en/spare-parts/929-ptfe-mk3smk25smmu2s-hotend.html
Of course, see this link: [id=21664]
It’s almost the same - but in addition to removing the front cover, you also need to release 2 screws from the rear (near the idler & sensor) to remove the motor assembly.