English
Login
3D printers
Materials
Parts & Accessories
Software
3D Models
Industries
Community
Help
Academy
Blog
Company
Support
Original Prusa MINI
Printer maintenance
How to replace a Buddy control board (MINI) | Begin assembly
1. Begin assembly
Step 1 of 19 (Chapter 7 of 23)
Contents
Comments
Difficulty
Moderate
Available languages
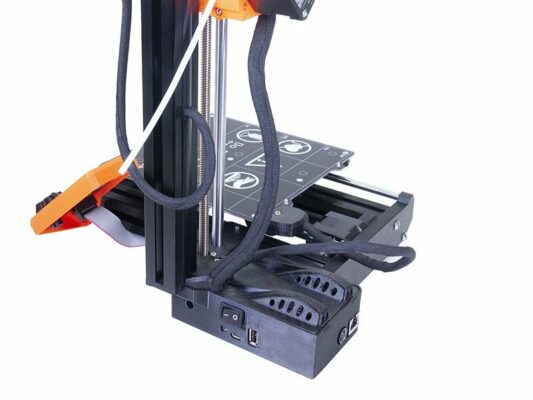
Begin assembly
Contents
Printer maintenance
How to replace a M.I.N.D.A. sensor (MINI)
How to replace a print fan (MINI)
How to replace a hotend PTFE tube (MINI/MINI+)
How to replace a hotend fan (MINI)
How to replace a heatsink (MINI/MINI+)
How to replace a heaterblock/heatbreak (MINI/MINI+)
How to replace a Buddy control board (MINI)
Begin assembly
Introduction
Tools necessary for this guide
Important: Electronics protection
Opening the box with the electronics
Removing the power switch
Disconnecting all the cables
Disconnecting of the LCD cable
Removing the Buddy control board
Buddy control board - preparation
Buddy control board installation
Installation of the power switch
Connecting of electronics
Connecting of electronics
Connecting the Y-axis cable
Connecting of the filament sensor (optional)
Cable management
Covering the electronics
It is almost done!
How to access and clean the extruder-pulley (MINI/MINI+)
How to update firmware (MINI/MINI+)
How to replace a print head PTFE tube (MINI/MINI+)
How to replace a heatbed thermistor (MINI/MINI+)
How to replace a hotend thermistor (MINI/MINI+)
Height adjustment of M.I.N.D.A./SuperPINDA sensor (MINI/+)
How to replace a hotend heater (MINI/MINI+)
How to replace a heatbed (MINI/MINI+)
How to replace an extruder motor (MINI/MINI+)
How to replace SuperPINDA (MINI/MINI+)
How to replace bearings on the X-axis (MINI/MINI+)
How to replace bearings on the Y-axis (MINI/MINI+)
How to replace a heatbed set (MINI/MINI+)
How to post-process the printed parts
How to trim PTFE tube - Original Prusa printers
Replacing the PEI sheet on the (MK3S/MK3/MK2.5S/MK2.5)
Comments
Log in
to post a comment
No comments