NOTE: The following instructions are only for those who have purchased this optional add-on with the MINI Enclosure. If you have not purchased this add-on, please proceed to step Installing the top panel.
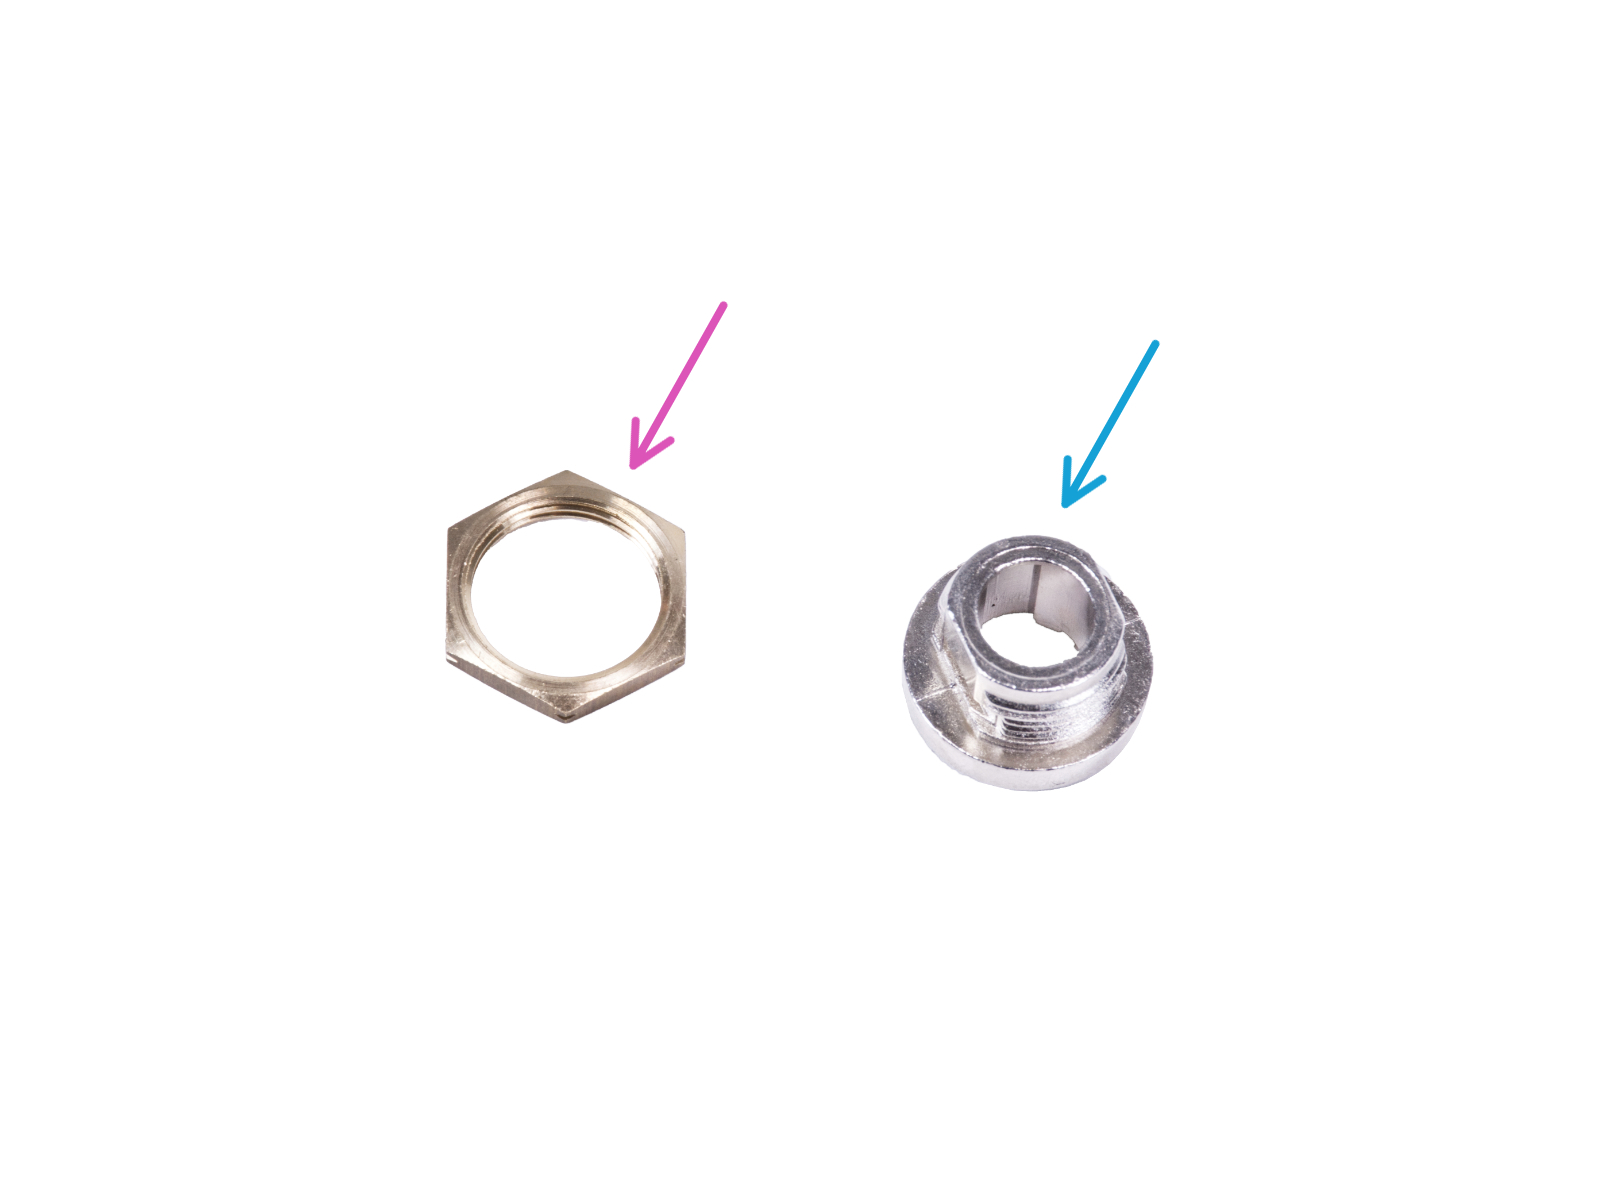
⬢Pro následující kroky si prosím připravte:
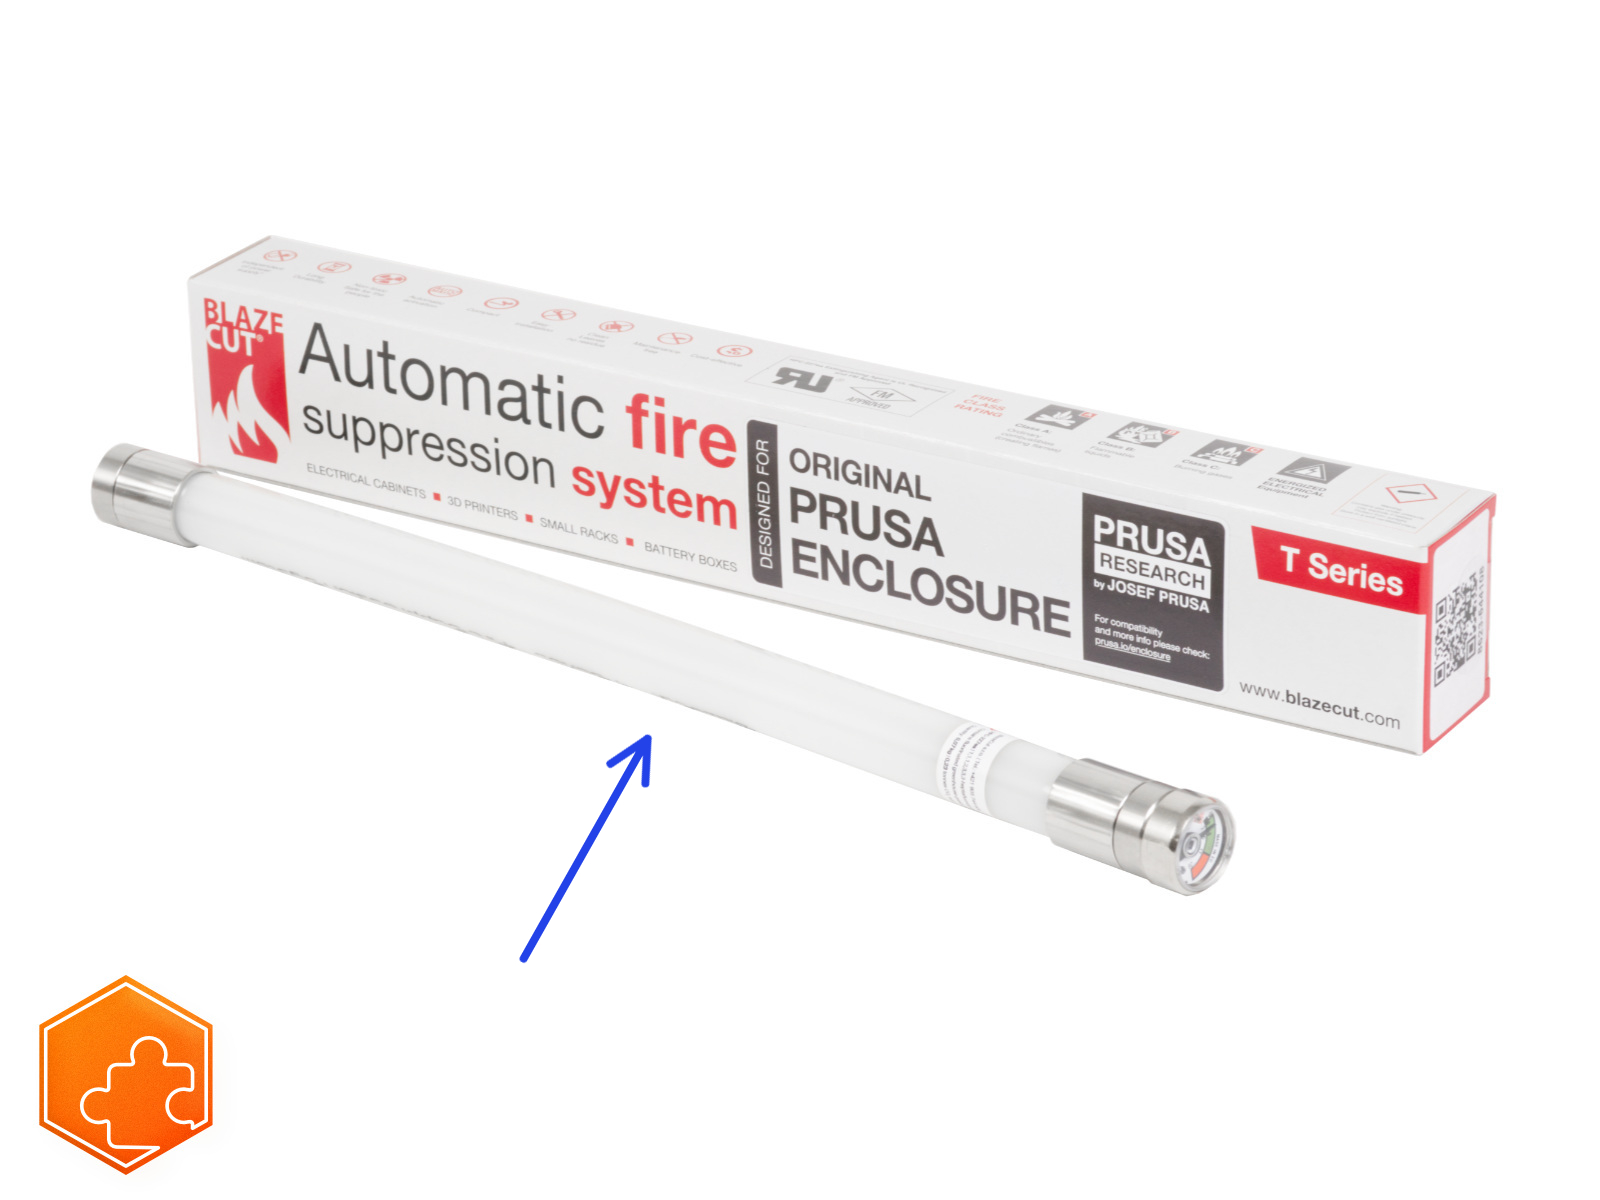
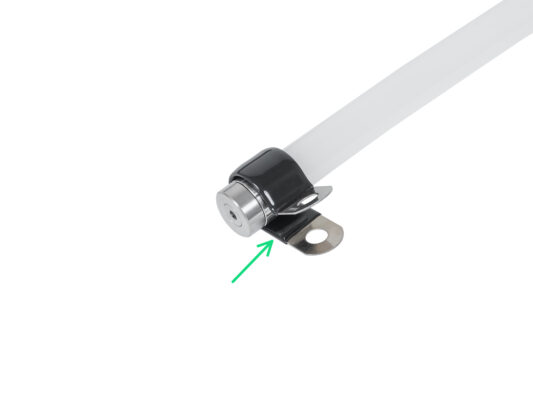
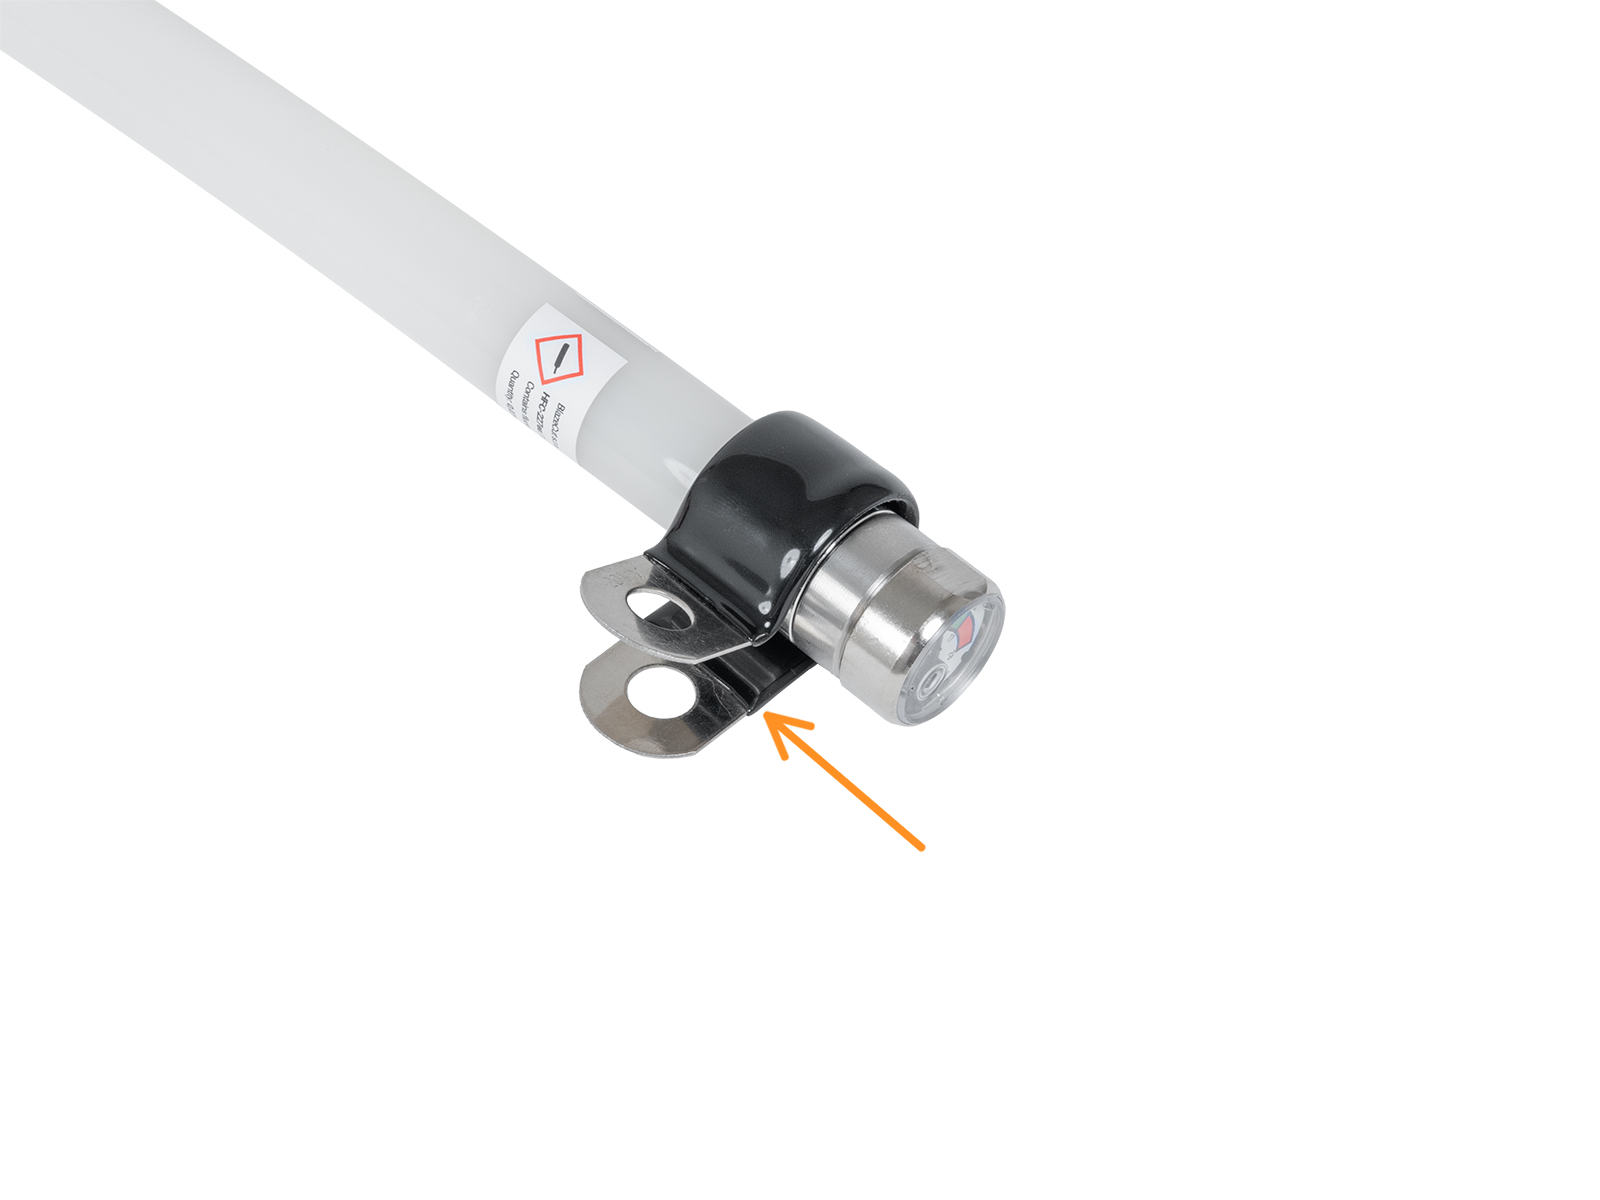
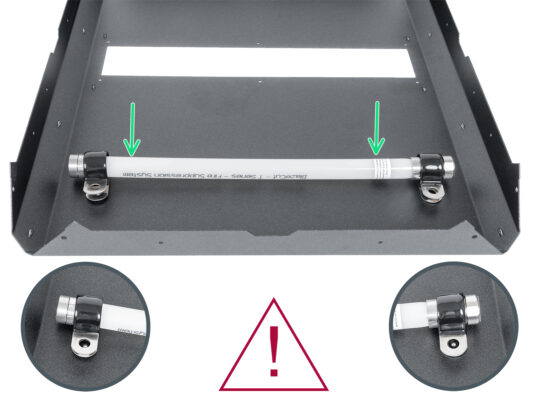
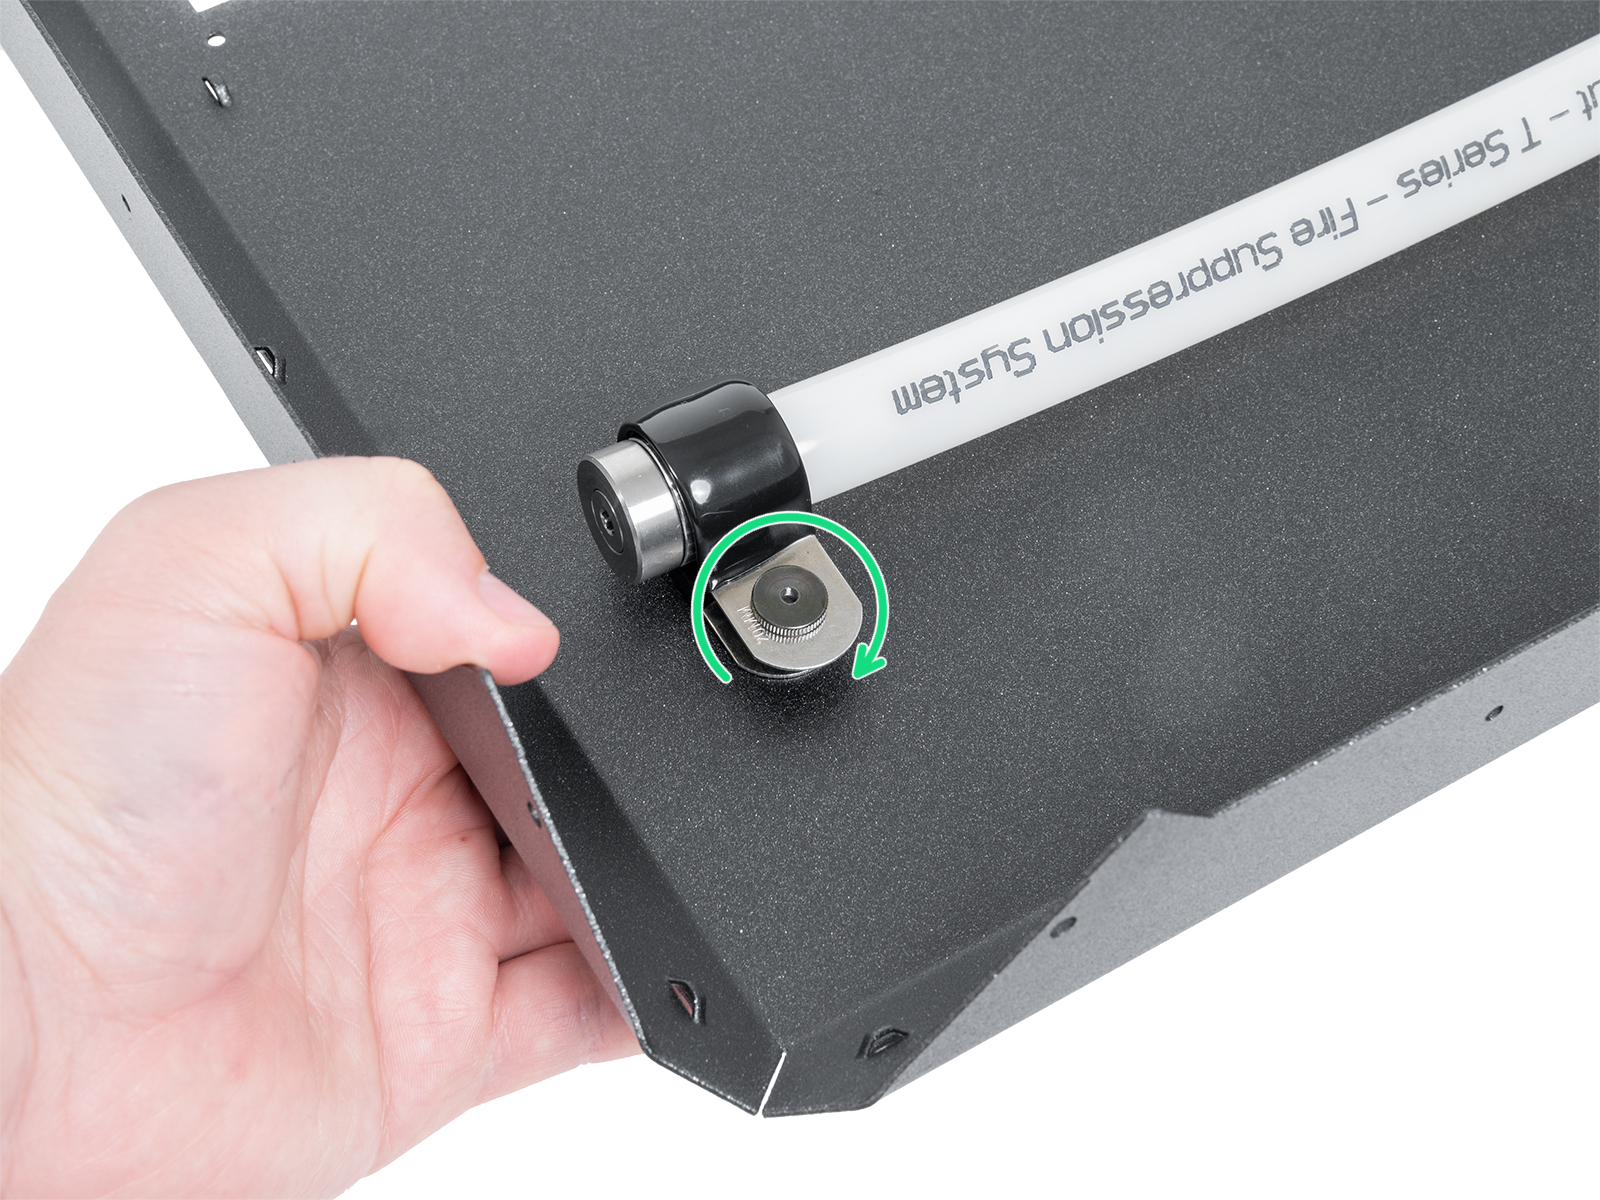
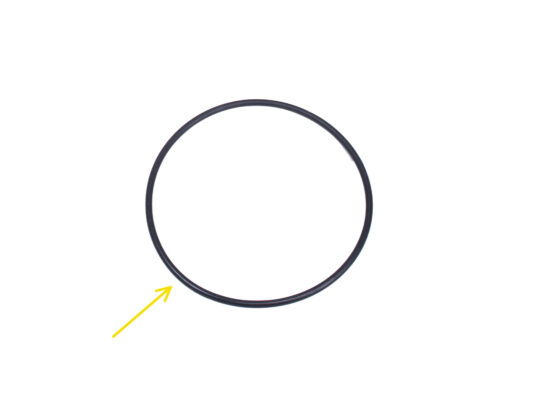
⬢Trubice Hasícího systému (1x) typ: T033E BlazeCut T Series Fire Suppression 1 System s manometrem
S trubičkou zacházejte opatrně, abyste ji nepoškodili.
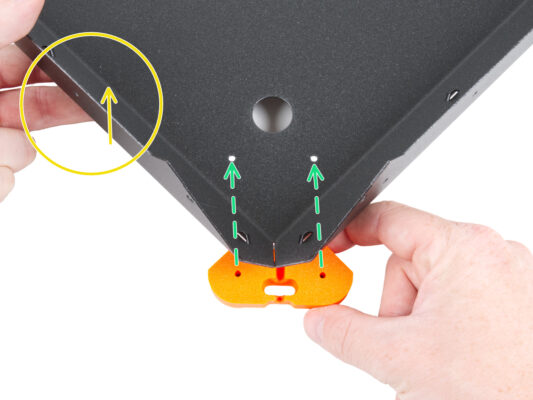
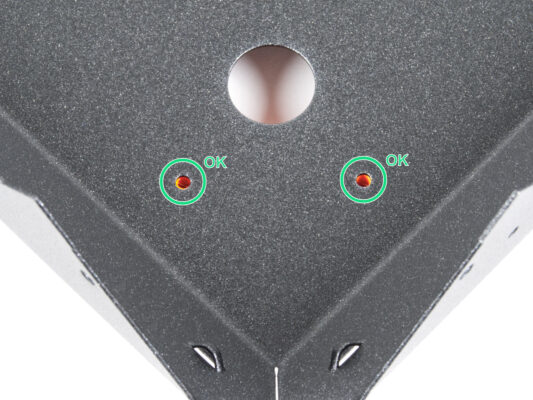
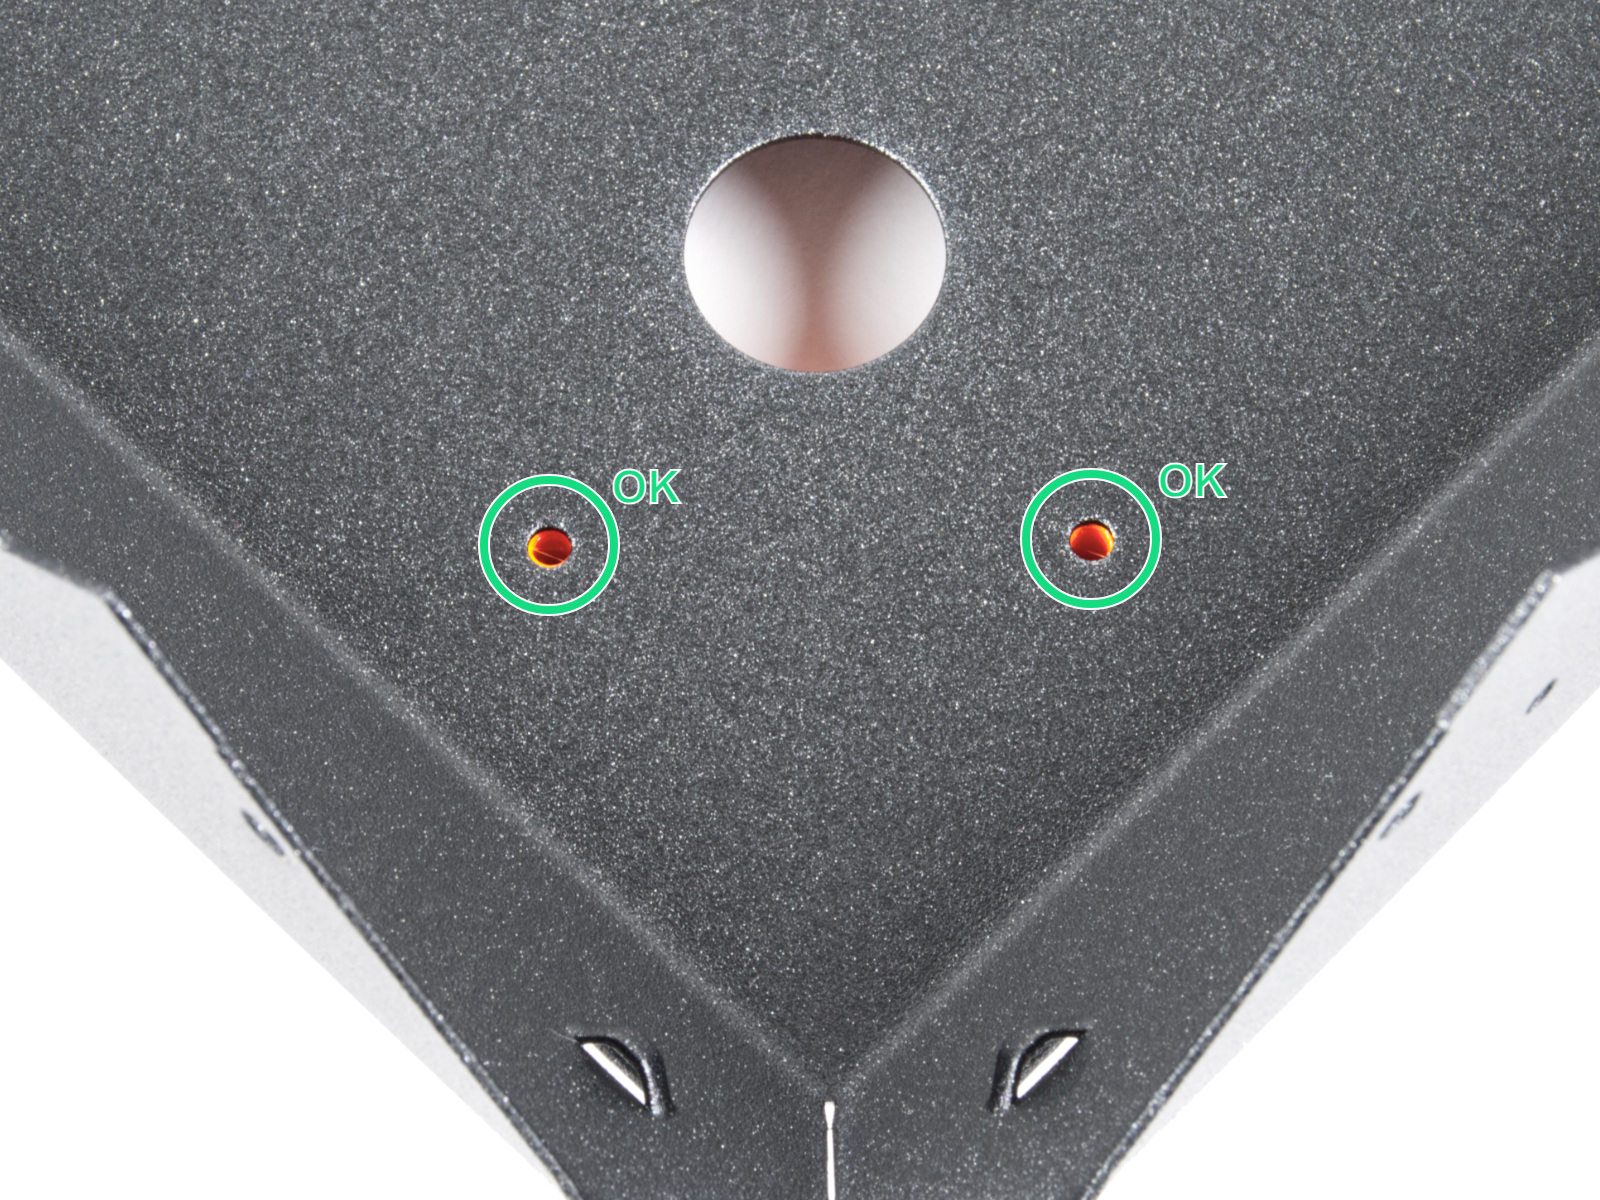
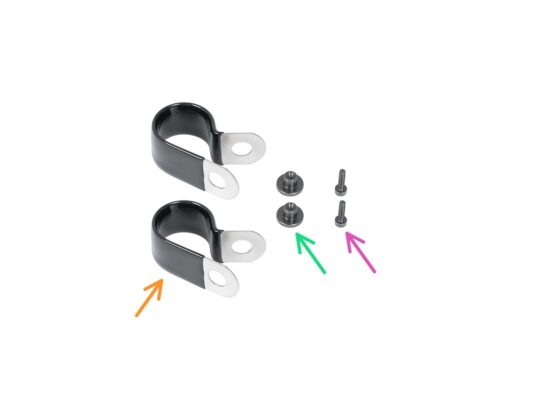
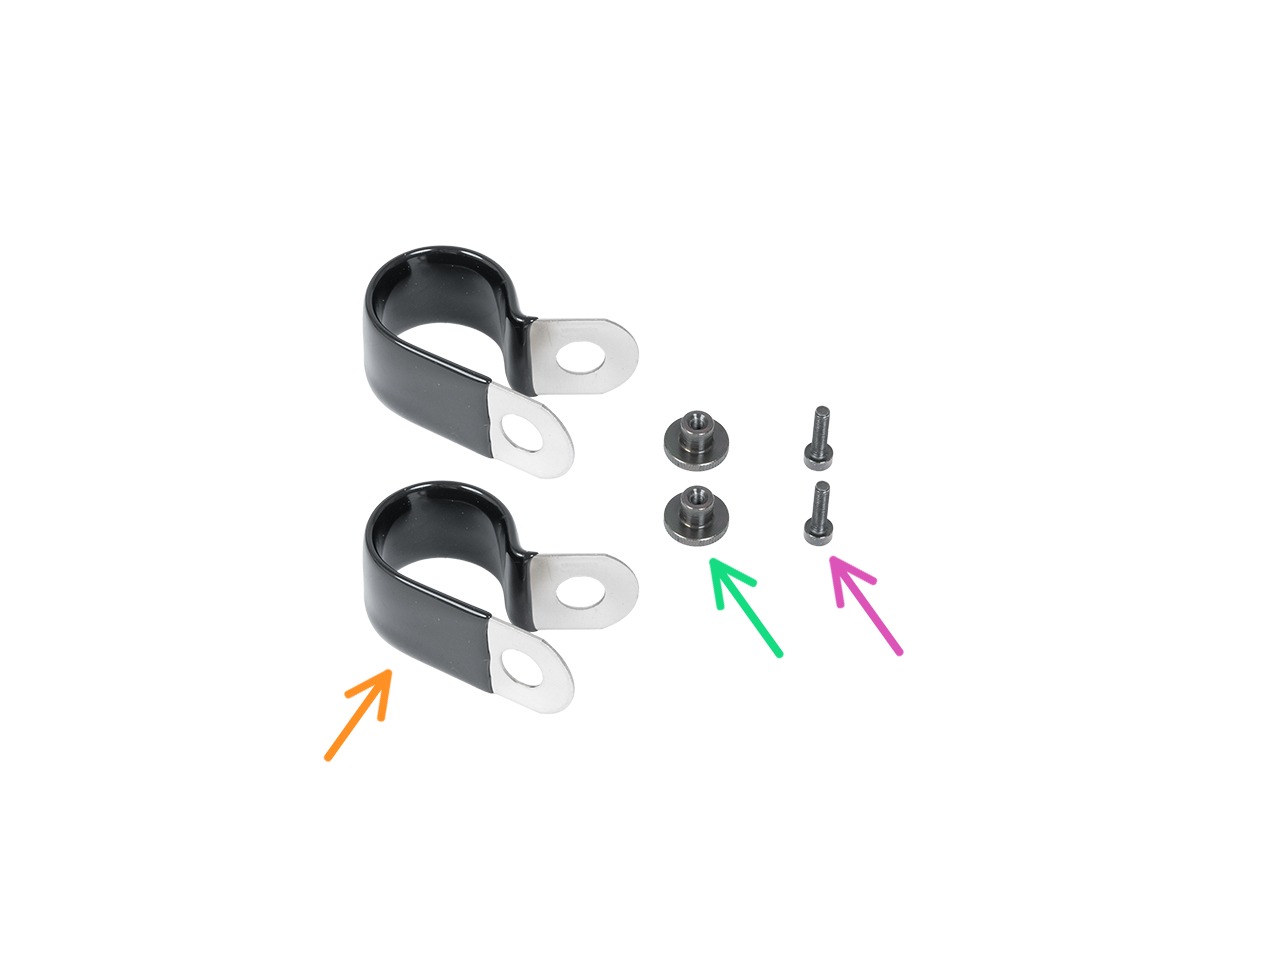
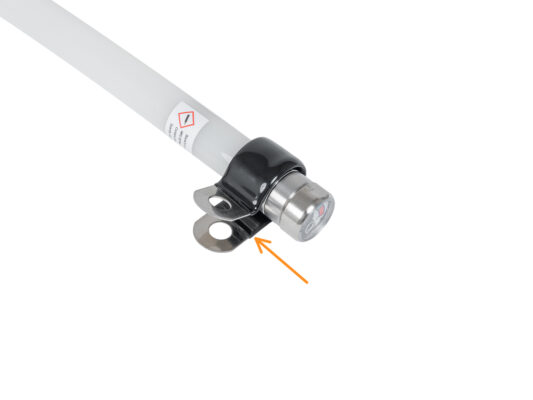
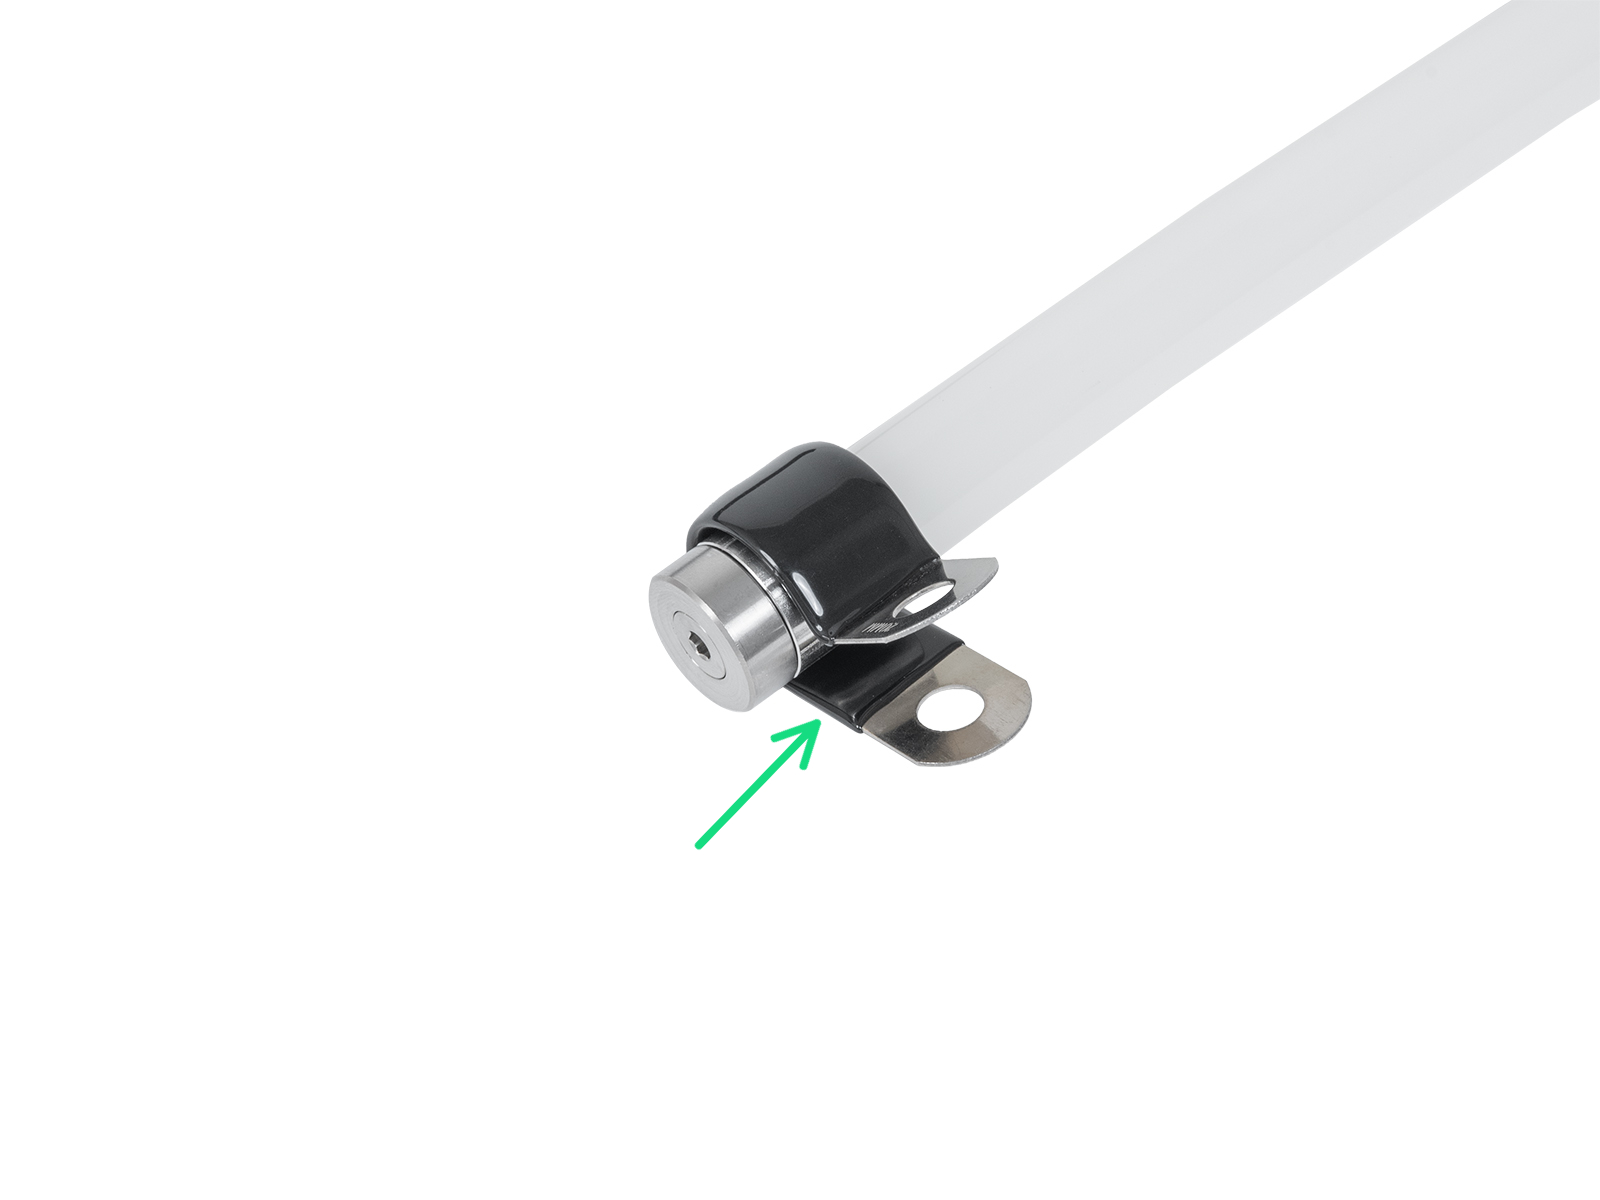
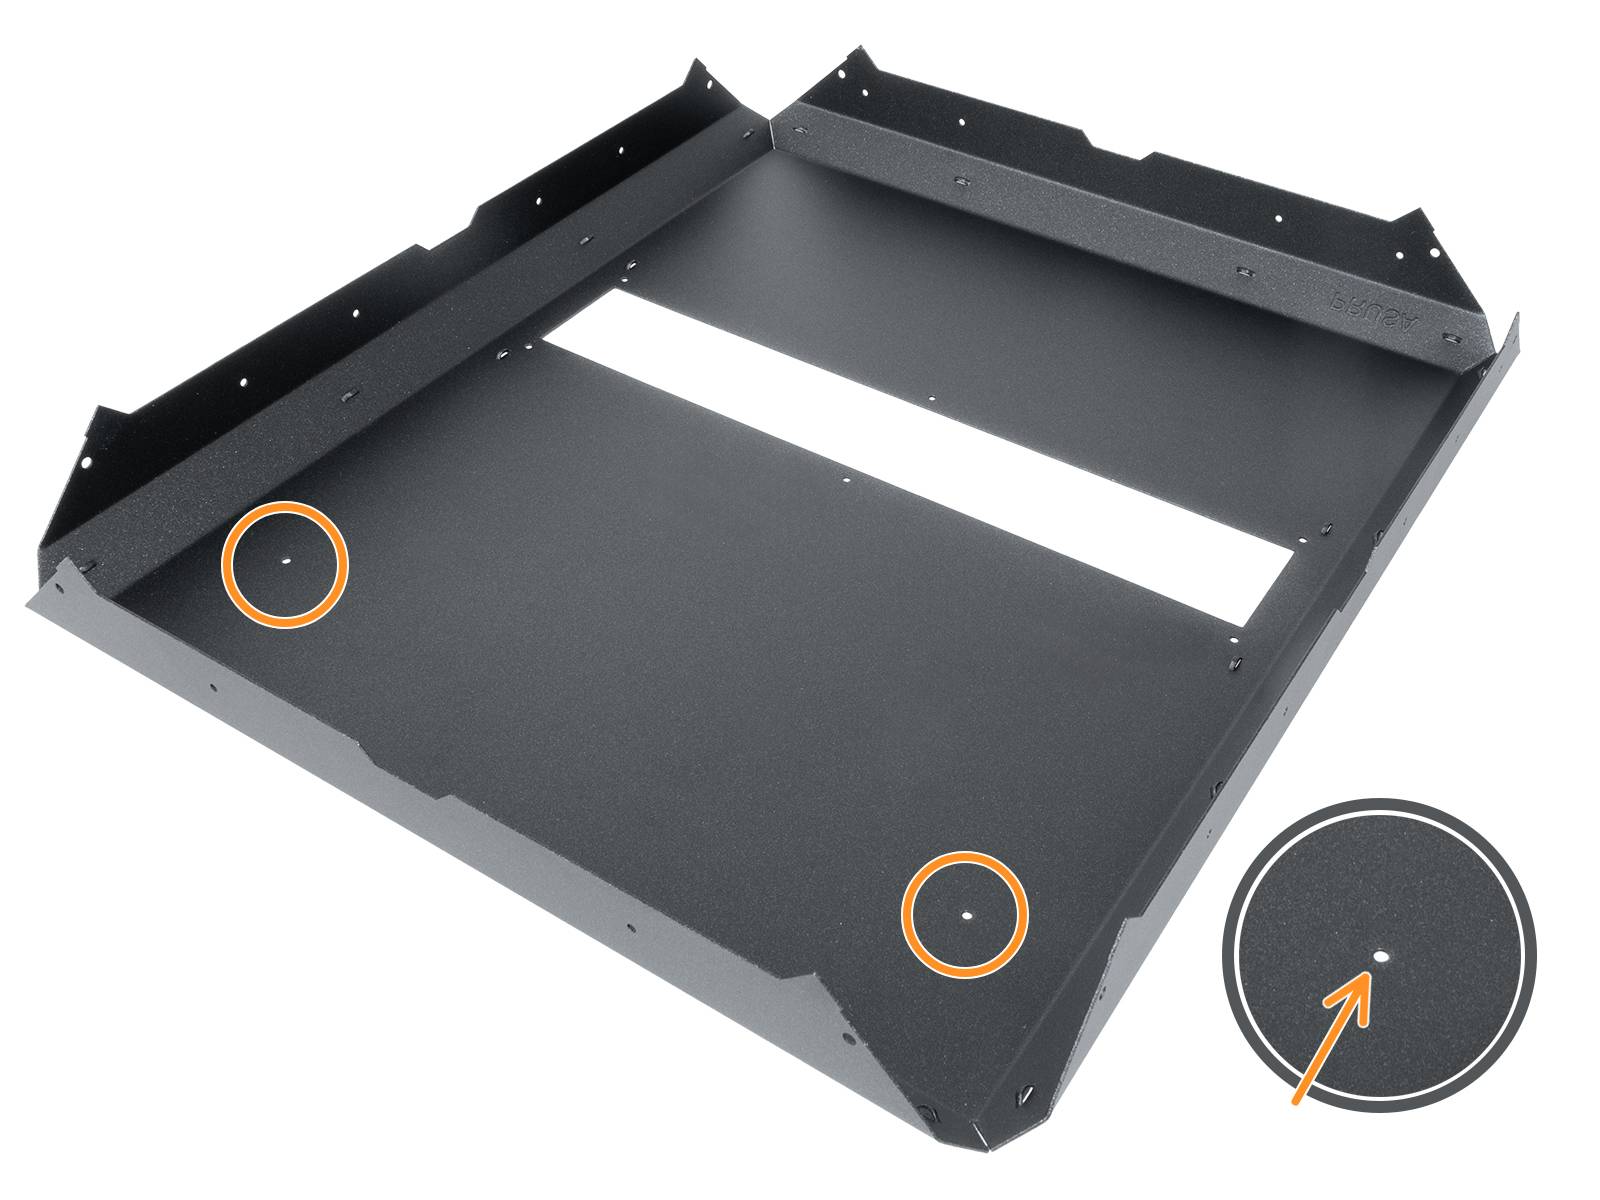
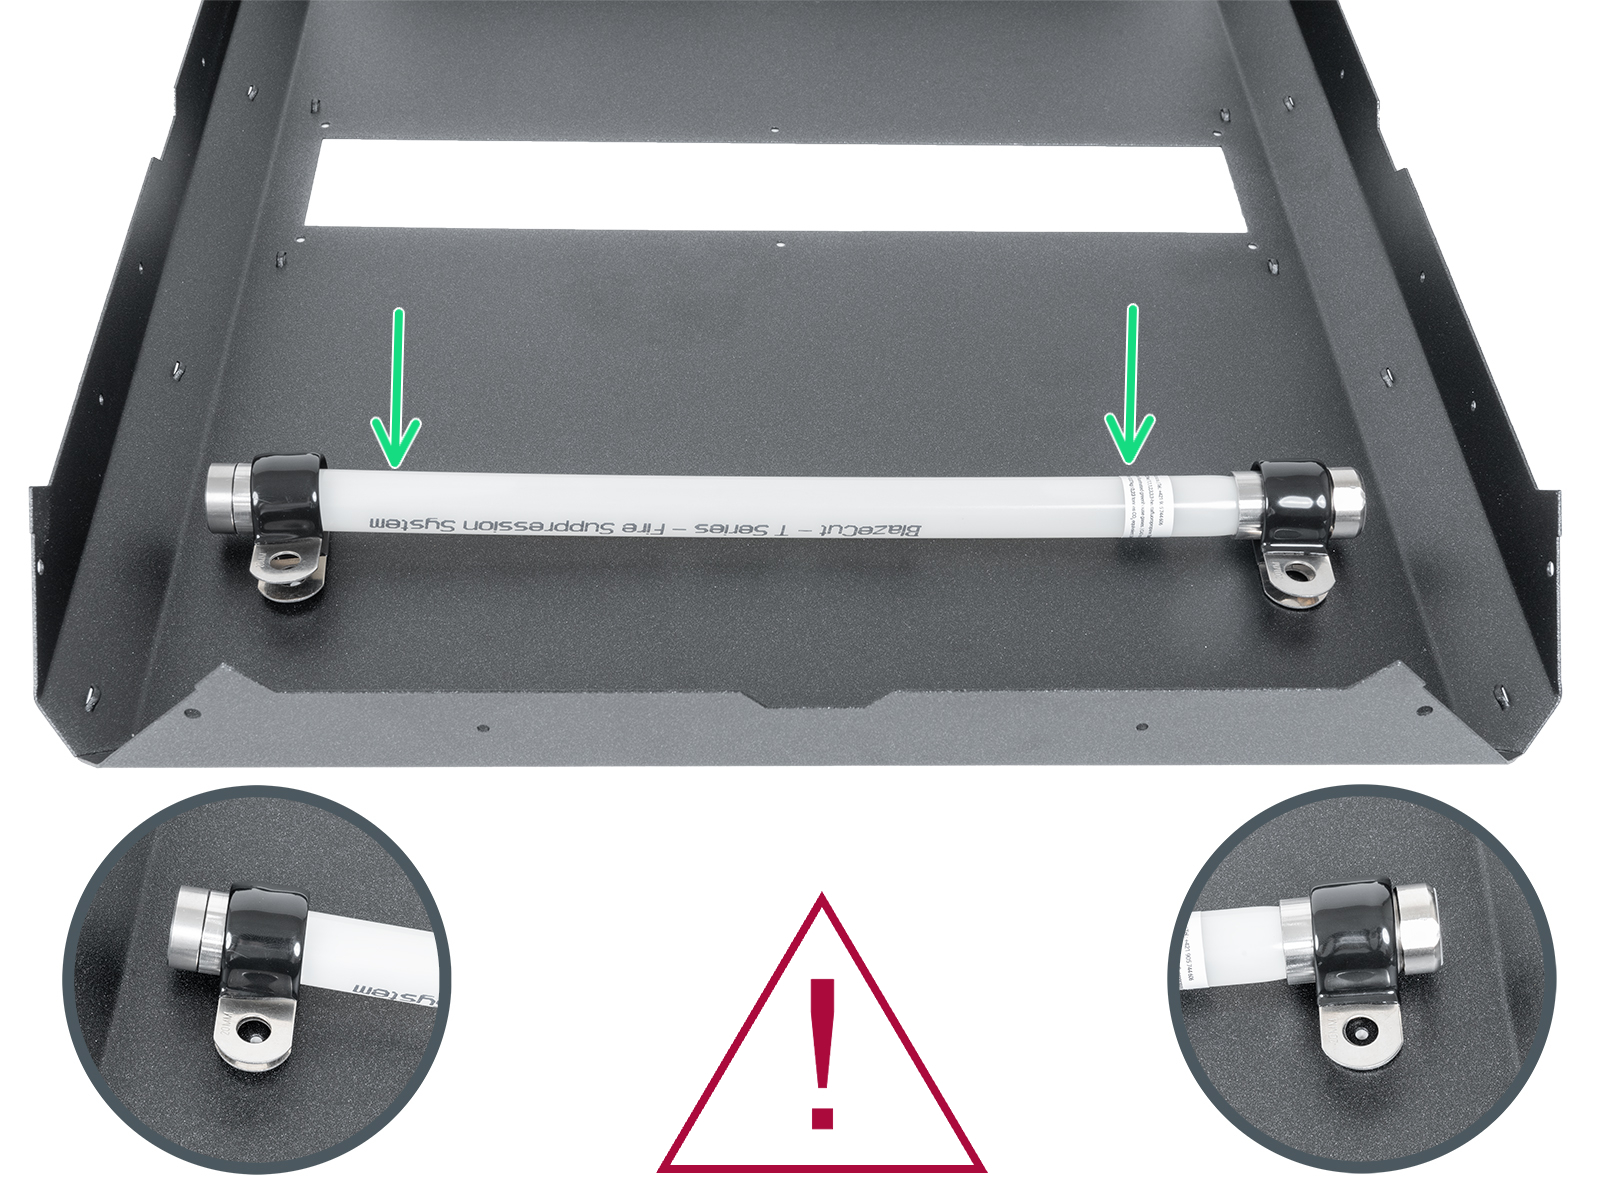
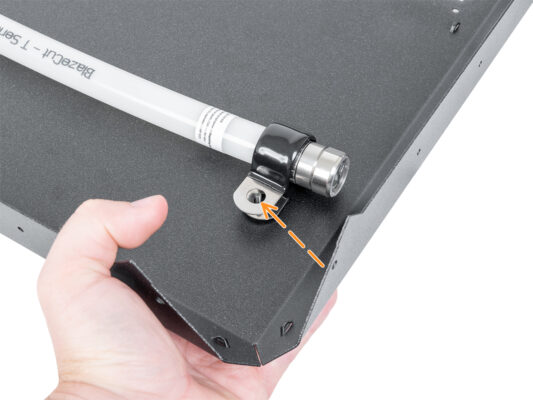
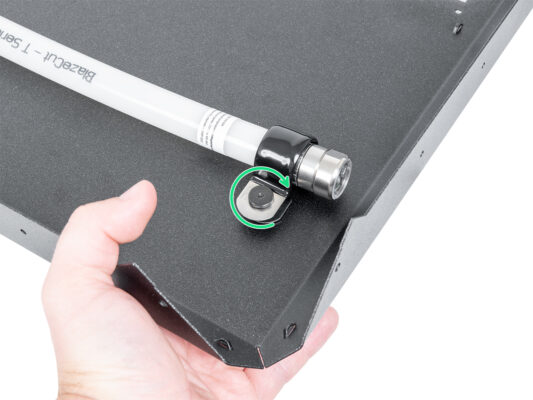
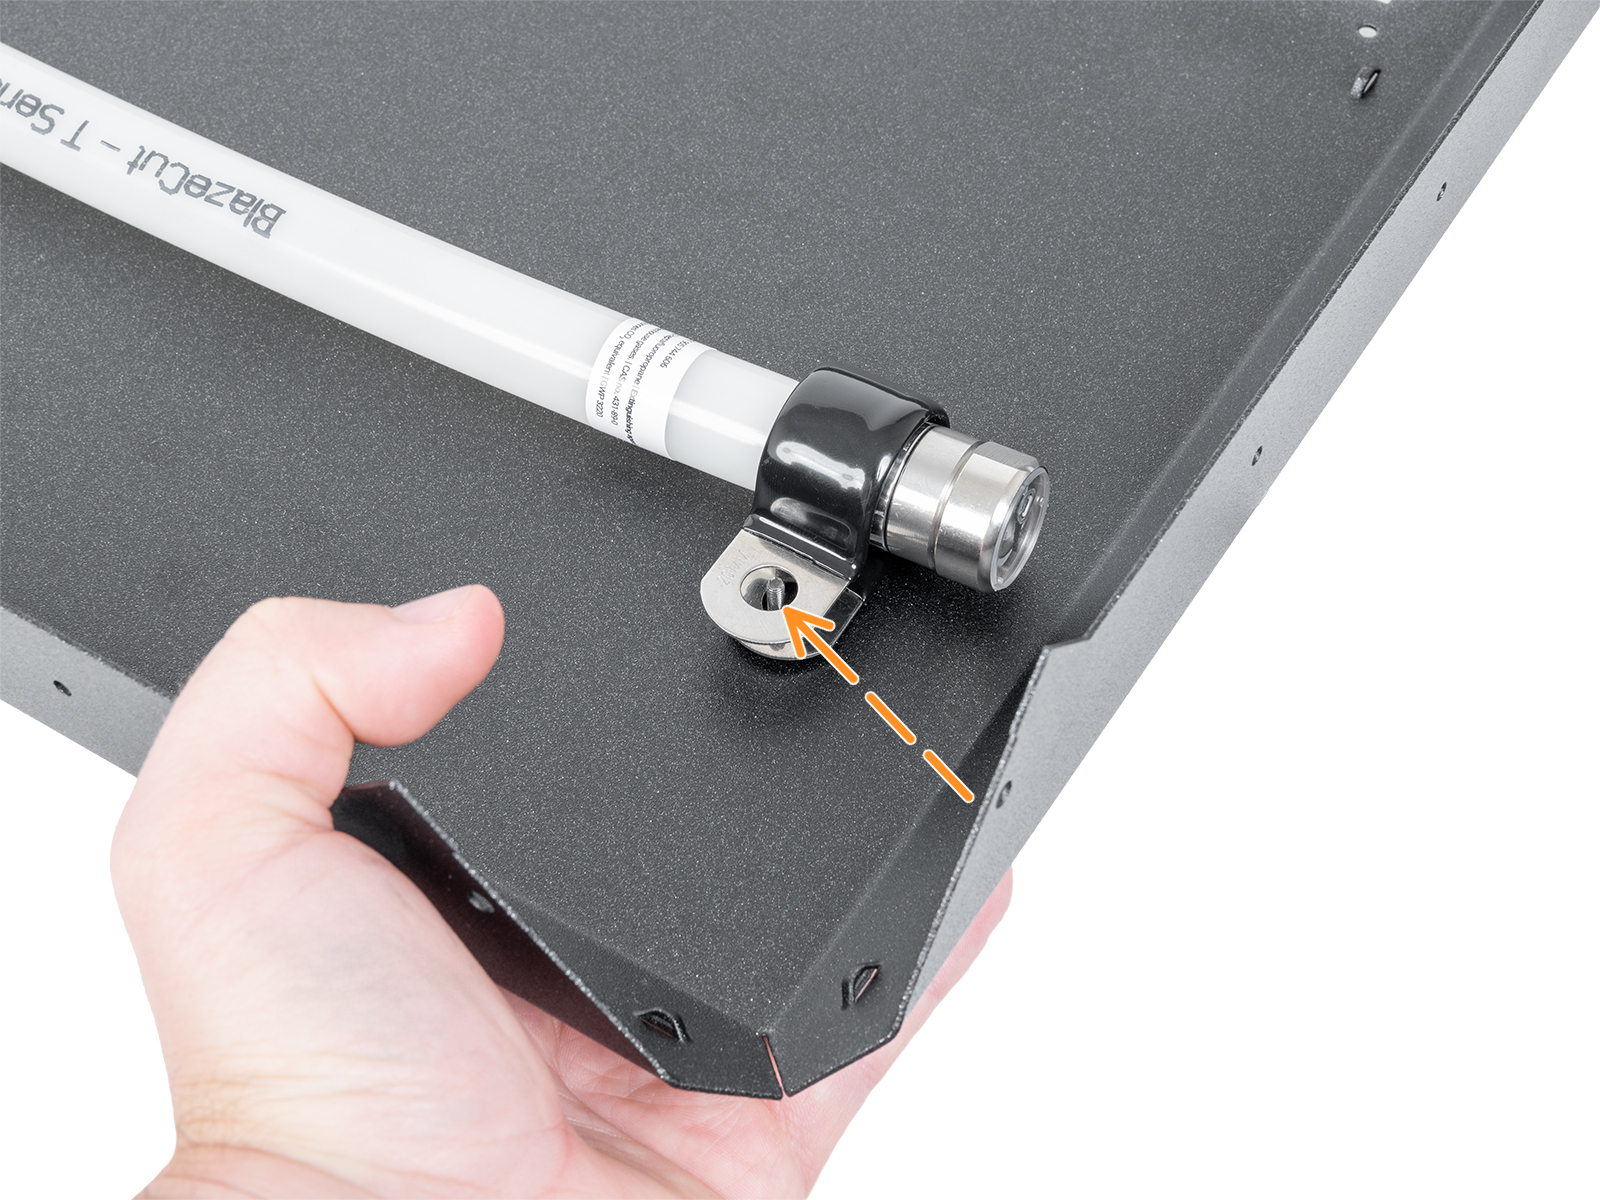
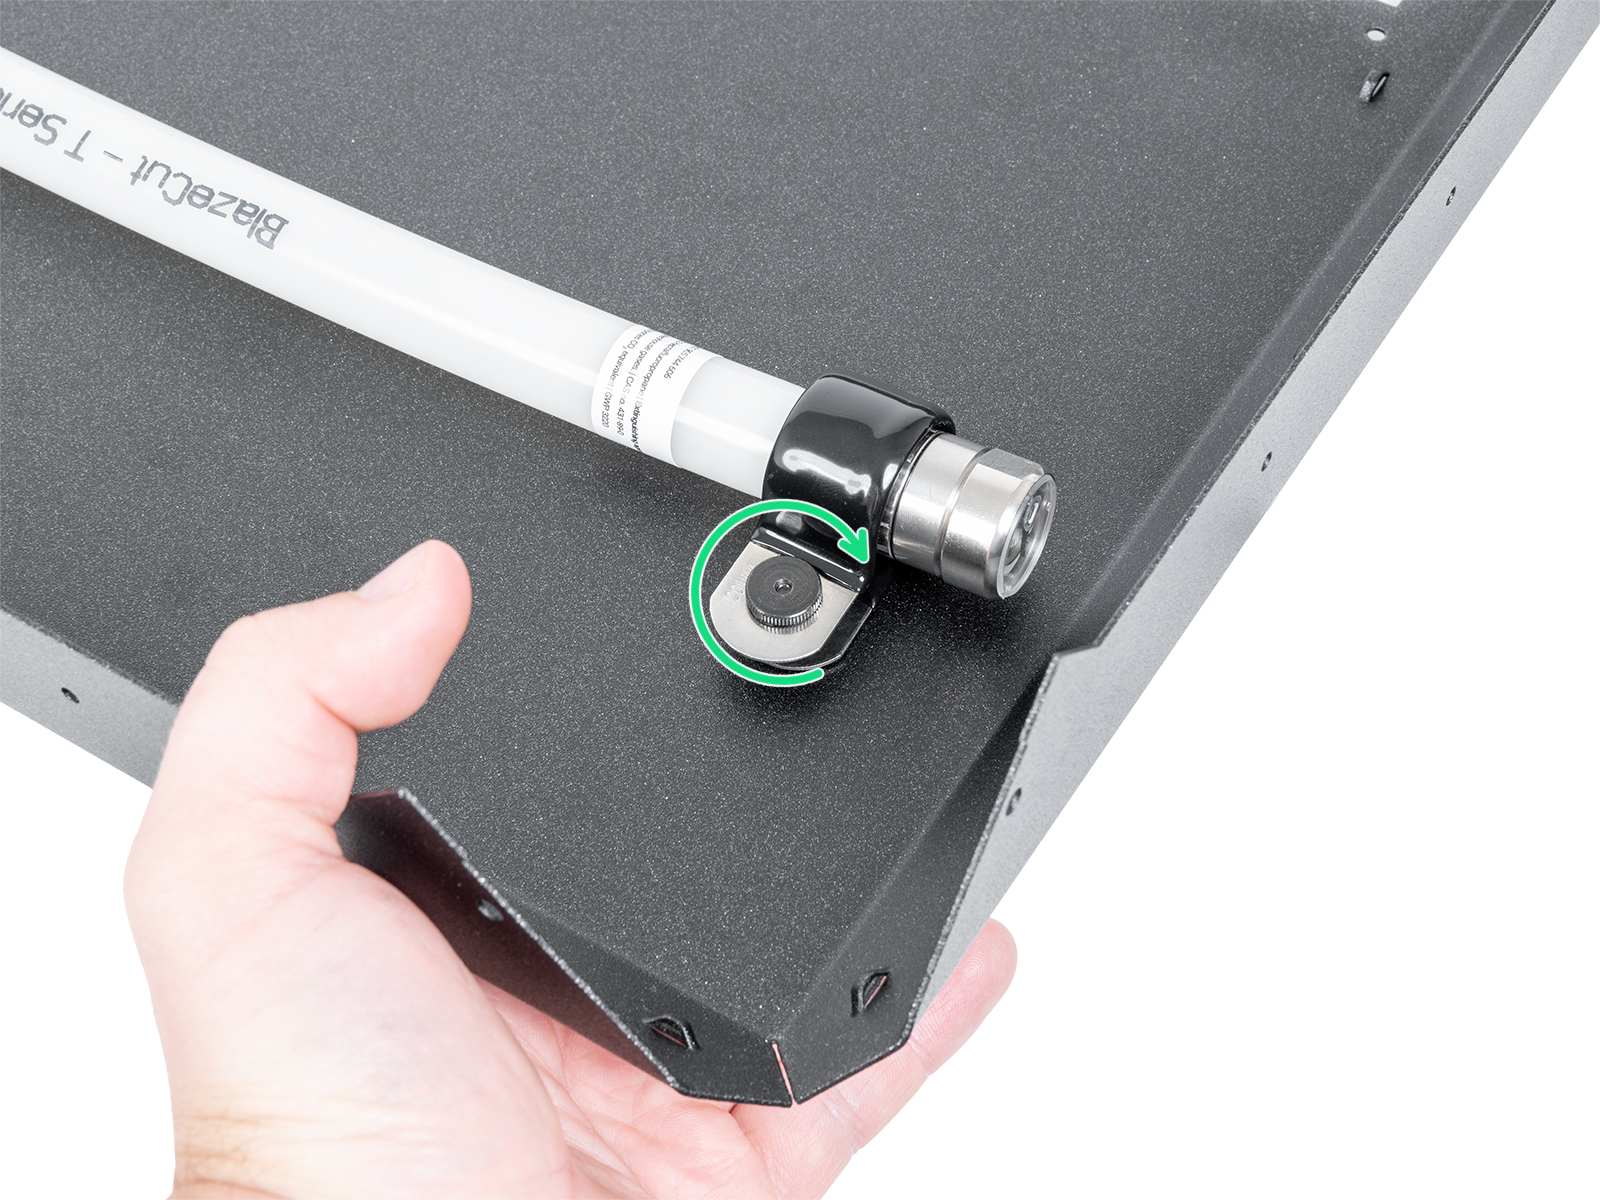
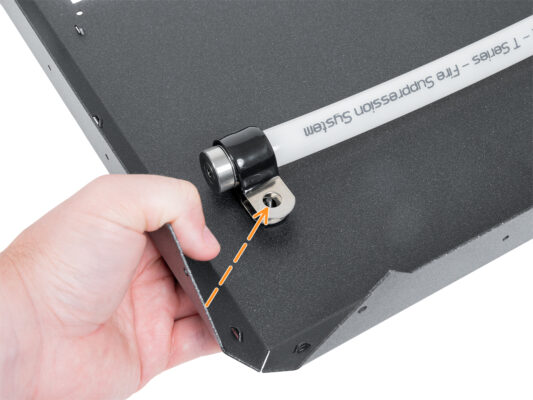
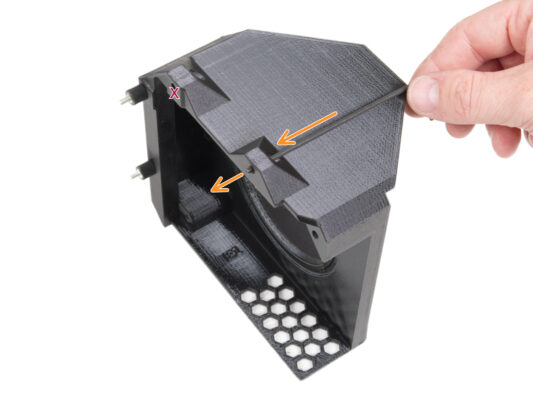
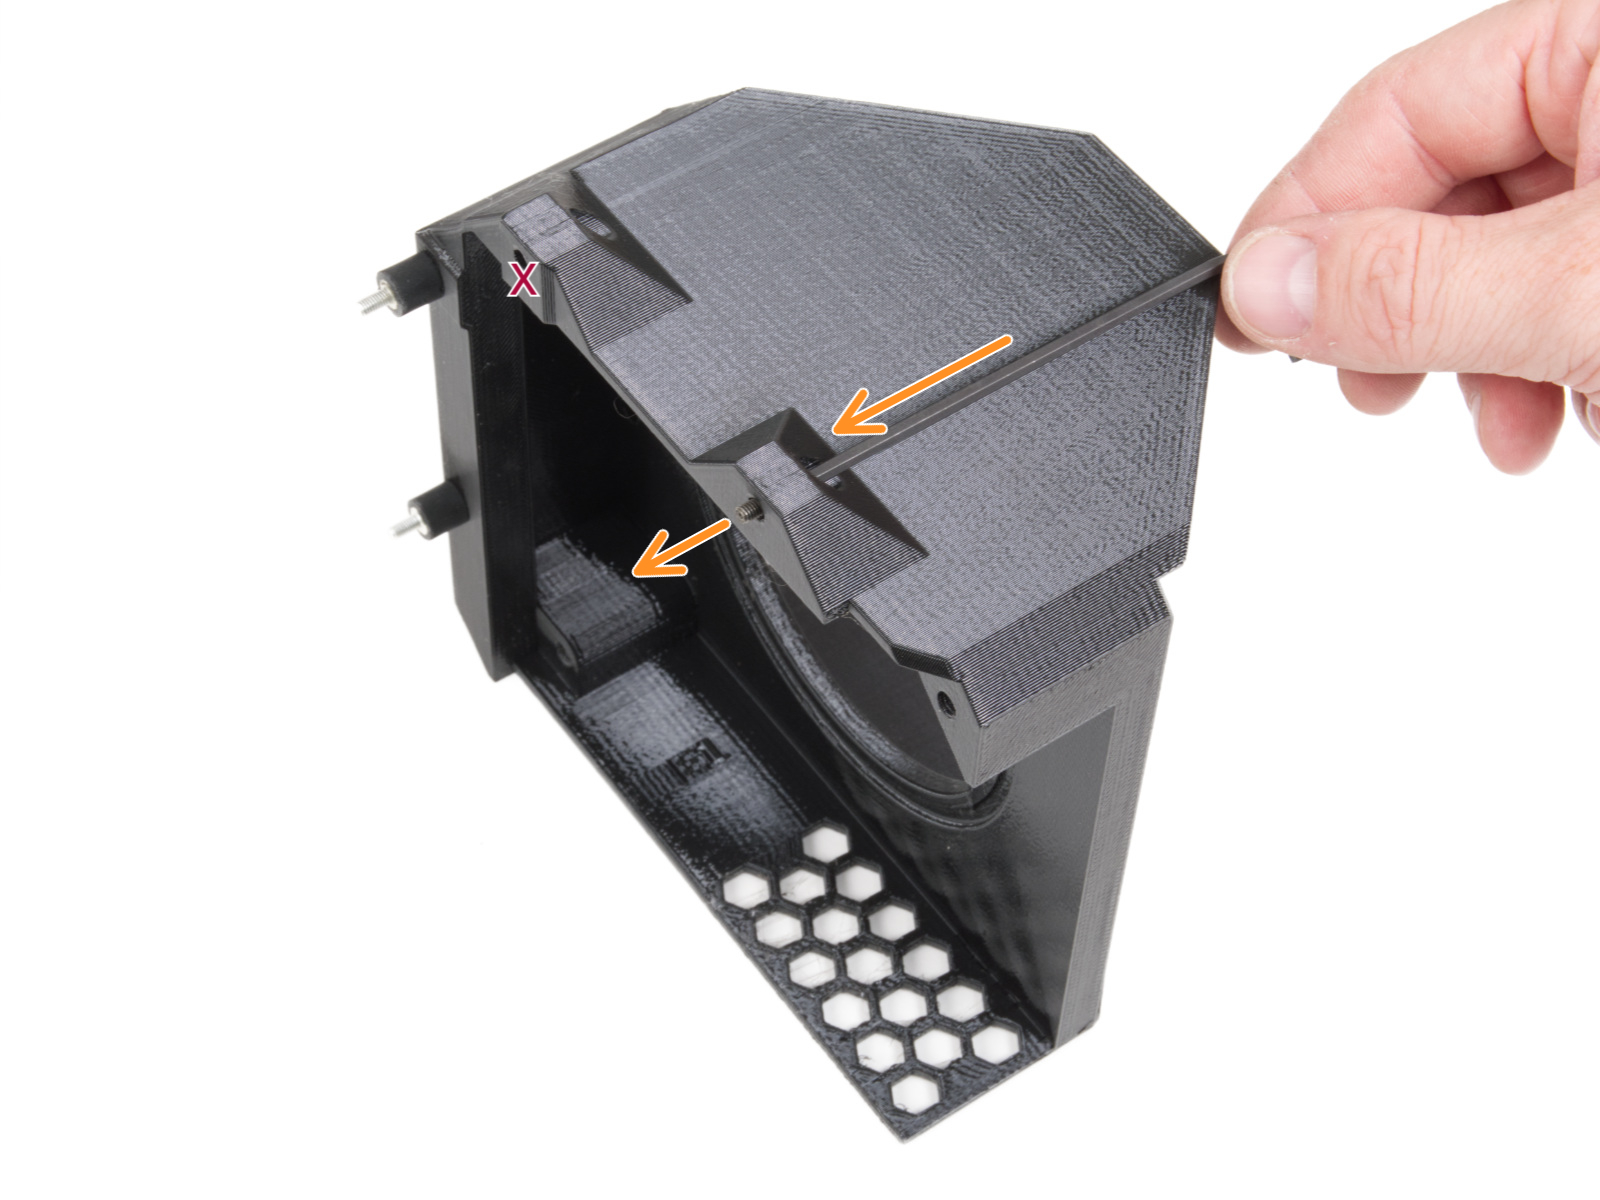
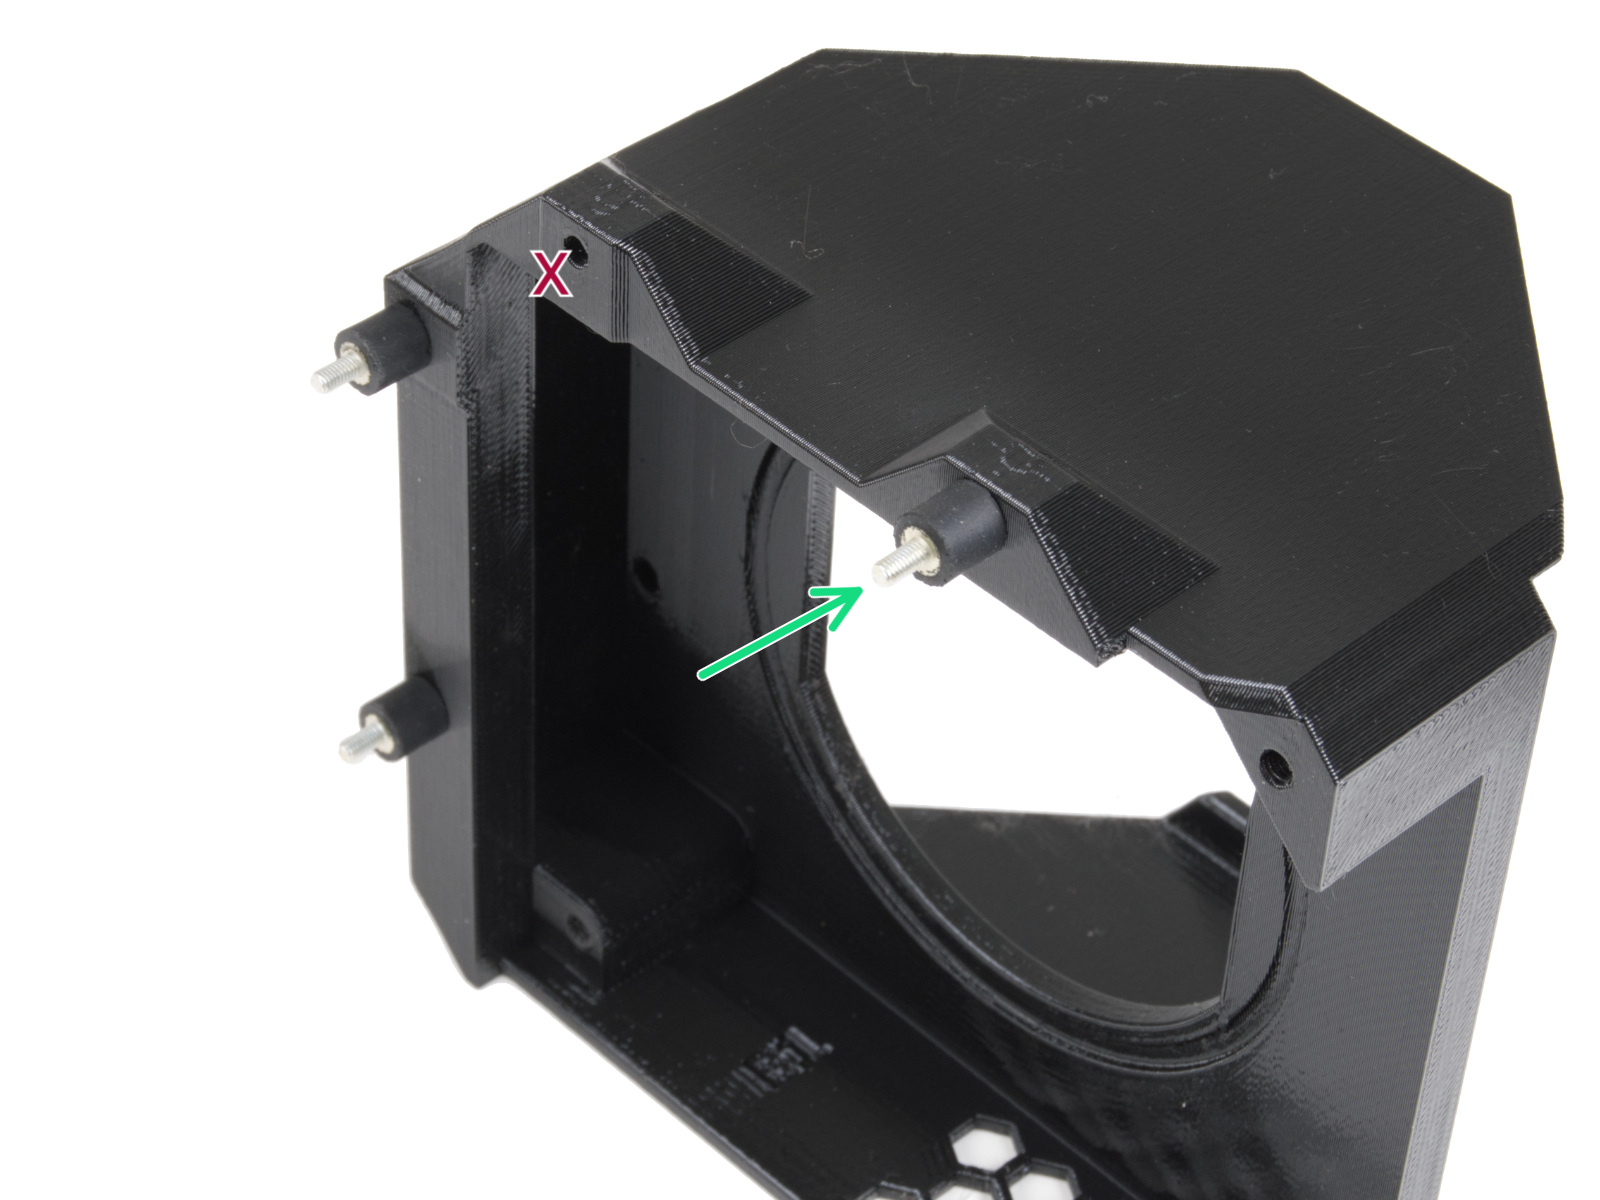
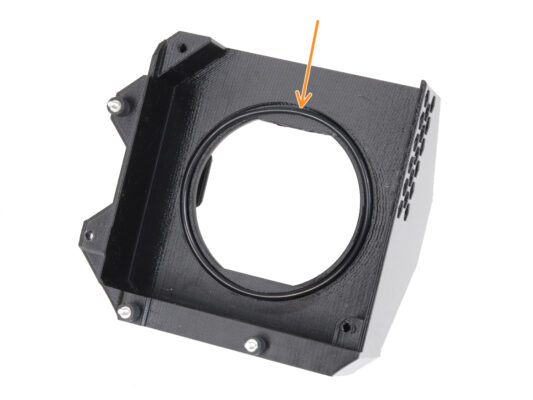
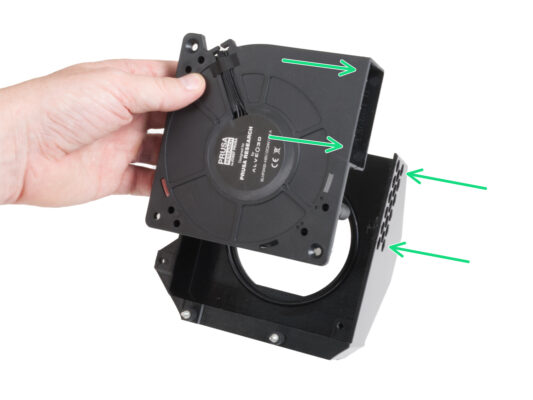
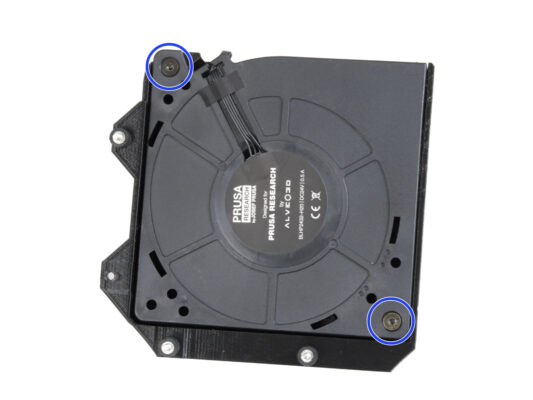
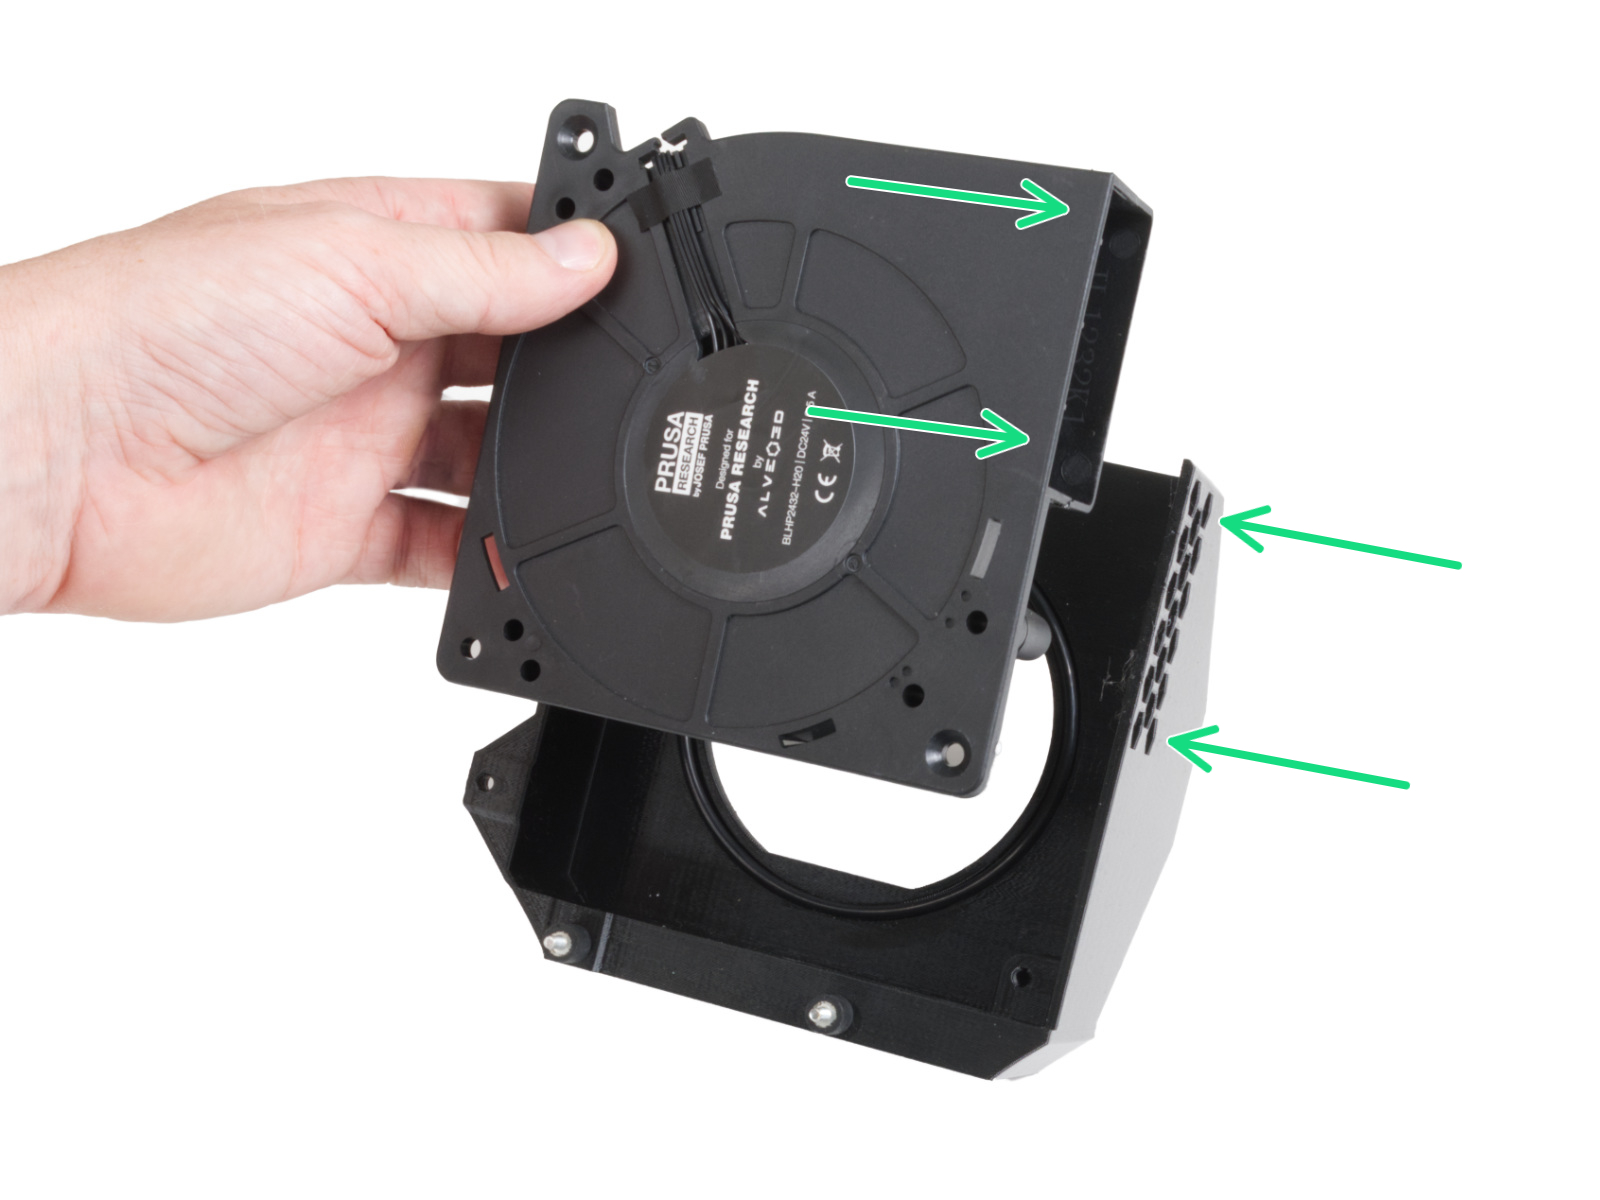
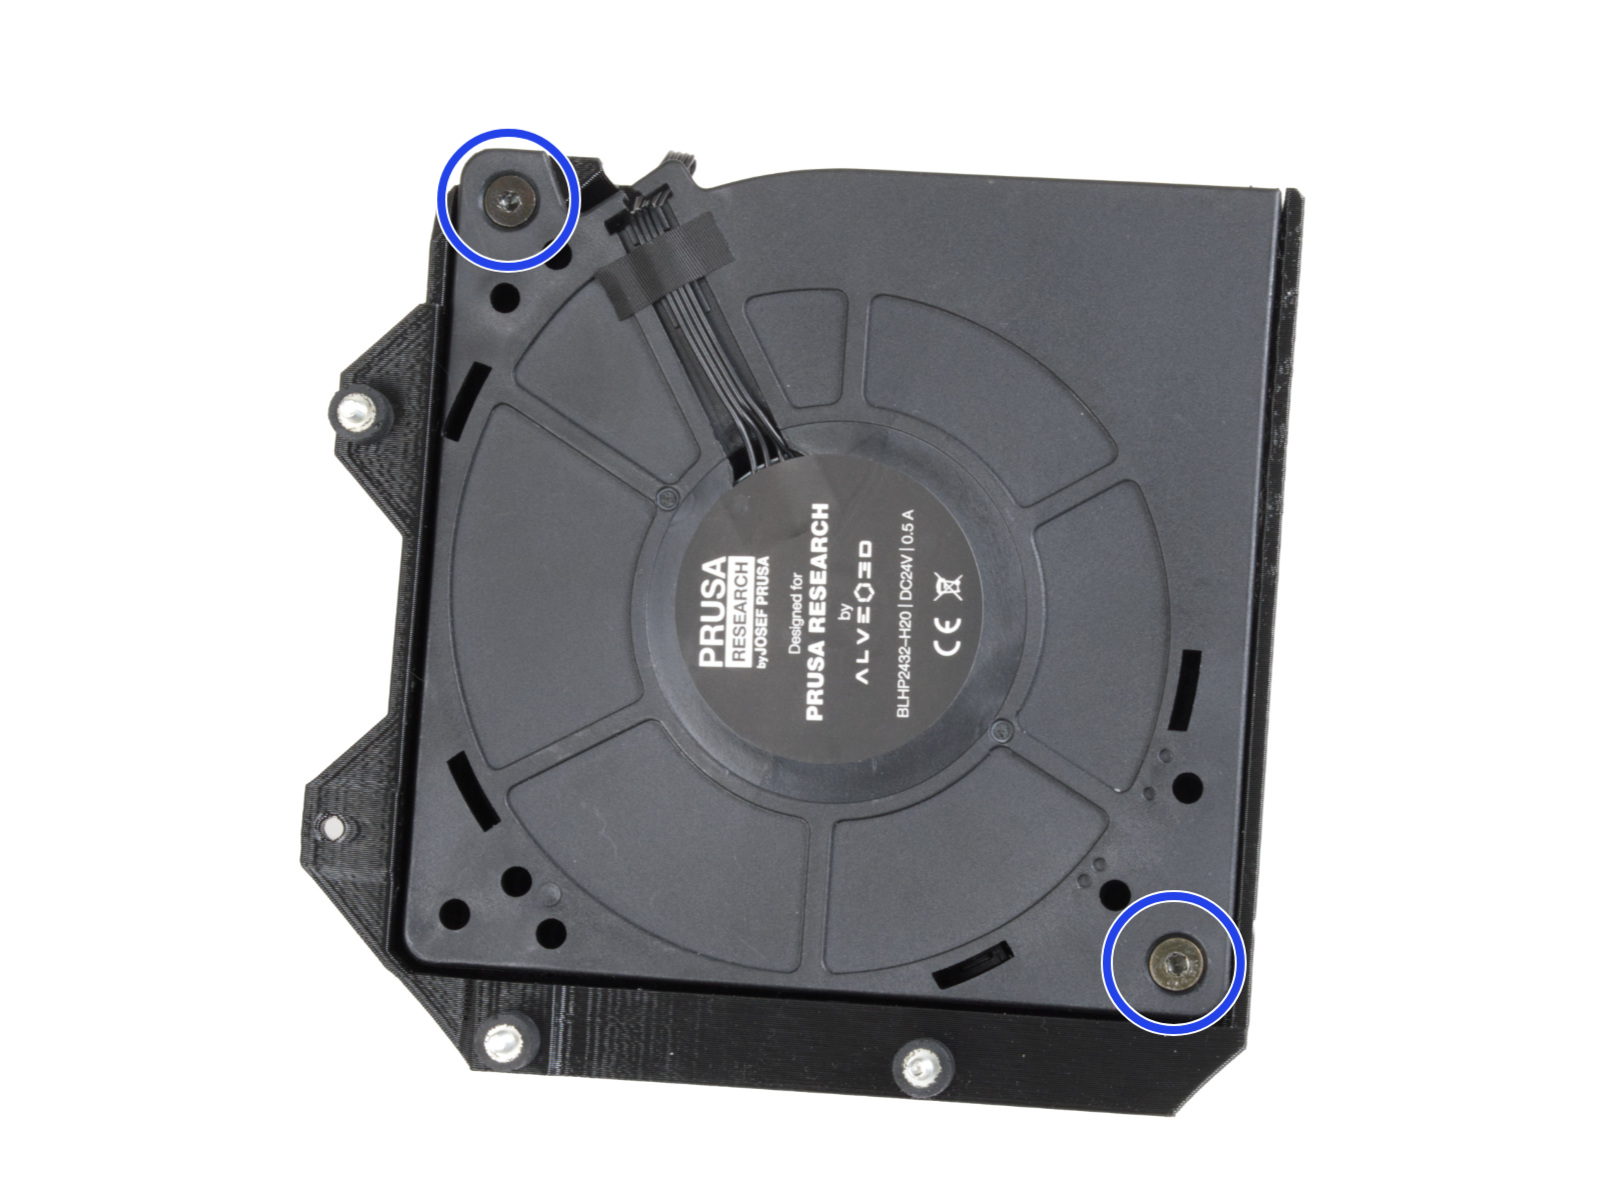
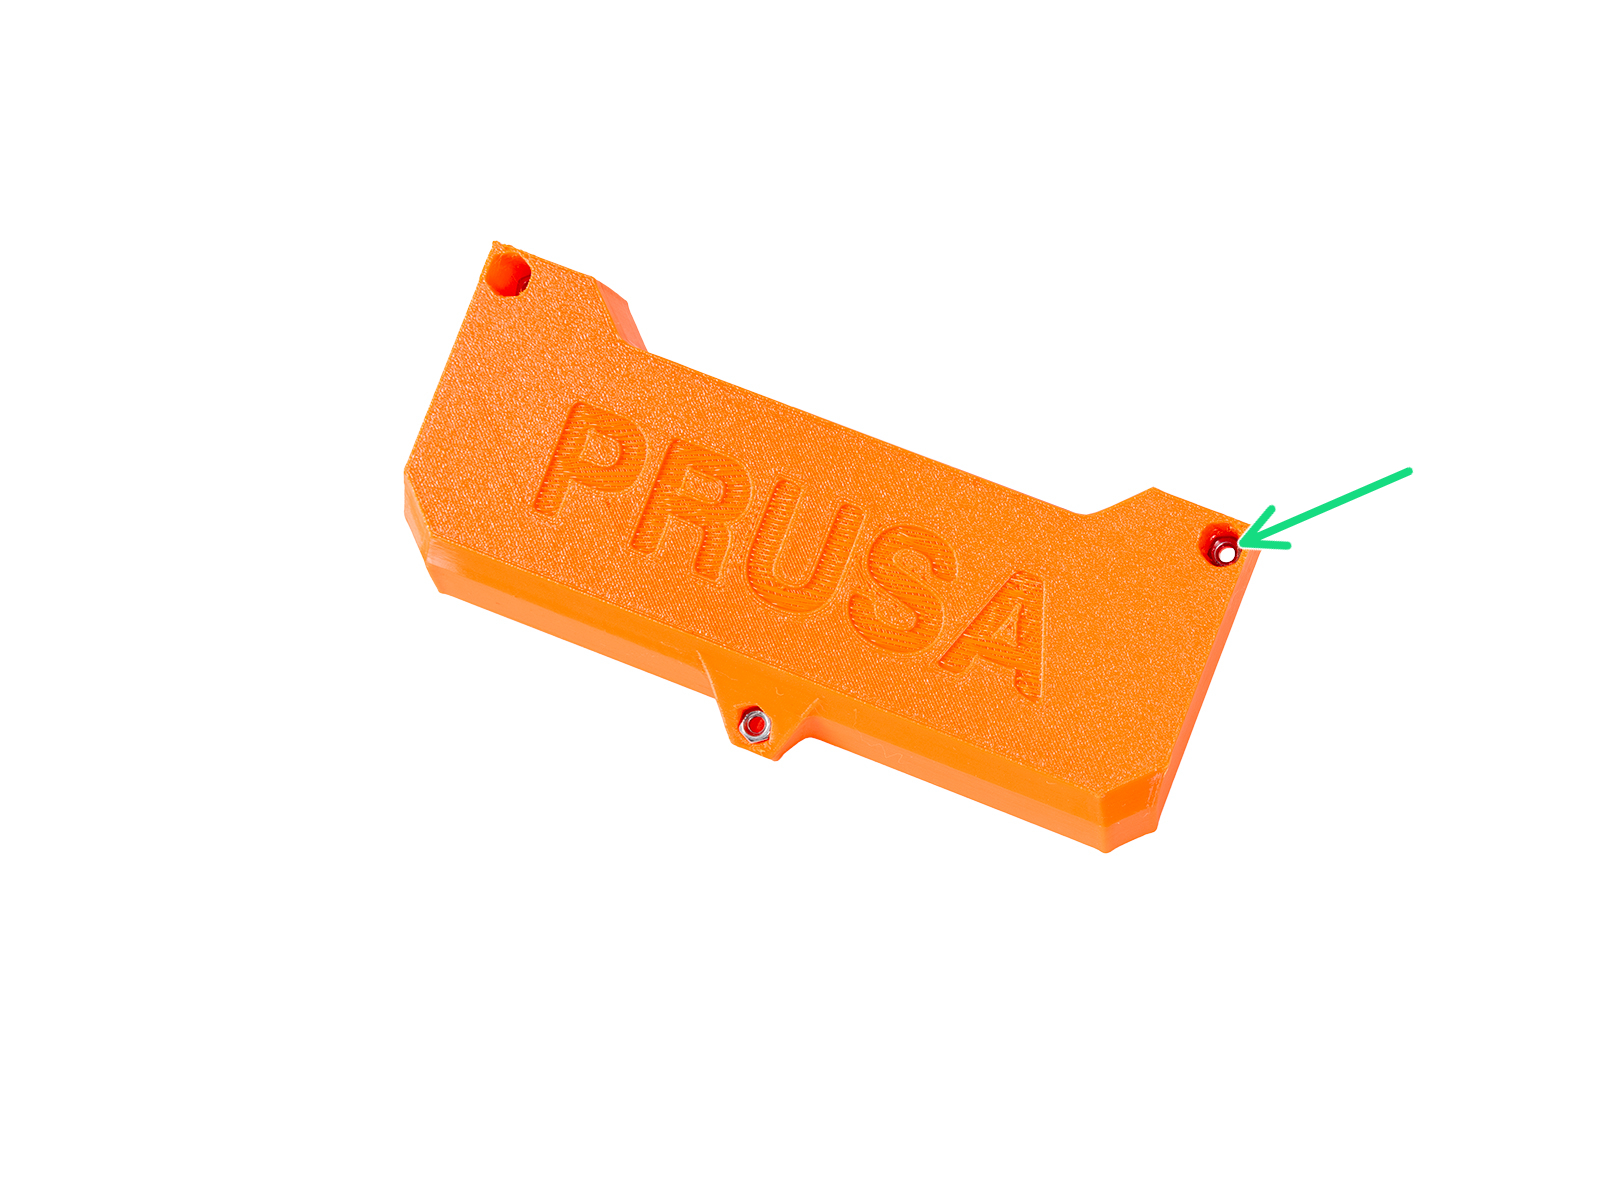
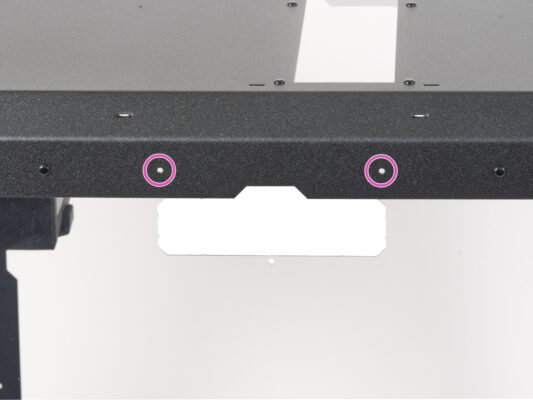
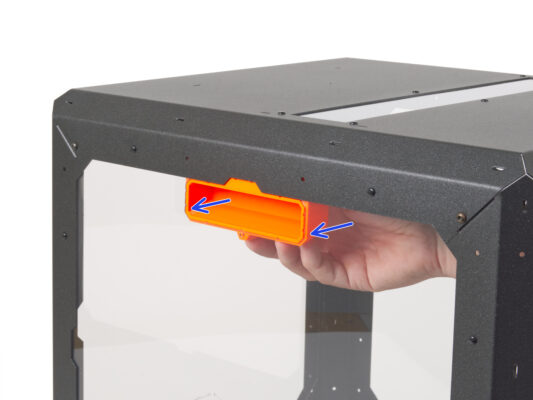
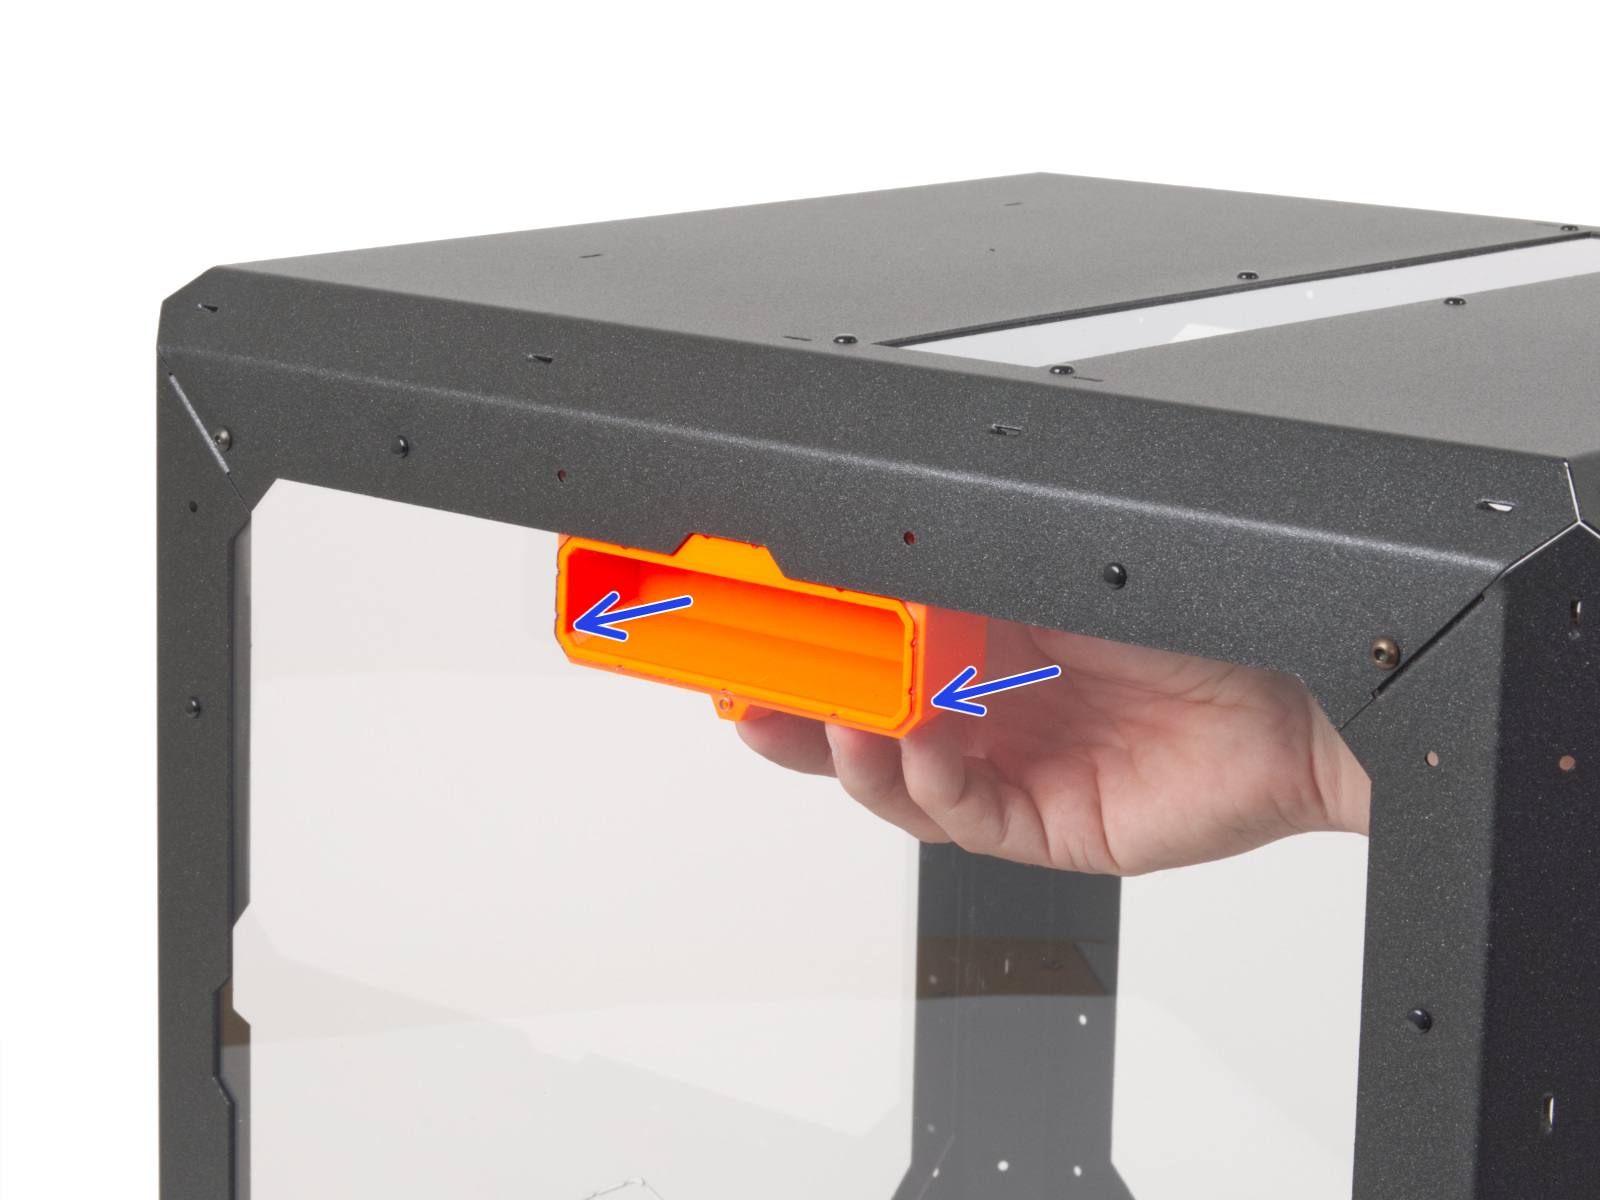
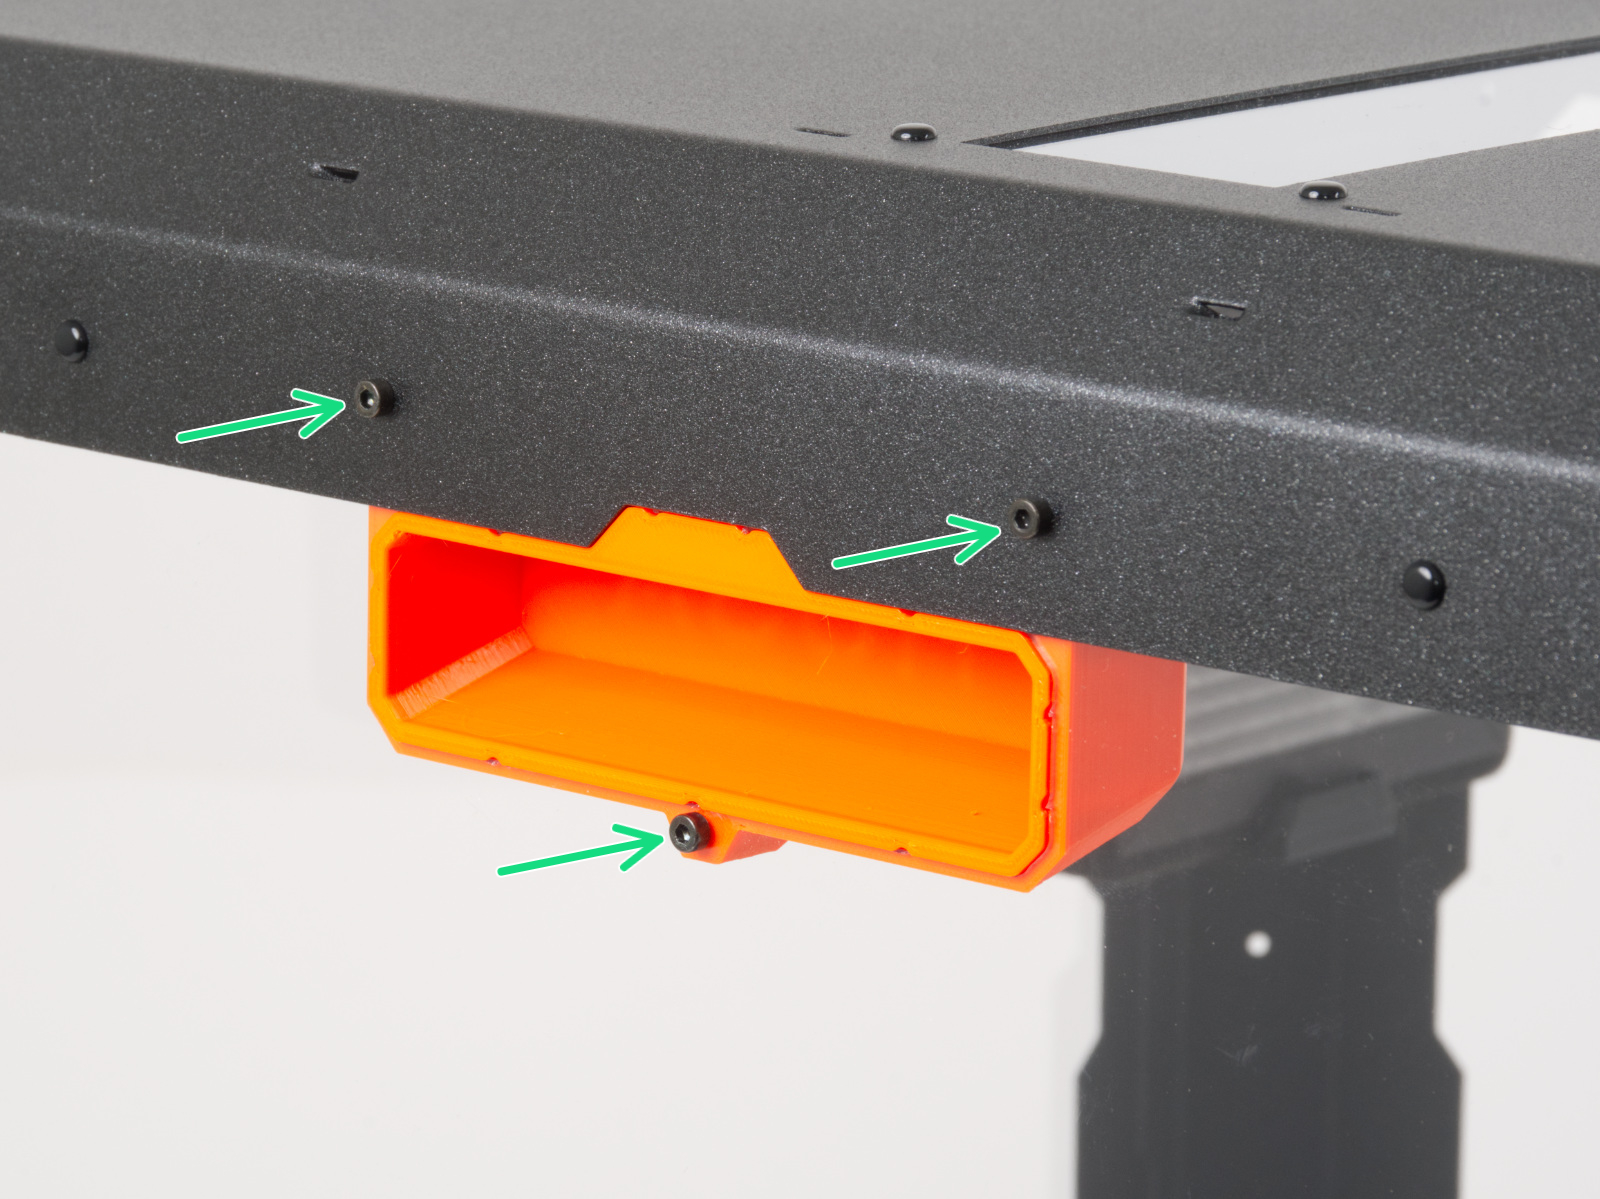
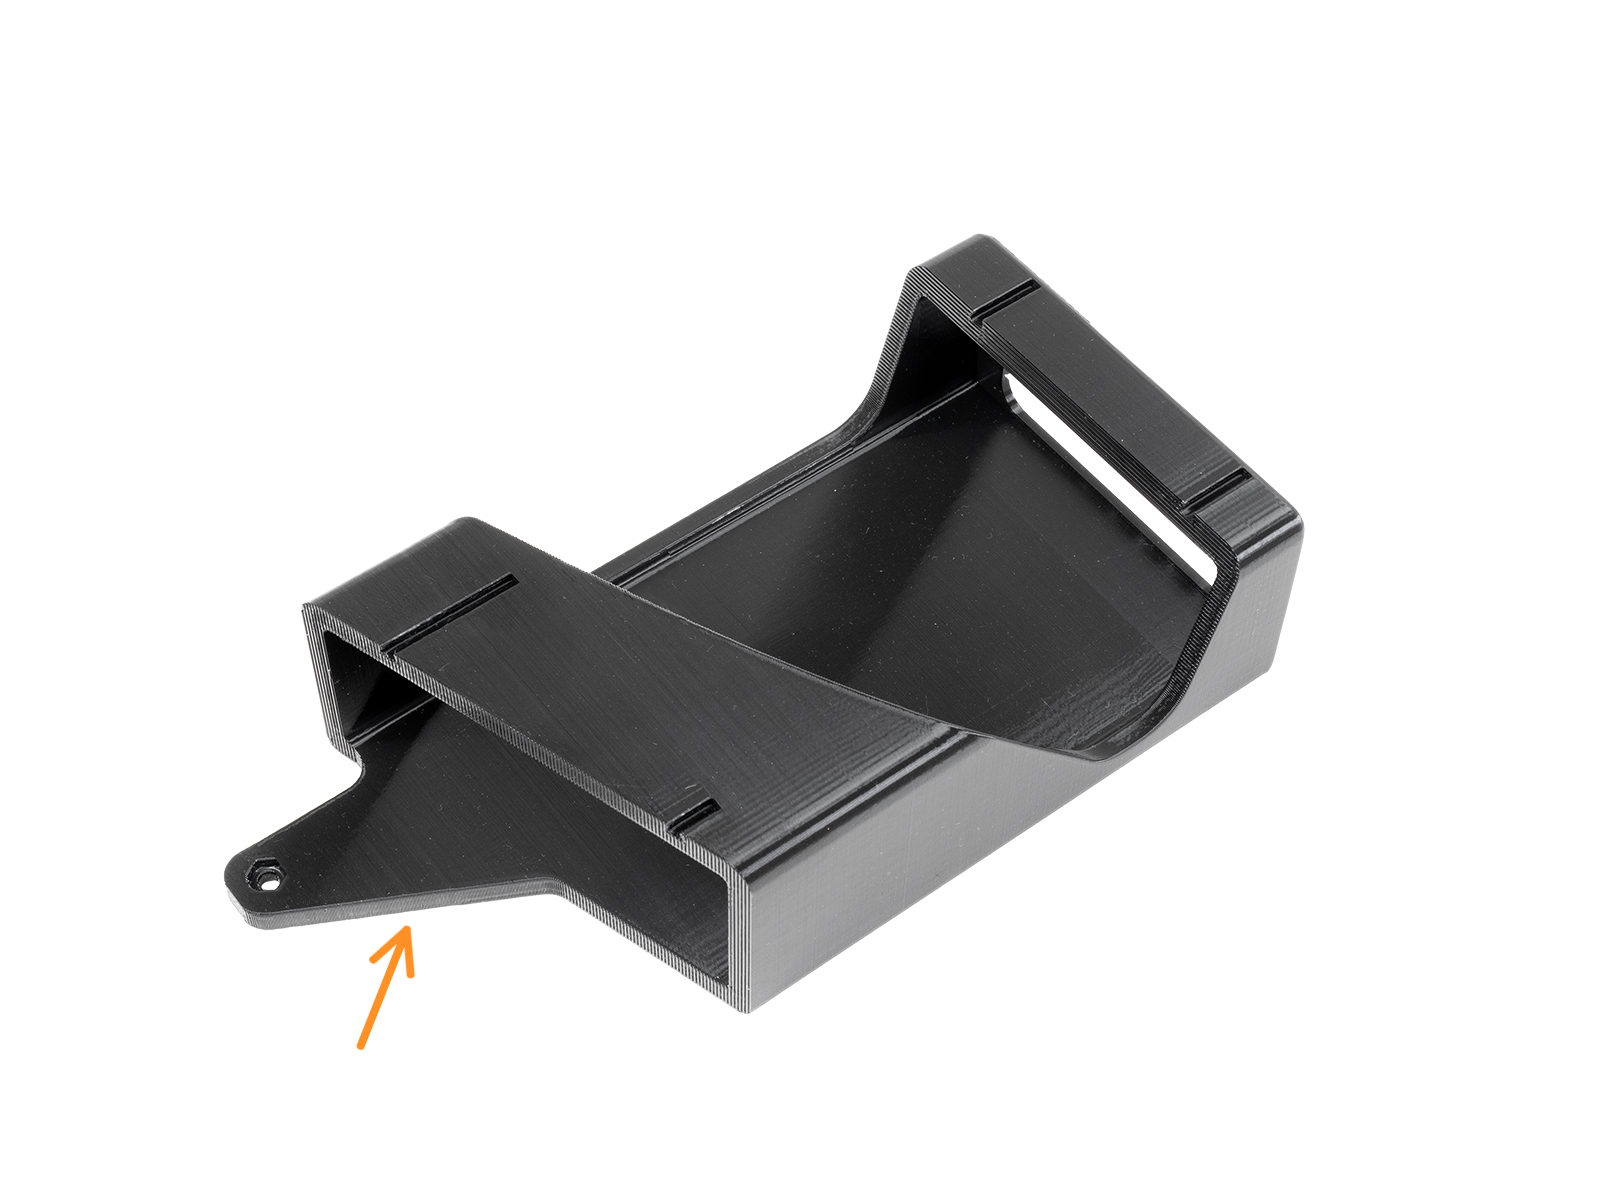
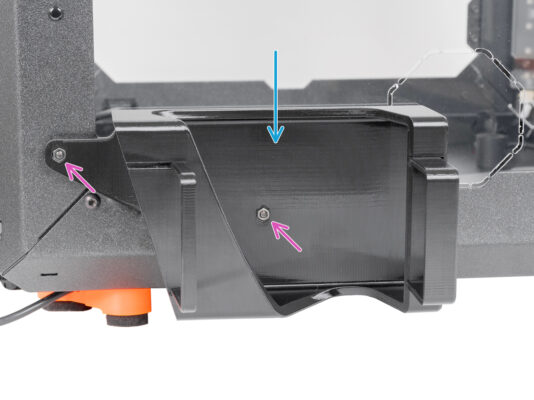
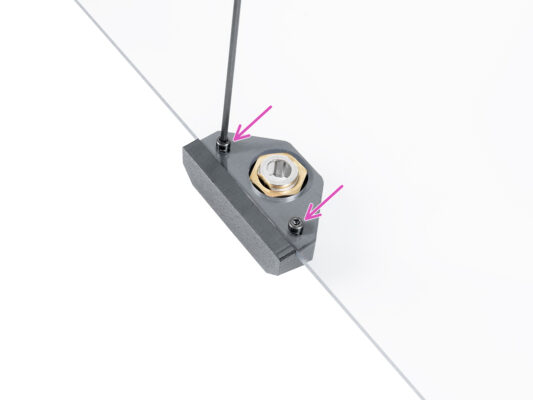
⬢Attach the prepared Fire suppression and align the bracket with the holes in the MINI Top panel. Mind the orientation of the Fire suppression in the picture.
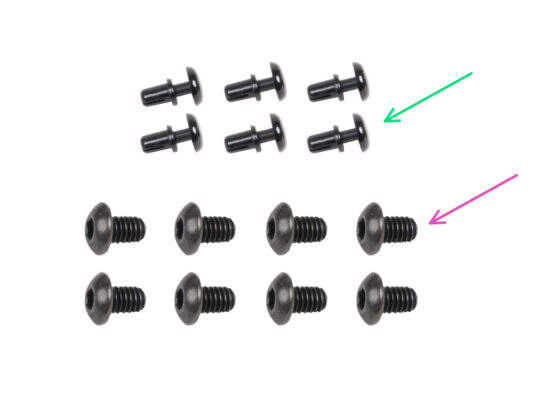
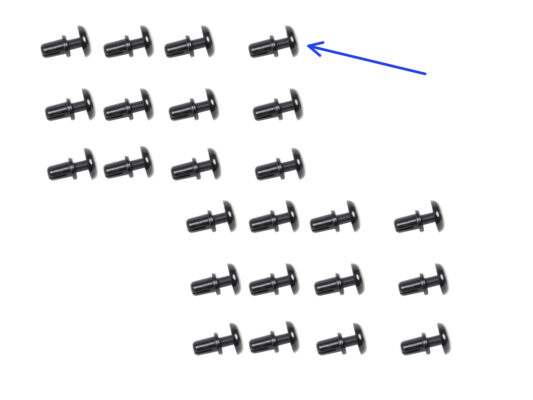
In this step, you will learn how to secure the panels with the nylon rivets. Remember this method, as you will use it throughout the assembly.
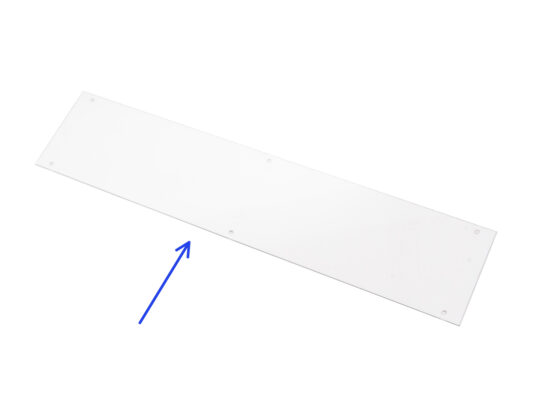
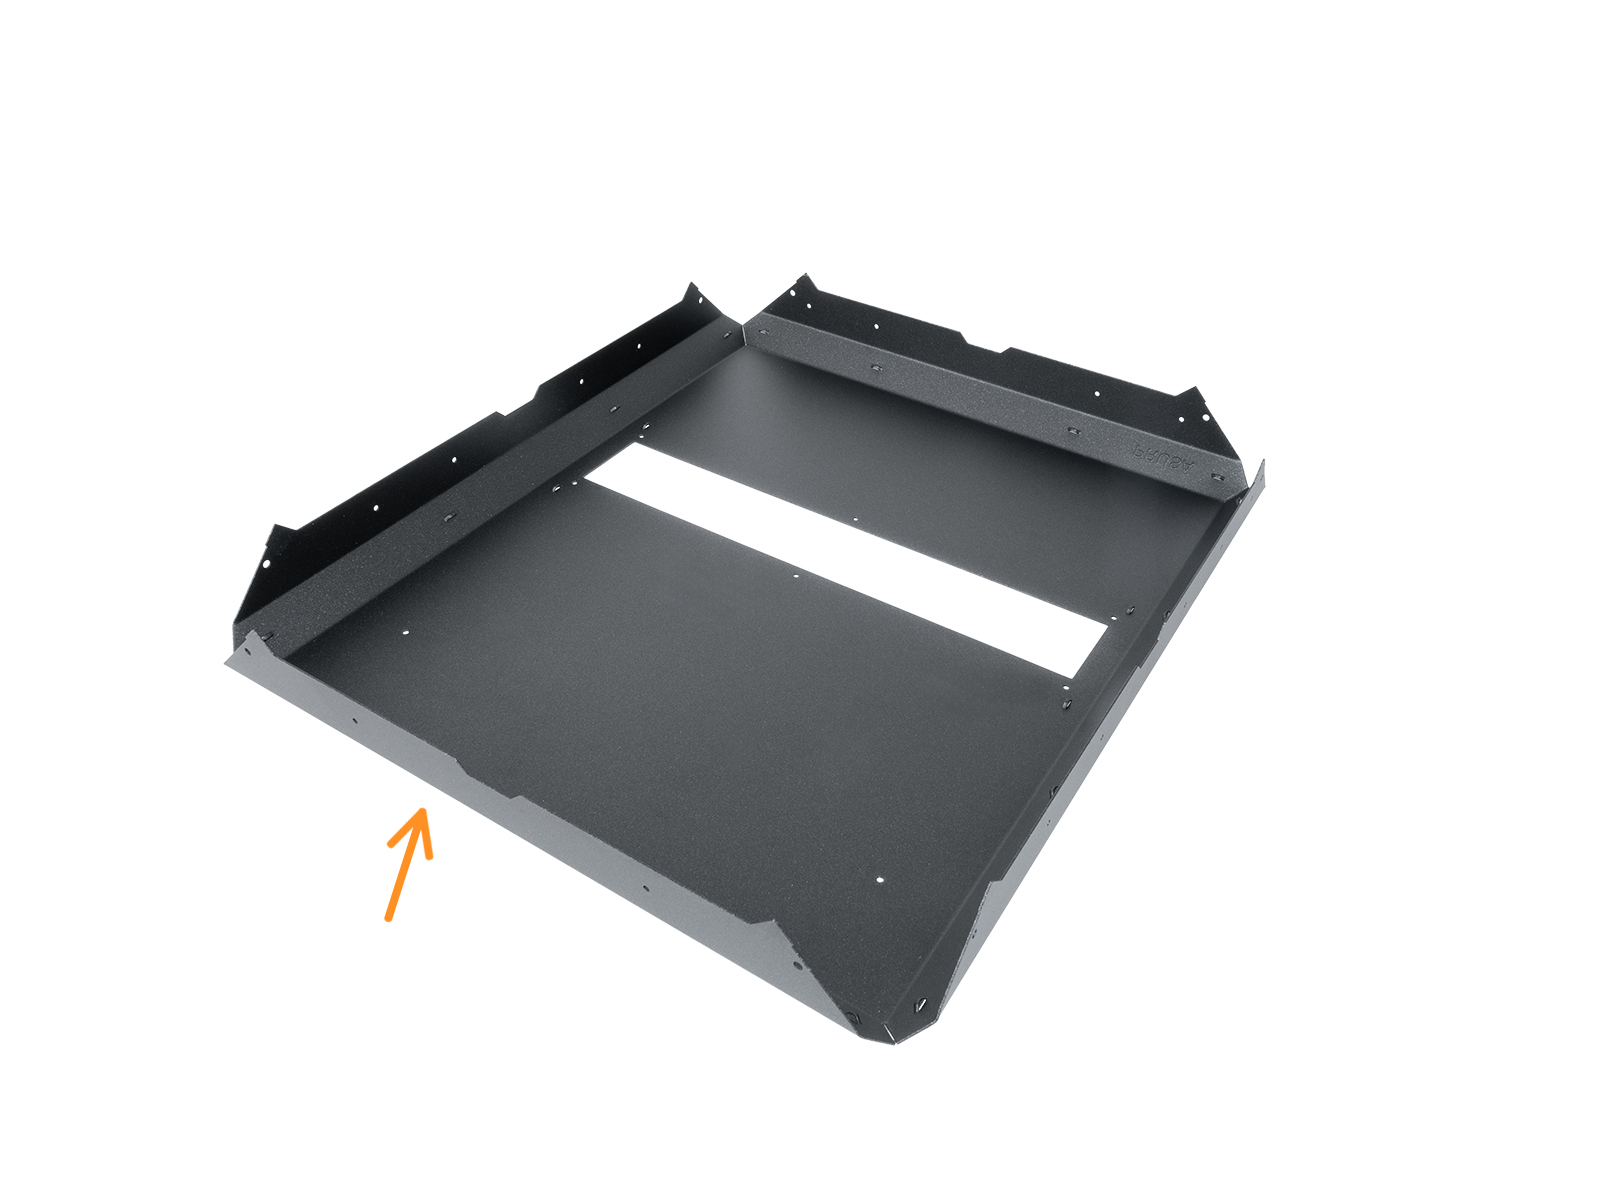
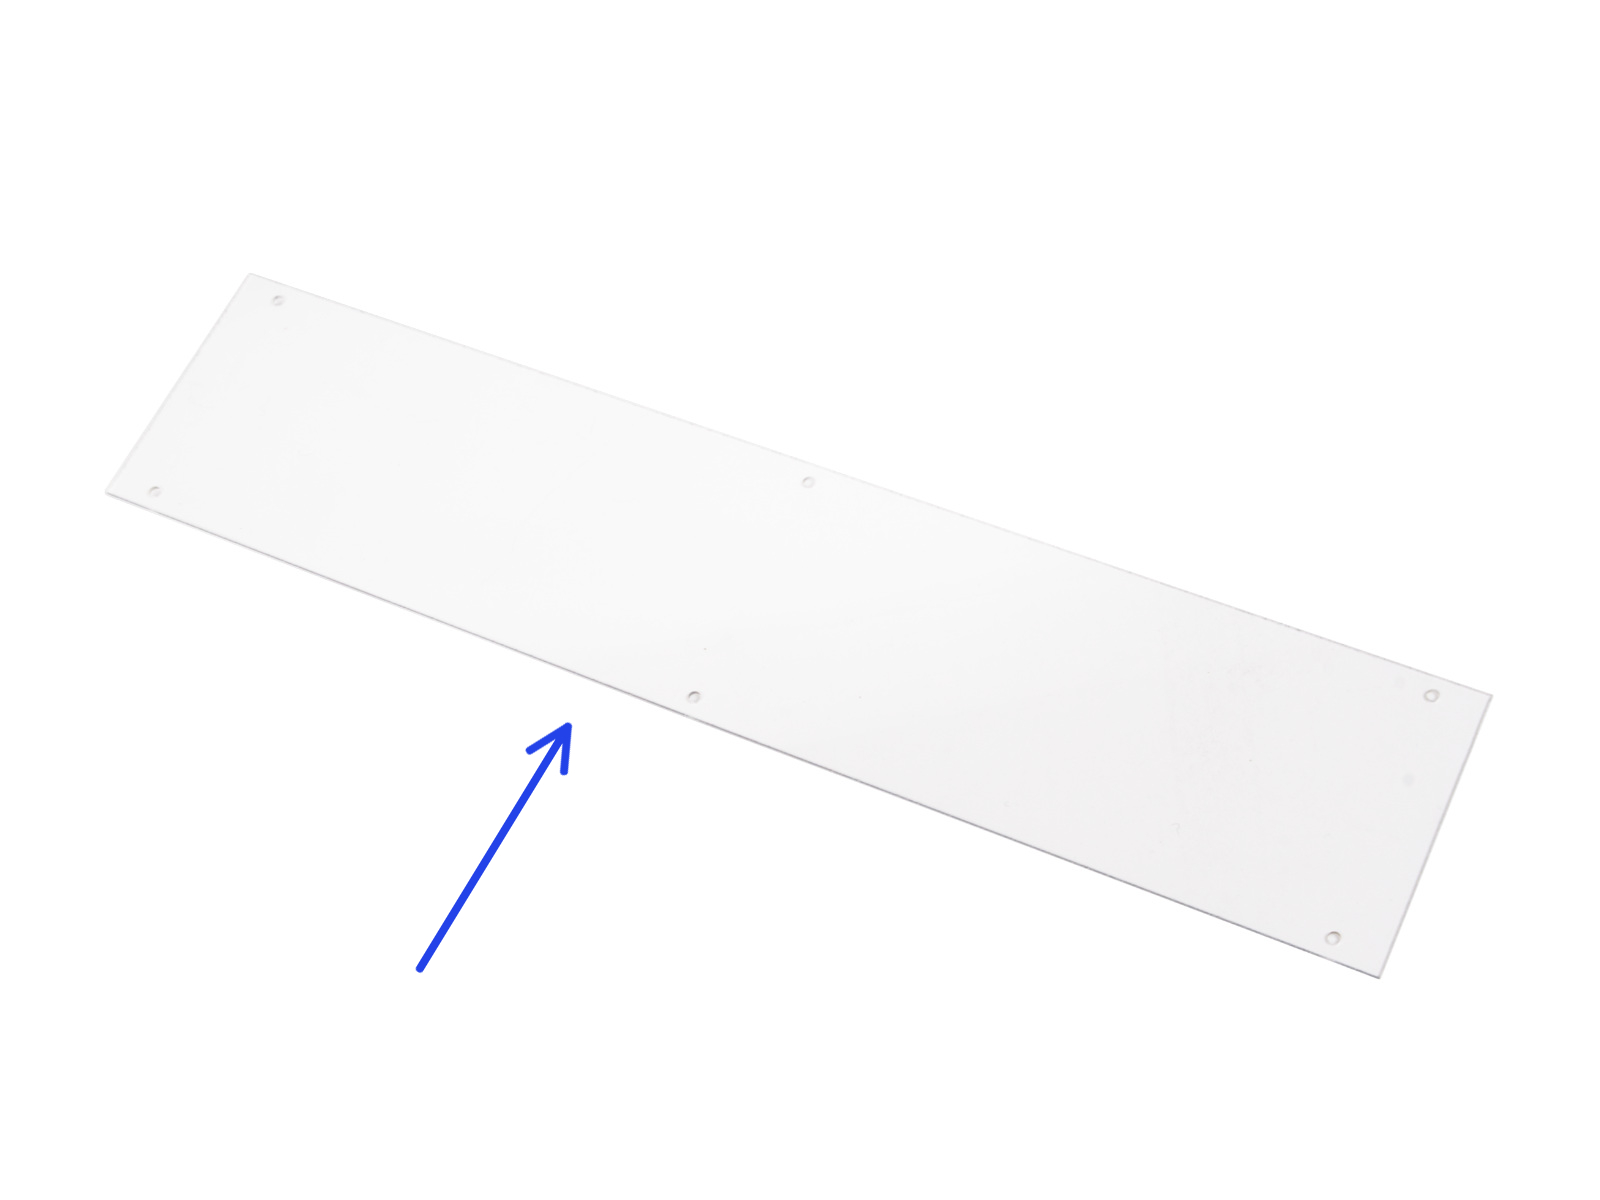
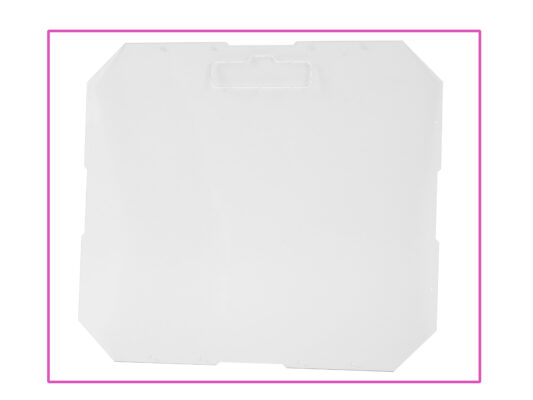
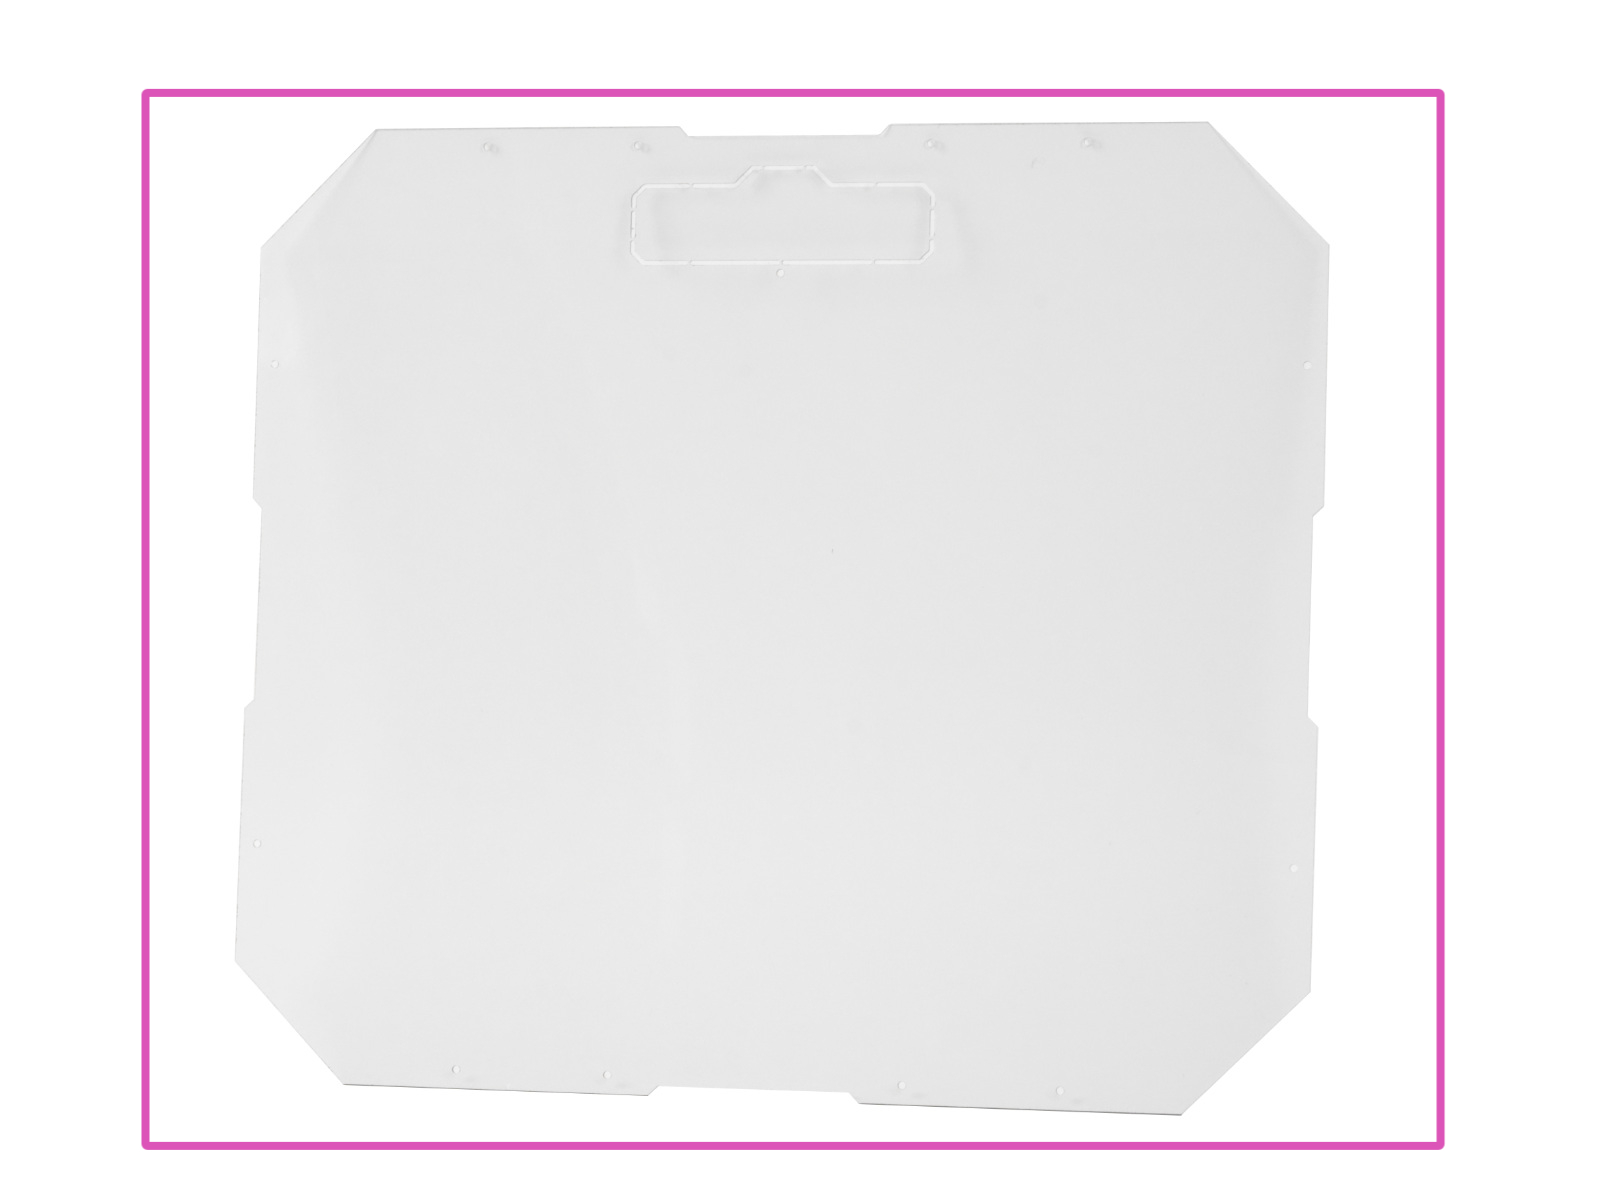
⬢From the inside, carefully place the MINI Top window panel over the rectangular opening in the MINI Top panel.
⬢Zarovnejte otvory s oběma díly.
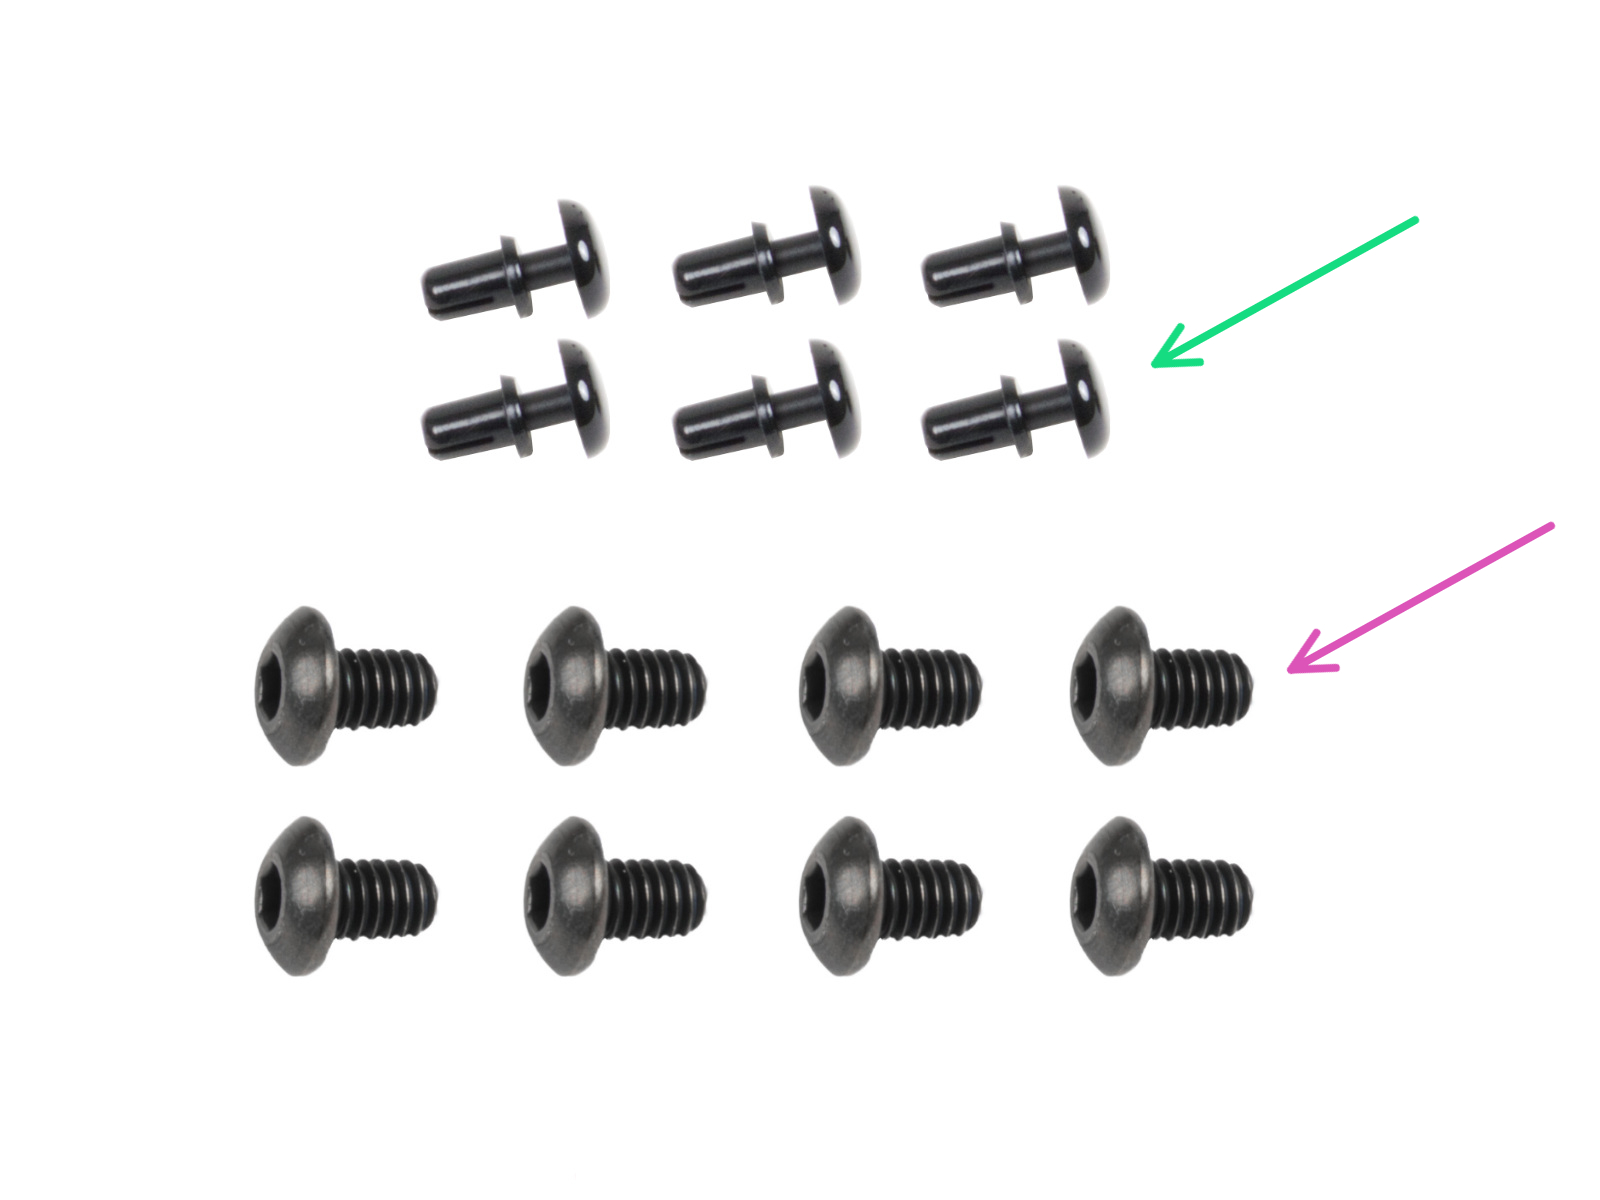
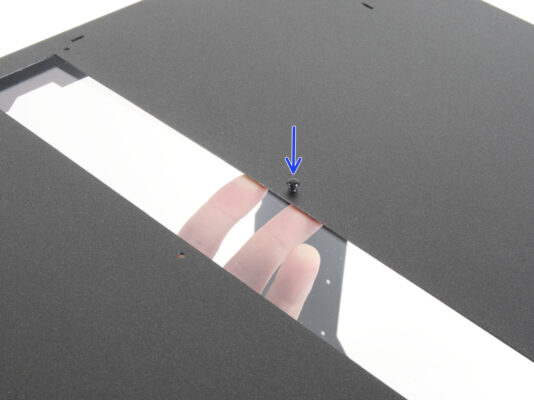
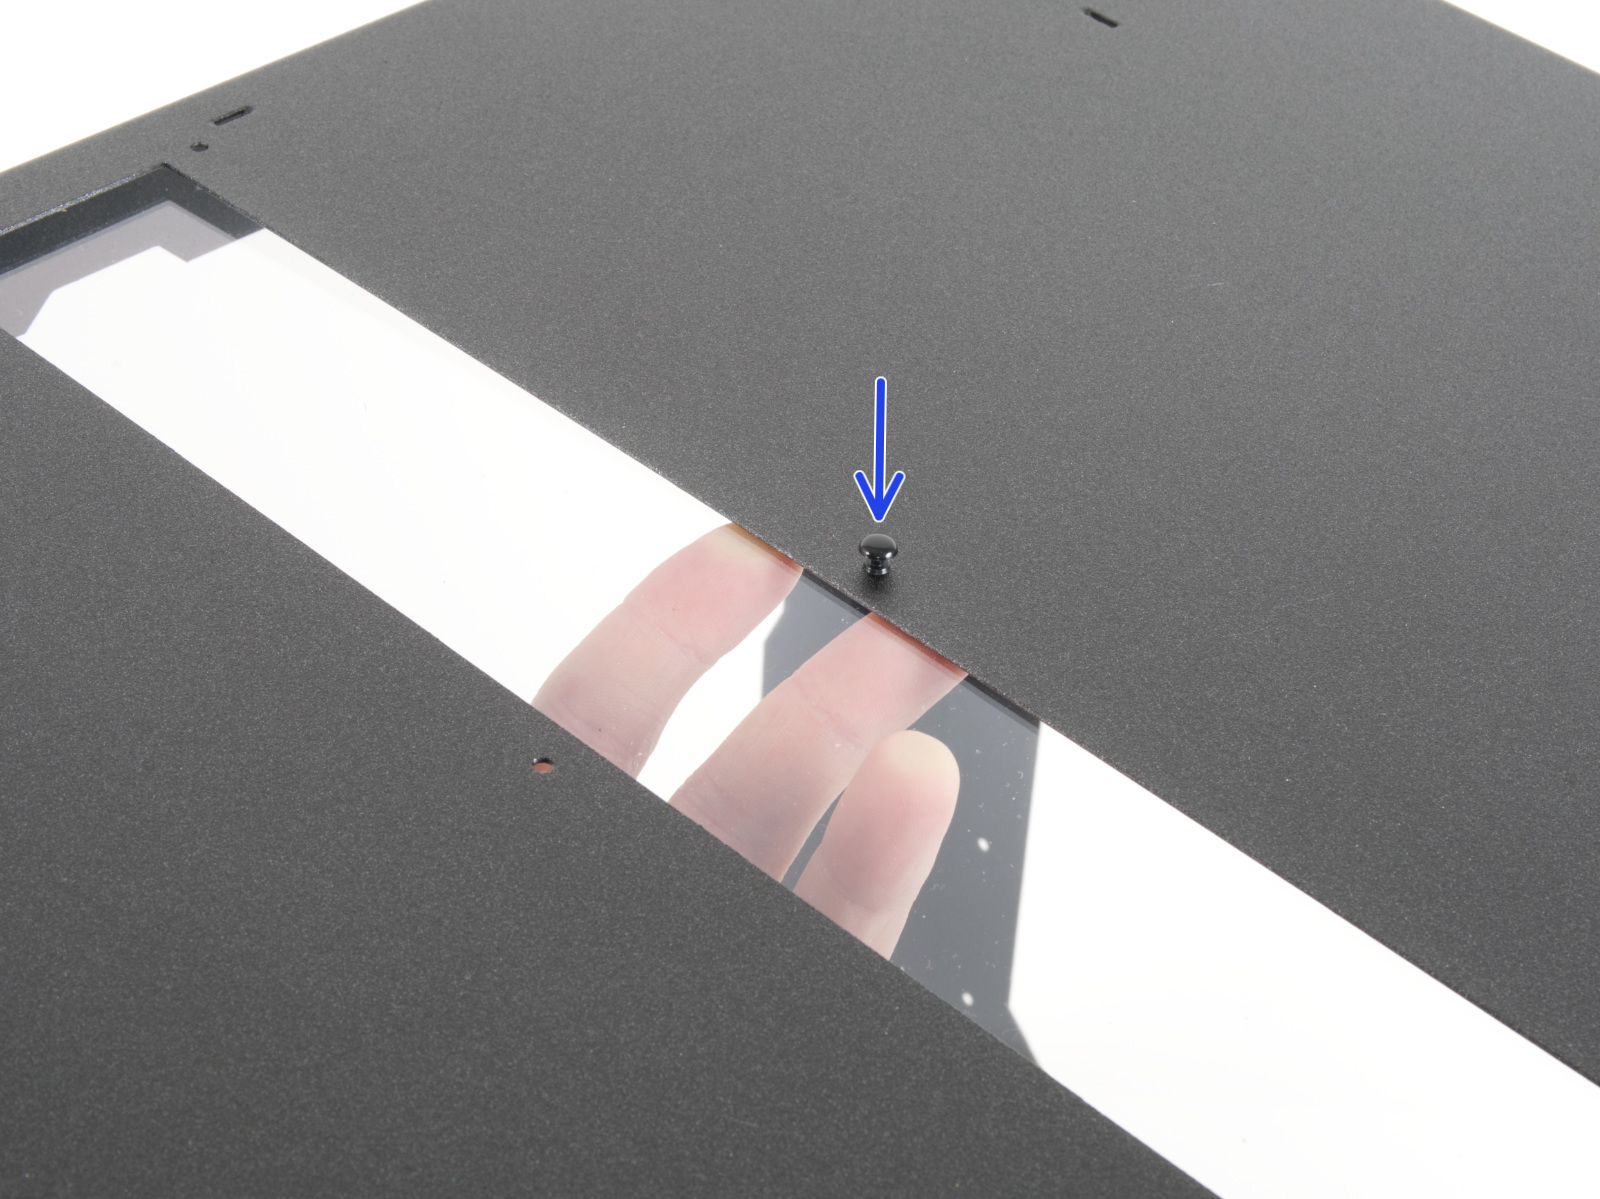
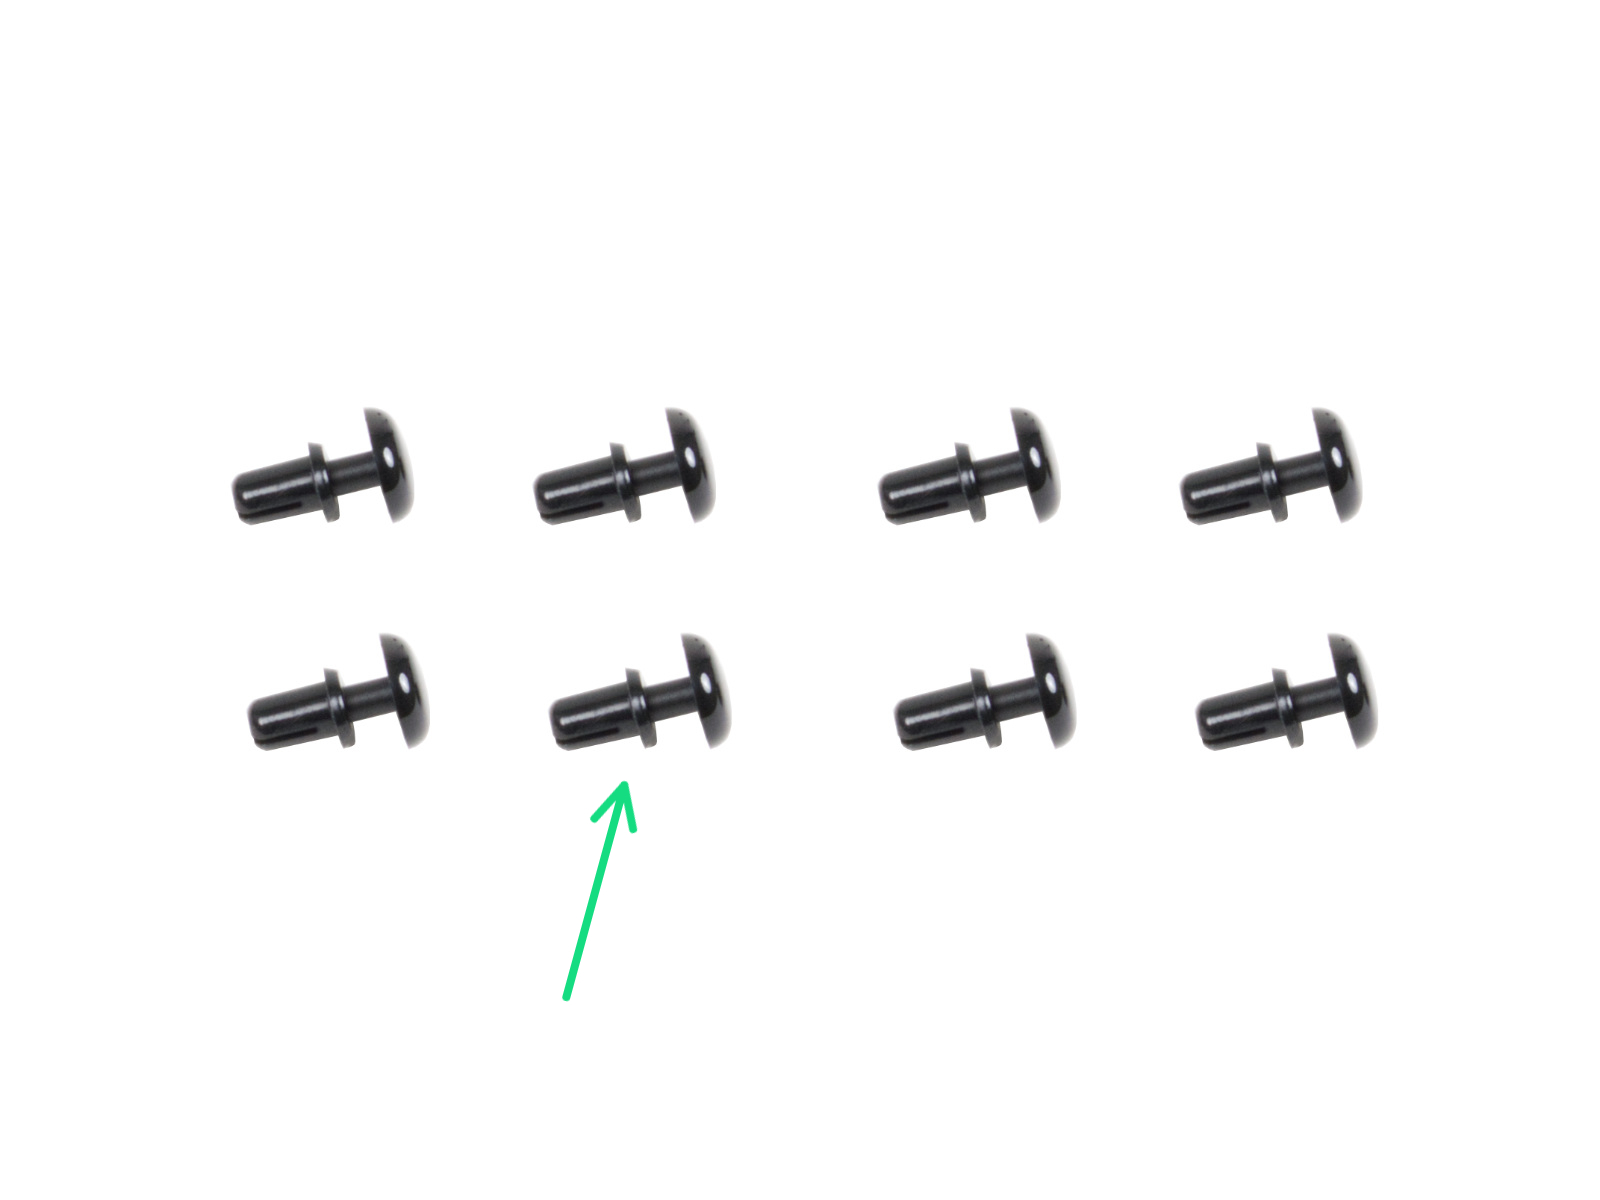
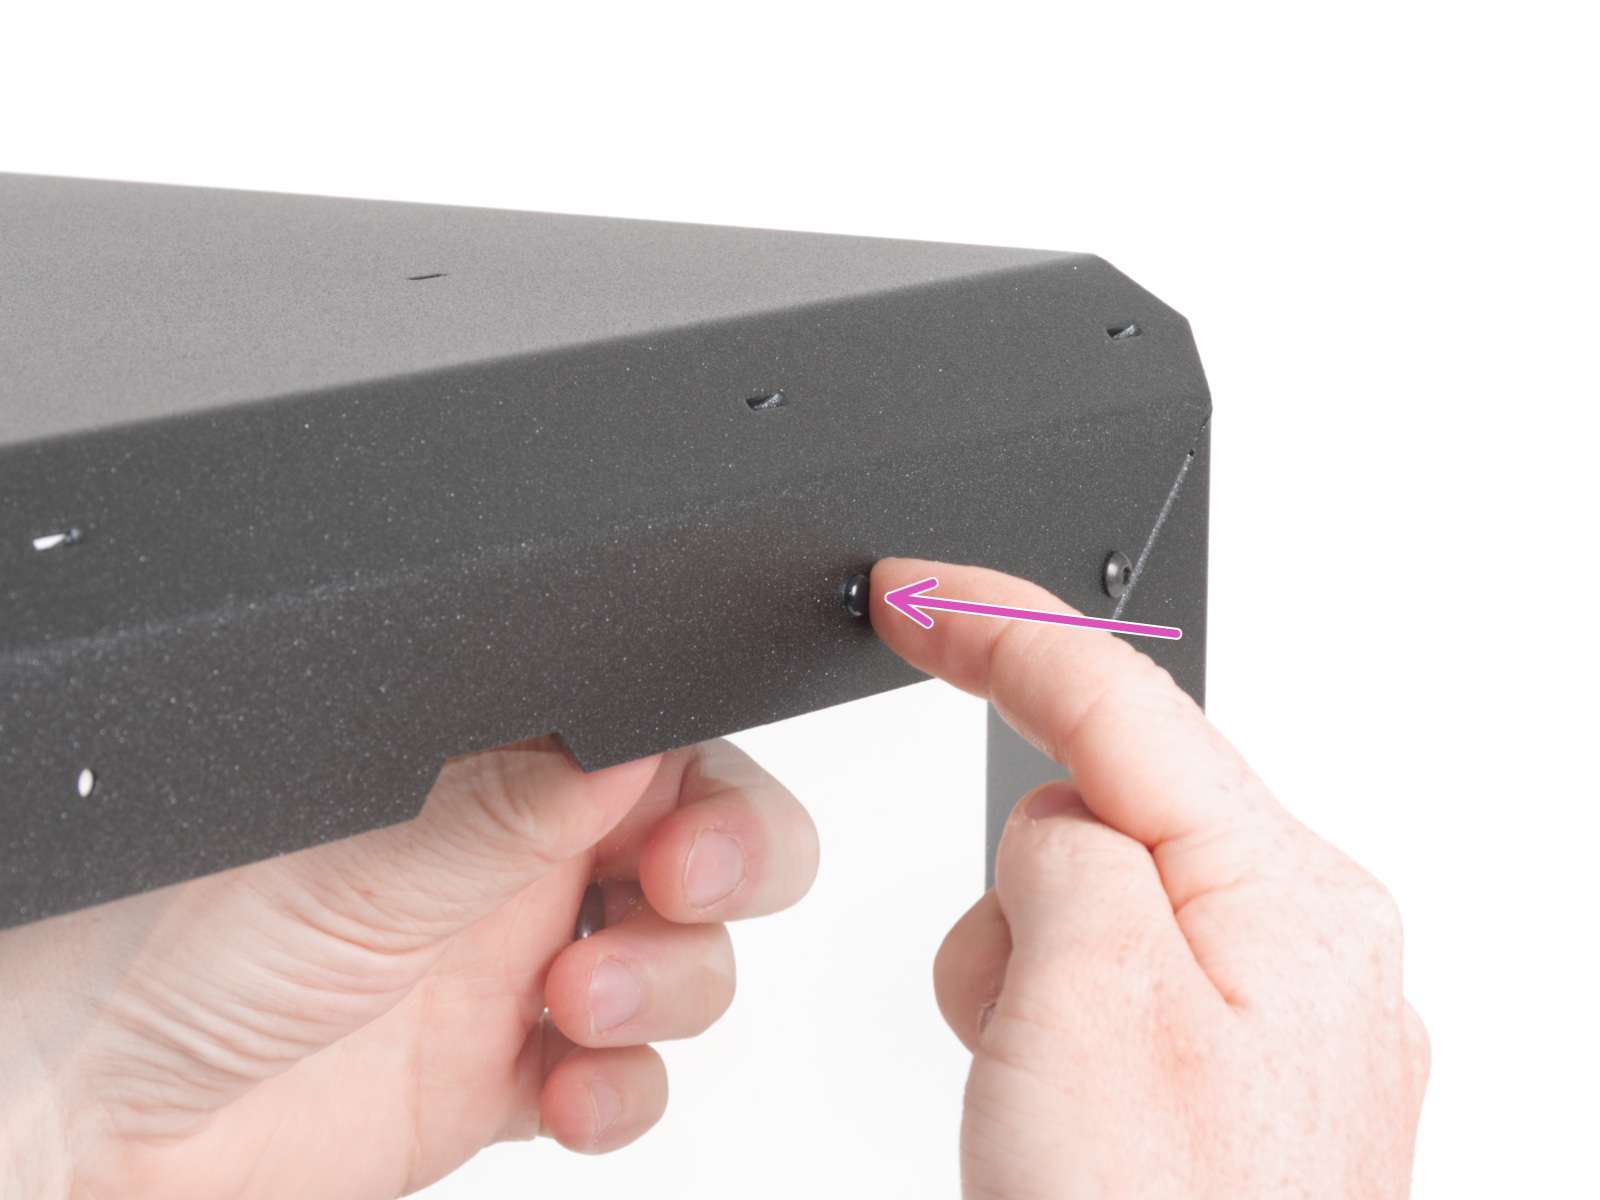
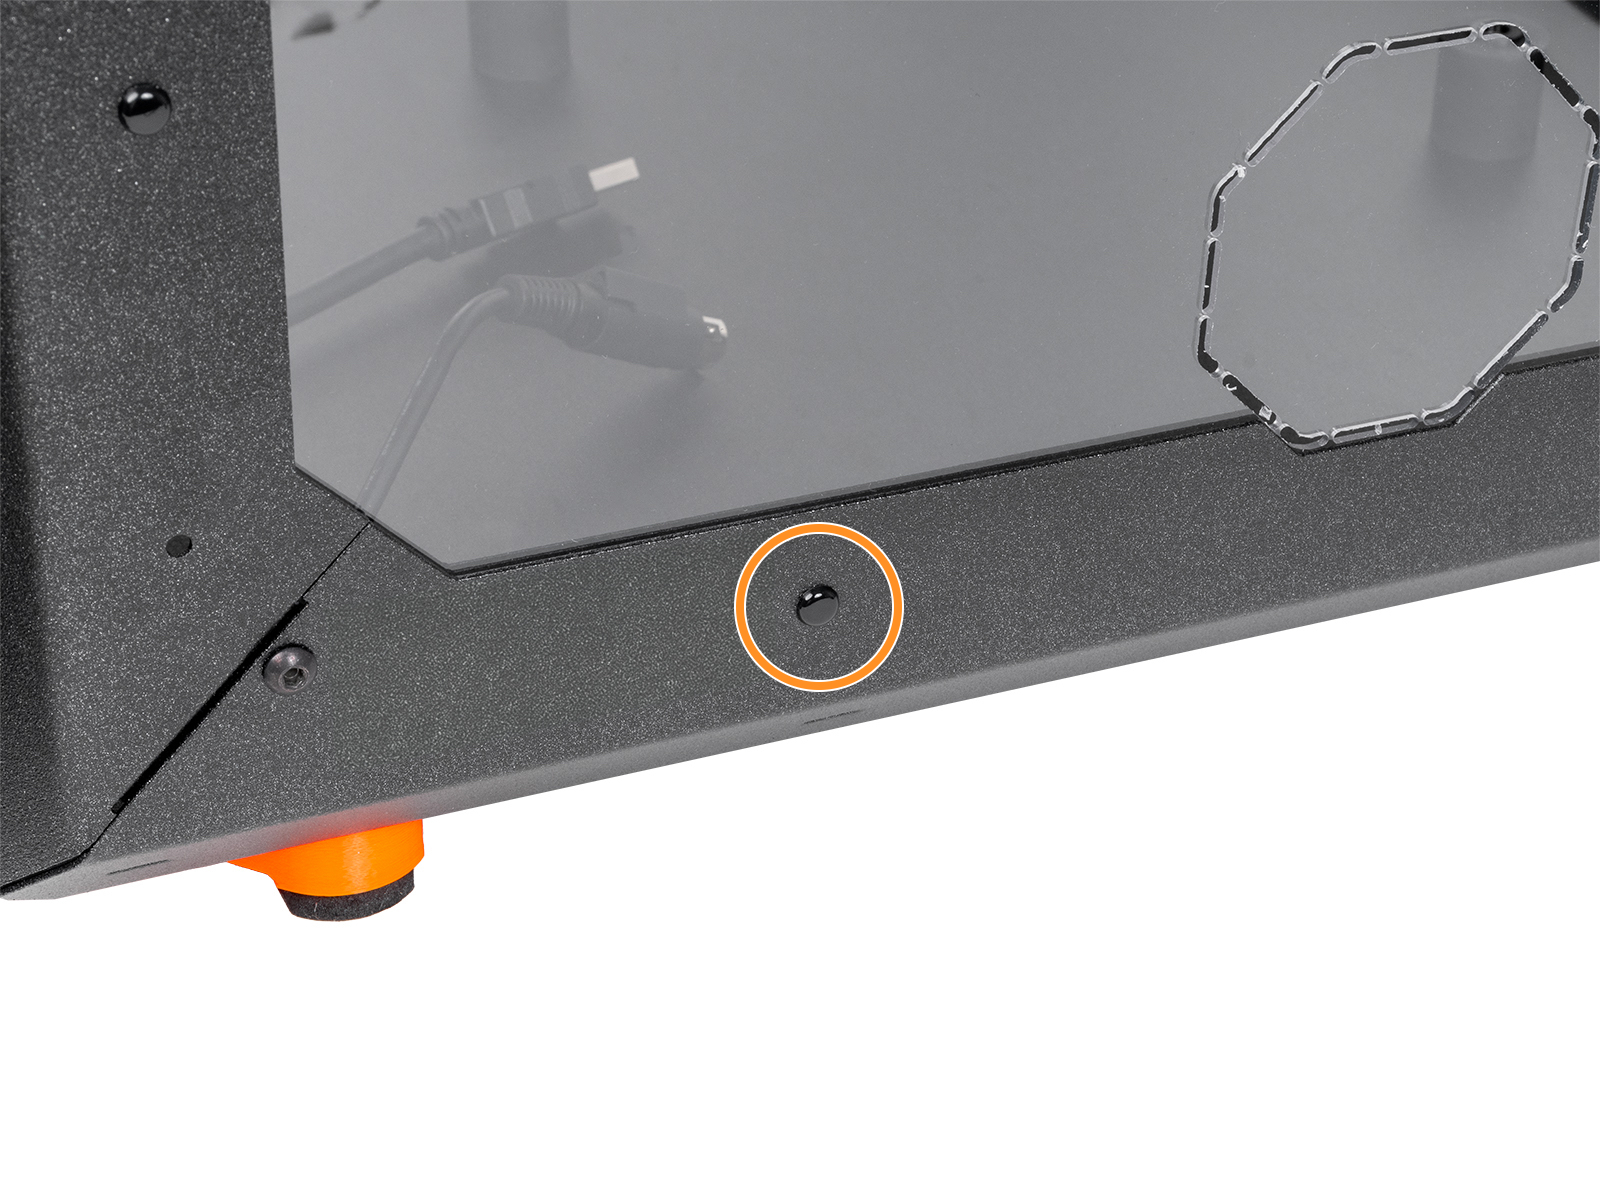
⬢Insert the nylon rivet through the holes of both parts.
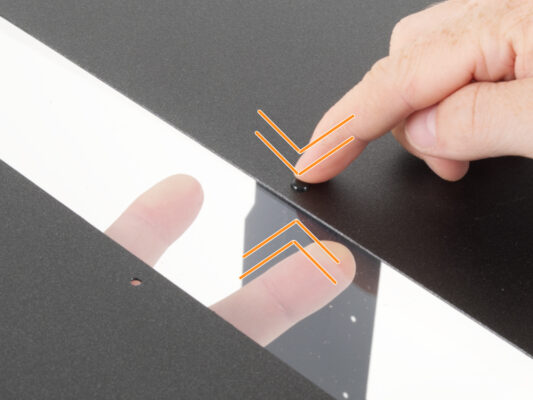
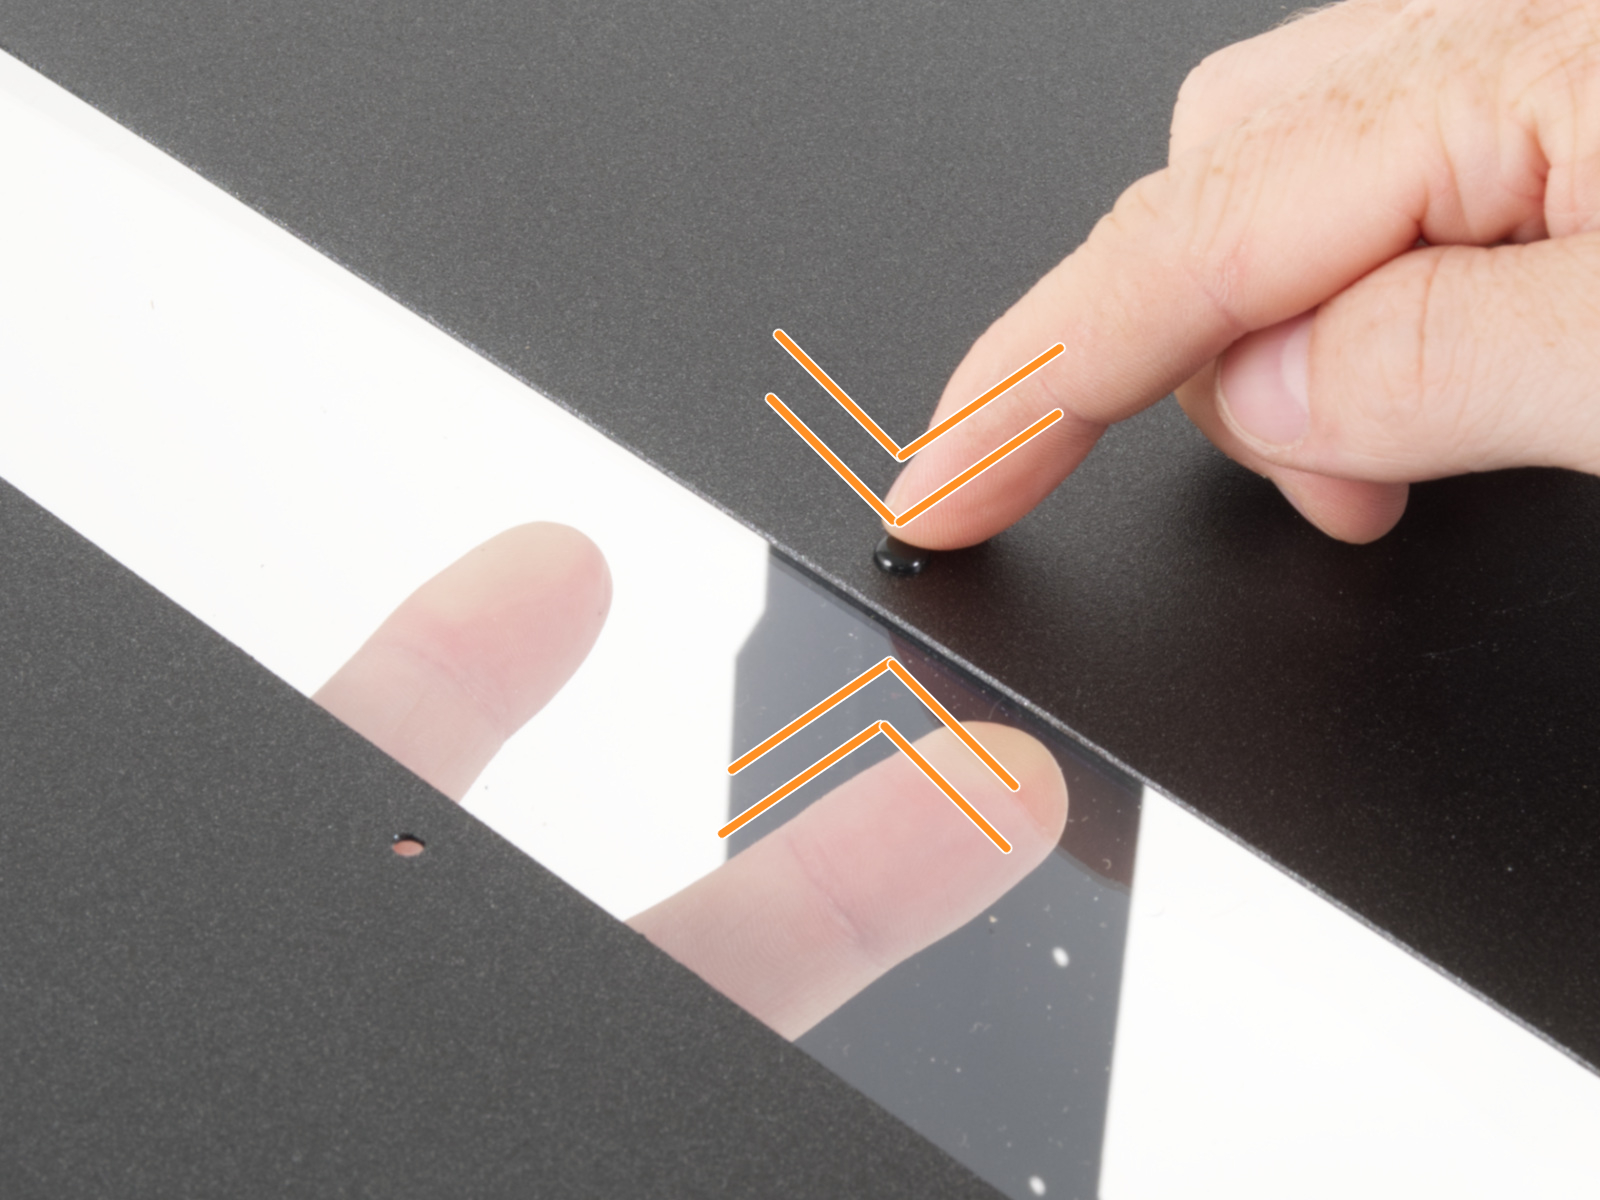
⬢Push on the nylon rivet to secure the window panel in the frame. When pressing on the nylon rivet, apply light pressure on the opposite side, specifically on the MINI Top window panel around the rivet.
⬢Repeat this procedure for the remaining holes in the opening.
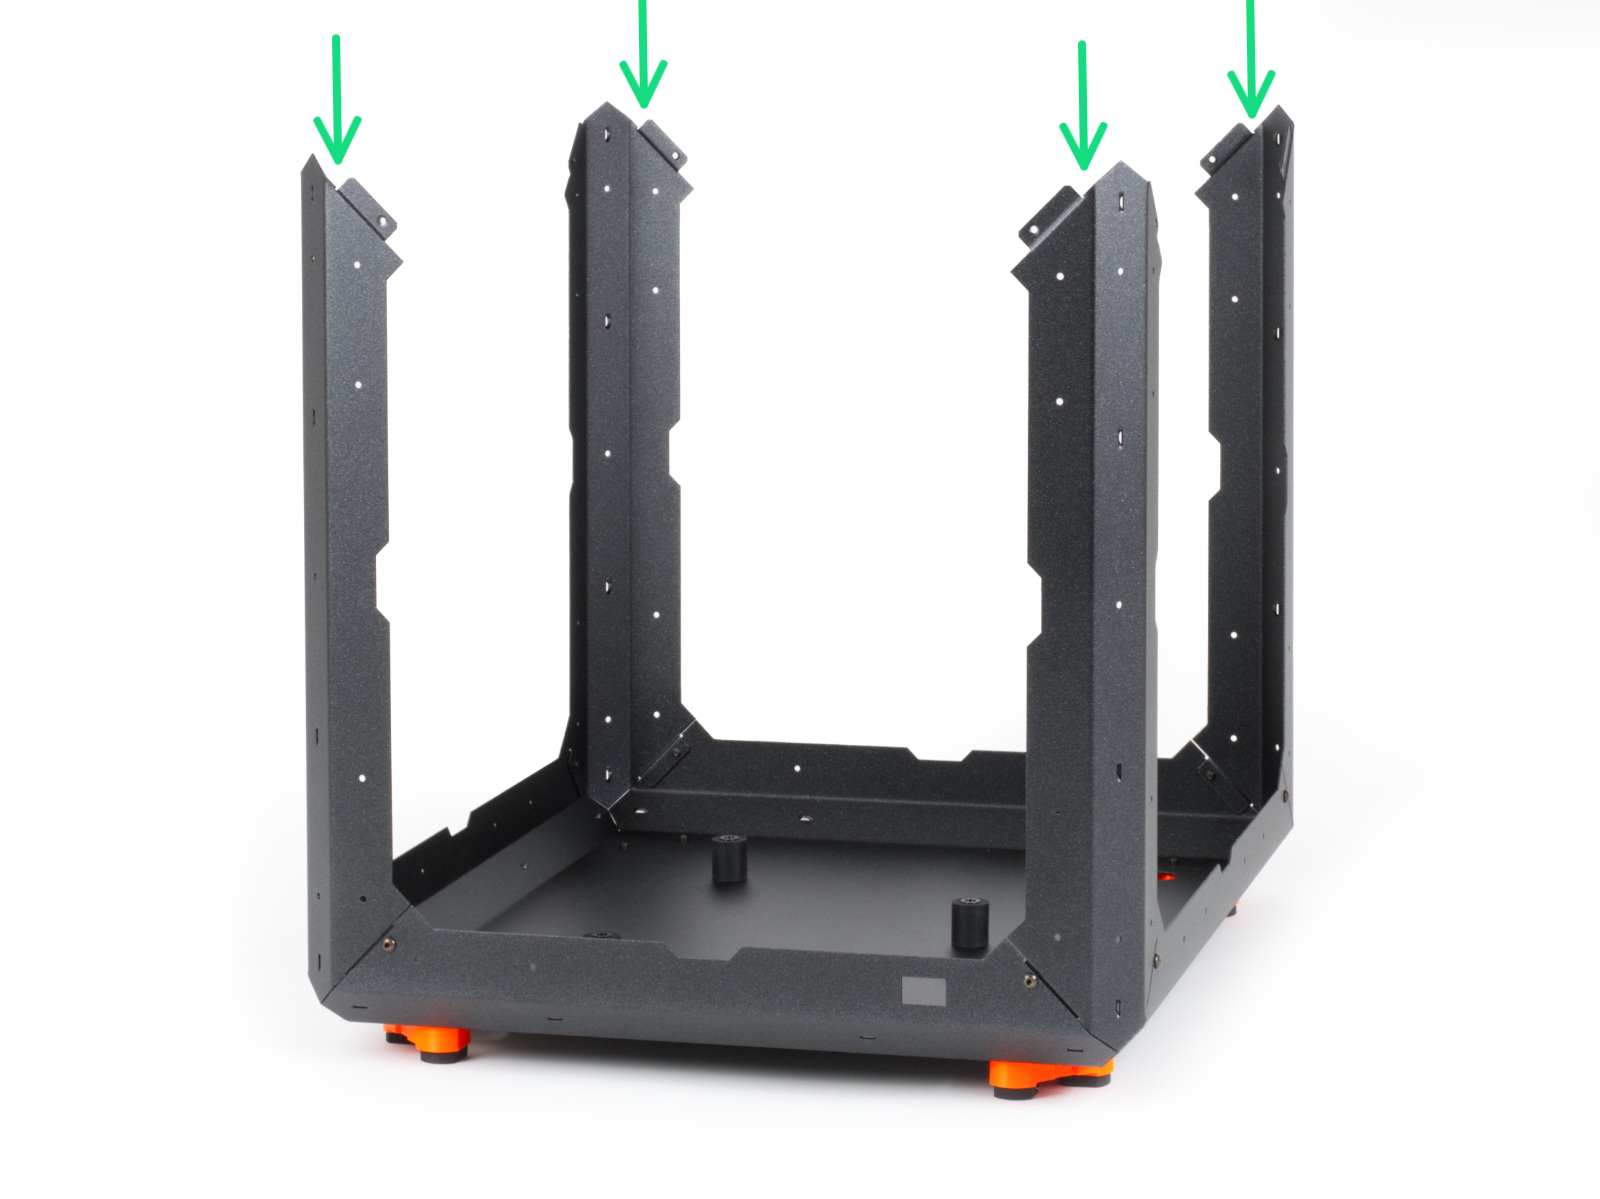
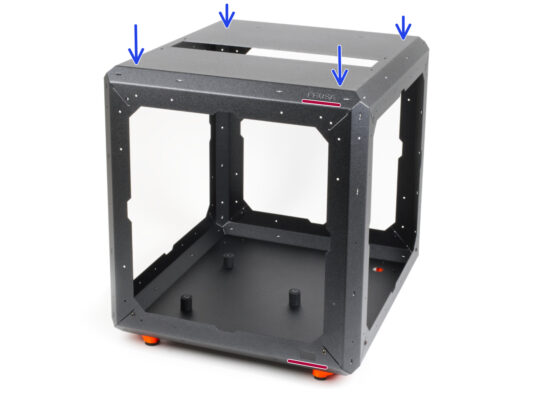
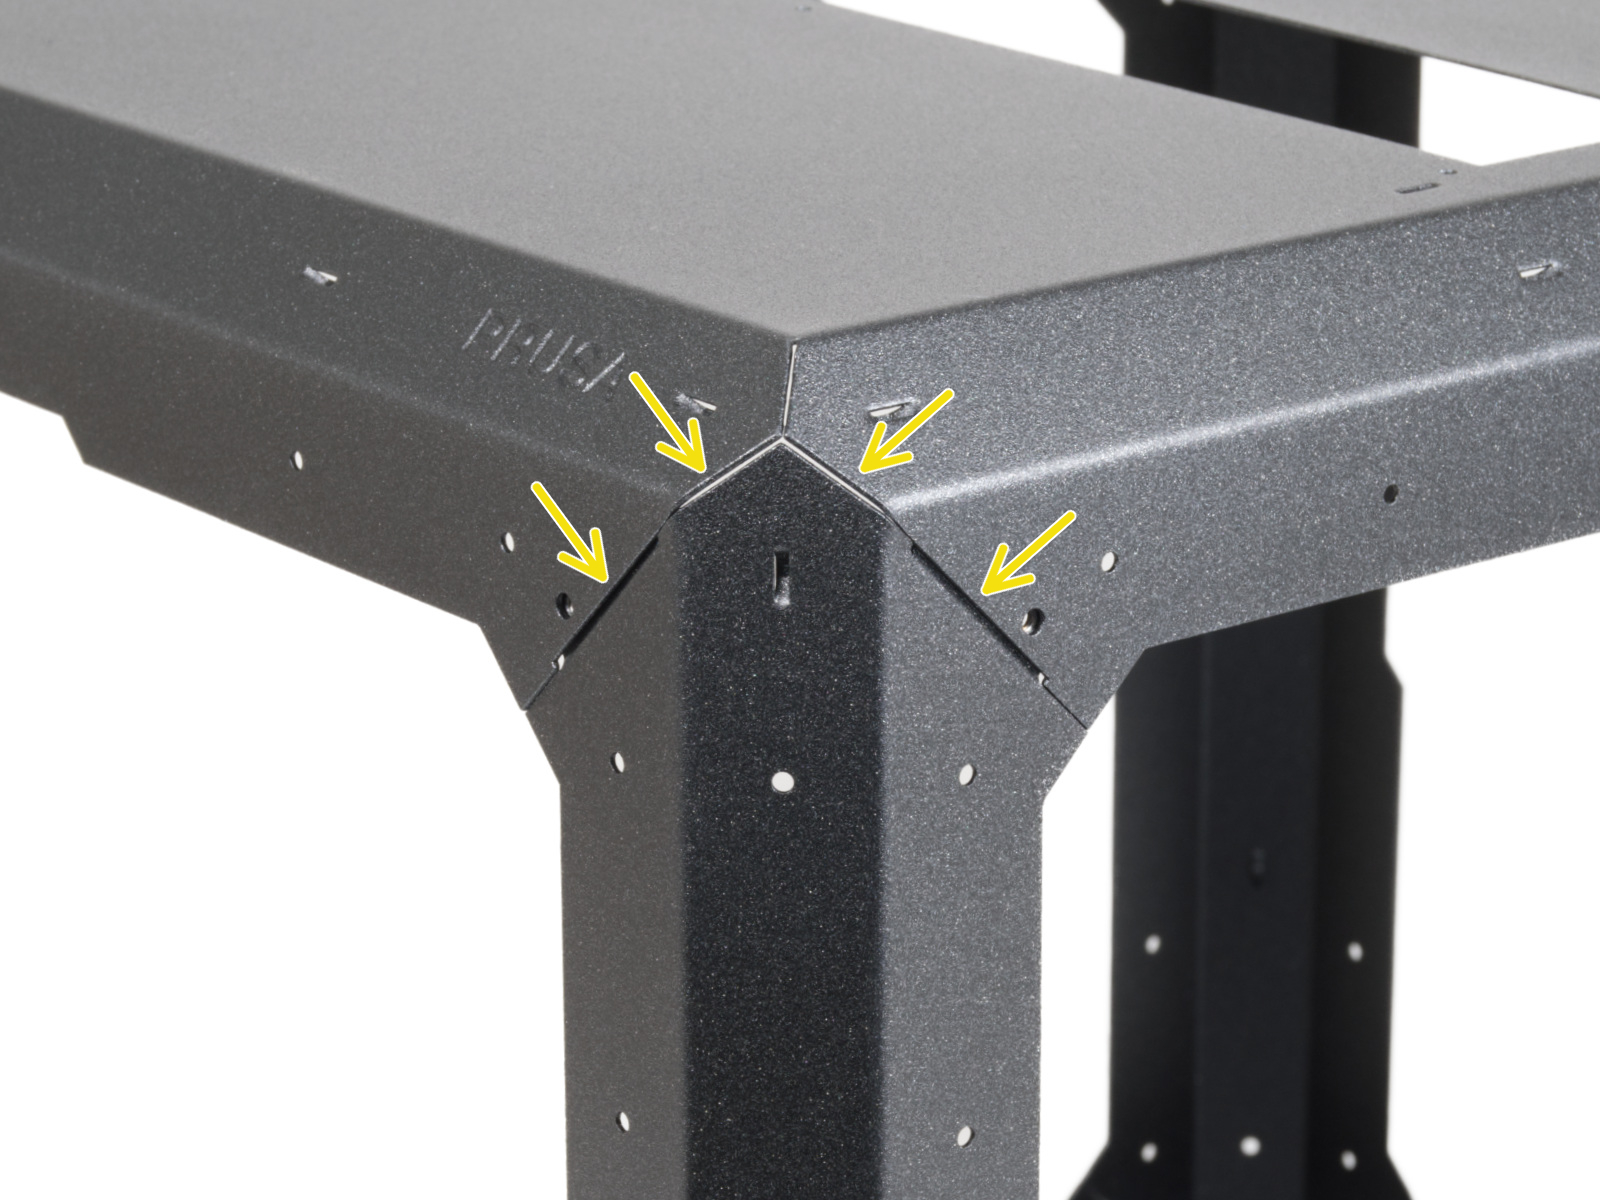
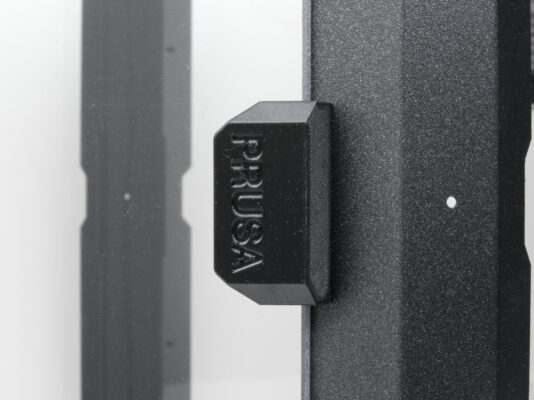
⬢Turn the Enclosure sideways so that the rear side (without the PRUSA logo) is facing you.
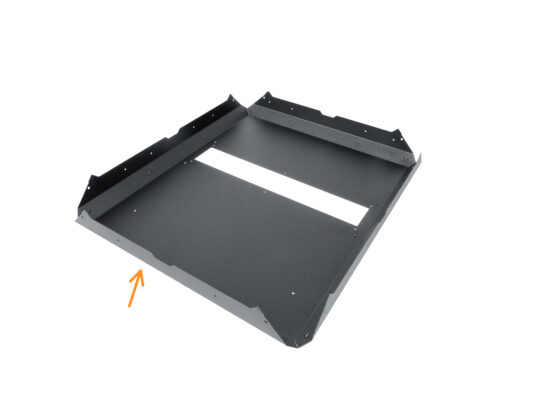
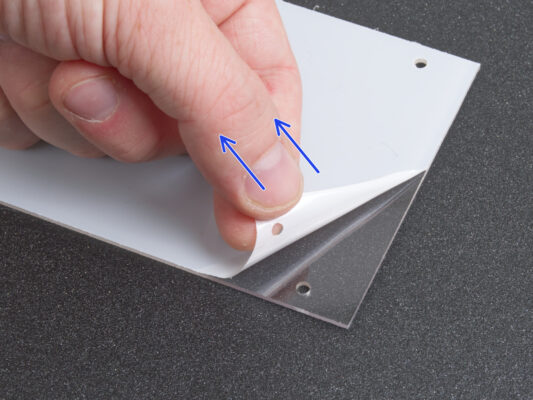
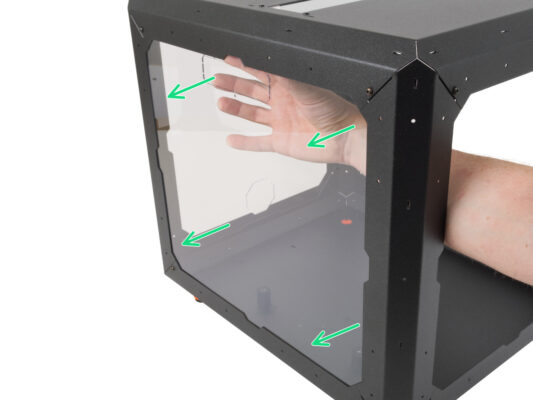
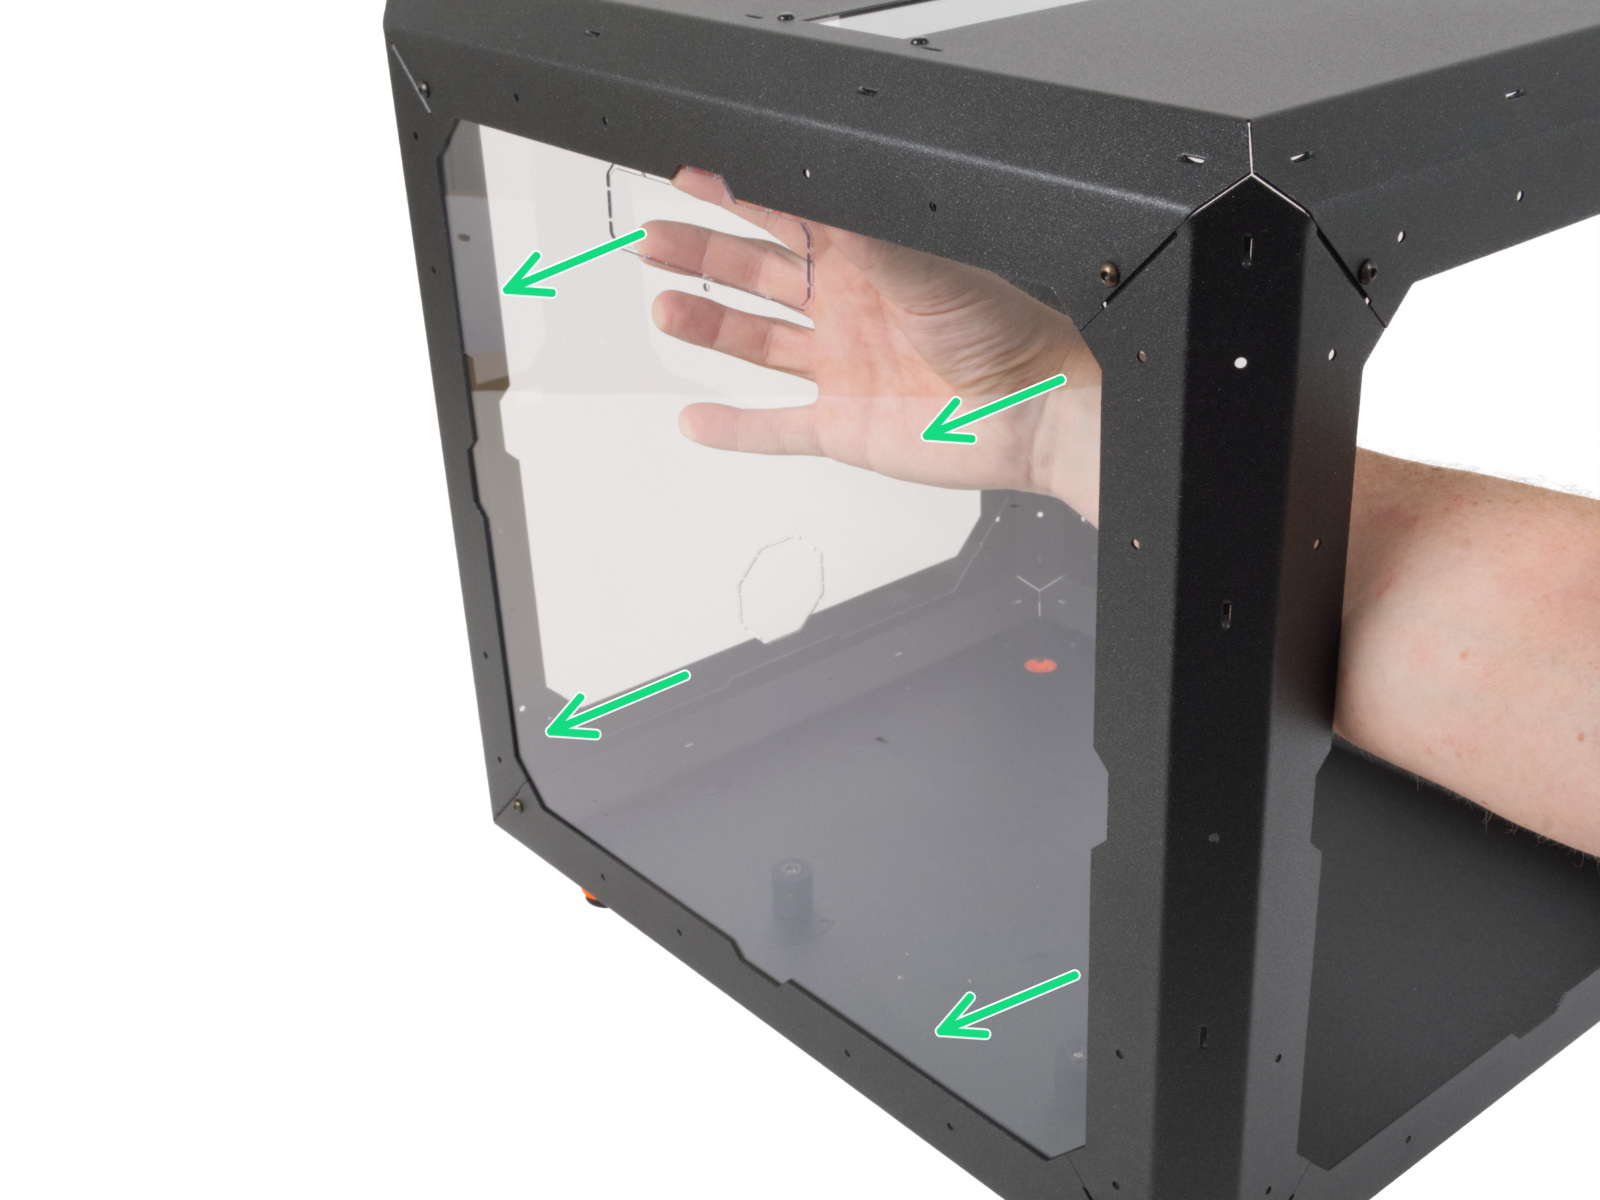
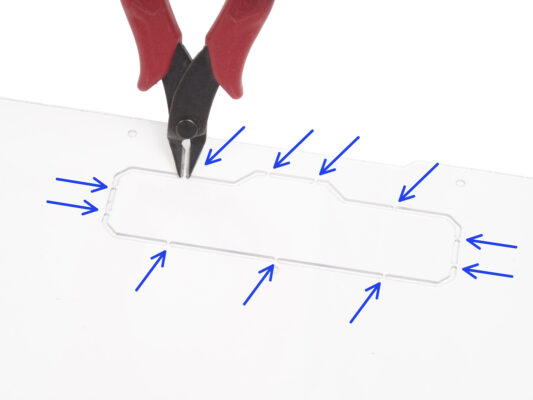
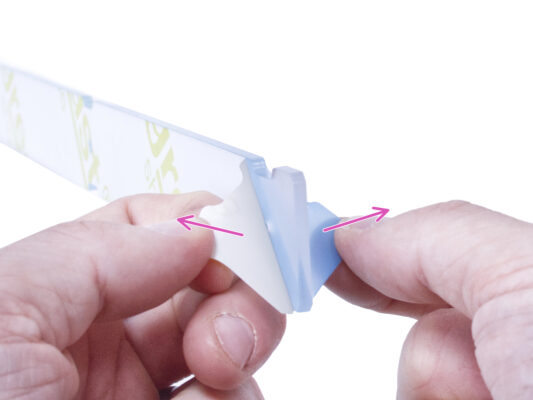
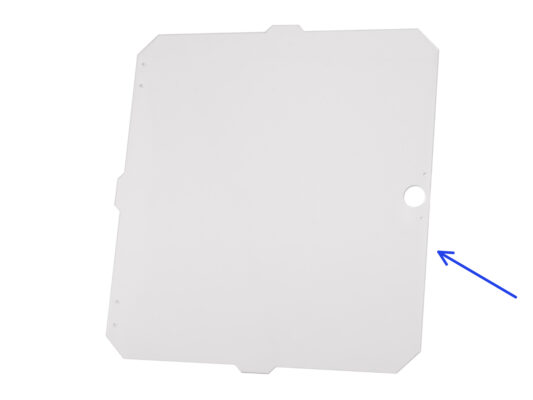
⬢Peel off the protective layers from both sides of the MINI Back panel.
Be careful; the panel is very susceptible to scratches.
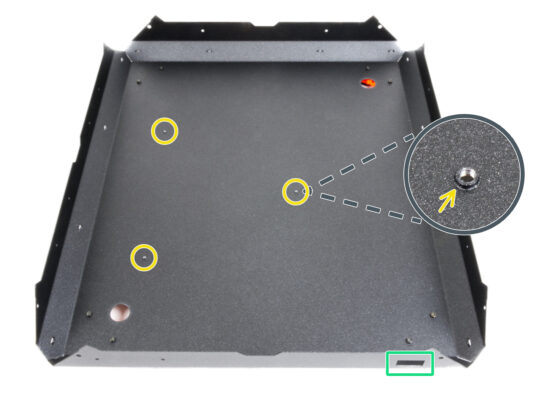
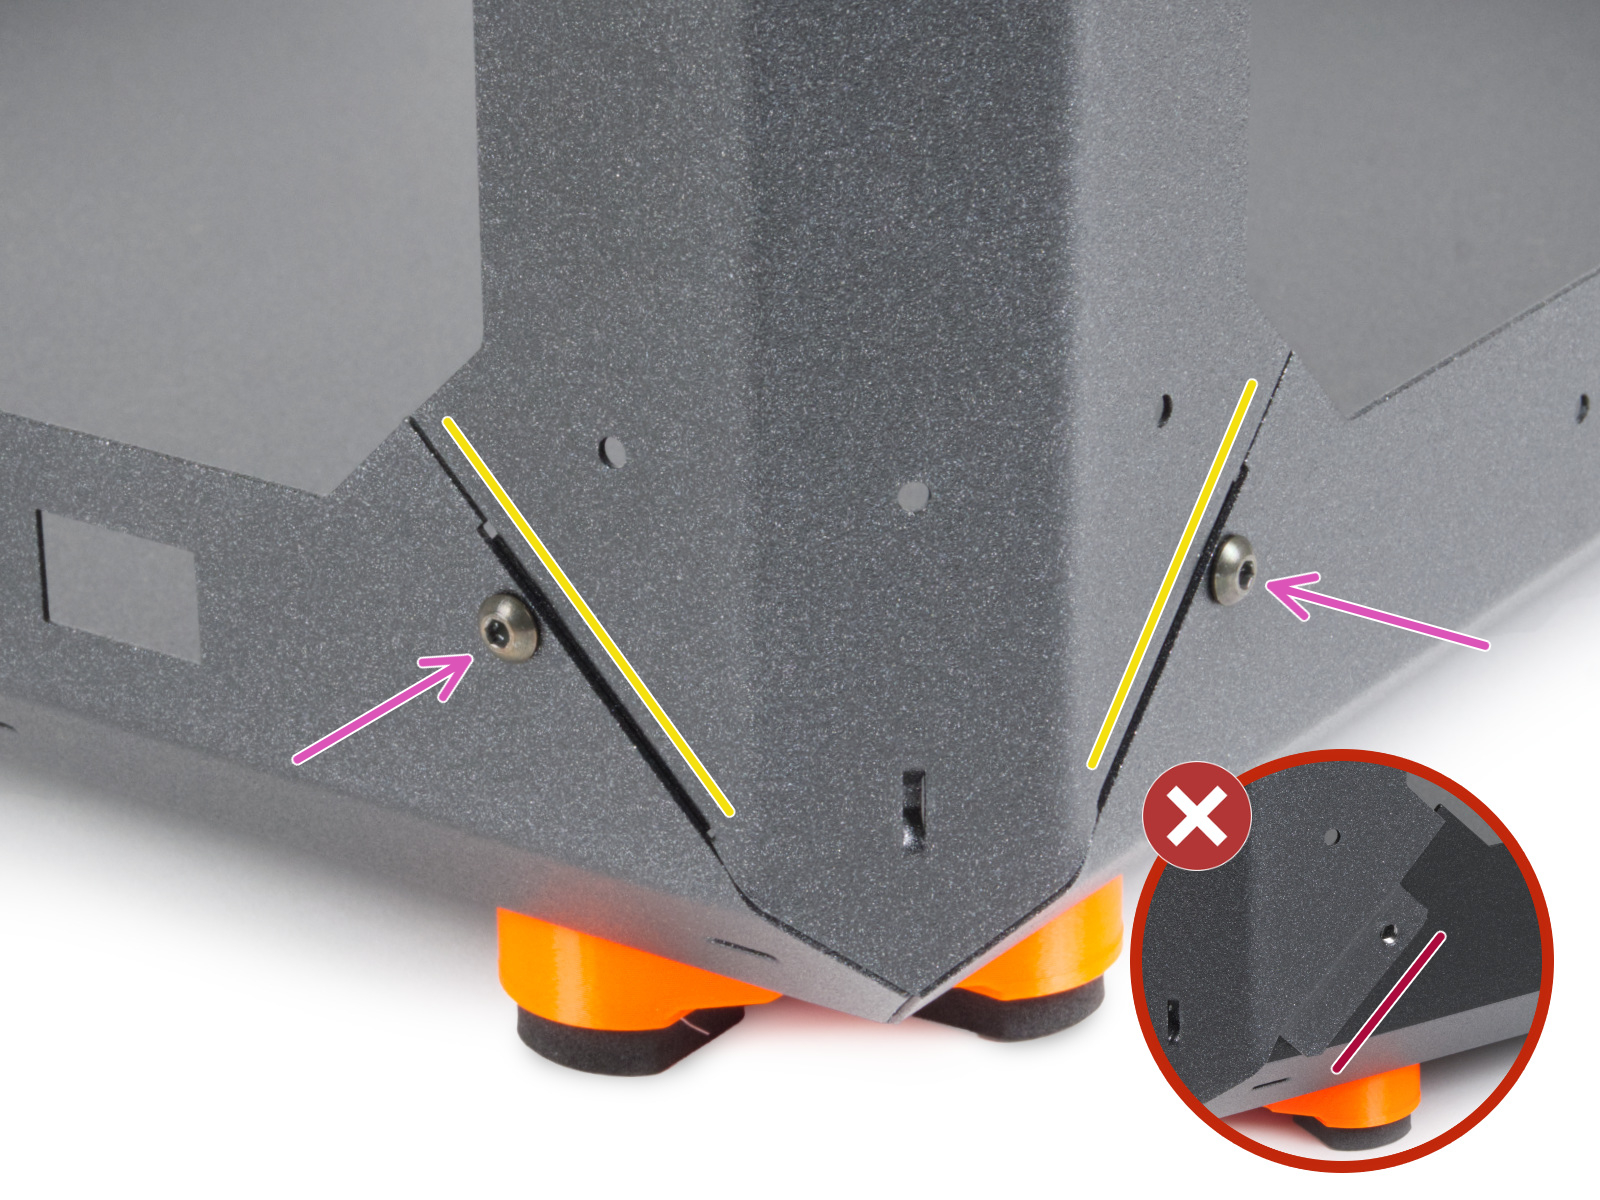
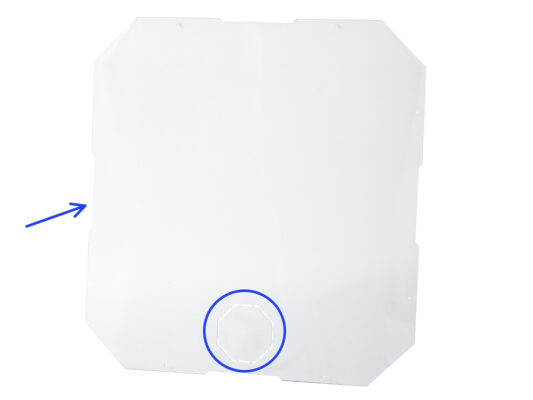
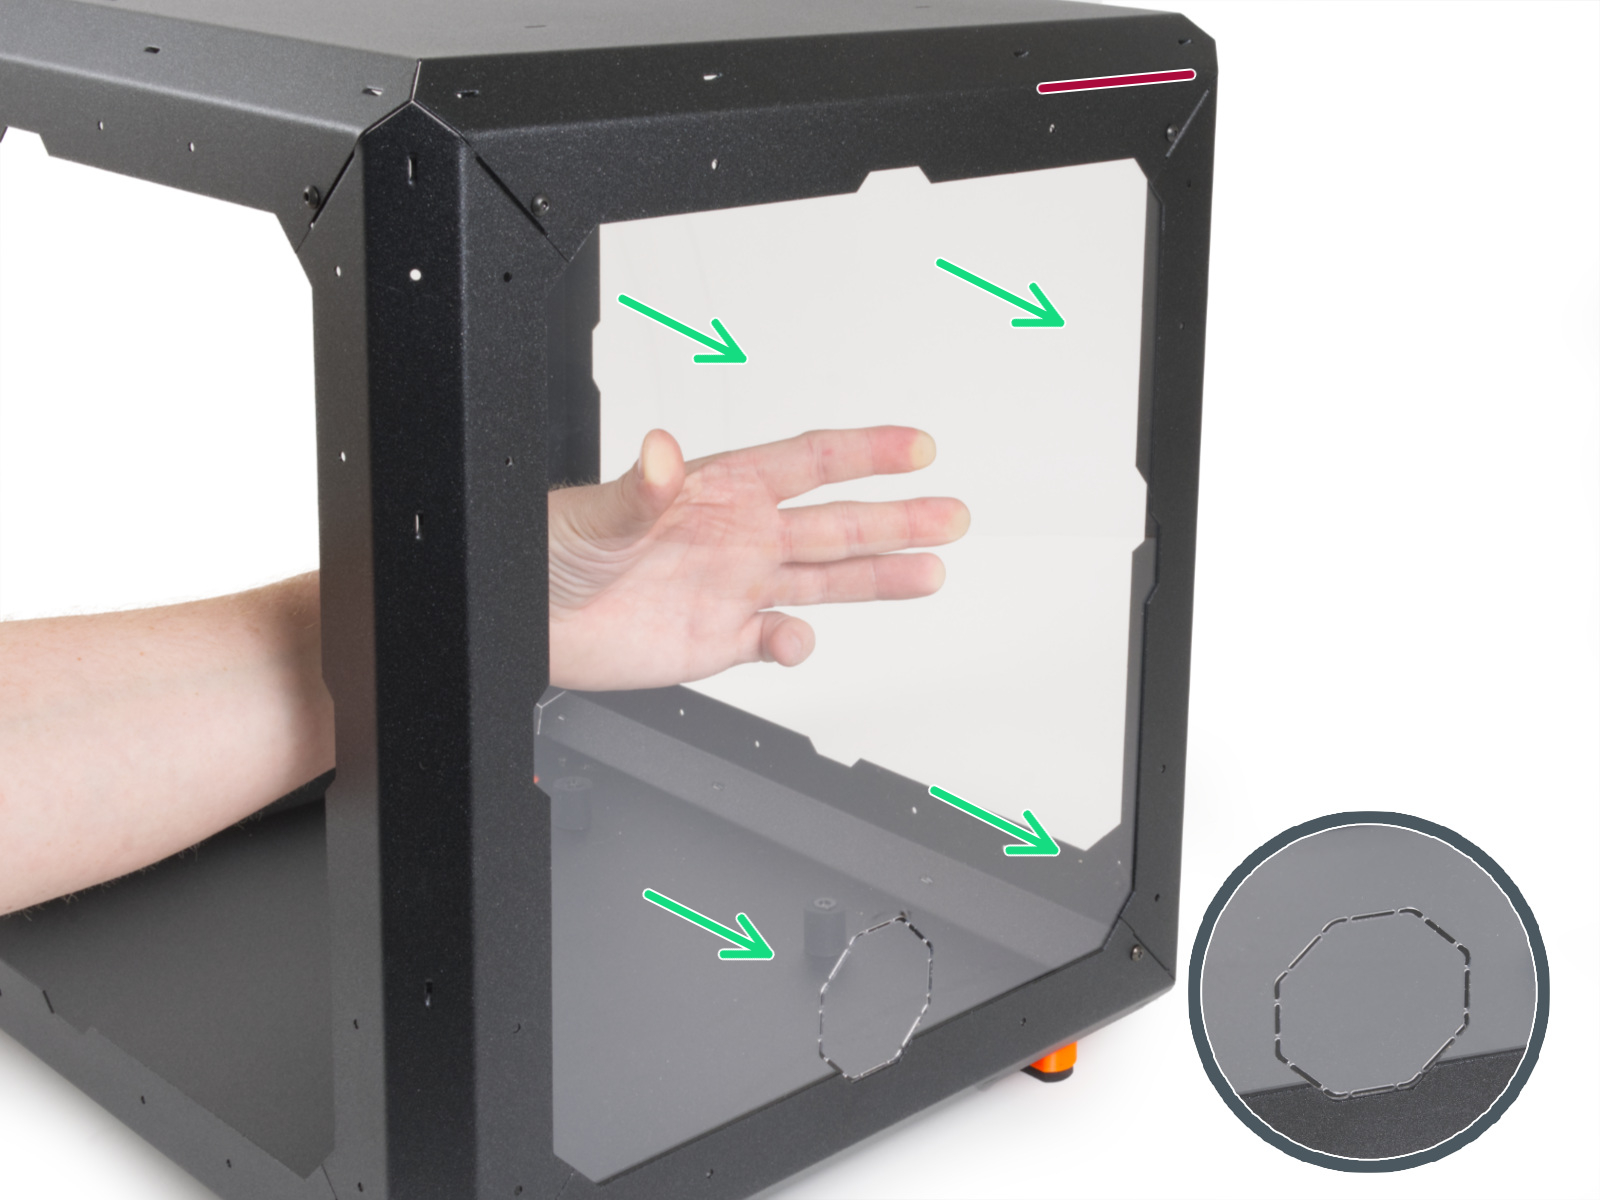
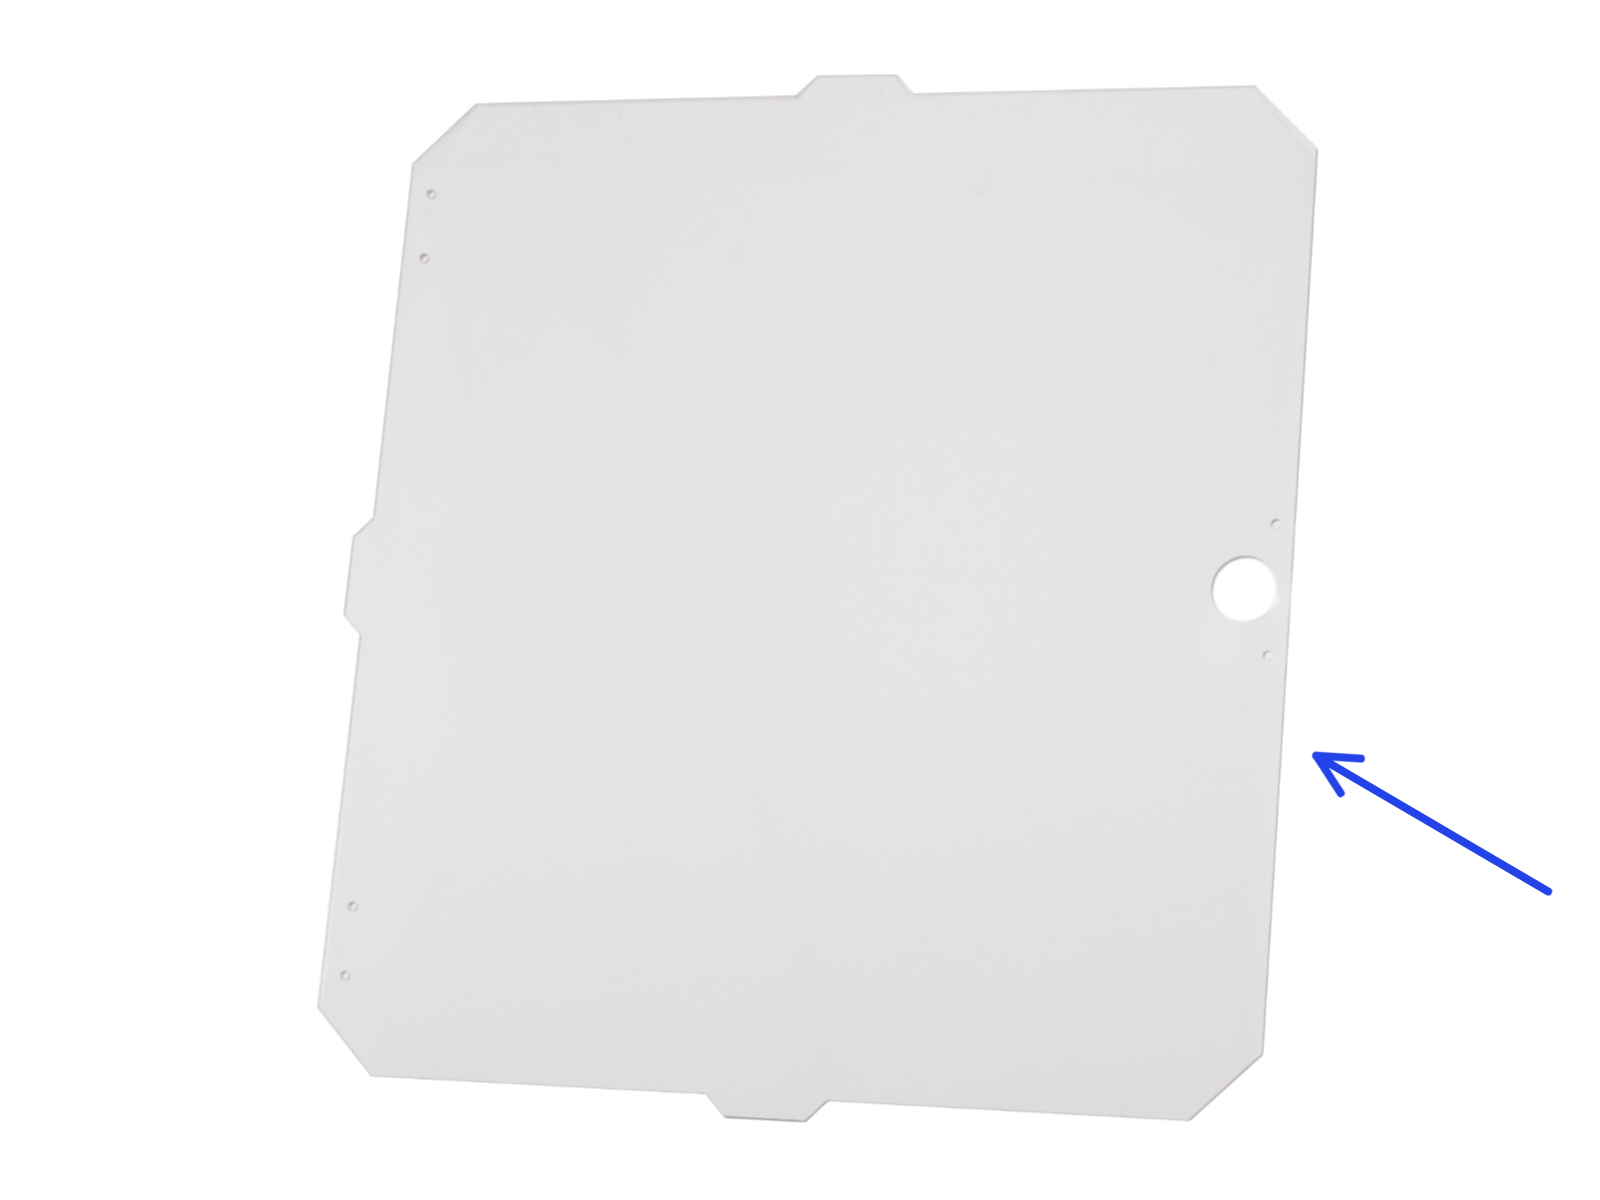
⬢From the inside, carefully place the MINI Back panel to the rear Enclosure "frame".
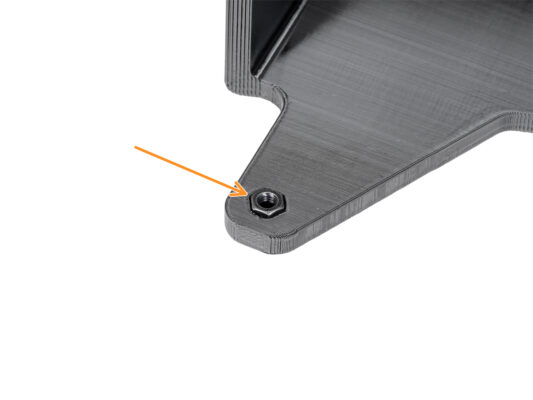
Mind the correct orientation of the panel. The octagonal cutout must be at the bottom.
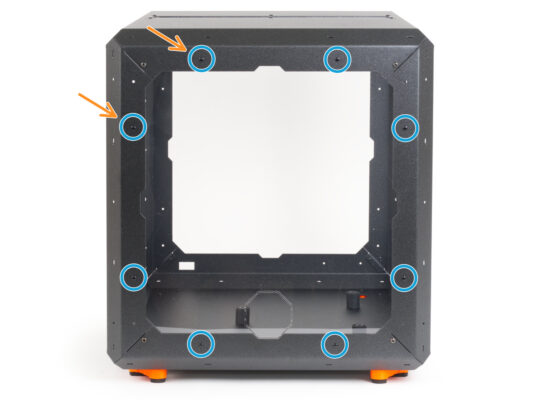
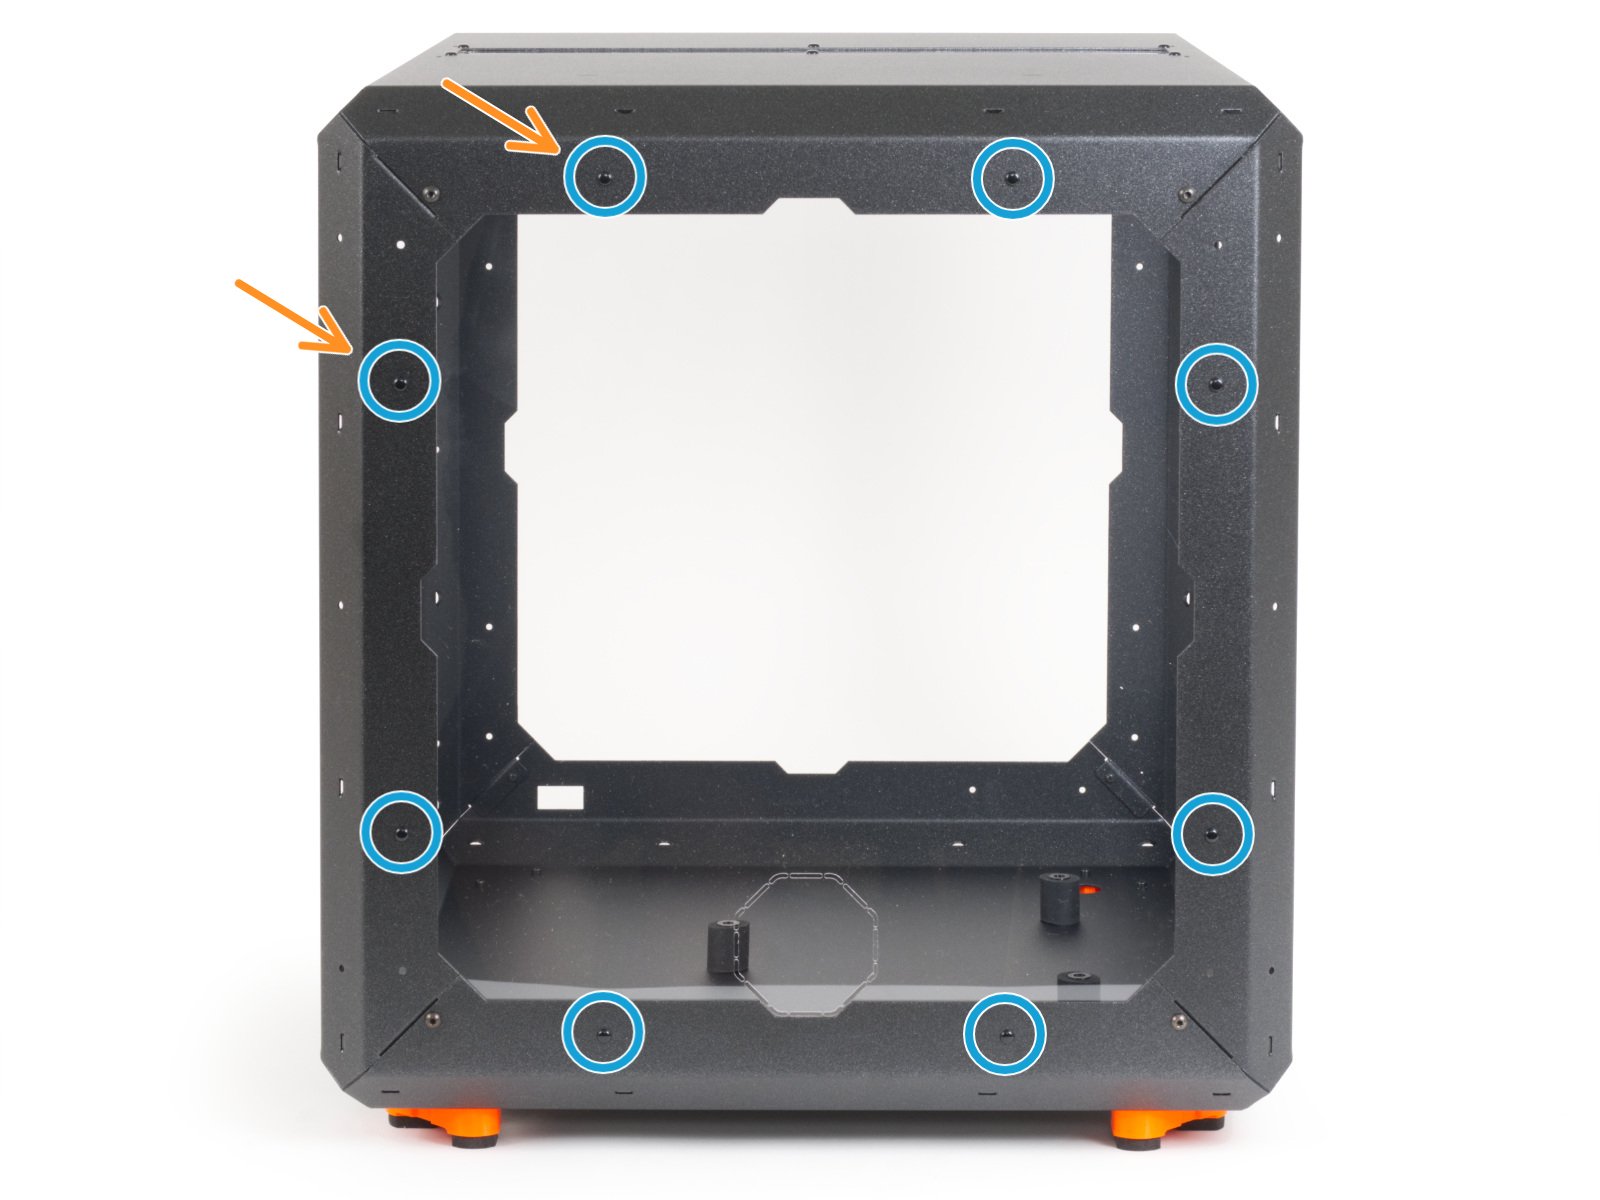
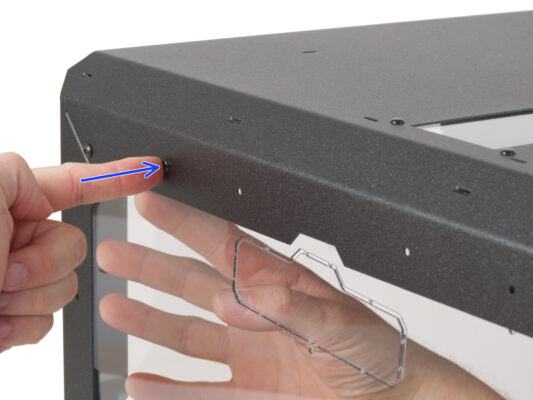
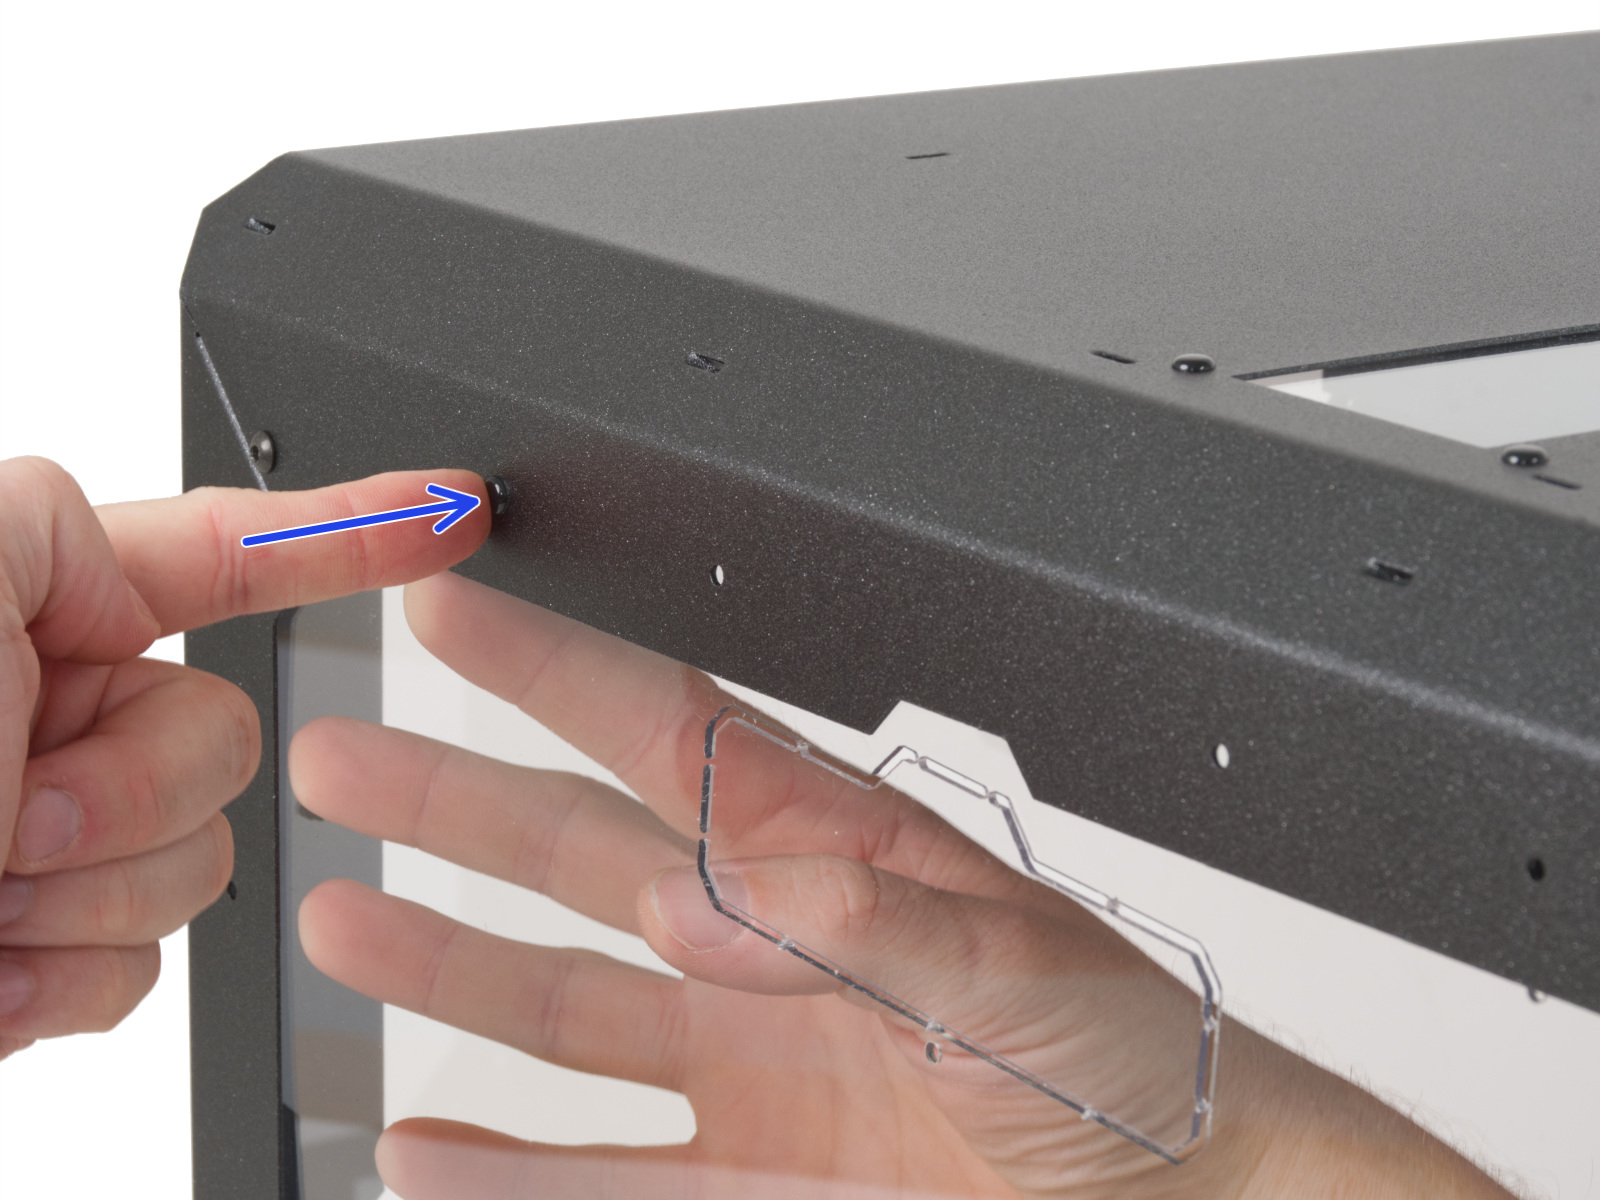
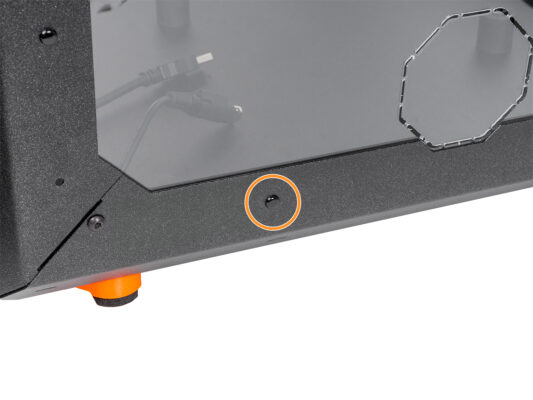
⬢Align the holes of the panel and the Enclosure "frame" and secure it with one nylon rivet near the top right corner. When pressing on the nylon rivet, apply light pressure on the opposite side, specifically on the MINI Back panel around the rivet.
⬢In this way, secure the panel around the entire perimeter.
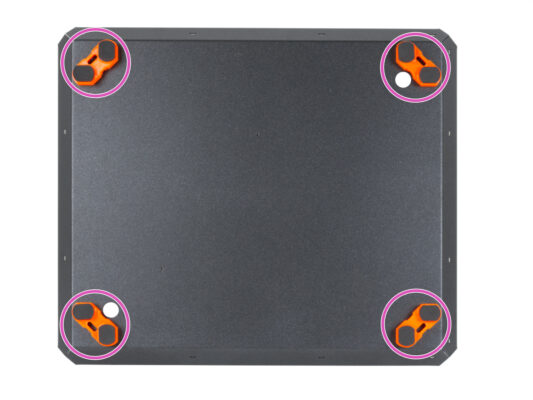
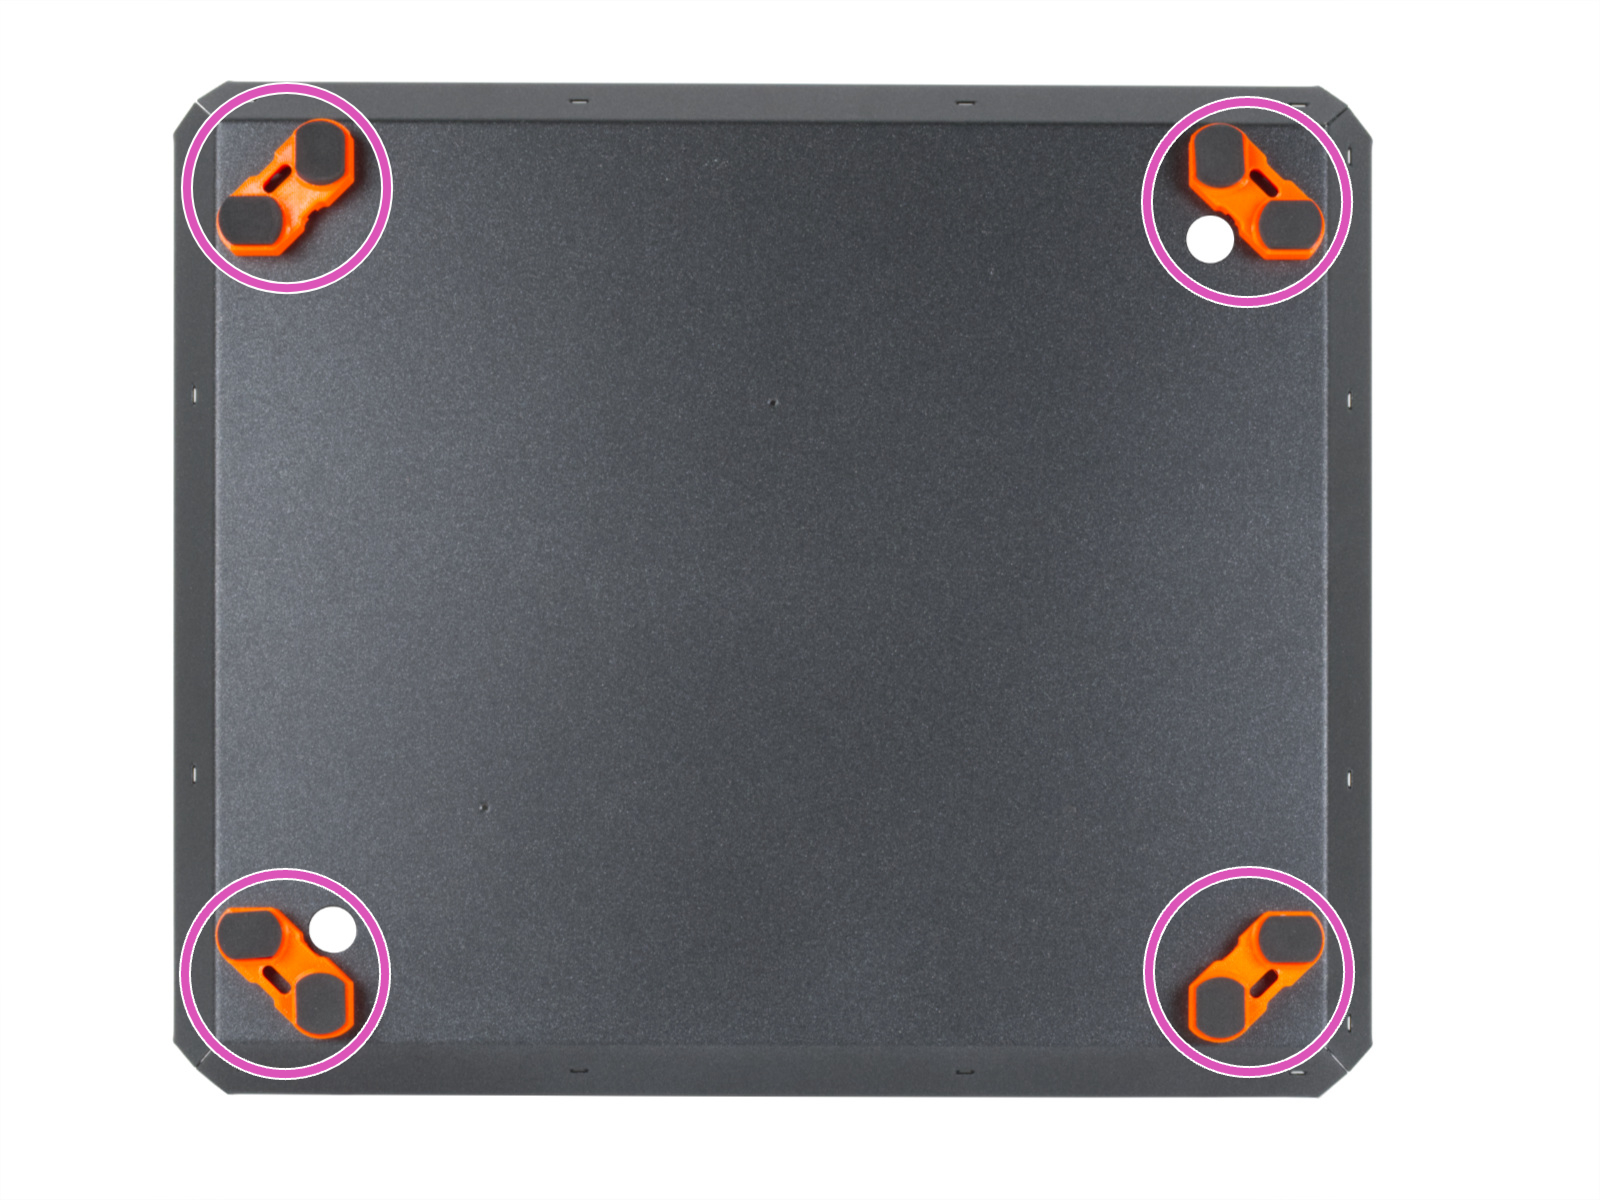
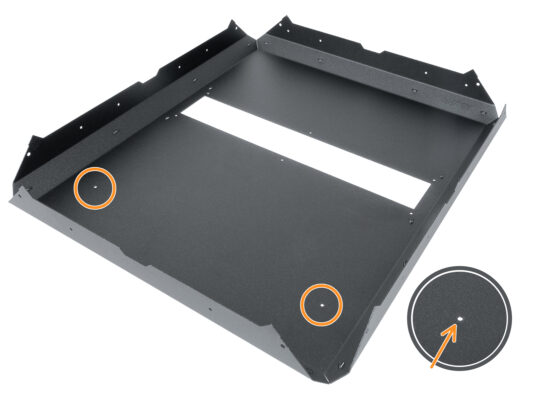
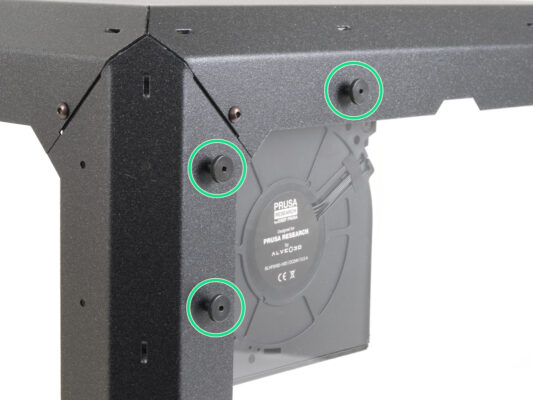
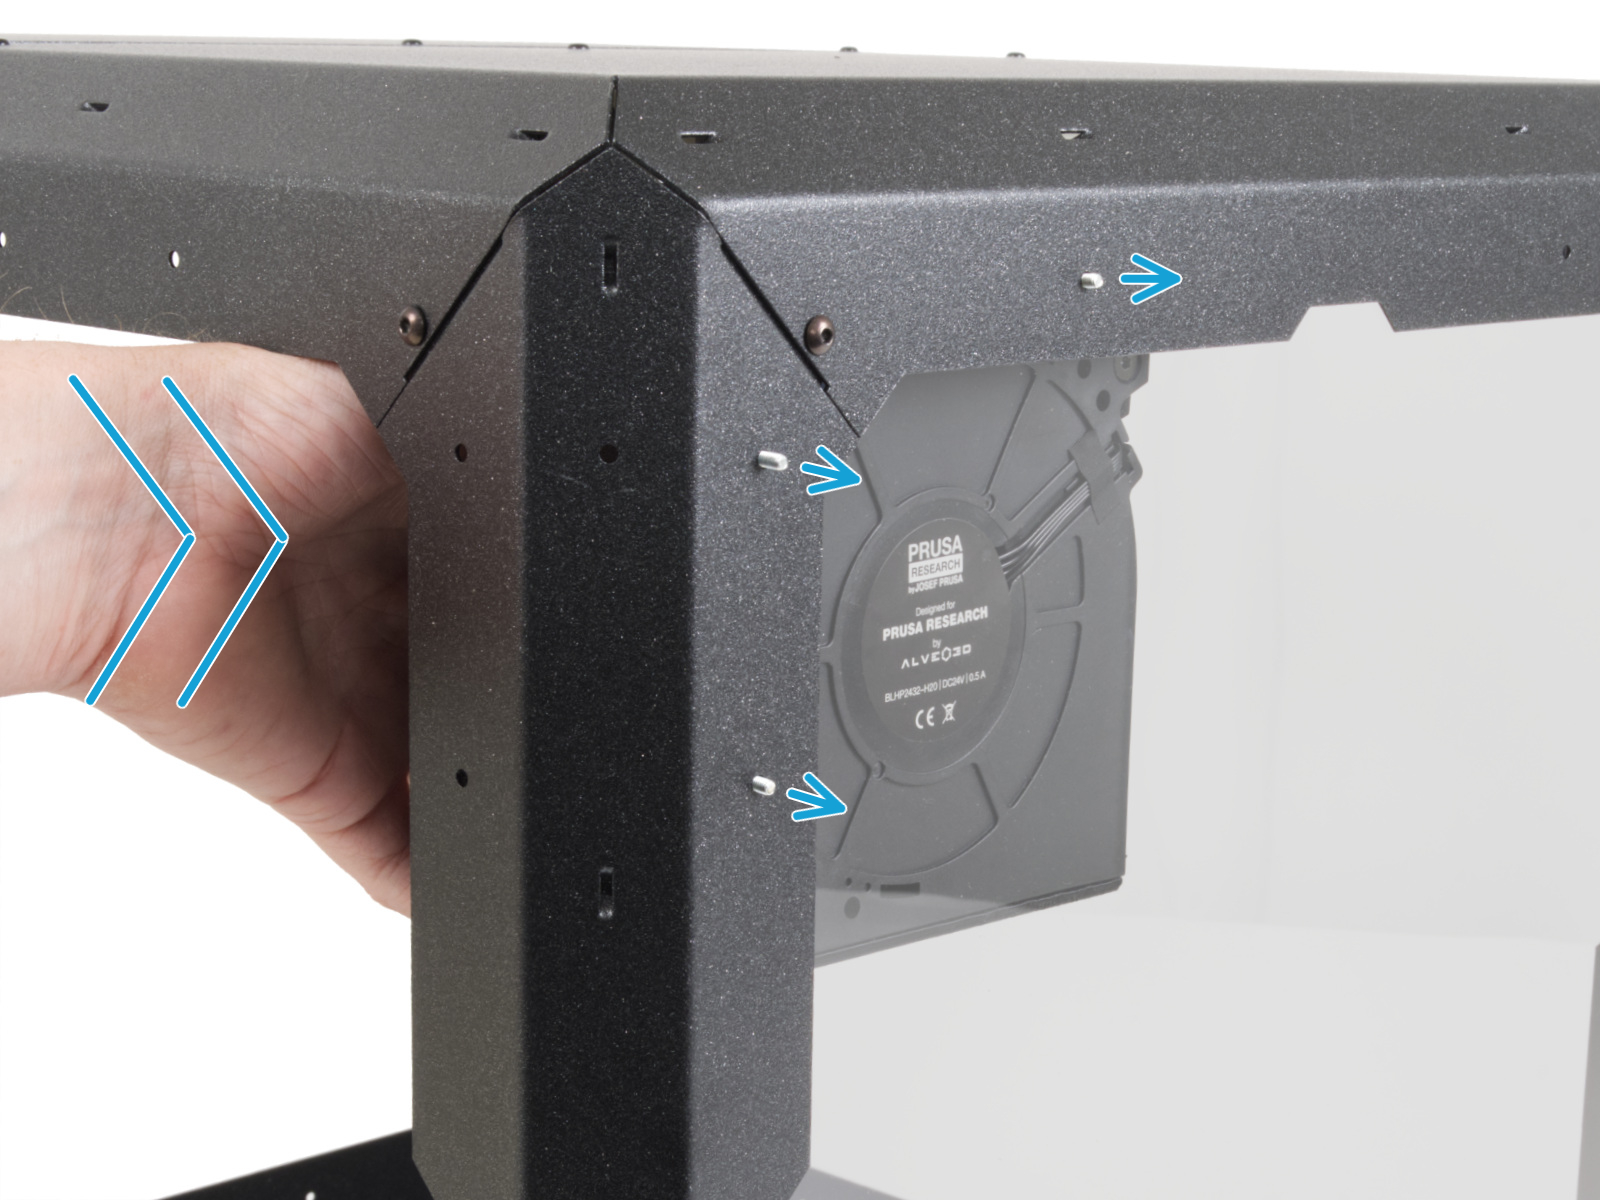
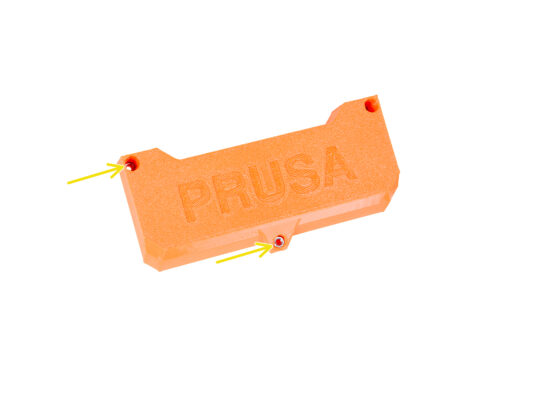
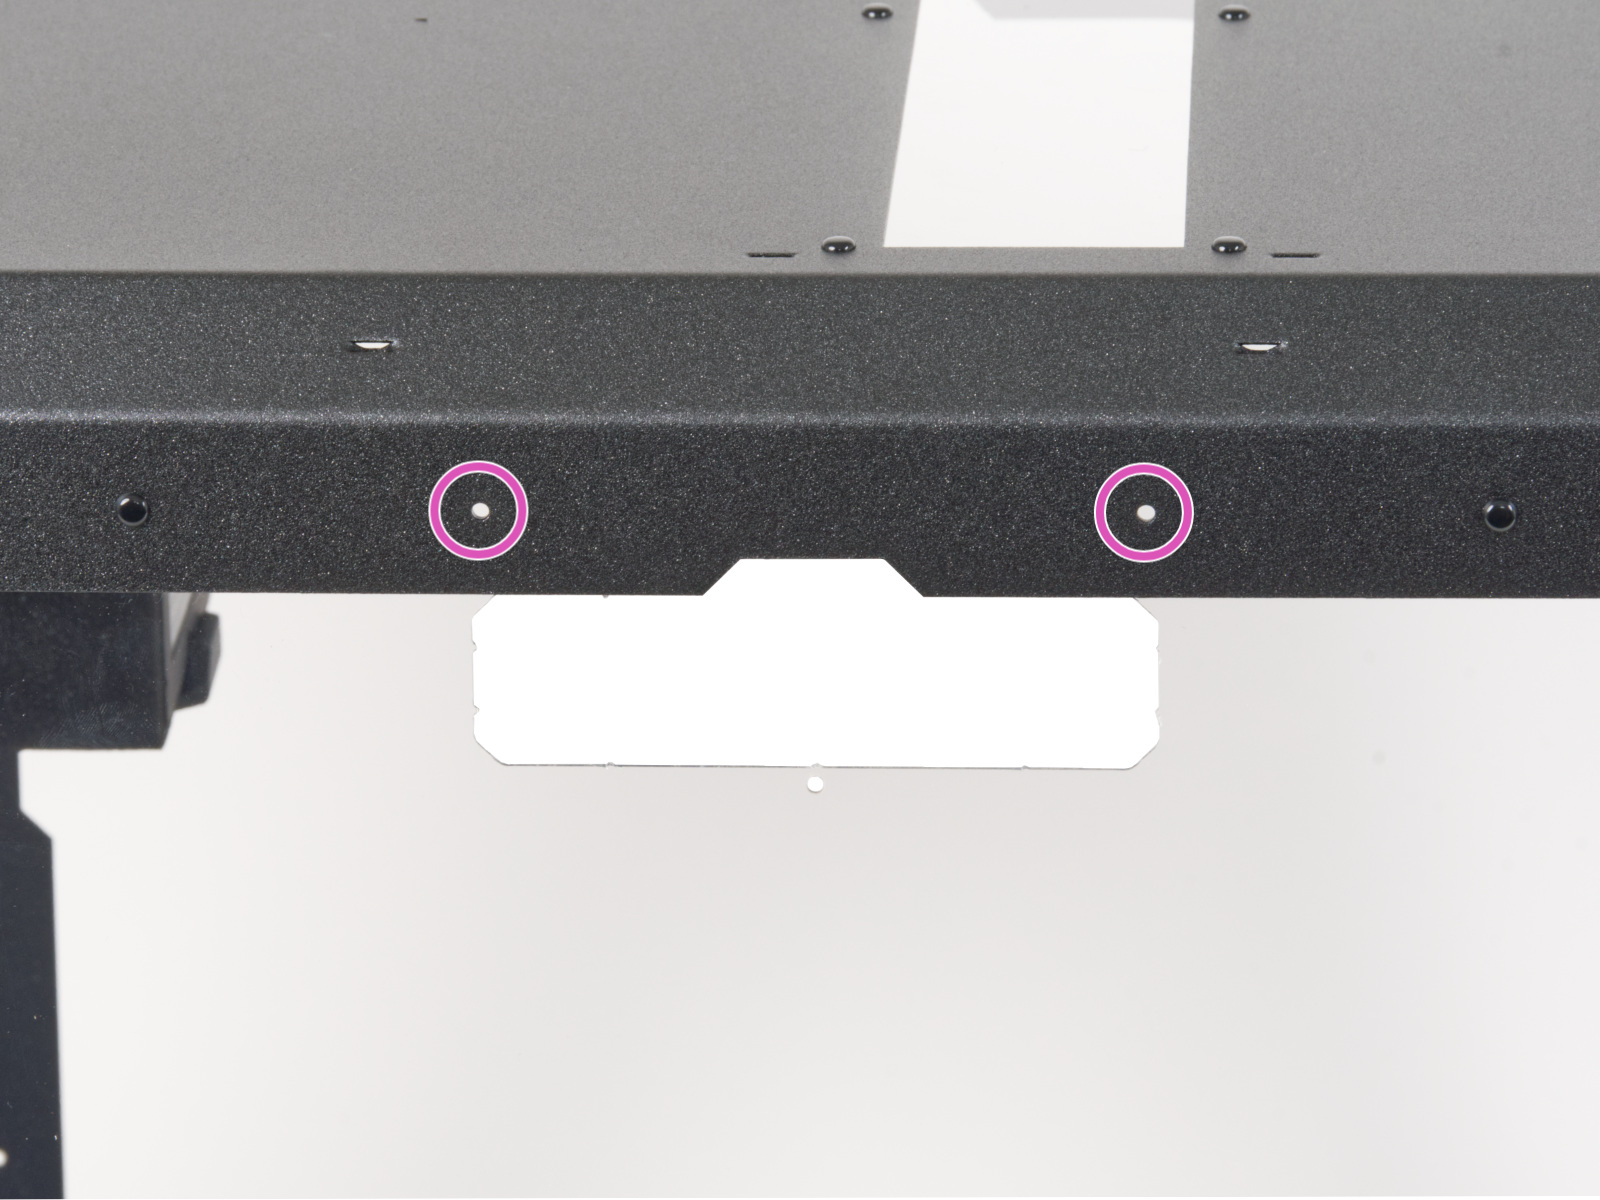
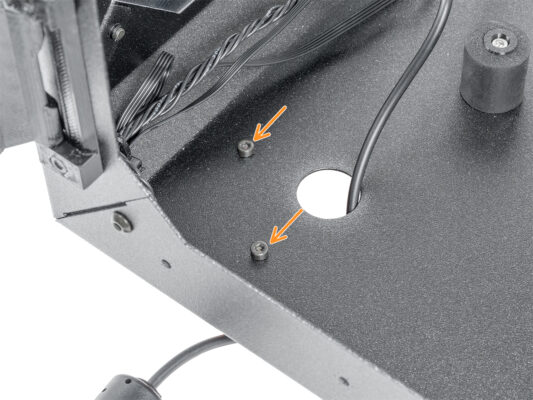
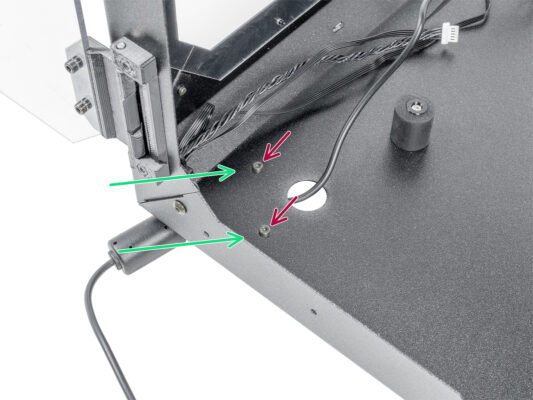
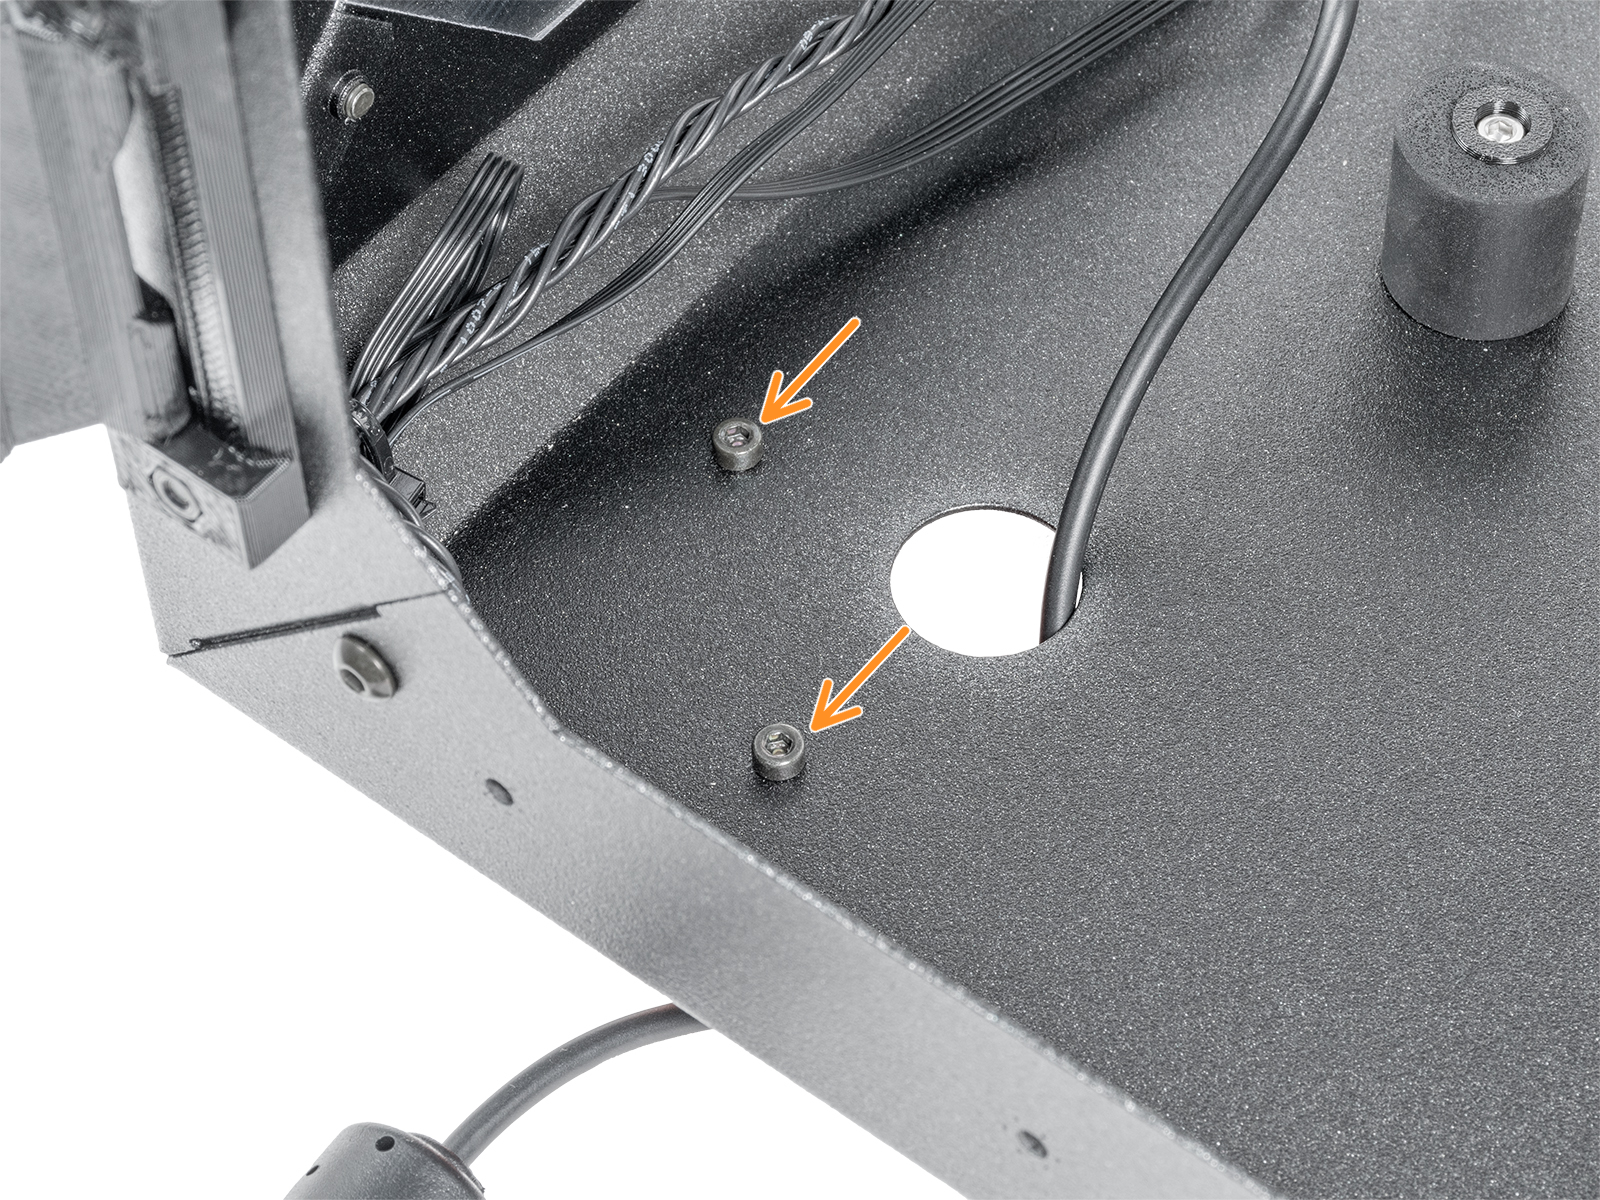
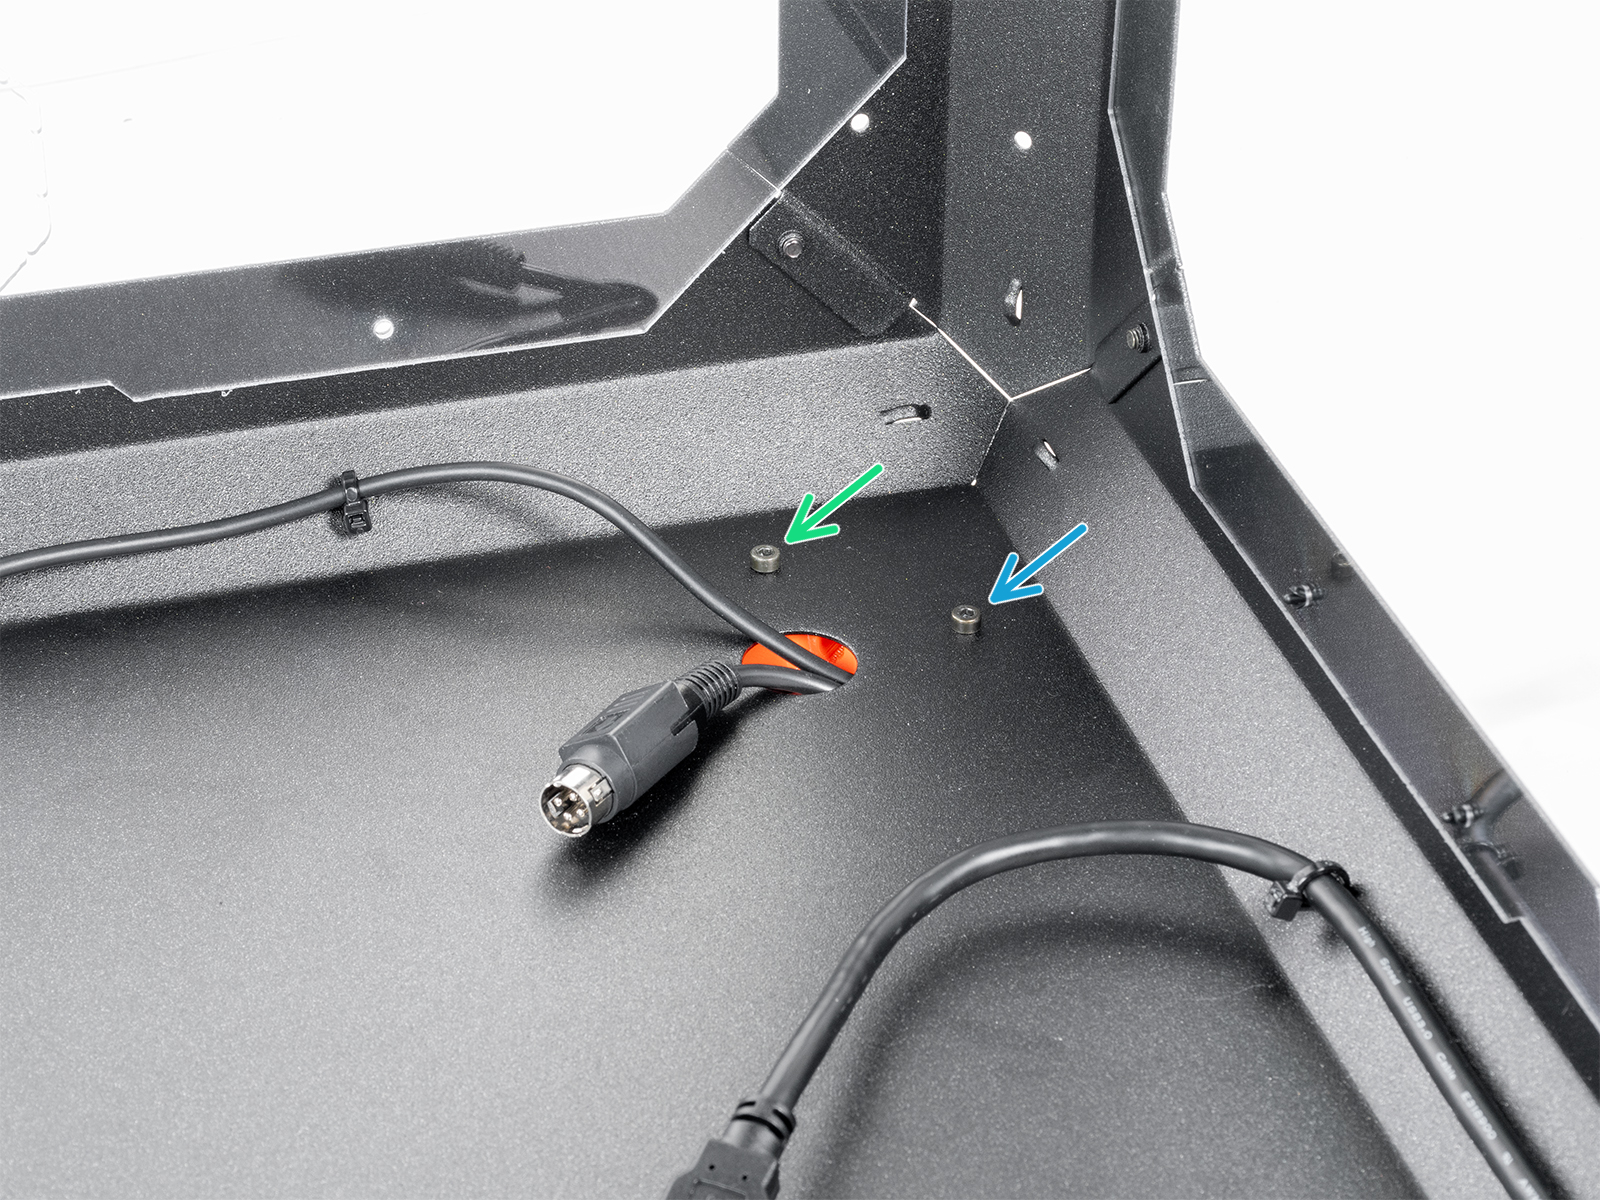
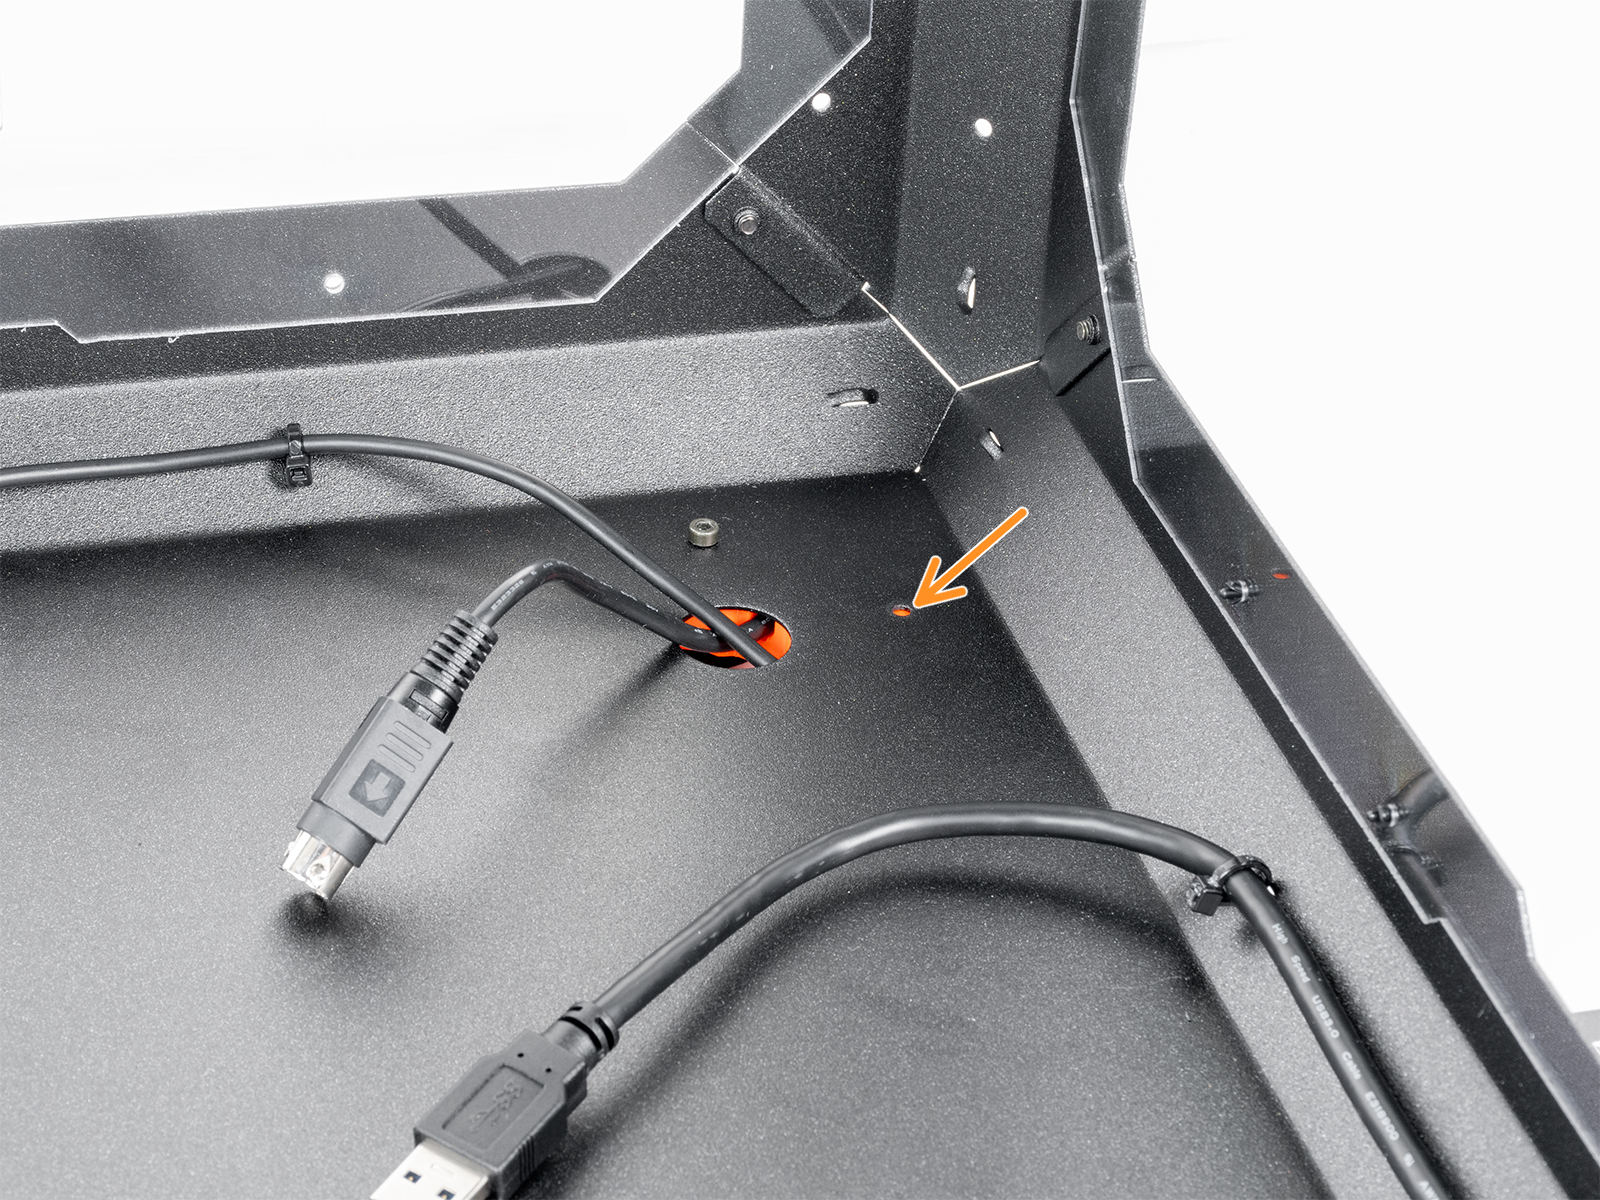
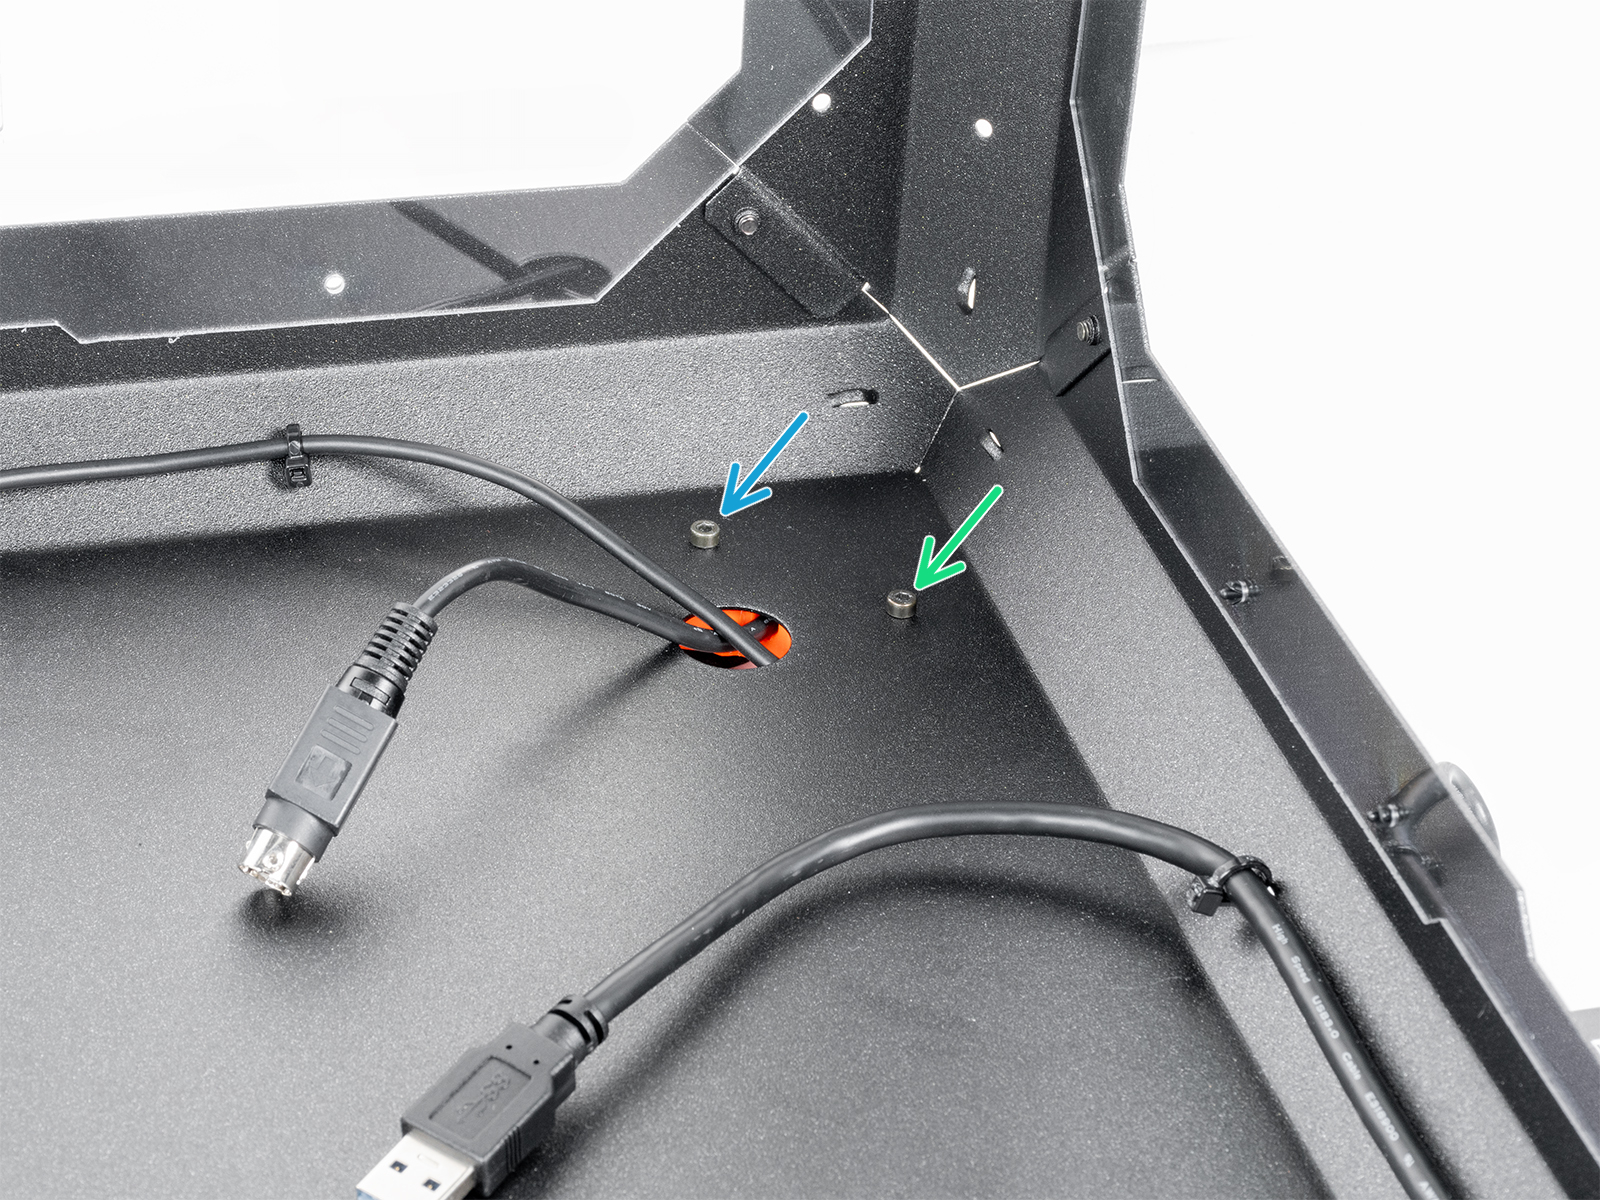
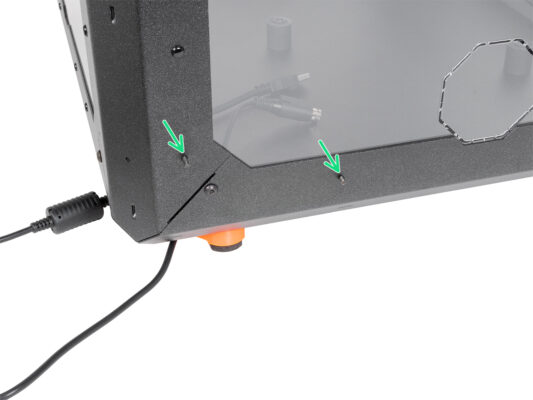
⬢If you are going to install the Advanced filtration system optional add-on, leave the marked holes empty.
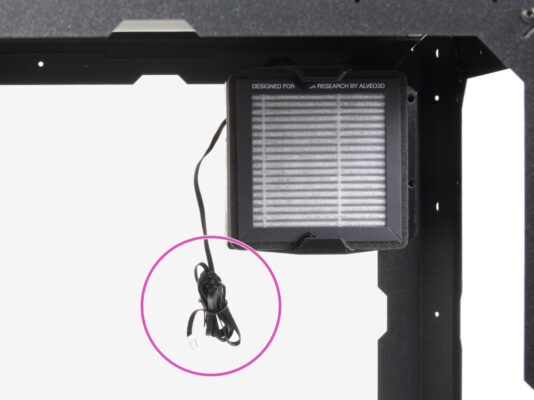
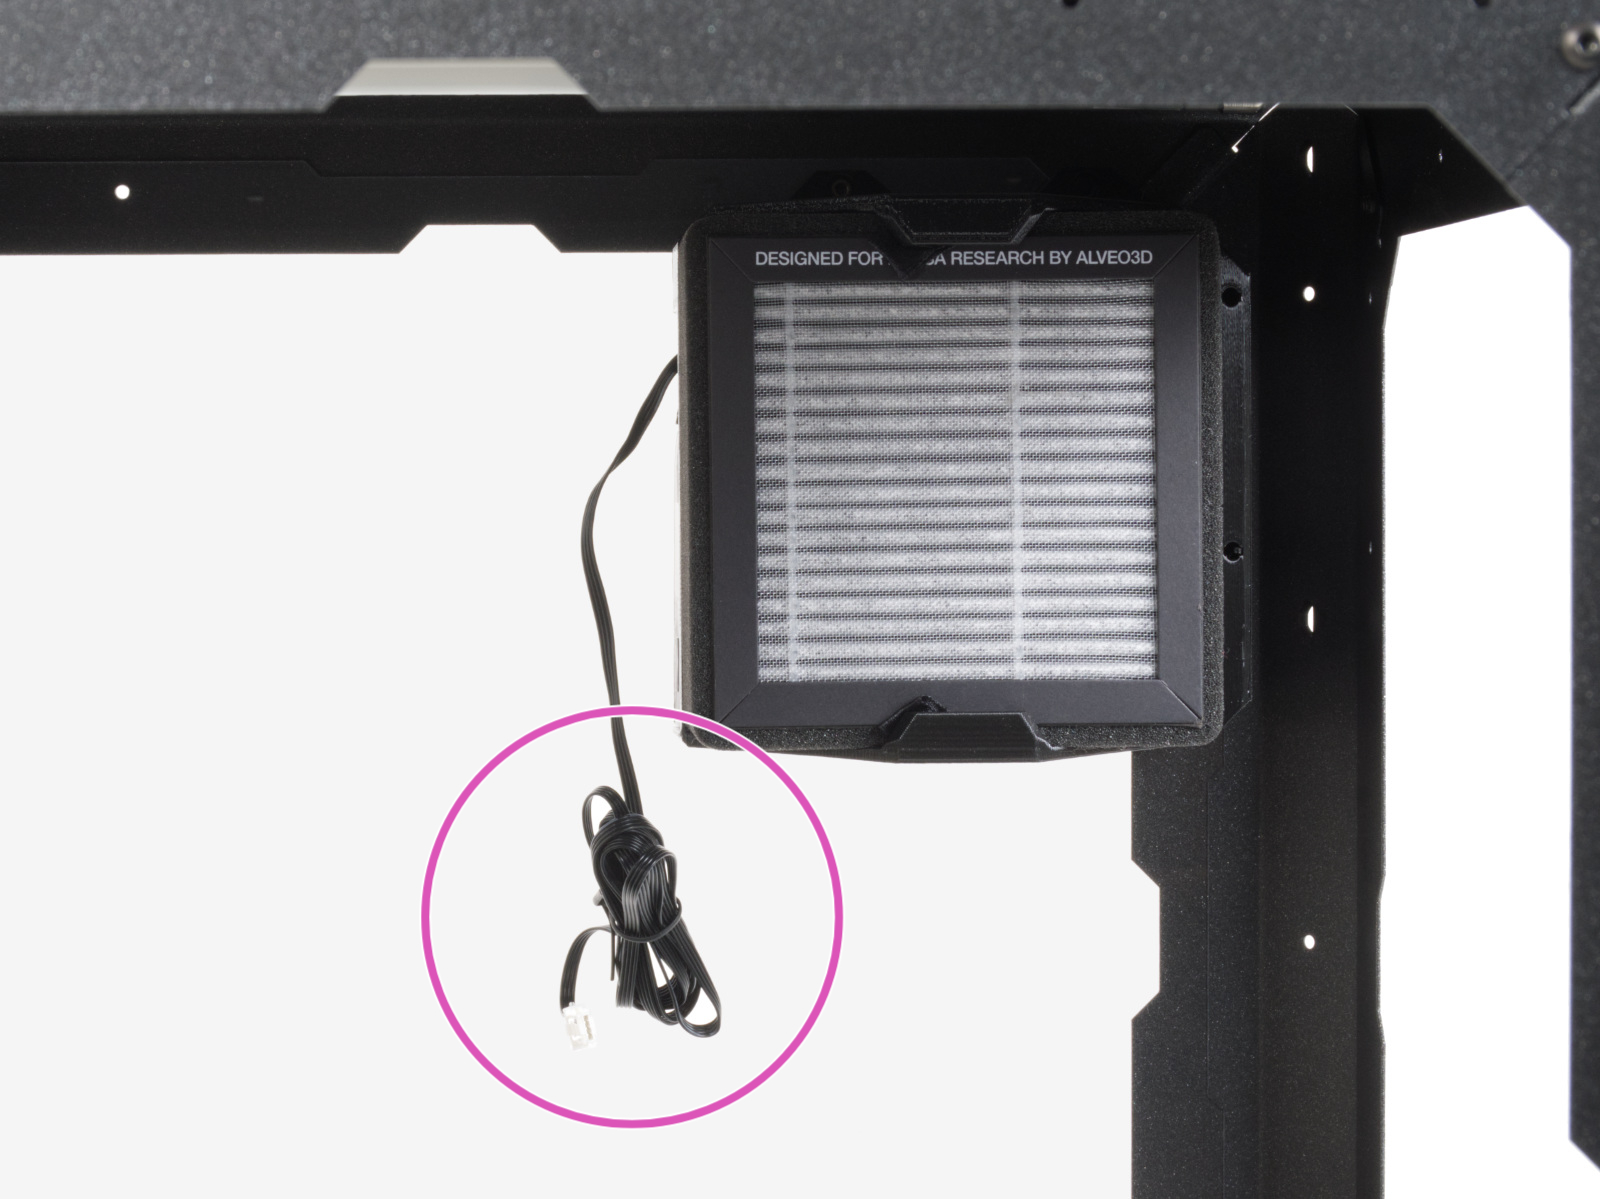
NOTE: The following instructions are only for those who have purchased this optional add-on with the MINI Enclosure. If you have not purchased this add-on, please proceed to step Side panels: parts preparation
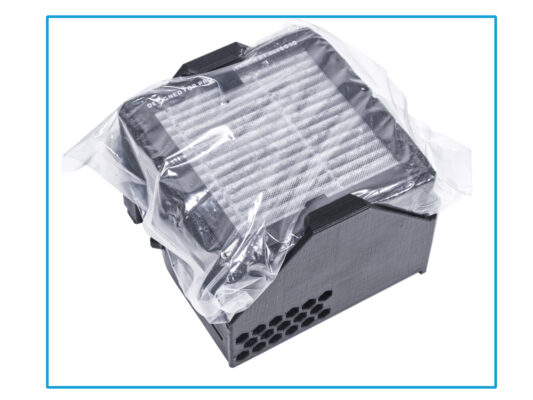
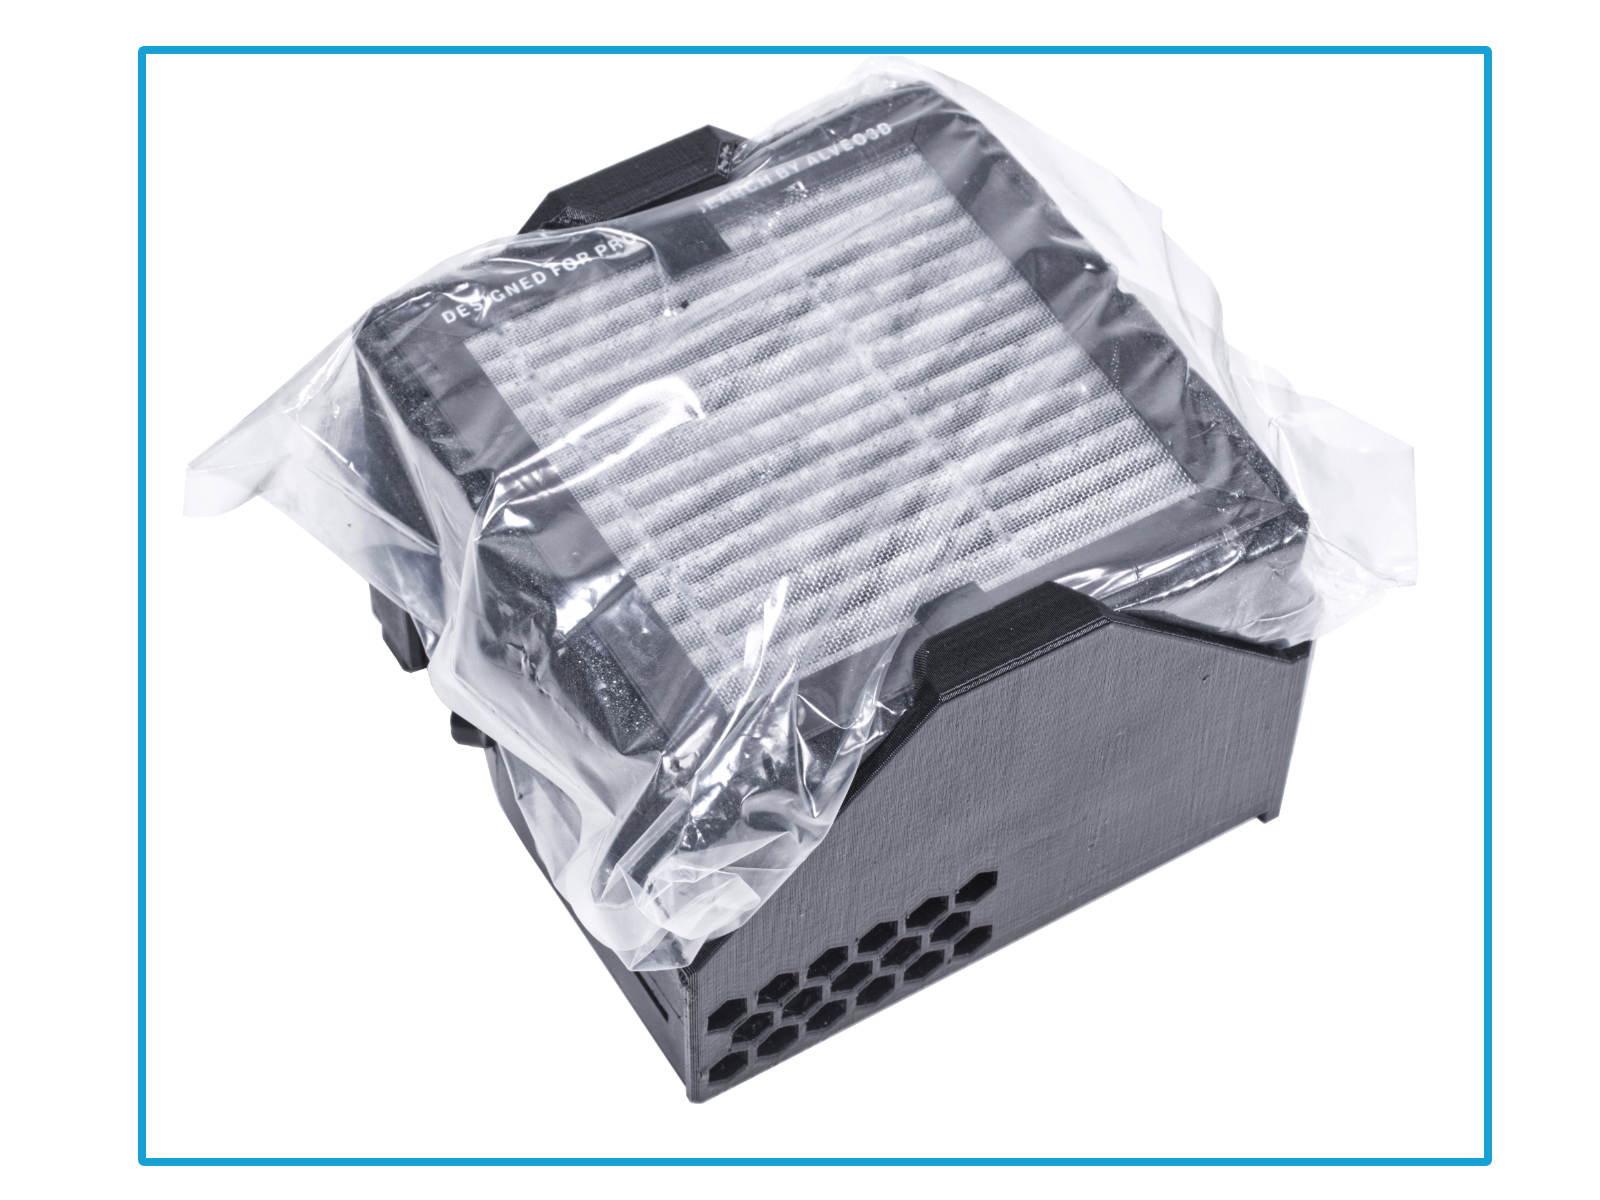
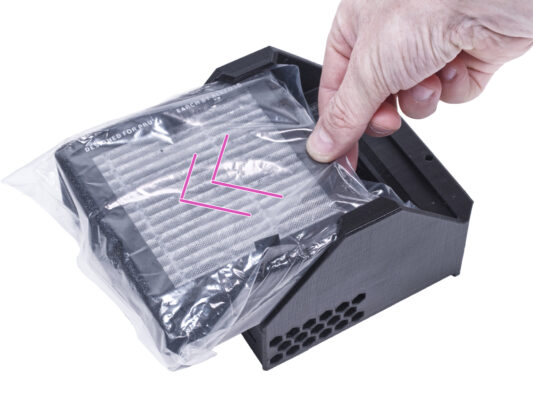
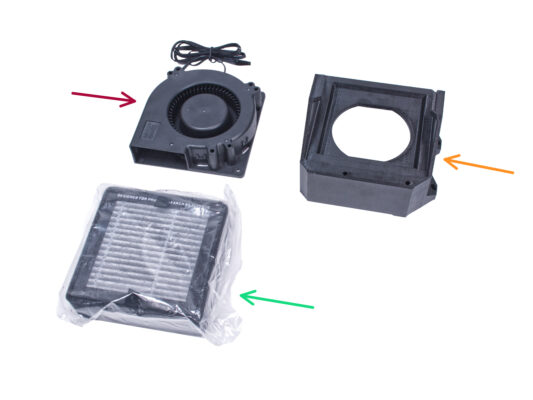
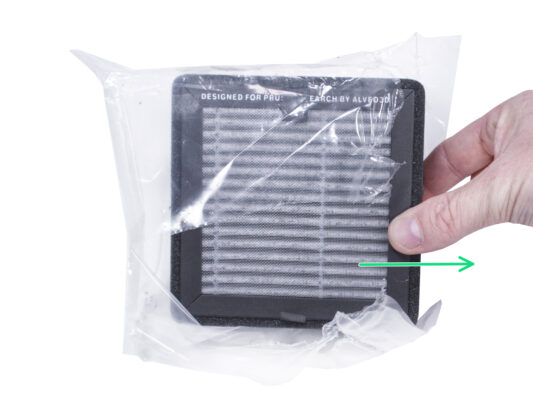
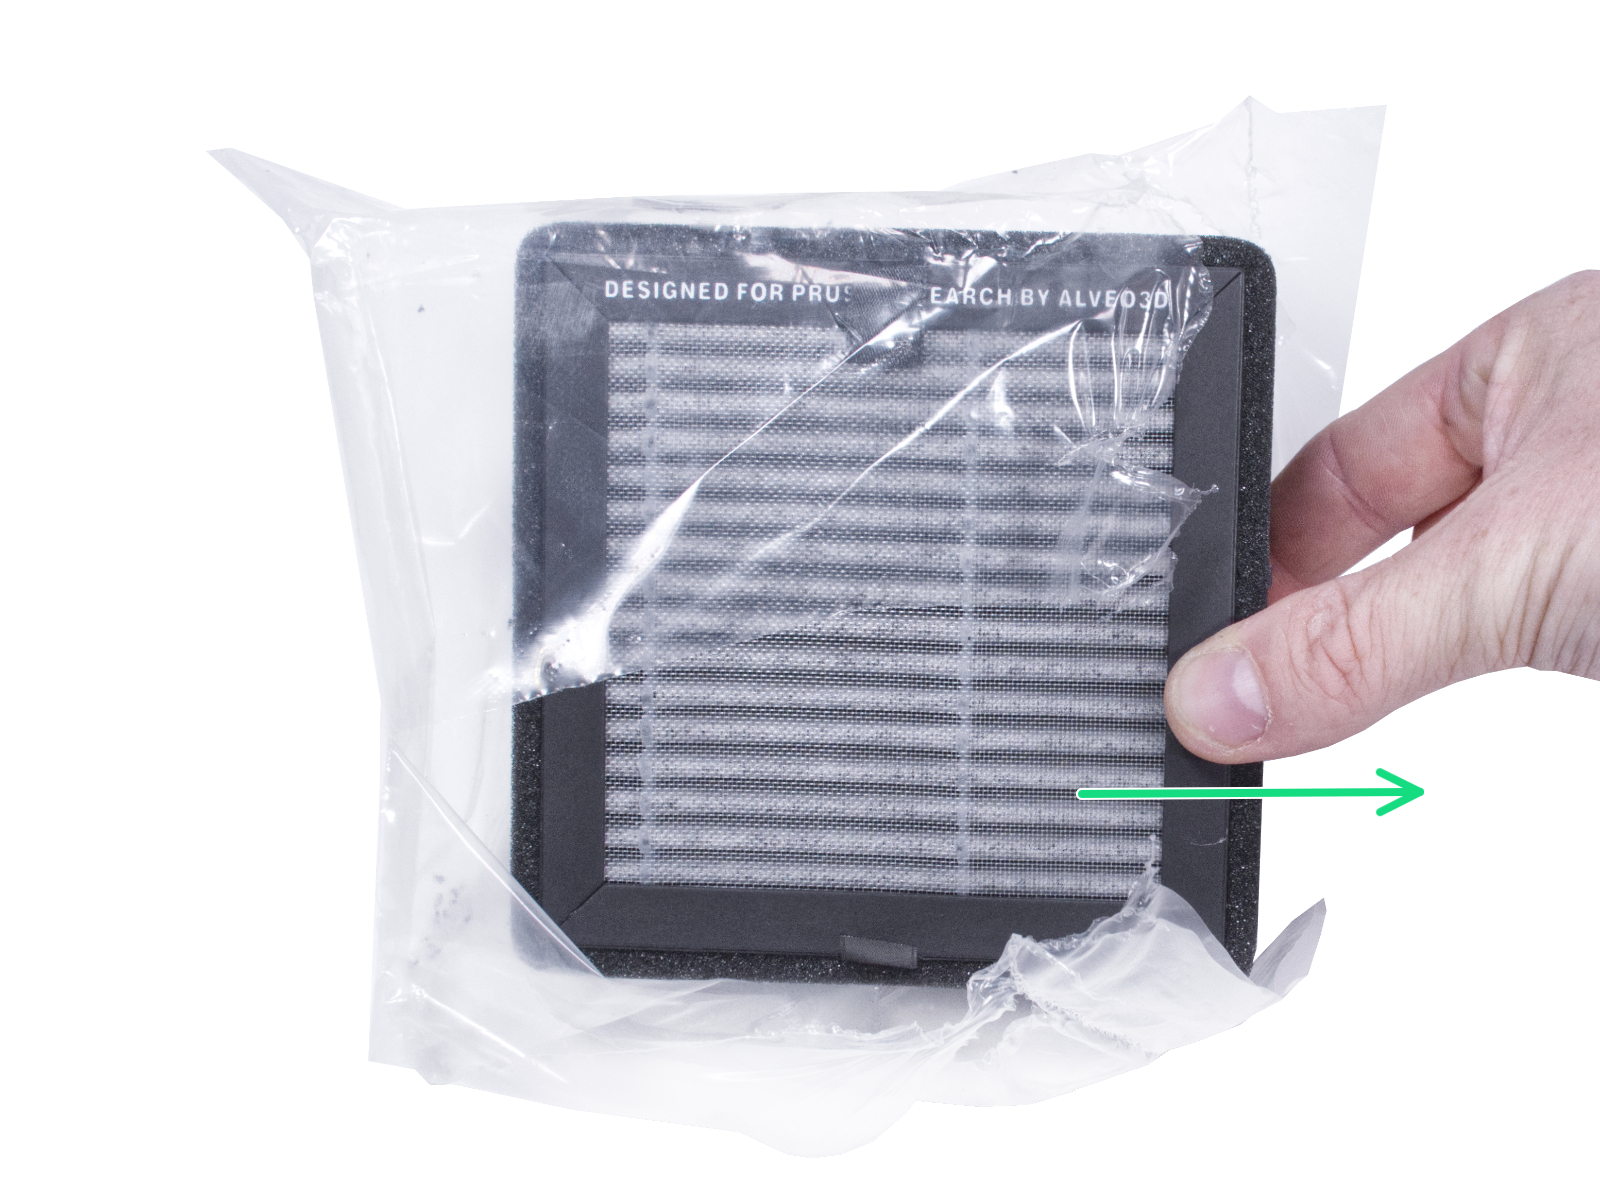
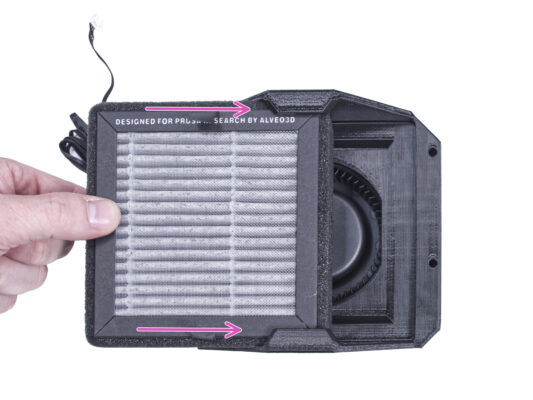
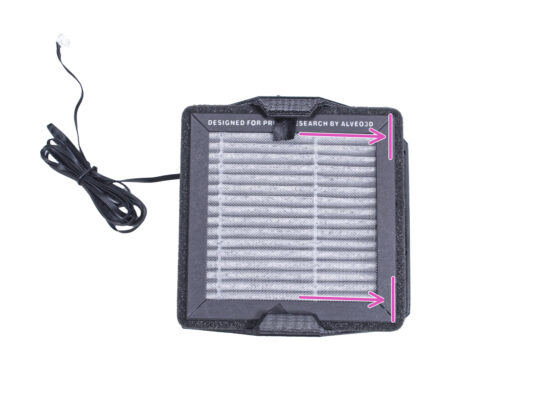
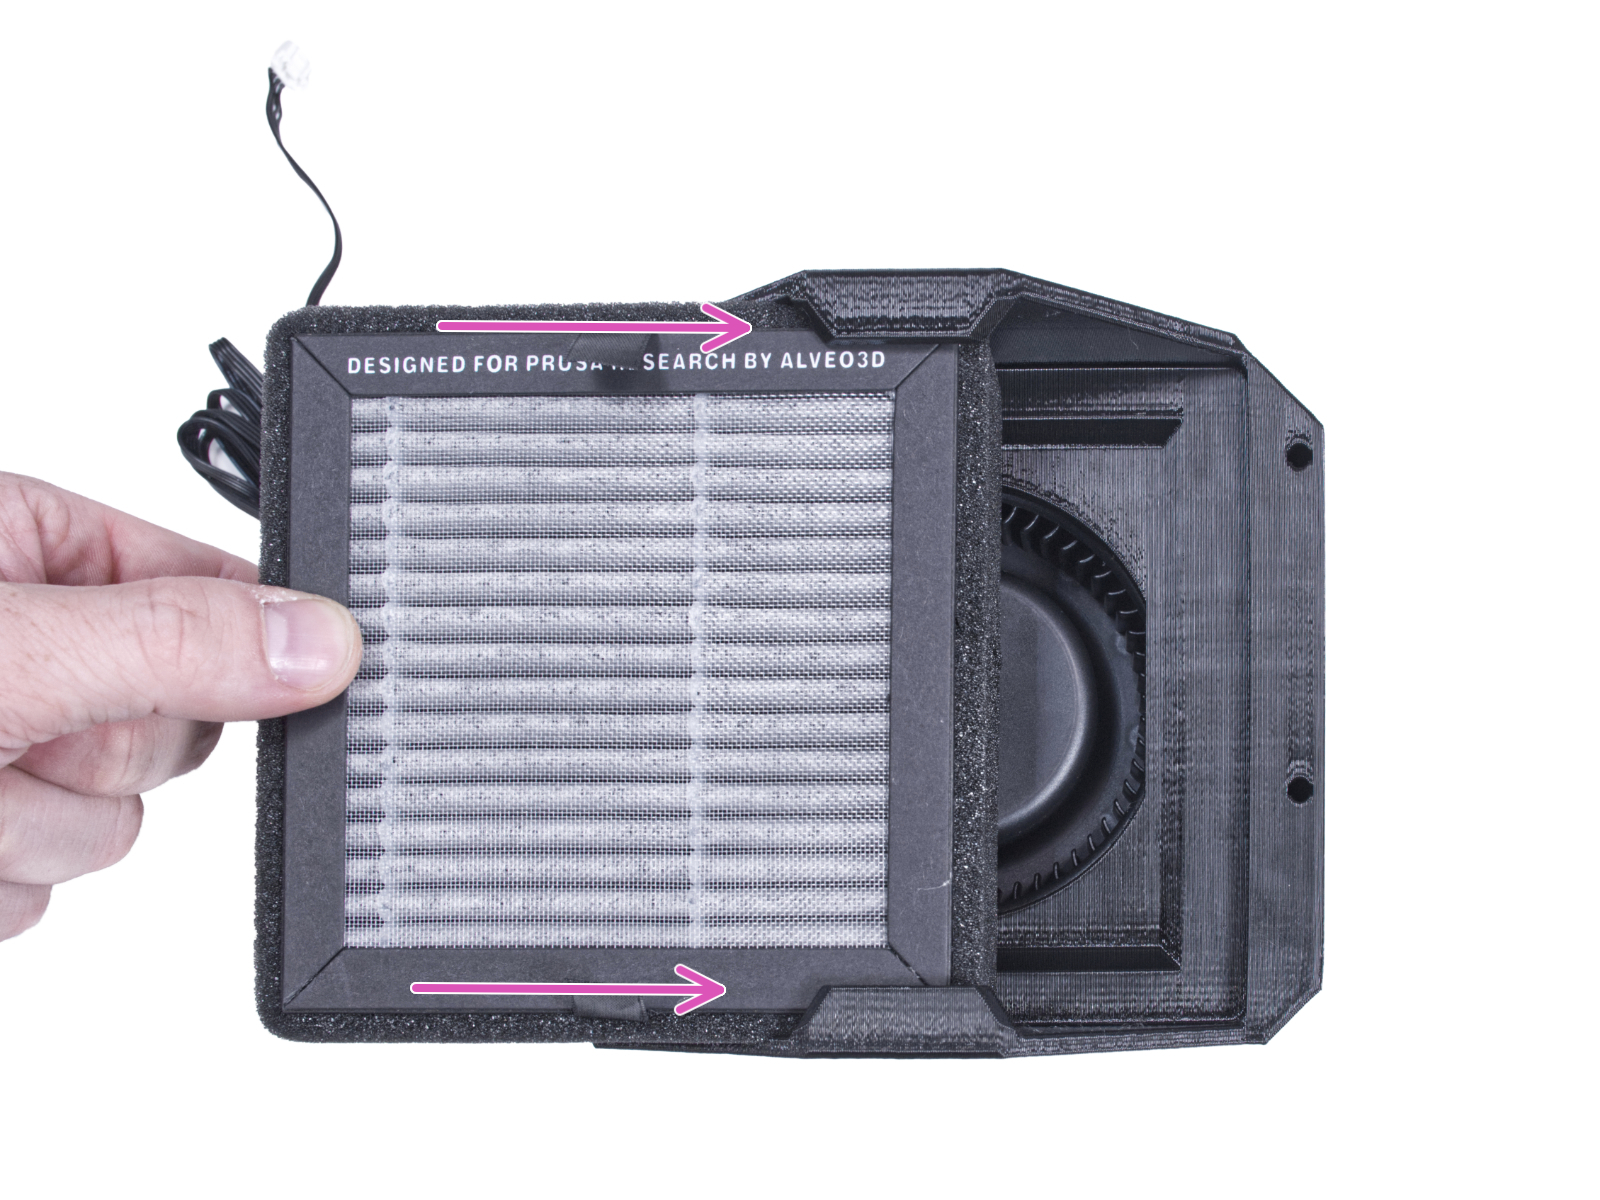
Zacházejte s filtrem opatrně. Pokud se povrch HEPA filtru (bílý skládaný povrch) poškodí, filtr ztratí svou účinnost. Při vyjímání použitého filtru si chraňte ruce a vložte jej do plastového sáčku. Nasycený filtr není recyklovatelný.
NOTE: The following instructions are only for those who have purchased this optional add-on with the MINI Enclosure. If you have not purchased this add-on, please proceed to step Door hinges: parts preparation
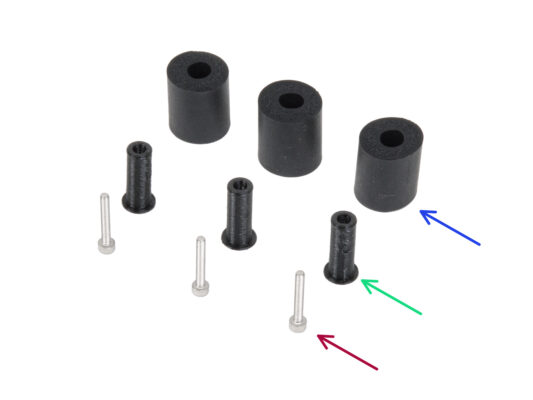
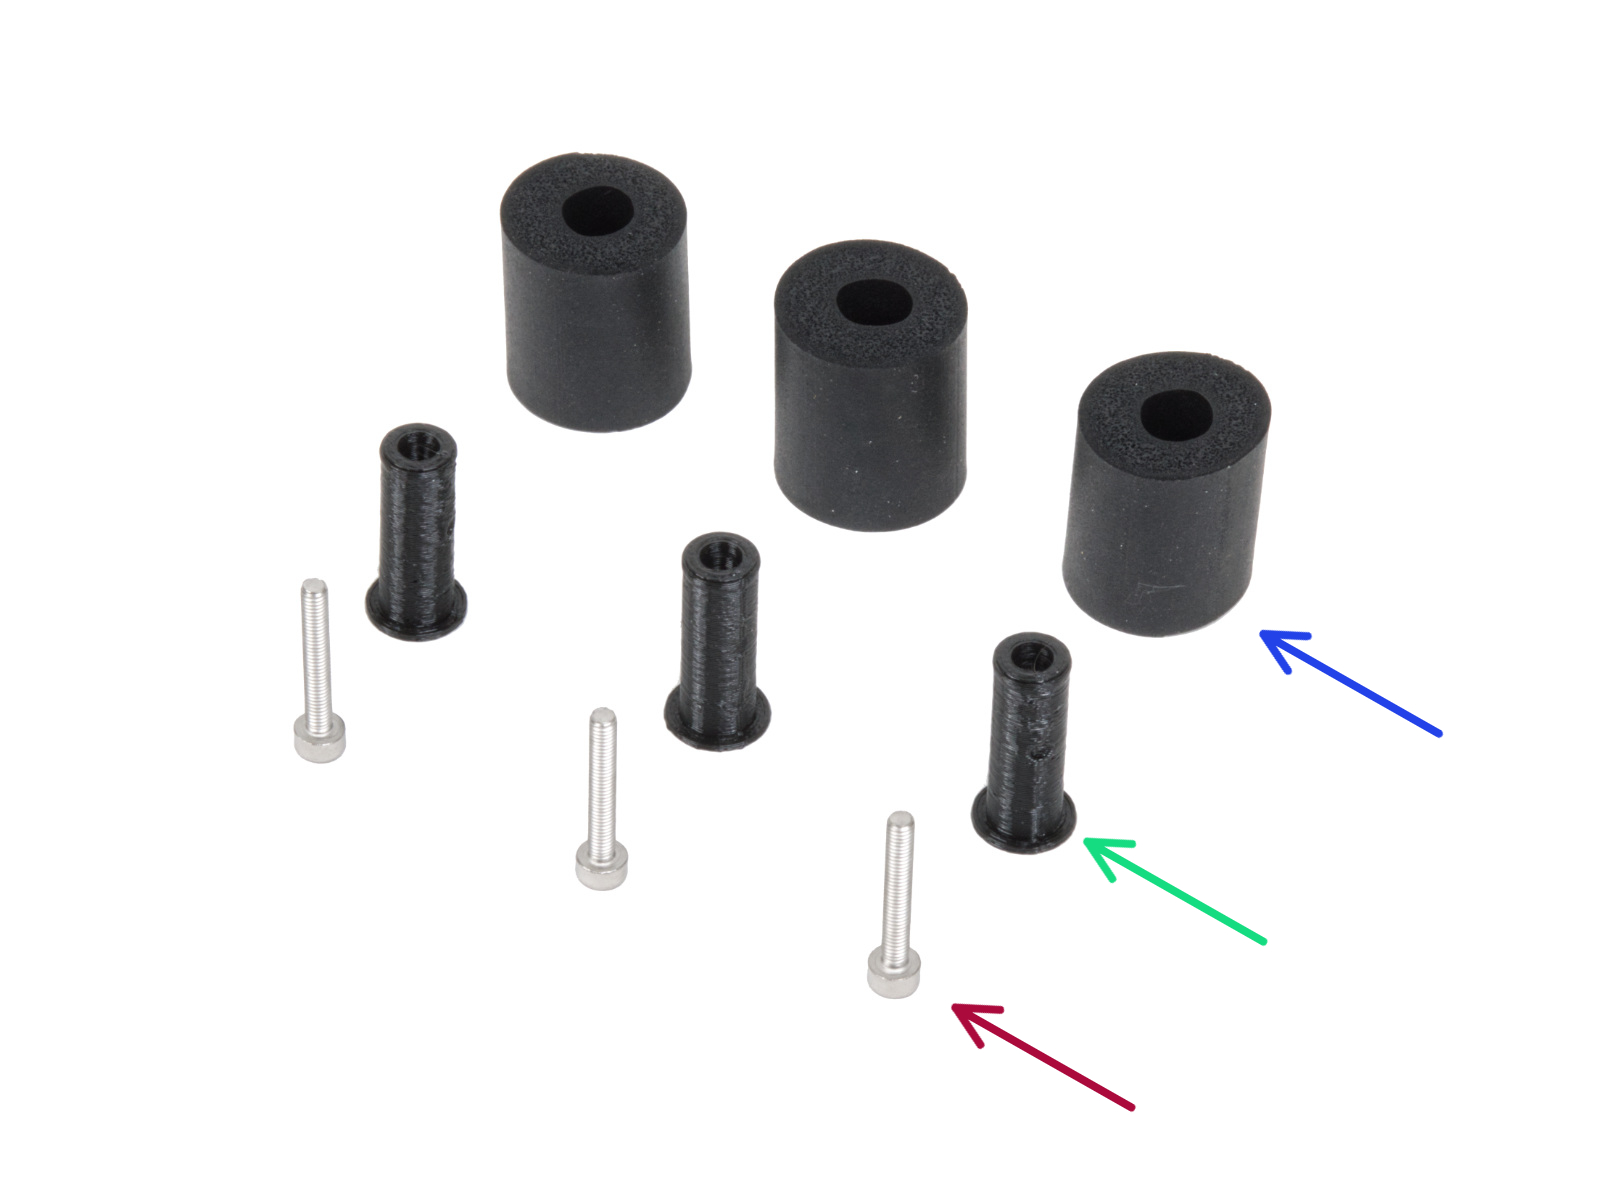
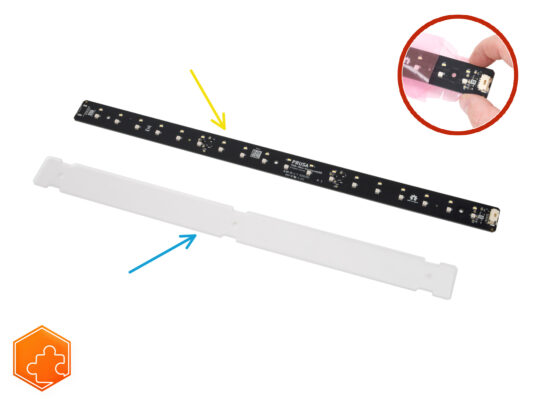
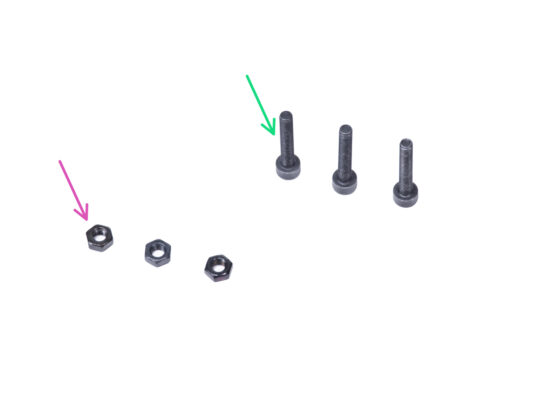
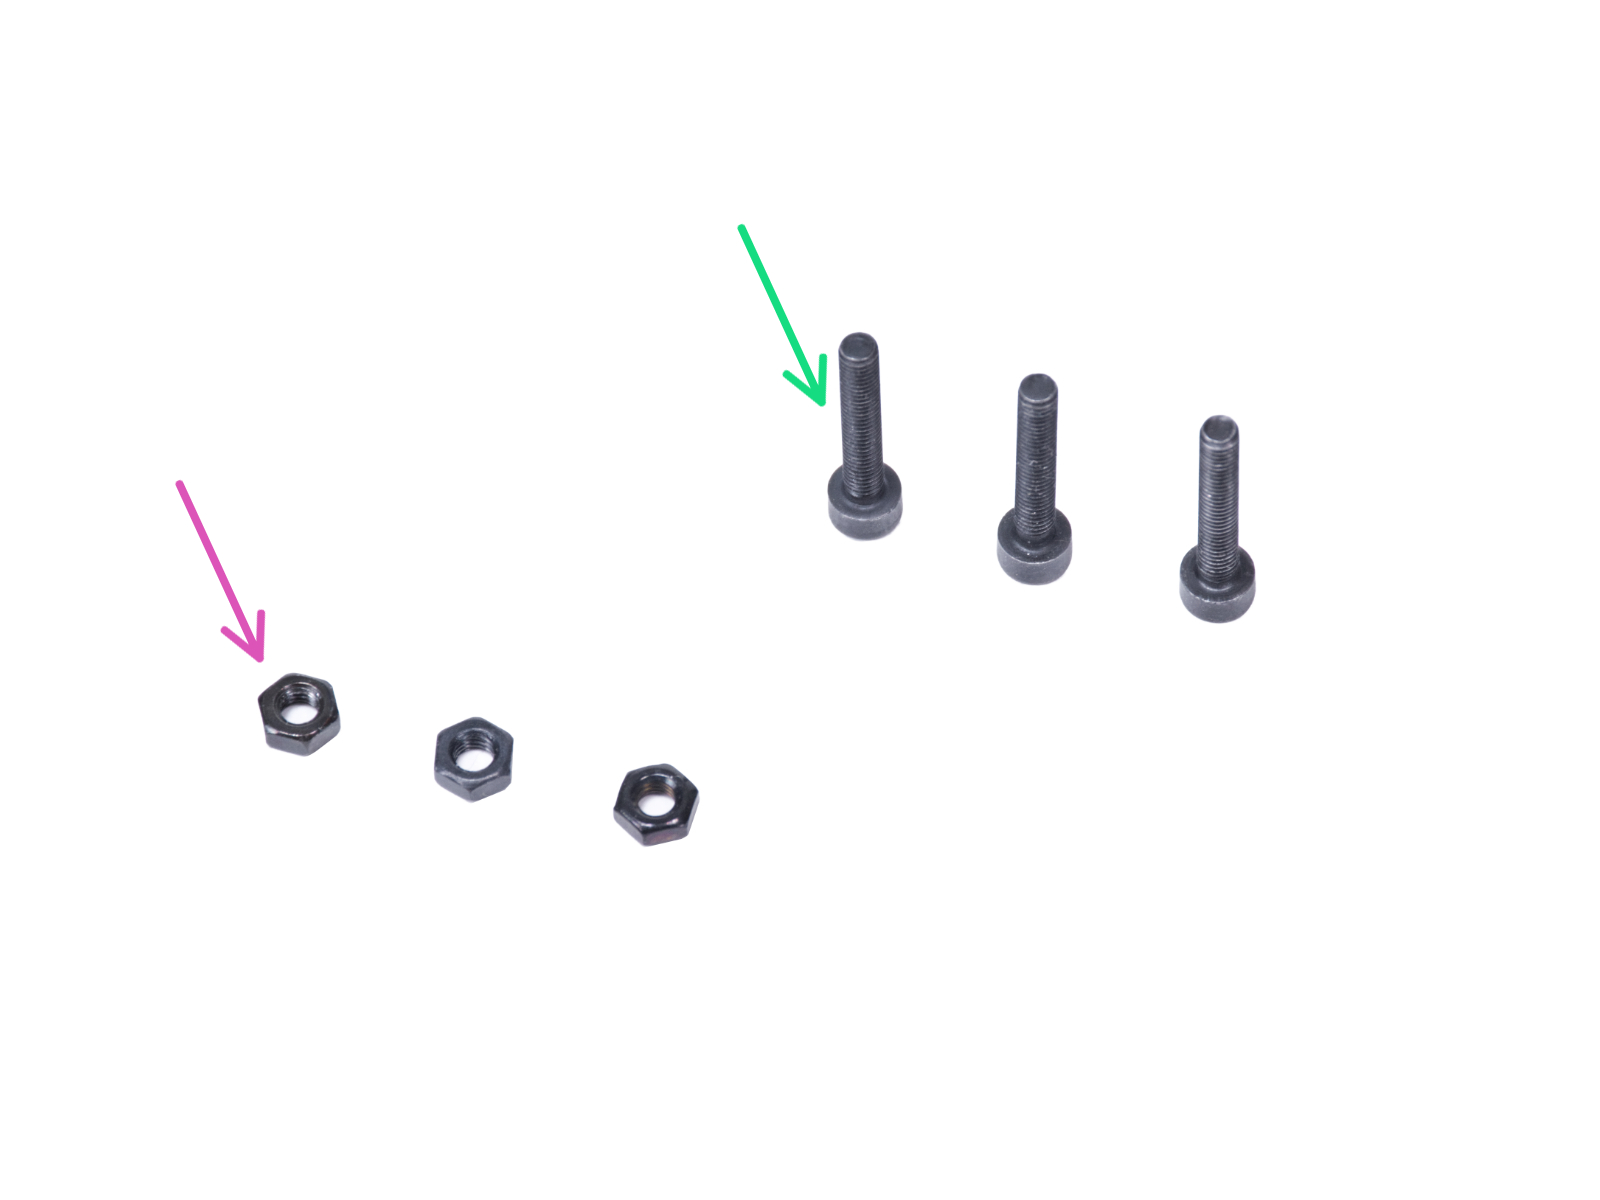
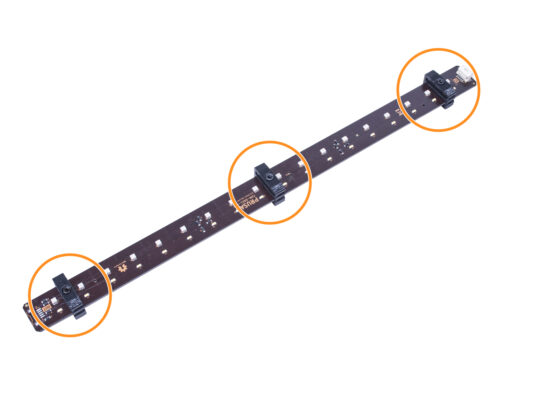
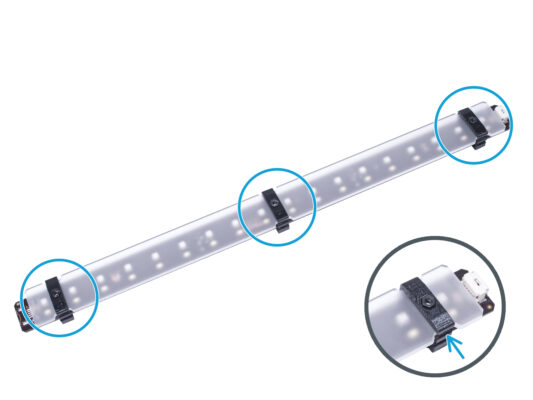
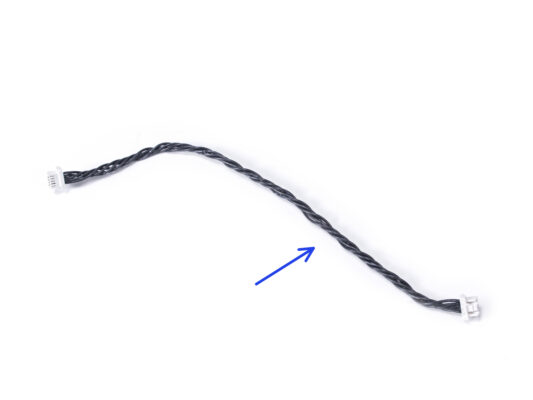
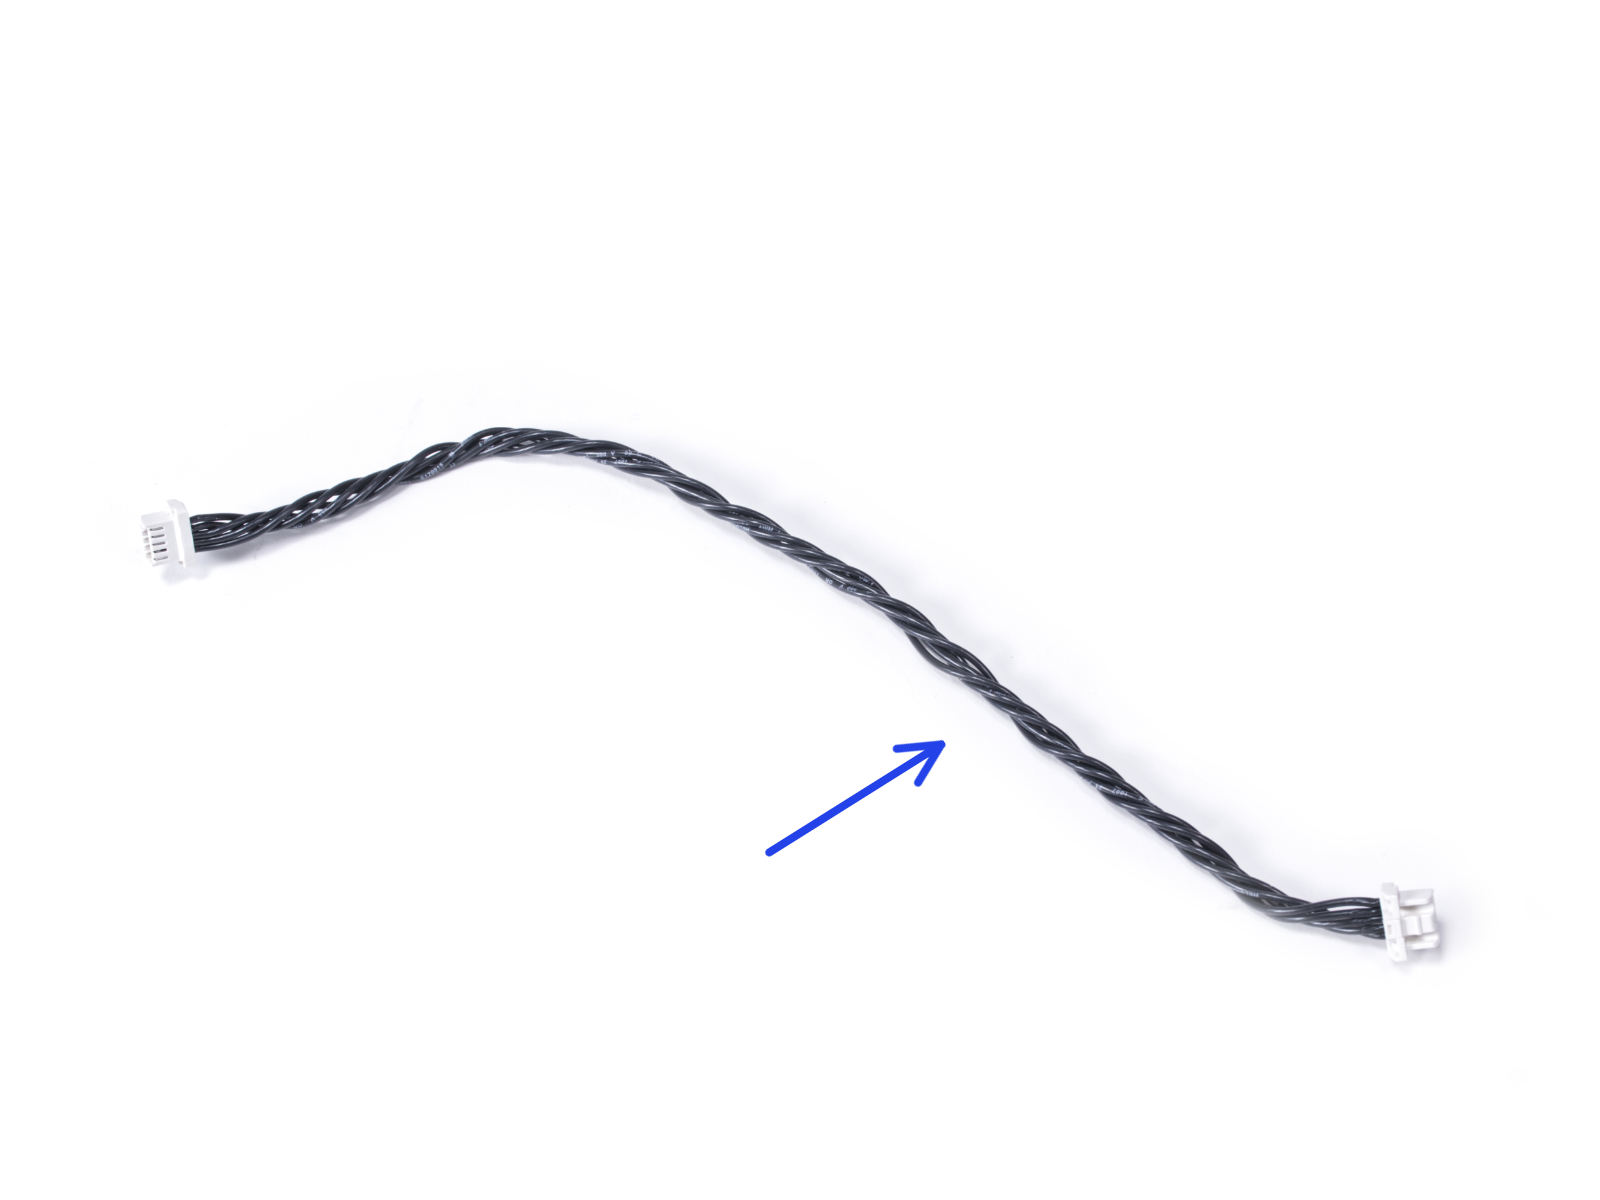
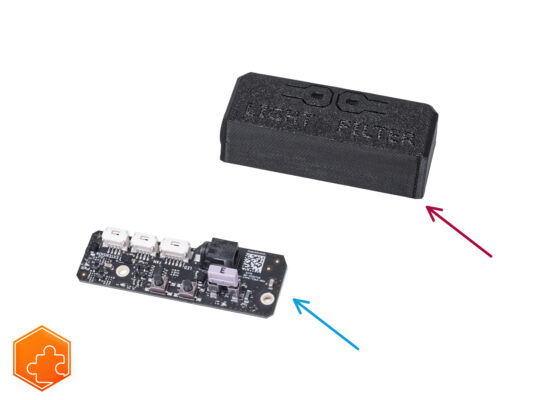
⬢LED Stick Board (1x) VAROVÁNÍ: Ujistěte se, že je elektronika chráněna proti elektrostatickému výboji (ESD). Vždy ji vybalujte až ve chvíli, kdy je potřeba pro montáž!
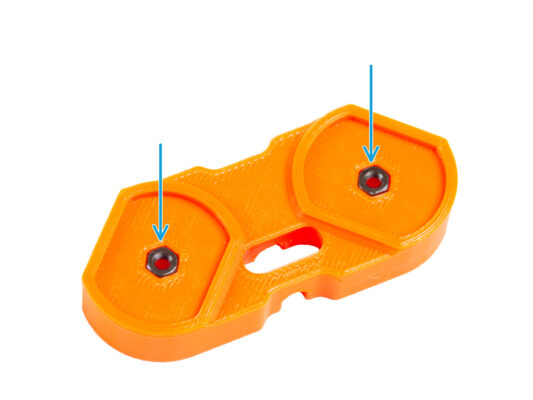
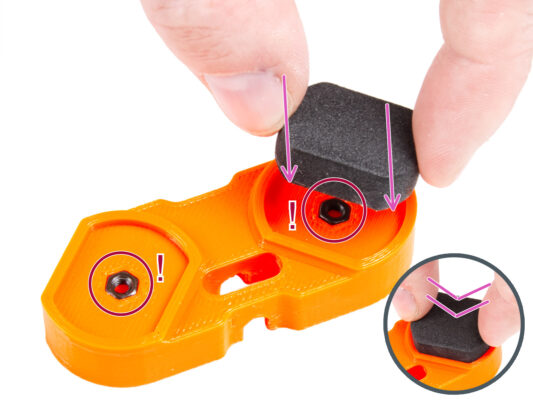
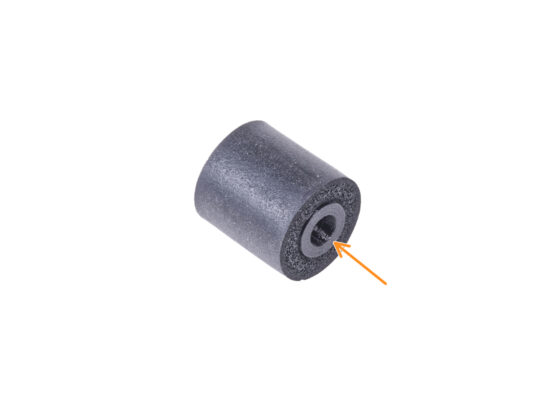
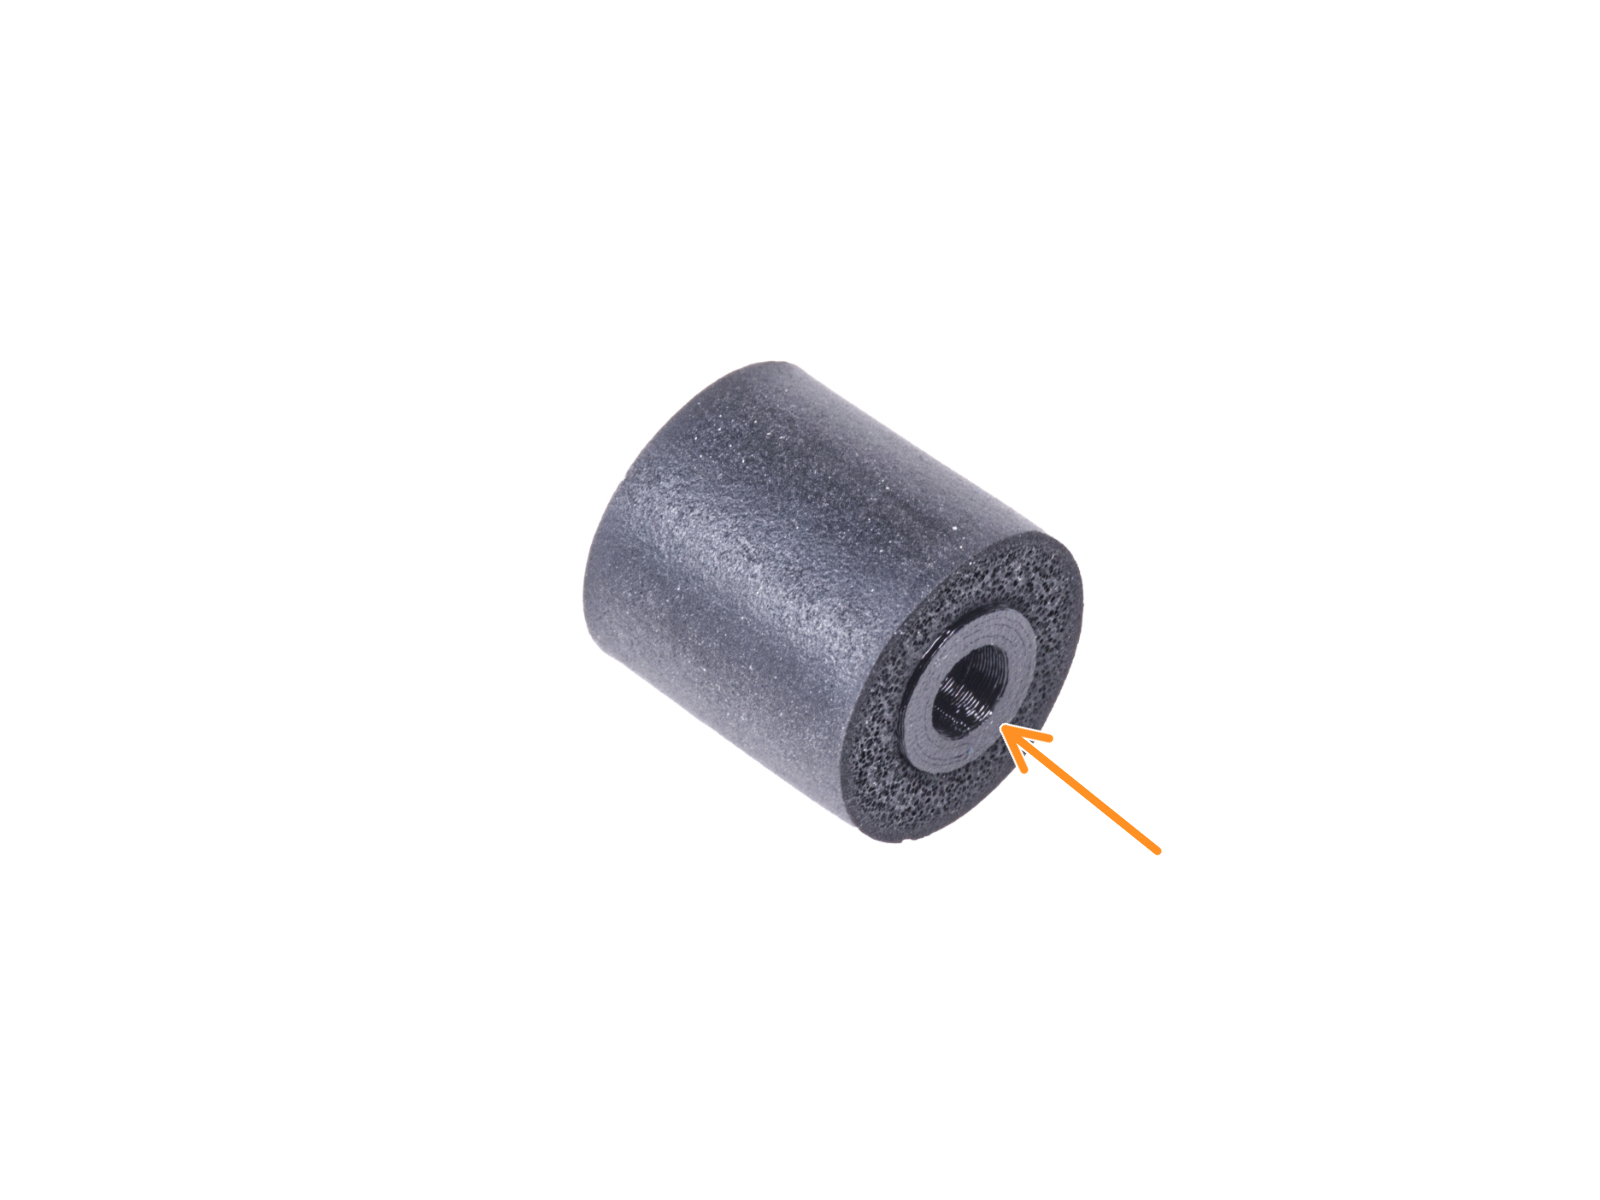
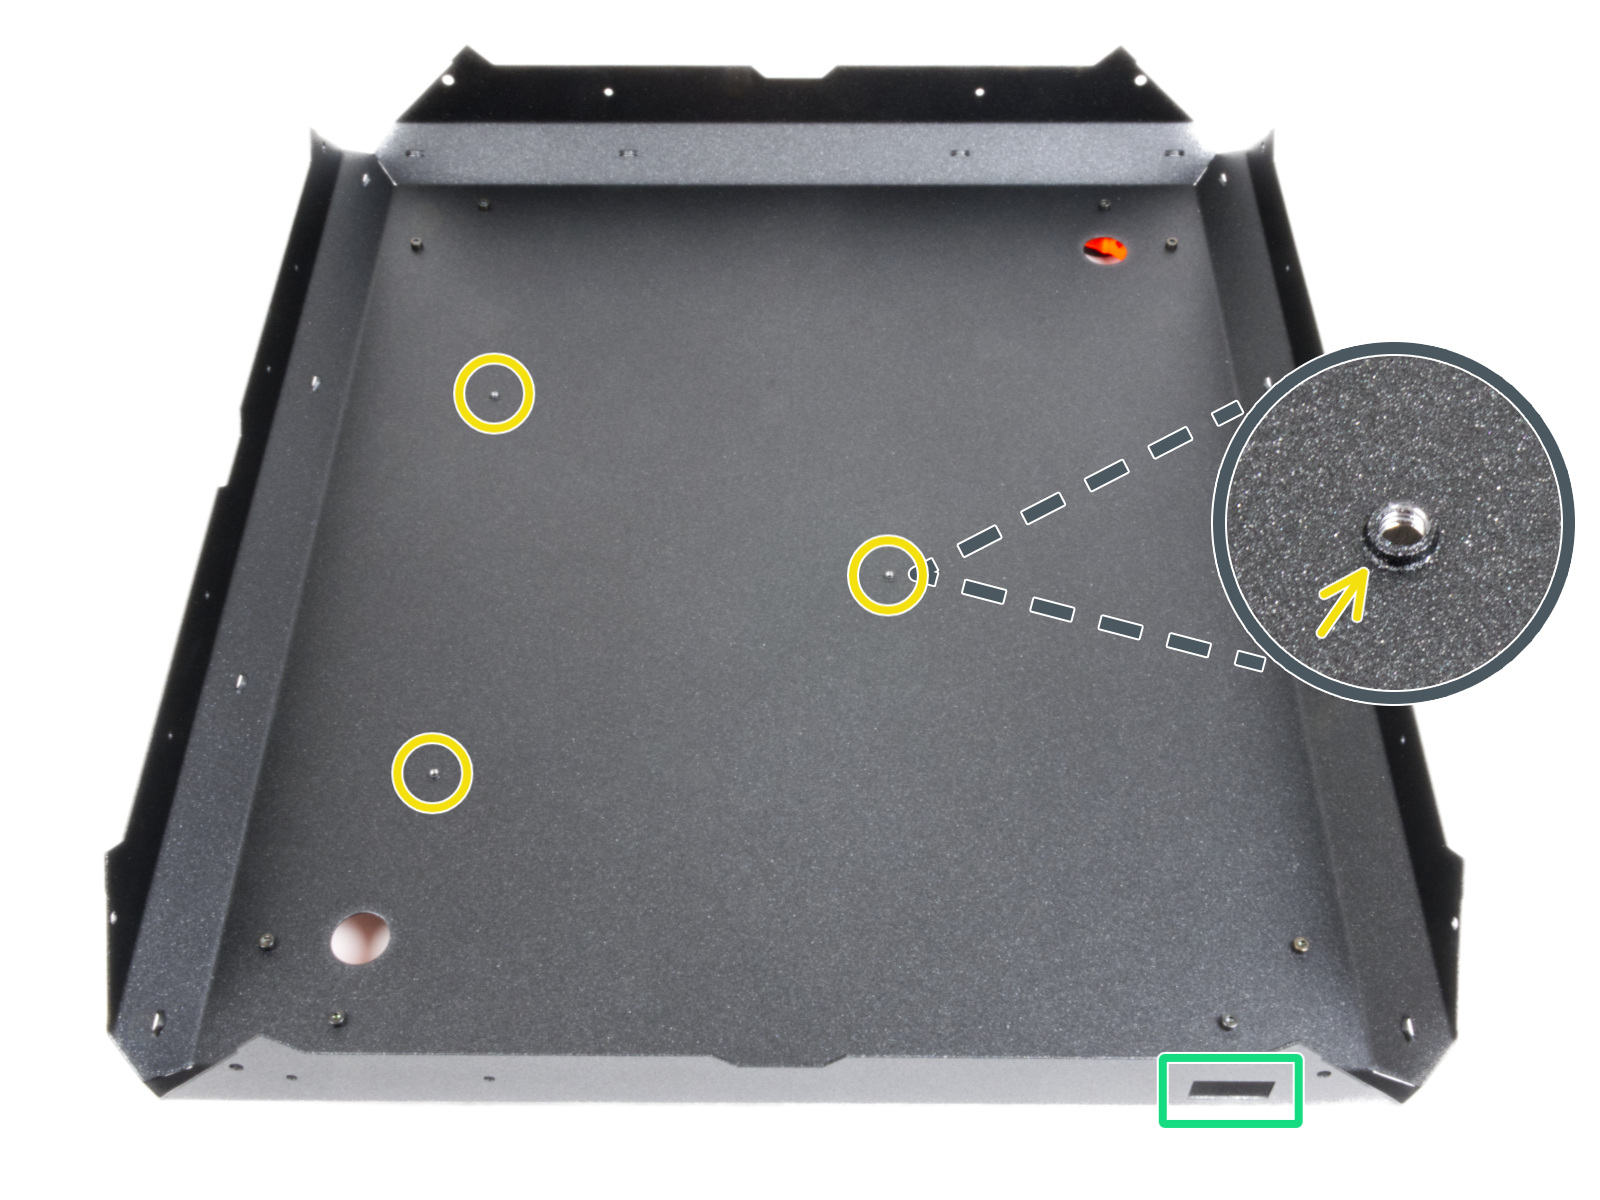
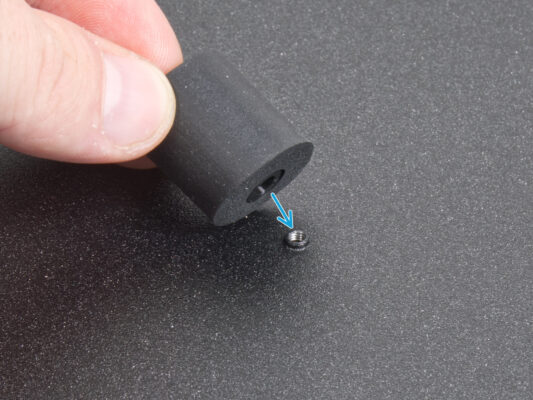
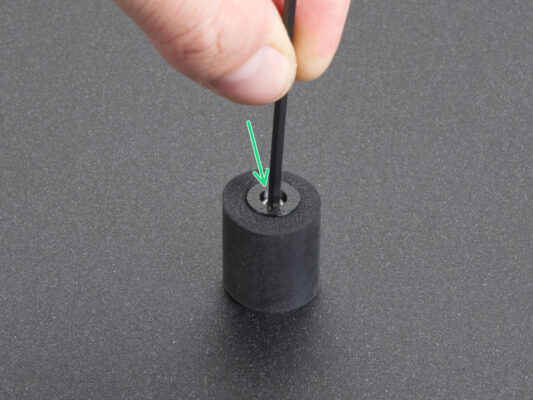
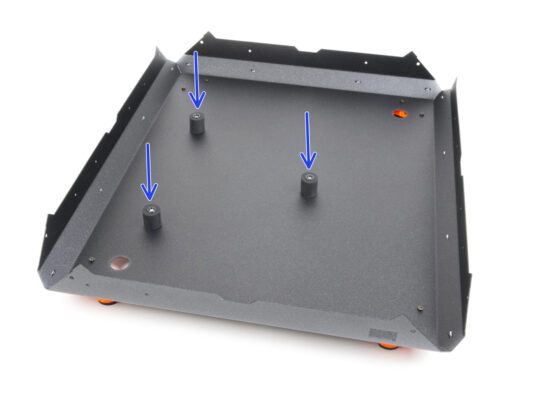
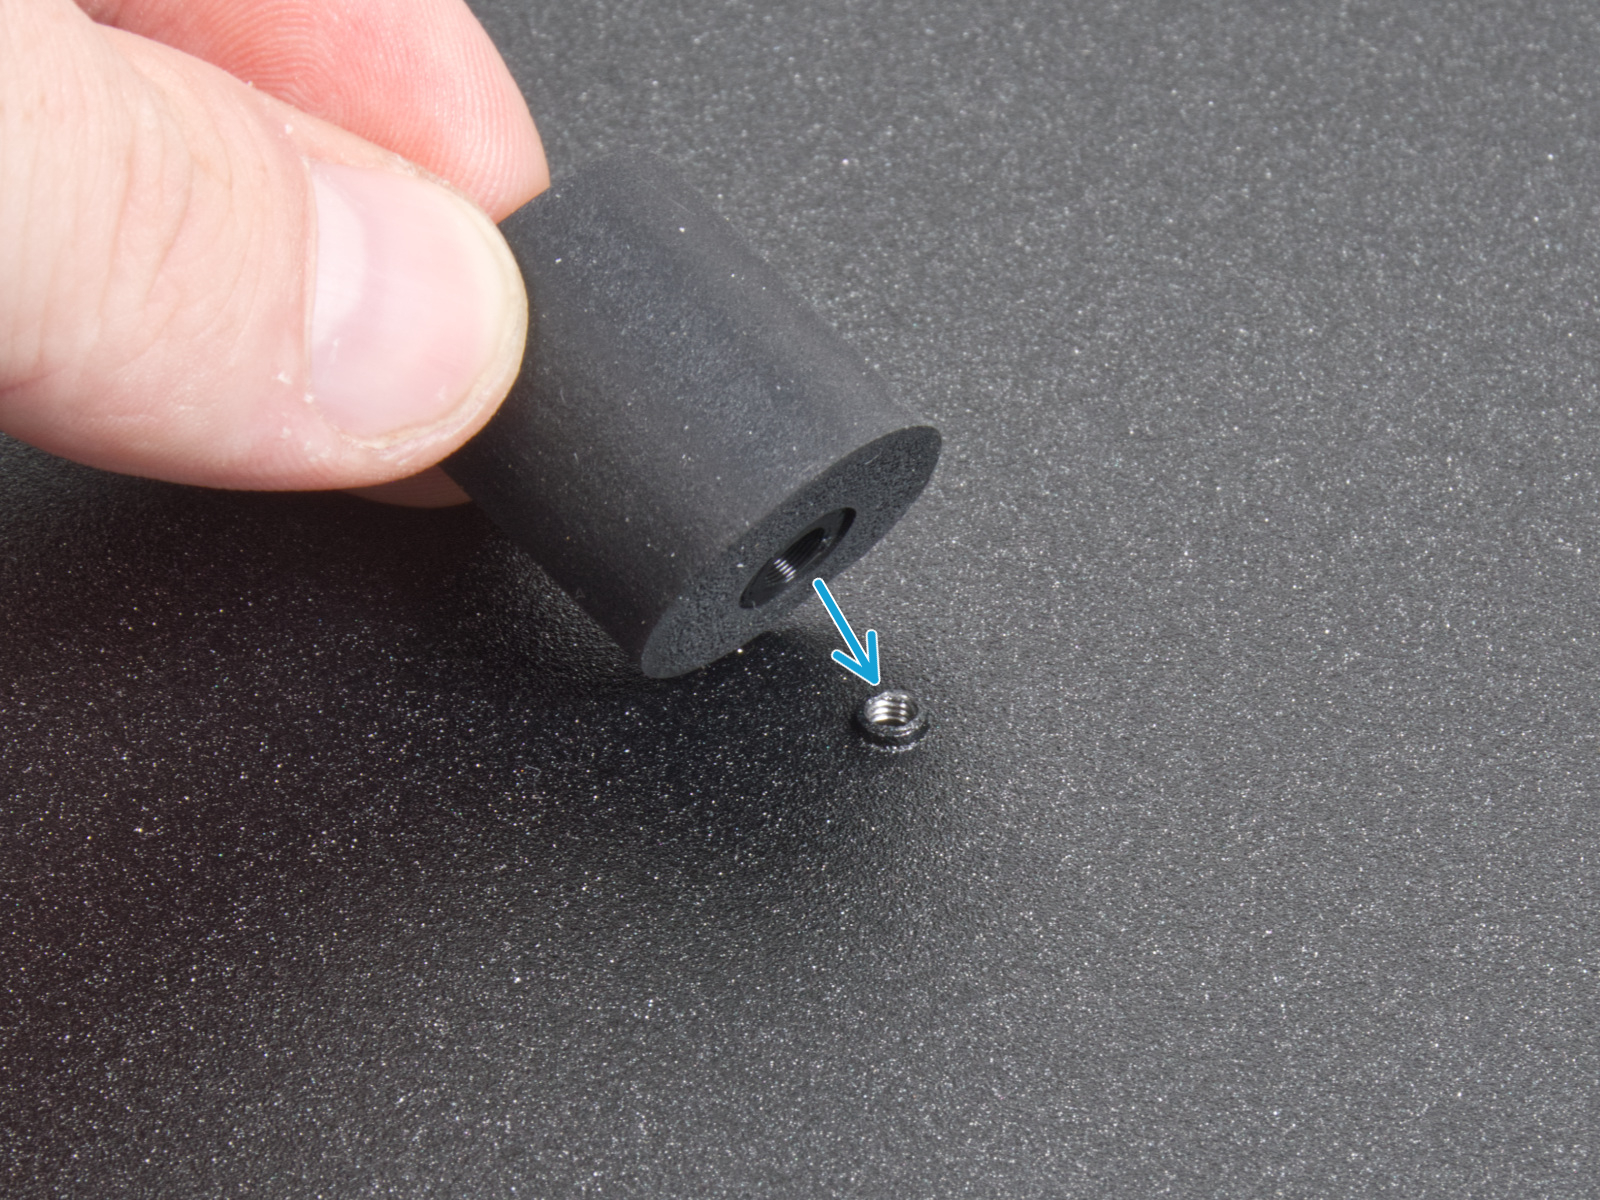
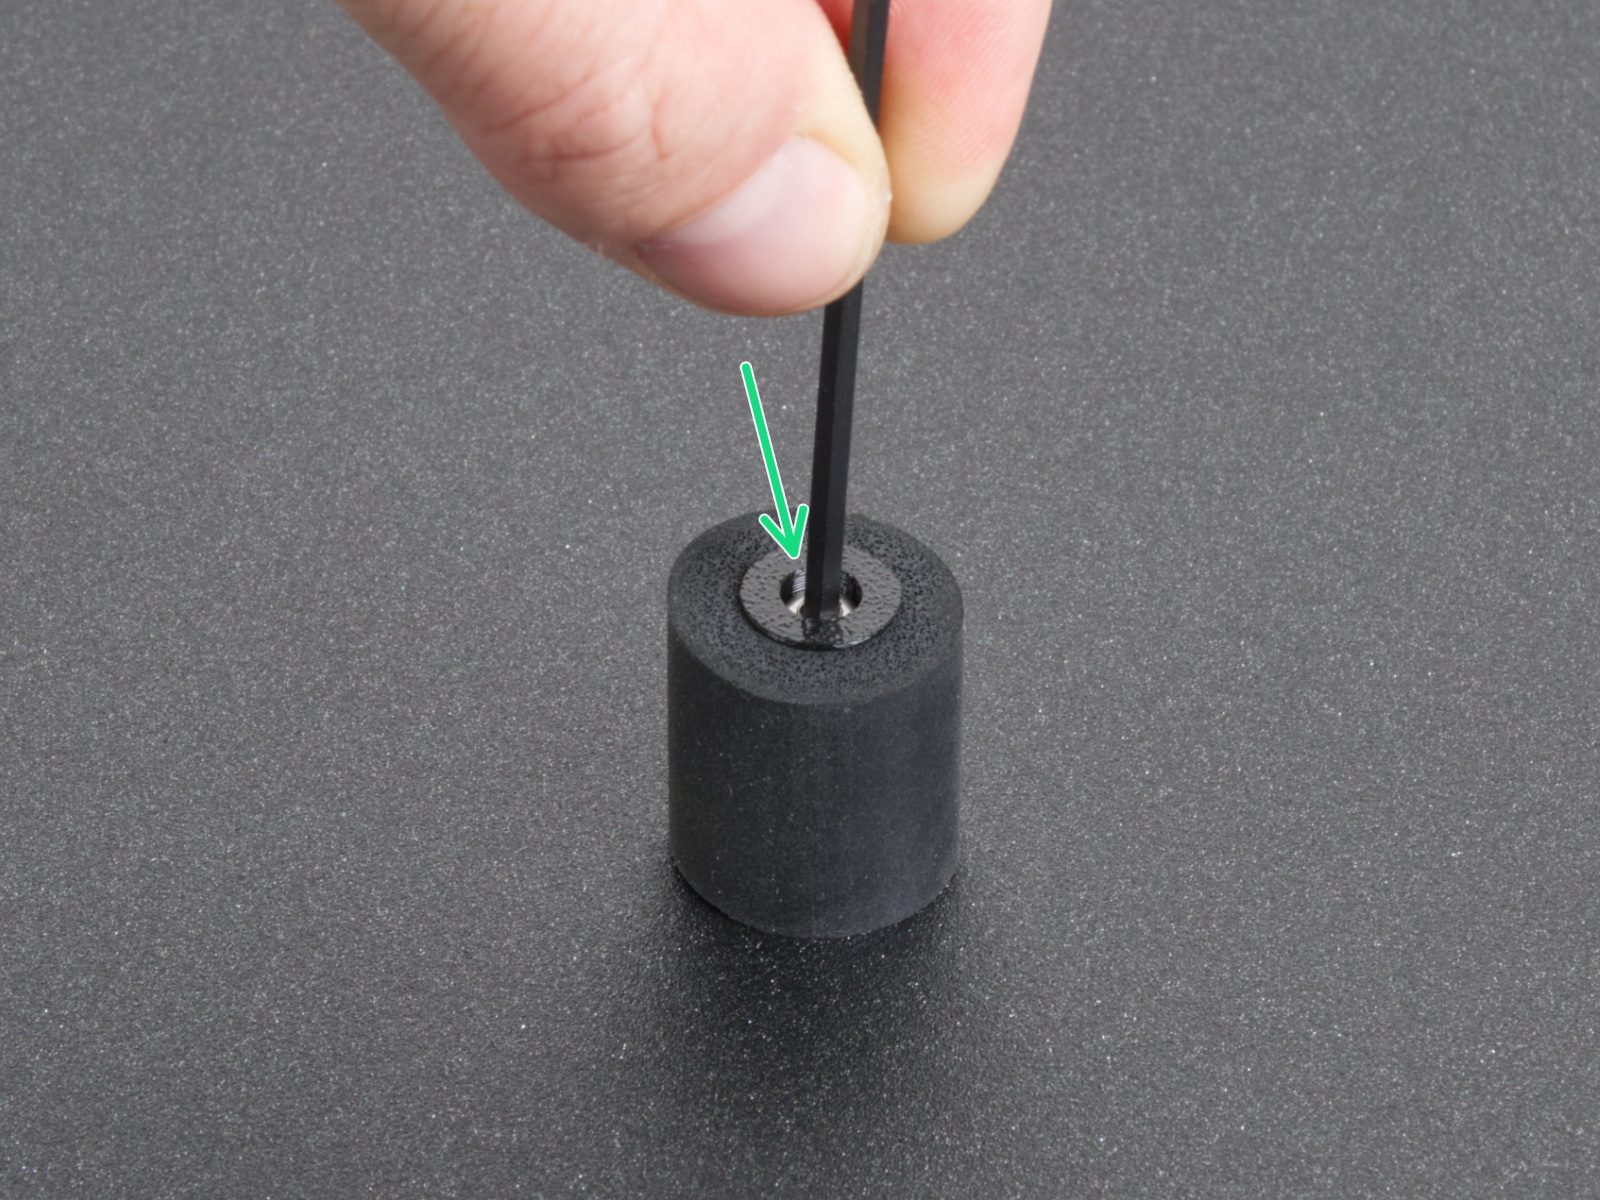
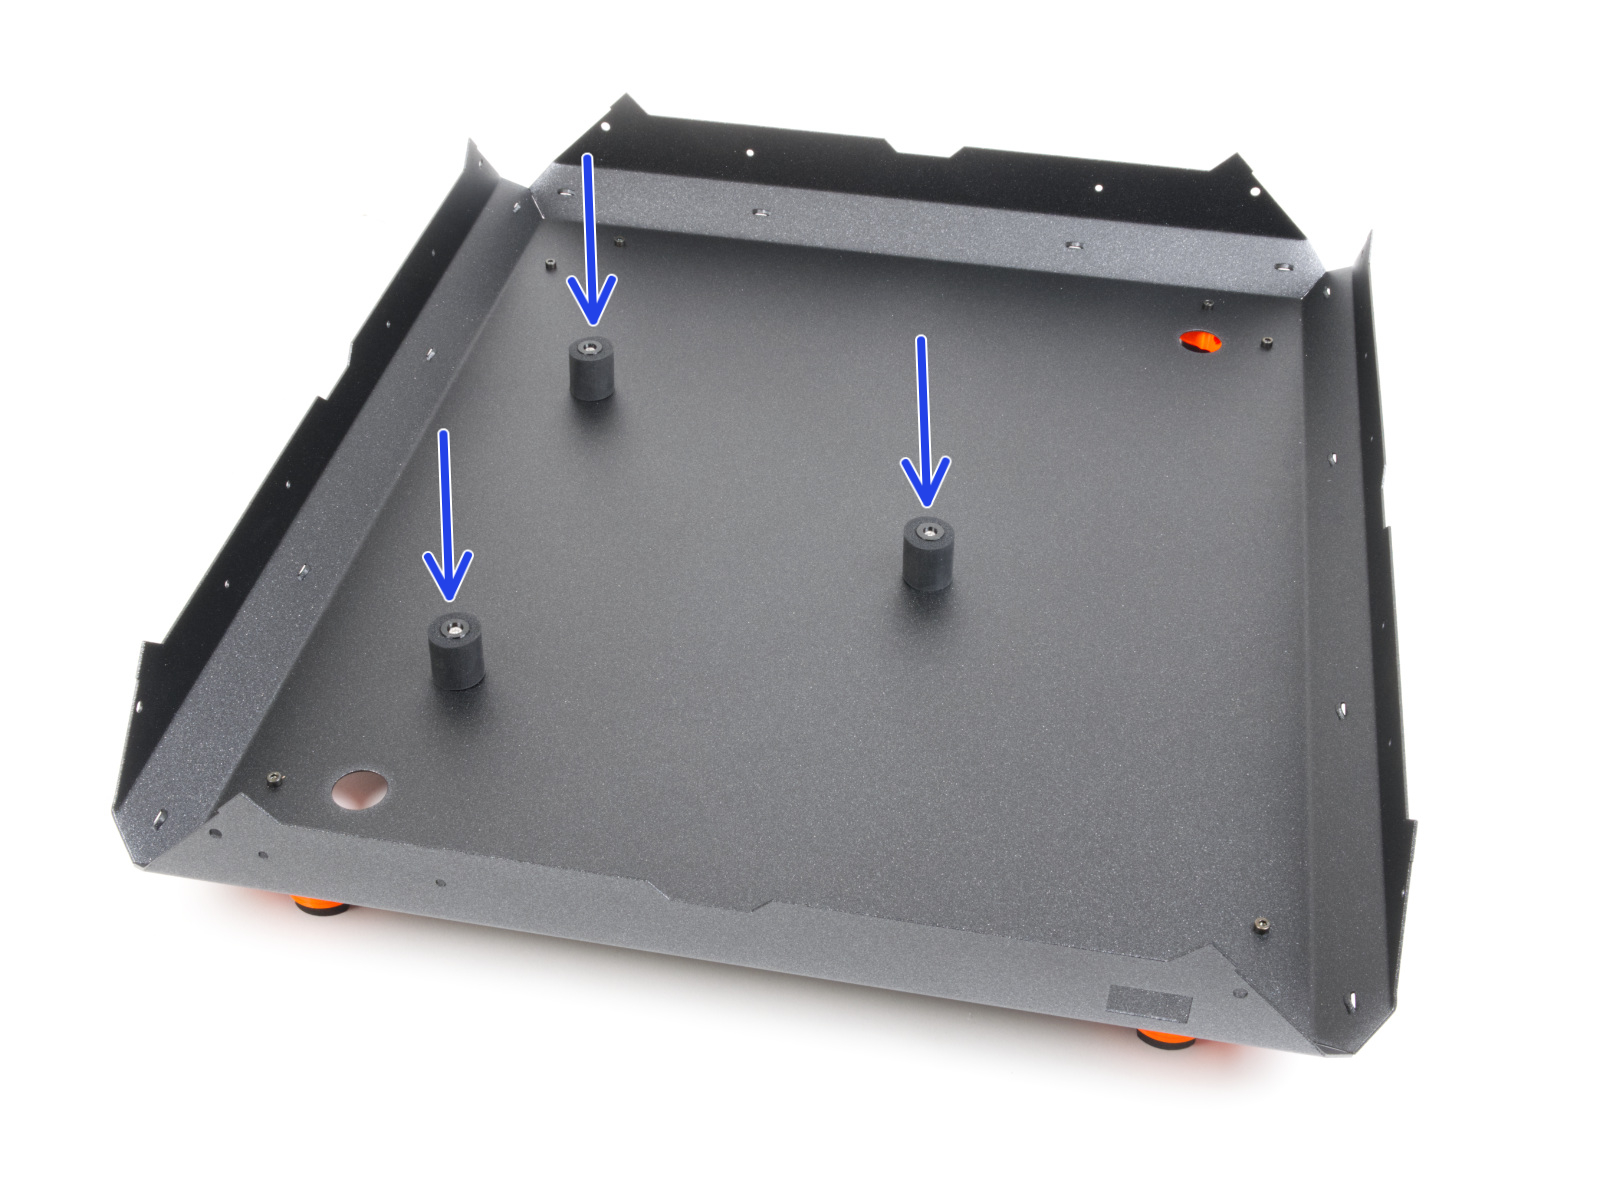
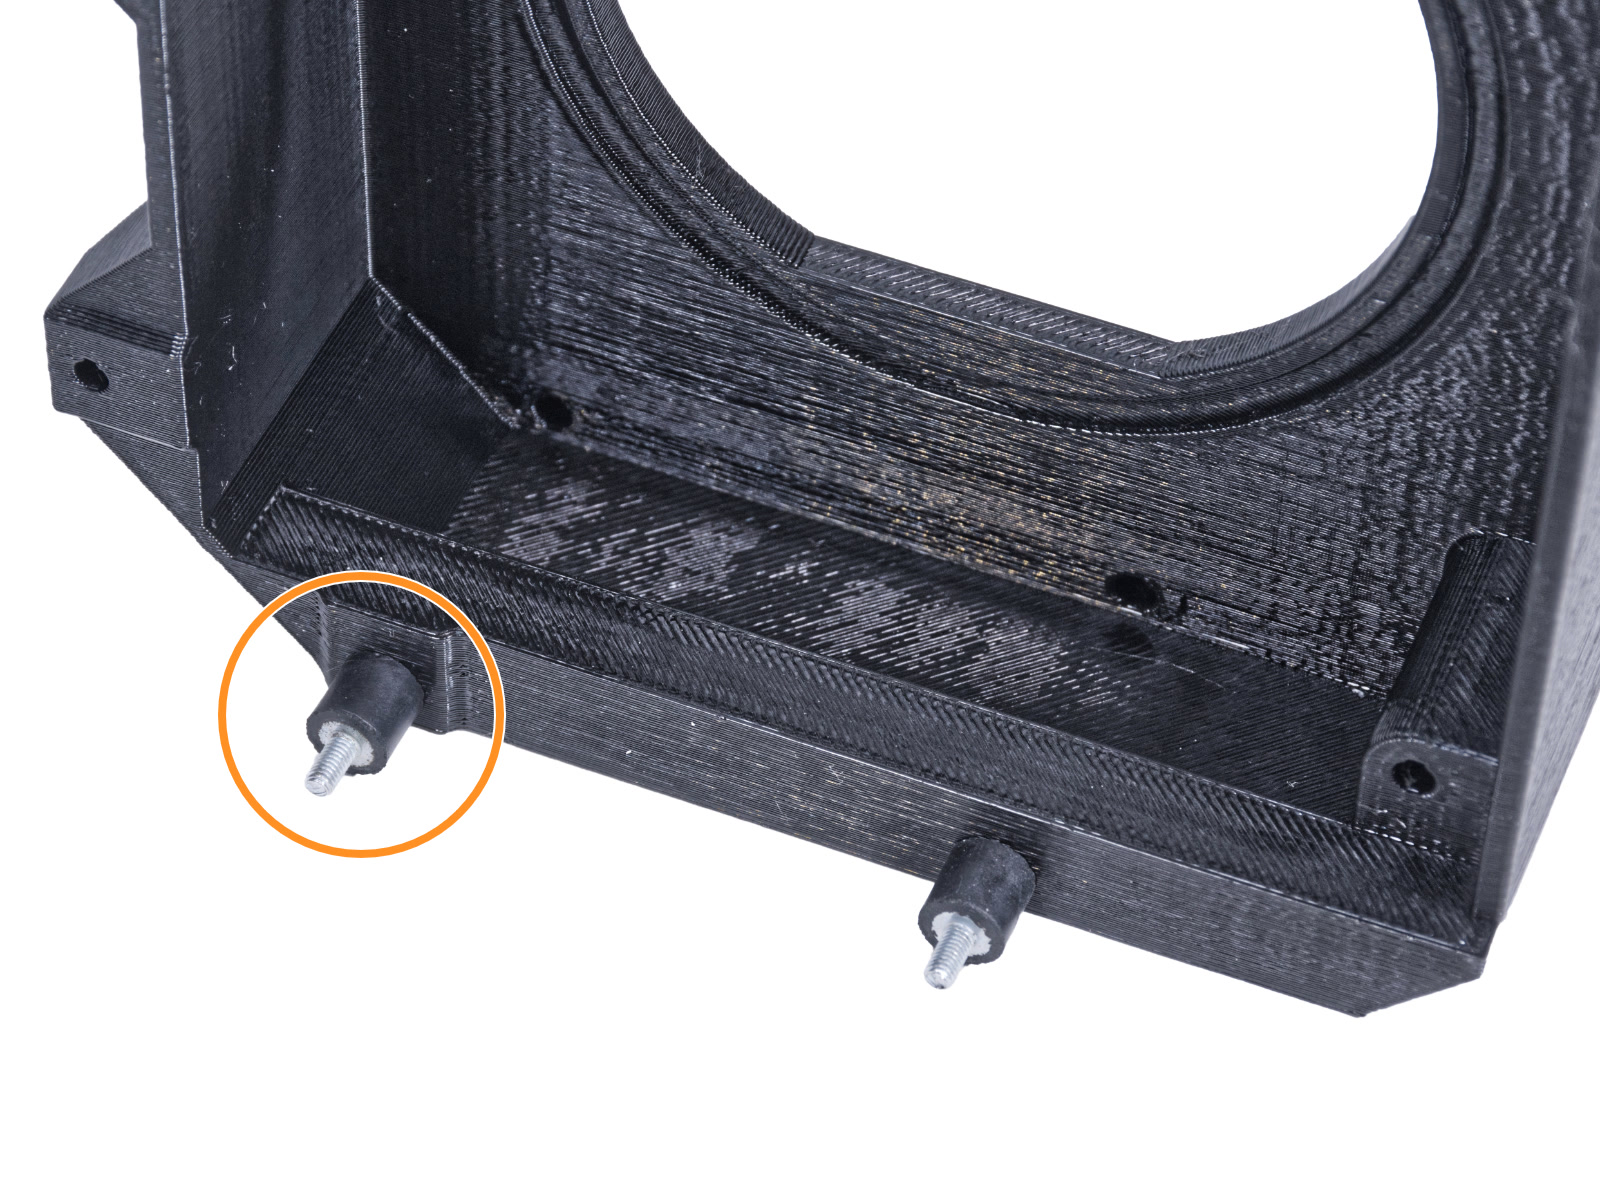
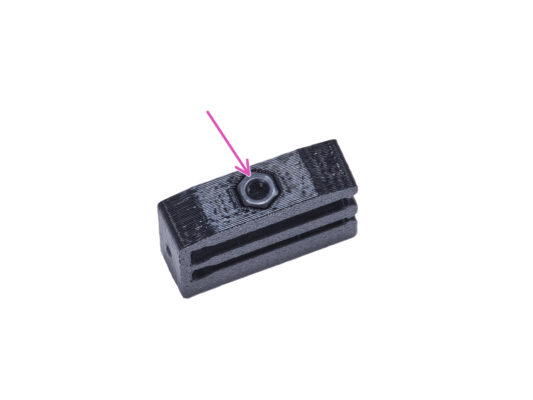
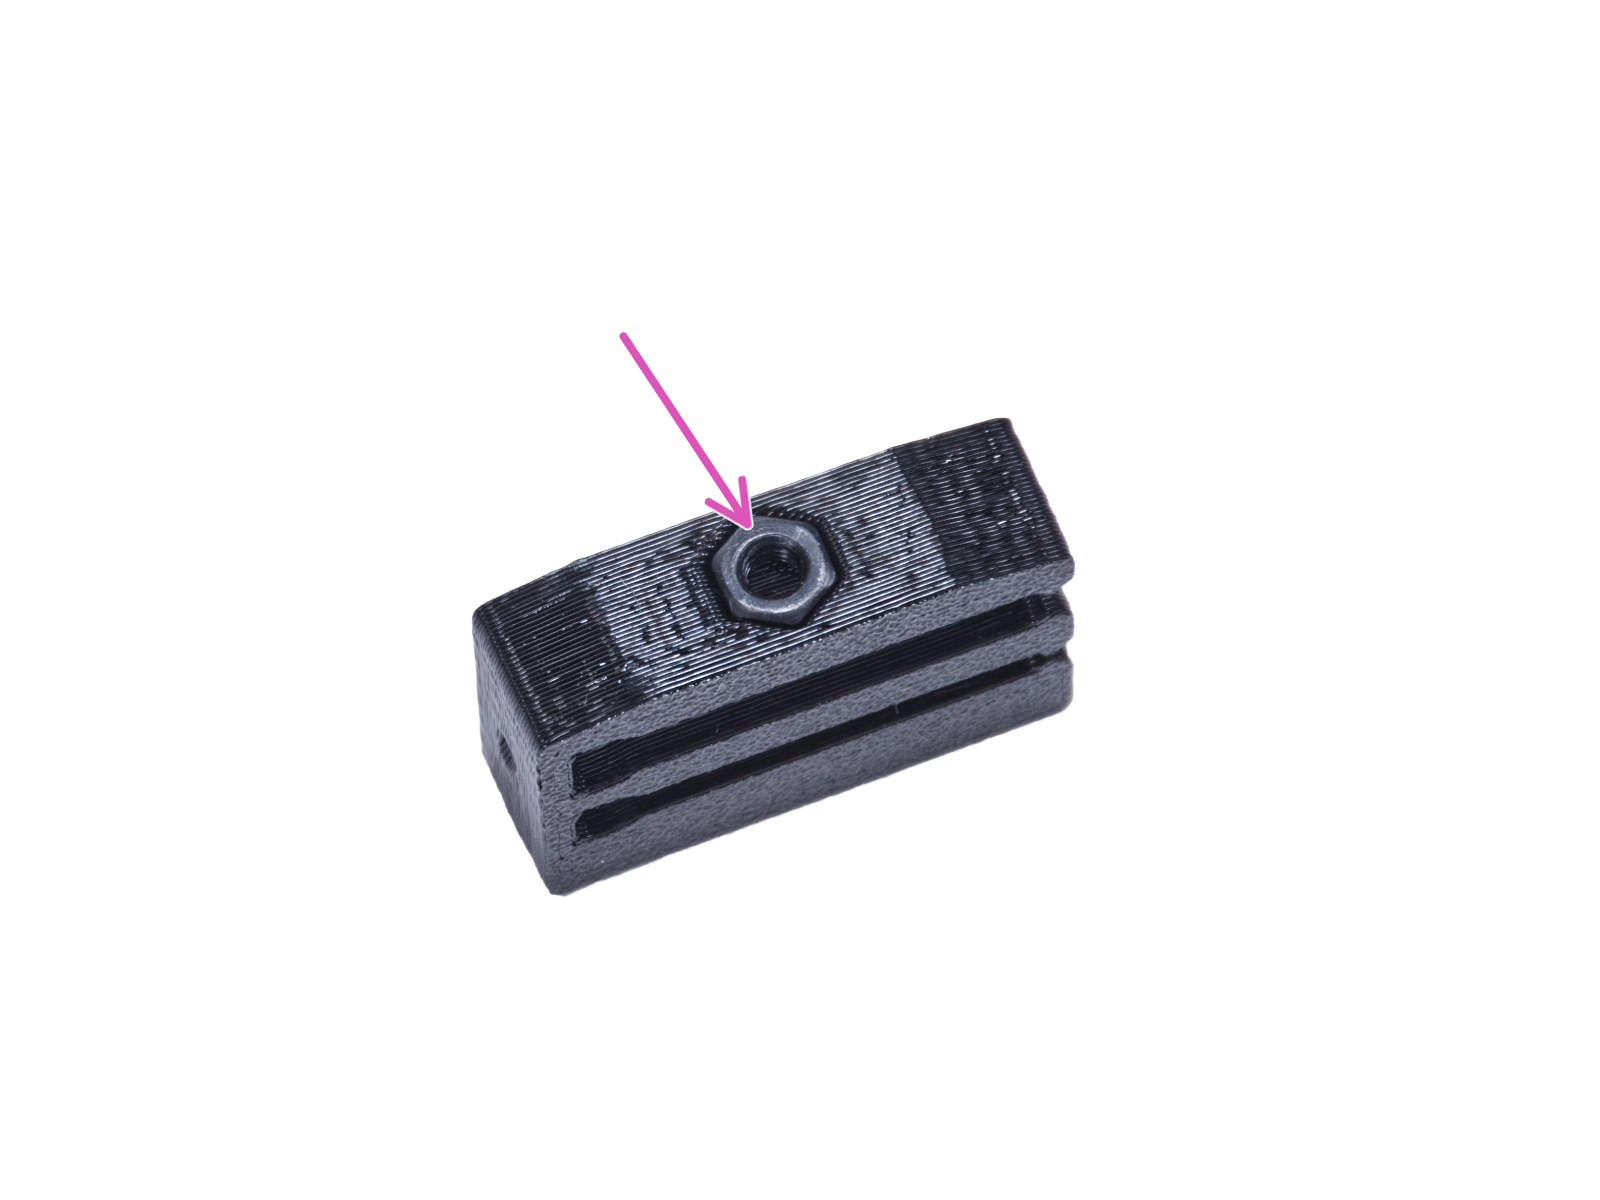
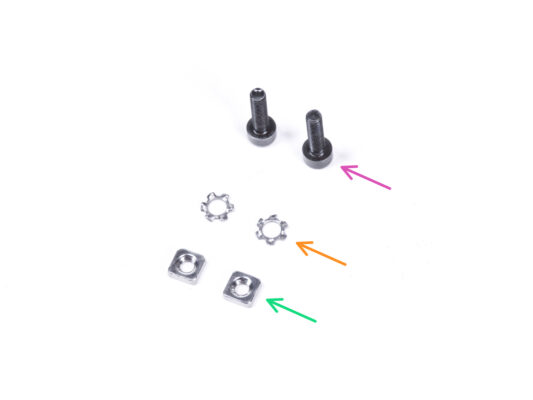
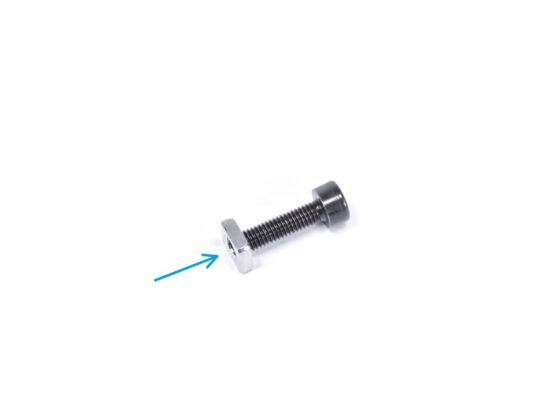
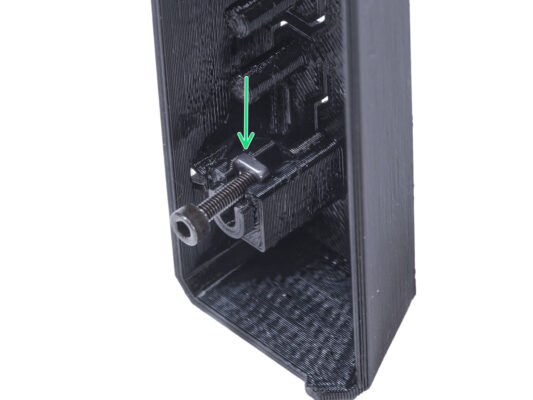
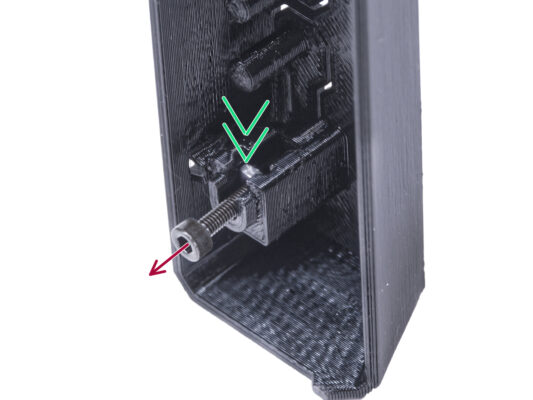
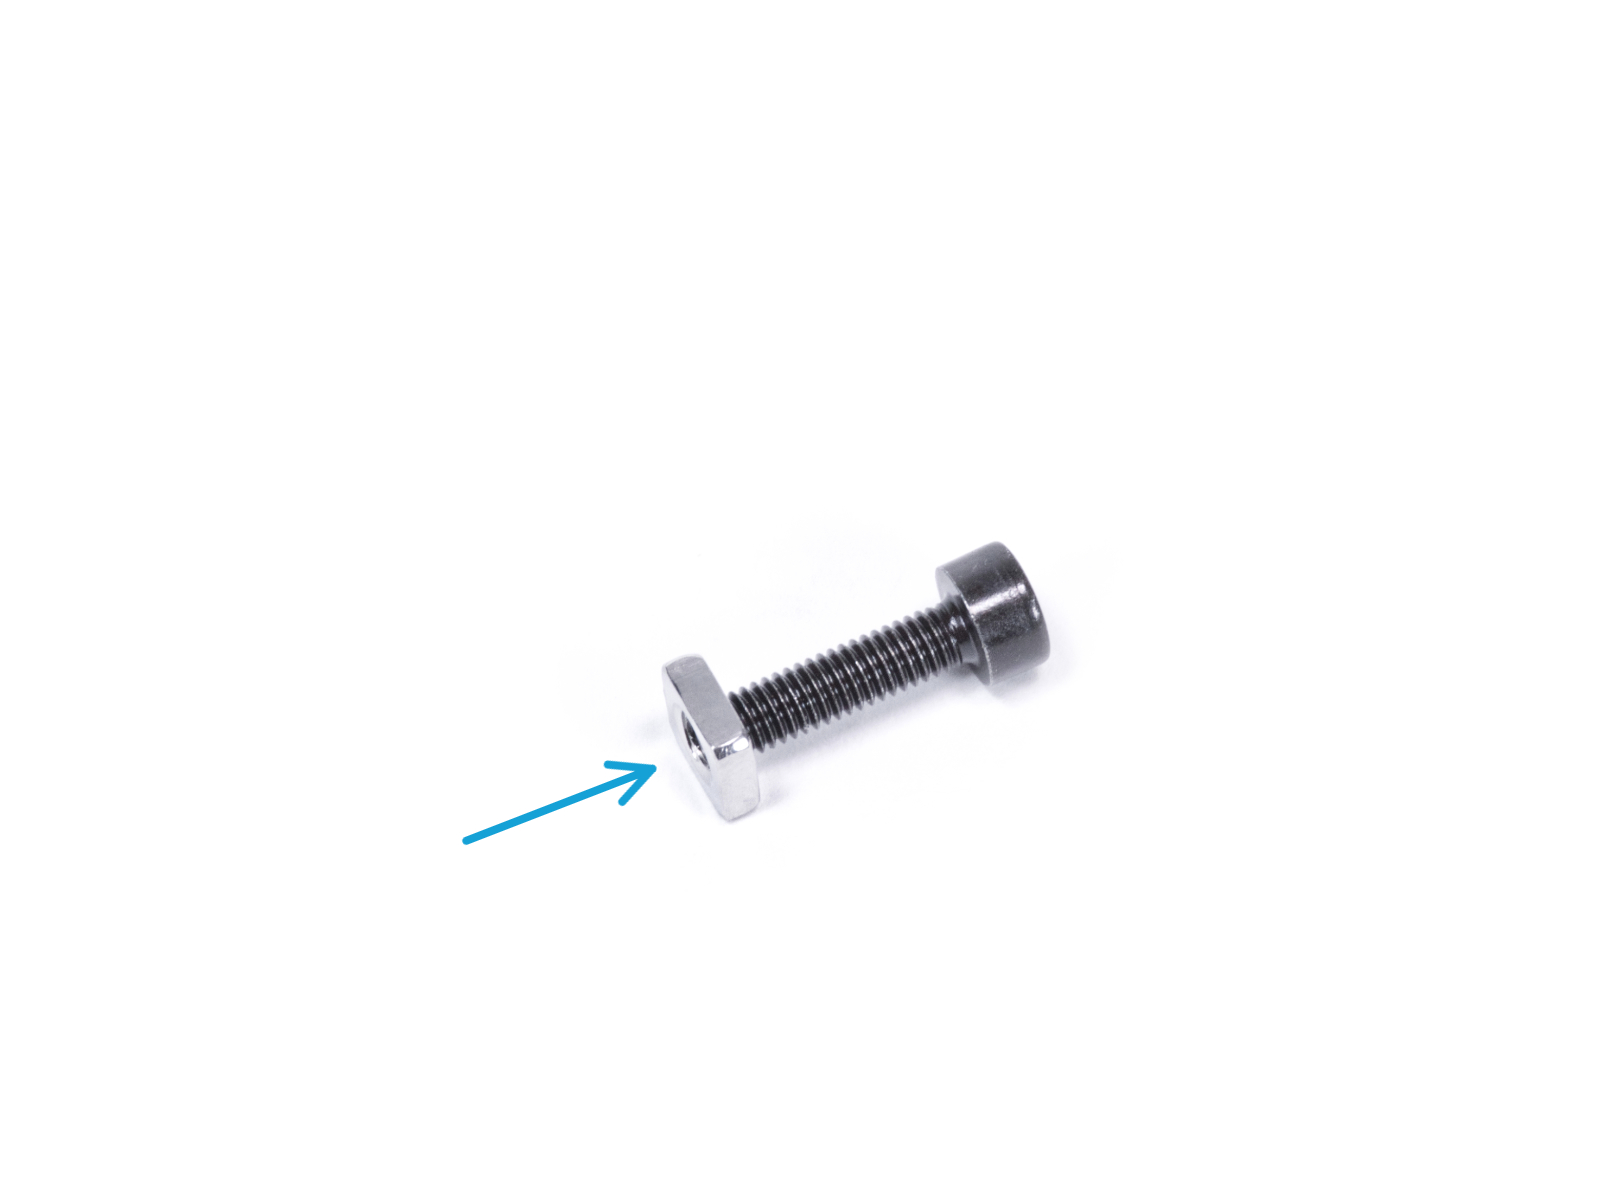
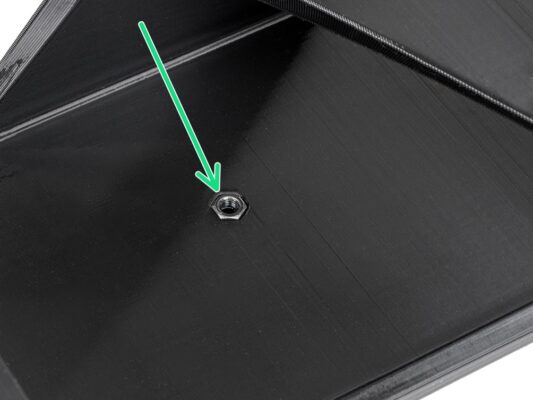
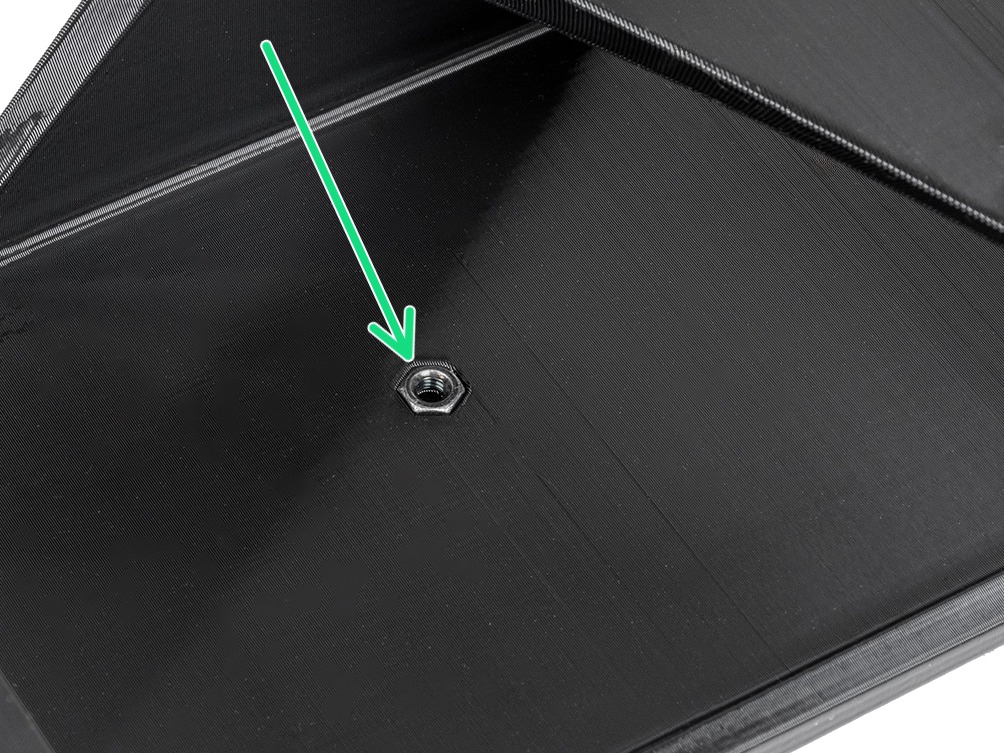
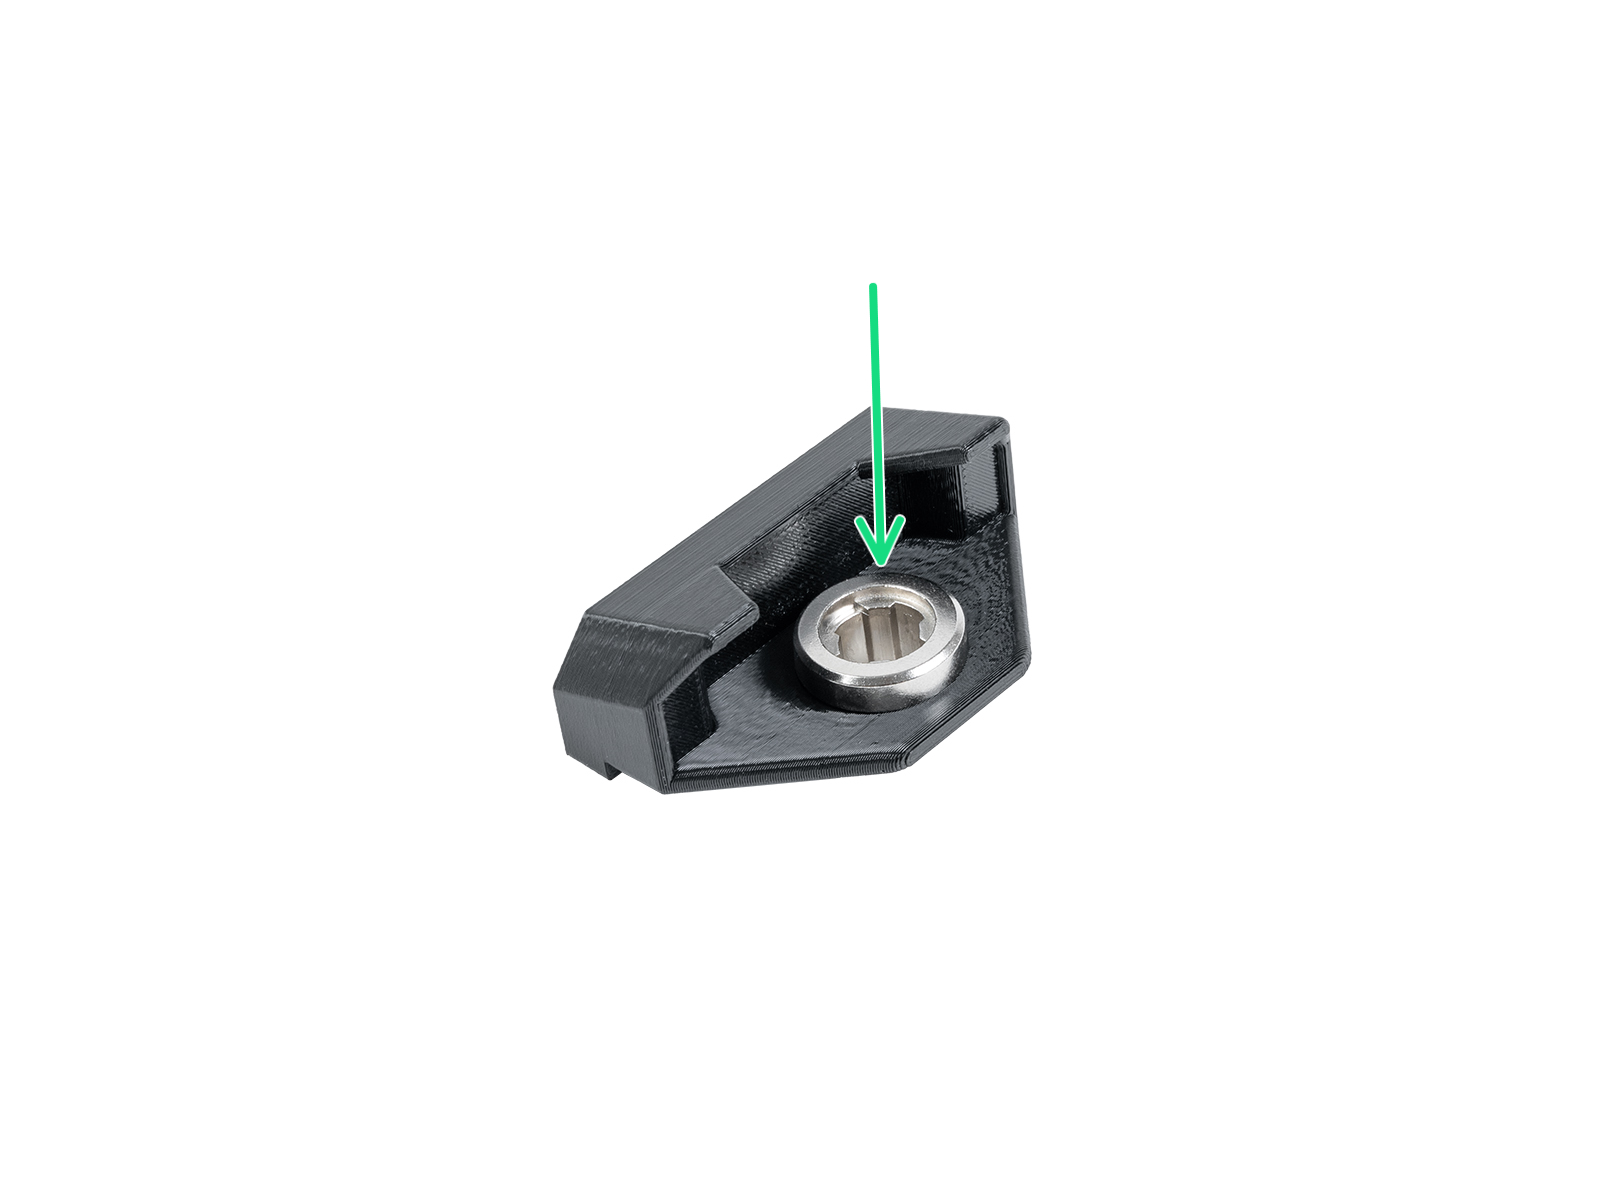
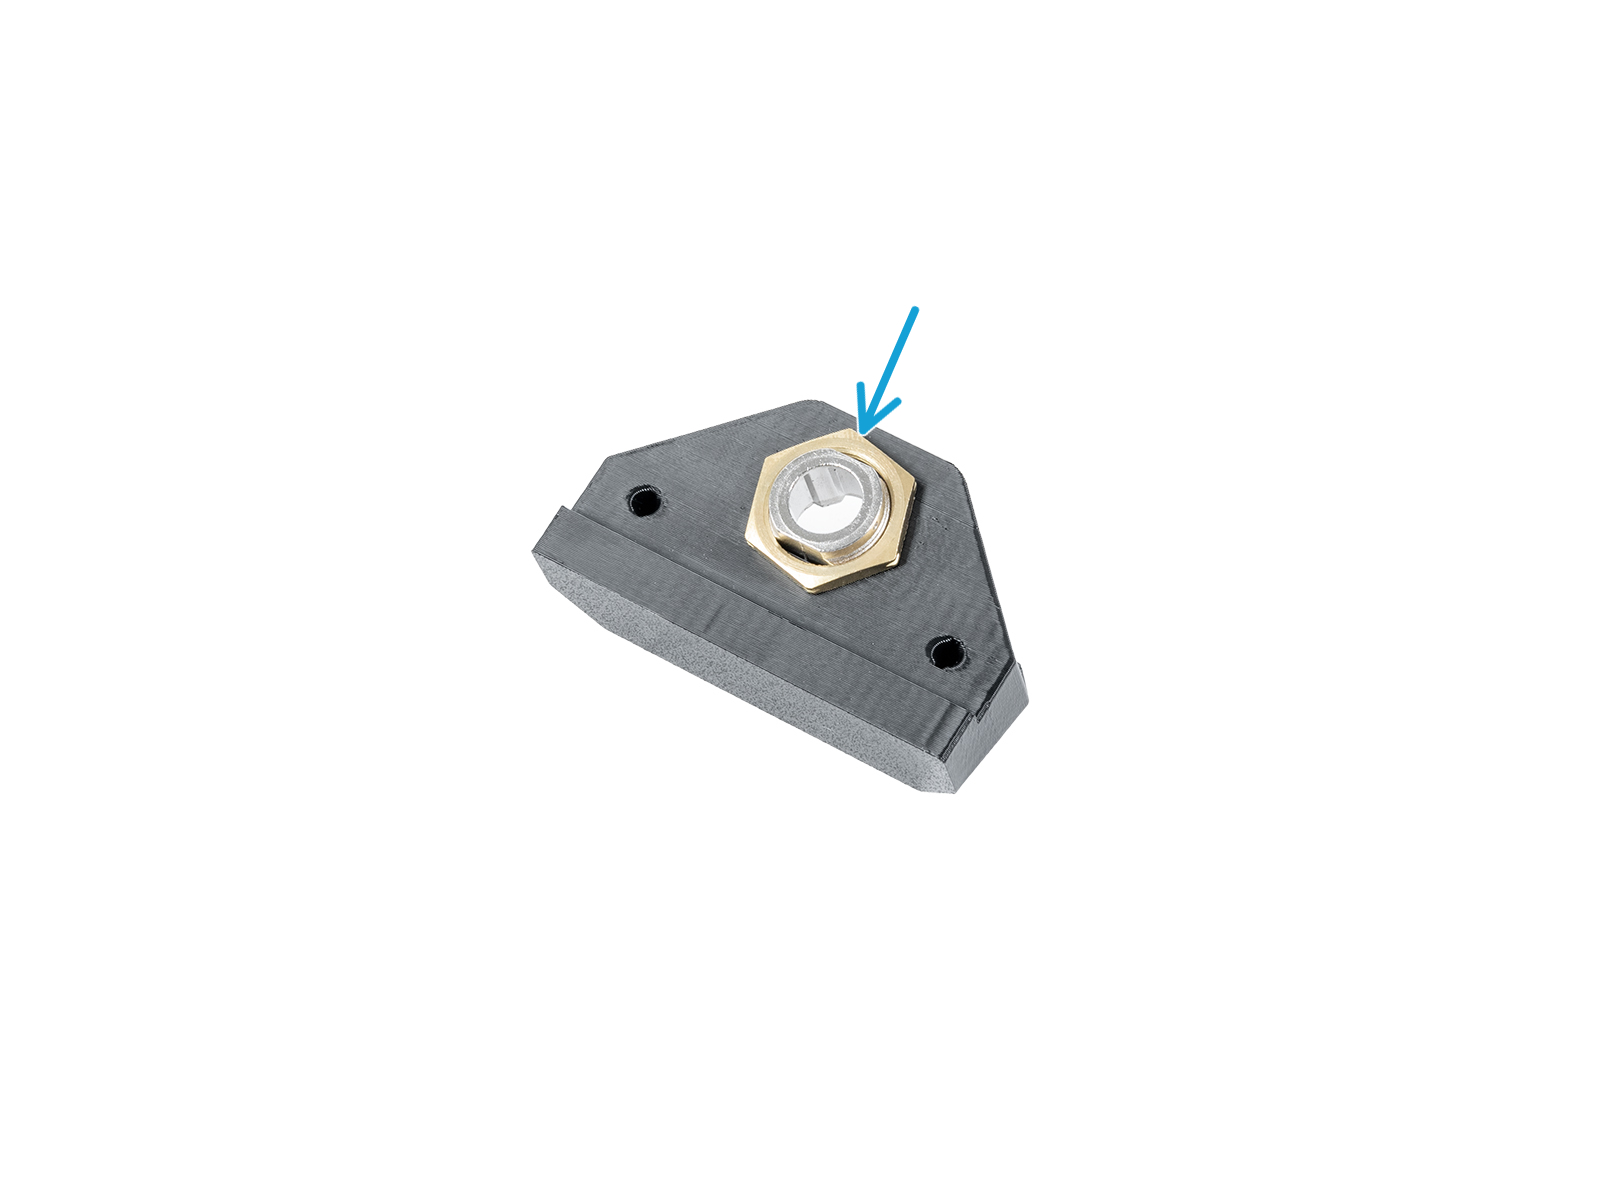
Matice musí být zcela zapuštěna do tištěného dílu a musí být v jedné rovině s povrchem dílu. Nedostatečné zapuštění matice může způsobit problémy při montáži do skříně.
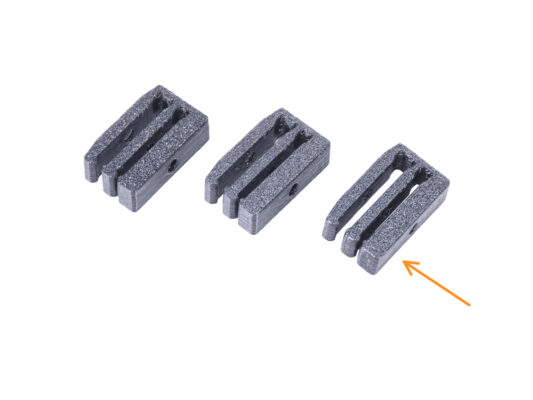
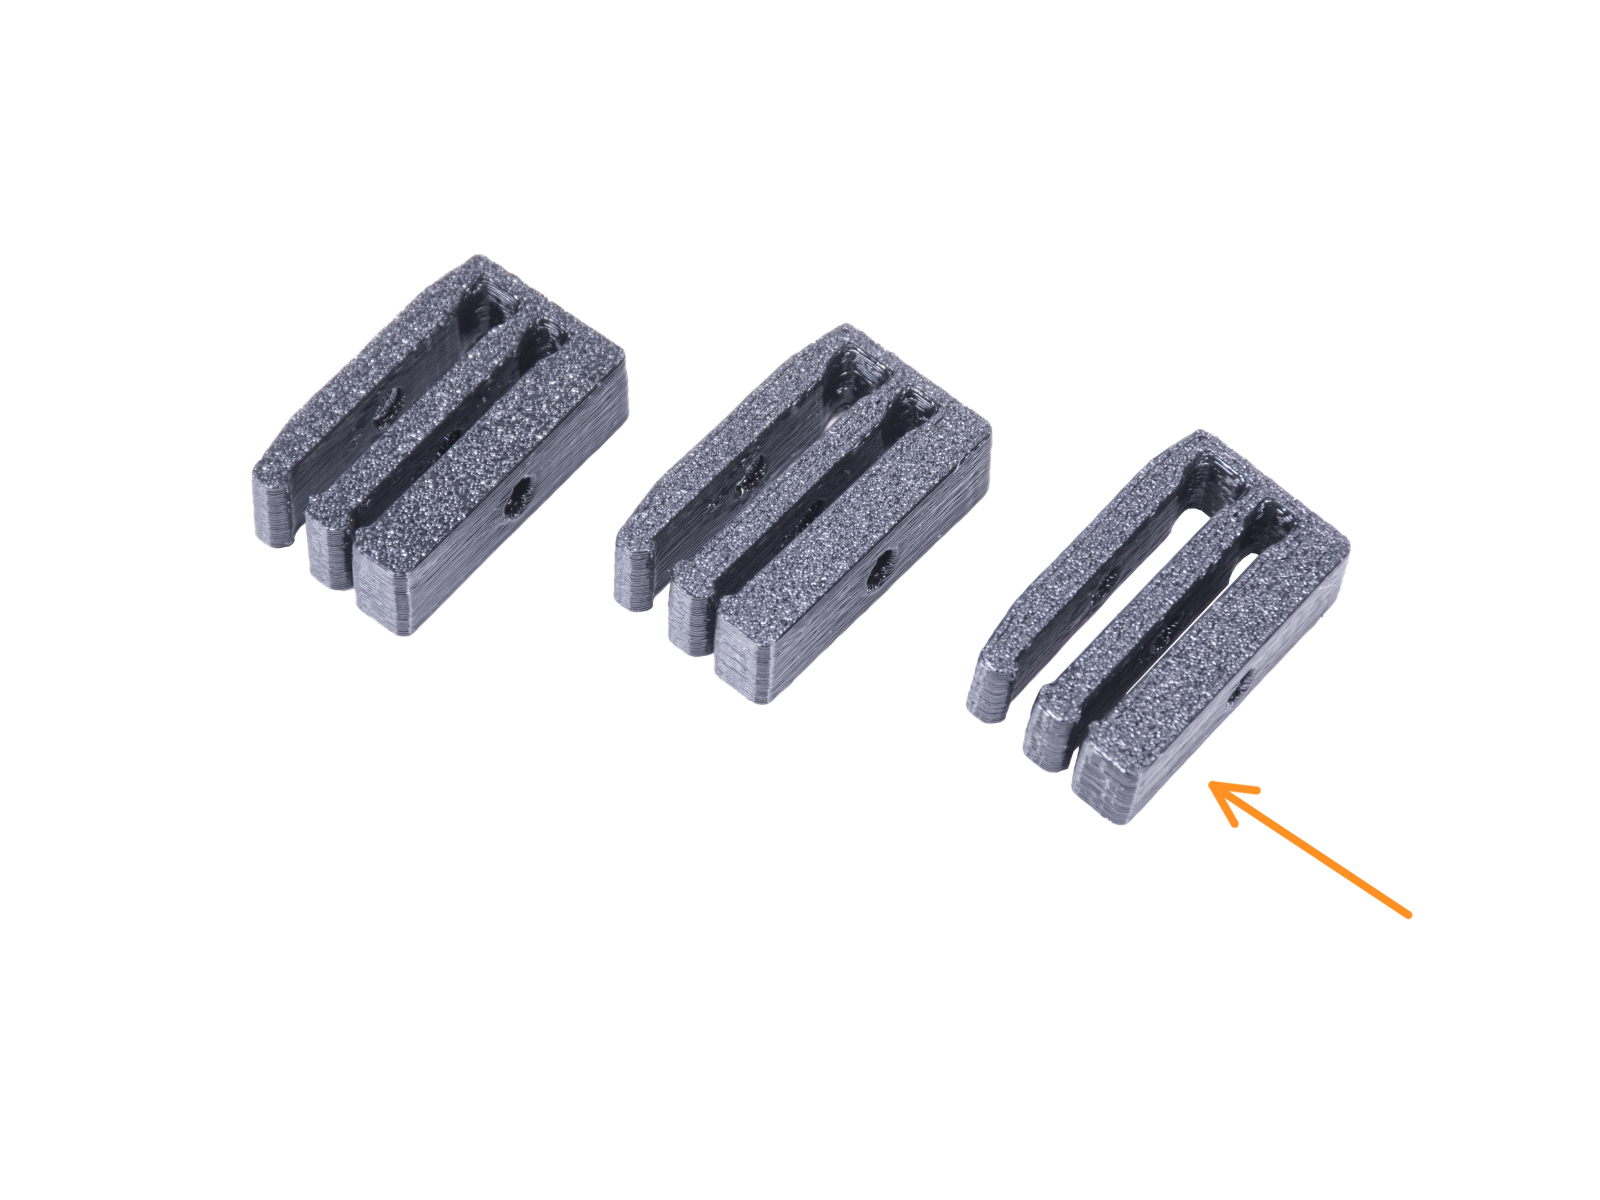
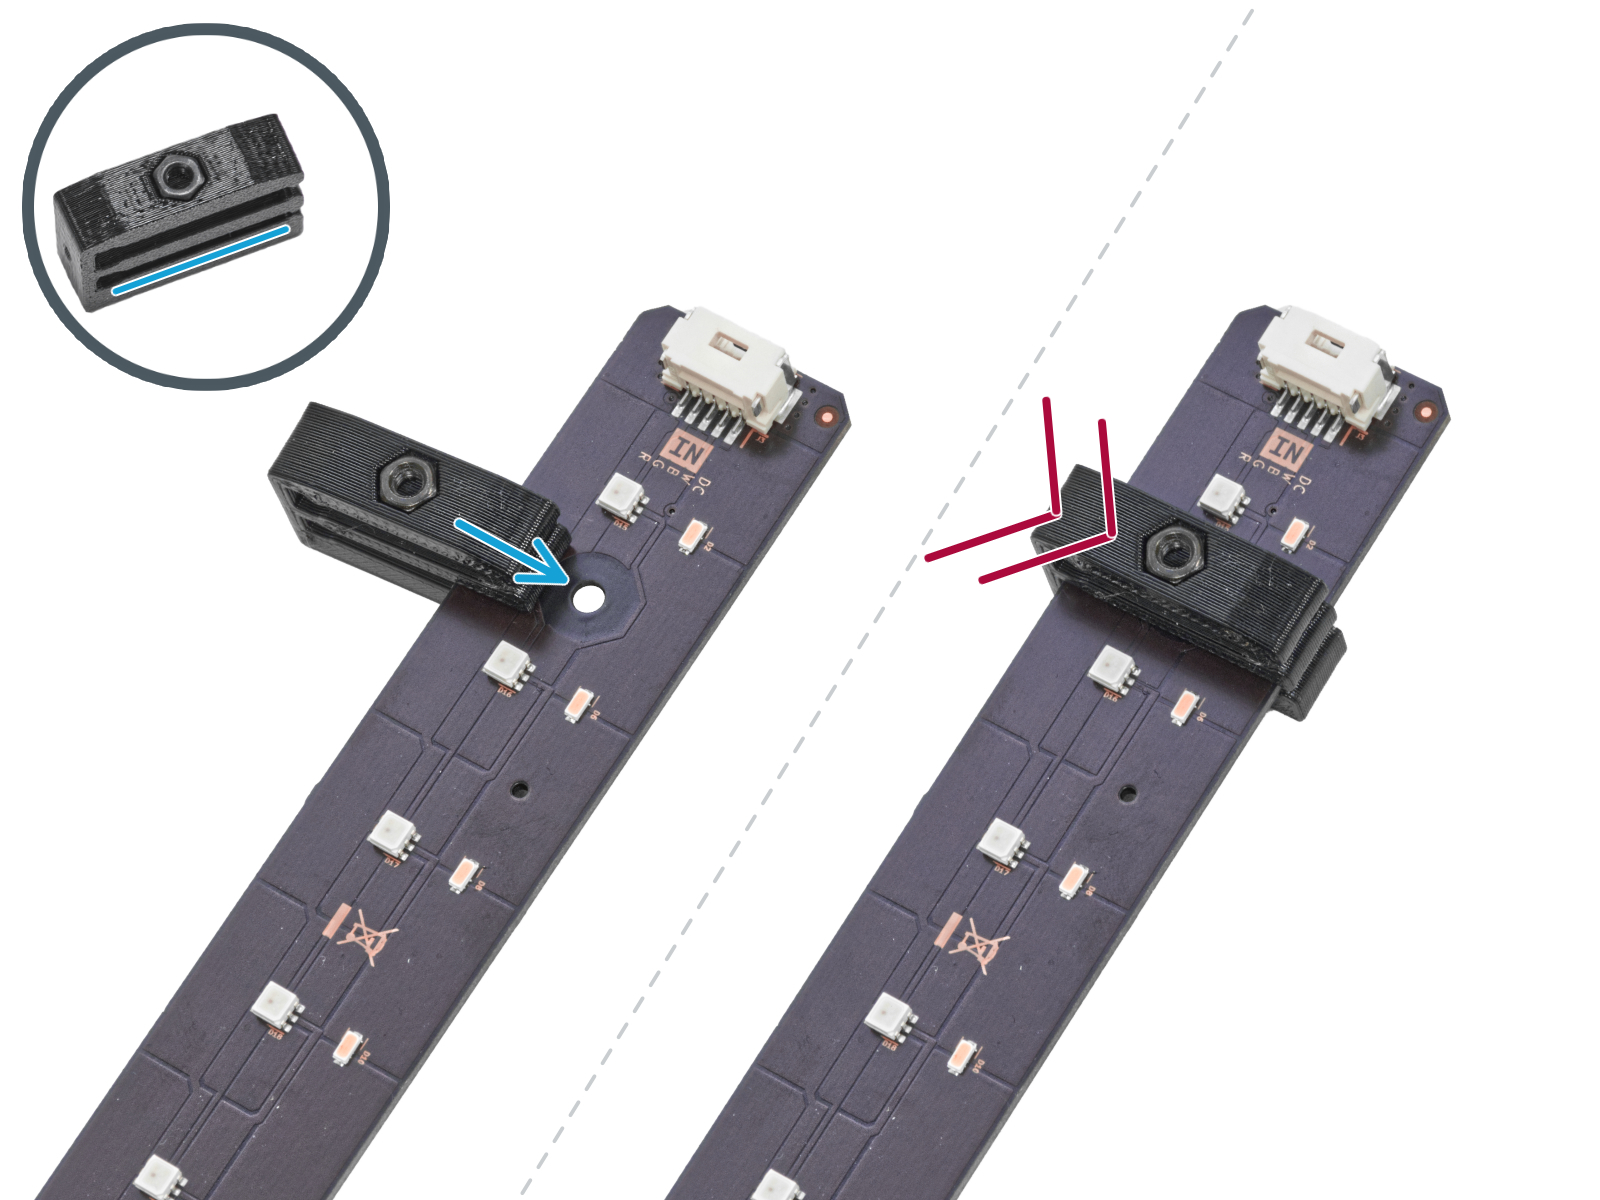
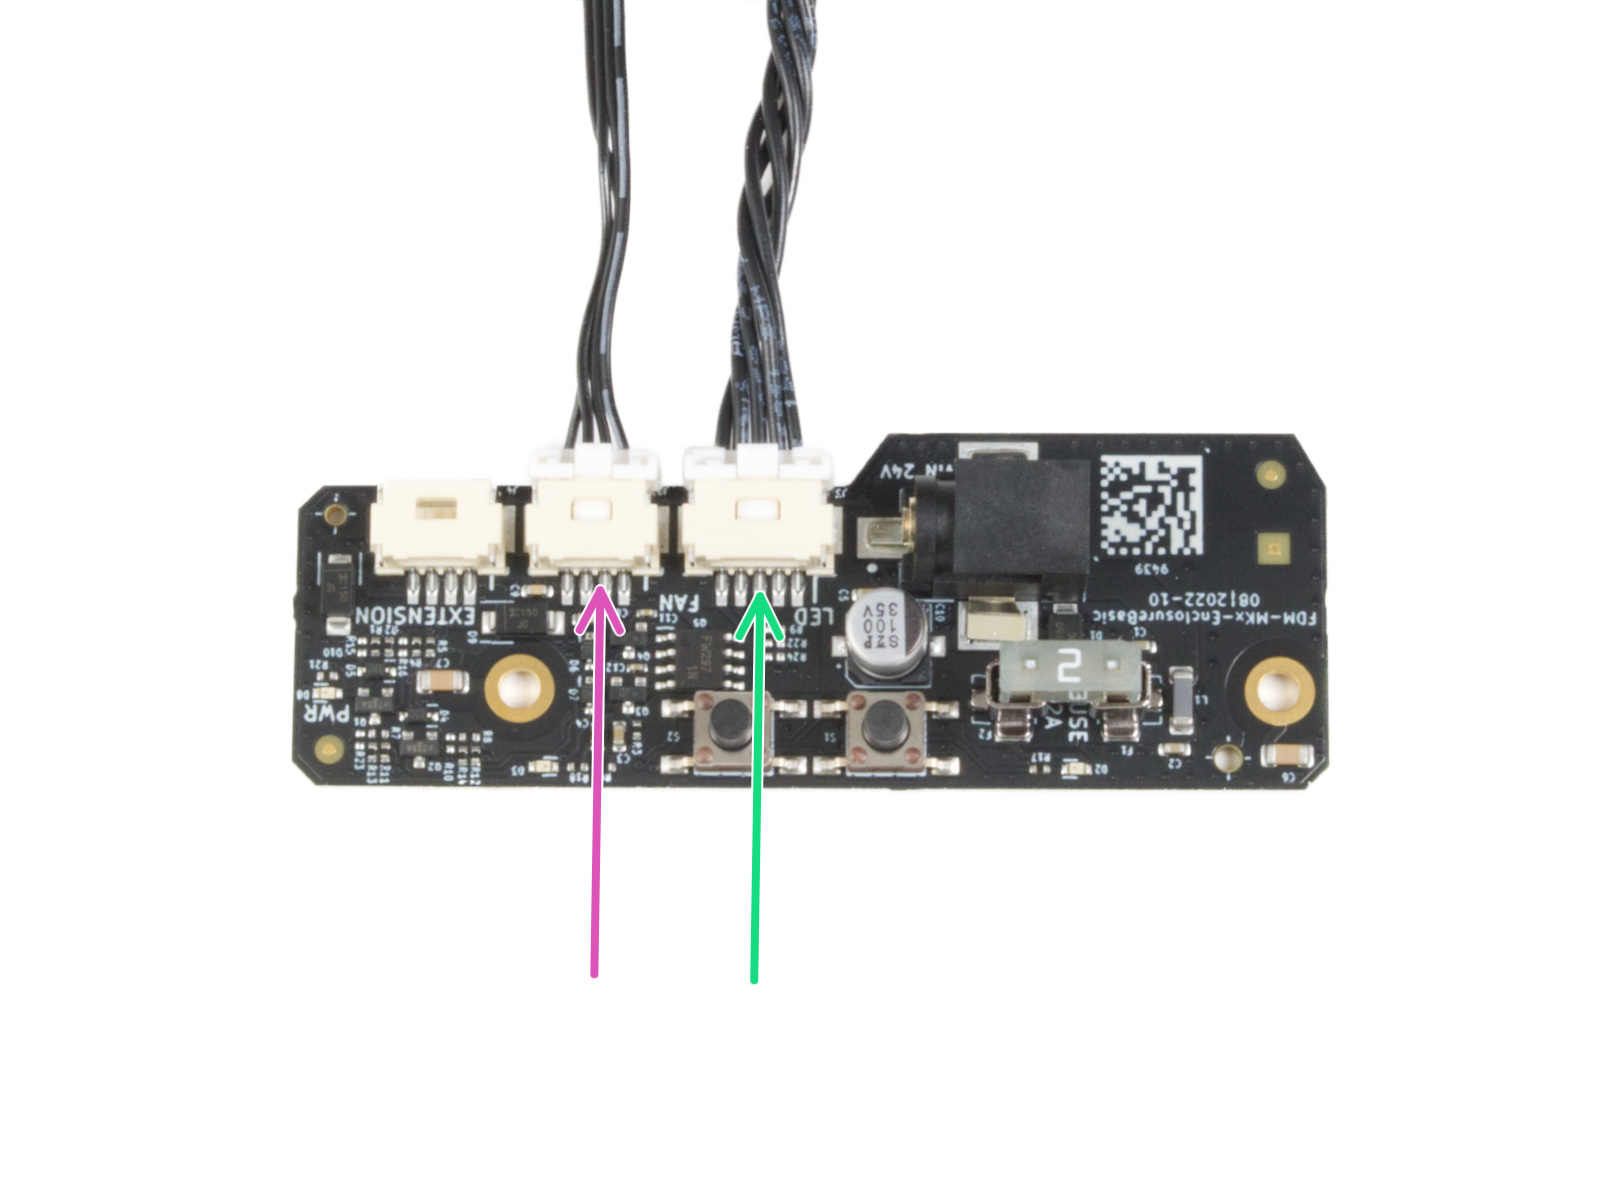
⬢Nasuňte spodní drážku držáku LED Stick na desku LED stick board a zarovnejte držák s prvním otvorem v desce LED co nejblíže k (bílému) konektoru LED stick.
Vyvarujte se posouvání držáku po čipech a diodách! Může dojít k jeho fatálnímu poškození.
⬢Zasuňte držák LED až na doraz na desku LED Stick board.
⬢Tento postup použijte pro všechna tři držáky LED pásku.
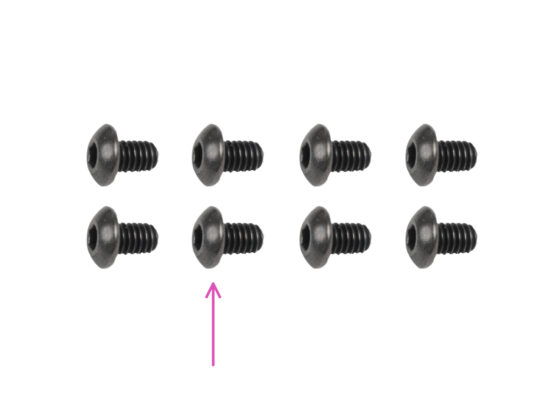
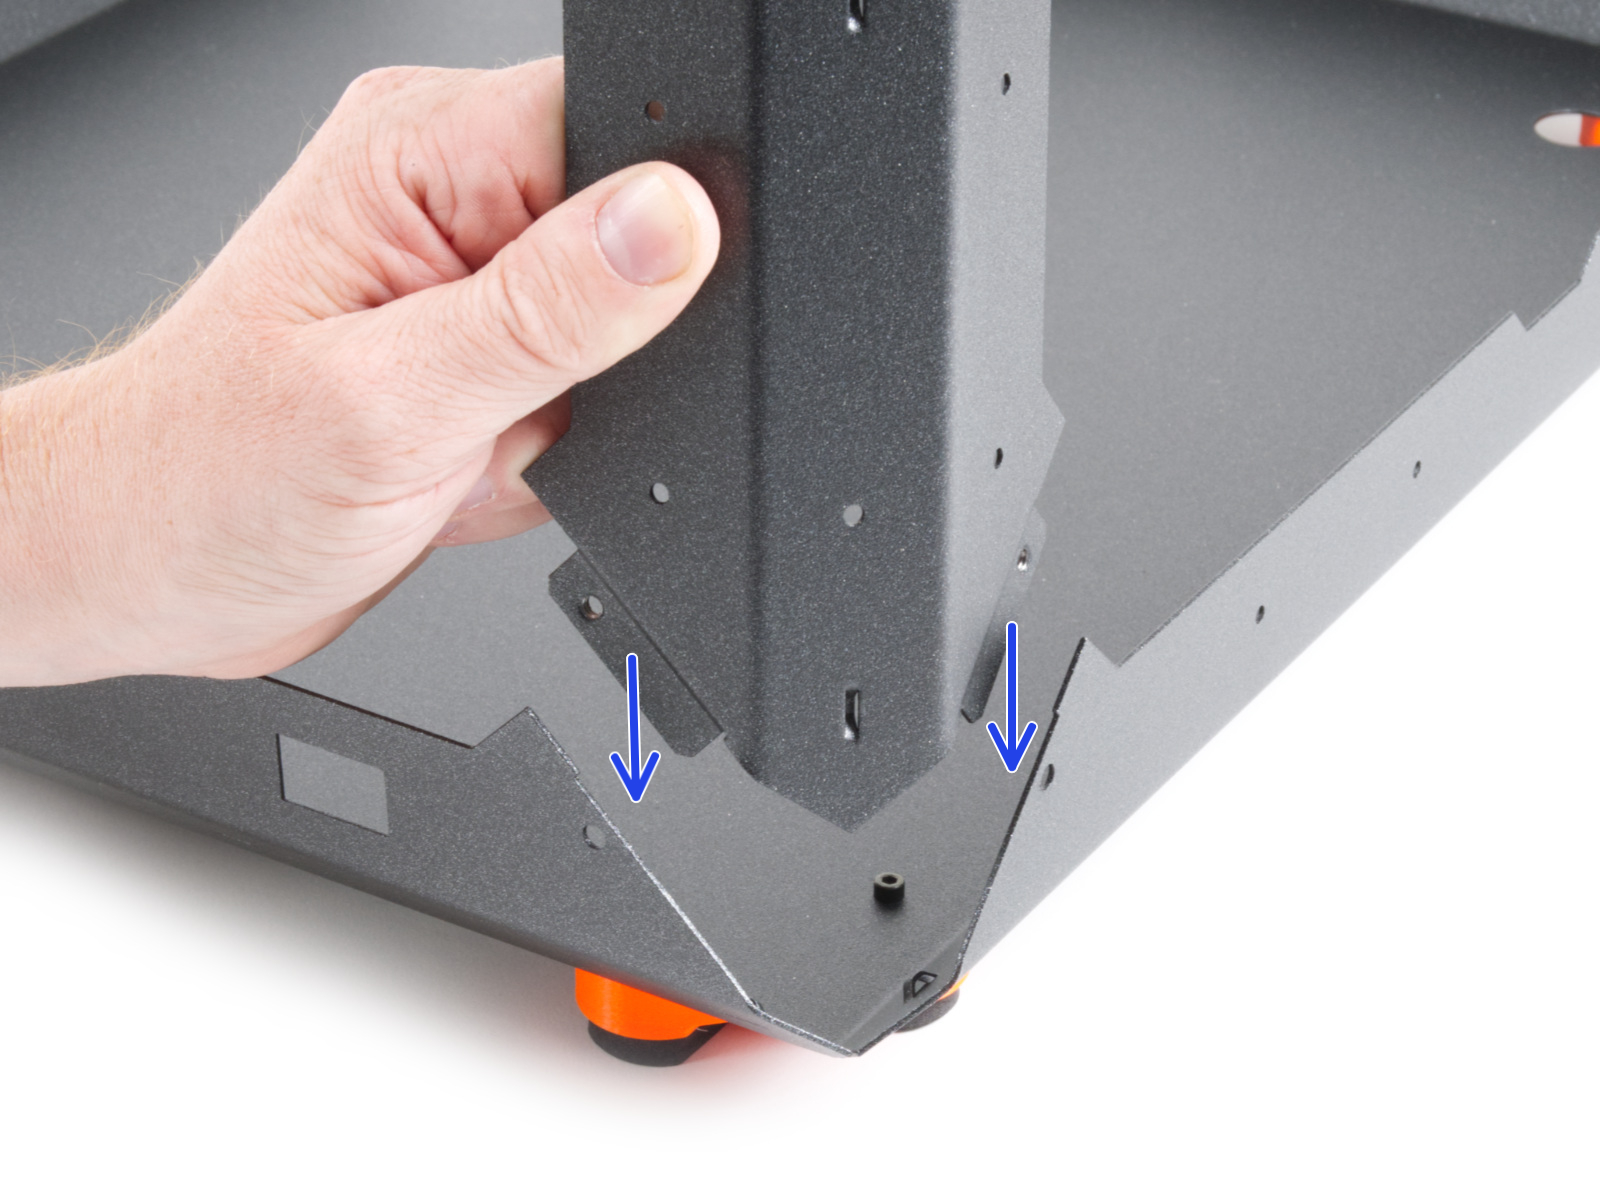
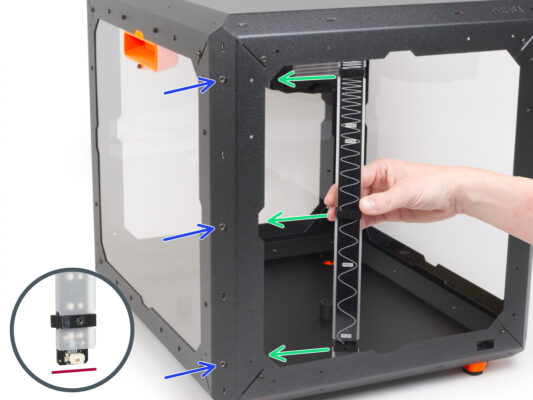
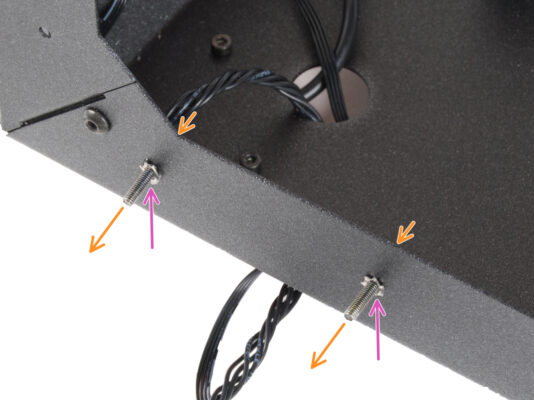
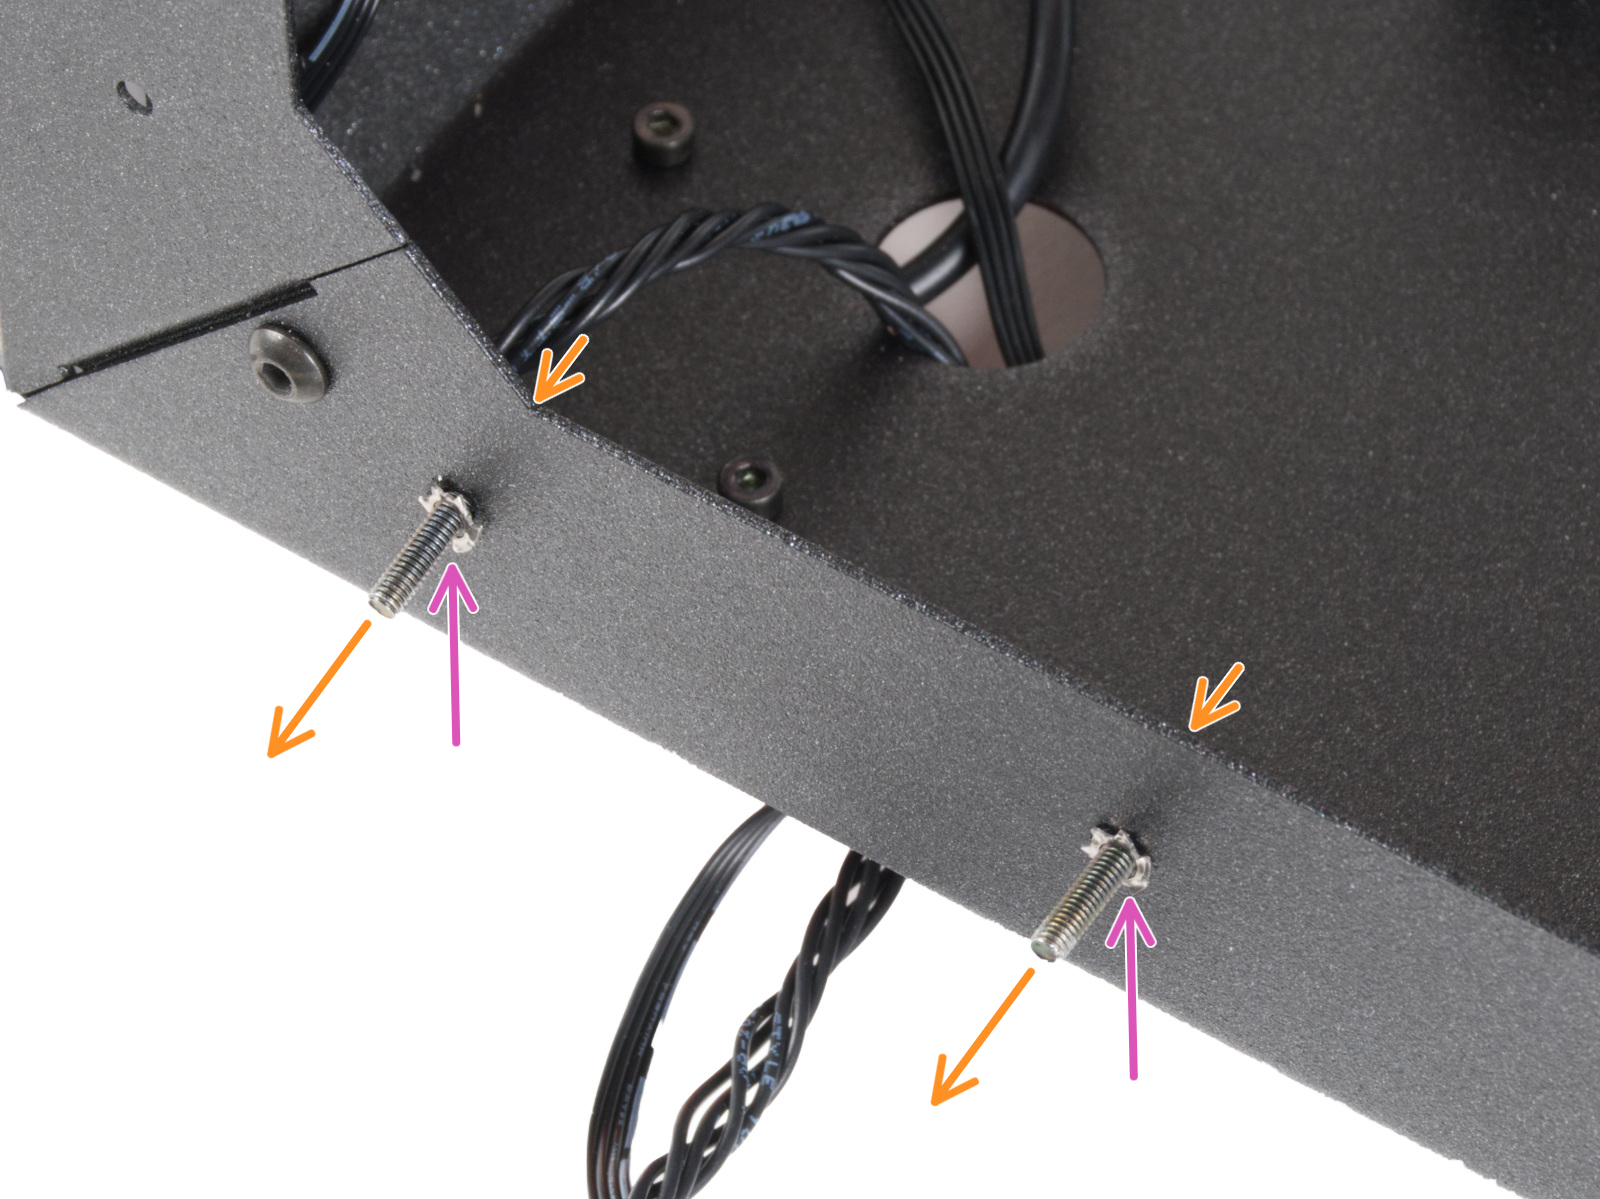
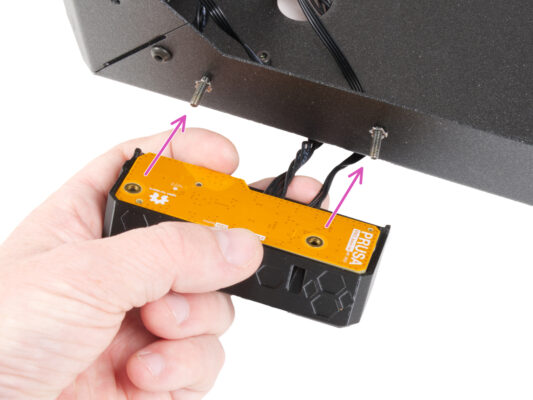
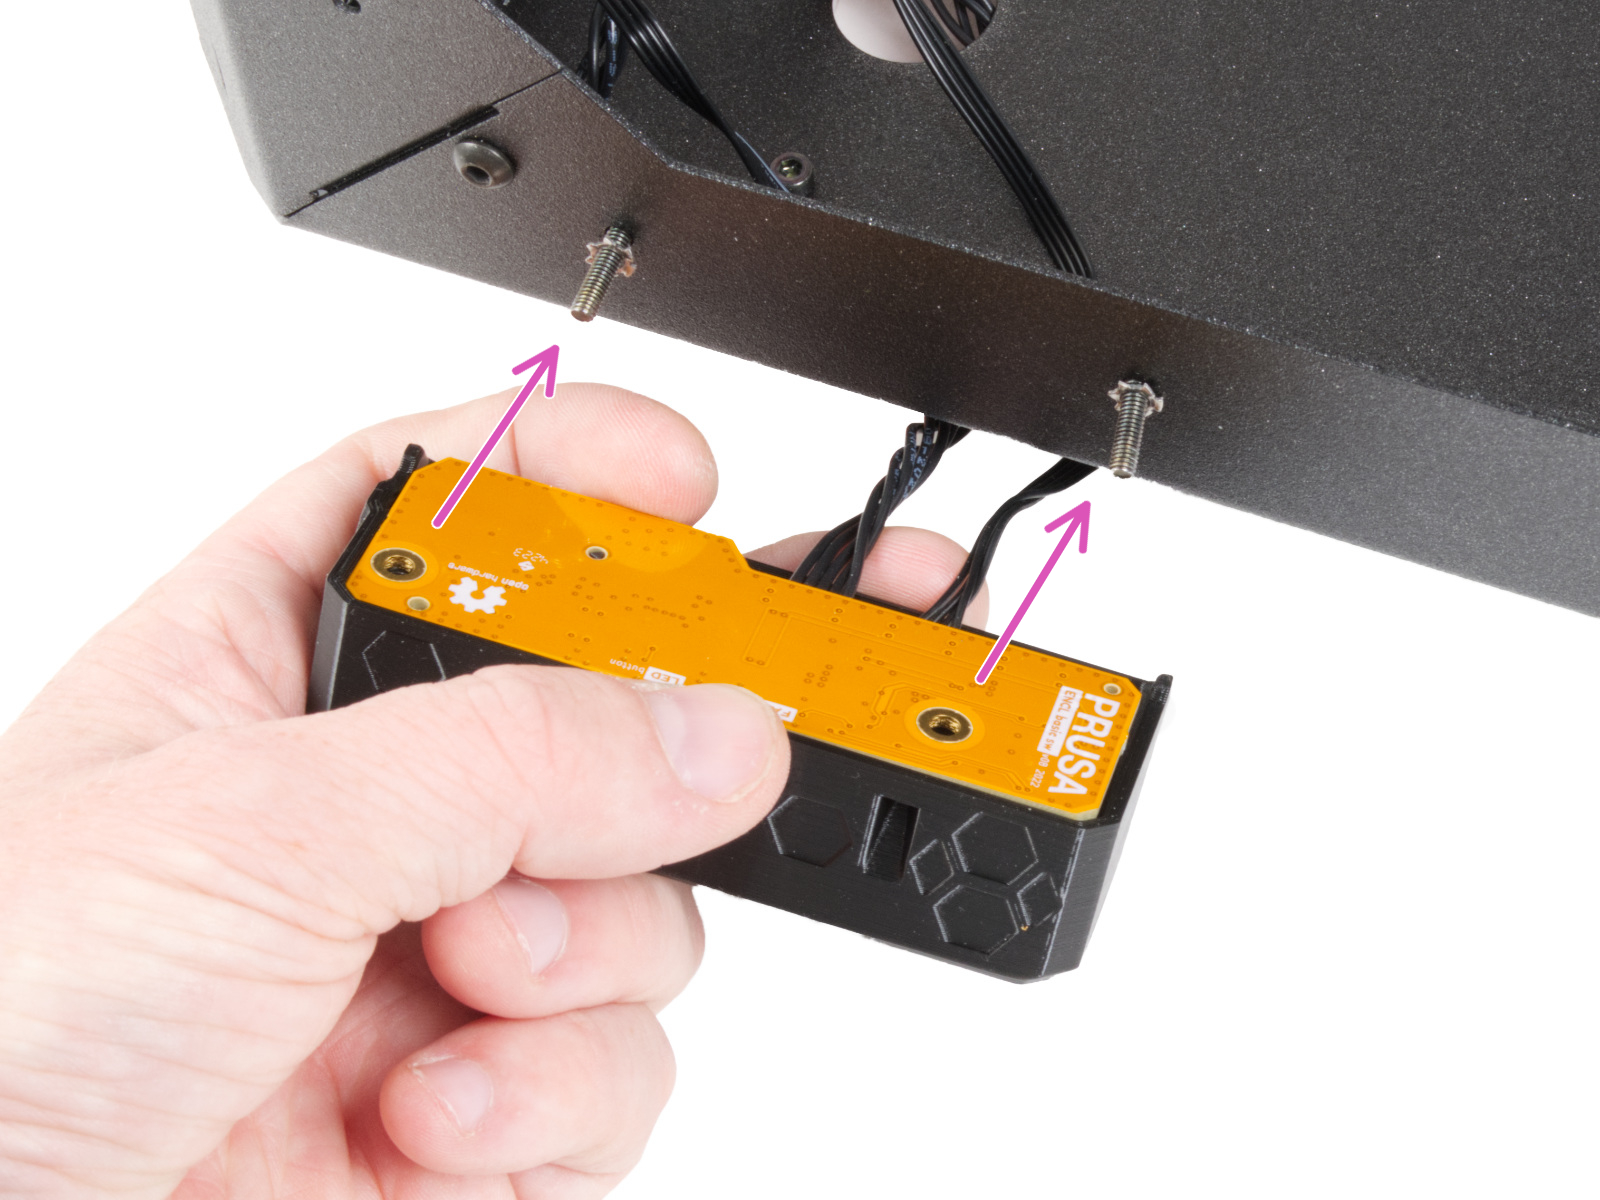
⬢Vložte tři šrouby M3x18 zvenku do otvorů v levém předním podpěrném profilu.
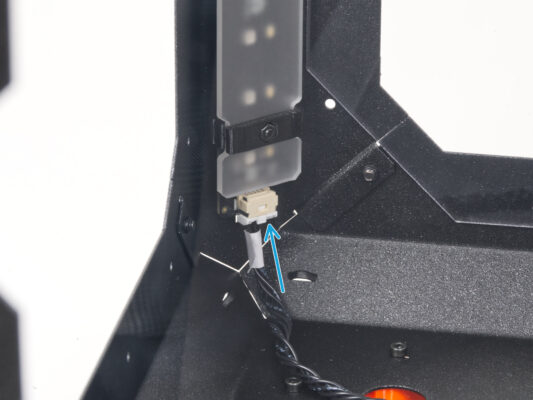
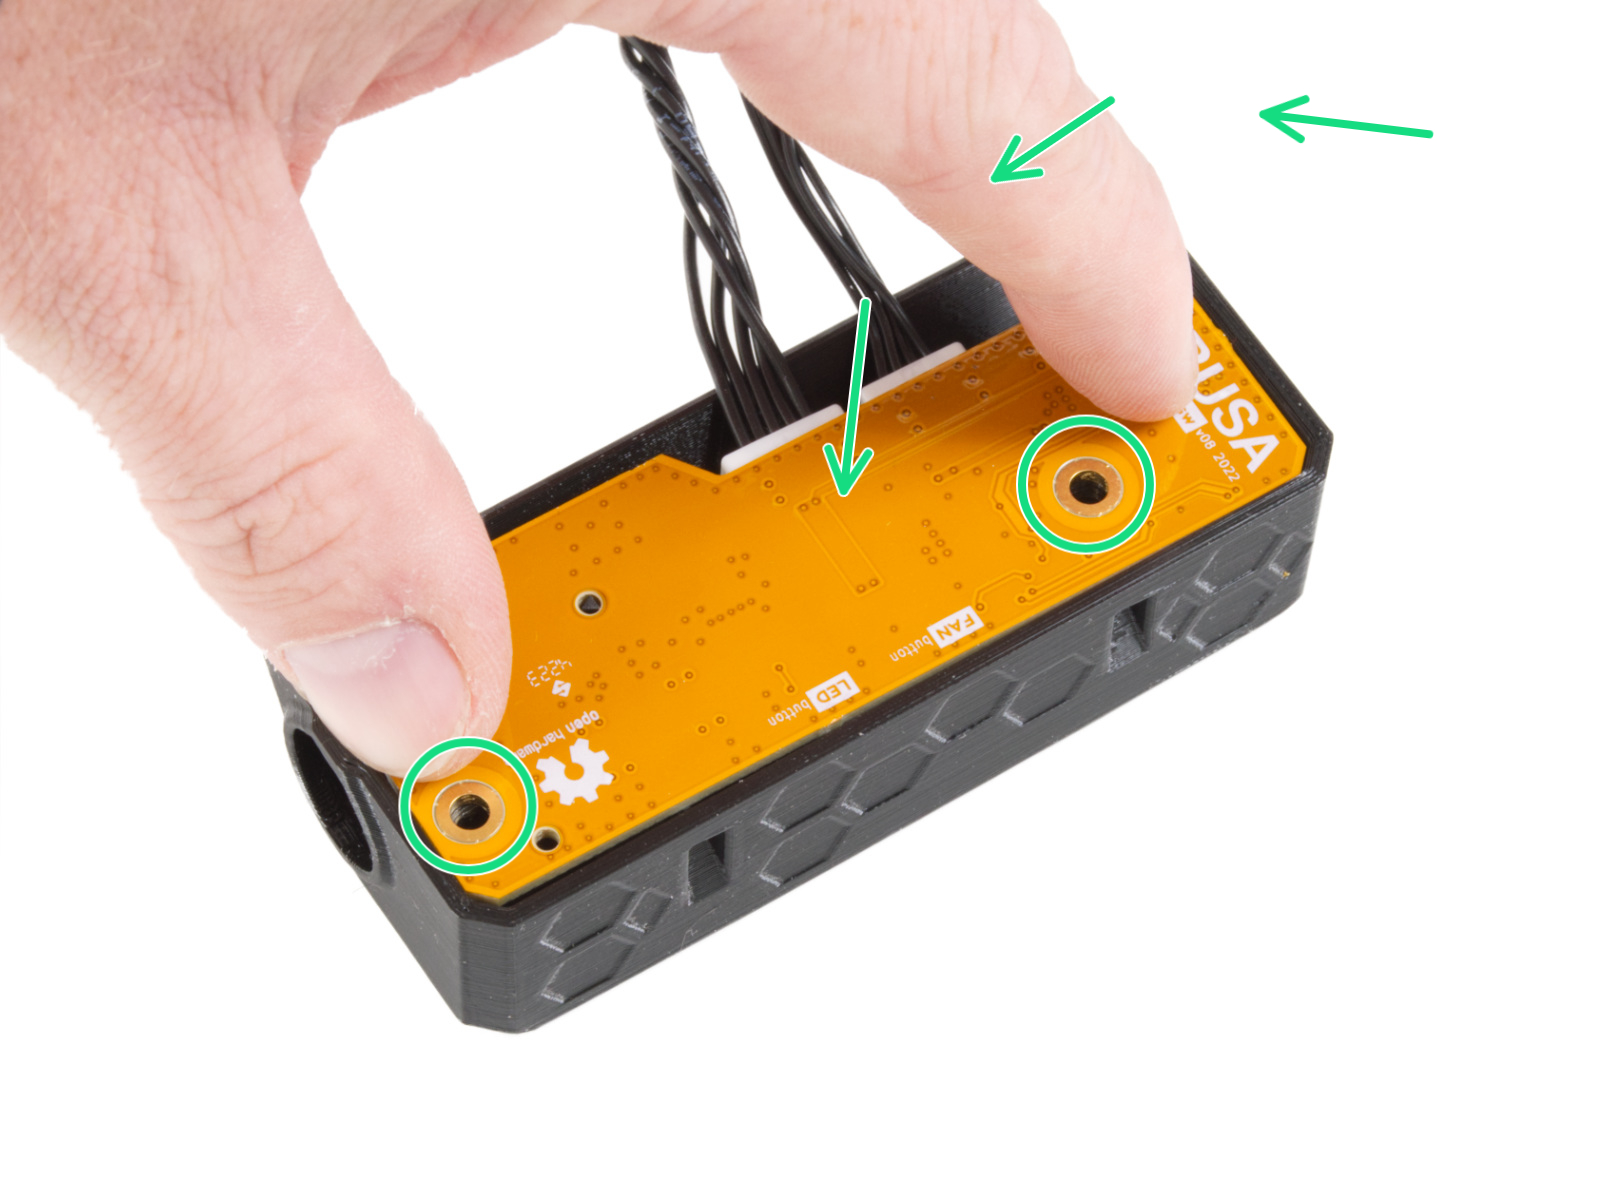
⬢Z vnitřní strany krytu připevněte sestavu pásků LED tak, aby byly držáky tyčí LED přesně zarovnány se šrouby. Připevněte zadní stranu (stranu bez difuzoru).
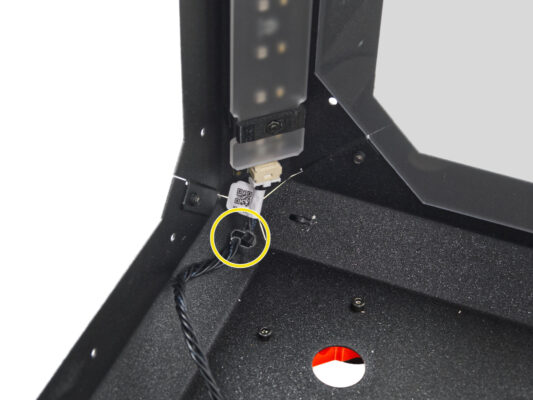
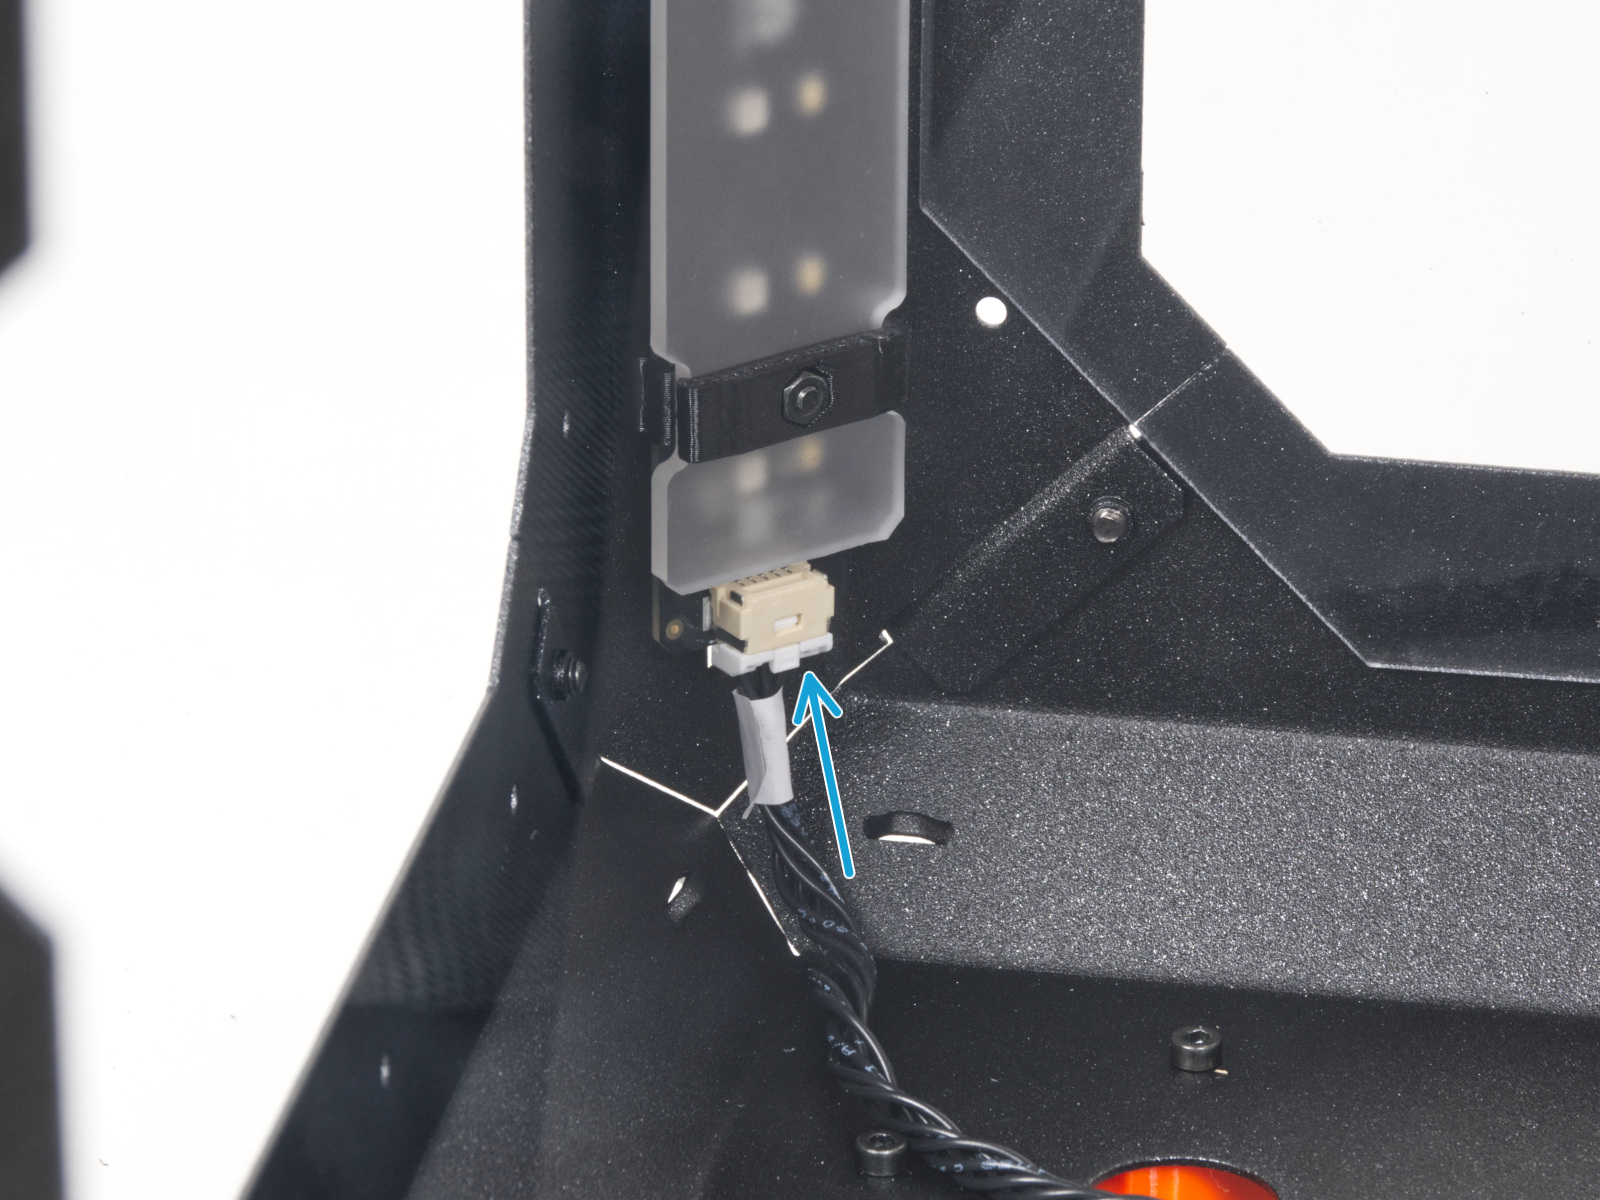
Ujistěte se, že LED konektor směřuje směrem dolů.
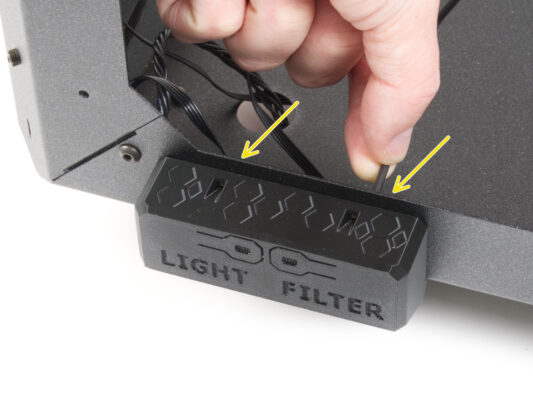
⬢Once the LED strip is aligned, attach it by tightening all three inserted M3x18 screws. Tighten them firmly but gently.
Při manipulaci se všemi předměty uvnitř Enclosure dbejte zvýšené opatrnosti. Jsou zde ostré kovové pláty, proto se vyvarujte zranění.
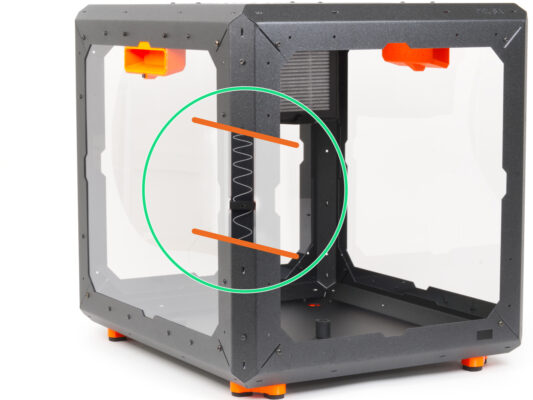
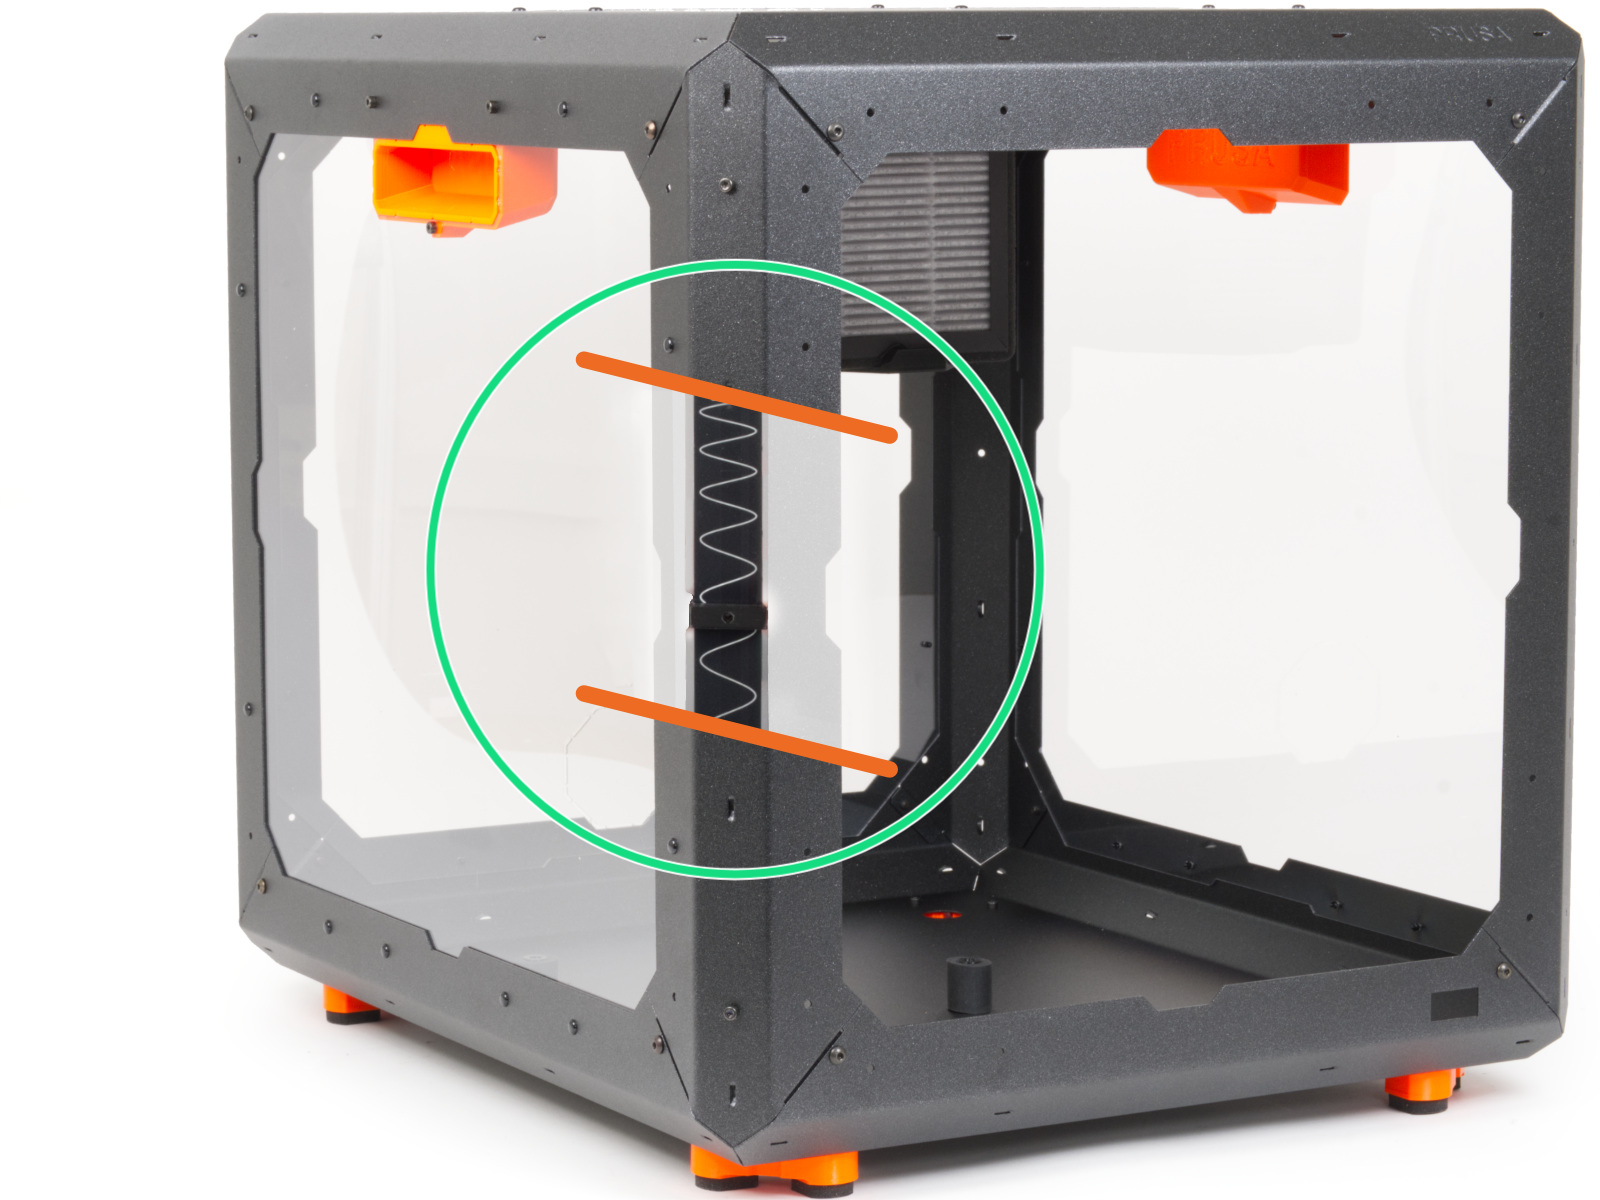
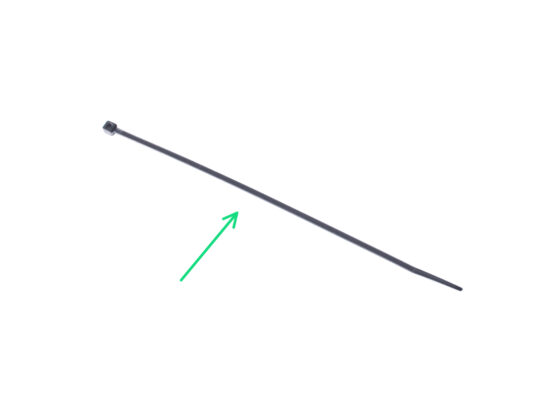
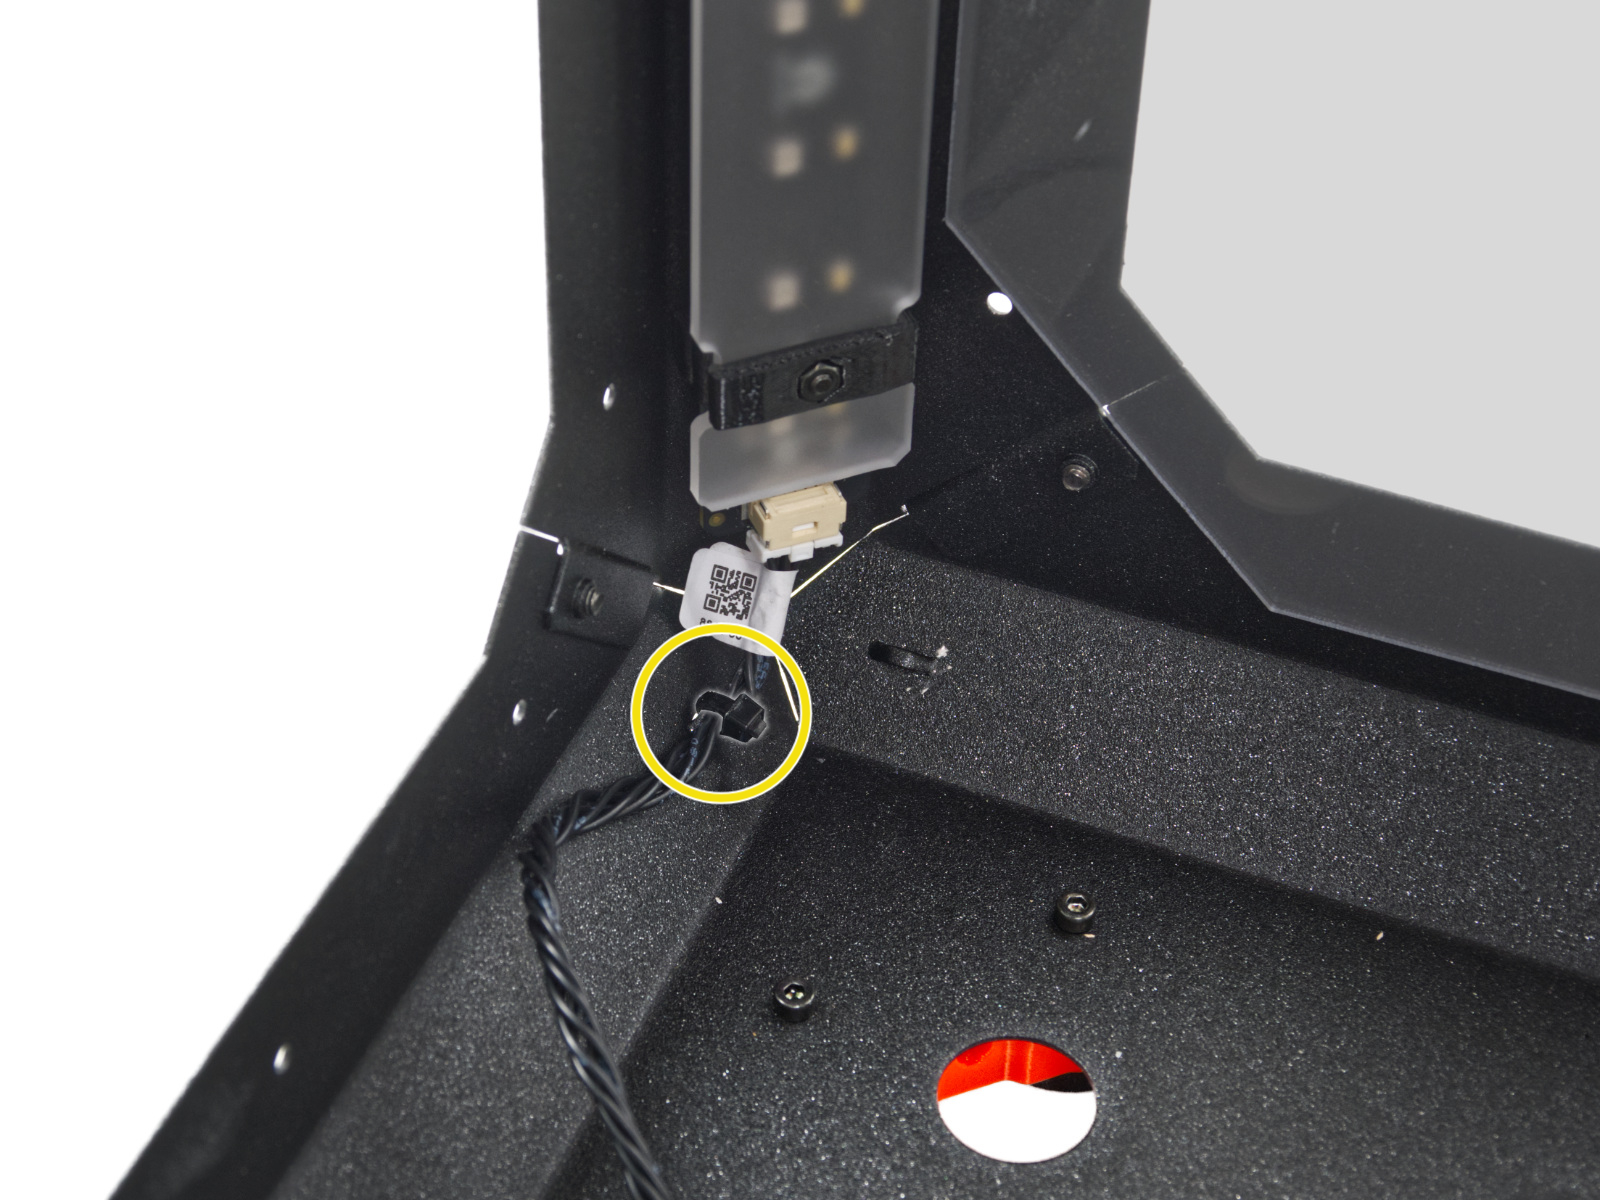
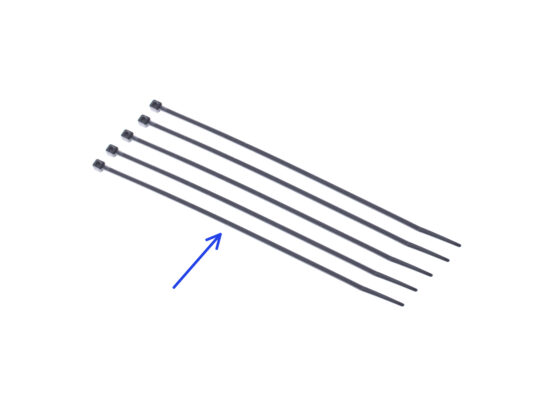
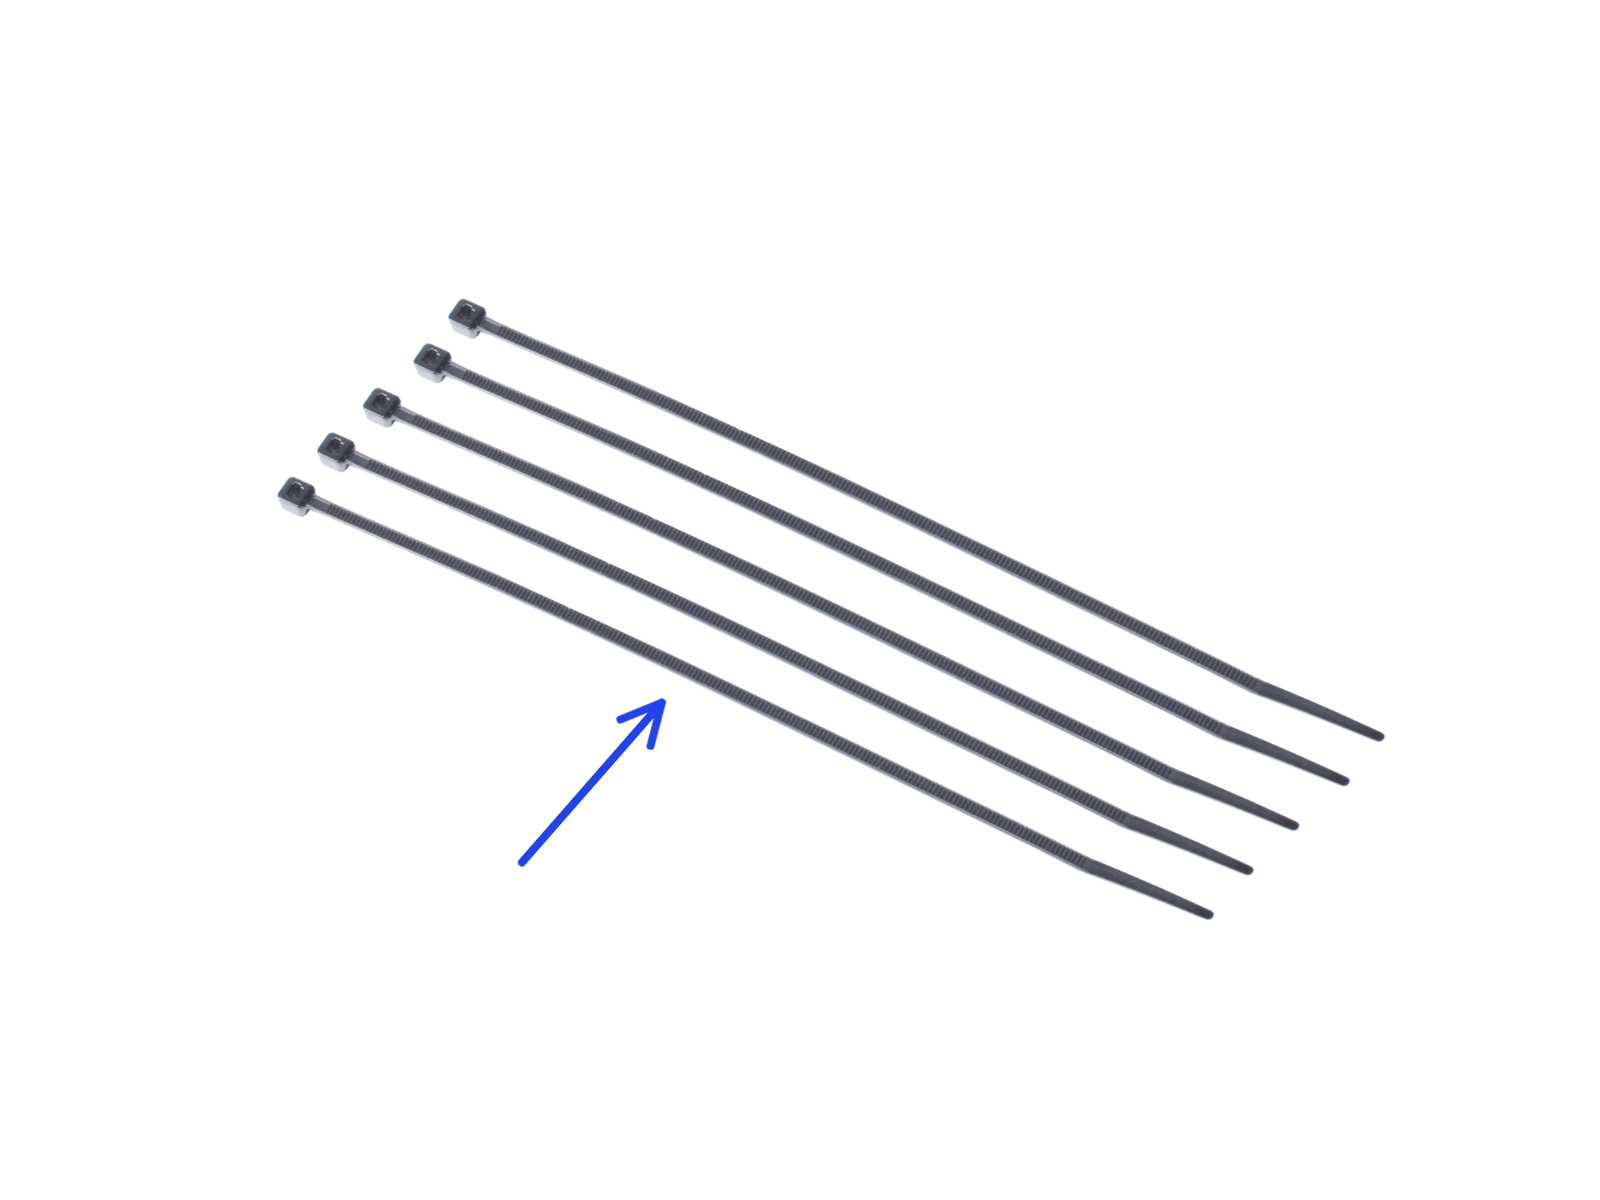
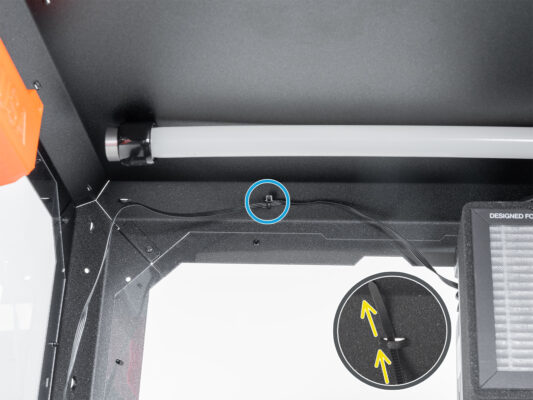
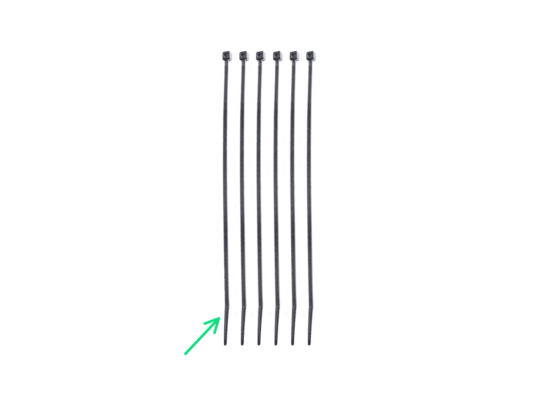
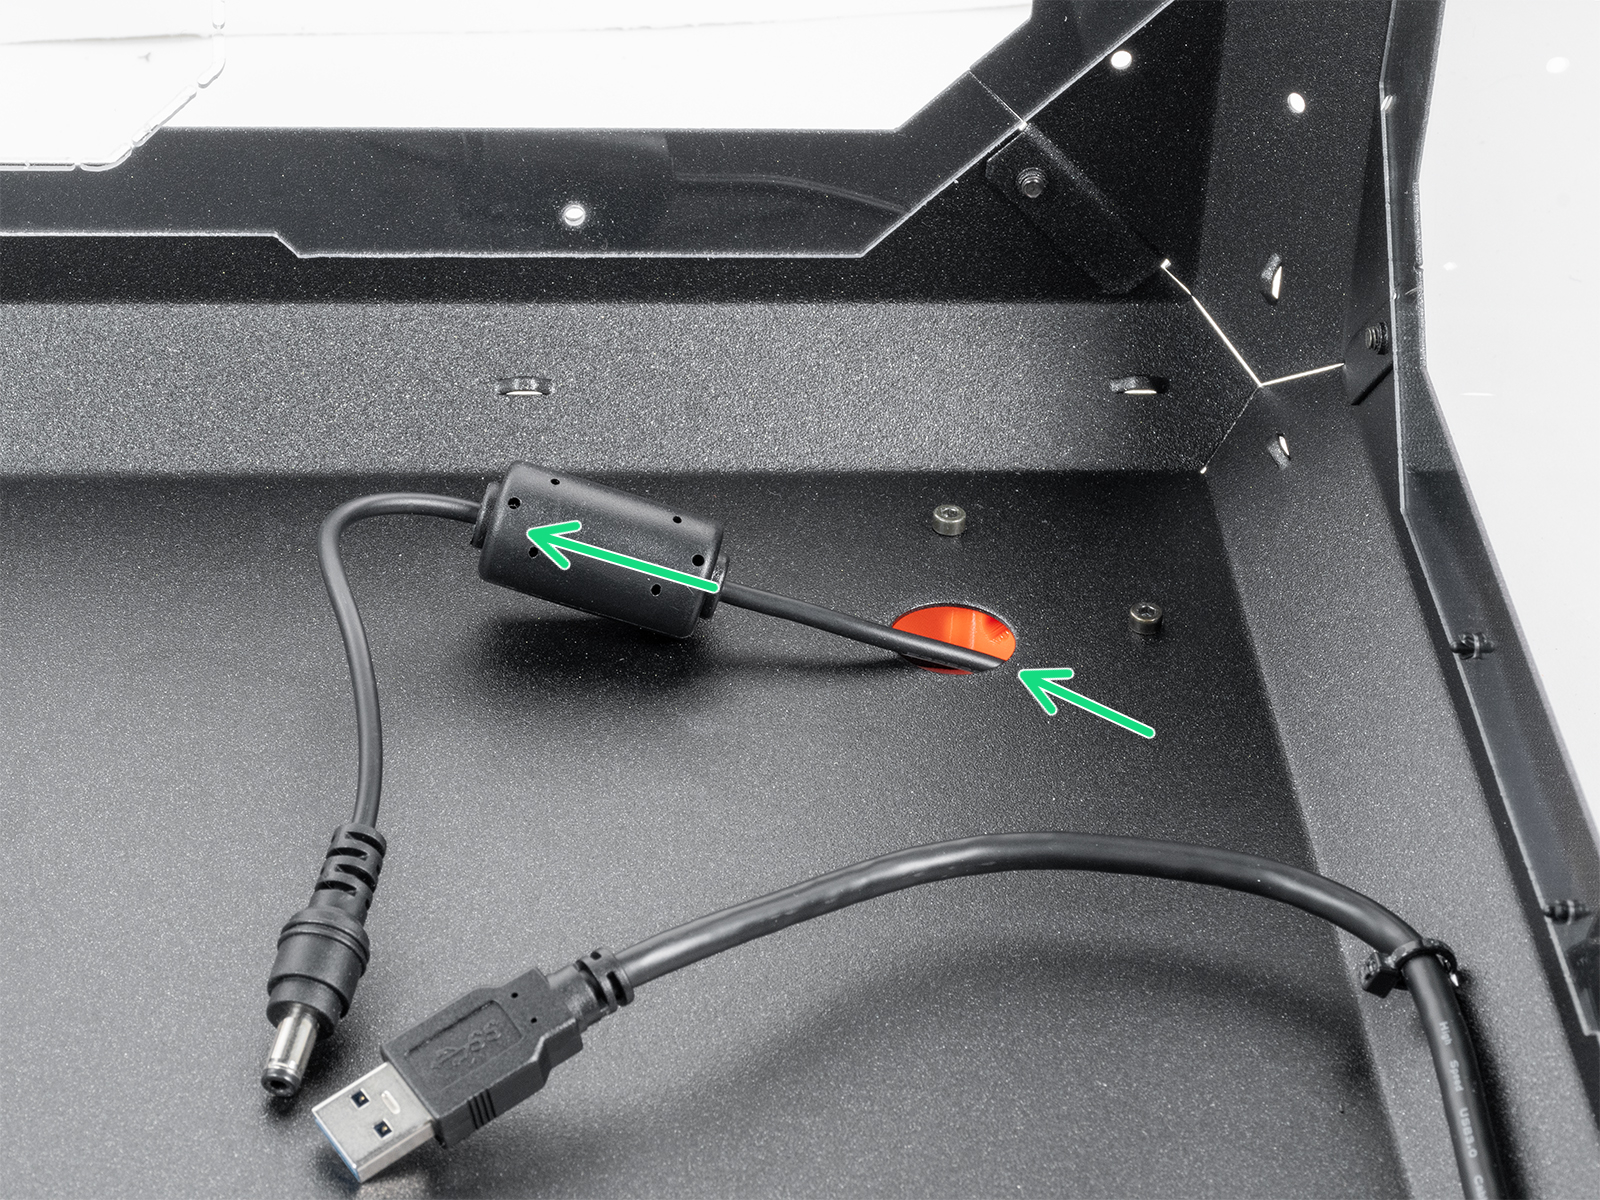
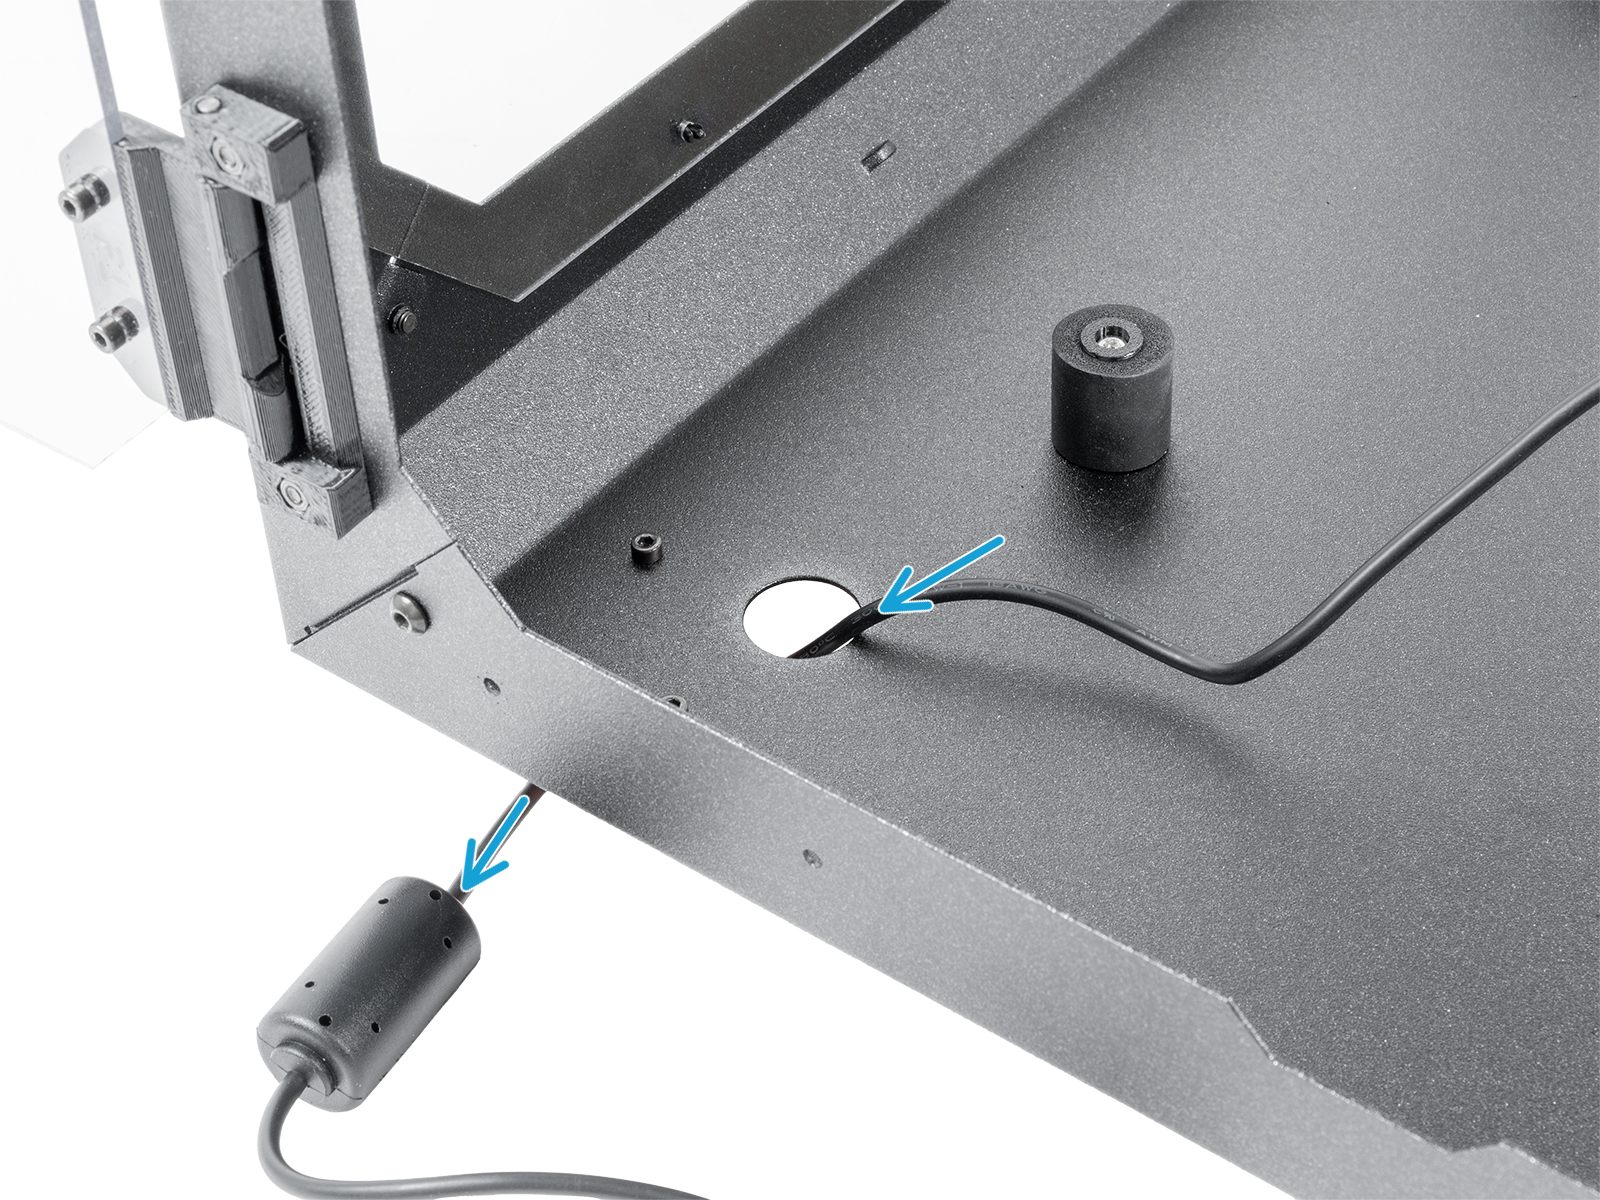
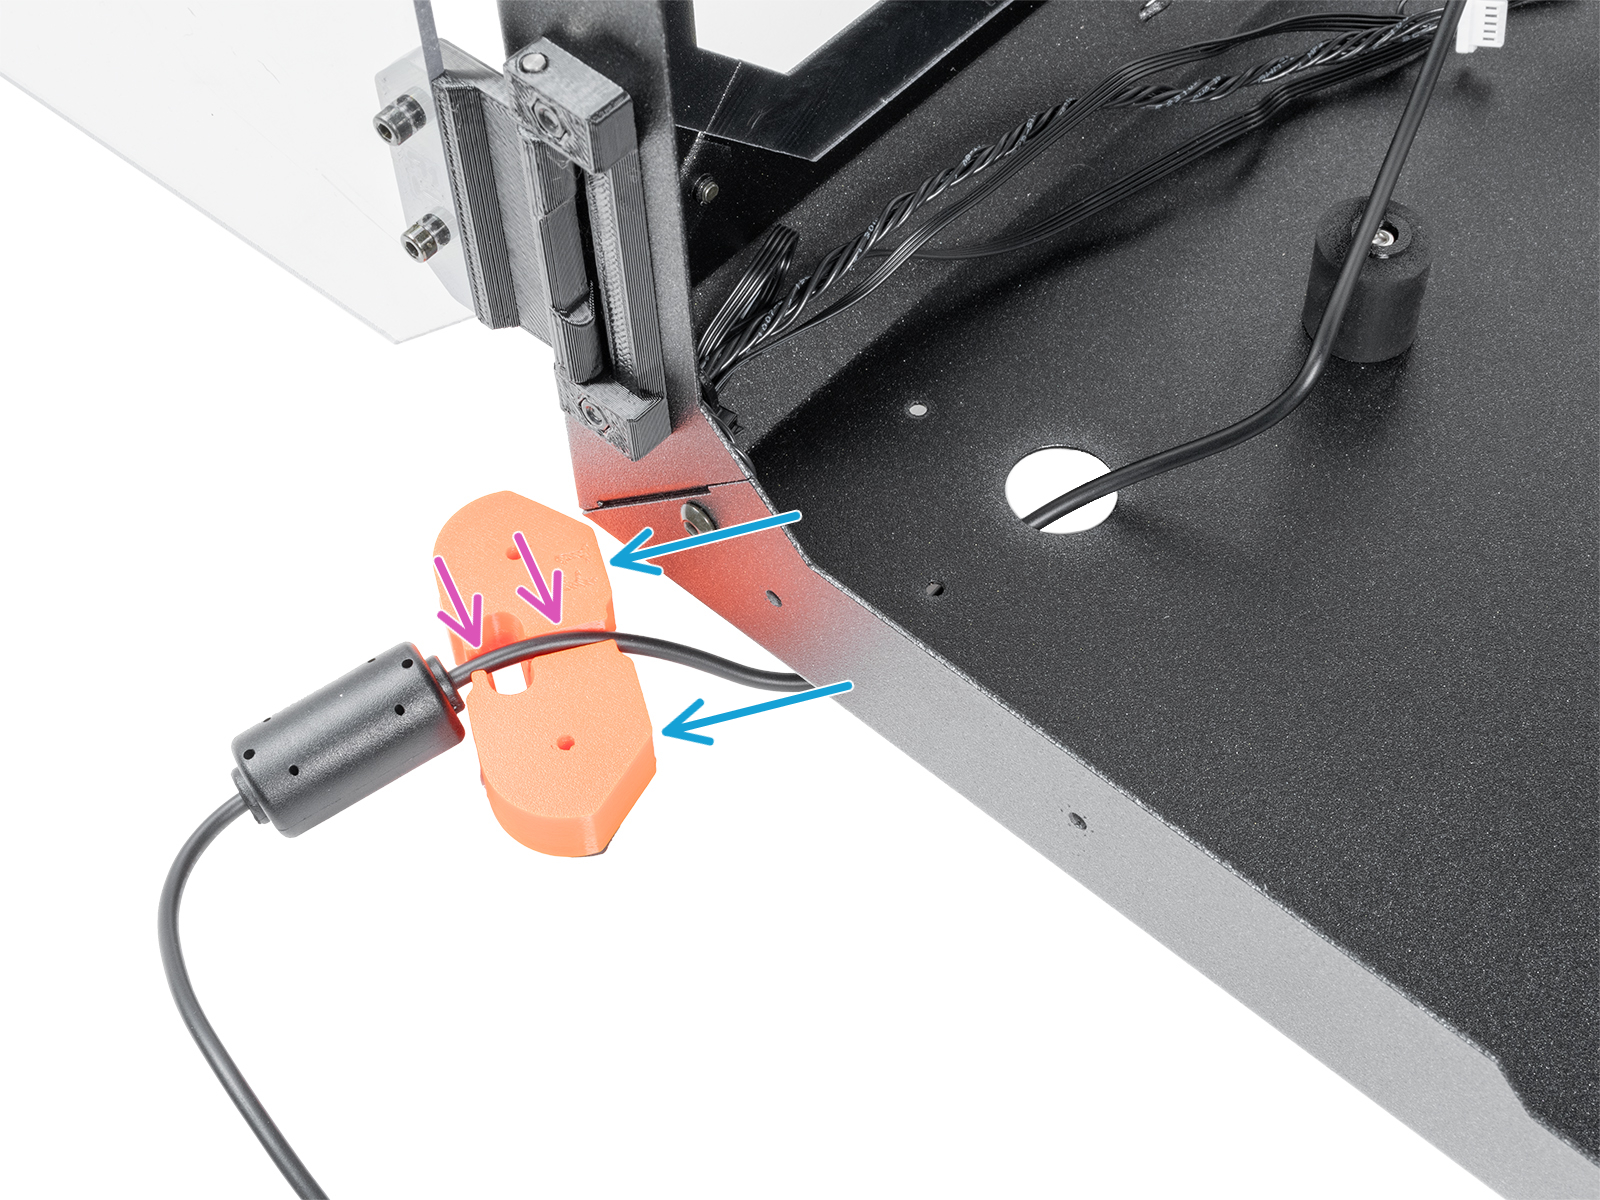
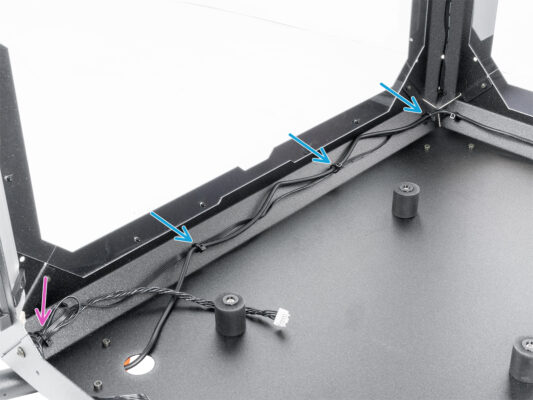
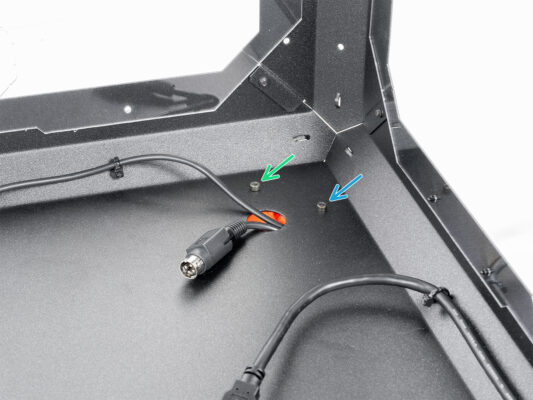
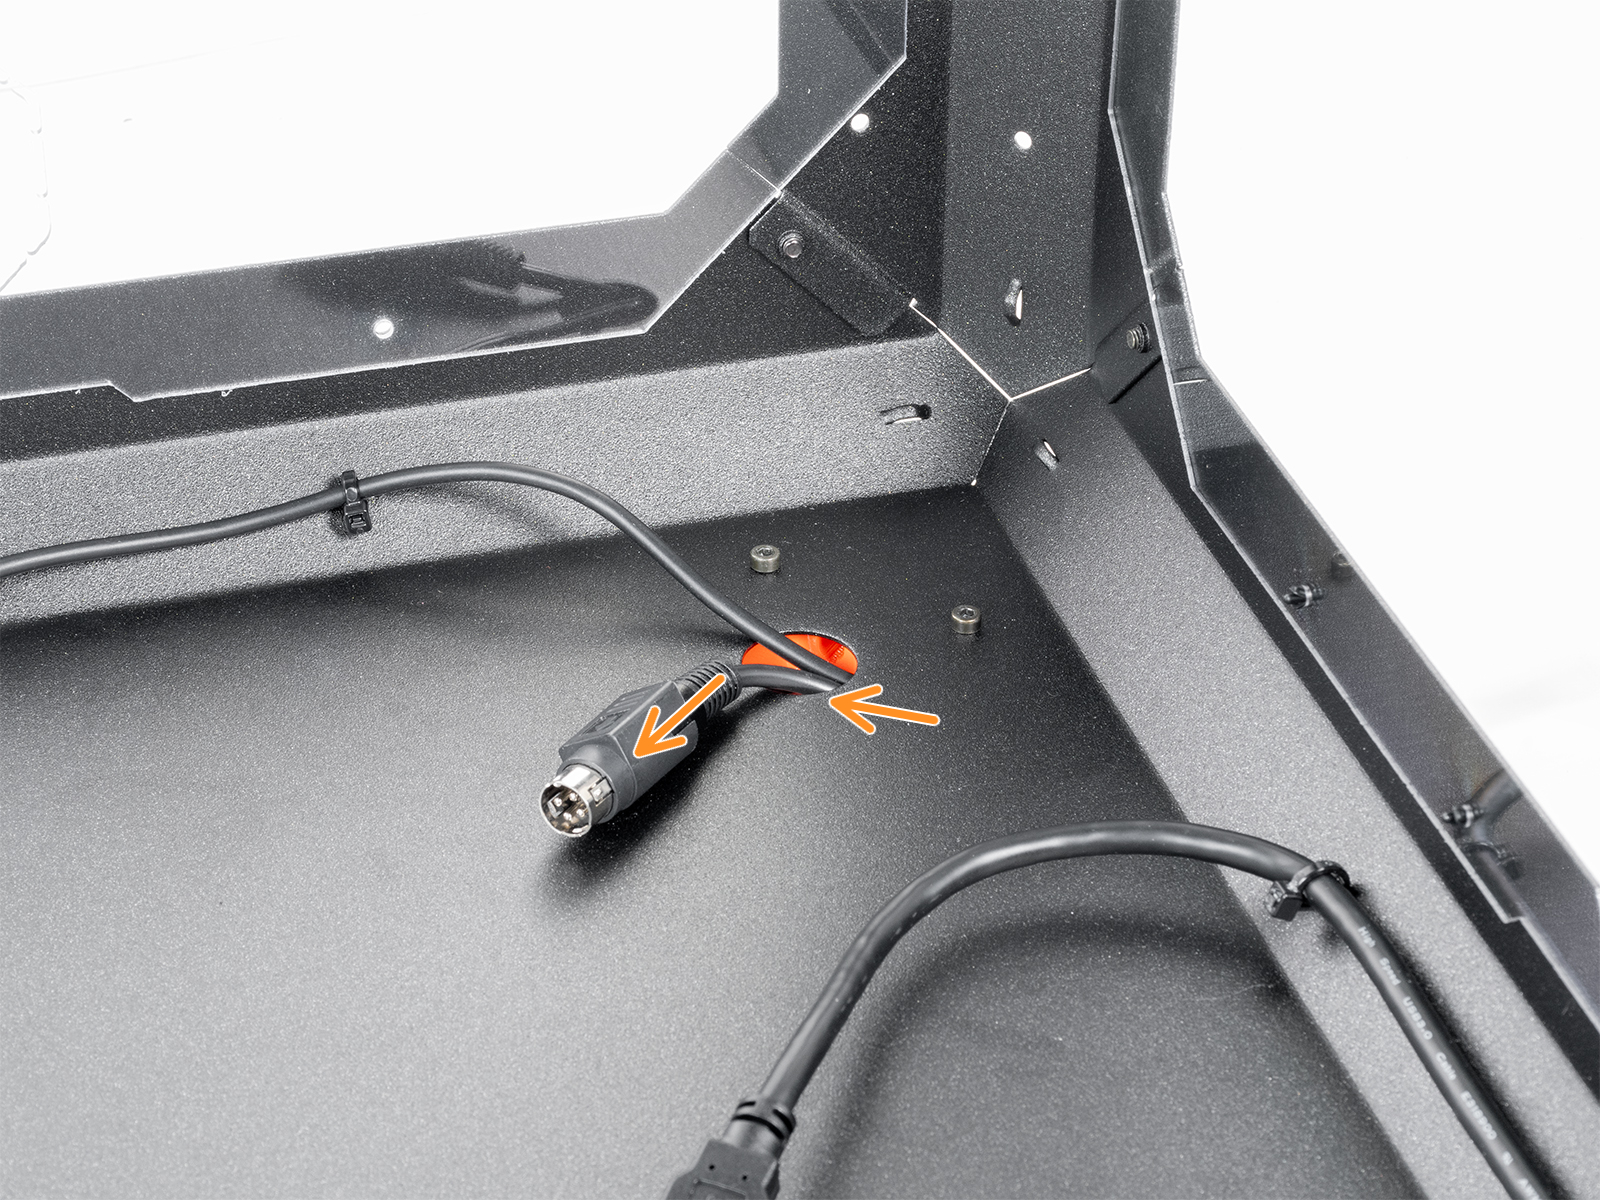
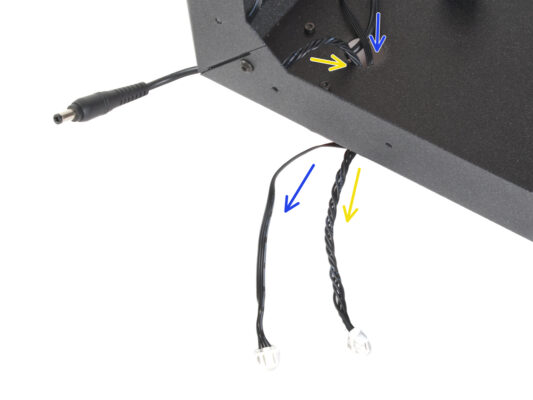
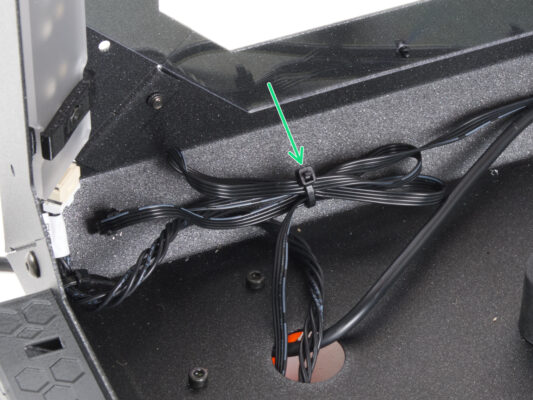
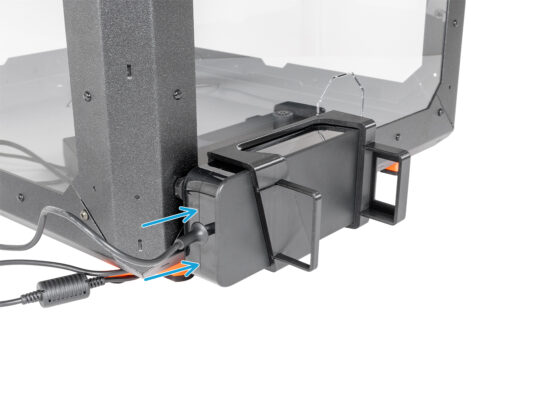
⬢Veďte kabel podél zadní strany Enclosure a zajistěte jej pomocí tří stahovacích pásků přes perforace. Pásku neutahujte příliš silně, mohli byste poškodit kabel.
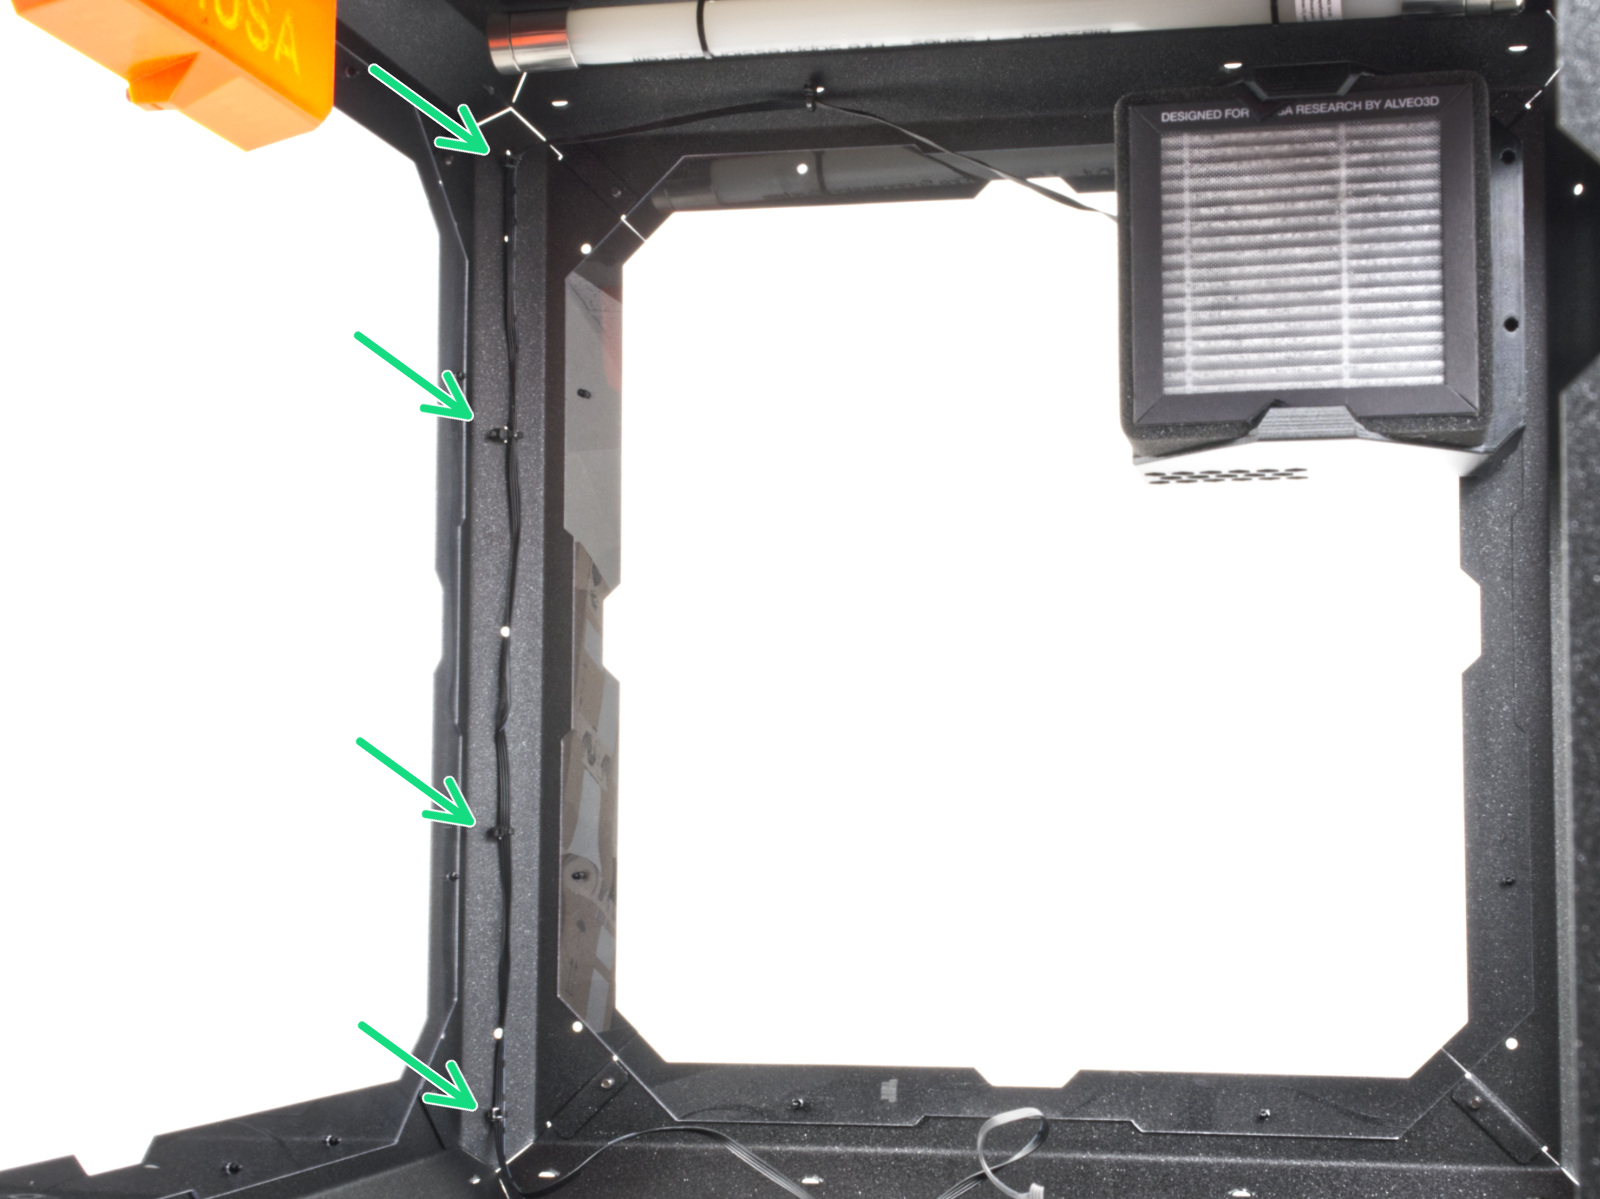
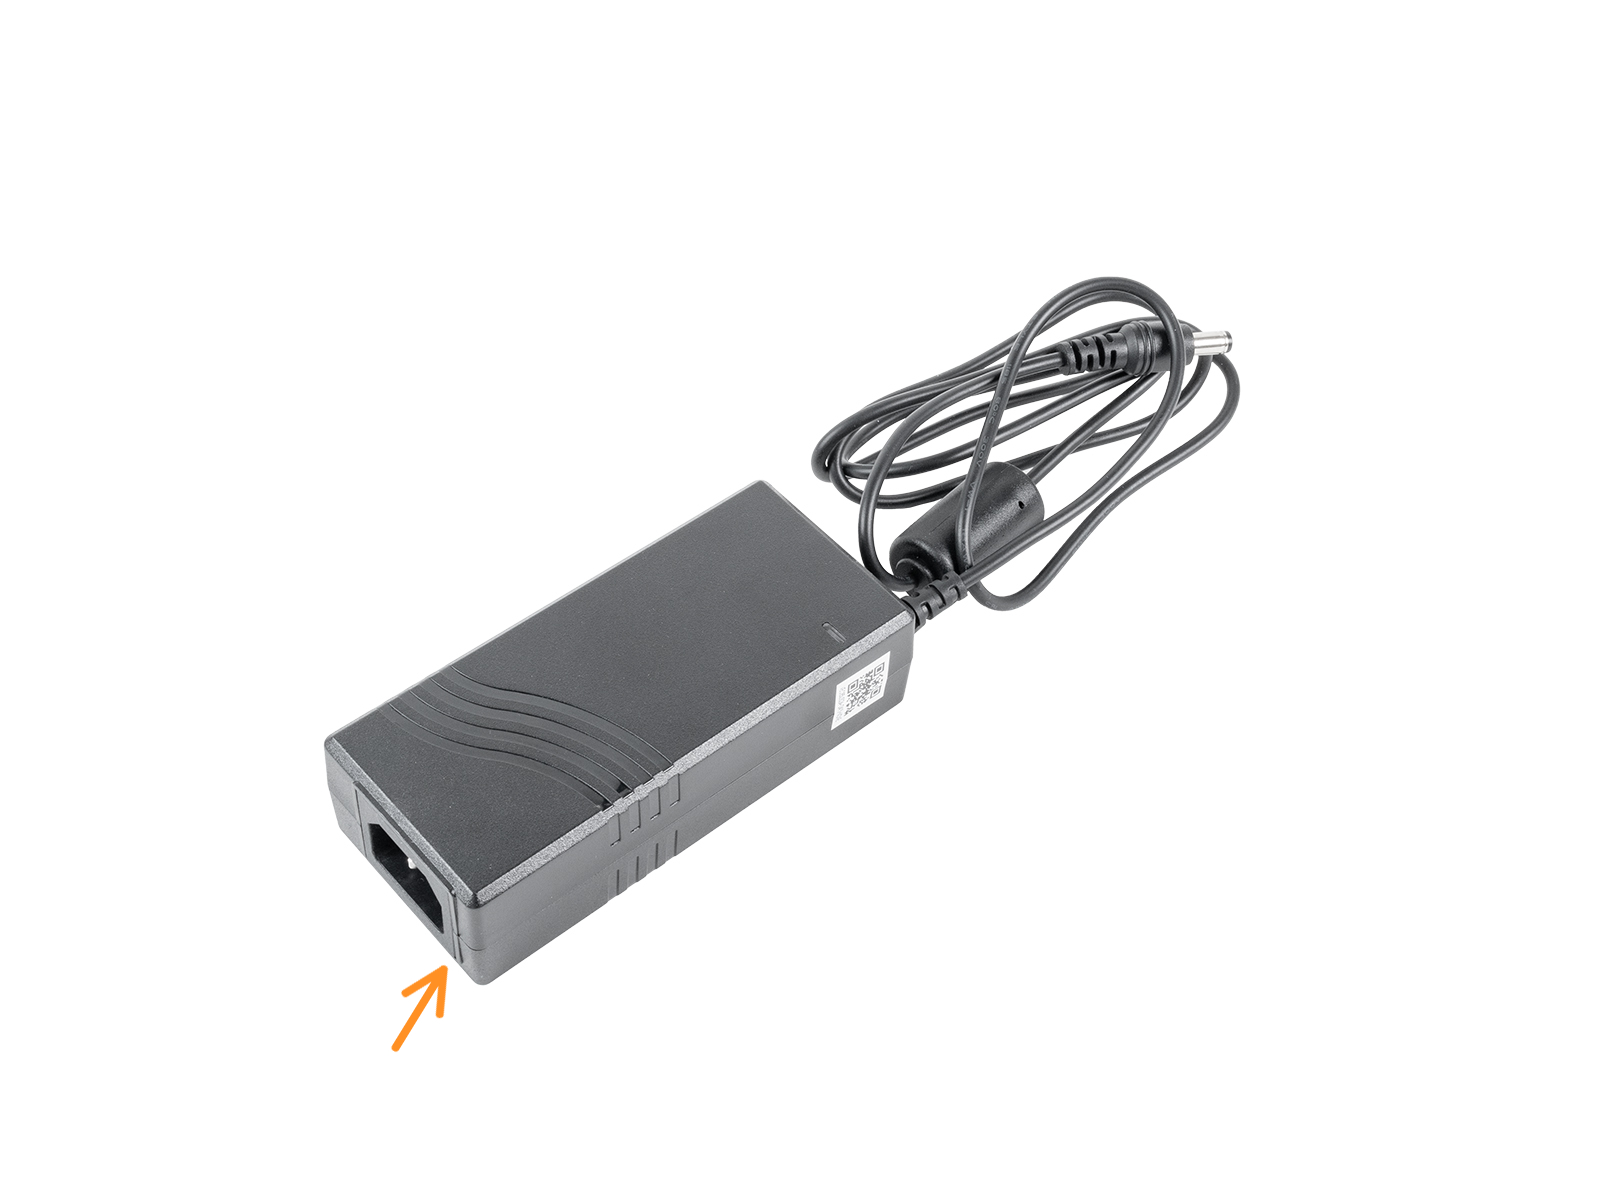
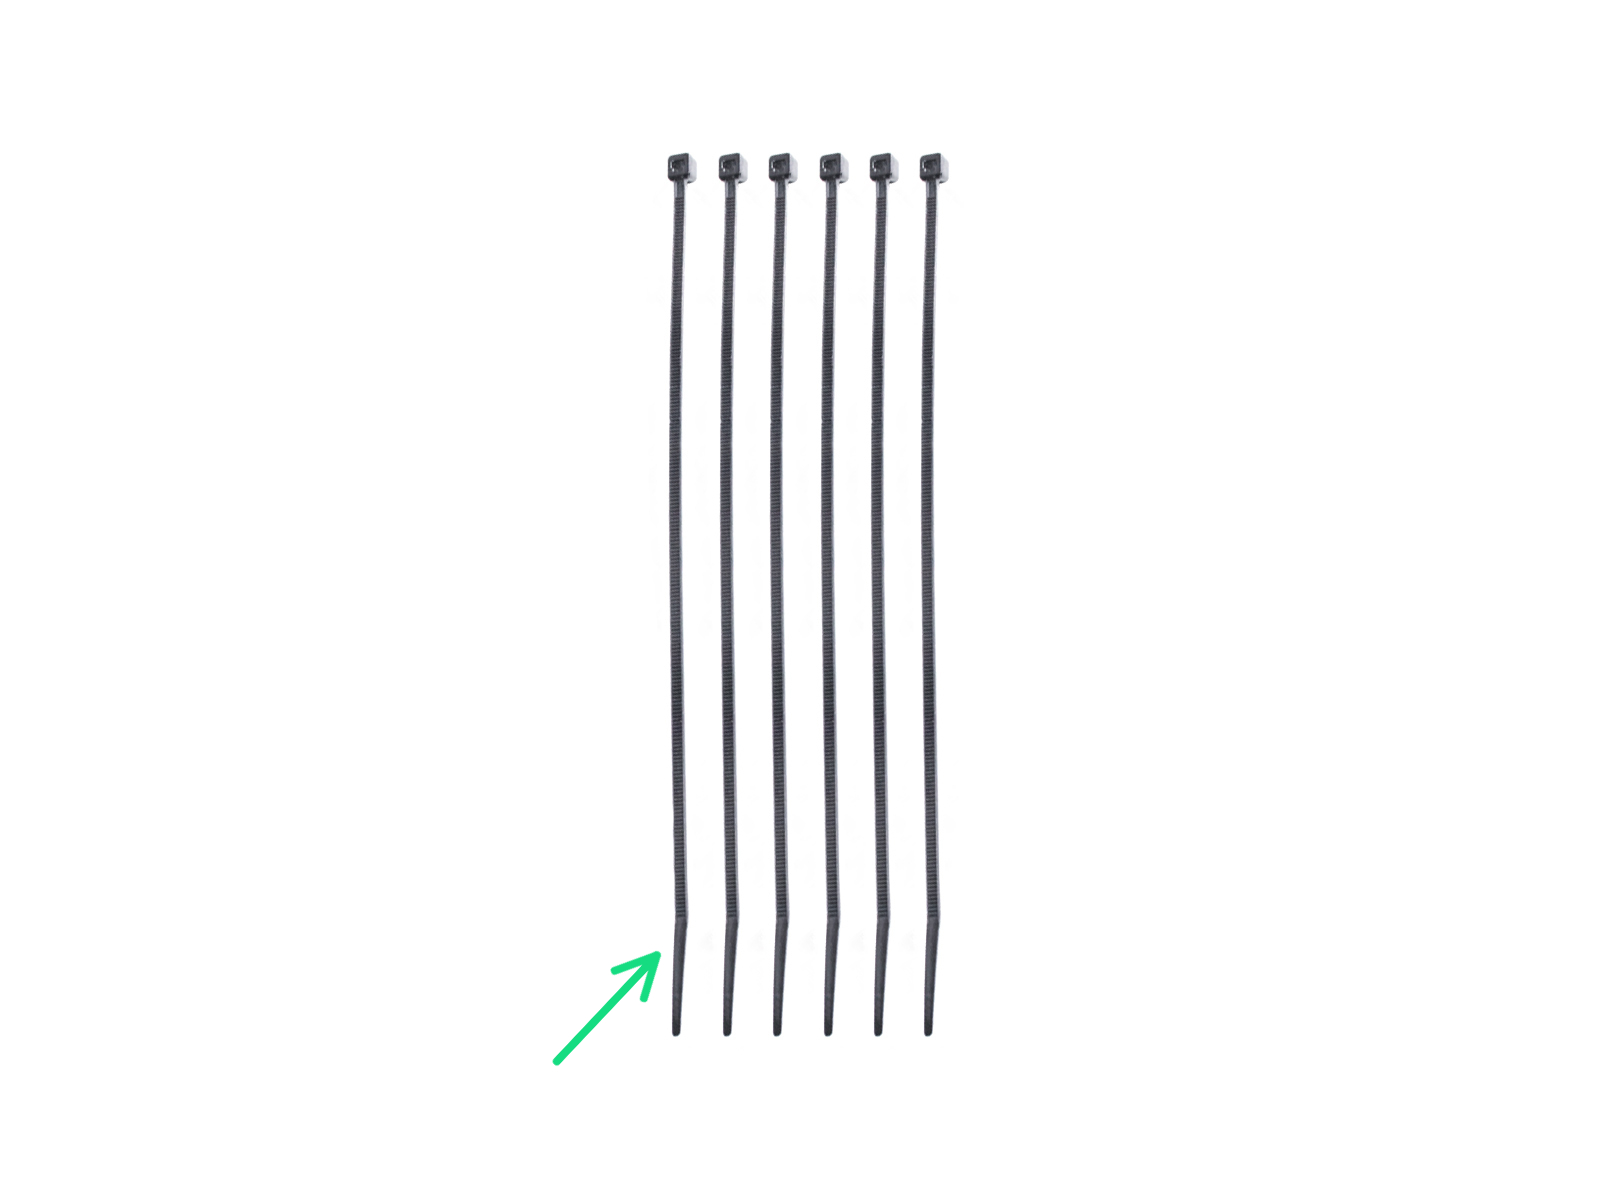
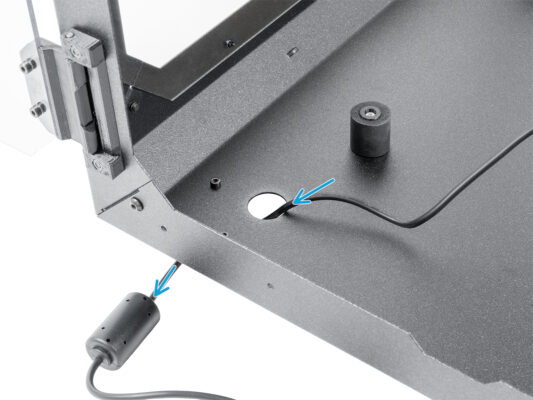
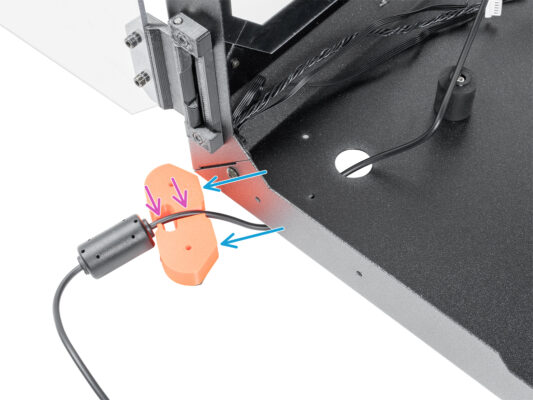
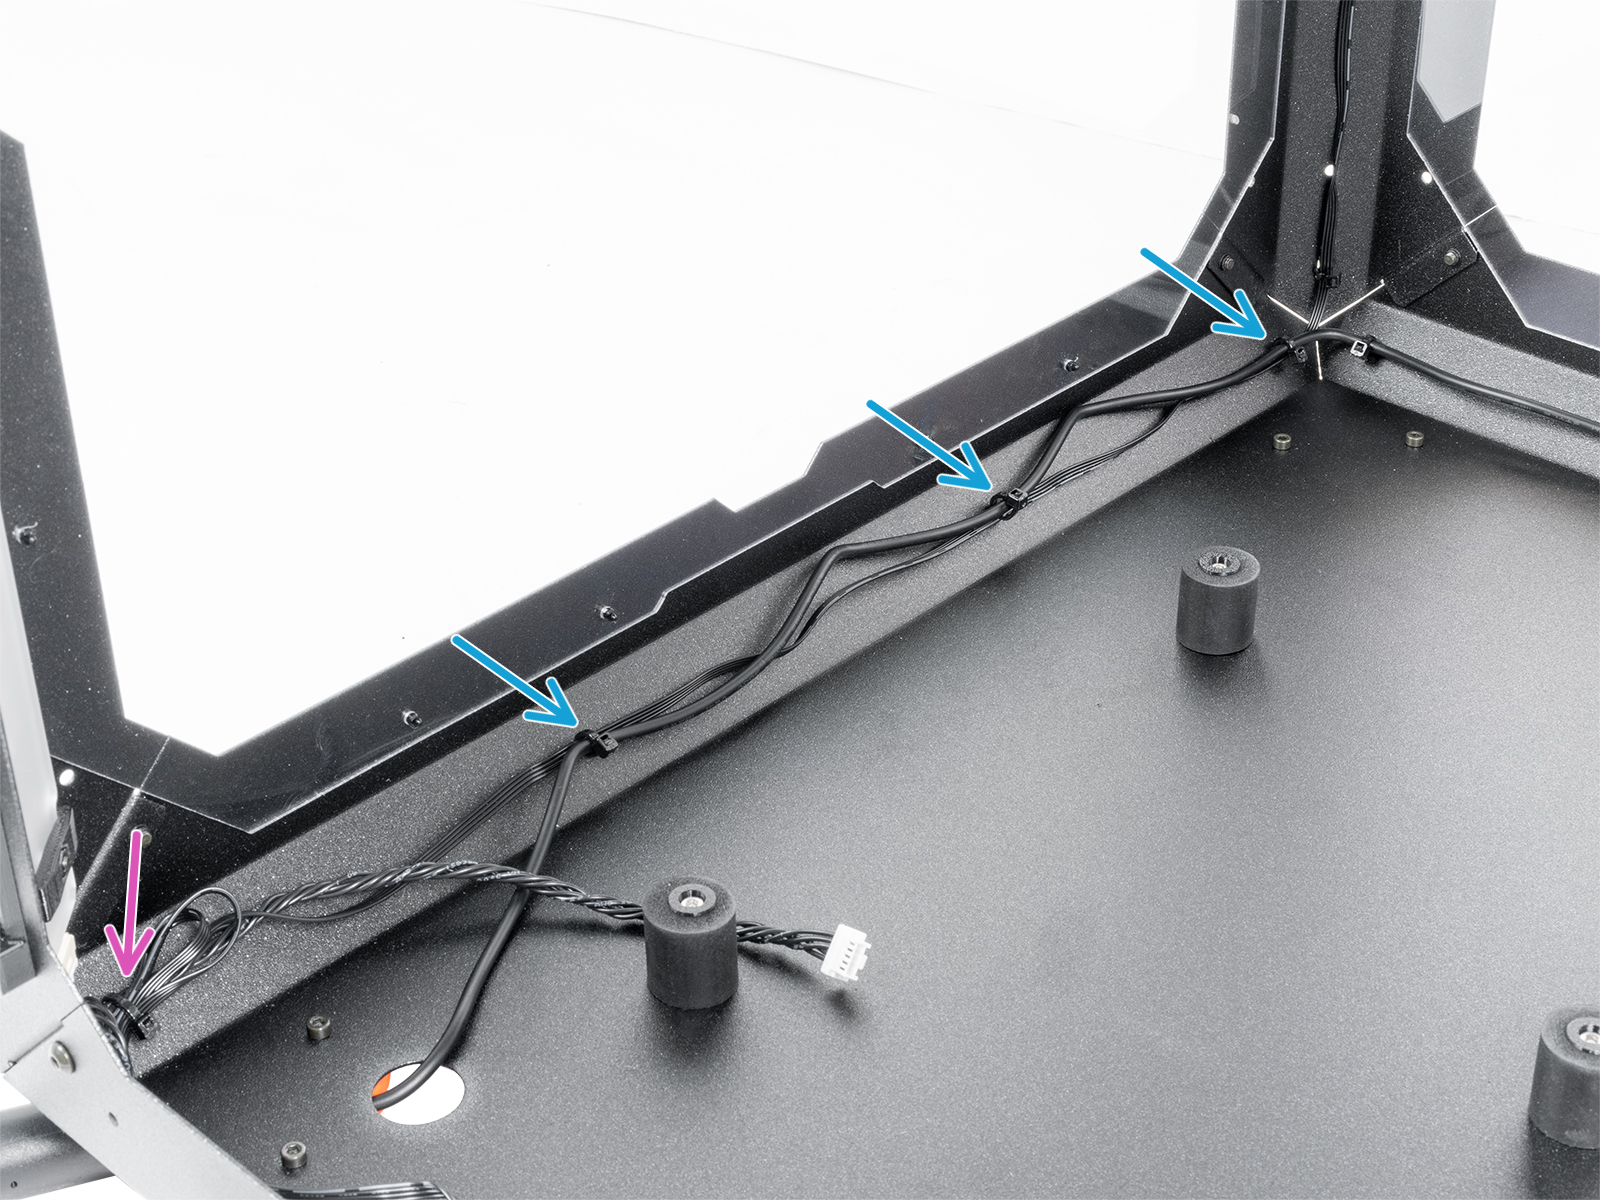
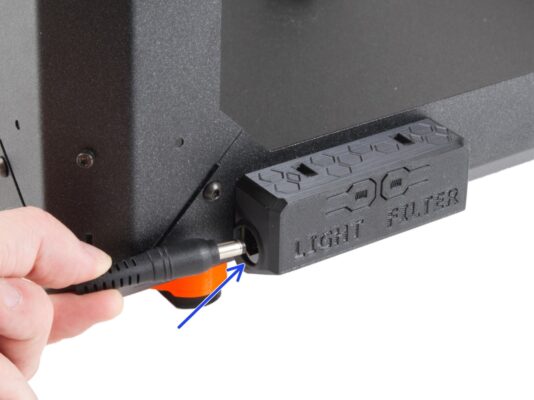
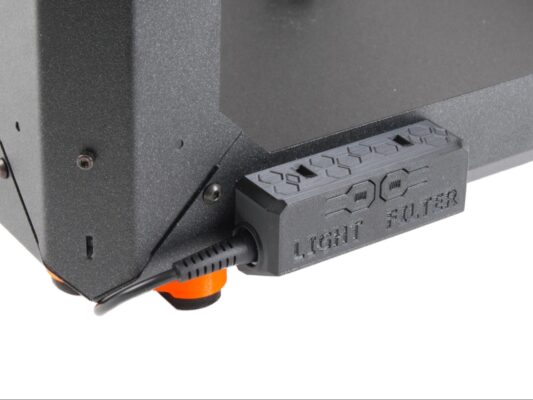
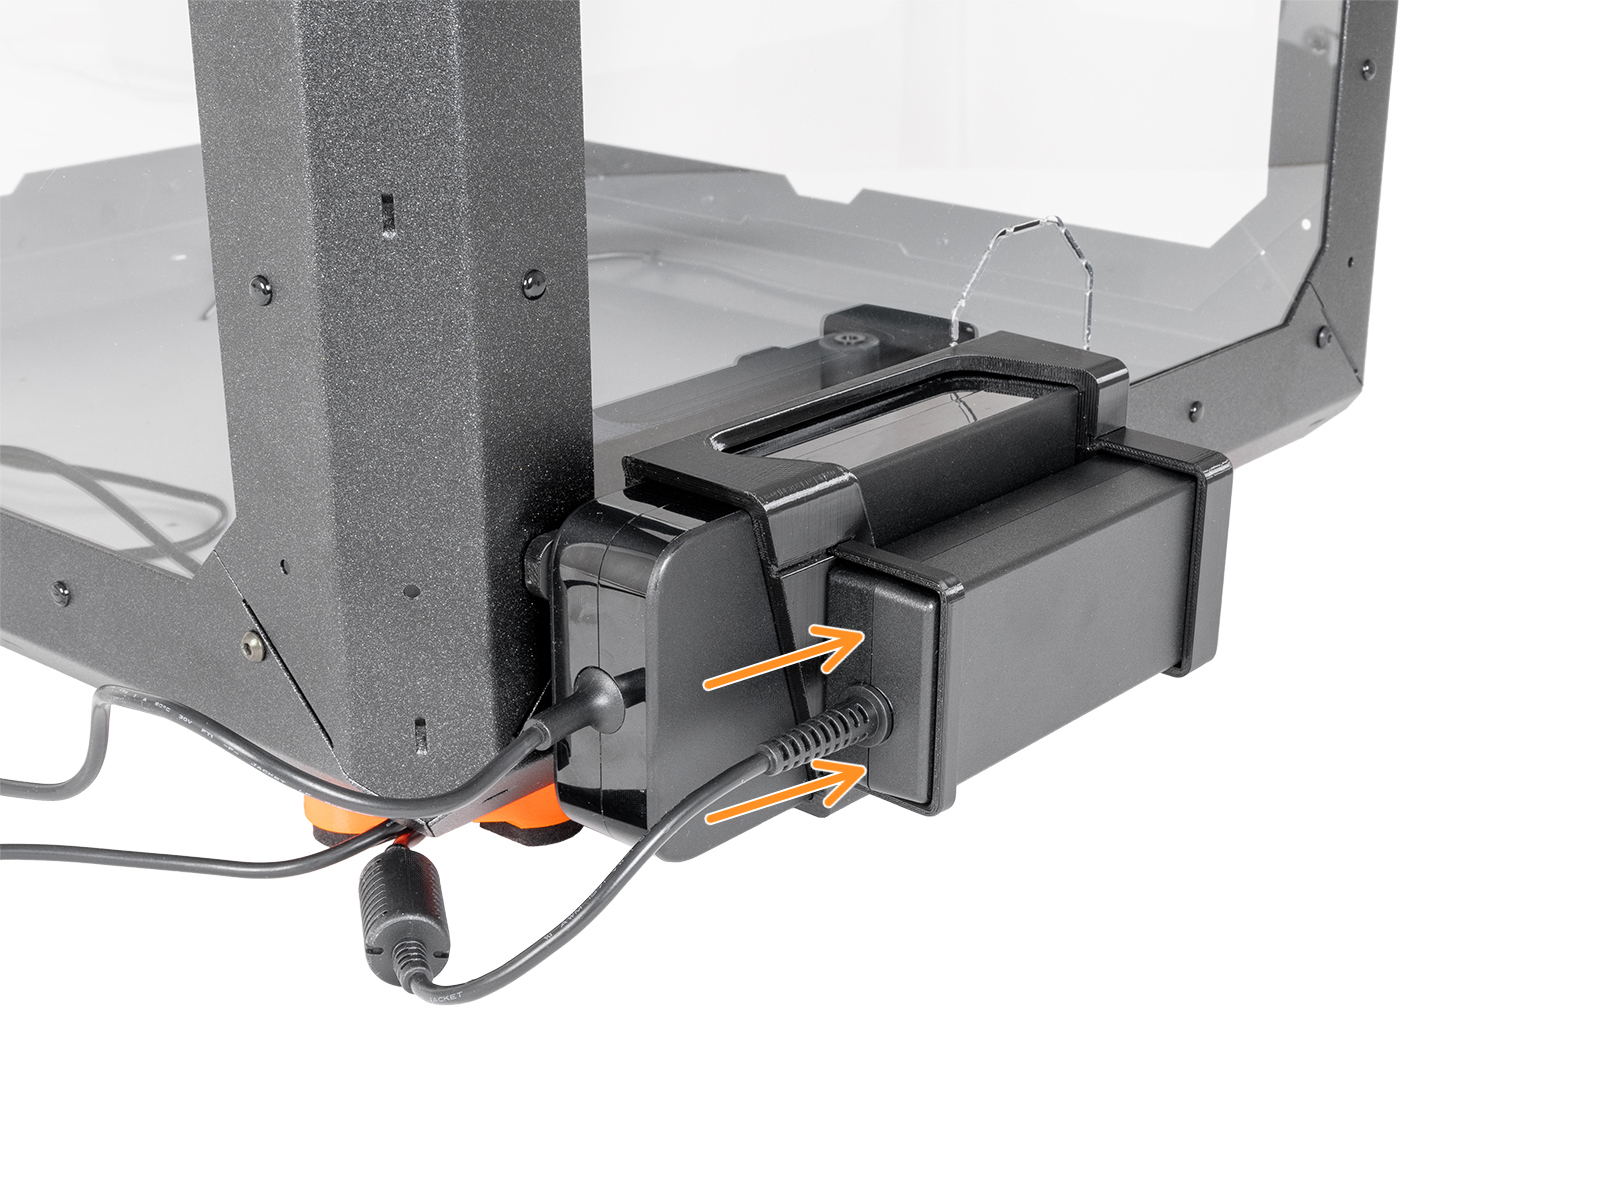
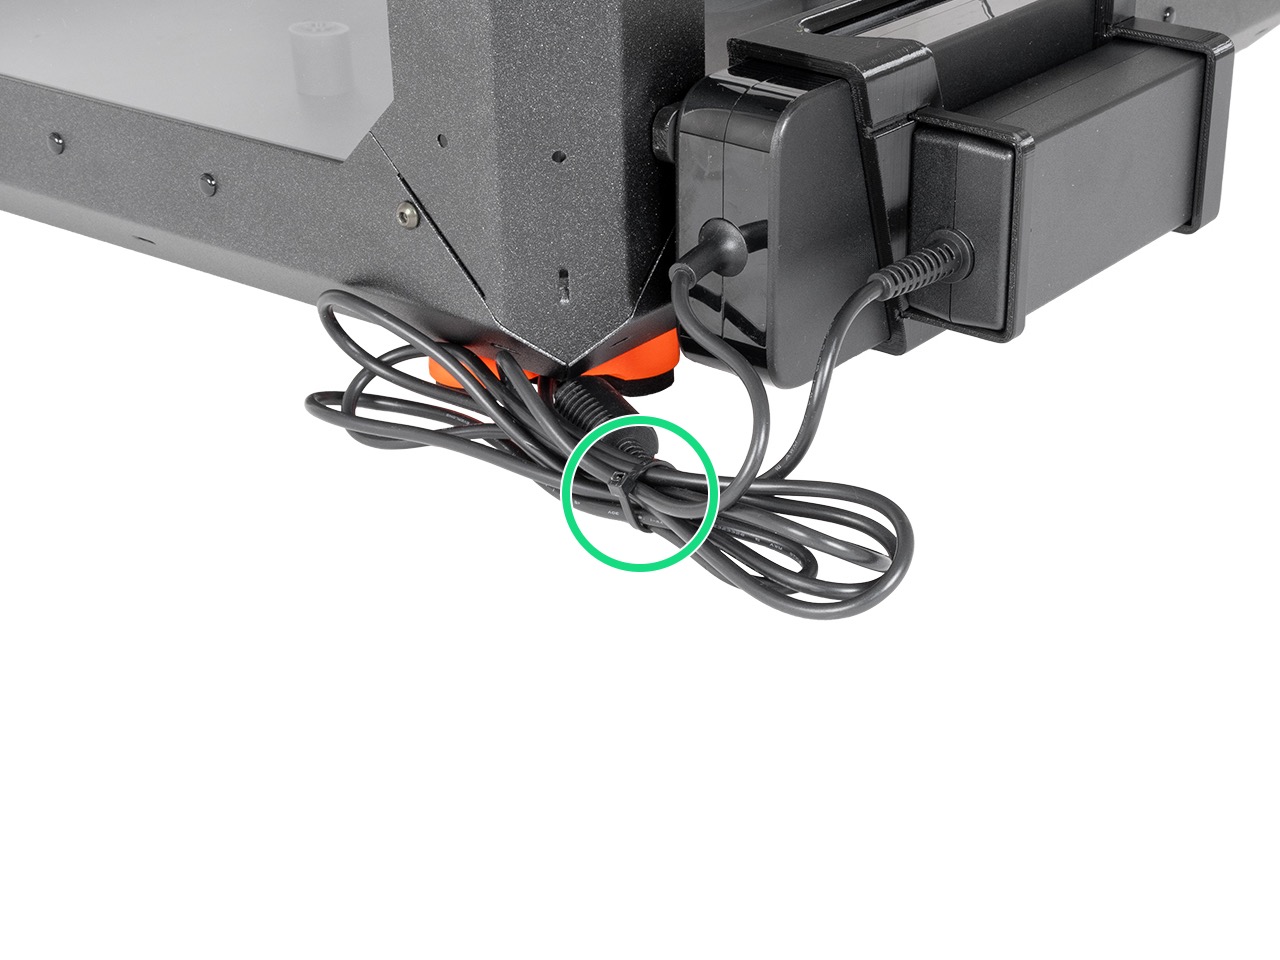
Veďte kabel napájecího zdroje podél levé strany Enclosure a zajistěte jej třemi stahovacími páskami.
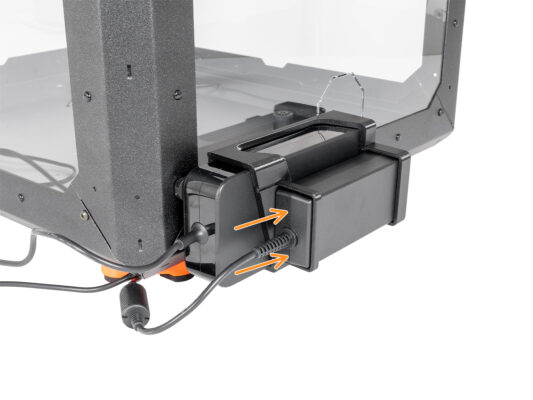
⬢Pokud jste nainstalovali pokročilý filtrační systém, veďte filtrační kabel společně s kabelem zdroje napájení. A zajistěte jej jednou další stahovací páskou v levém rohu.
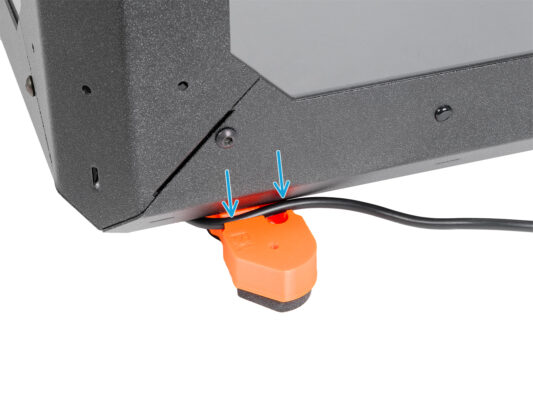
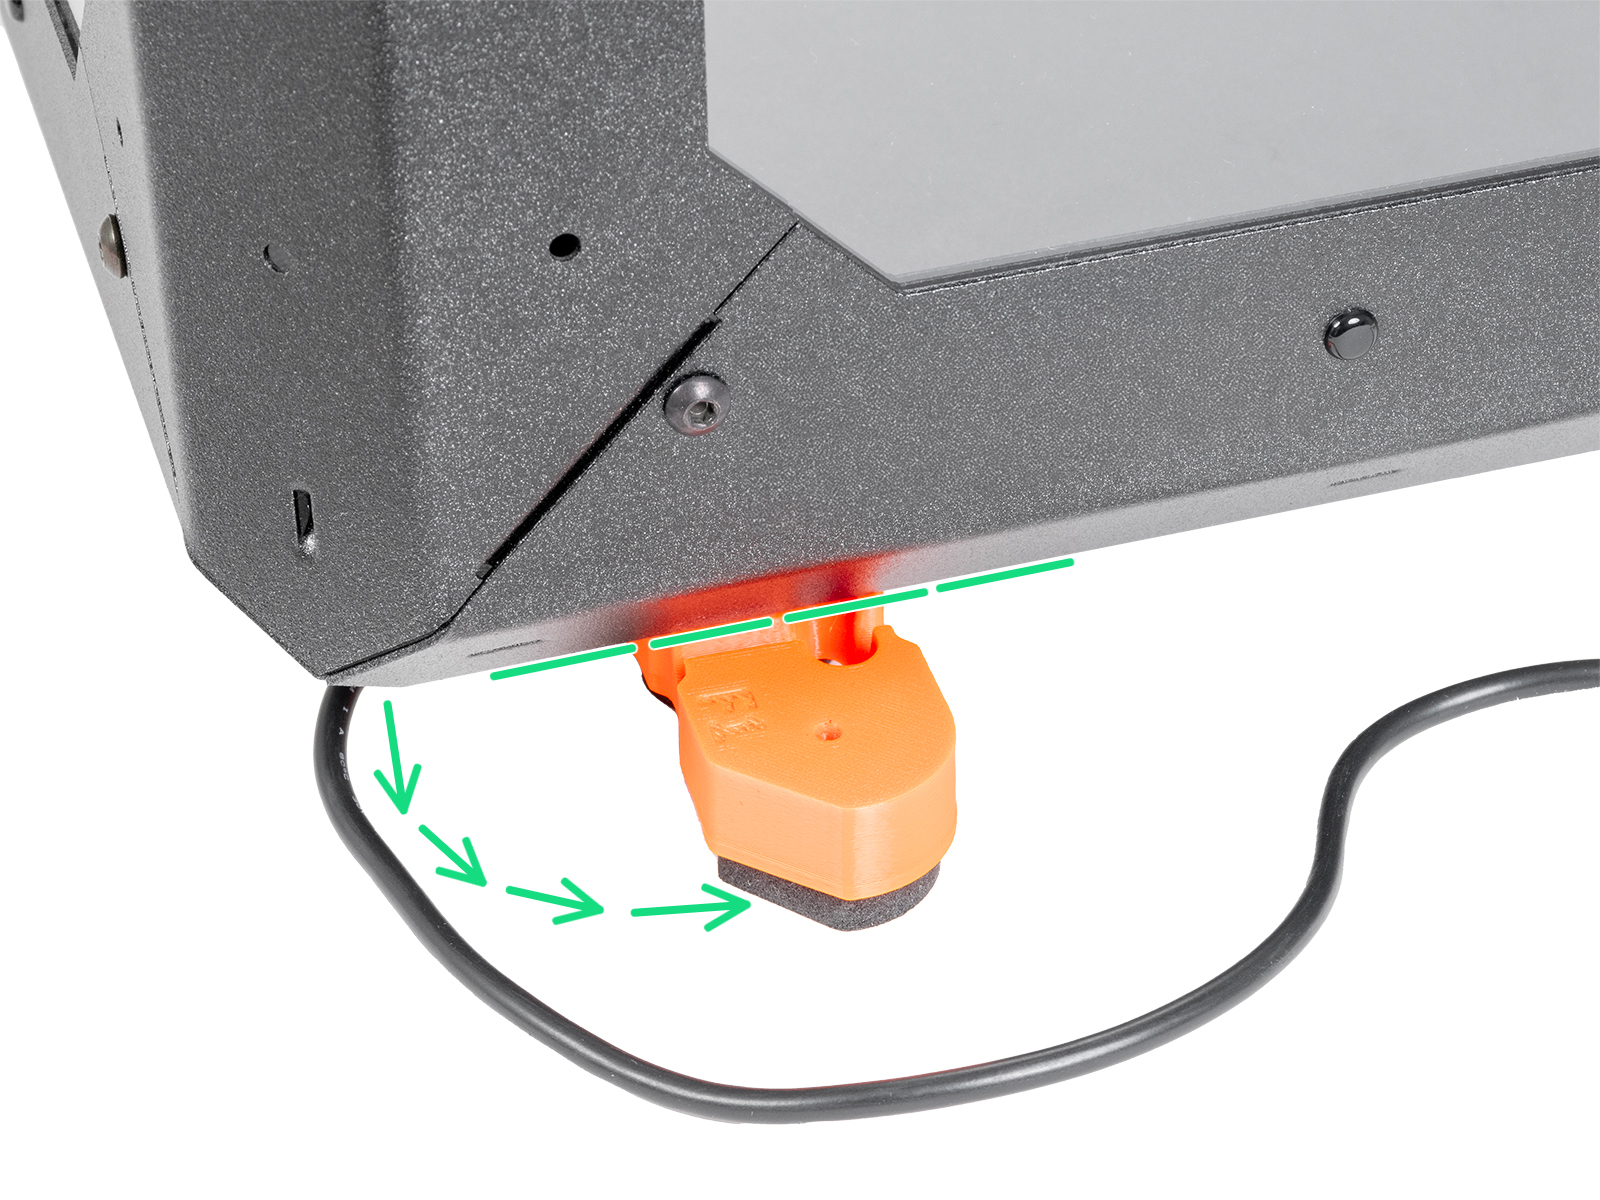
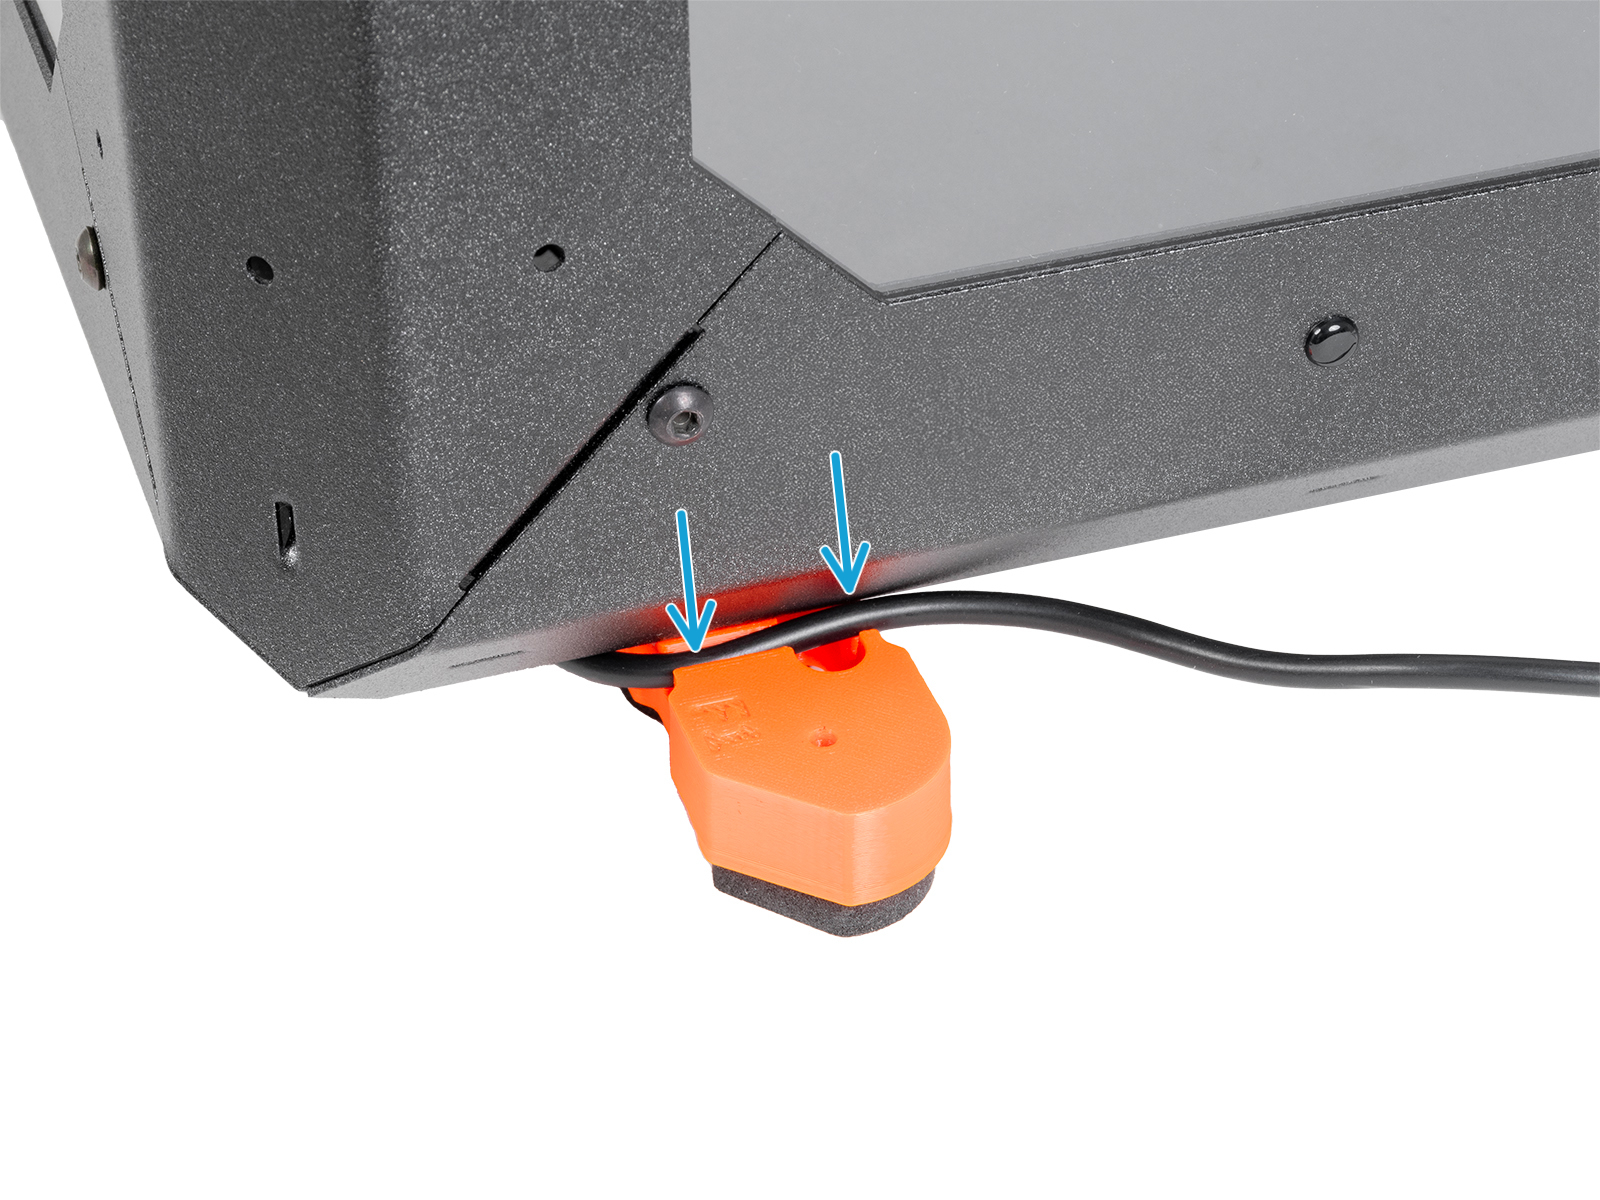
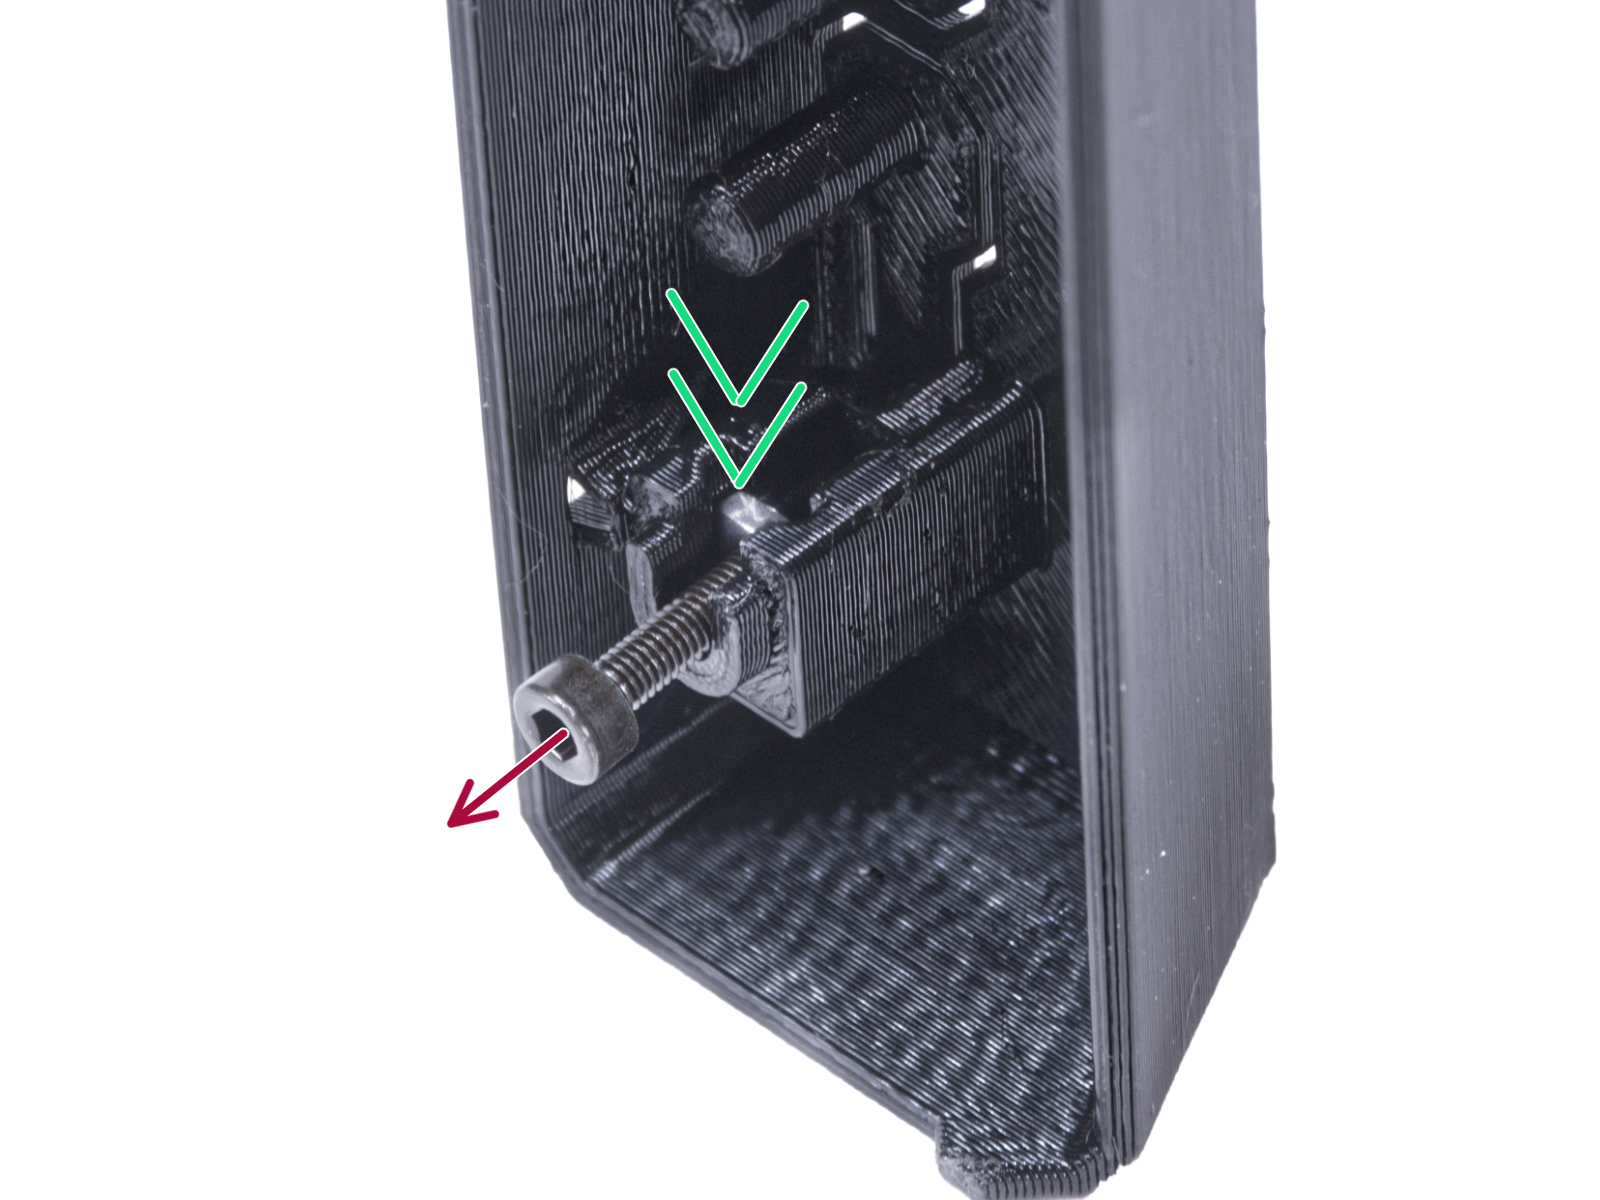
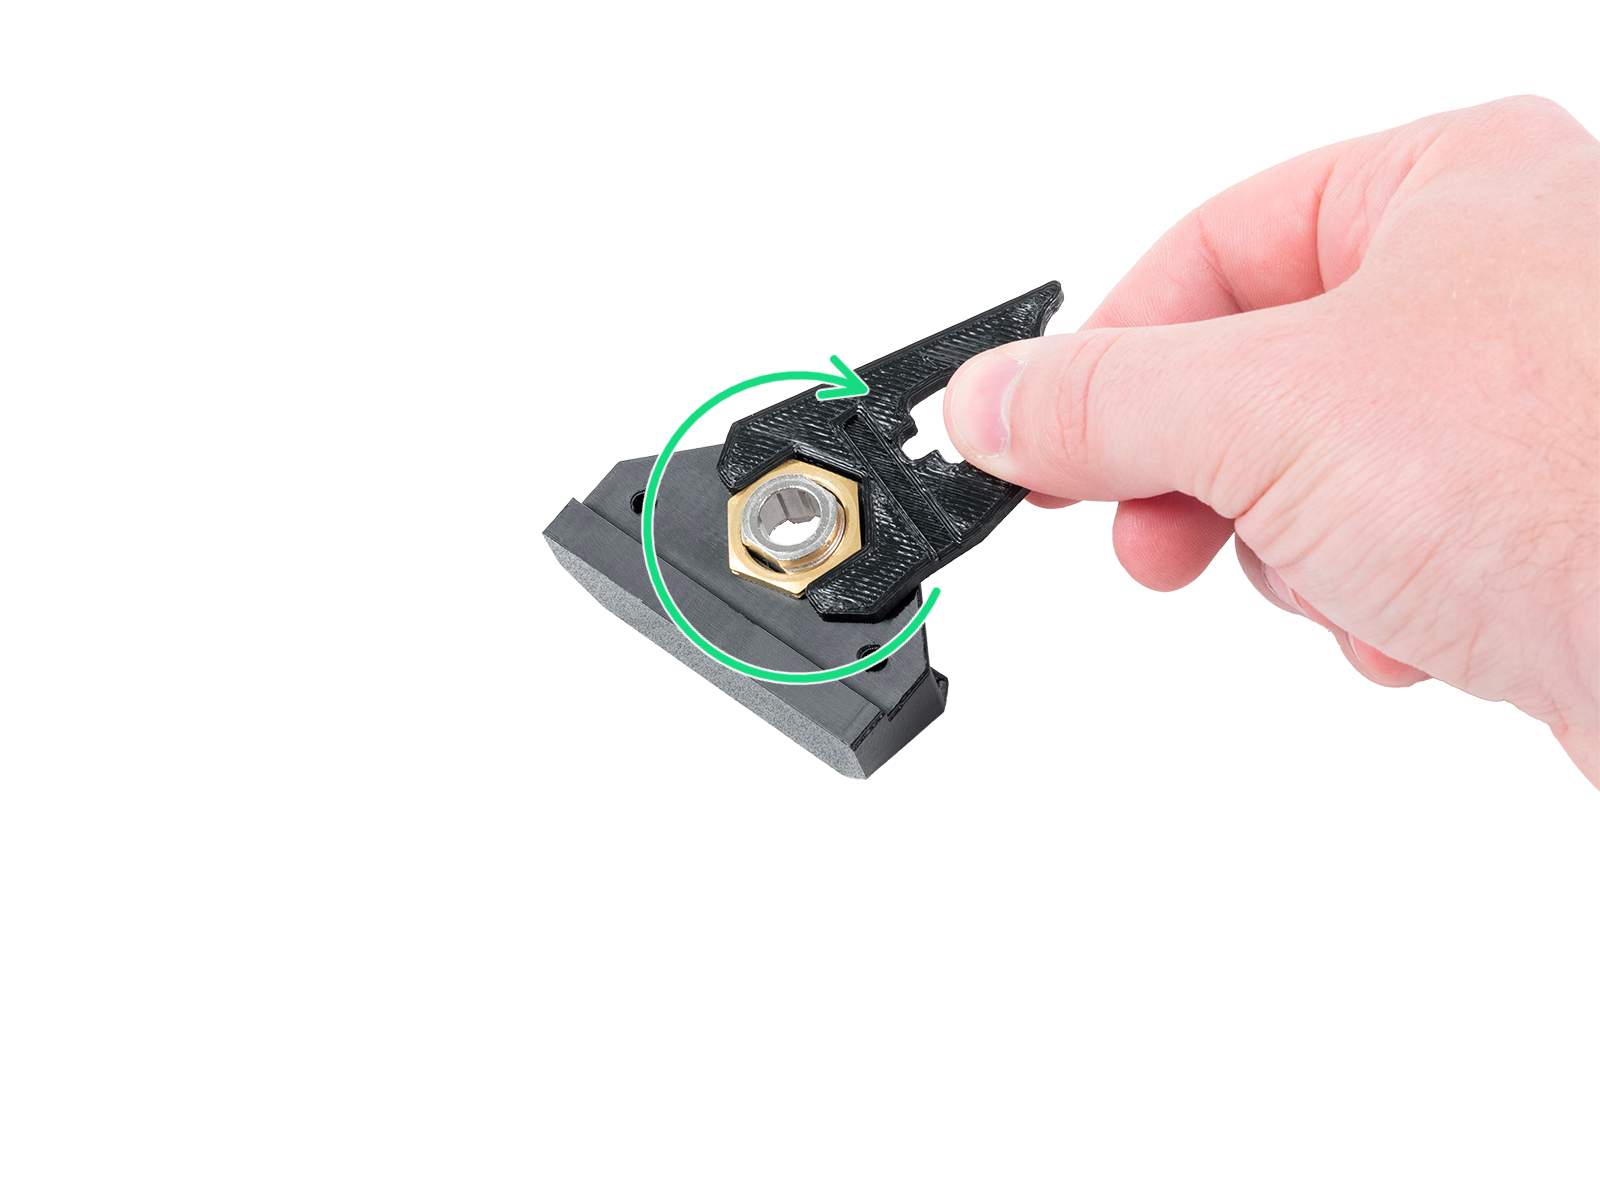
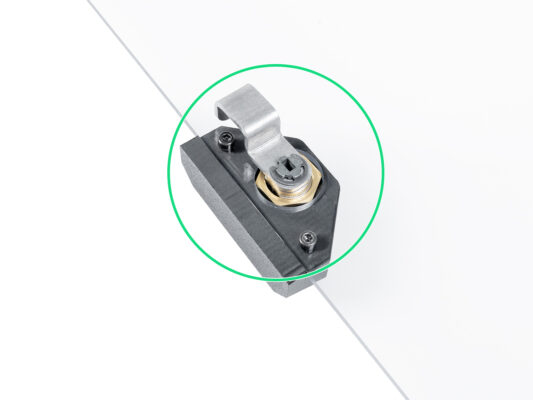
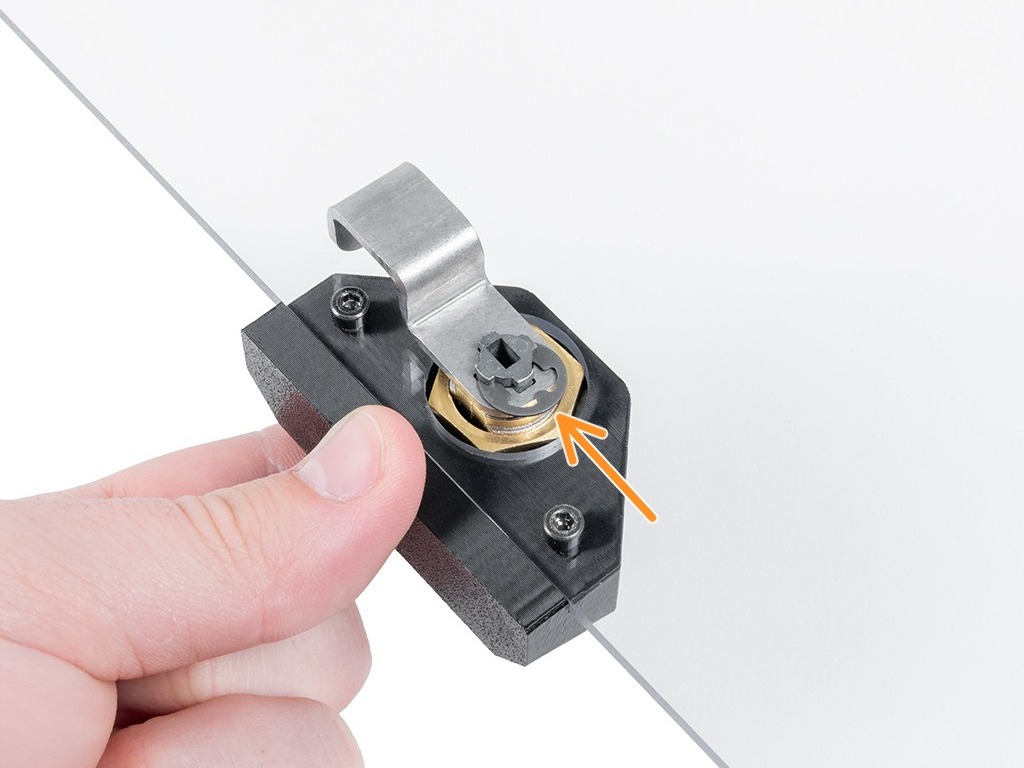
Zavřete patku do původní polohy a zarovnejte otvory.
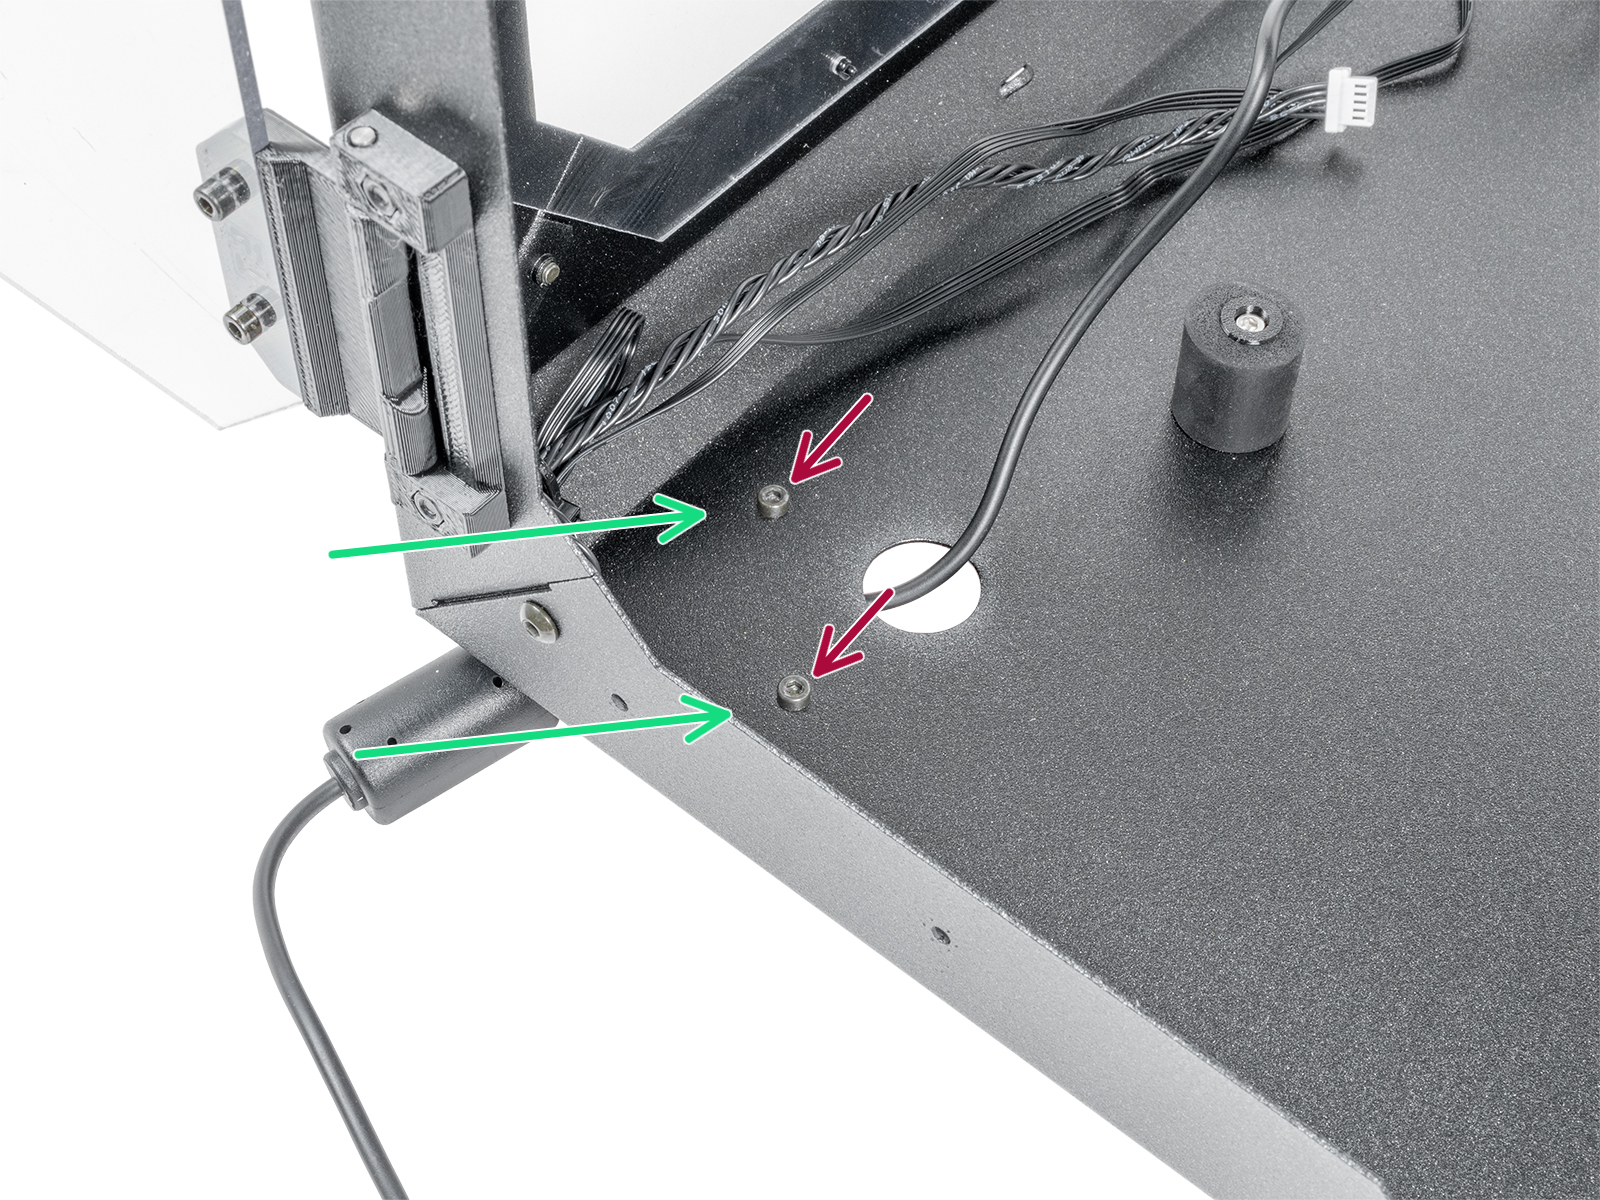
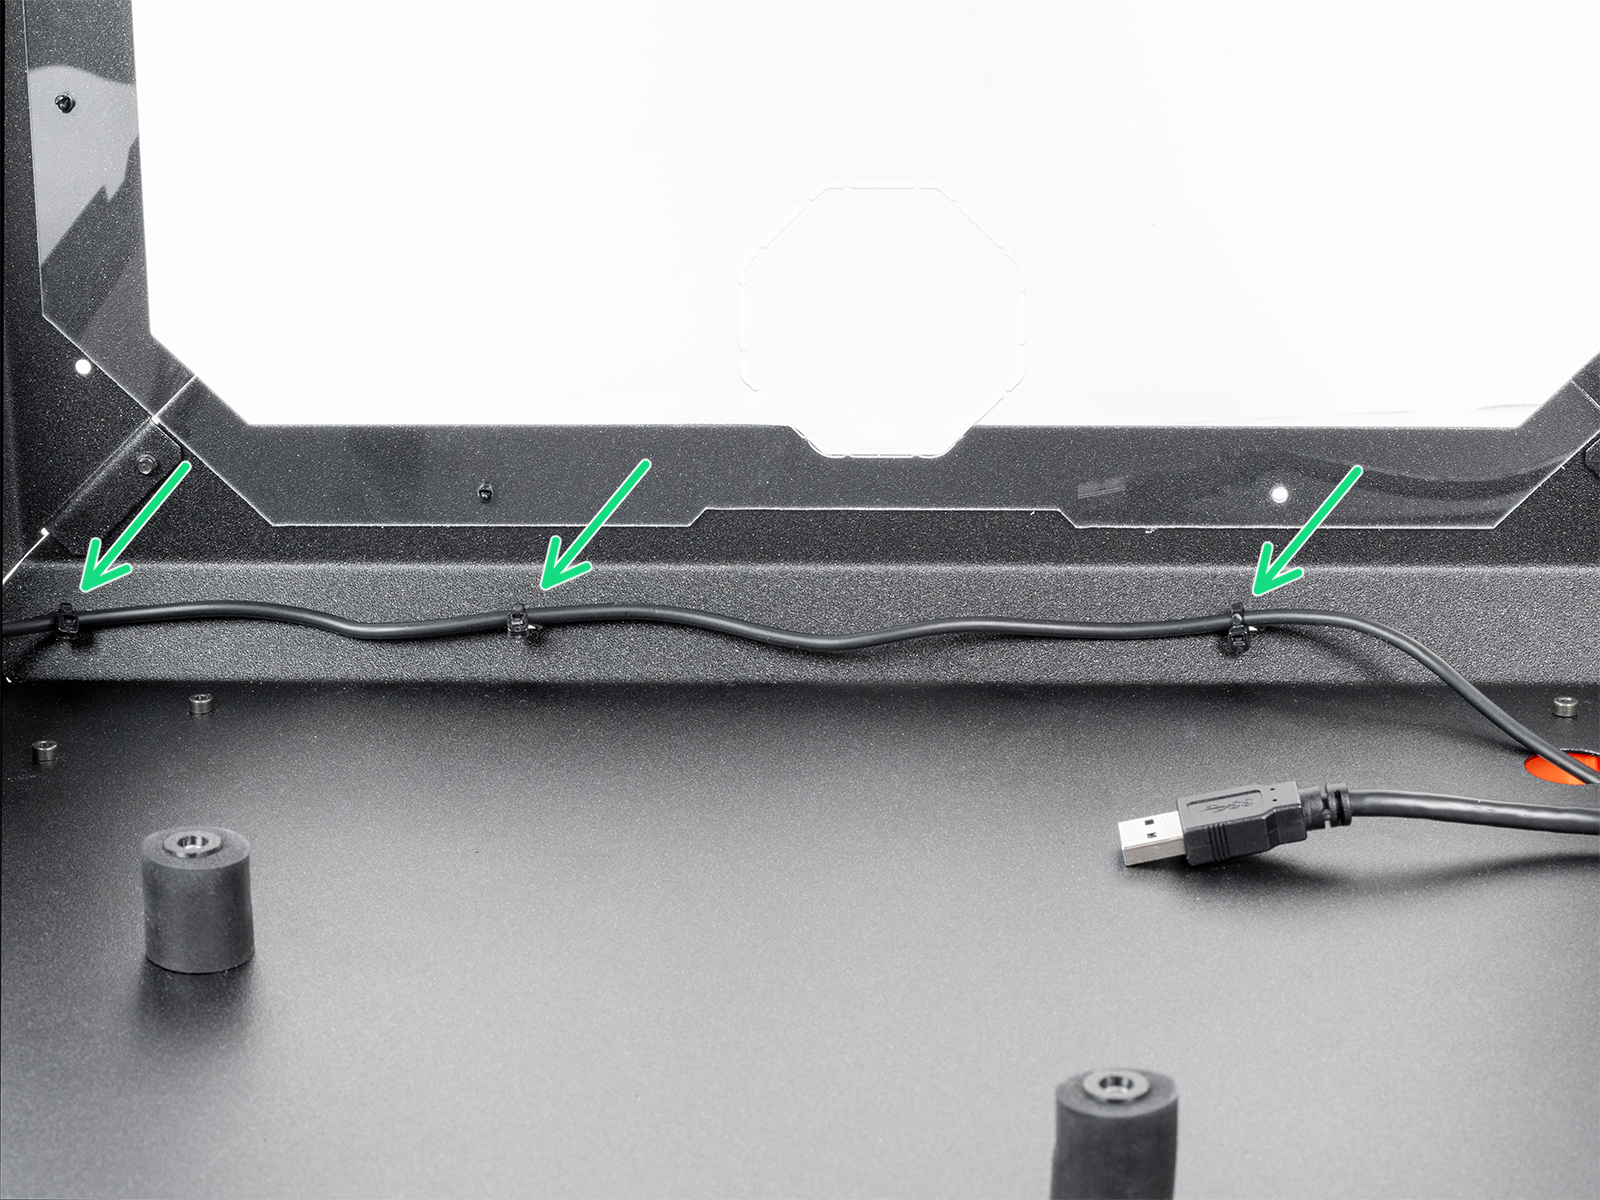
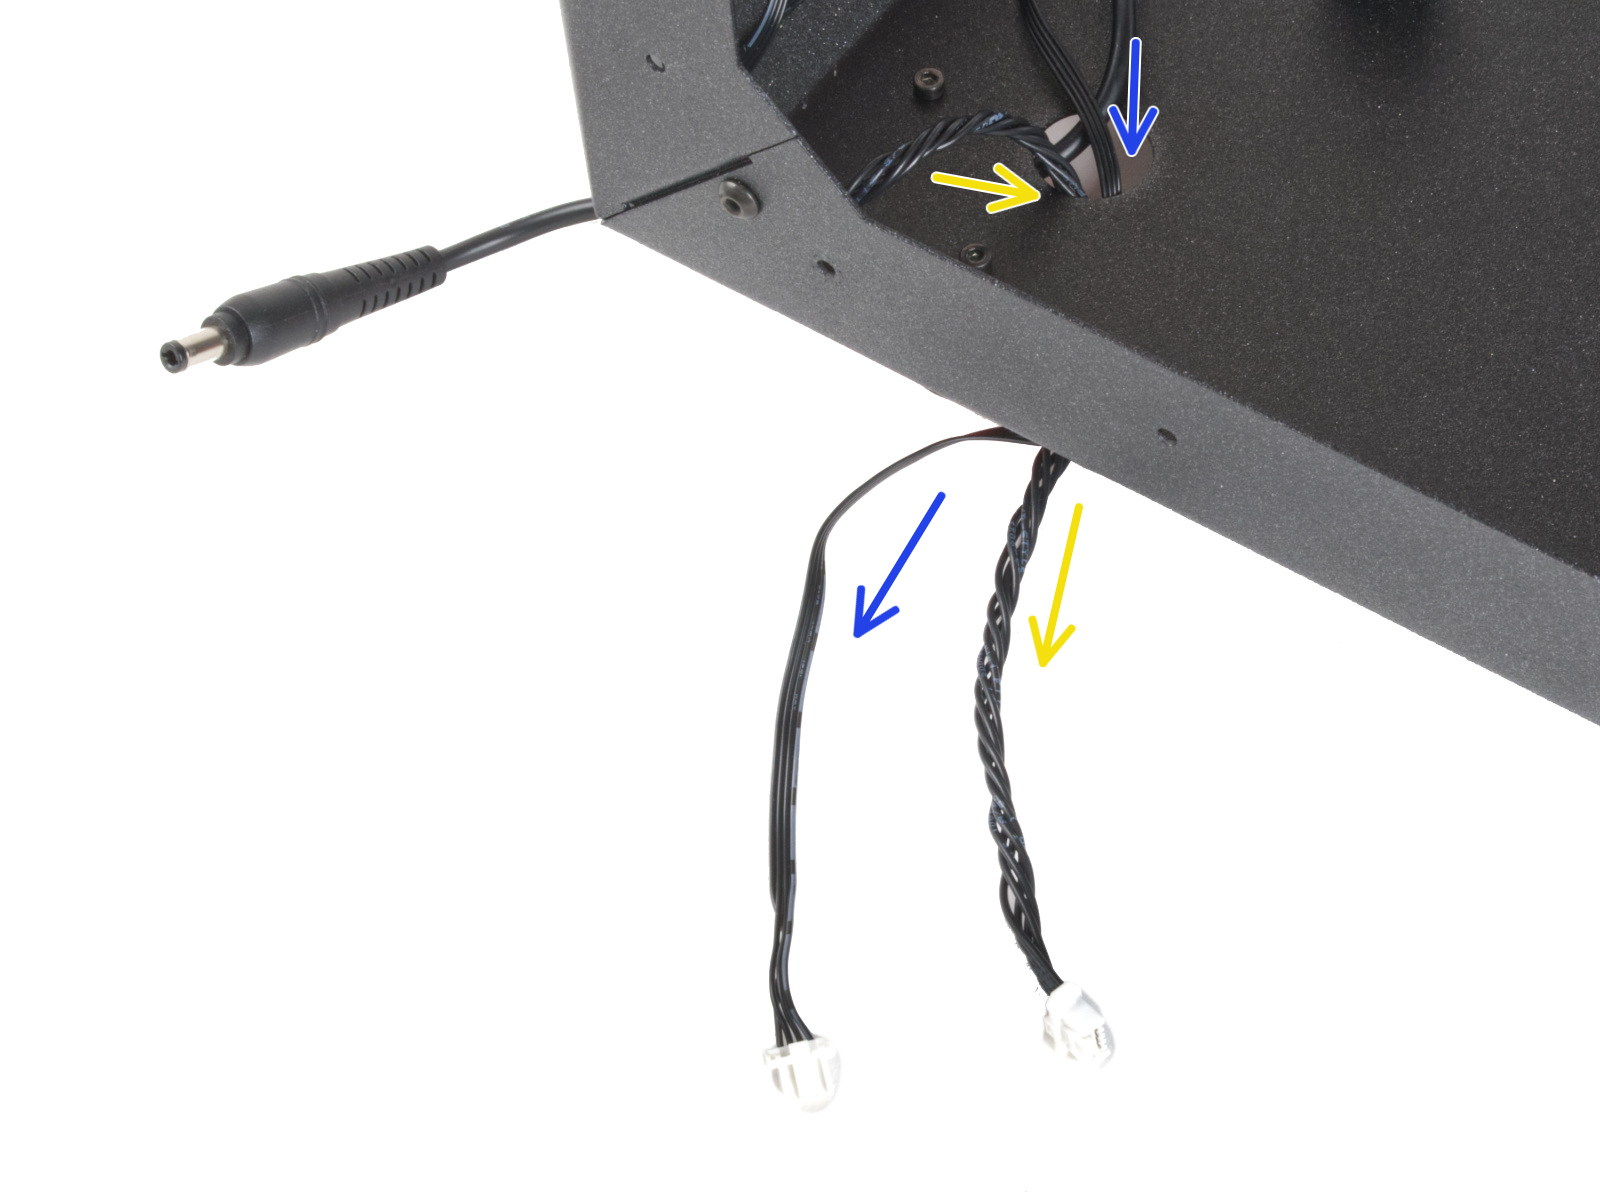
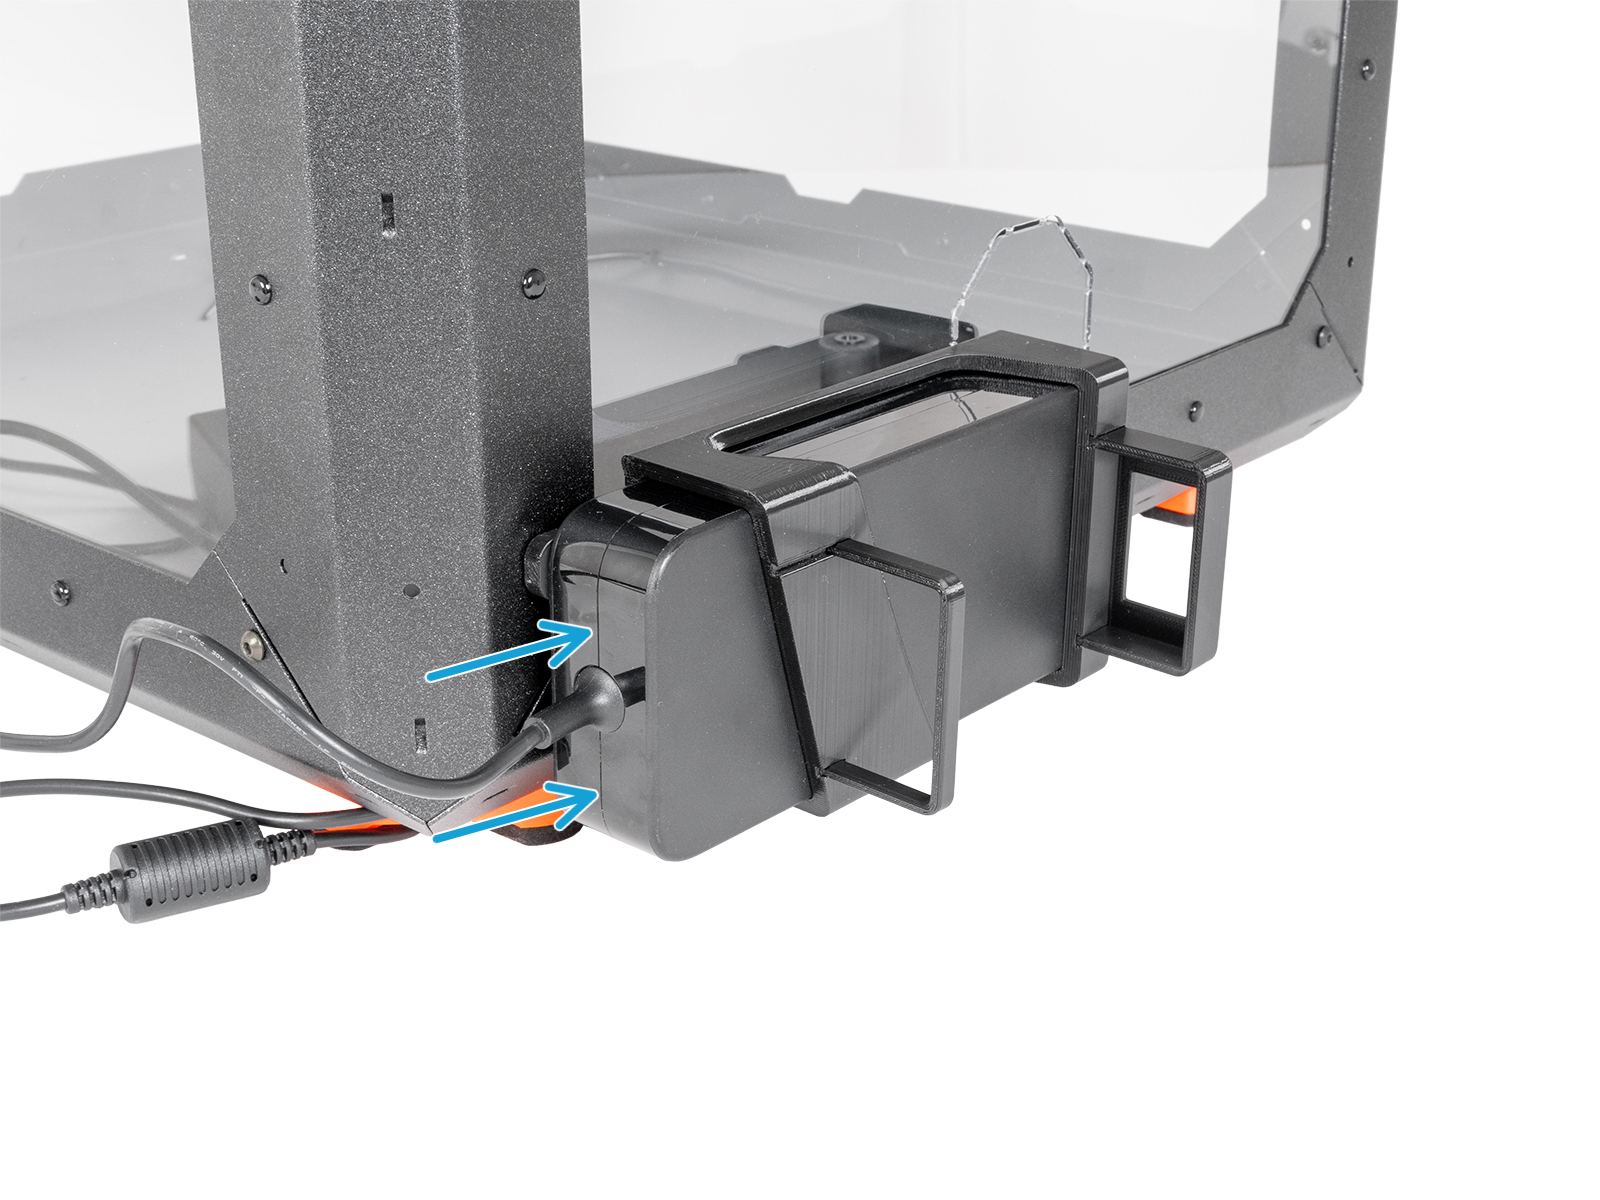
⬢Guide the cable along the rear side of the Enclosure and secure it using three zip ties through the perforations. Do not overtighten the zip ties, you can damage the cable.
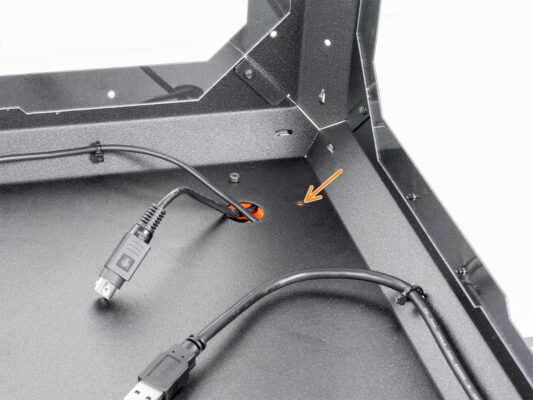
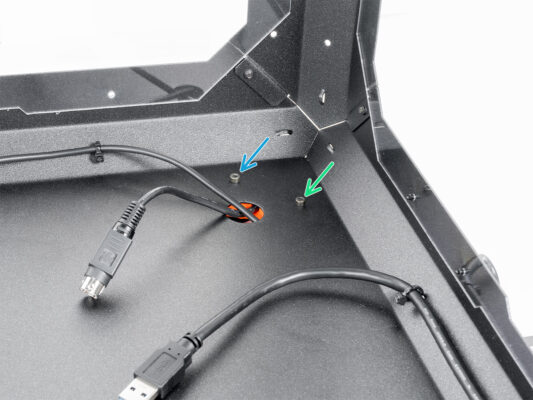
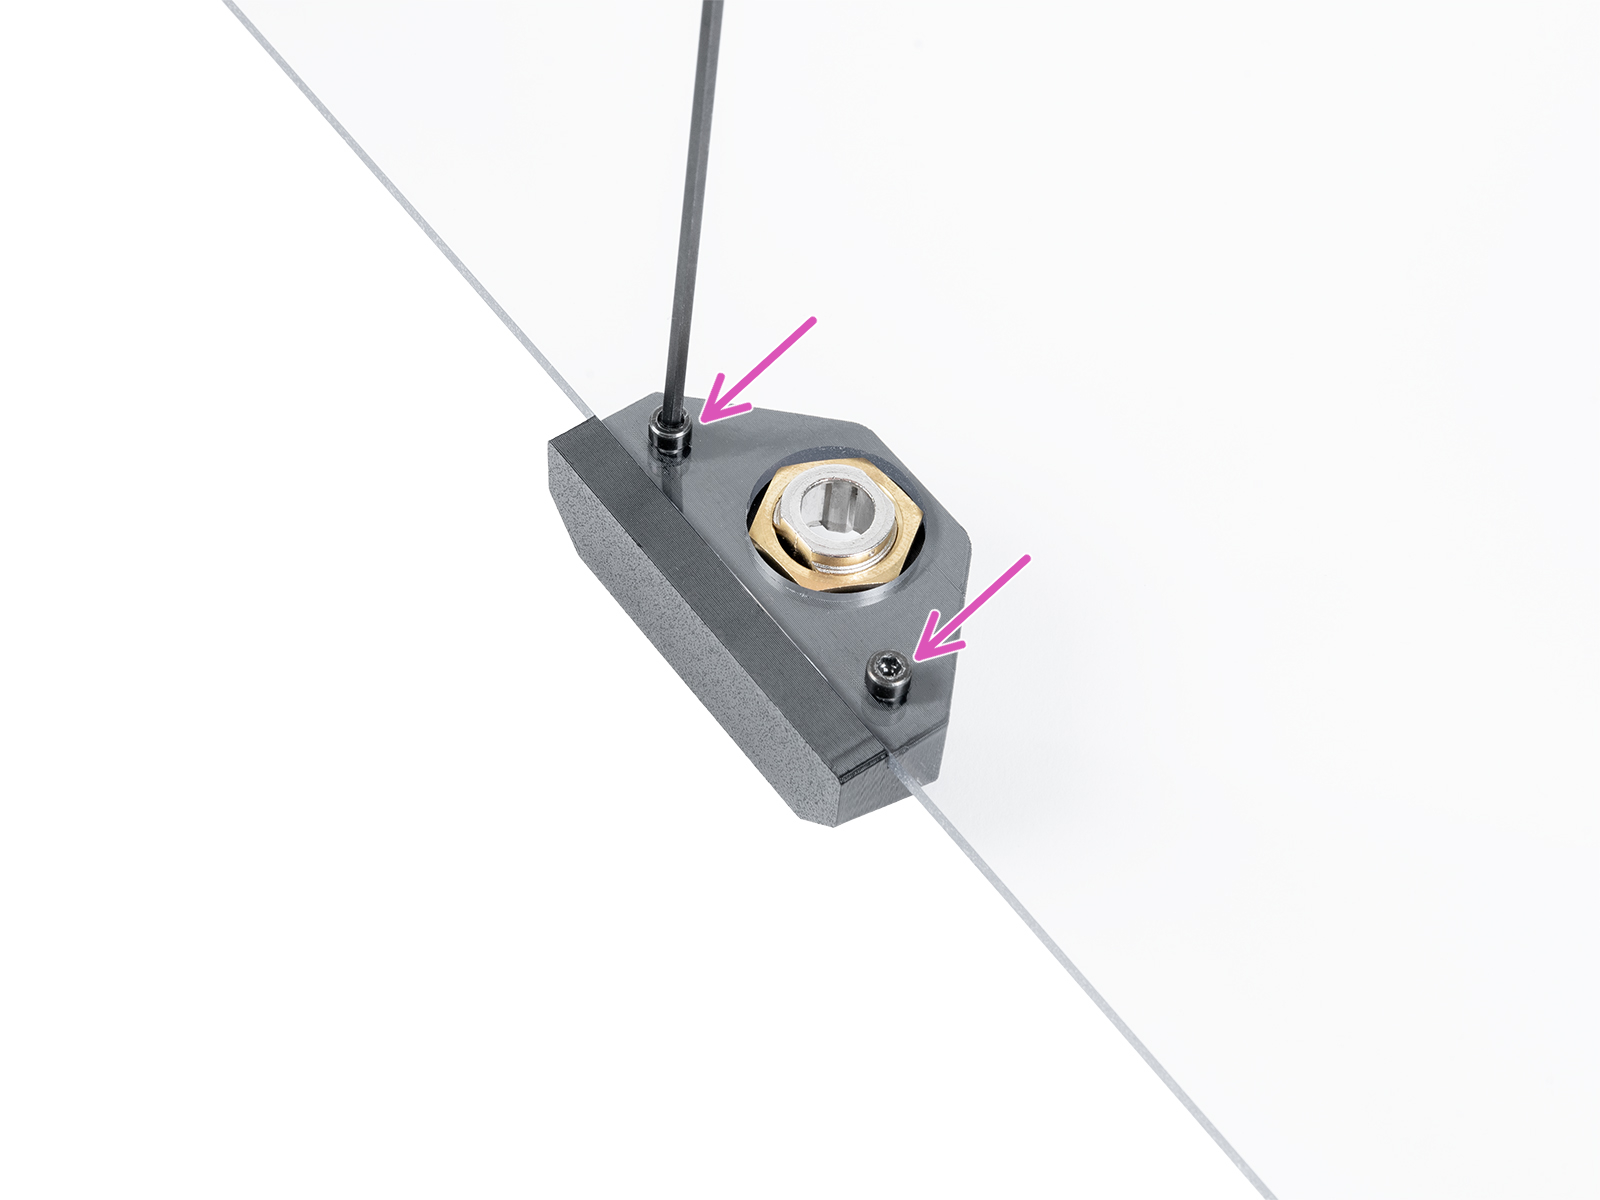
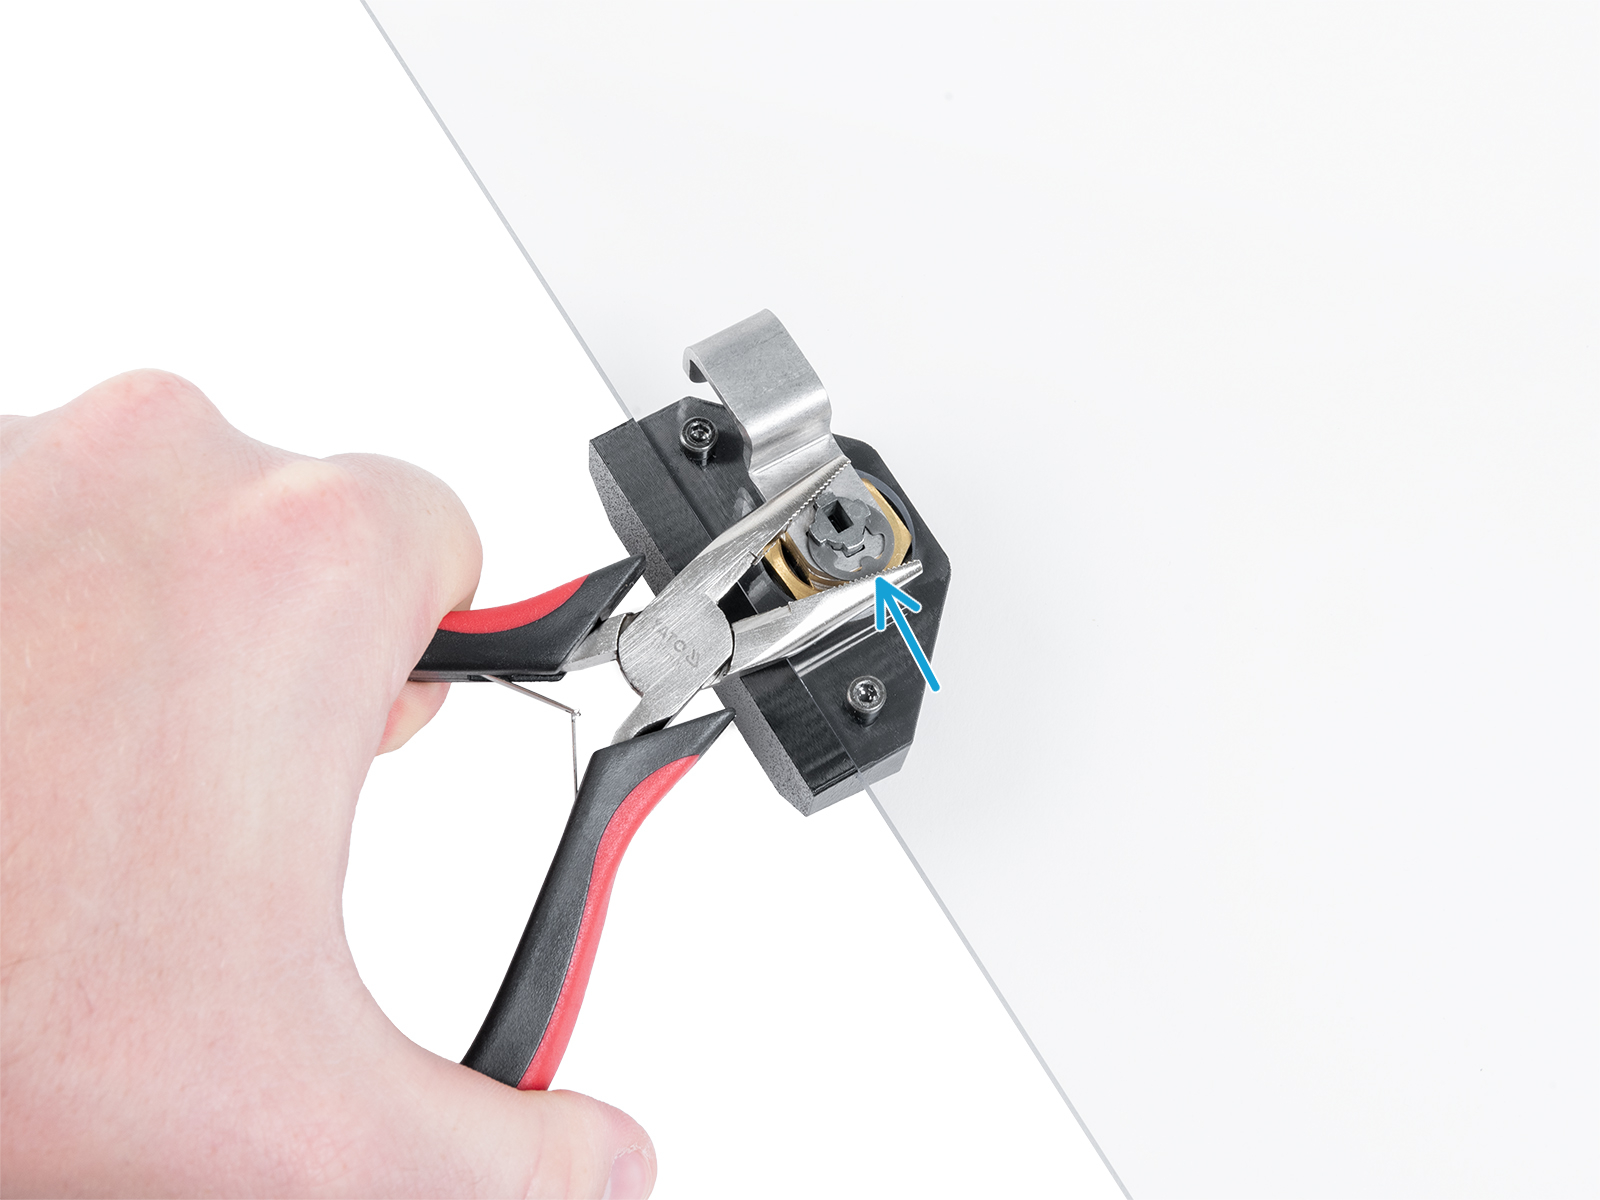
⬢Utáhněte levý šroub.
⬢Pokud jste nainstalovali pokročilý filtrační systém, veďte filtrační kabel společně s kabelem zdroje napájení. A zajistěte jej jednou další stahovací páskou v levém rohu. Stahovací pásku příliš neutahujte, můžete kabely poškodit.
Následující kroky jsou určeny pouze pro majitele LED pásku a Pokročilého filtračního systému. Prostor pro menší PSU je pro ty, kteří mají přídavný zdroj. Pokud jej nemáte, přejděte na Závěsy dvířek: příprava dílů
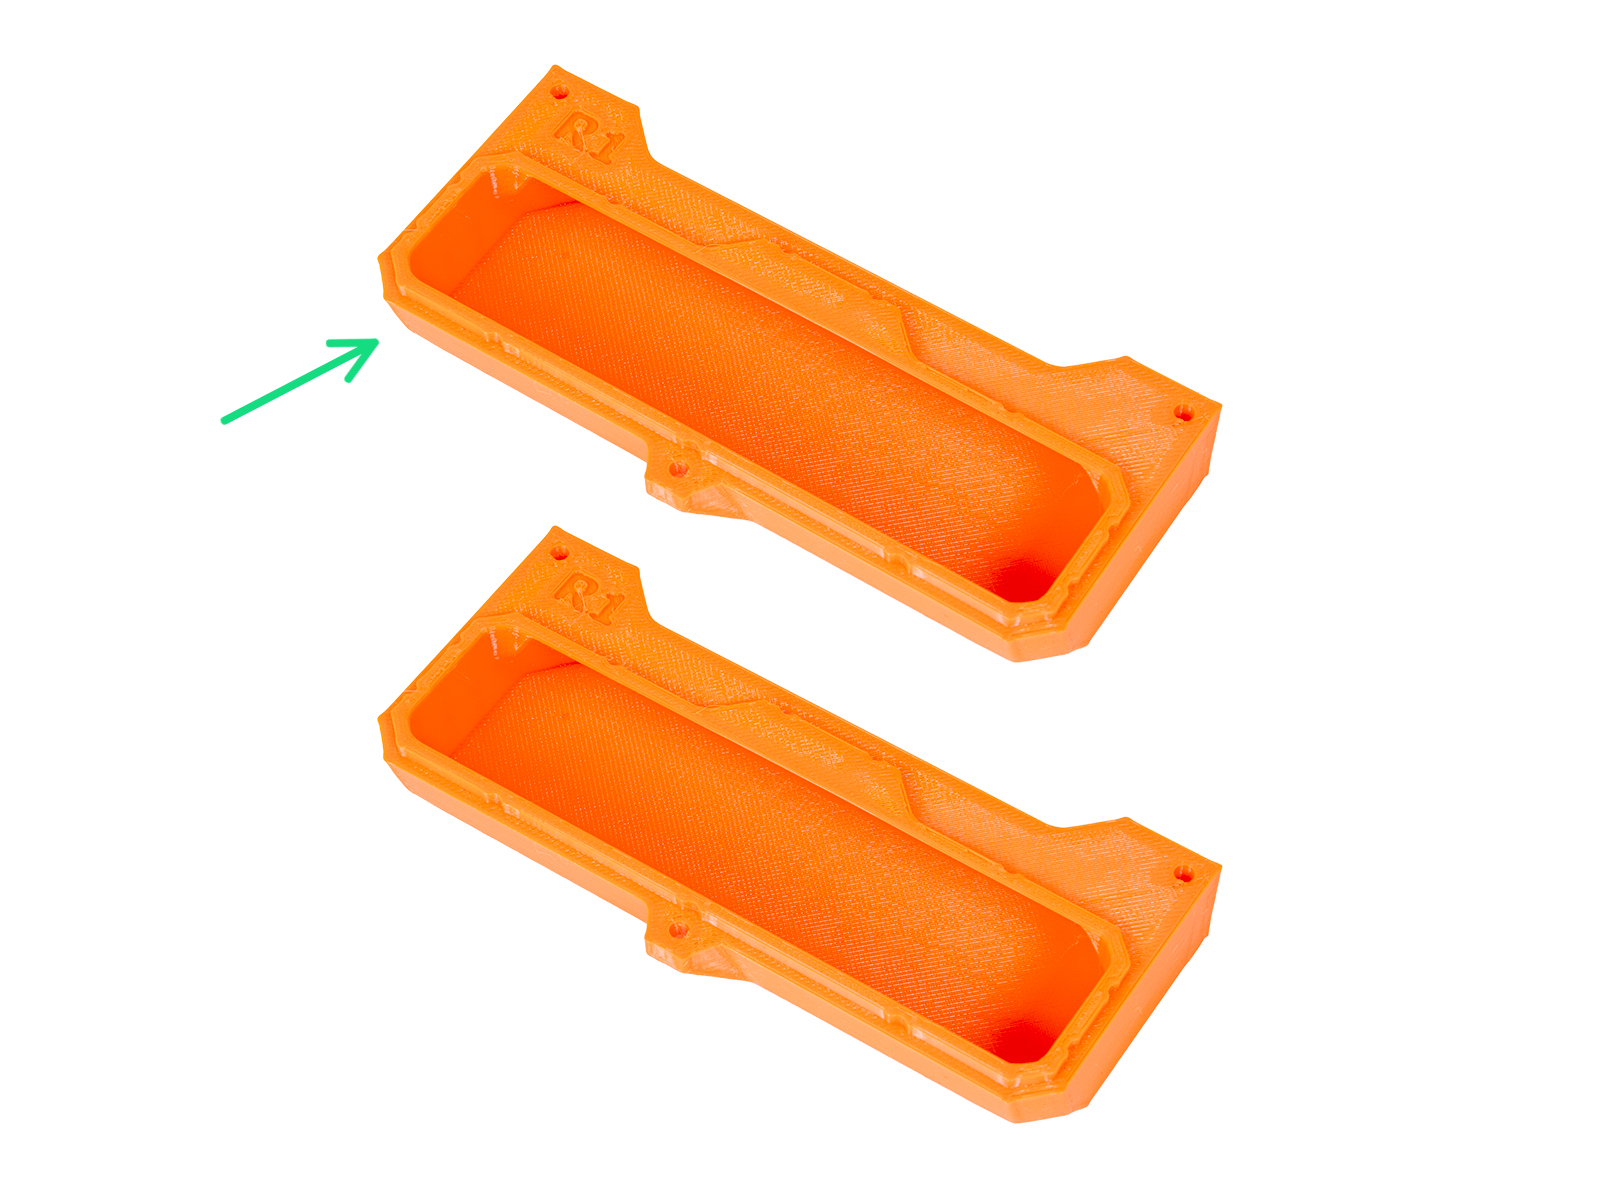
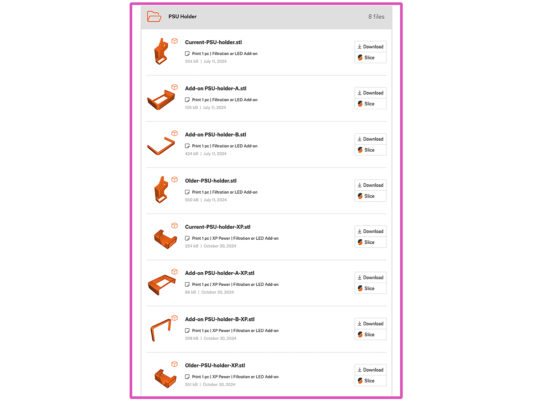
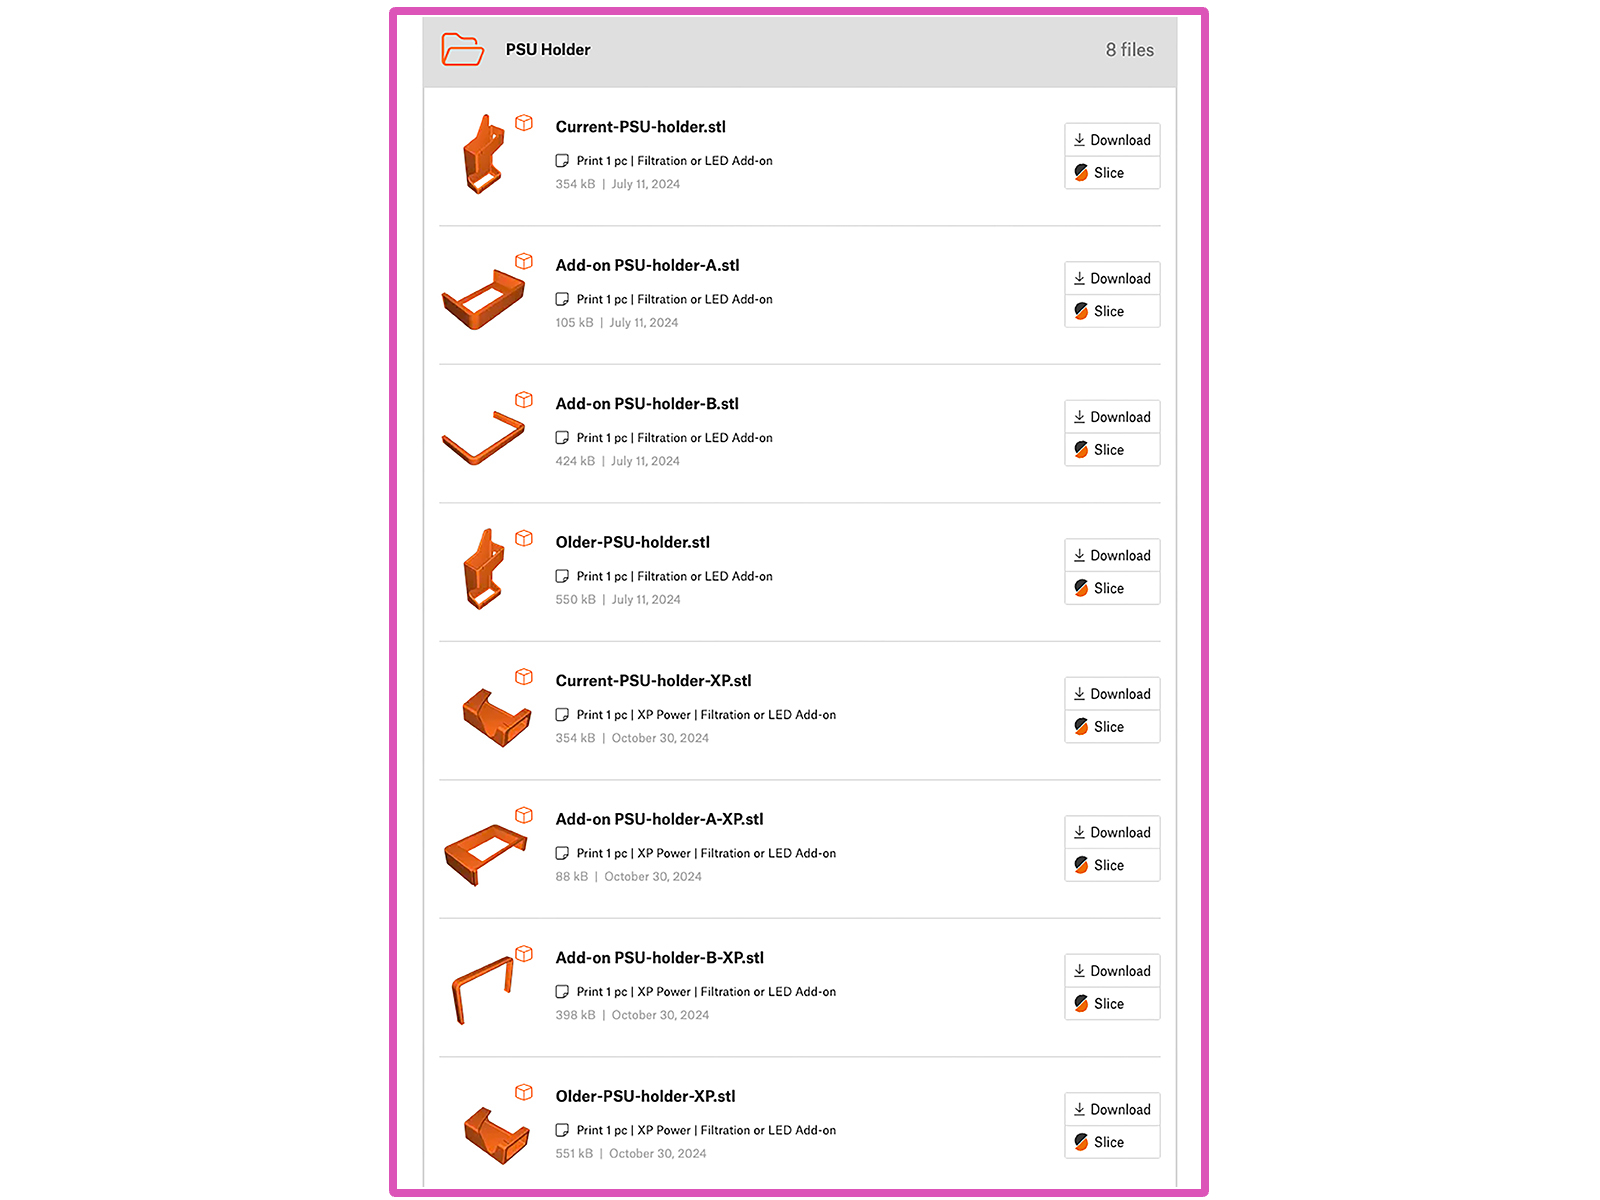
⬢PSU holder (držák zdroje) není součástí balení, musíte si jej vytisknout z webu Printables.com
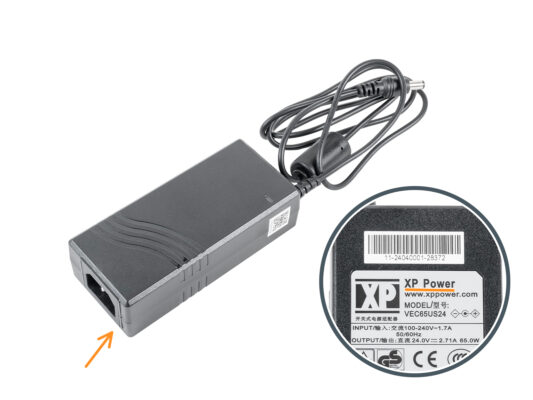
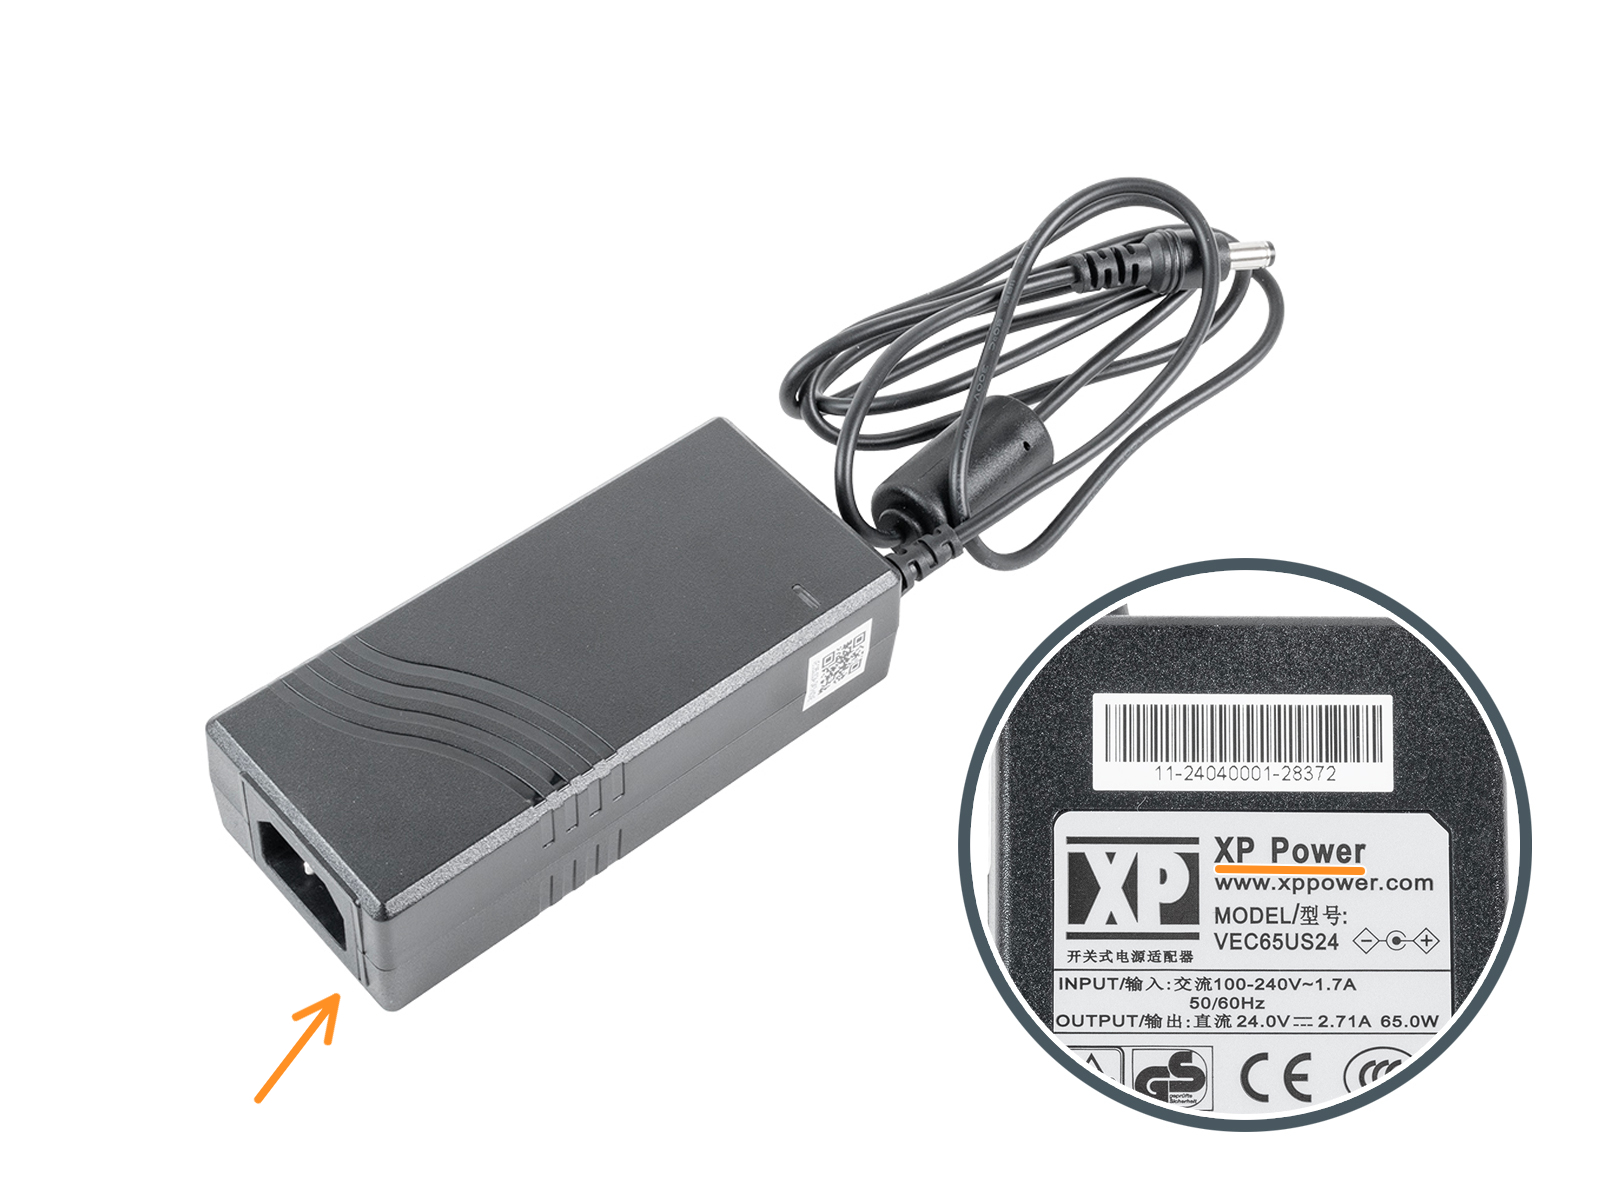
Před zahájením tisku zkontrolujte, jaký typ zdroje napájení máte!
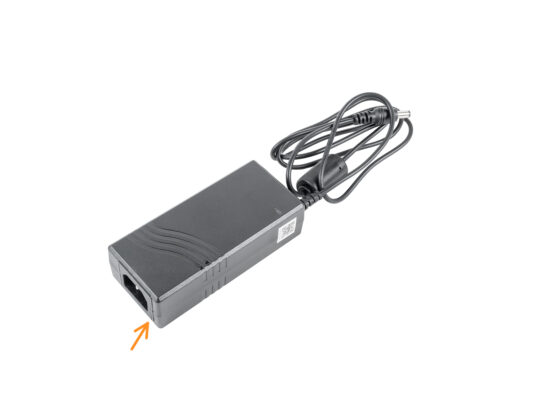
⬢Zdroj XP: Tento zdroj je větší než zdroj Delta. Budete potřebovat:
⬢Current-PSU-holder-XP.stl
⬢Doplněk PSU-holder-A-XP.stl
⬢Doplněk PSU-holder-B-XP.stl
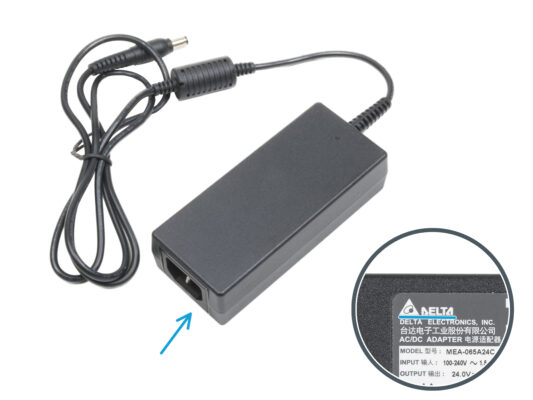
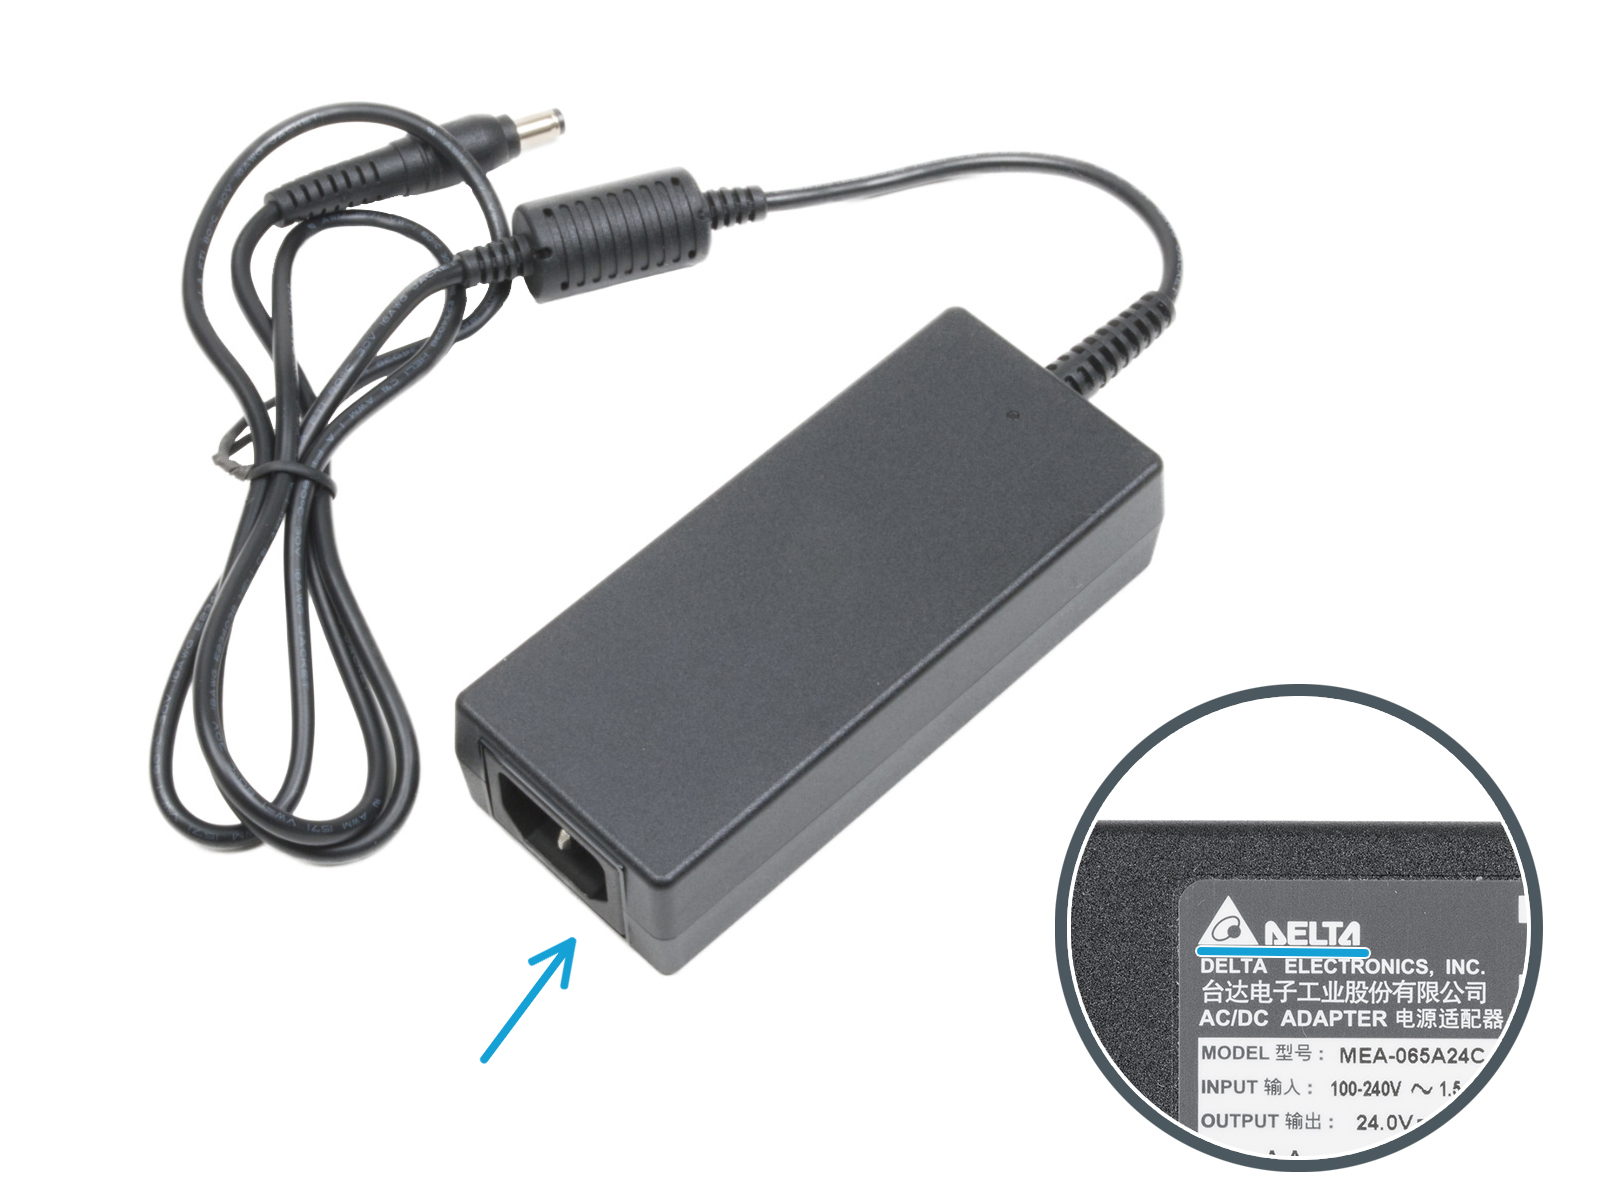
⬢Zdroj Delta: Tento zdroj je menší než zdroj XP. Budete potřebovat:
Tyto kroky jsou určeny pouze pro majitele LED pásků a pokročilých filtračních systémů. Menší prostor pro napájecí zdroj je určen pro ty, kteří mají další zdroj napájení Delta.
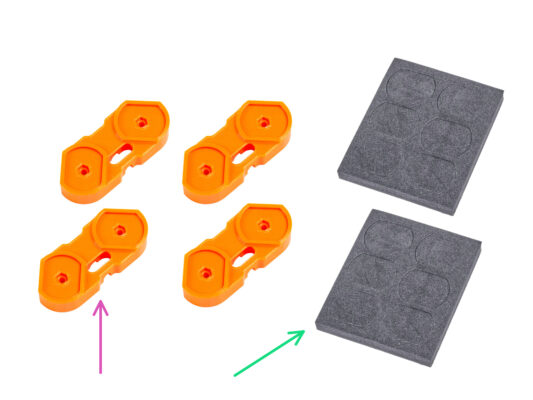
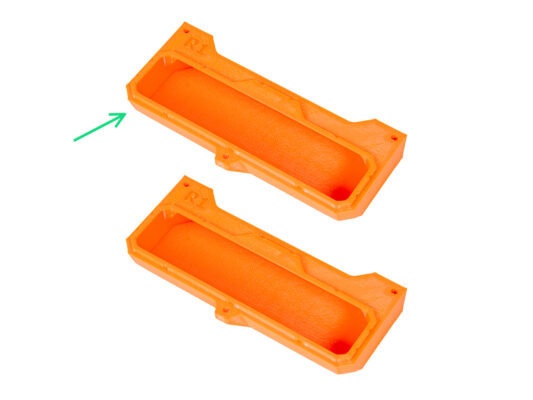
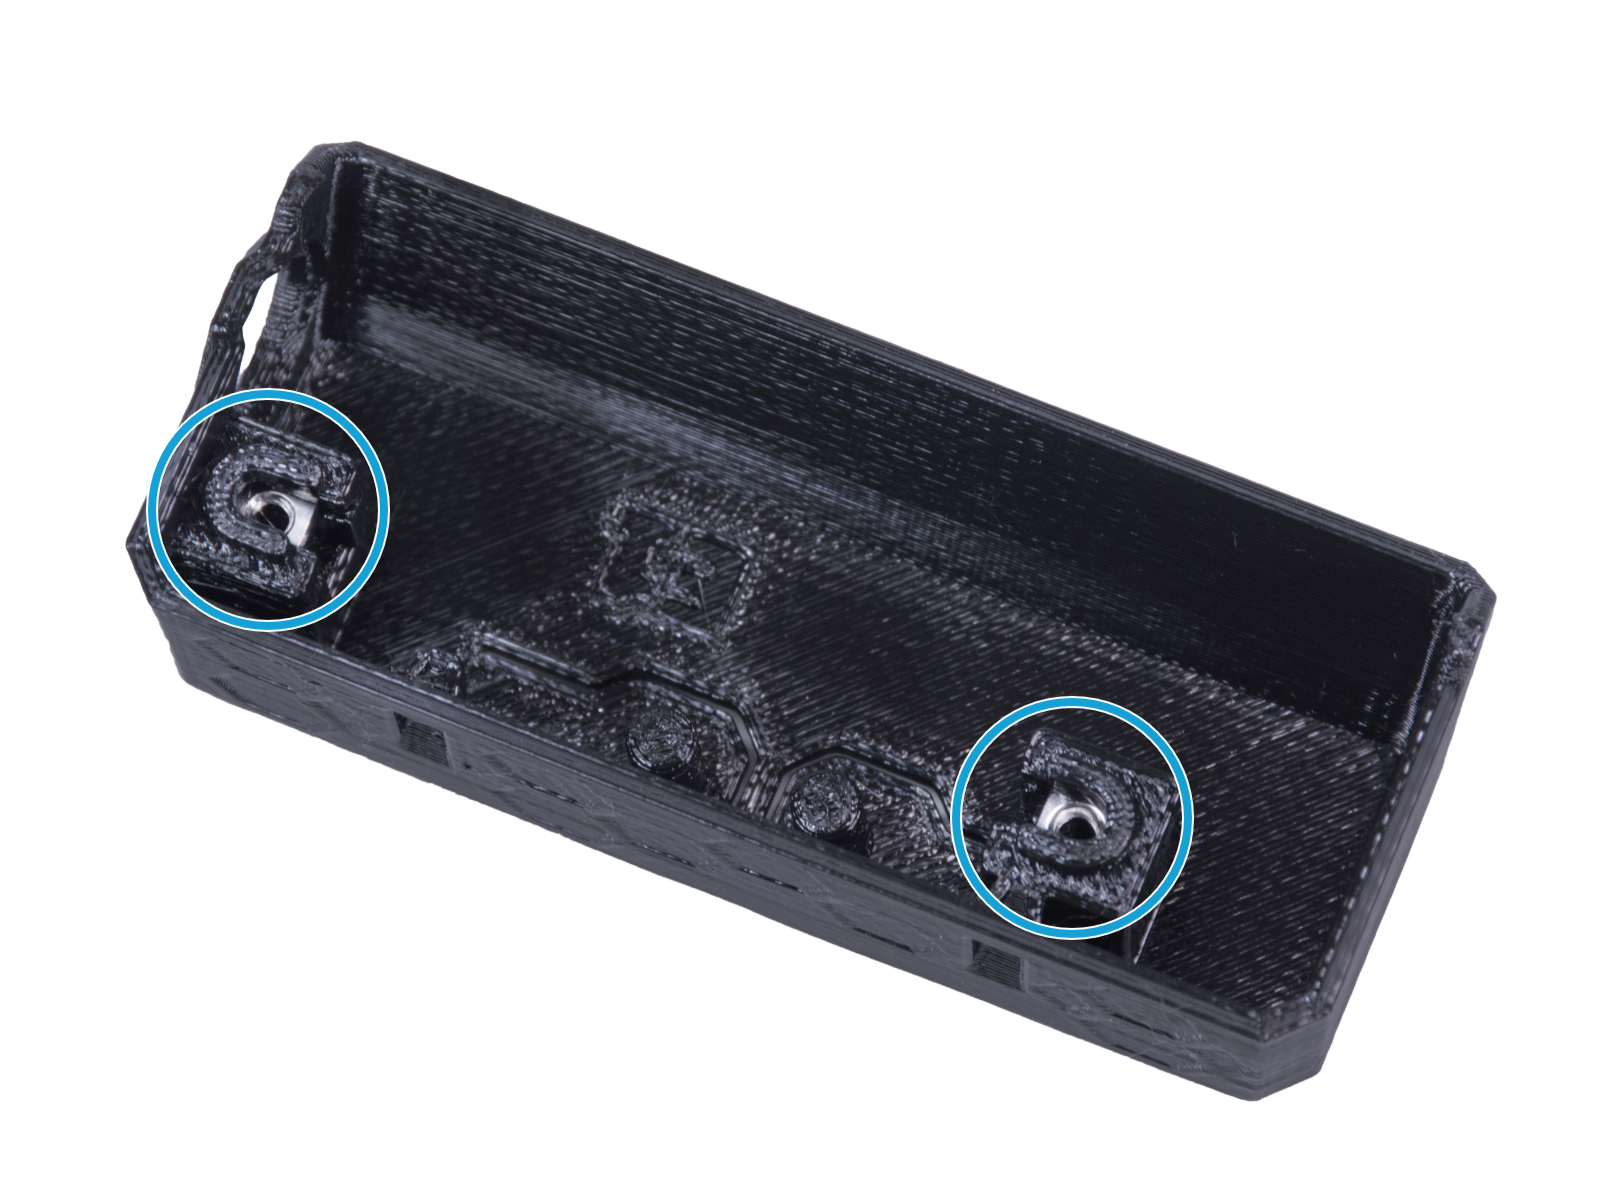
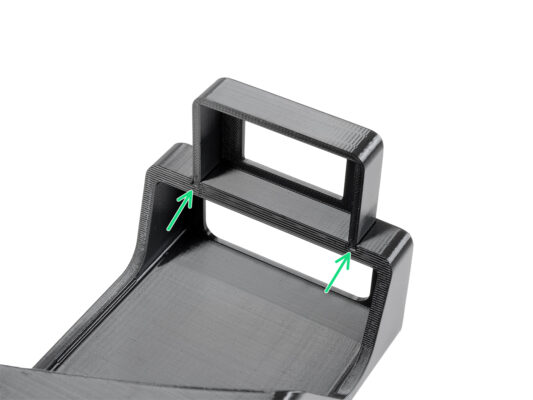
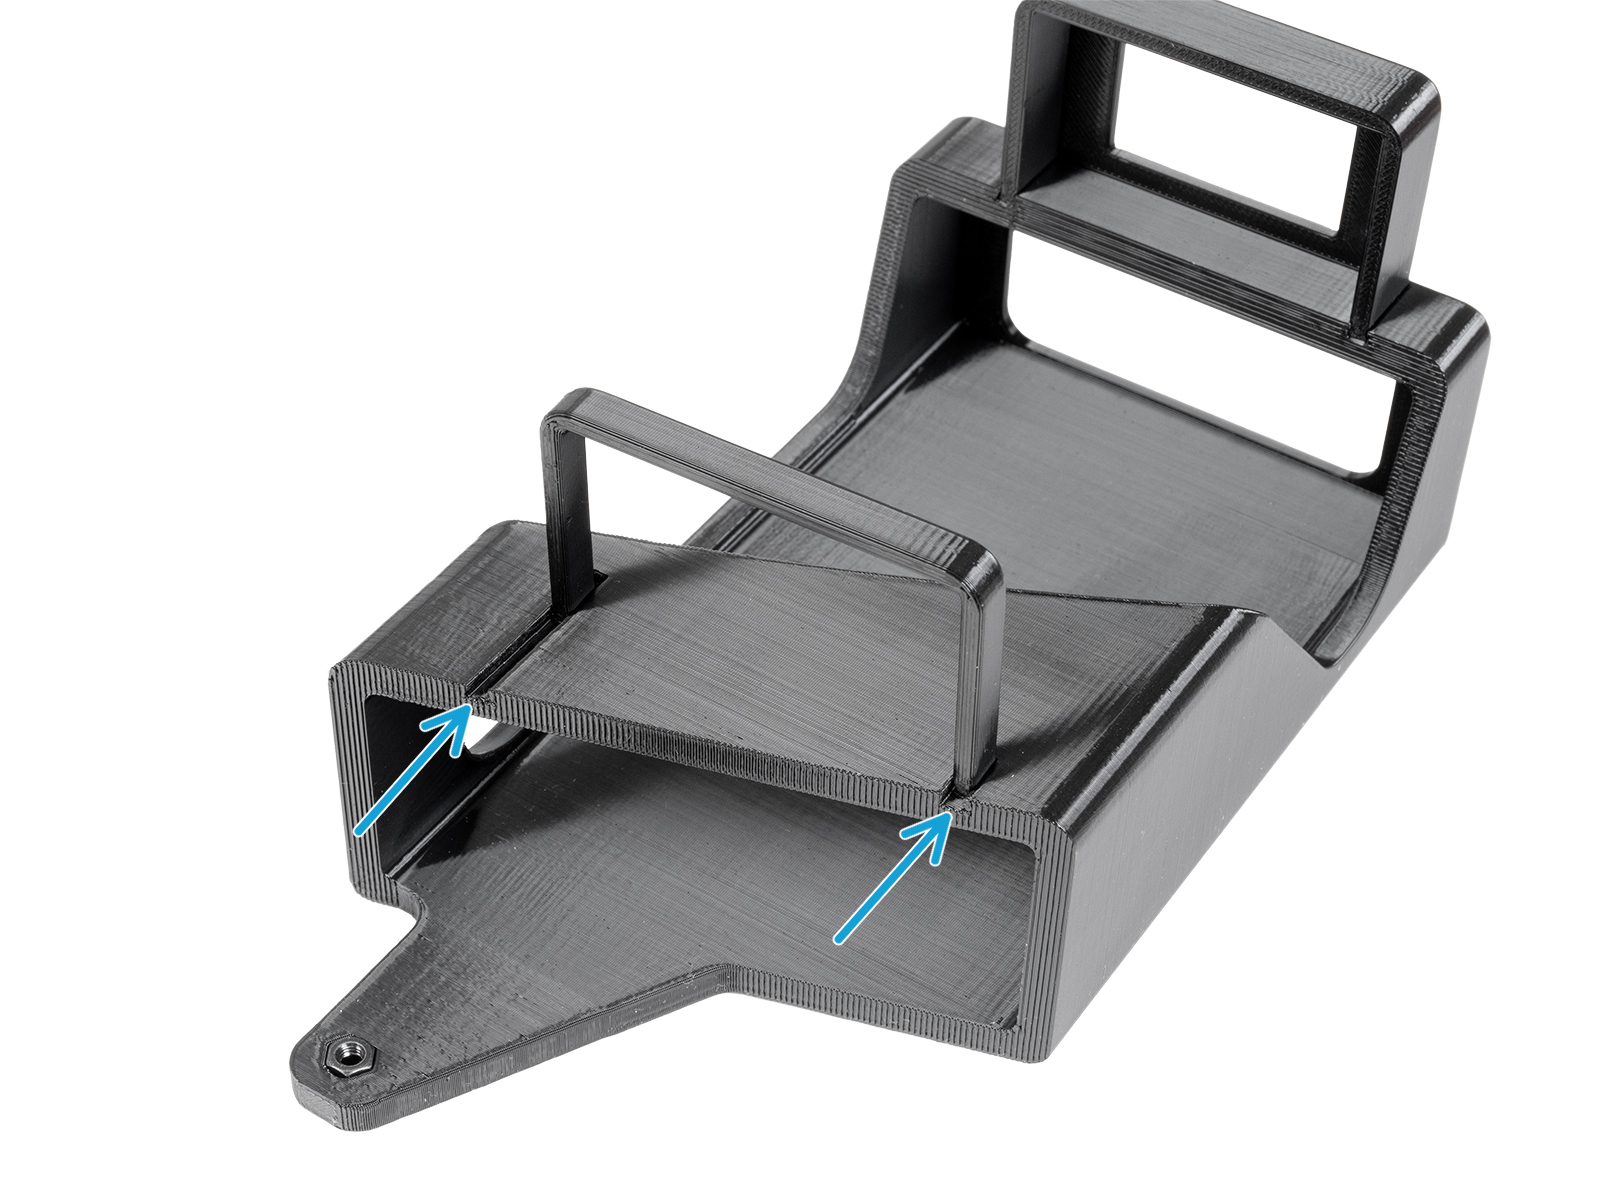
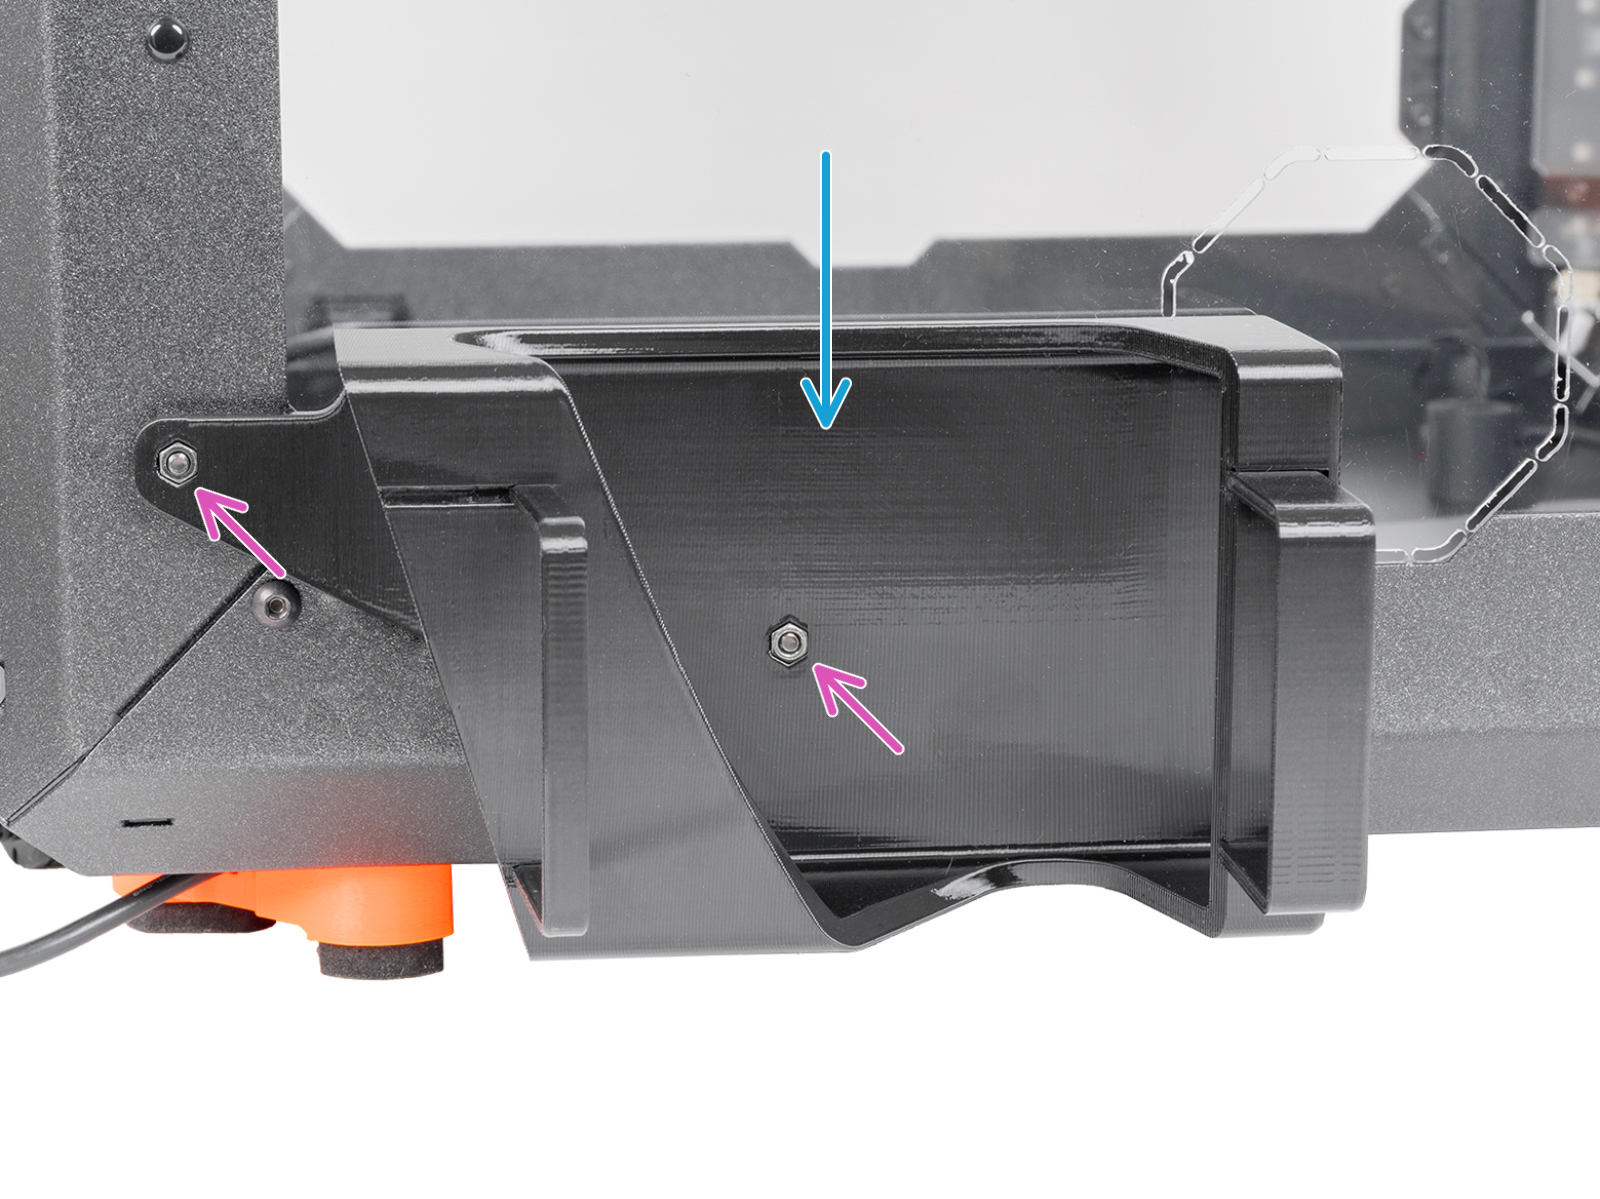
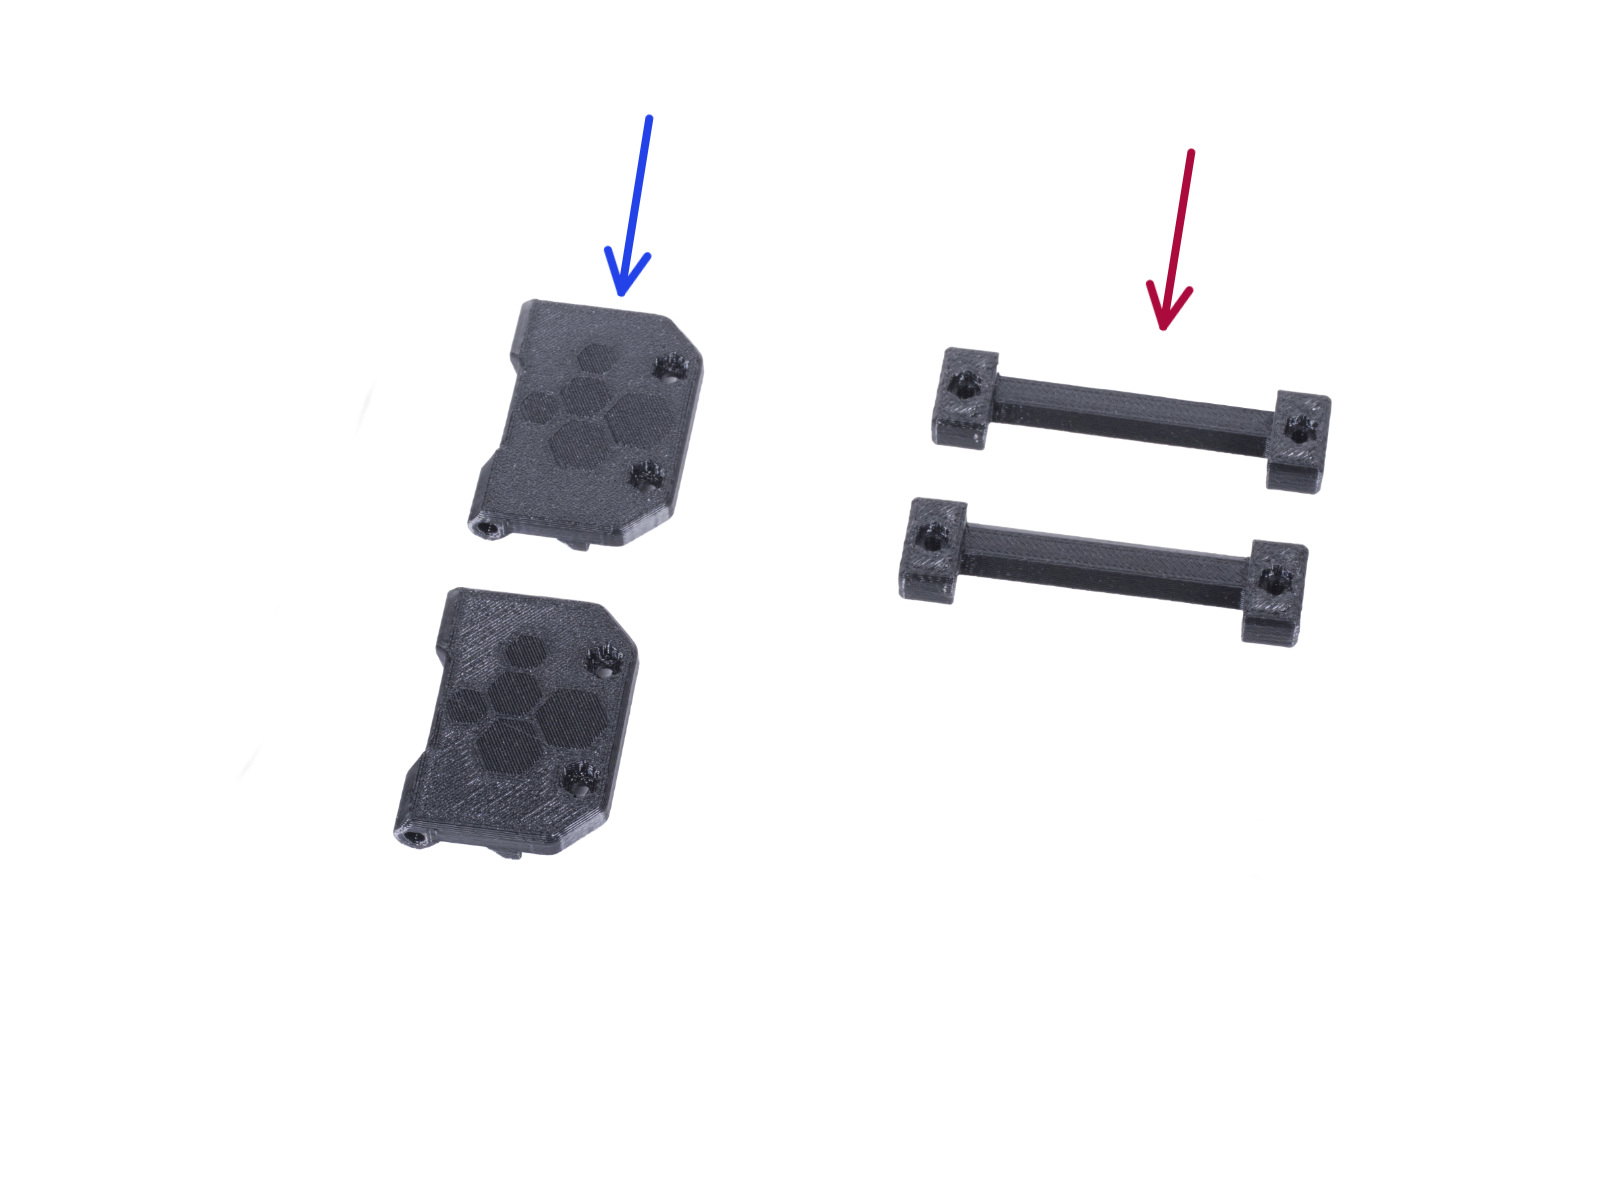
⬢Připevněte doplněk PSU-holder-A na drážky PSU-holder.
⬢Připevněte doplněk PSU-holder-B na drážky PSU-holder.
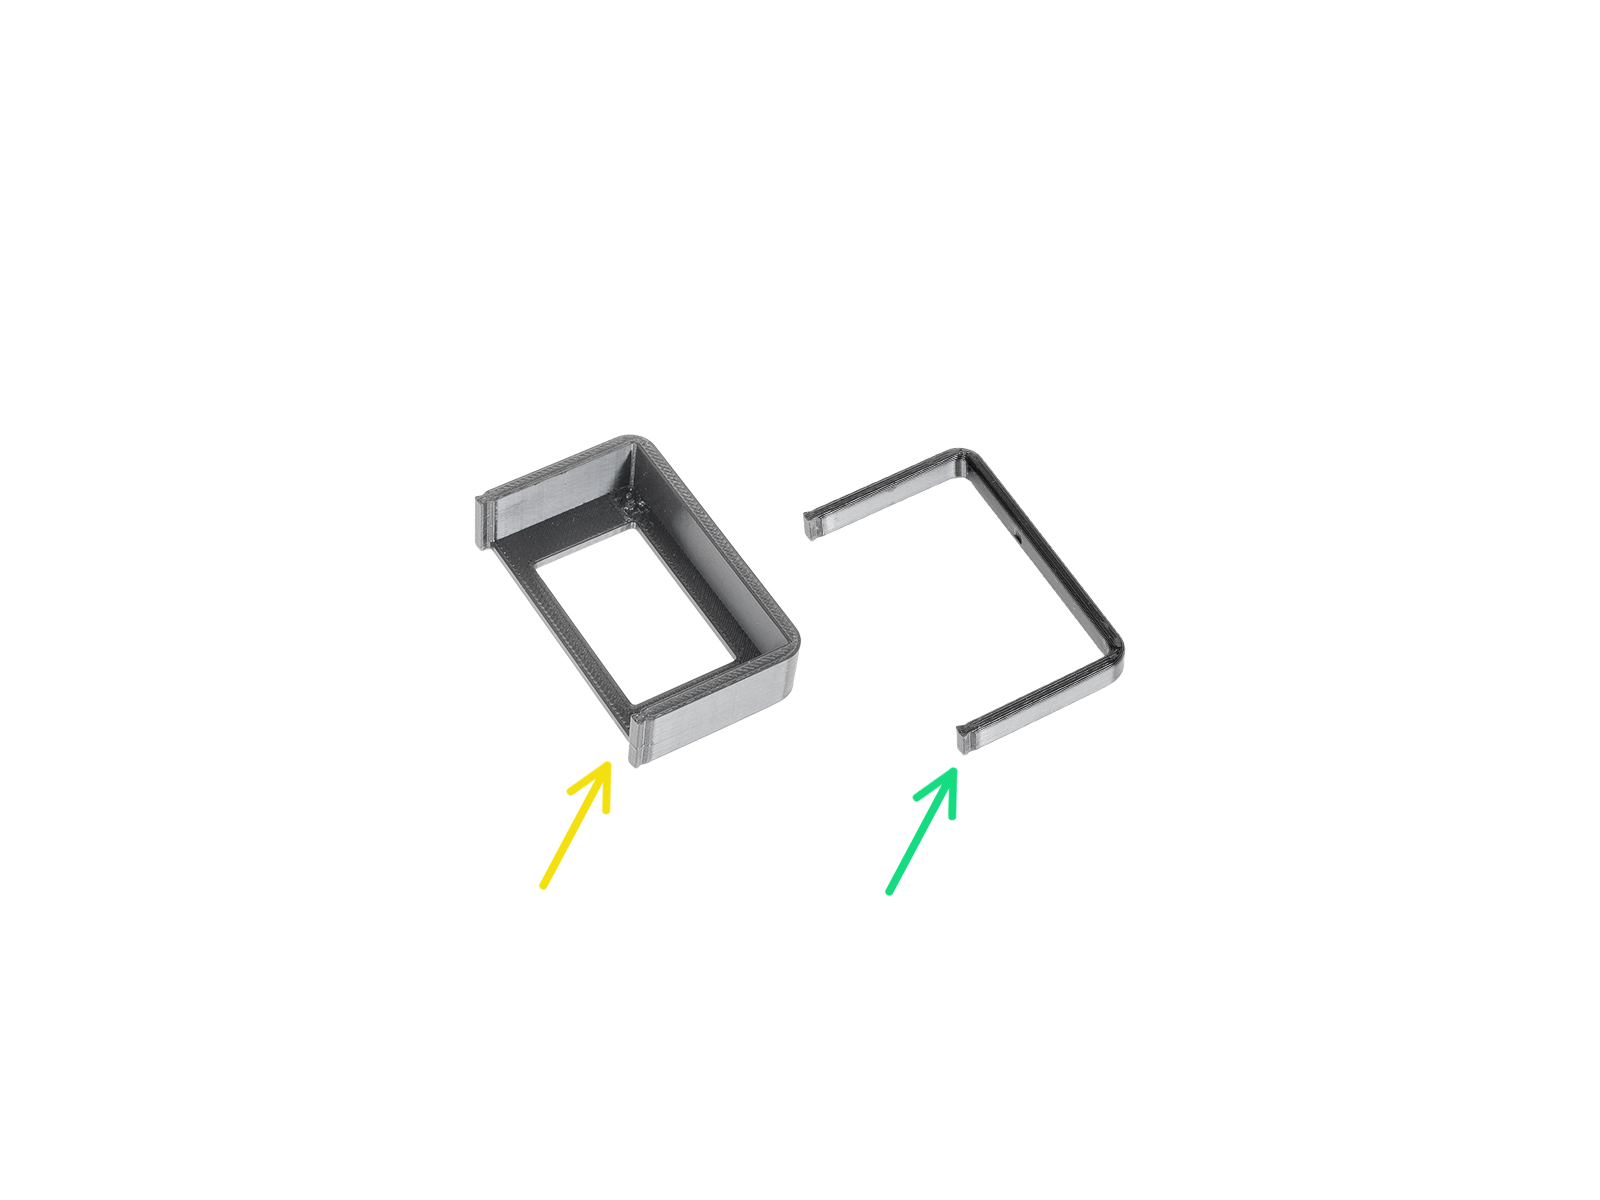
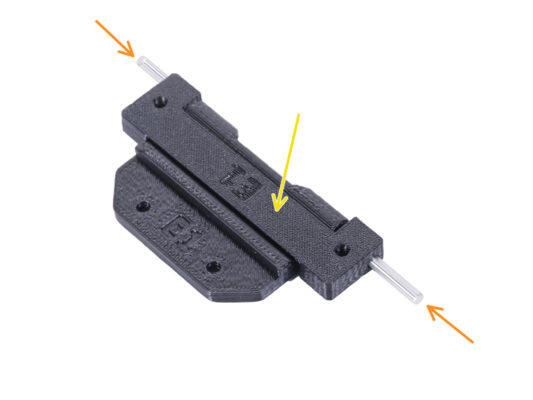
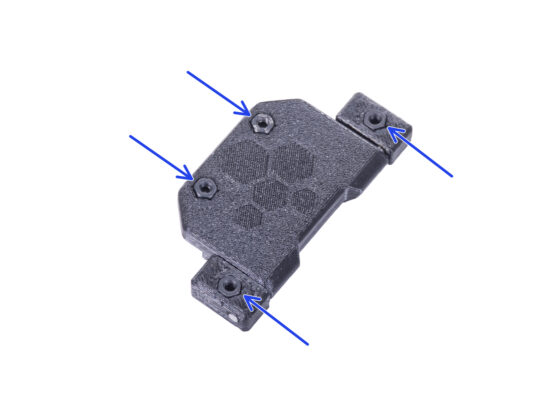
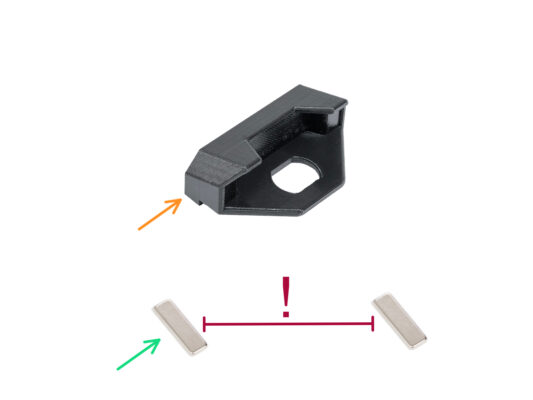
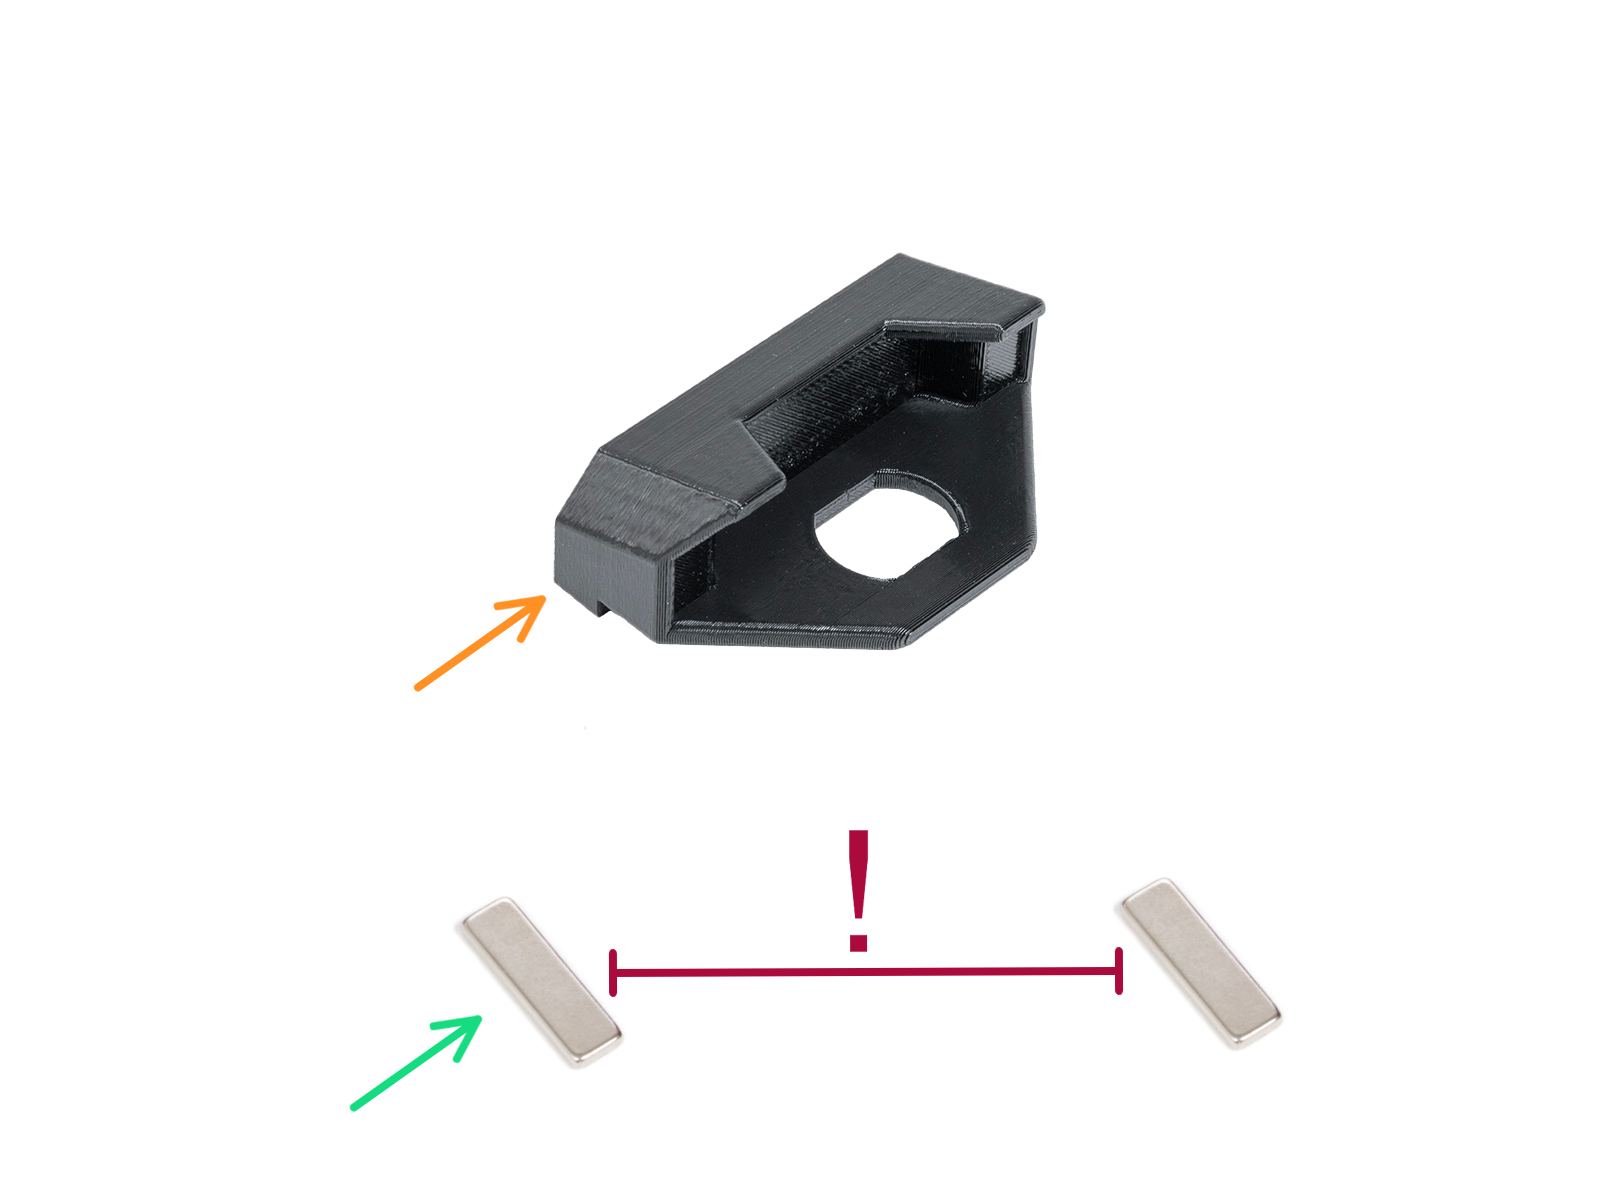
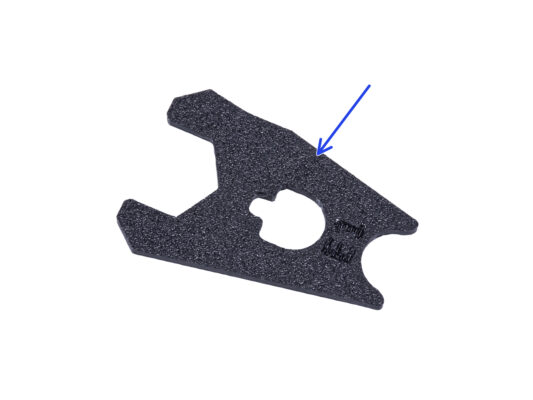
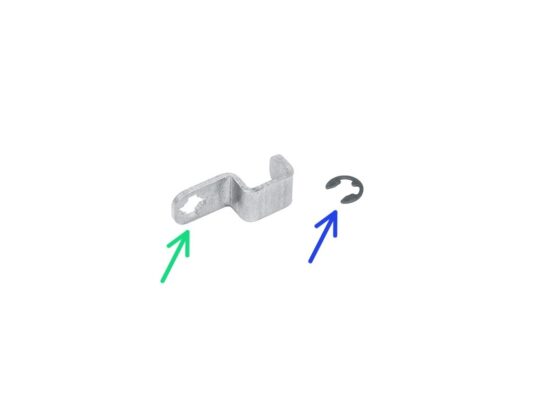
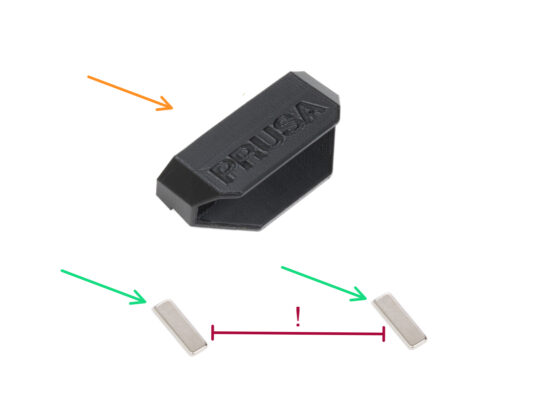
⬢Umístěte závěs skříně do závěsu dveří. Podívejte se na správnou orientaci obou dílů.
Pozorně si prohlédněte orientaci obou dílů. Jejich zpětná demontáž je nemožná.
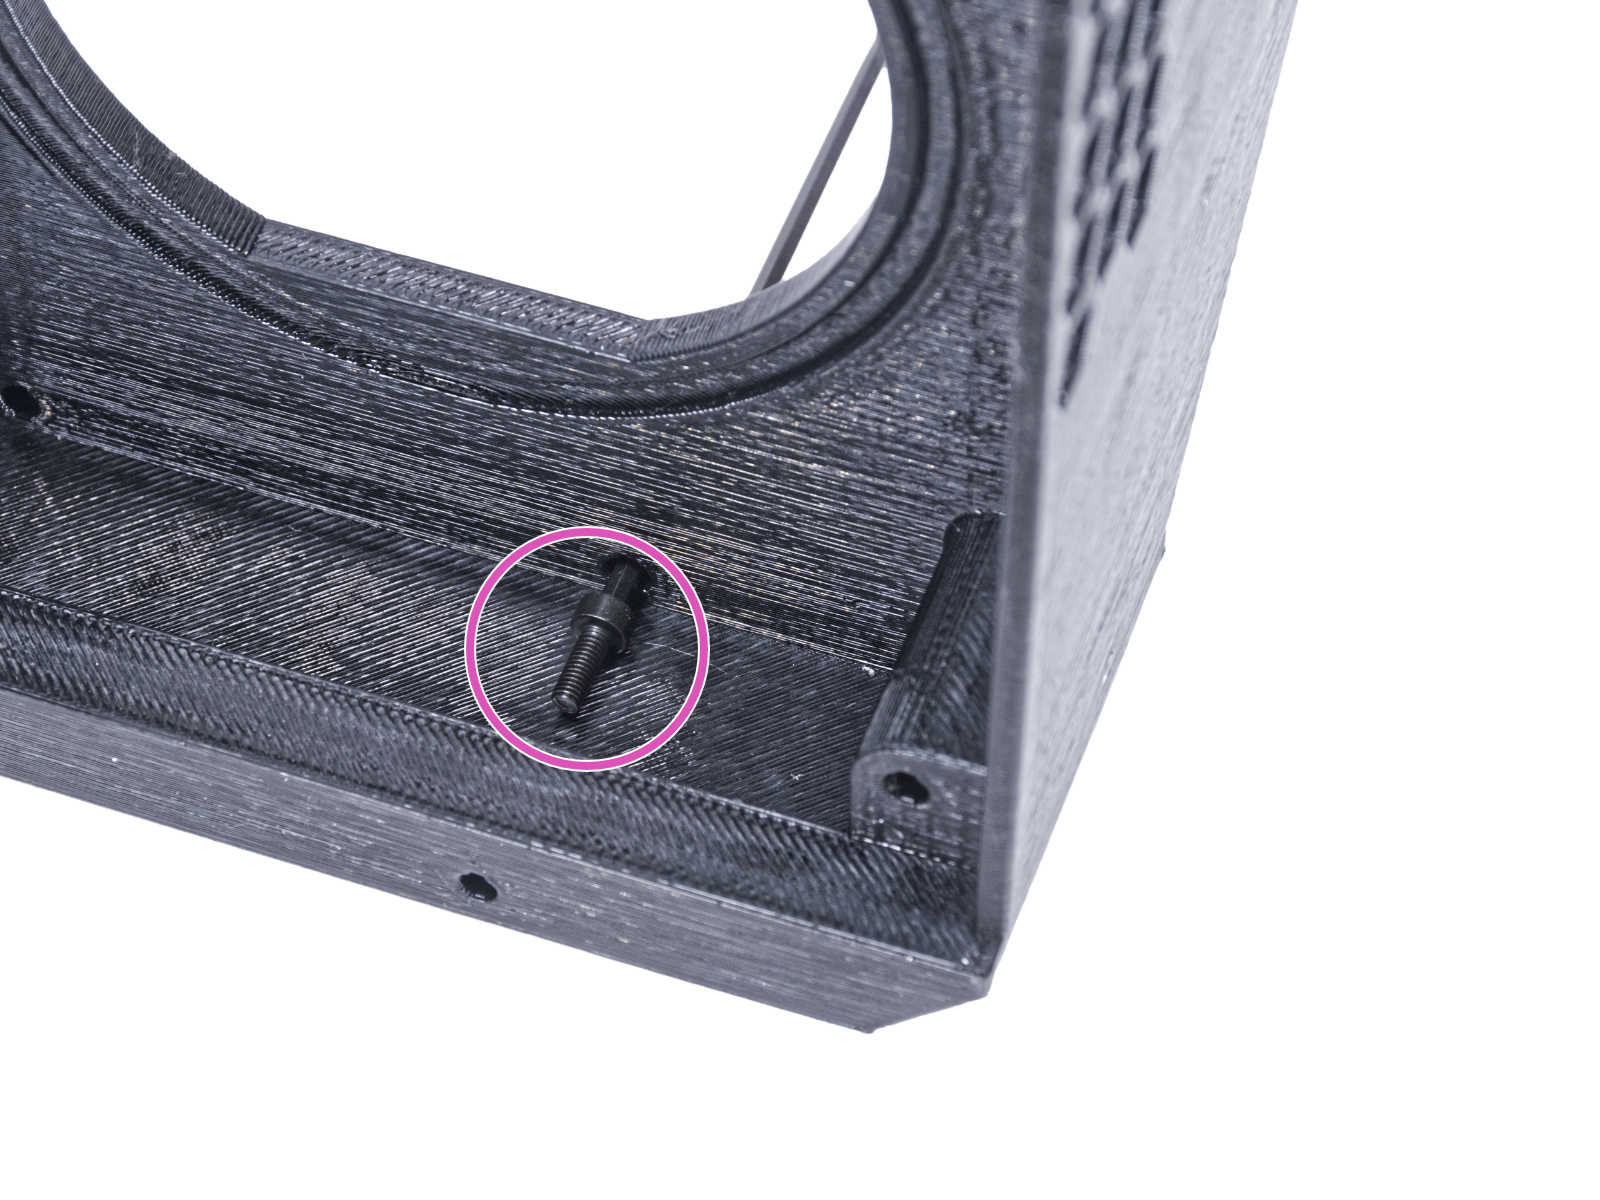
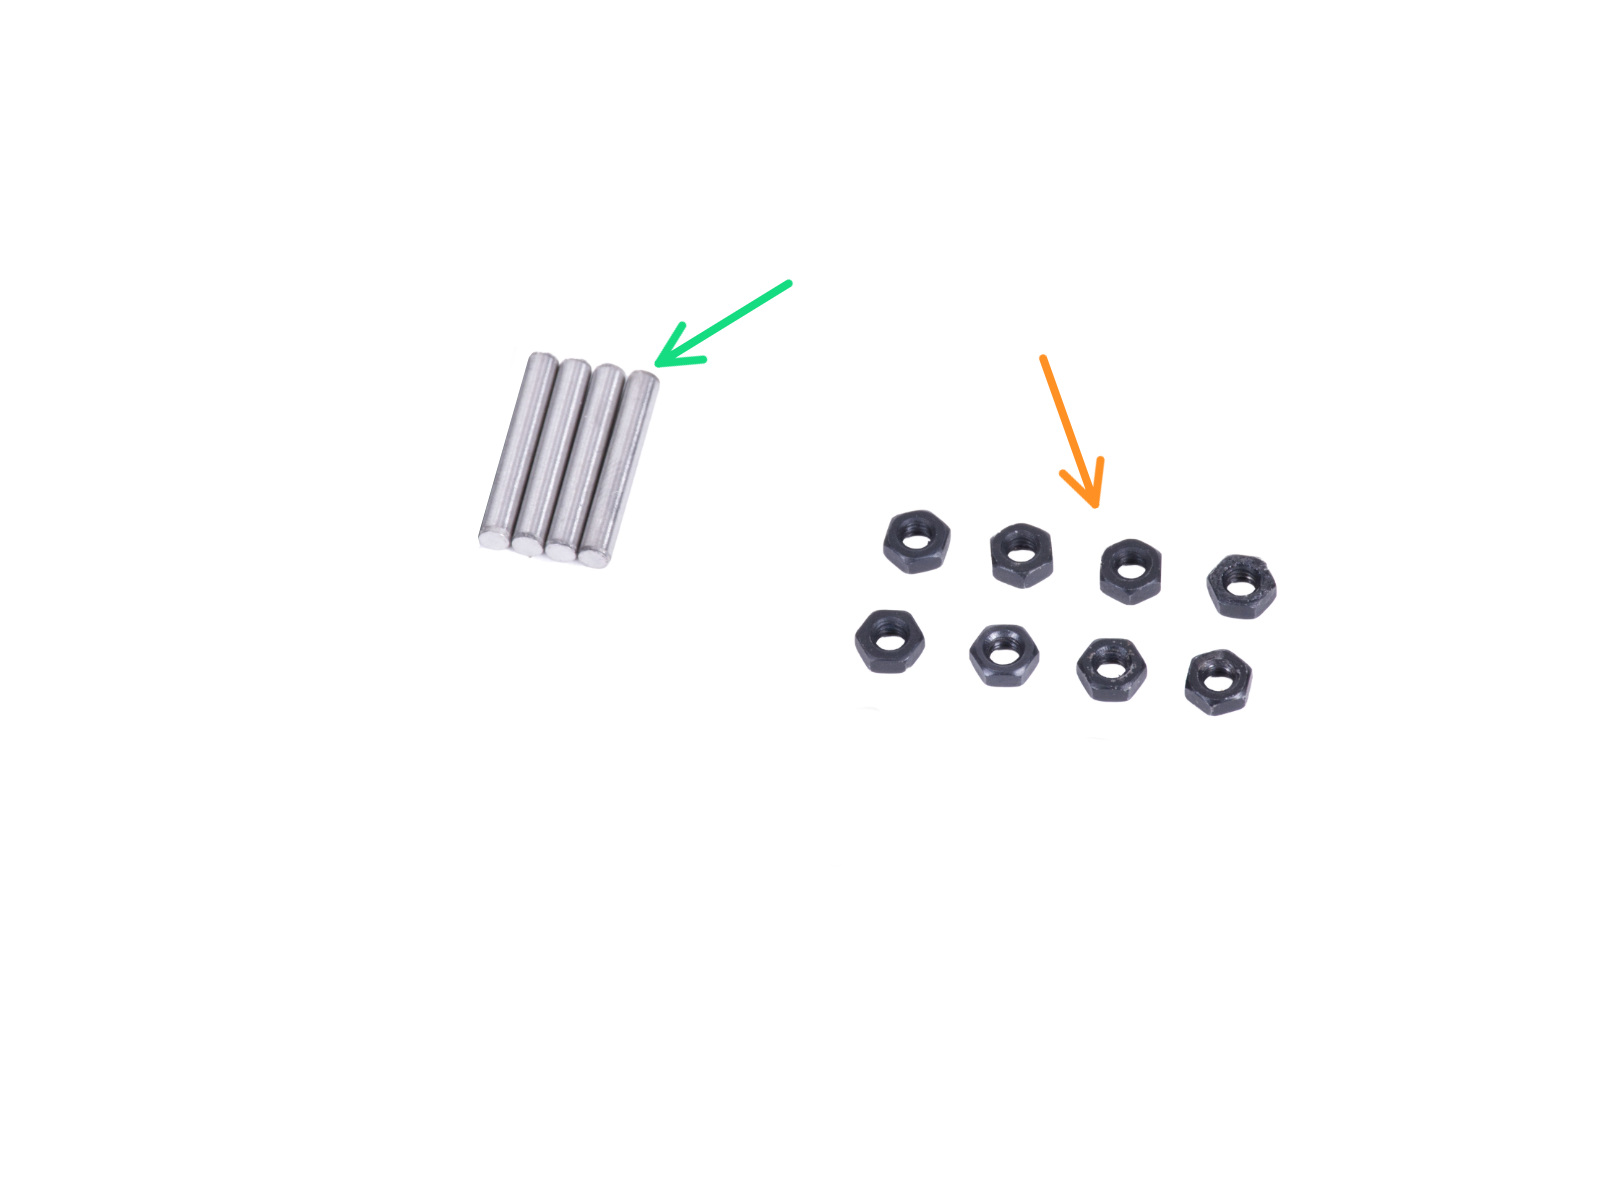
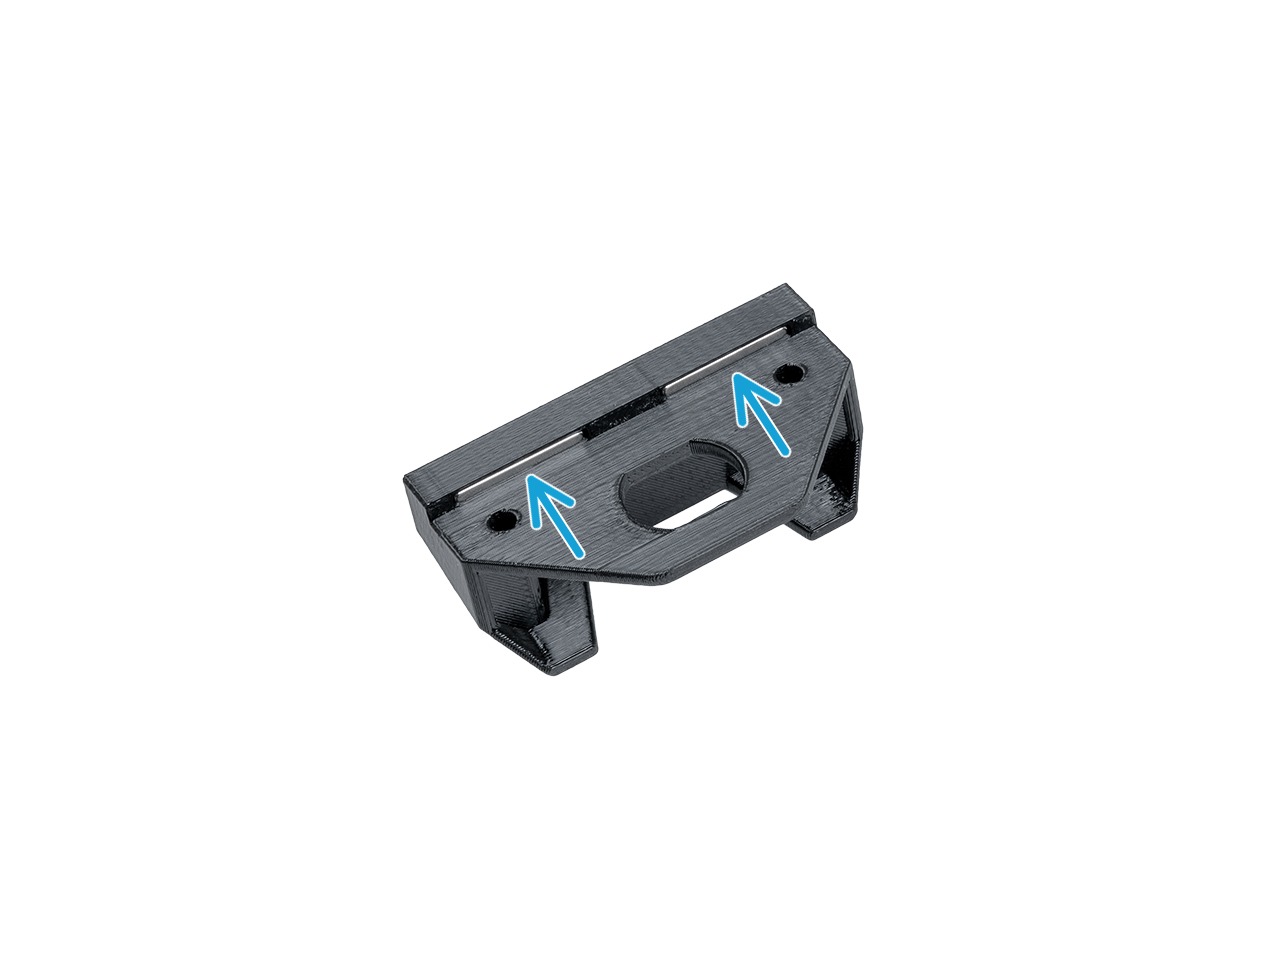
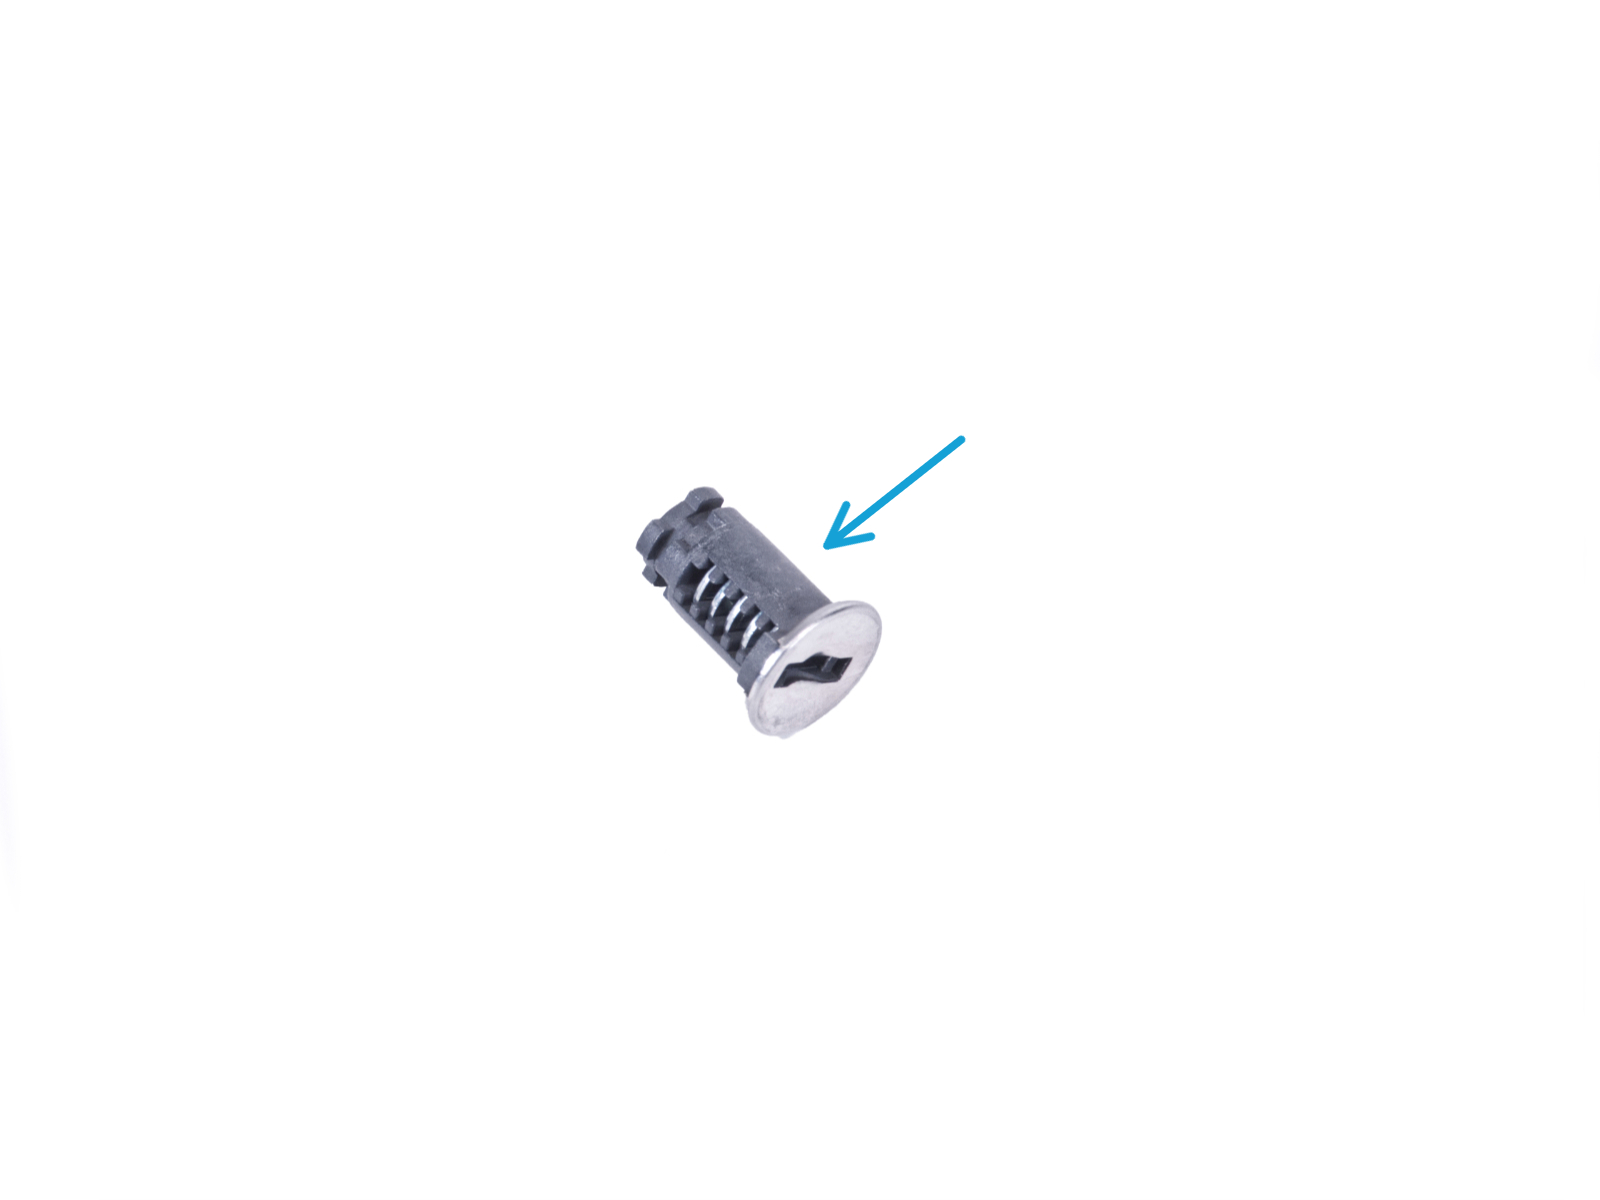
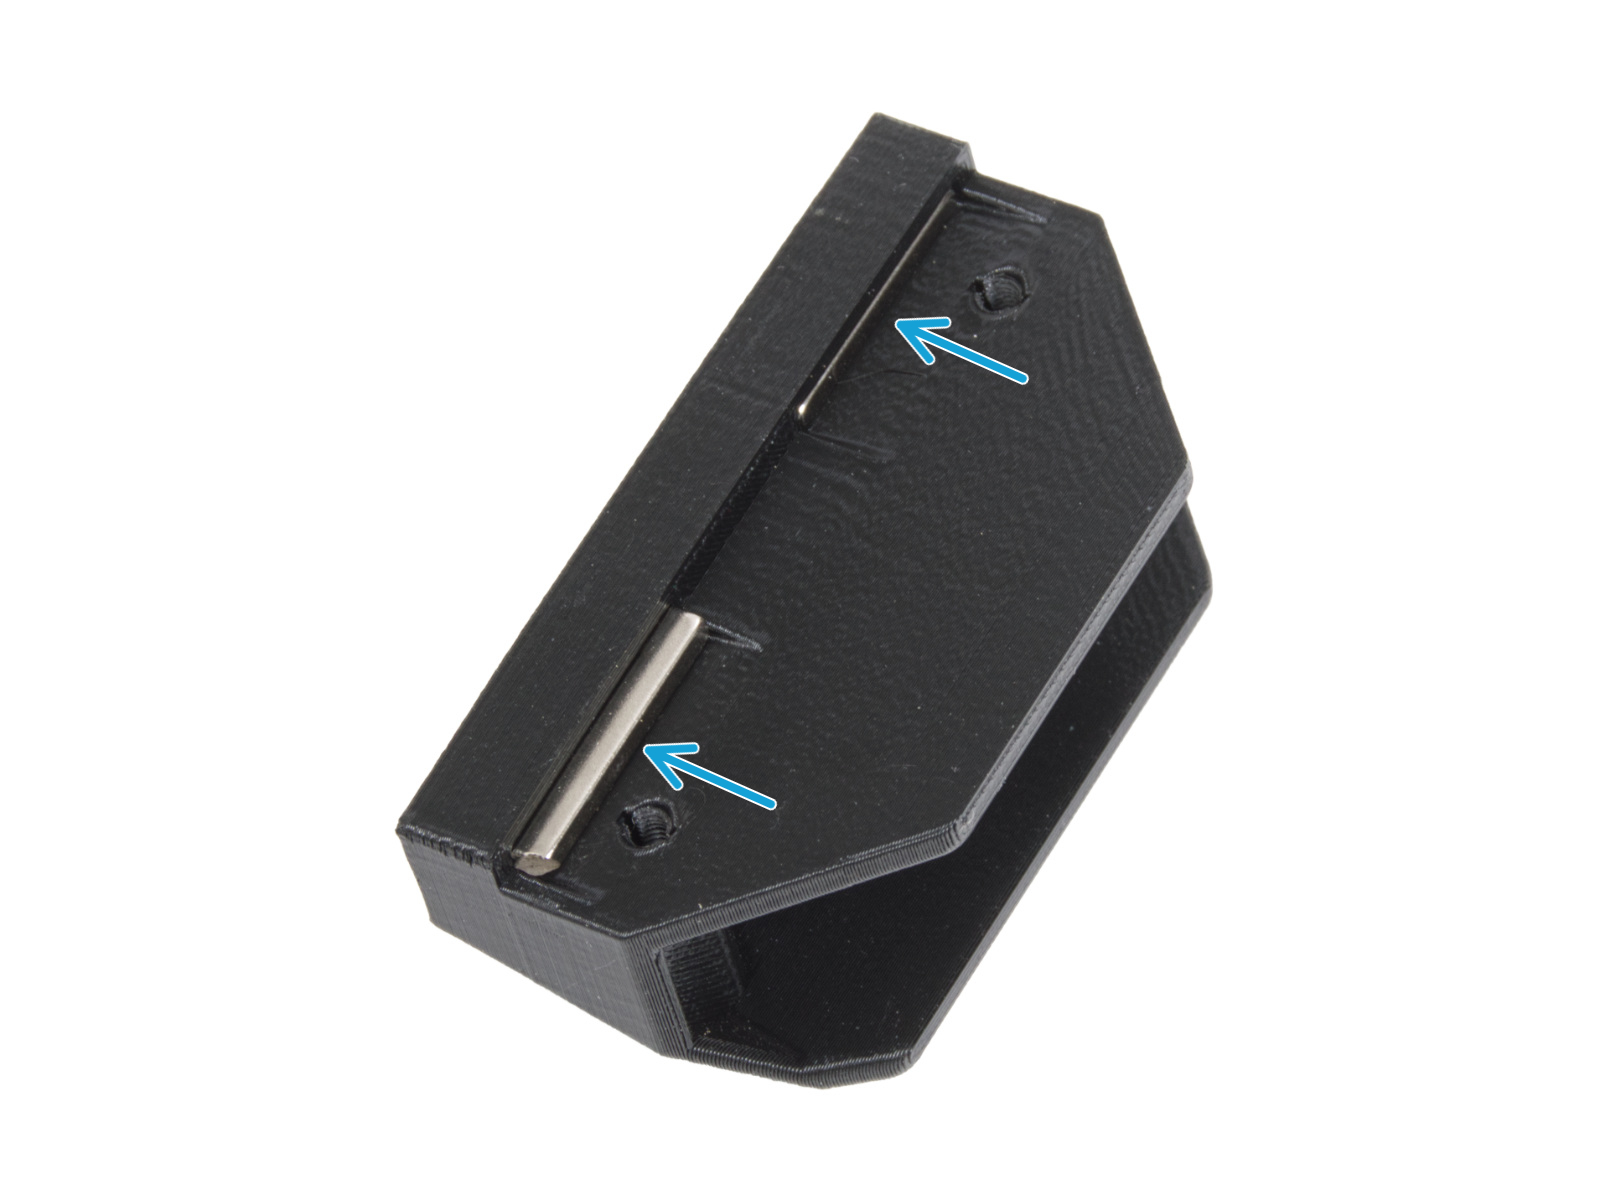
⬢Zasuňte kolík z obou stran závěsu.
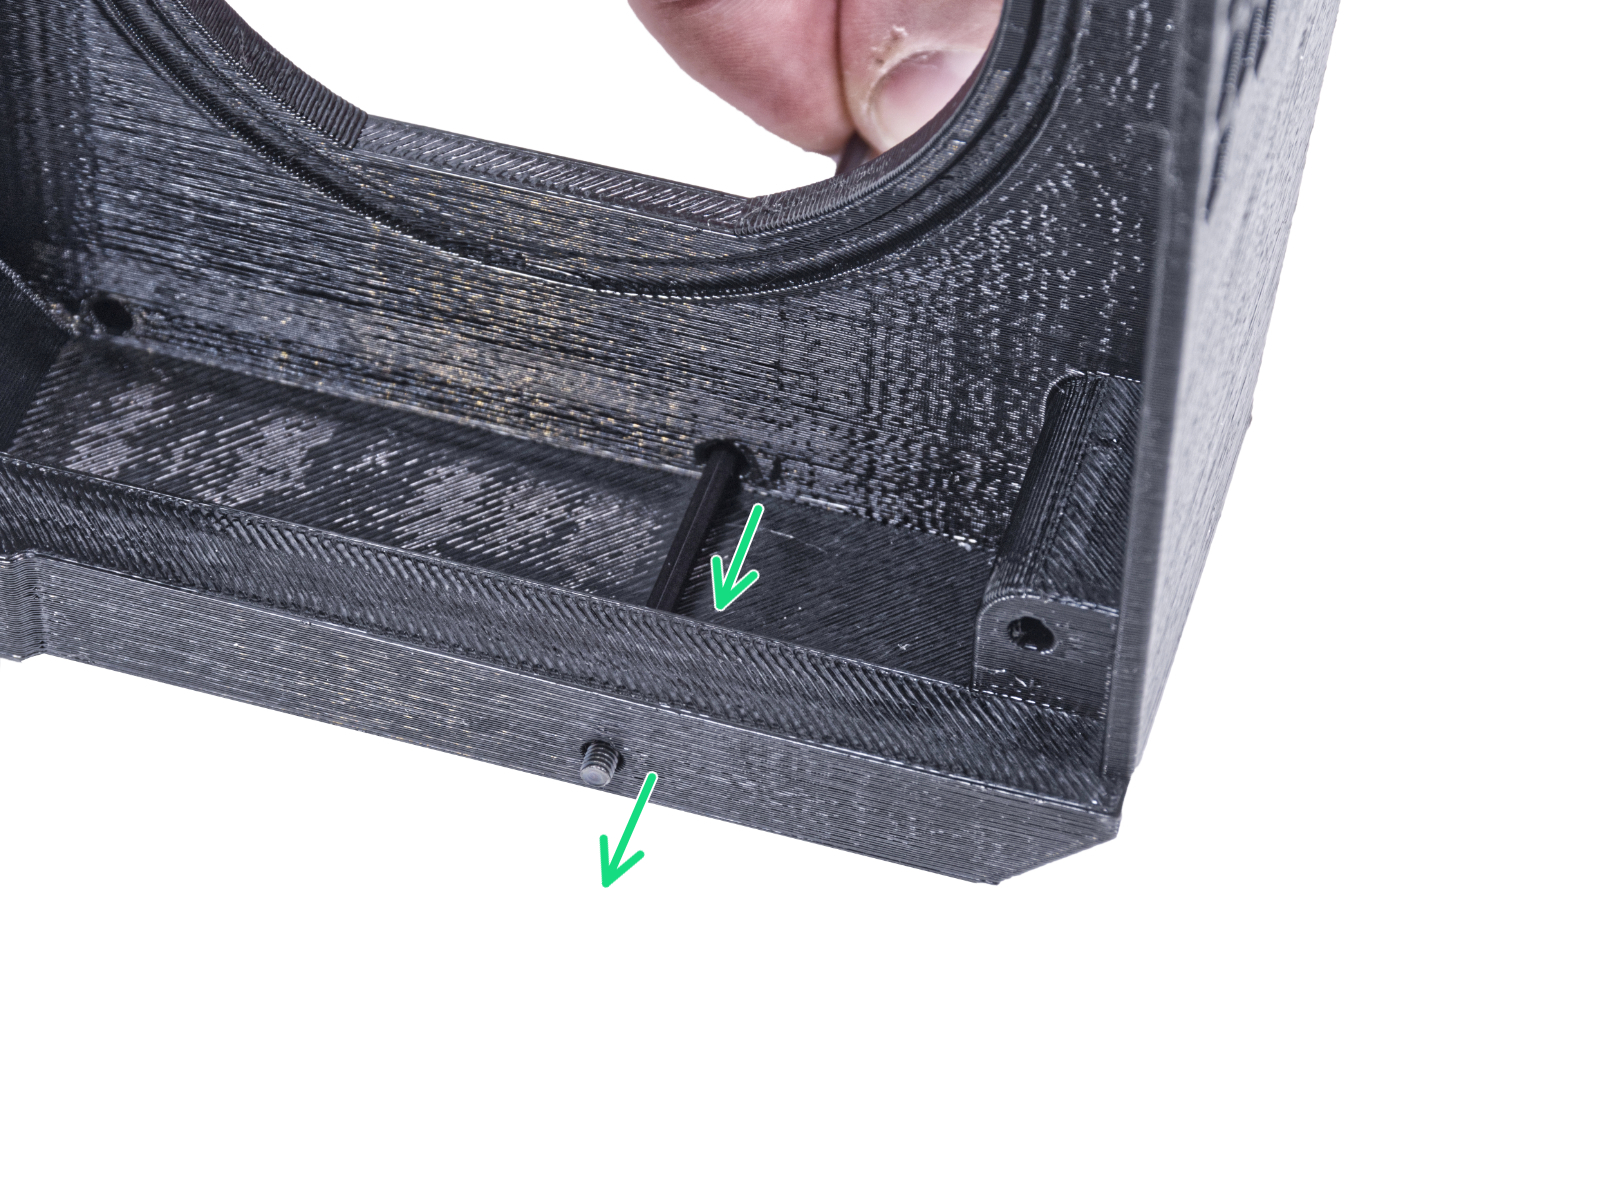
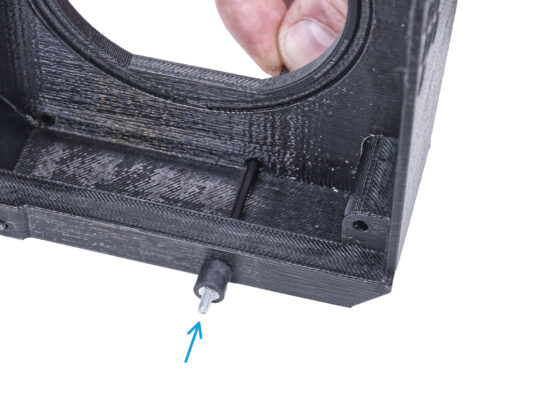
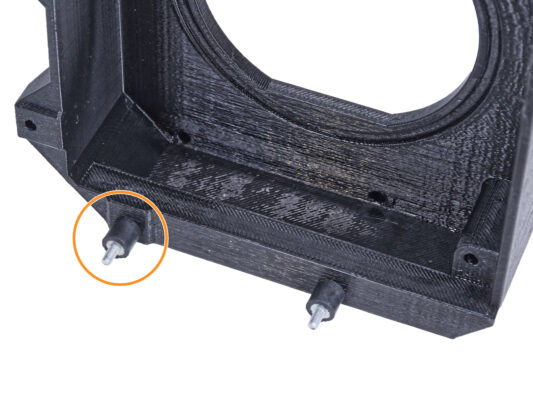
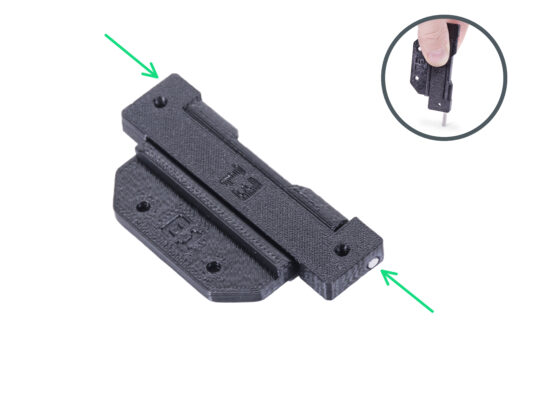
⬢Zatlačte oba kolíky až na doraz do závěsu a přitiskněte je k tvrdému povrchu (např. pracovnímu stolu). Konec kolíku musí být zarovnán s povrchem tištěného dílu.
In the following instructions, we will install the hinges on the left side. However, it is optional which side you install the hinges on. The procedure is identical and does not affect the later installation of the door.
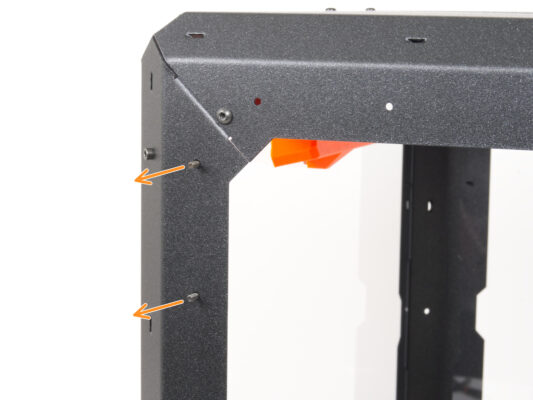
⬢Otočte enclosure přední stranou směrující k vám.
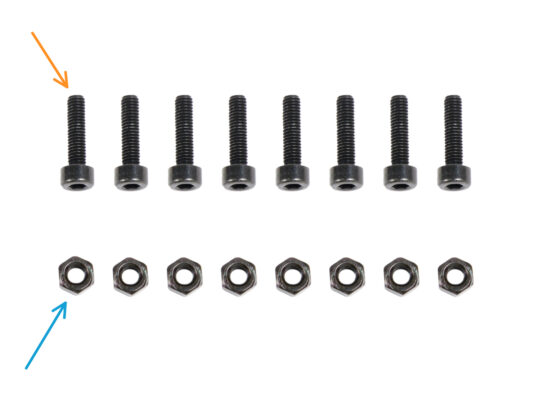
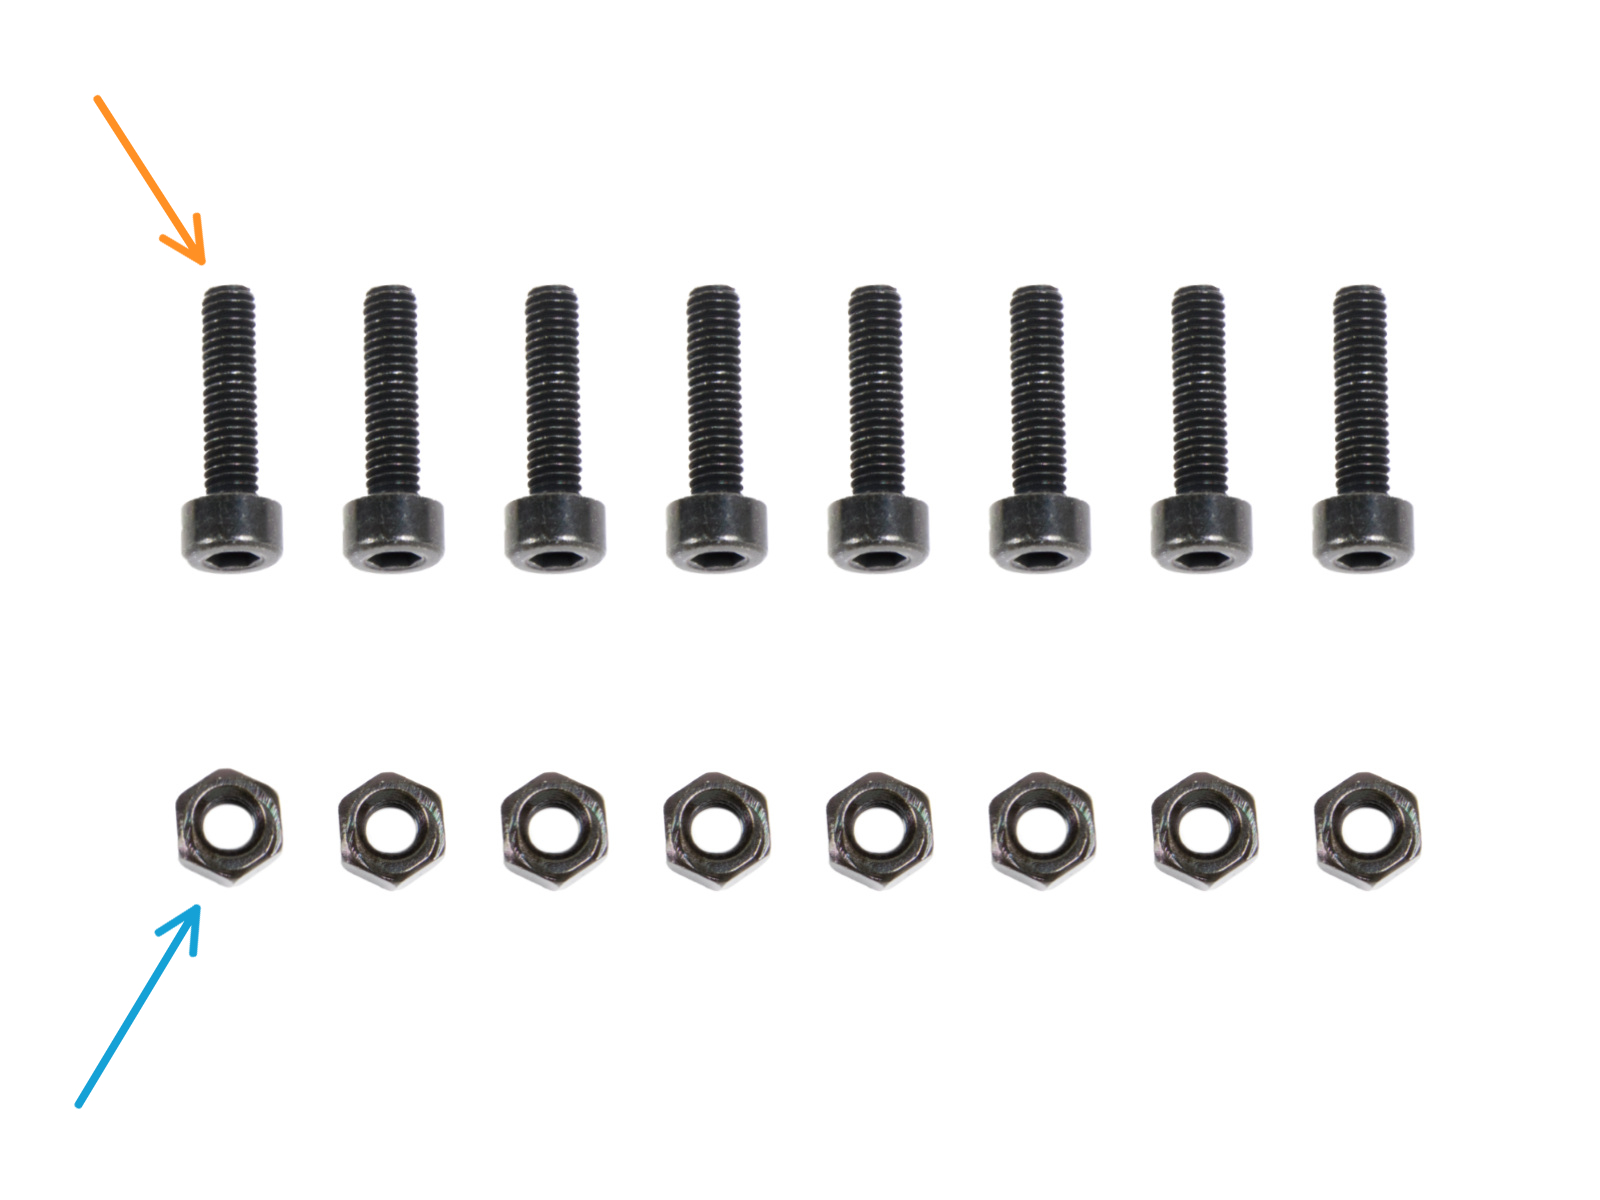
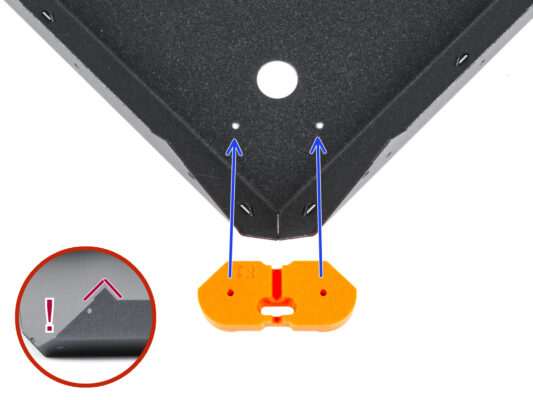
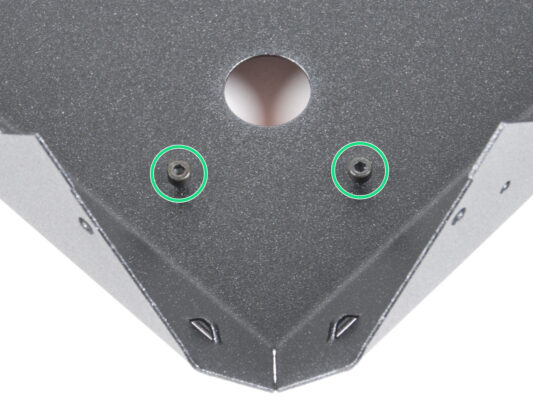
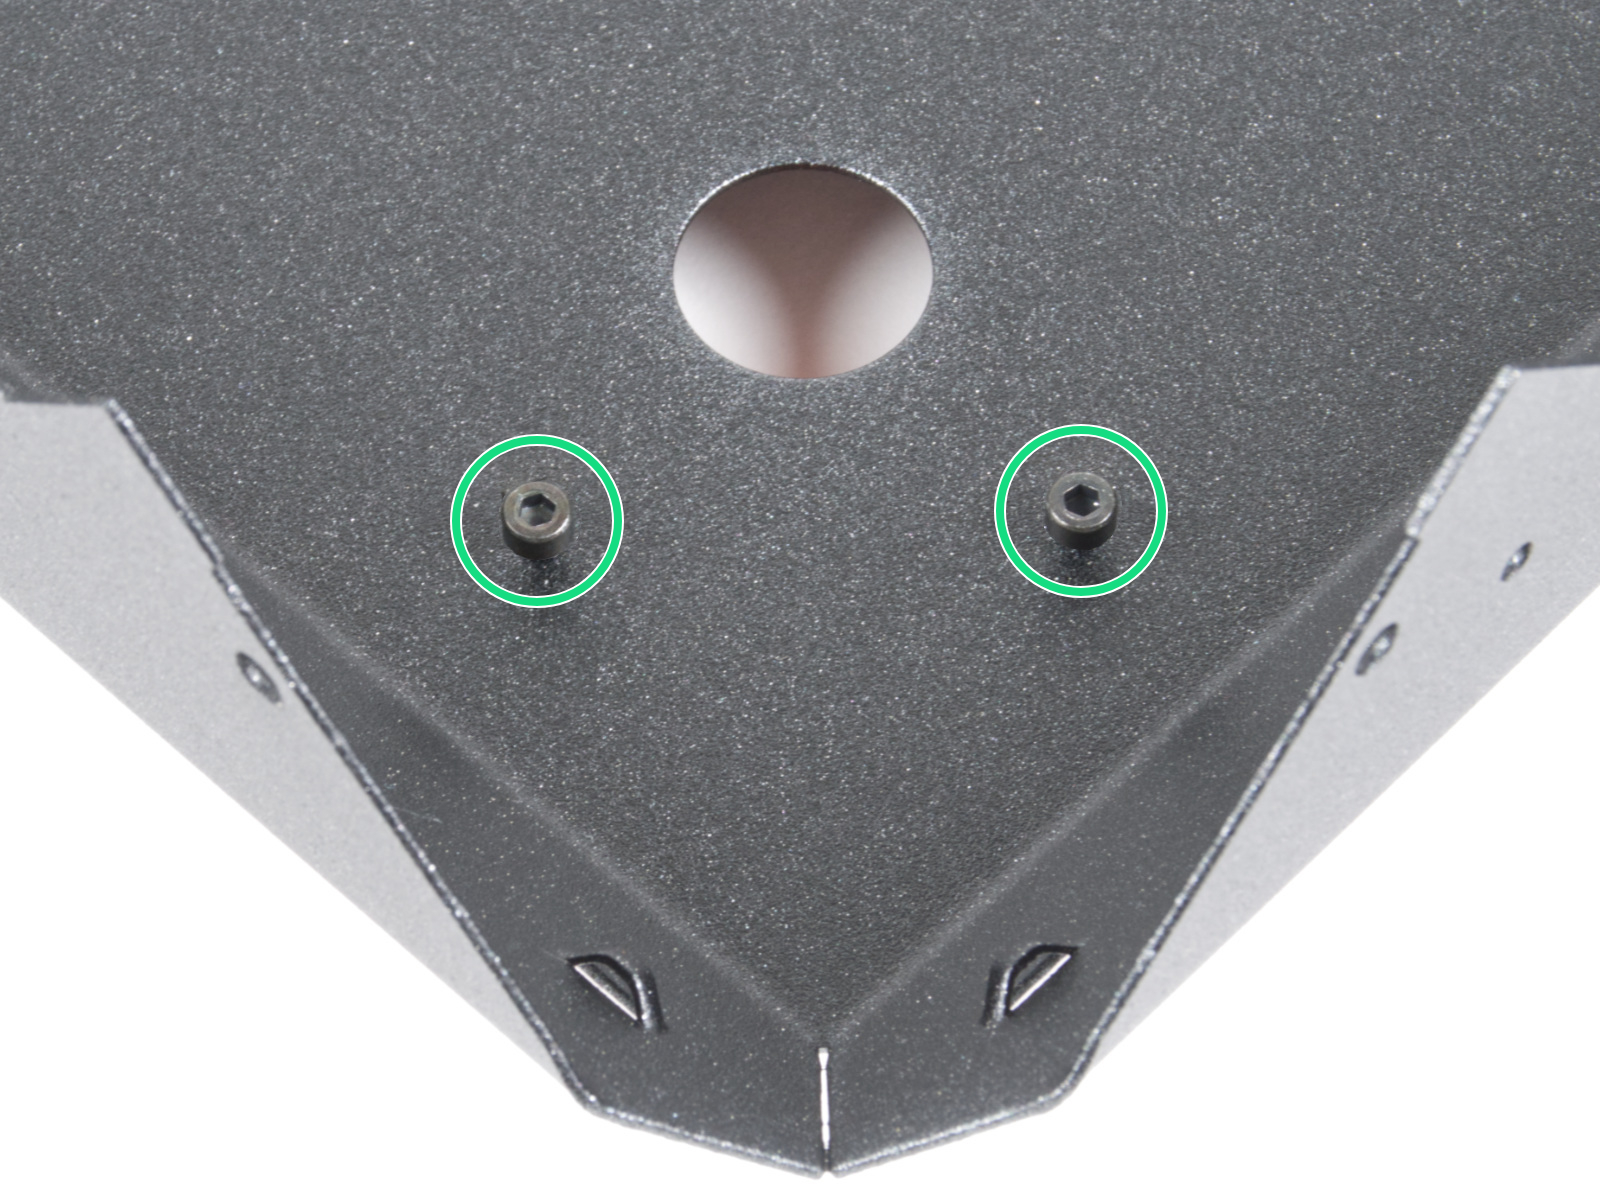
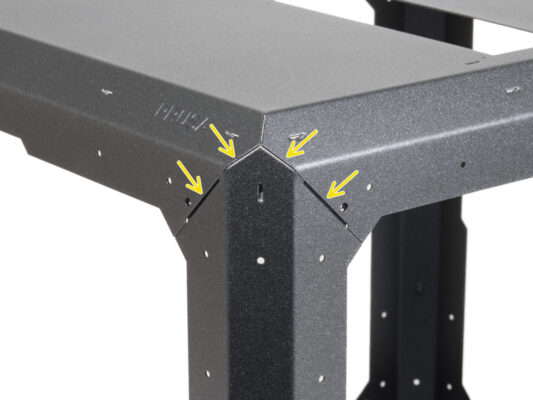
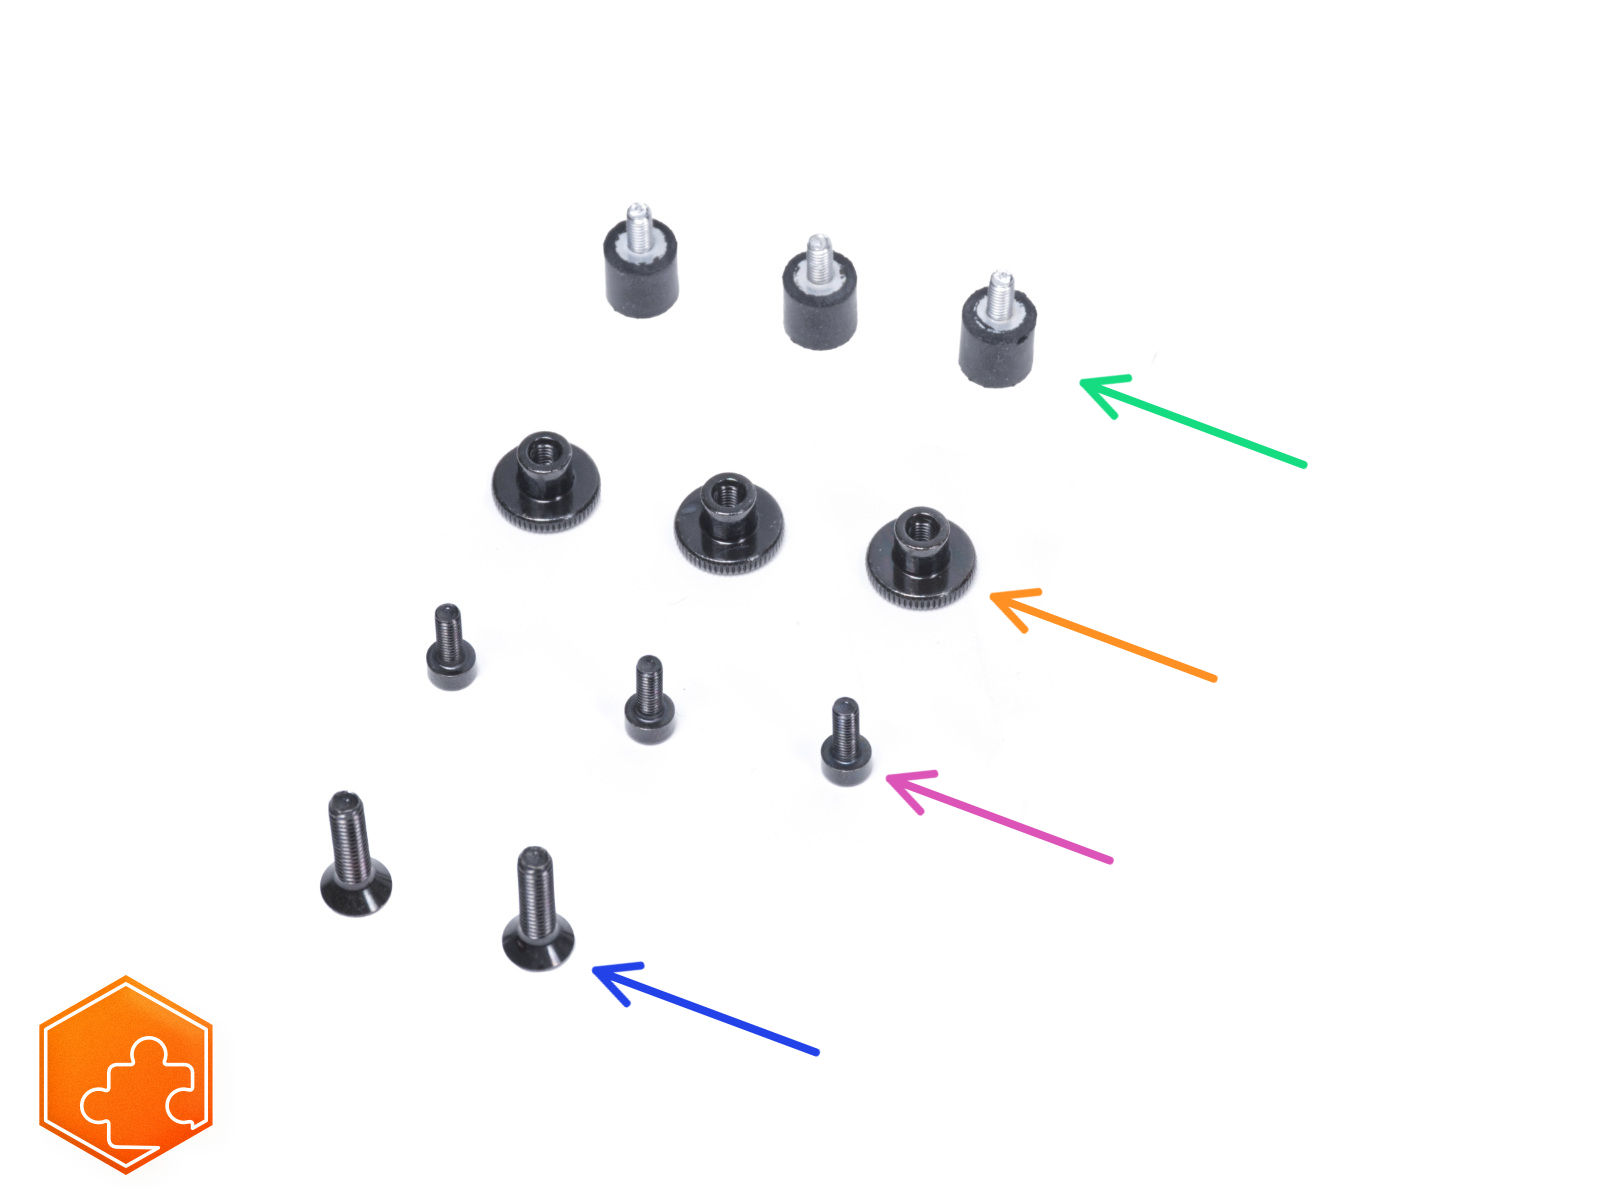
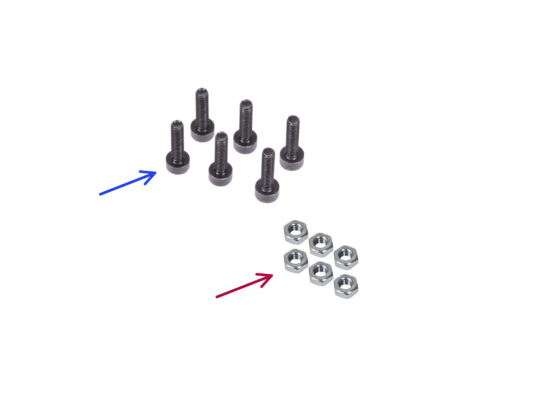
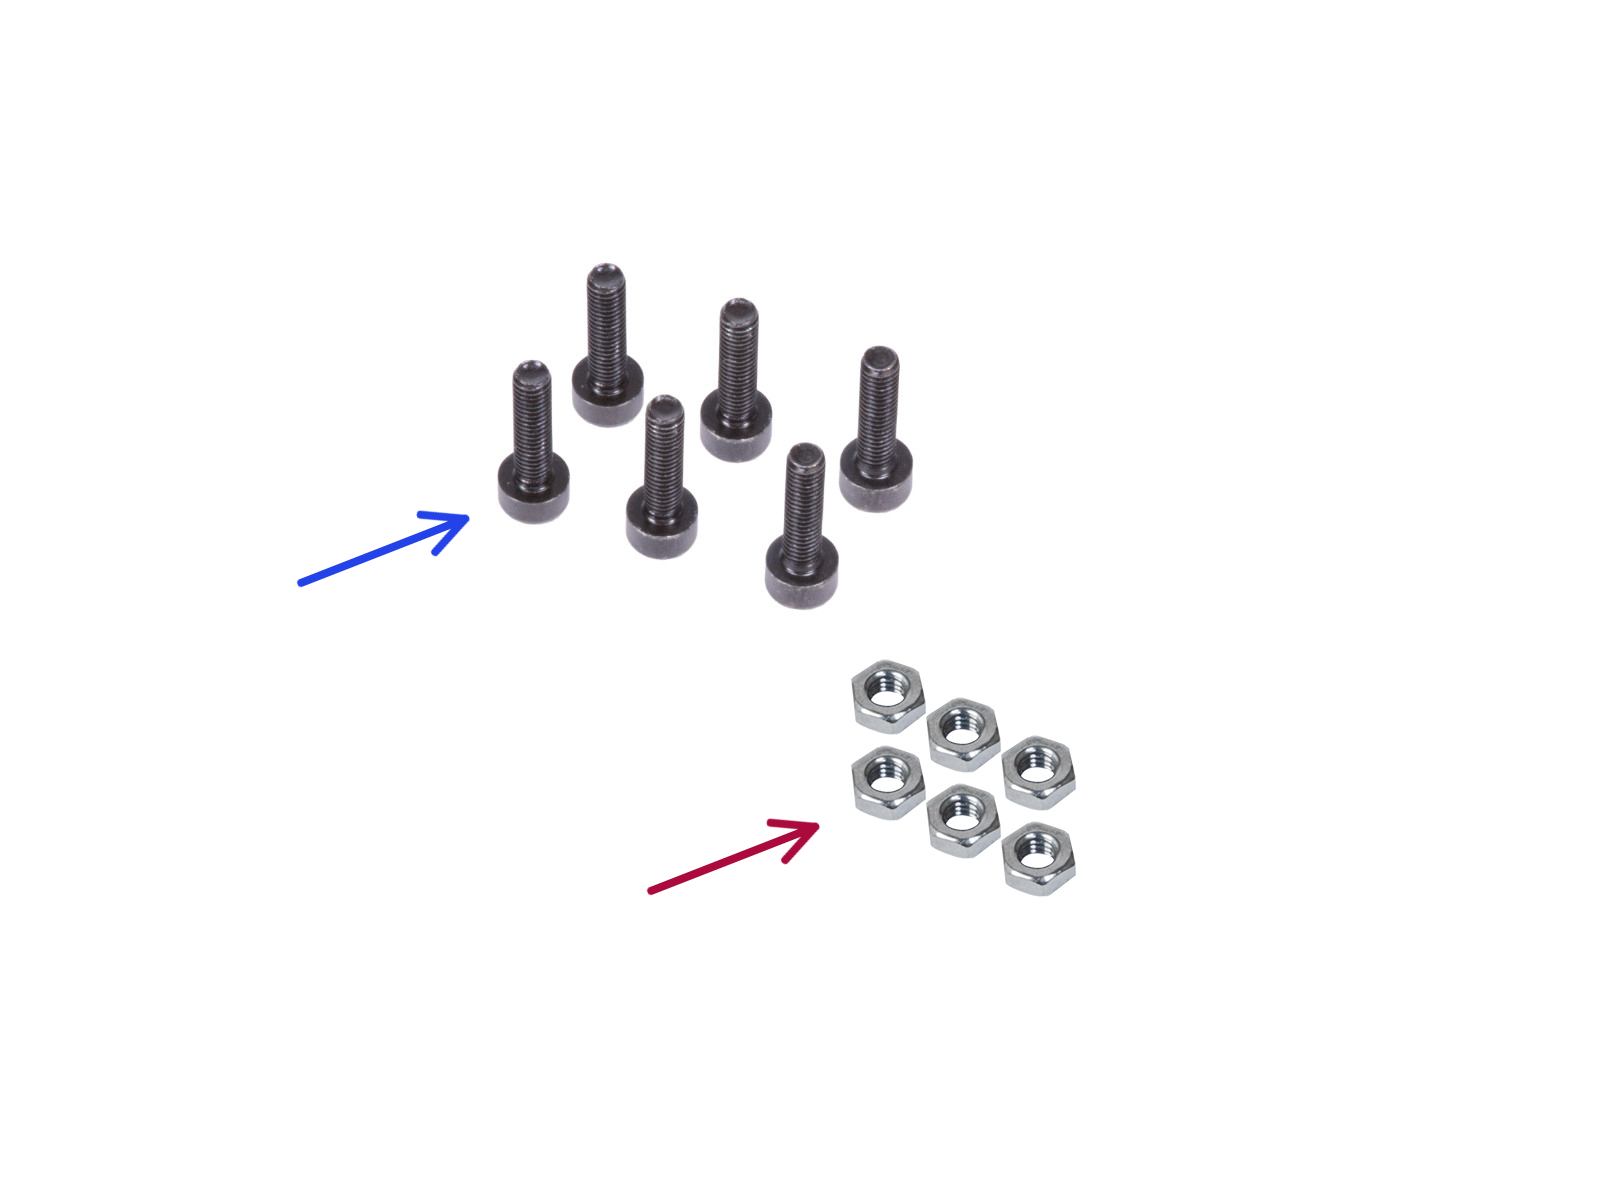
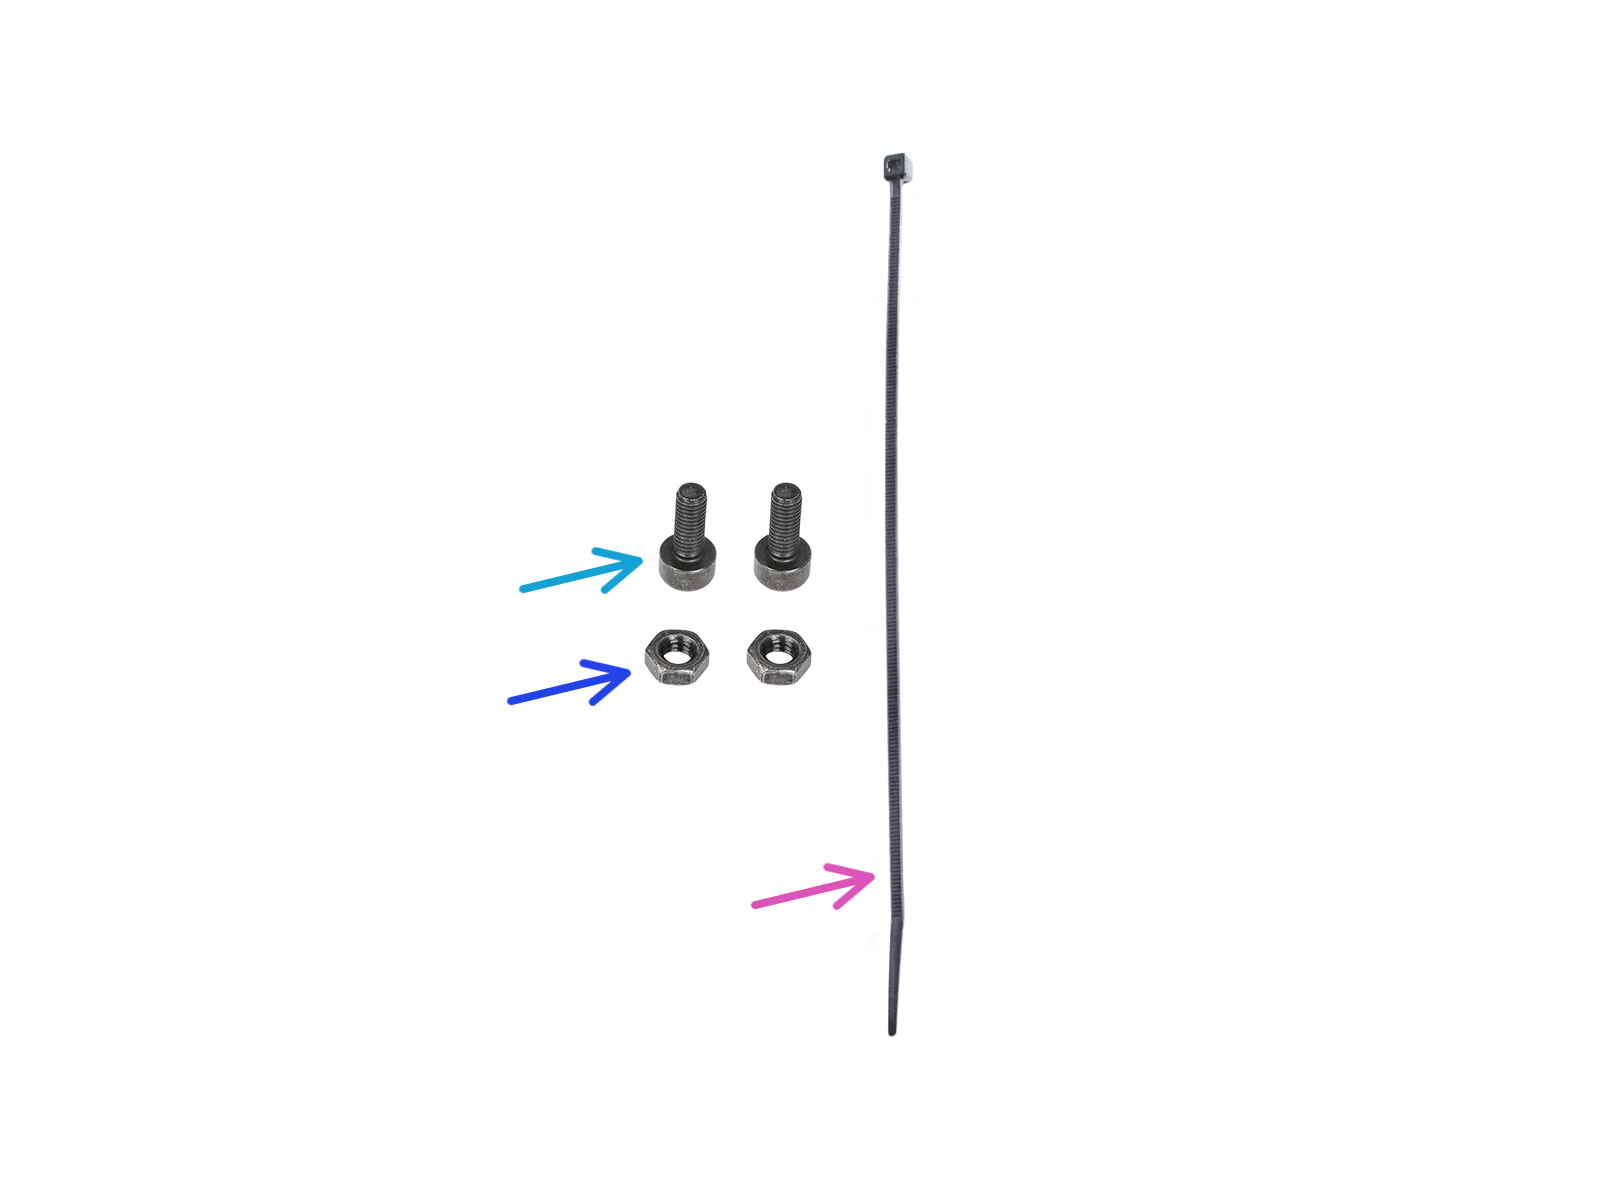
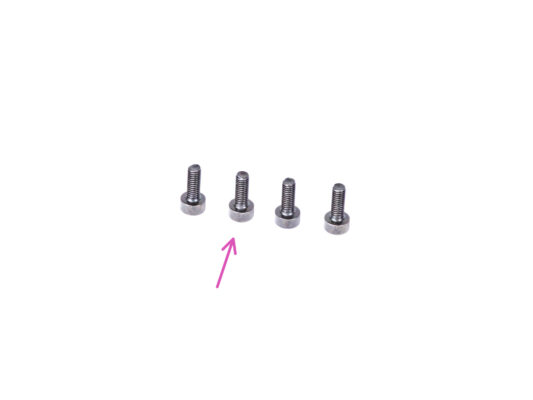
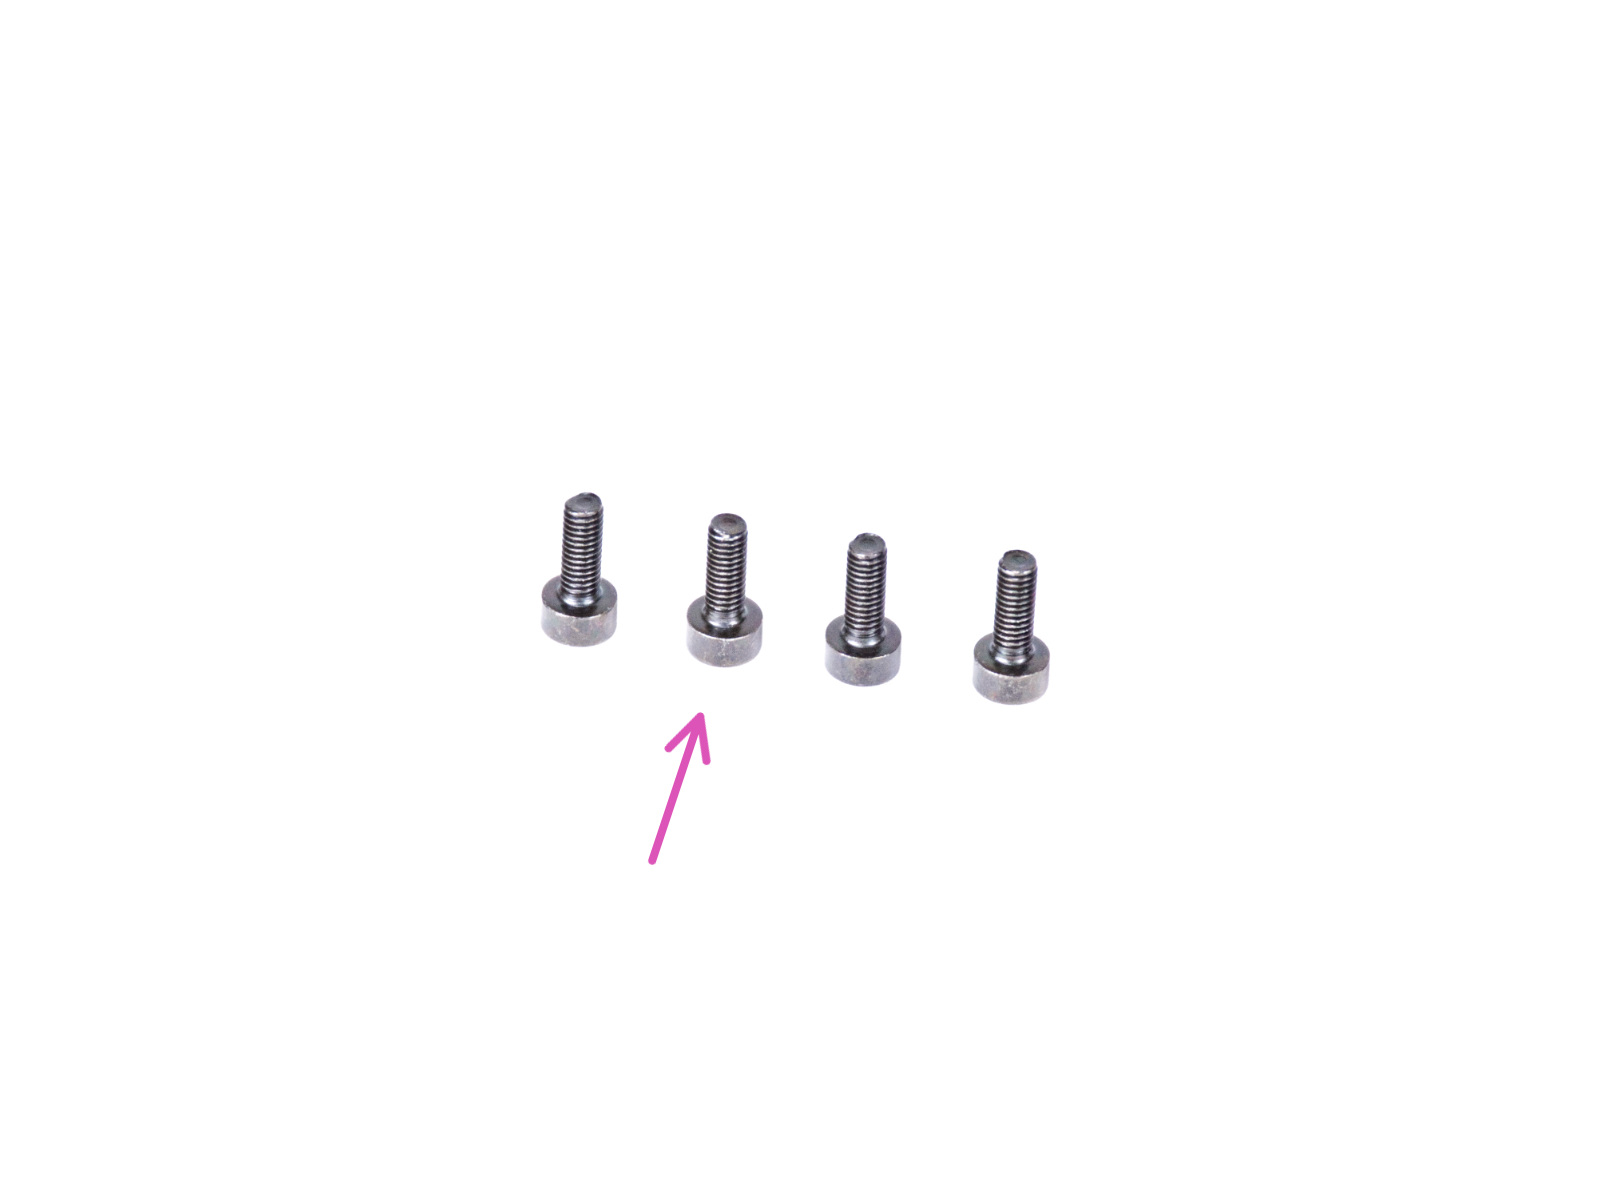
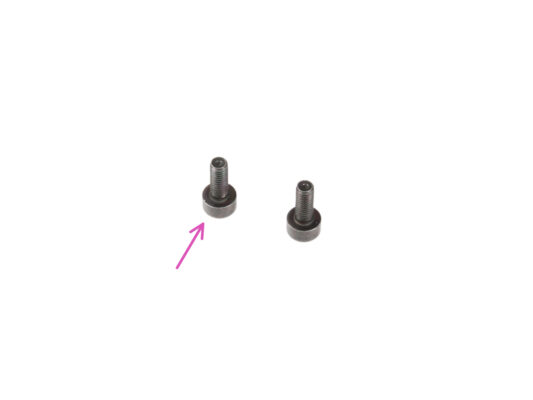
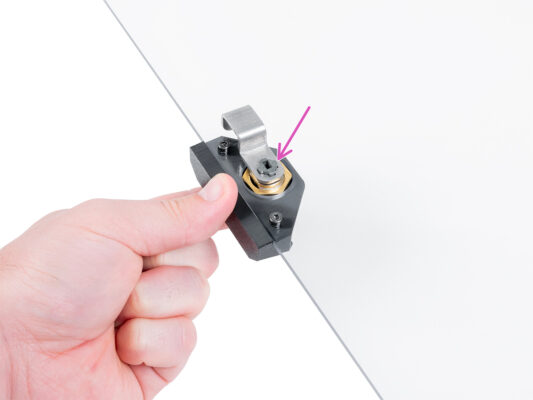
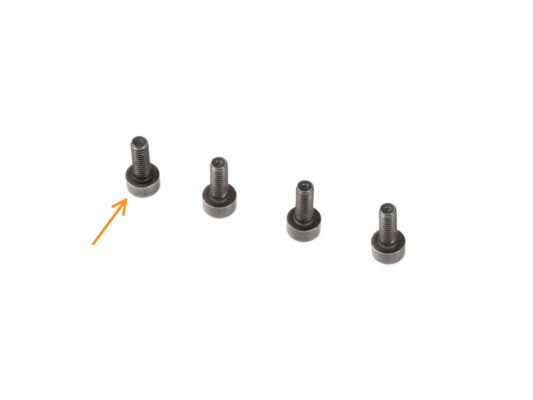
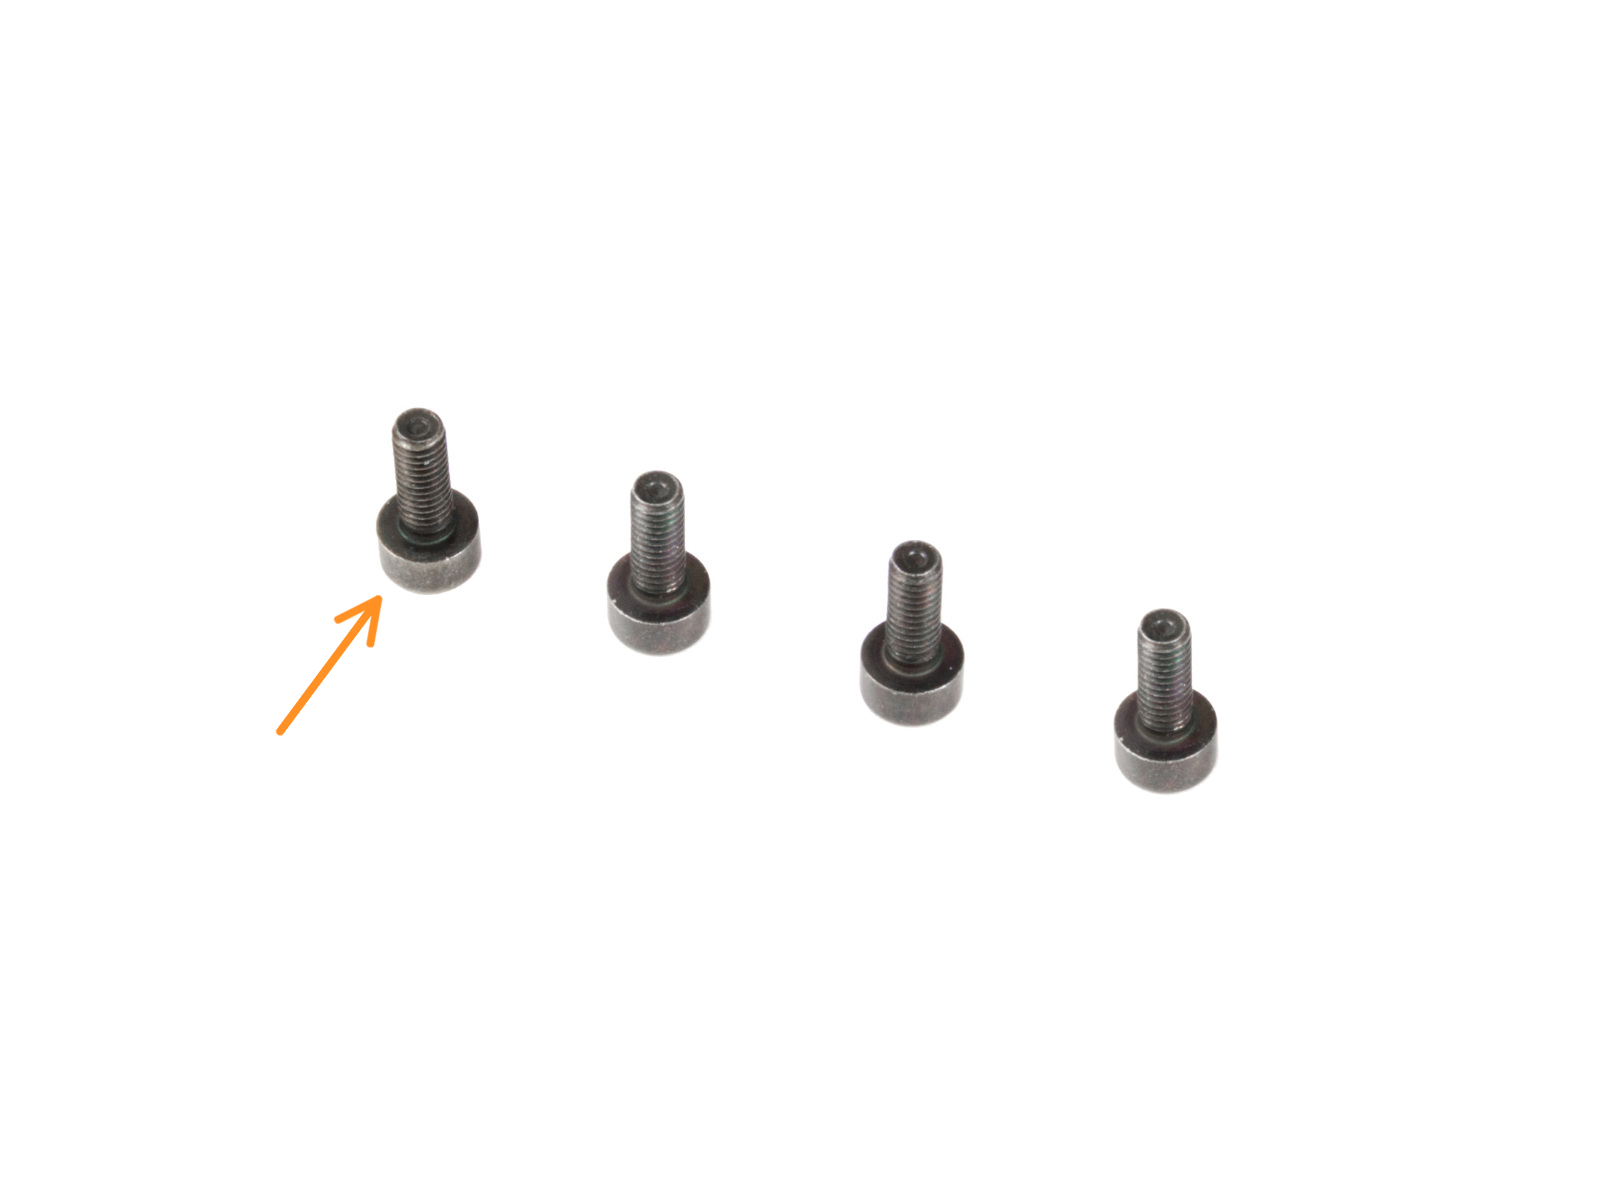
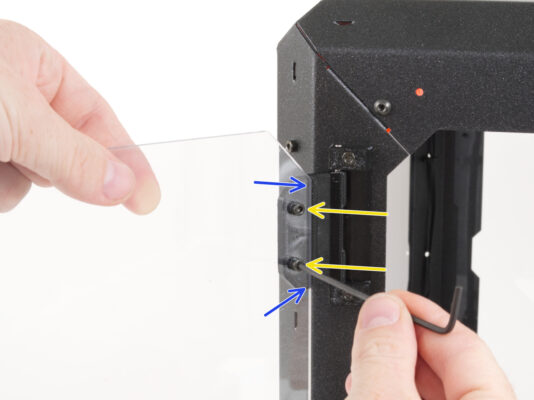
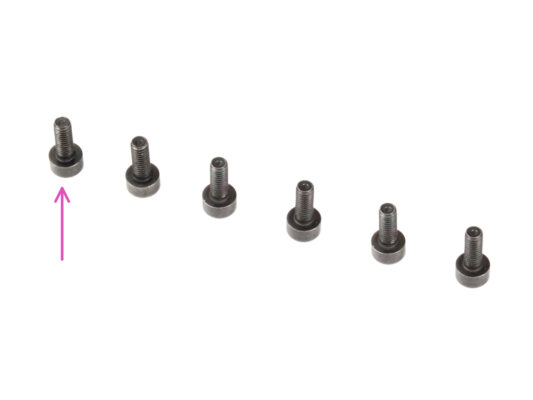
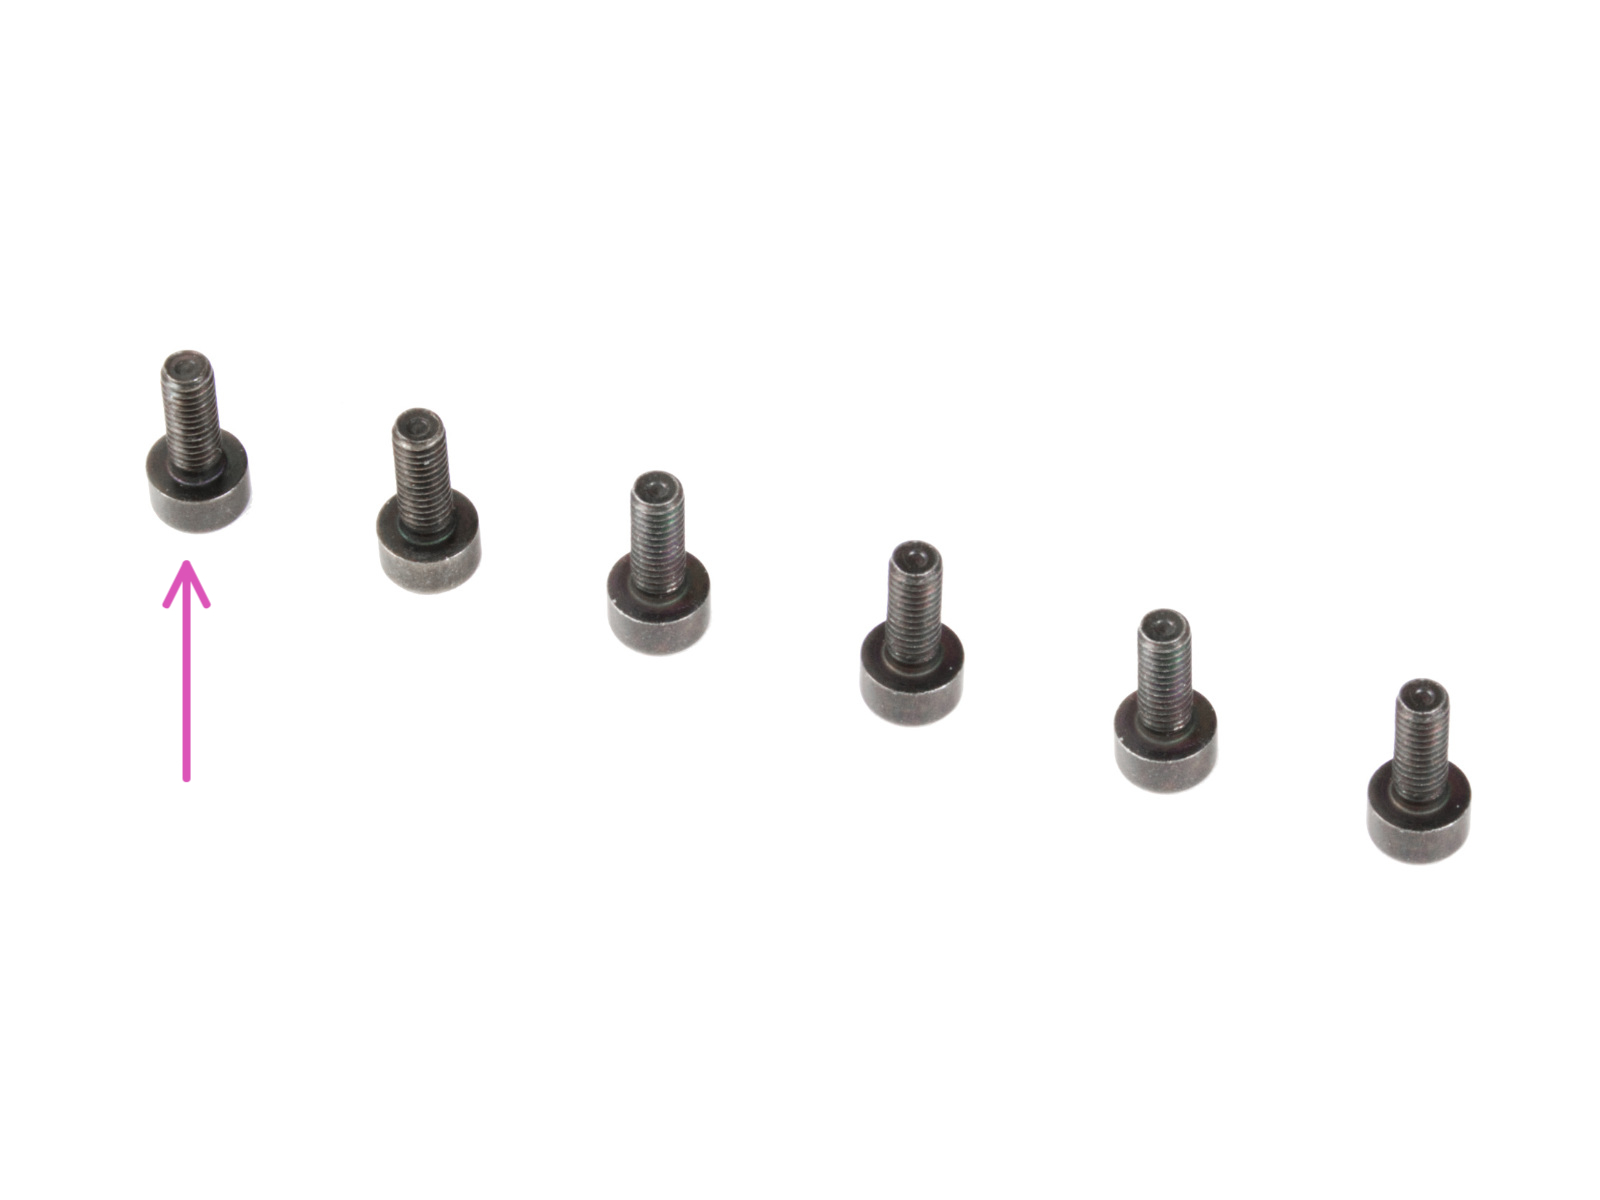
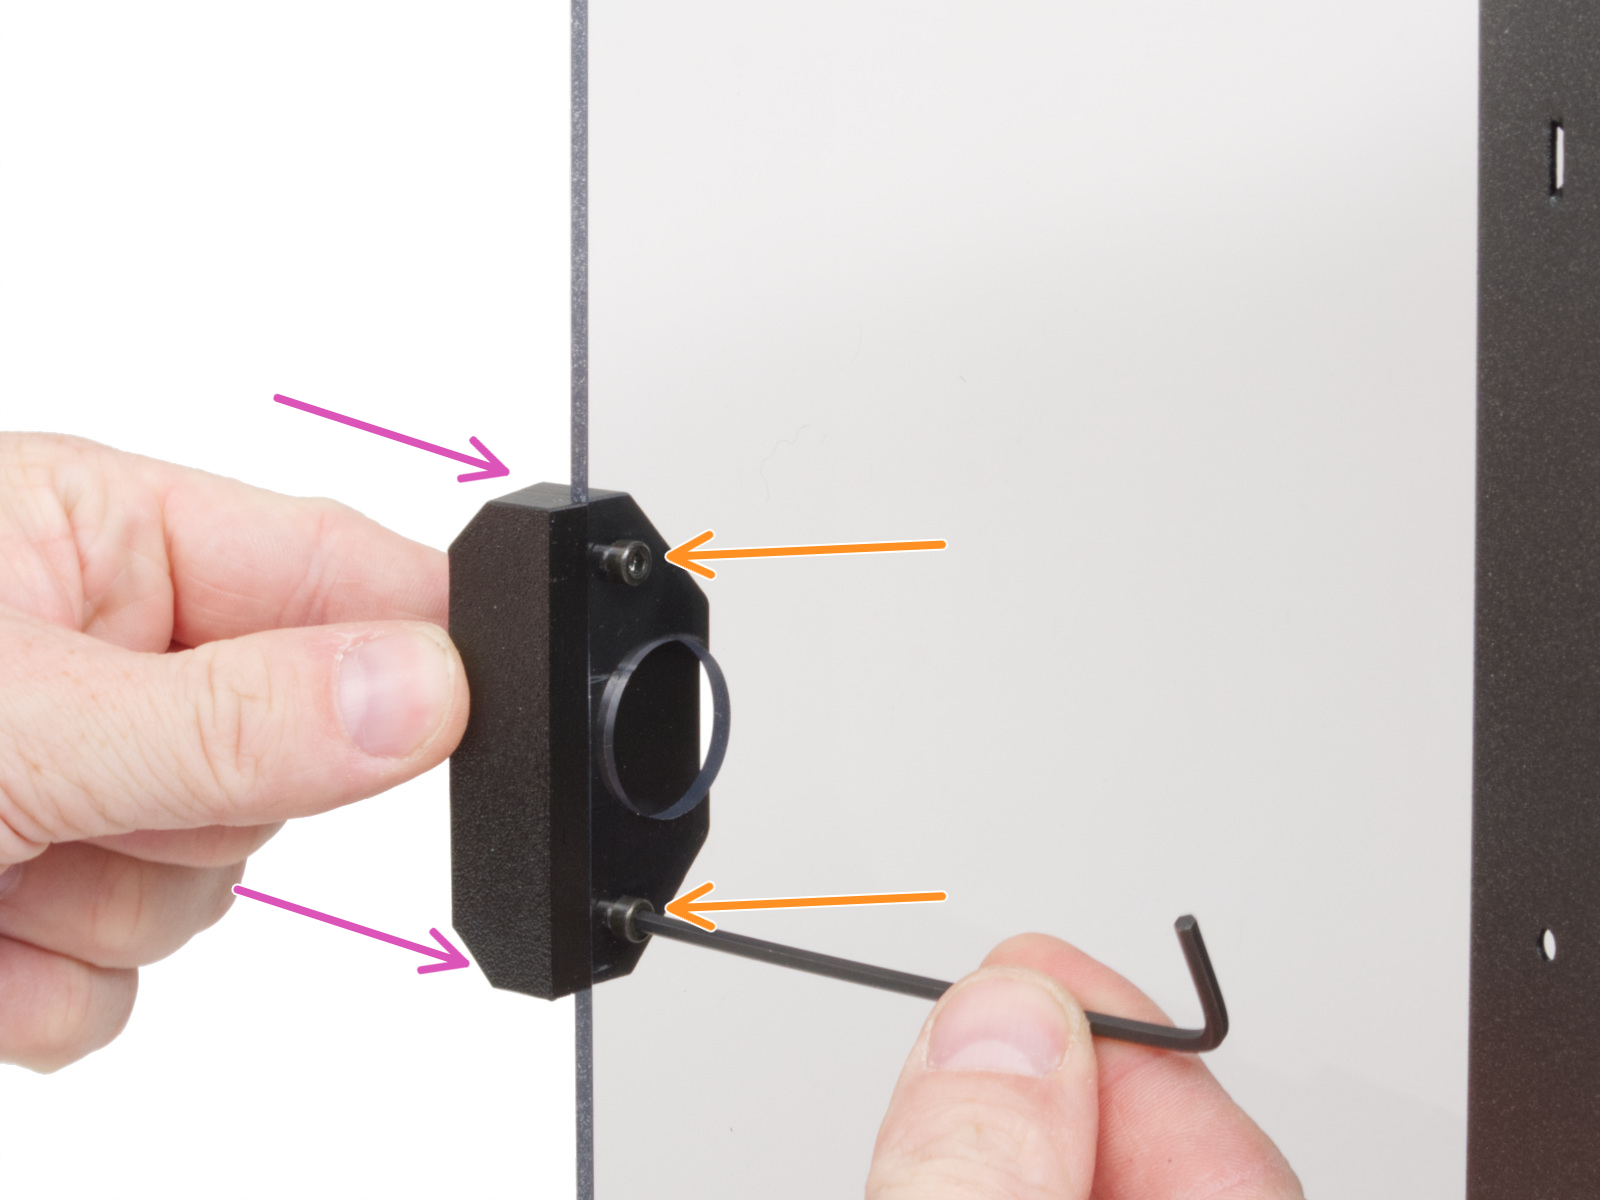
⬢Locate two holes on the top of the left support. From the inside, insert two M3x8 screws.
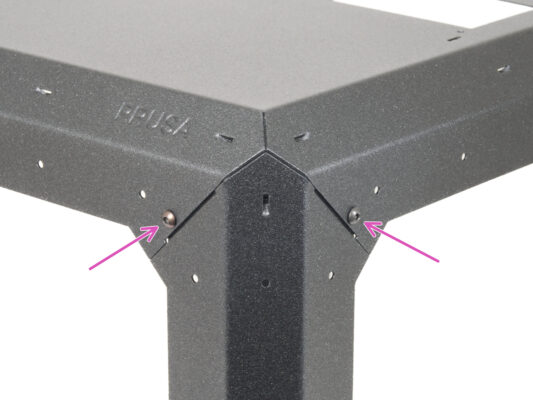
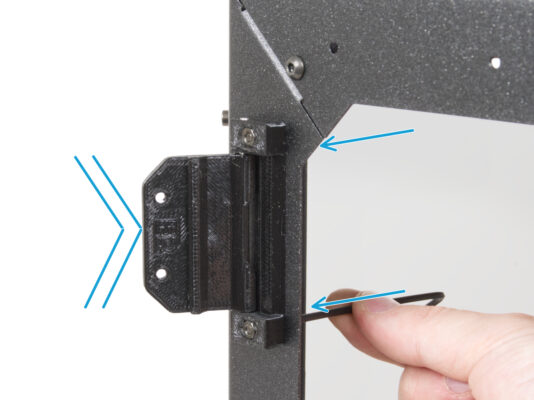
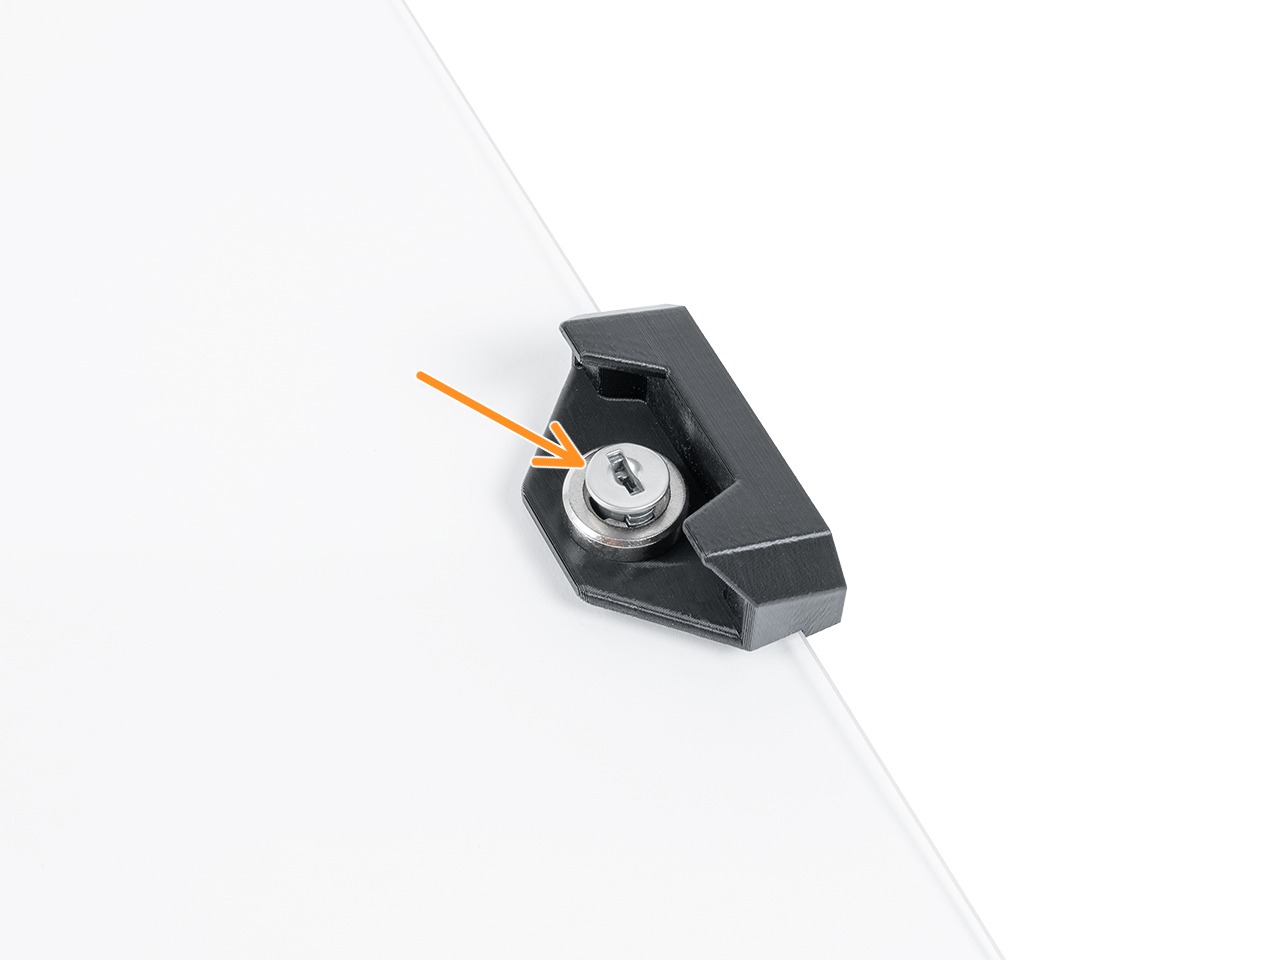
⬢Attach the hinge on the screws and tighten the screws. Mind the correct orientation of the hinge.
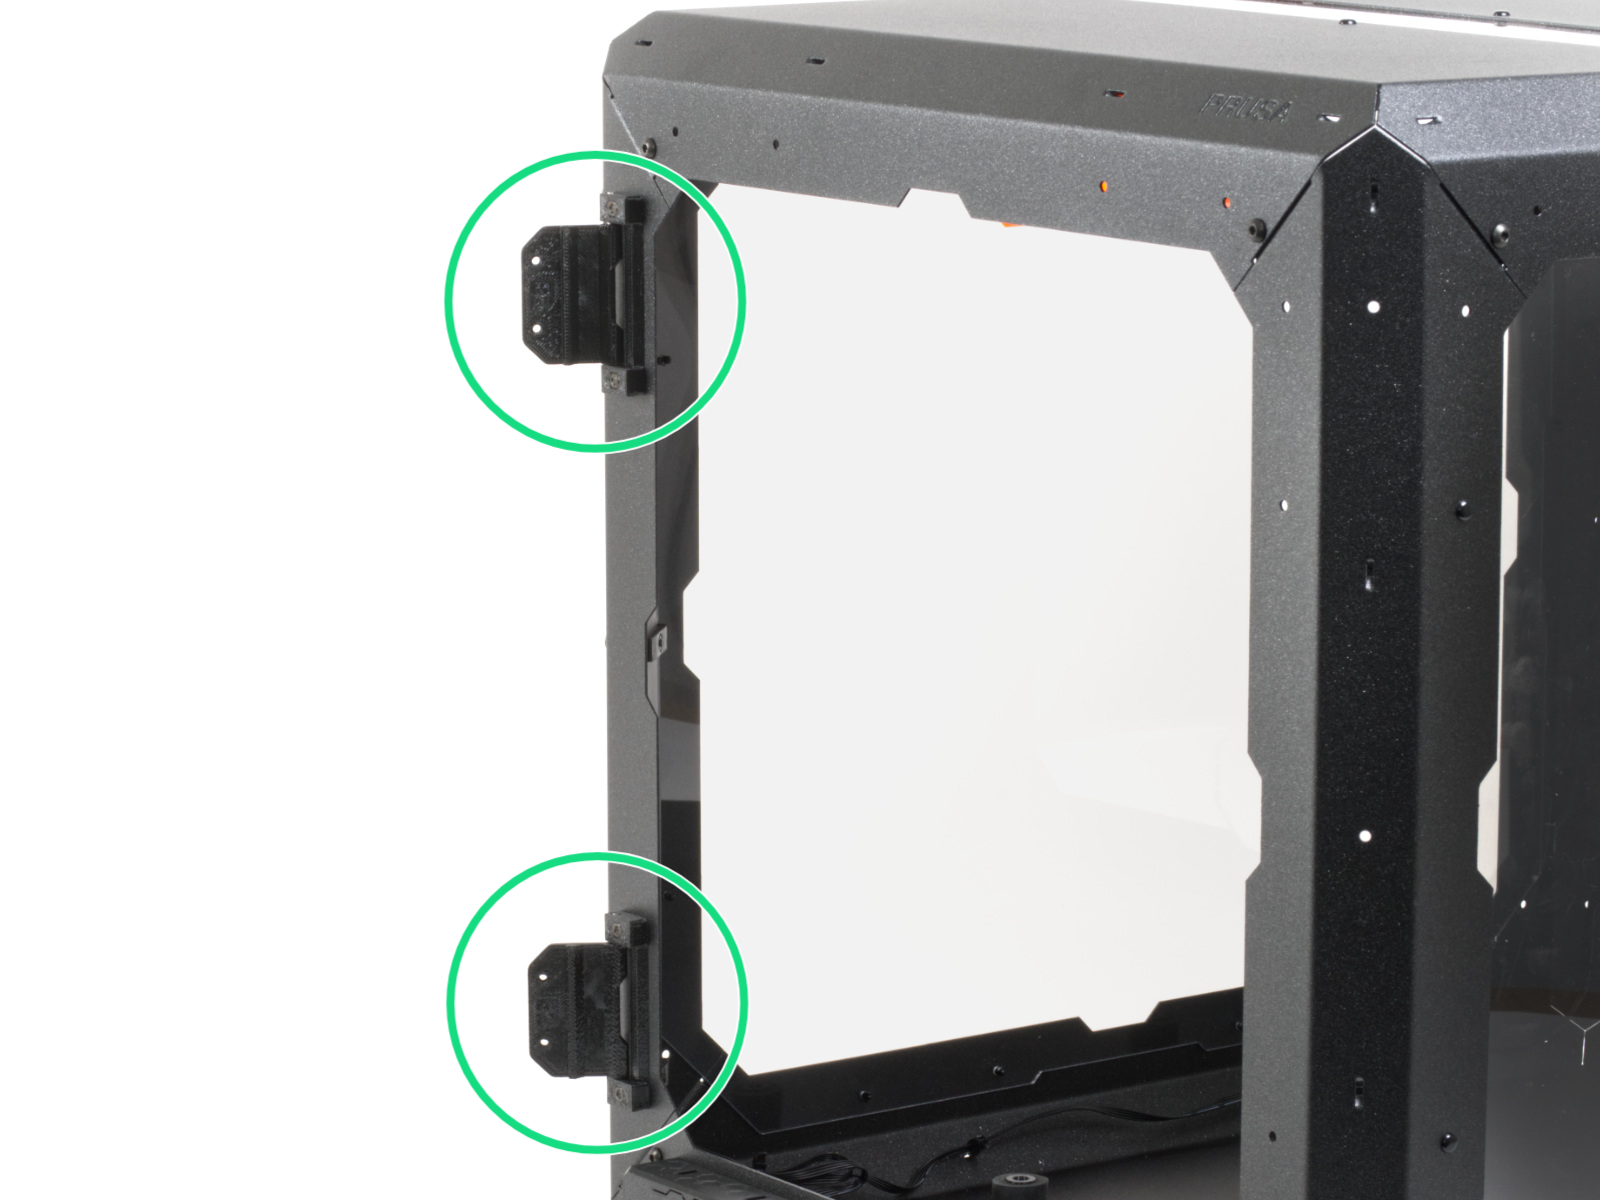
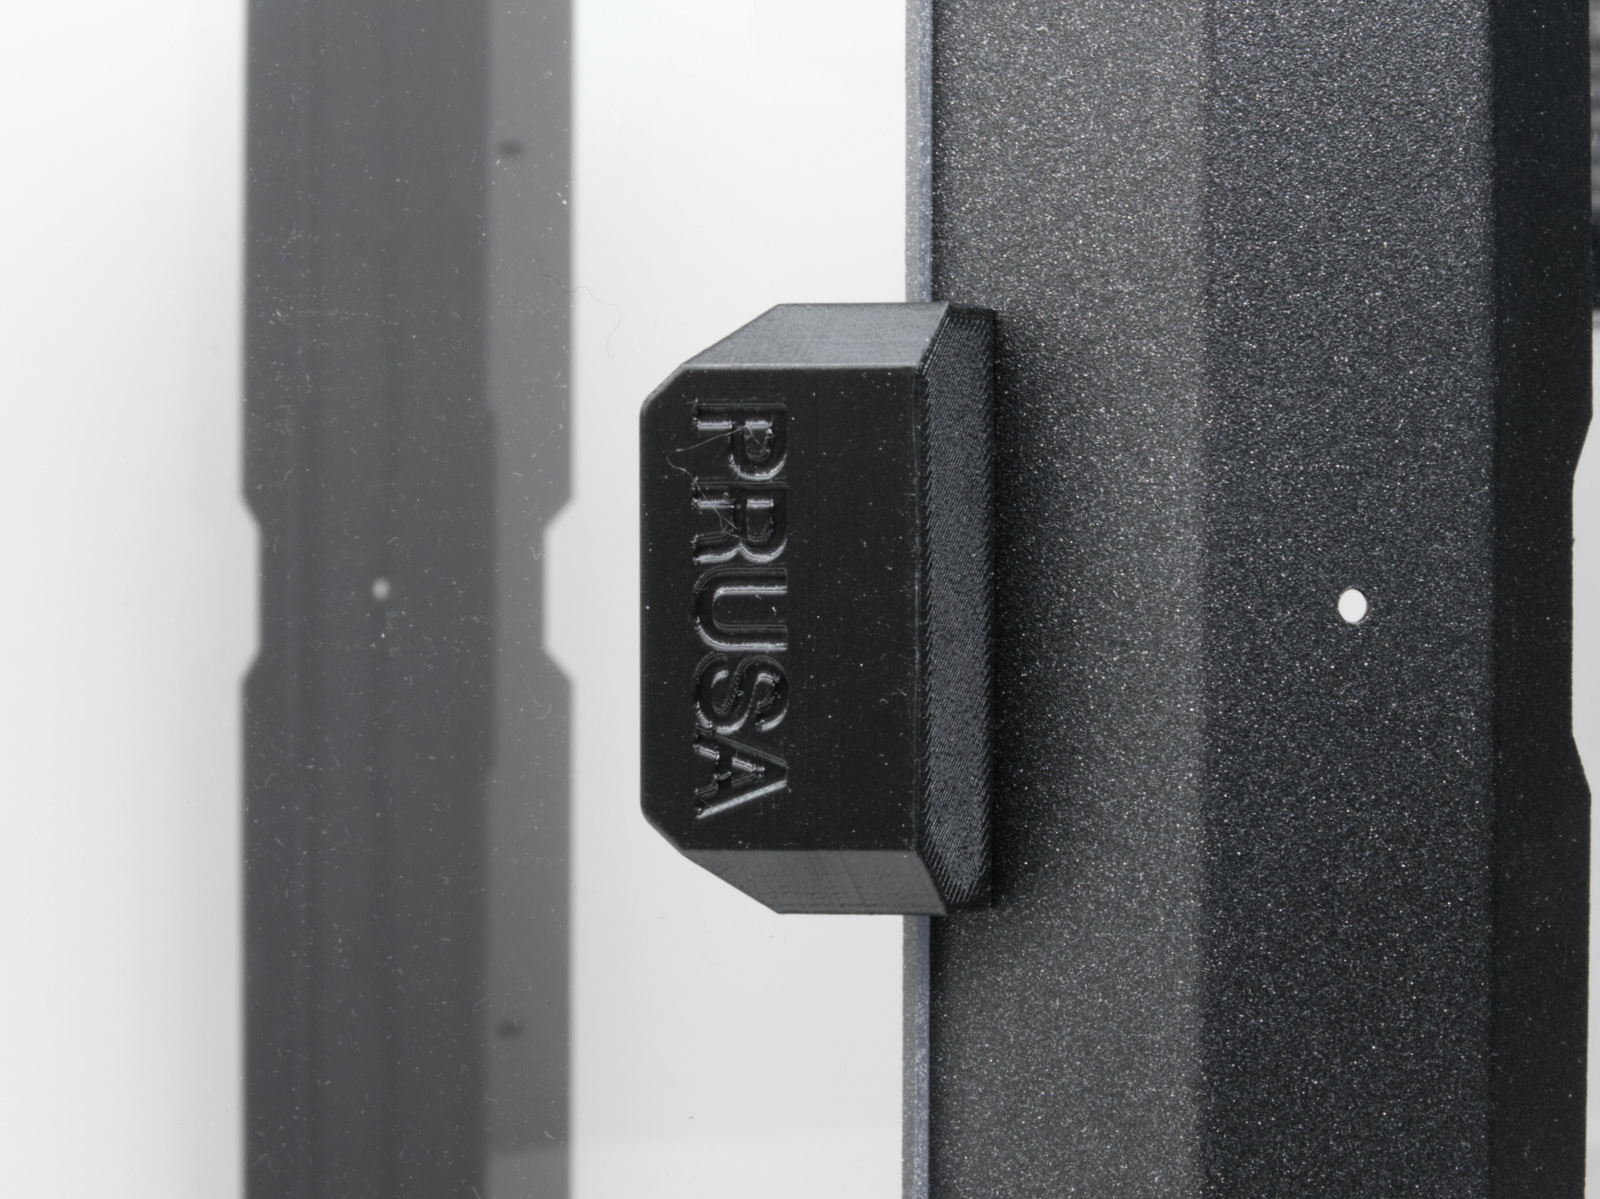
⬢Use the same procedure to mount the upper door-hinge.
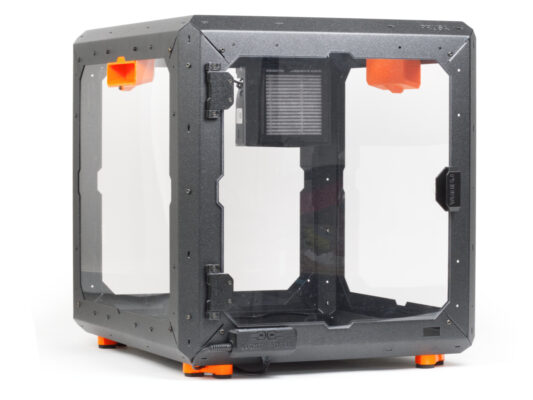
⬢Perfektní! Právě jste úspěšně sestavili Original Prusa MINI Enclosure.
⬢Now it's time to put the printer inside. Let's move to chapter 3. Installing the printer.
Byl tento návod užitečný?
Komentáře
Stále nemáte jasno?
Pokud nemůžete najít odpověď na vaši otázku, projděte si naše další materiály na webu. A pokud nenajdete odpověď, pošlete nám zprávu na [email protected] nebo přes tlačítko níže.