This guide describes how to install the Prusa USS Drybox on Prusa CORE One+ and CORE One L printers.
Both printers use the same spool mounting system and filament routing interface, allowing a shared installation procedure.
The installation covers mechanical mounting, PTFE routing, and connection to the side filament sensor.
Before starting, make sure the Drybox is fully assembled and loaded with filament. If not, follow the First setup and filament loading (USS Drybox) article.
PTFE tube preparation
For CORE One+ and CORE One L, cut the PTFE tube to 21 cm.
Ensure a clean, straight cut to avoid filament friction or misalignment.
Installation on CORE One+ and CORE One L
- Print the required parts for the CORE One Drybox installation, the PTFE Connect, available on Printables - carefully read the printing instructions.
- Unlock the spoolholder from the puck-and-bayonet system, then place the Drybox onto the mount. Lock it using the spoolholder mechanism.
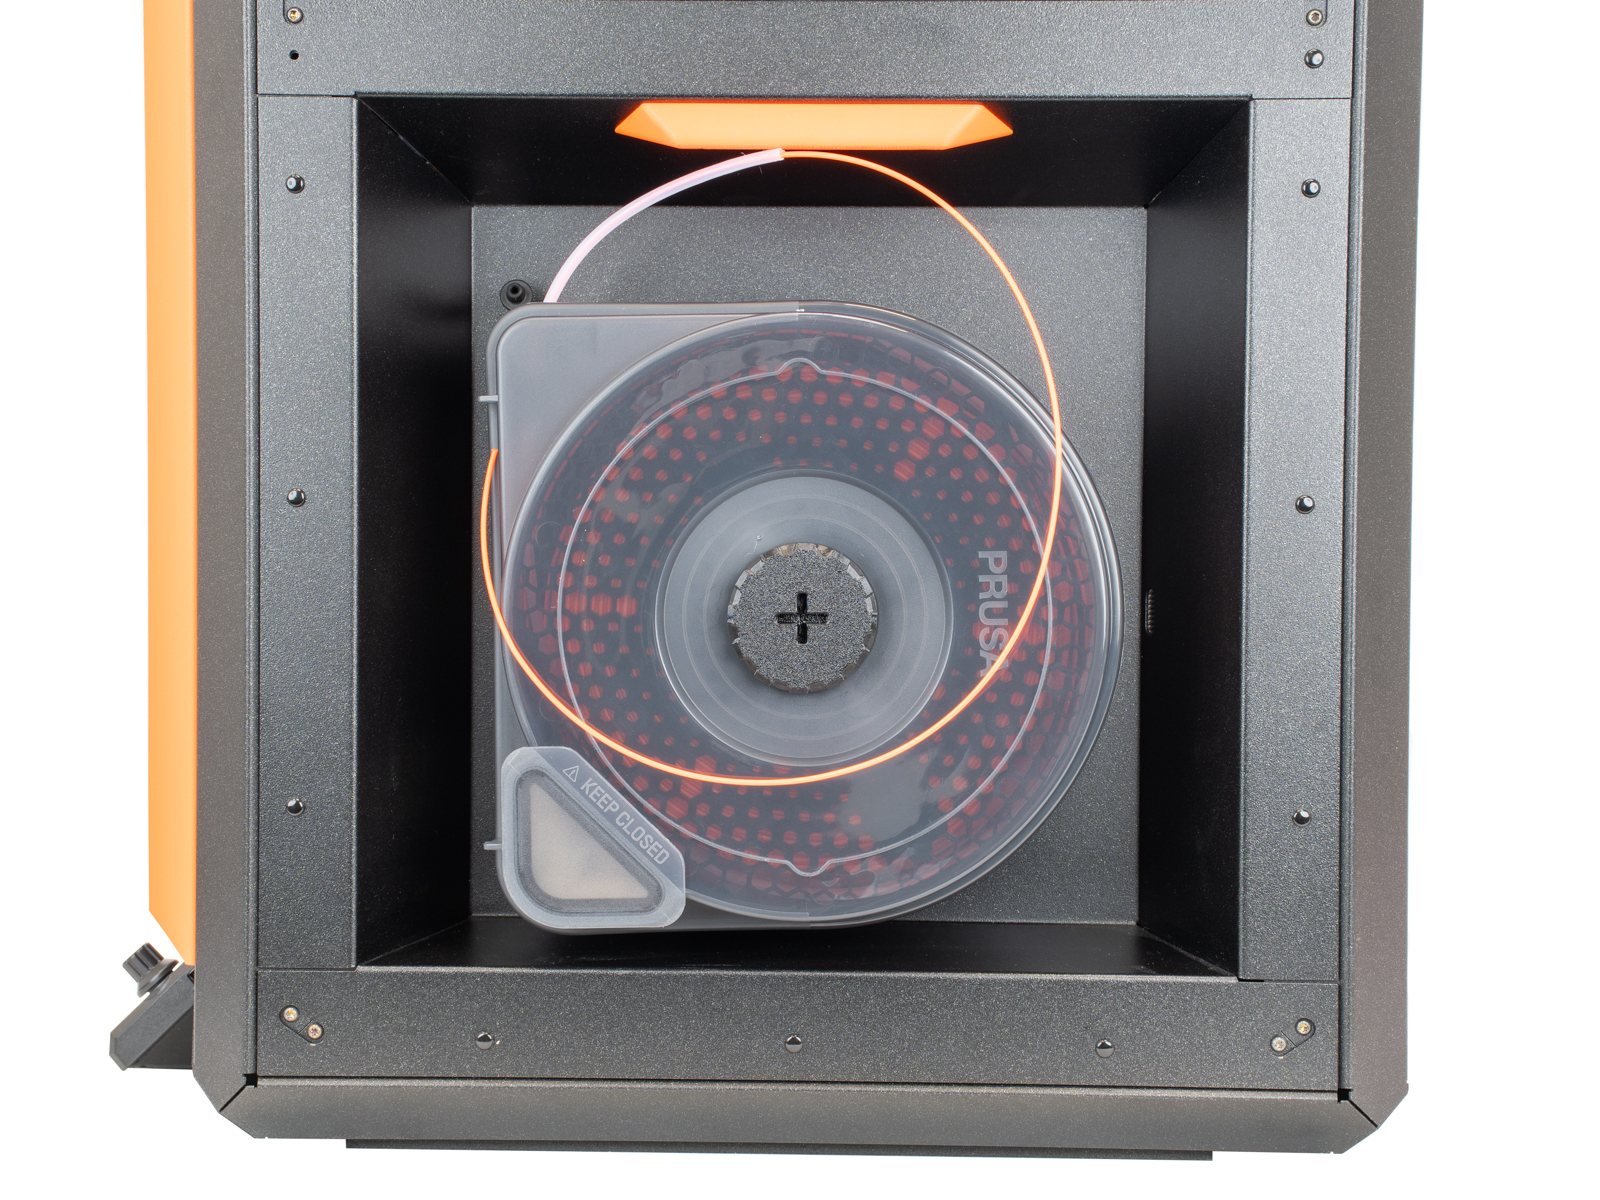 | 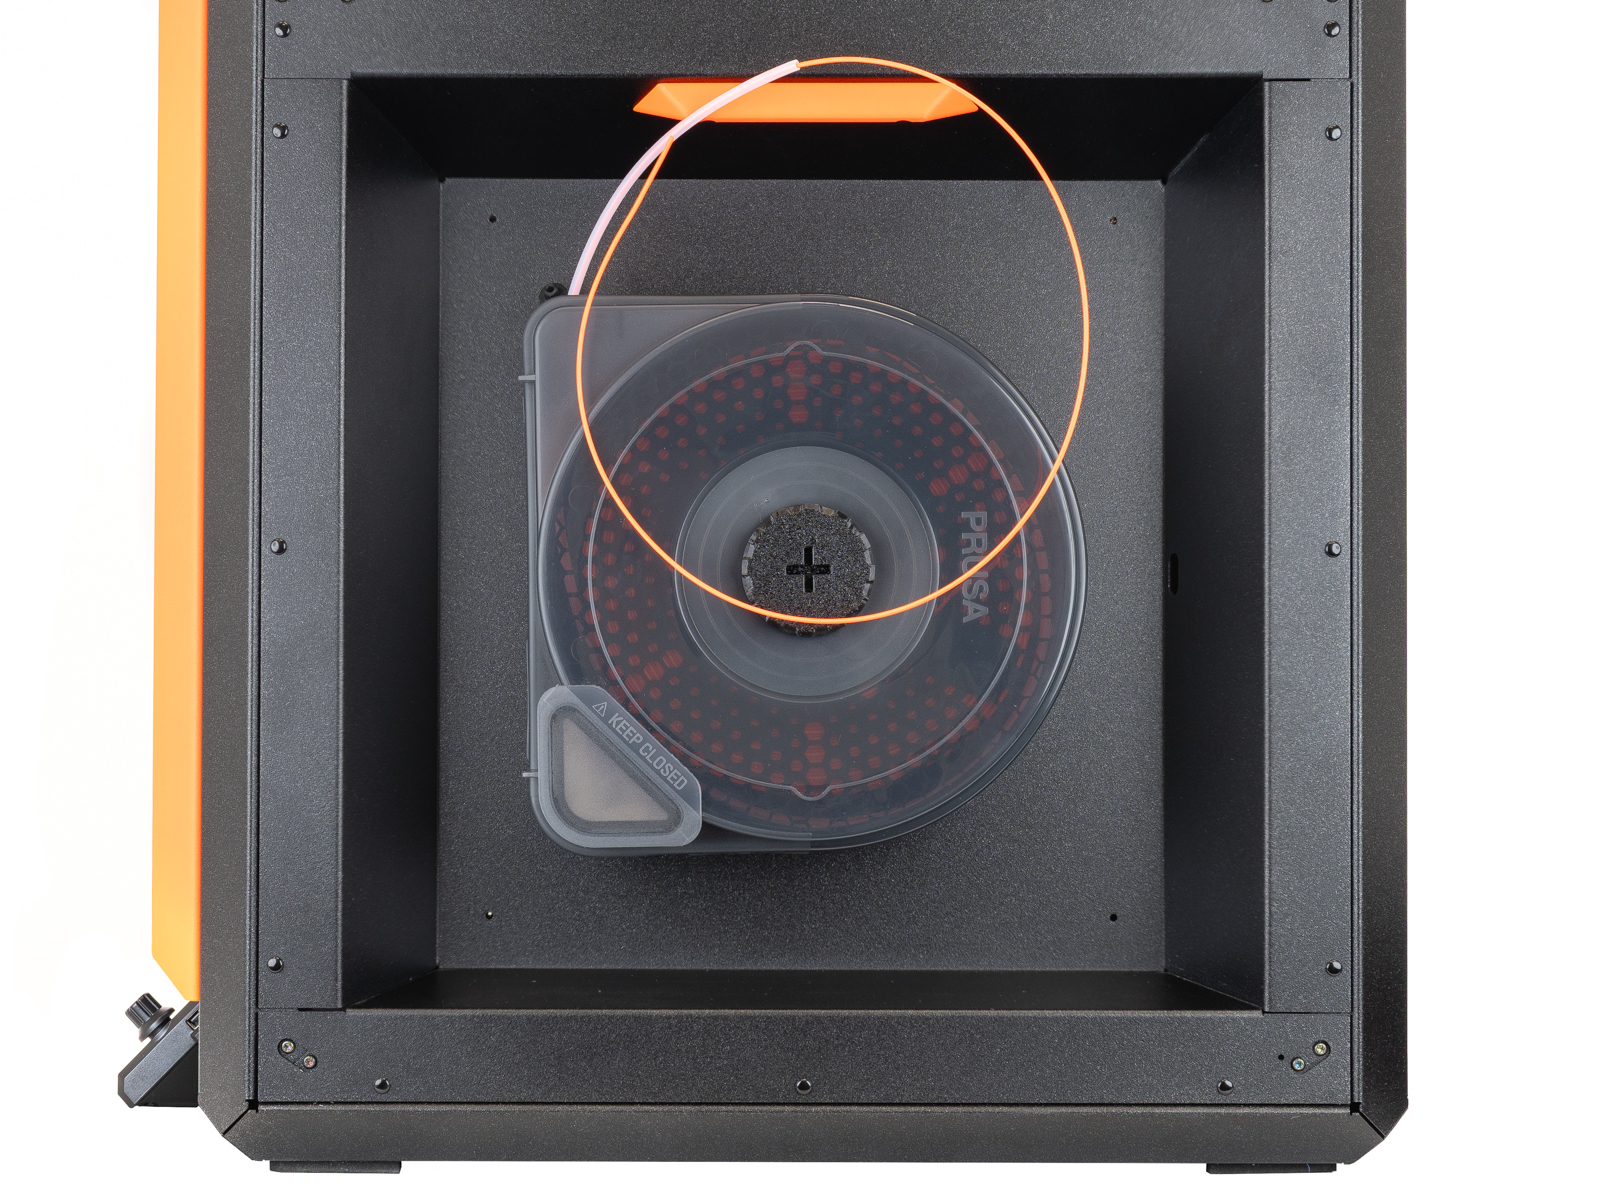 |
| CORE One+ | CORE One L |
- Connect the PTFE Connect between the side filament sensor PTFE and the Drybox PTFE tube.
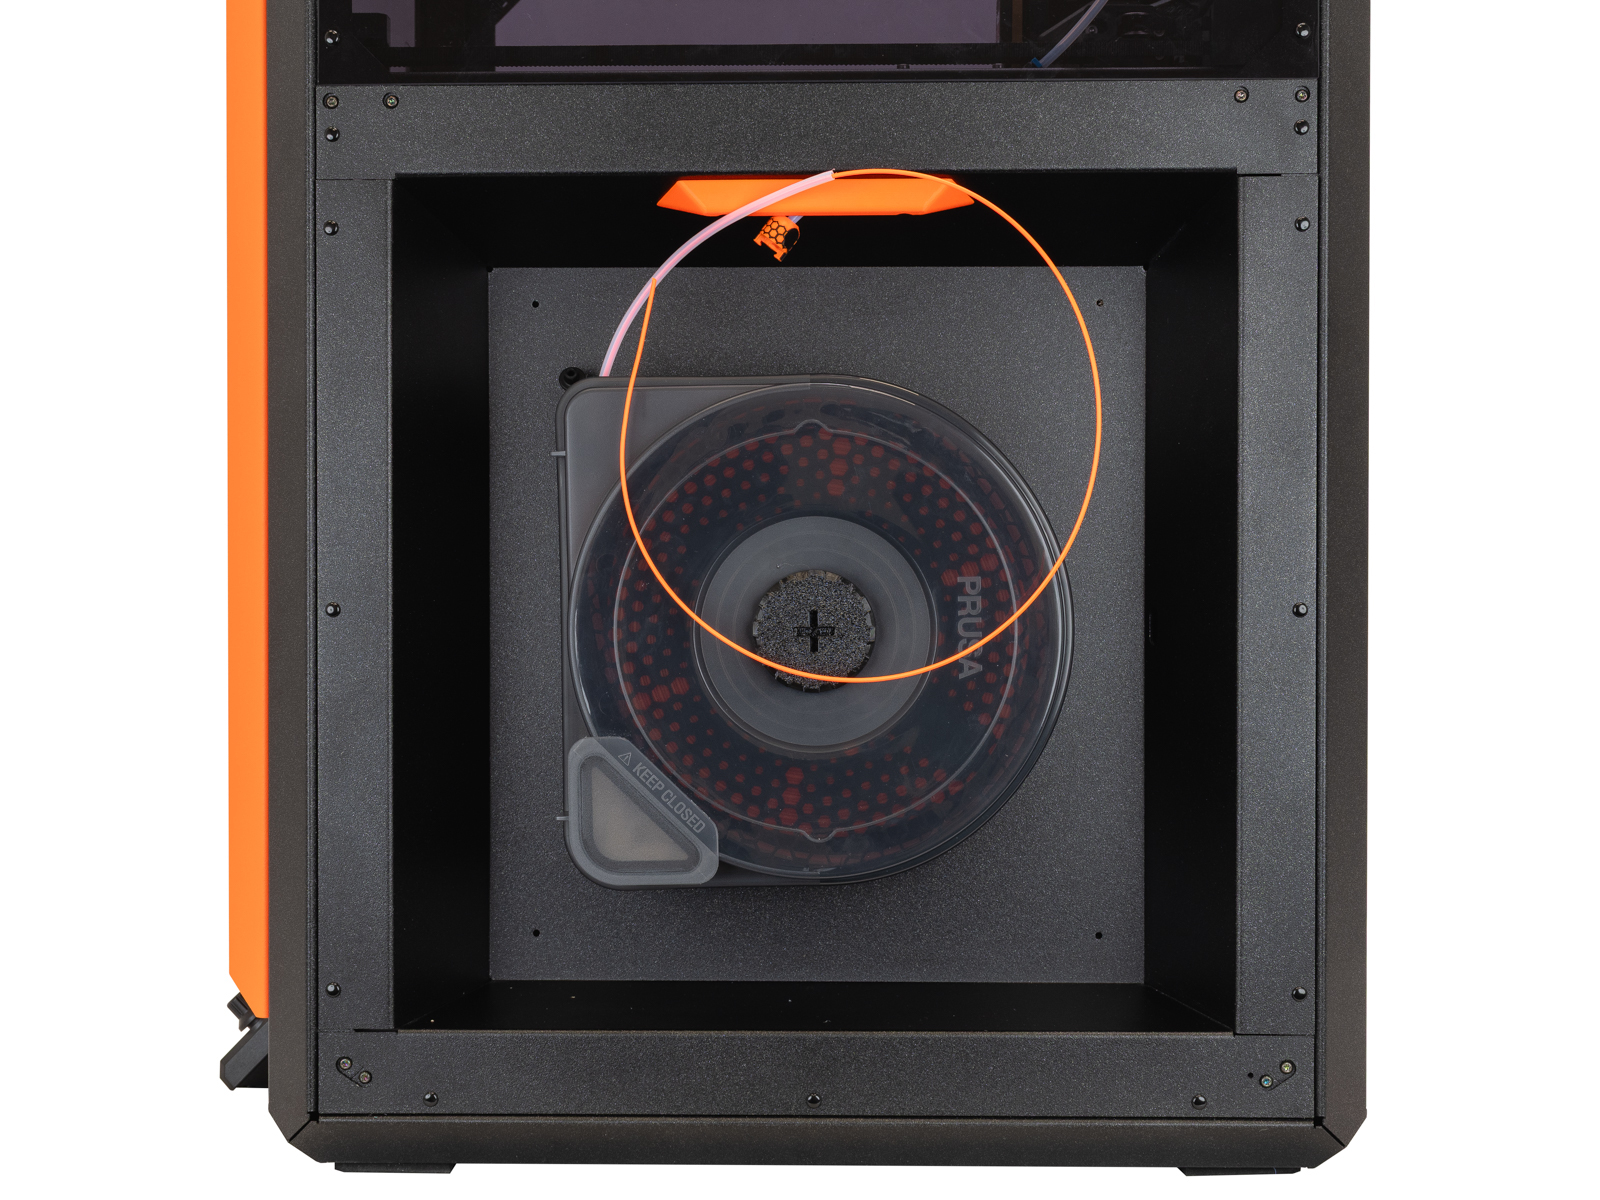 | 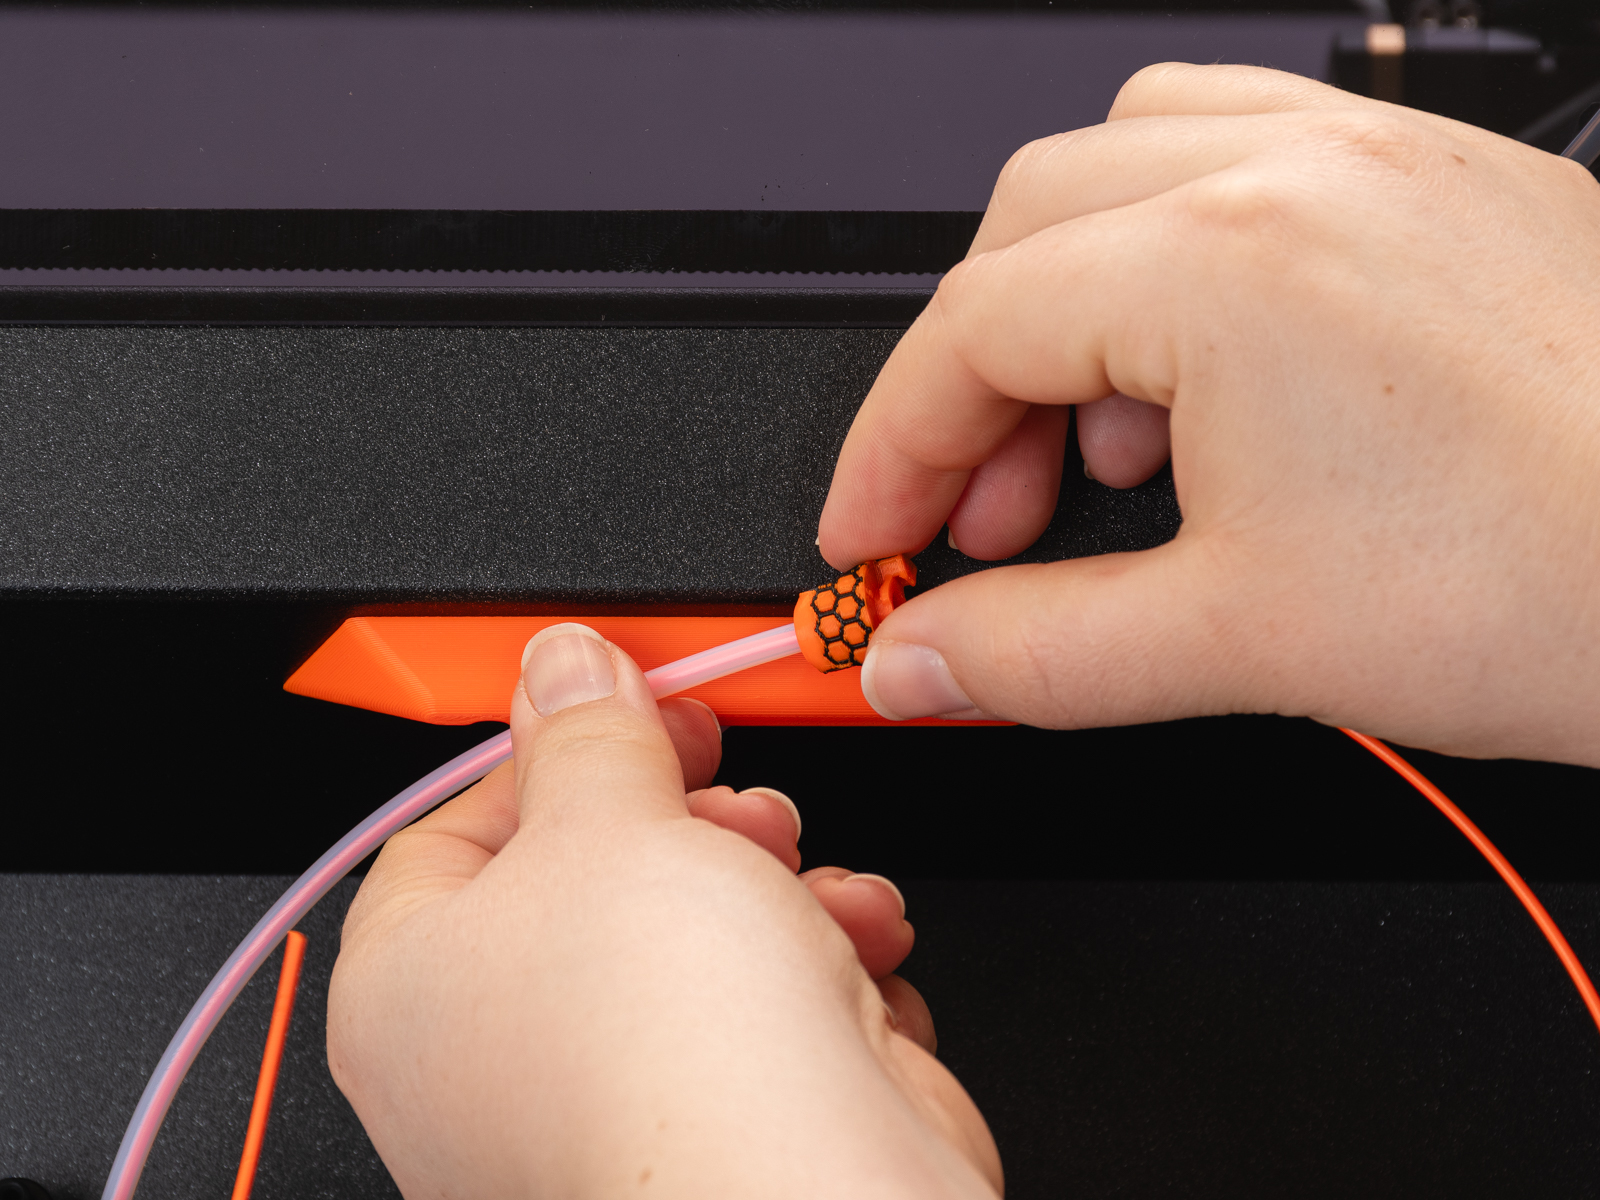 |
- Load the filament into the printer.
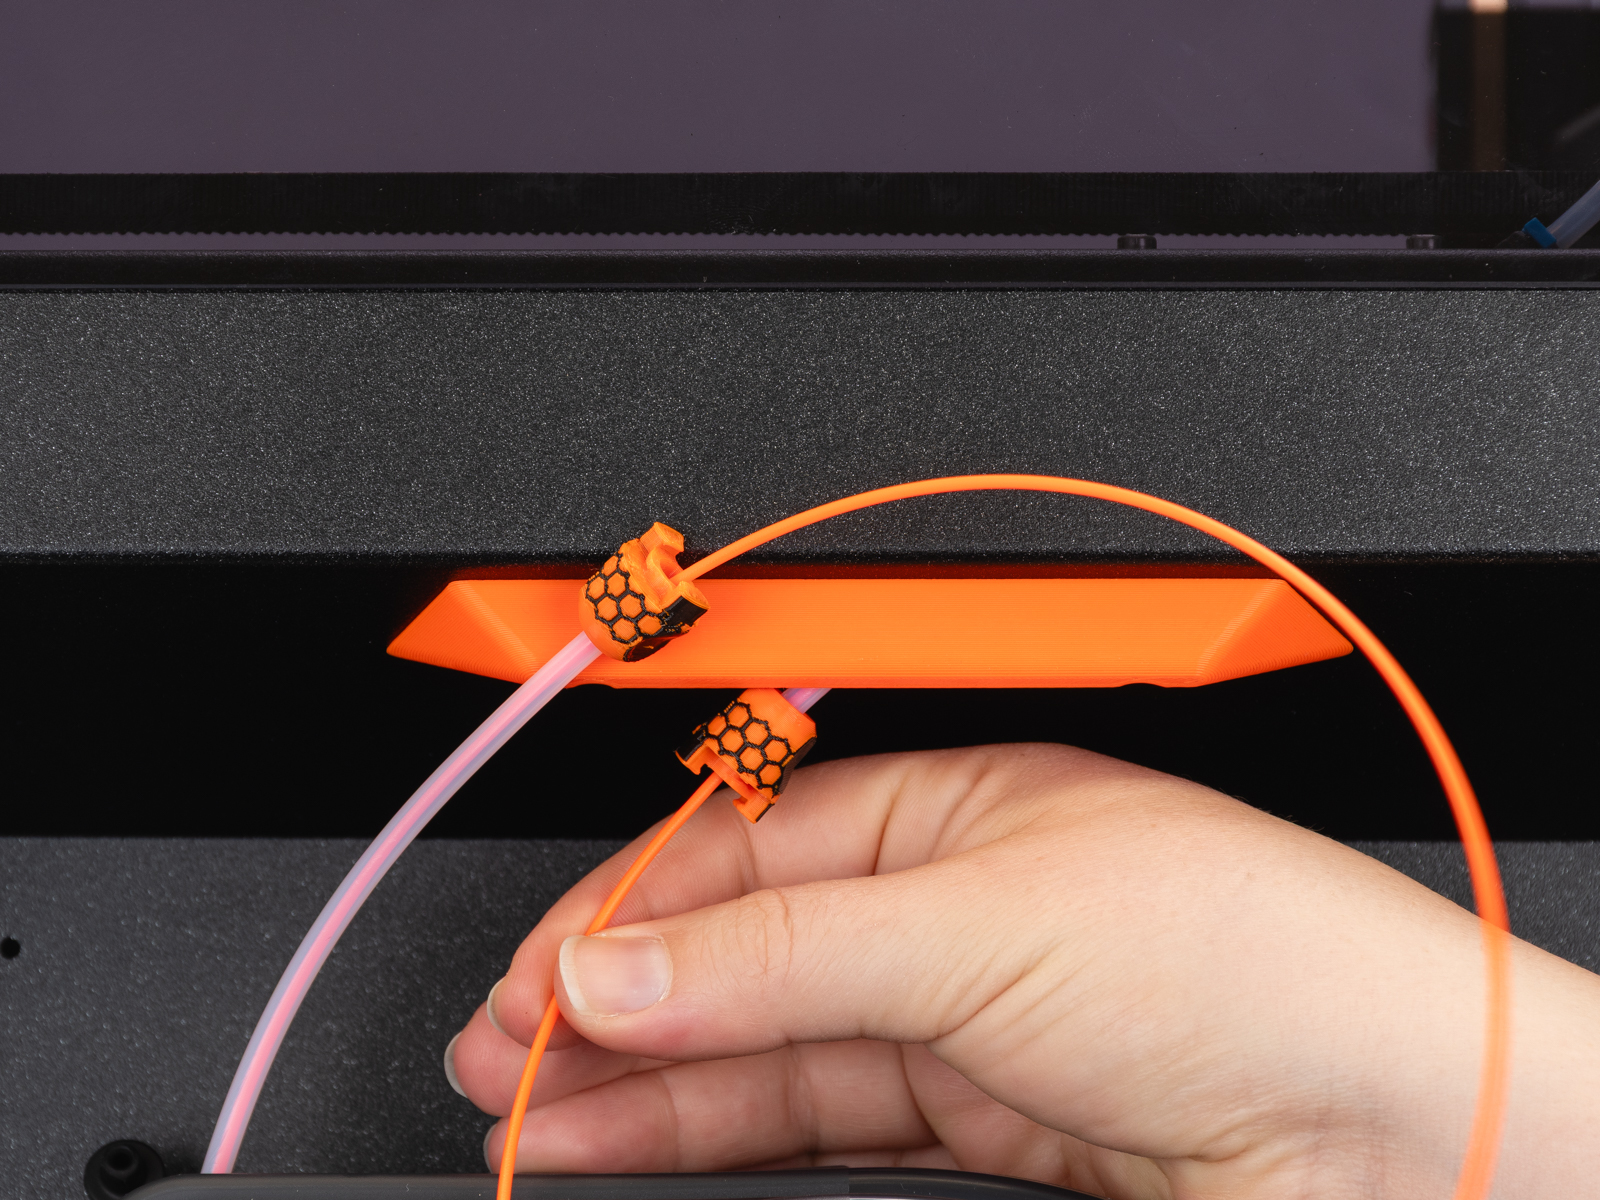
- Lock the PTFE adapters together by twisting them in opposite directions.
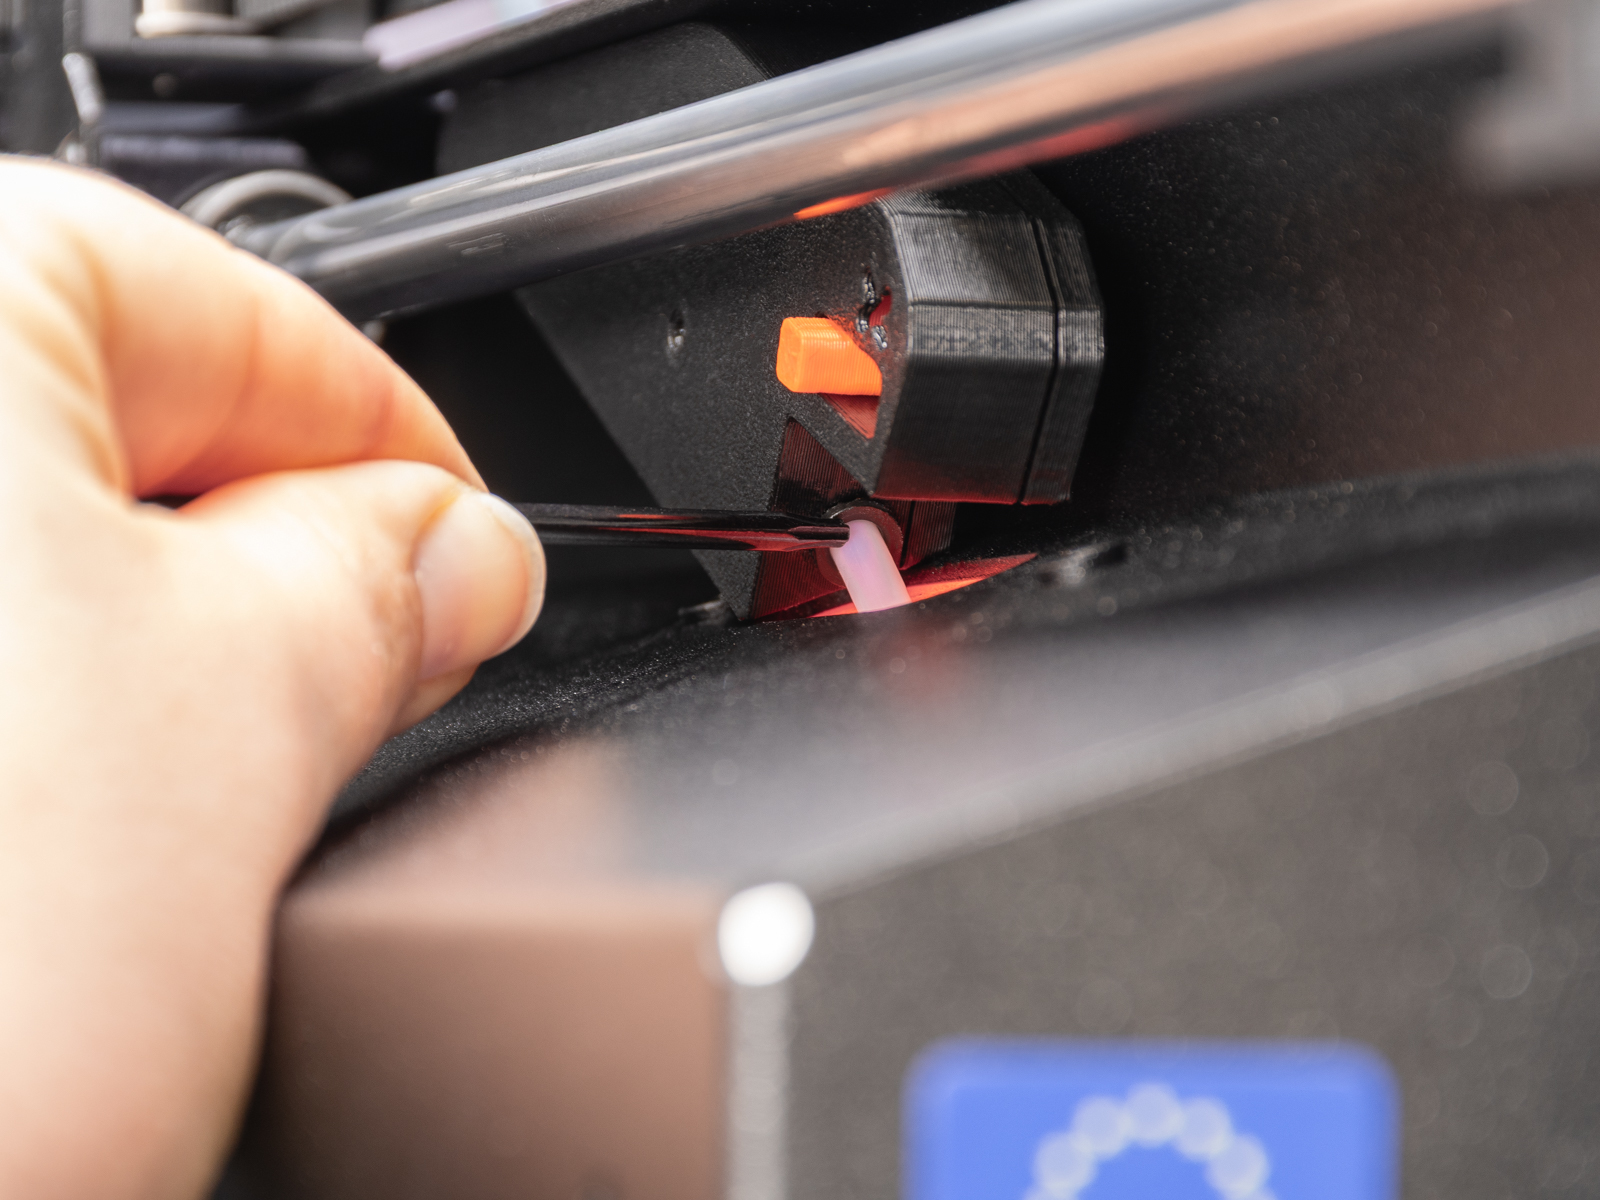
Note that, as an alternative installation method, it is also possible to remove the PTFE from the side filament sensor with pliers and an Allen key, load the filament, and insert the drybox PTFE tube directly into the side filament sensor to start printing.
 |
Was this article helpful?
This action is available only to registered users. Please log-in.