日本語
Login
3Dプリンター
マテリアル
部品 & アクセサリー
法人向け
ソフトウェア
3Dモデル
コミュニティ
ヘルプ
コース一覧
ブログ
会社概要
サポート
Original Prusa i3 MK3
プリンターメンテナンス
MK3のPSU(電源ユニット)の交換方法 | 組み立てを始める
1. 組み立てを始める
ステップ 1 / 29 (章 4 / 8)
内容
コメント
難易度
ほどほど
利用可能な言語
組み立てを始める
内容
プリンターメンテナンス
ヒートブレーク/ヒートブロック/ヒートシンクの交換方法 (MK3/MK2.5)
PTFEチューブの交換方法(MK3/MK2.5)
プリントパーツの後処理方法
MK3のPSU(電源ユニット)の交換方法
組み立てを始める
はじめに
Tools necessary for this chapter
プリンタの準備
Choose your current PSU
黒PSUの分解
Removing the PSU from the printer
新しい電源ユニットを組み立てる
新しい電源ユニットを組み立てる
電源ケーブルの接続 (重要)
電源のケーブルを接続する
電源のケーブルを接続する
パワーパニック と 電源ユニットカバー
銀色PSUの分解
Unplugging the PSU cables
Removing the PSU from the printer
Rotating the aluminium extrusion
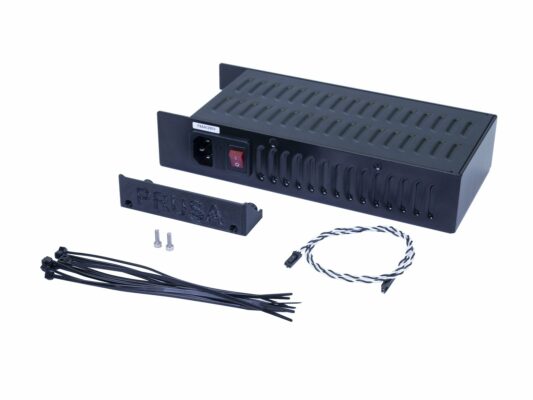
PSU交換キットの準備
新しい電源ユニットを組み立てる
新しい電源ユニットを組み立てる
電源ケーブルの接続 (重要)
電源のケーブルを接続する
電源のケーブルを接続する
パワーパニック と 電源ユニットカバー
Cable management
ケーブルの管理
PSU power cables
Power panic cable
Final check
How to replace a hotend thermistor (MK2S)
PTFEチューブのトリミング方法 - Original Prusa プリンター
メンテナンスのコツ
PEIシートの交換 (MK3S/MK3/MK2.5S/MK2.5)
コメント
ログイン
してコメントを投稿する
コメントなし